



My weekend manicure turned into a conversation starter at brunch. Orange and pink acrylic nails felt Miami-bright without looking like Halloween. I tested 12 takes on the look, most under $30, a couple splurges around $120, so you can pick what works. These are practical, purse-friendly, and tuned for summer nights and poolside selfies.
Bright, saturated, and a touch retro. These looks suit soft glam, coquette, and clean-girl fans, plus anyone who loves color. Most picks are under $30, with a few pro sets around $90 to $120. I’ve noticed bold neons and jelly finishes popping up everywhere.
1. Neon Ombre Almonds With Gold Flakes
Style: Bold & Saturated | Budget: Under $35 | Best For: Warm undertones / Long nails
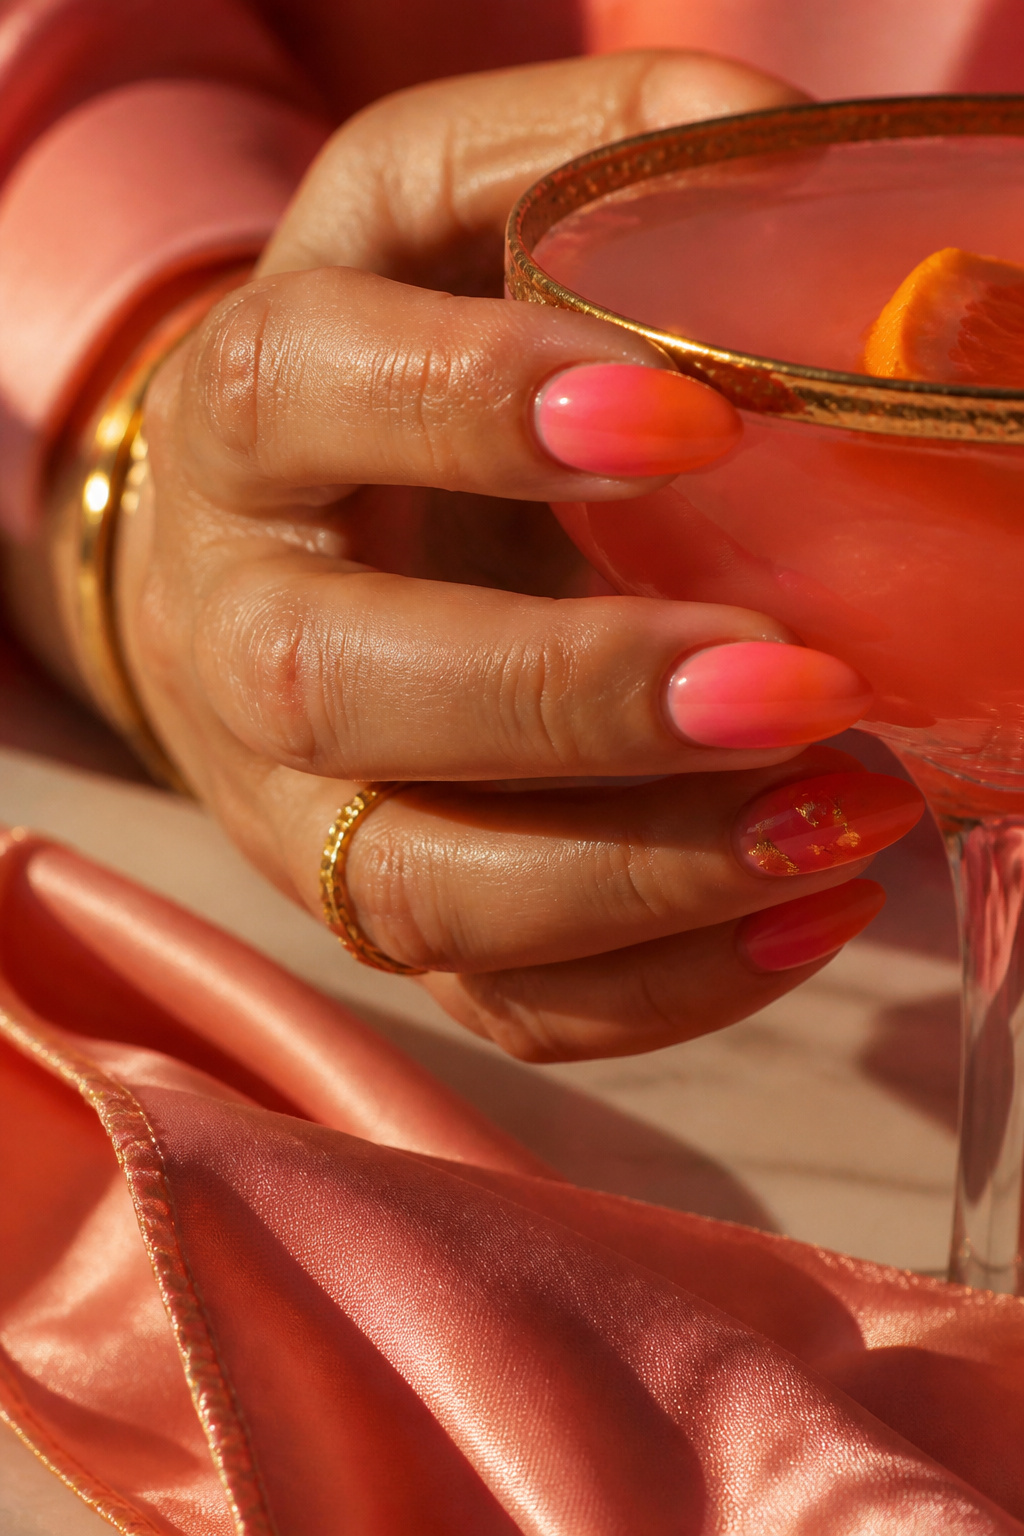

This is the Miami manicure I wear when I want every photo to pop. The trick is a gradual orange-to-pink blend and a thin scatter of gold leaf near the cuticle. I used a neon pigment kit I ordered after my salon canceled, around $18 to $28, and it lasted two weeks with a gel topcoat. Ugly truth: ombre requires patience, rush it and the blend looks striped. Someone at brunch asked where I got them; I said Amazon, then laughed.
Shop this idea:
2. Pink Jelly Coffins With Orange Glitter
Style: Bright & Airy | Budget: Under $30 | Best For: Short to medium nails / Glassy finish lovers
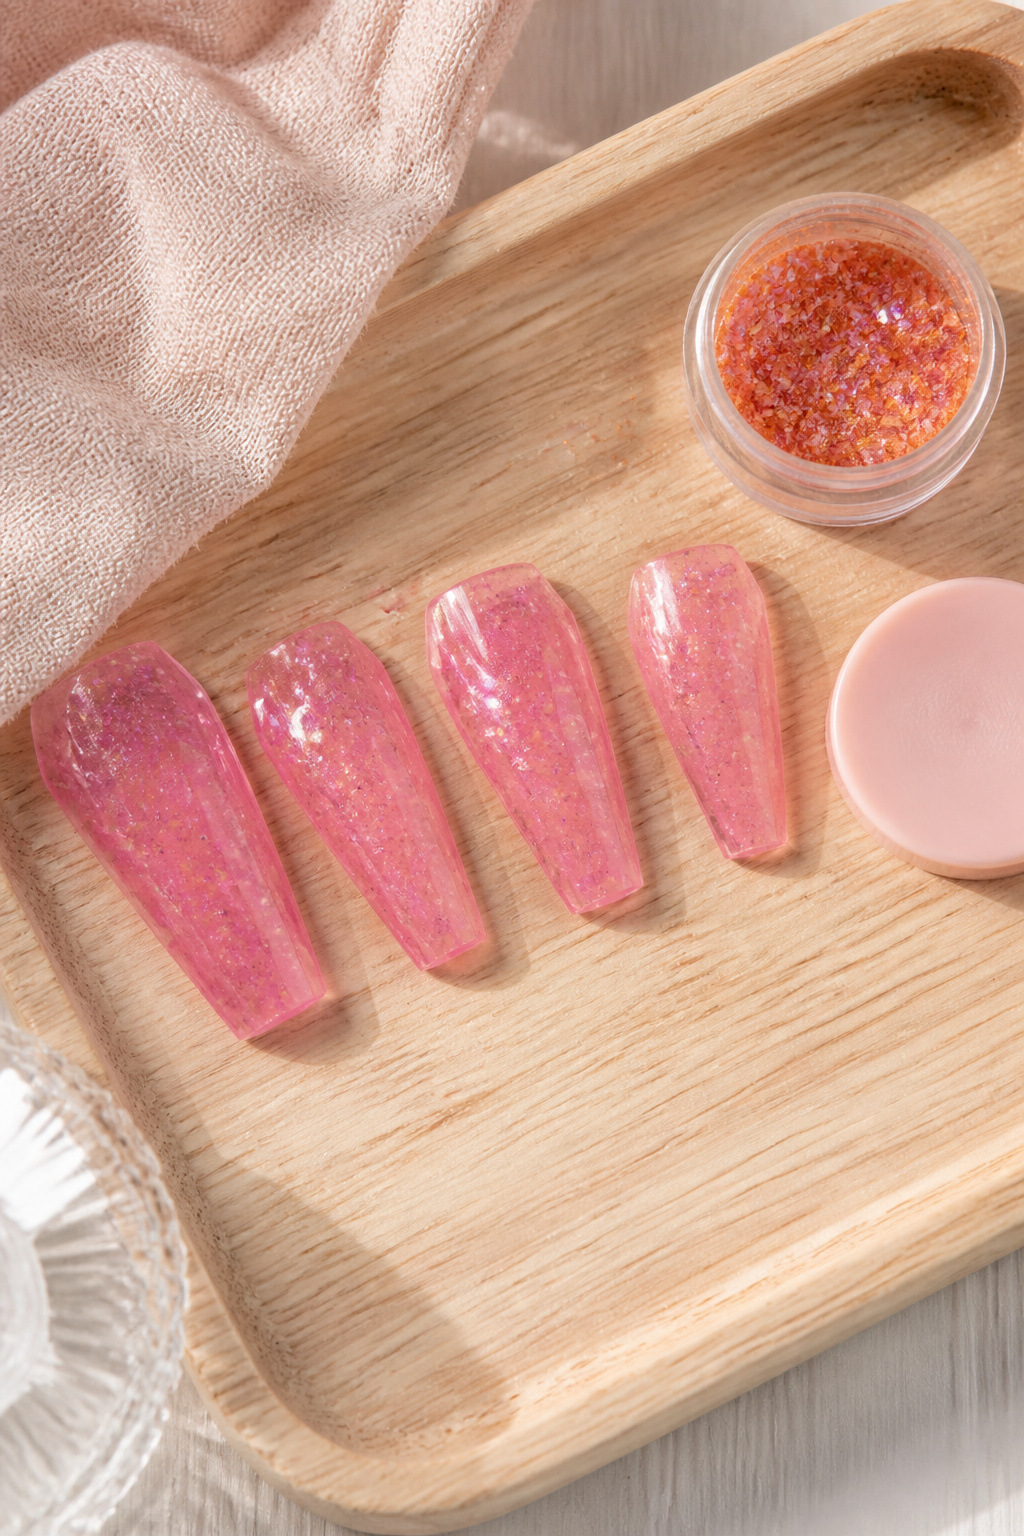

Jelly finishes look fresh in photos and don’t read heavy in sunlight. I used press-ons for this one, about $12 to $22, because I was short on time. Tip: buff natural nail lightly and use an alcohol wipe, then glue two thin dots instead of one strong blob; it cuts popping-off days in half. Ugly truth: jelly nails can show imperfections, so file edges carefully or they look toy-like.
Shop this idea:
3. Sunset French With Neon Tips
Style: Bold & Saturated | Budget: Under $40 | Best For: Medium nails / Modern French fans


A French with a Miami twist. Thin neon orange tips over a soft pink base feel retro and refined. I paid $45 at a boutique once and recreated it at home with a $16 gel polish kit, which worked fine if you have a steady hand. Tip: use tape guides for crisp lines. Ugly truth: thick tips can look clunky, so keep them slim.
Shop this idea:
4. Bubblegum Pink Matte With Orange Accent
Style: Bright & Airy | Budget: Under $25 | Best For: Cool and neutral undertones / Everyday wear
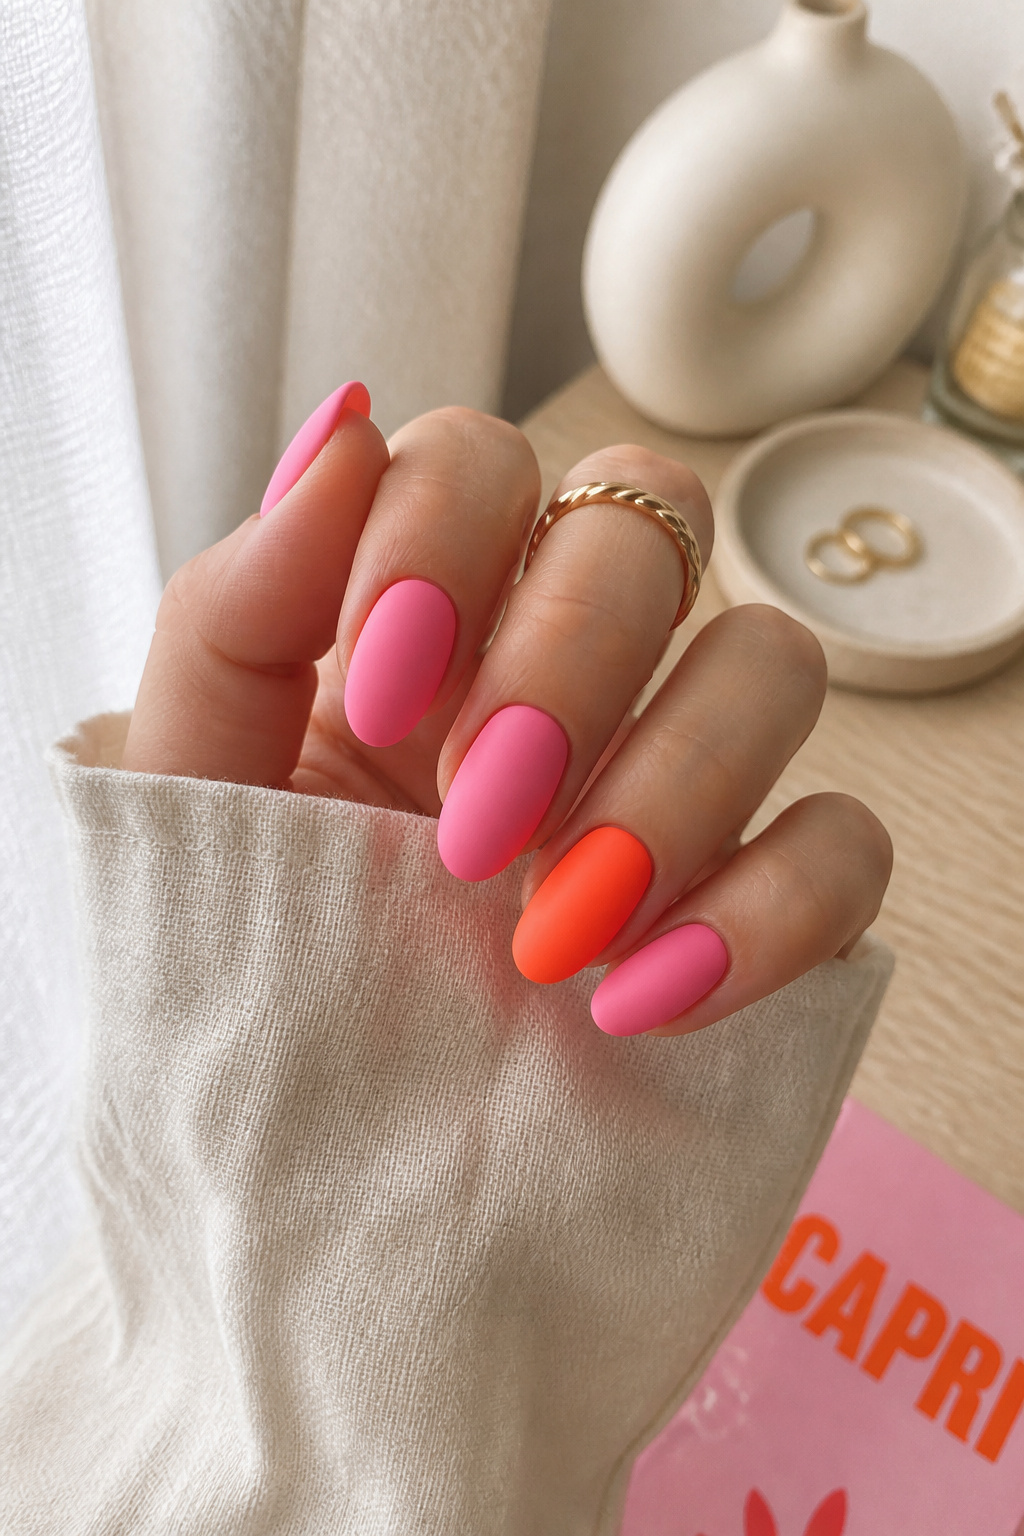

Matte pink keeps things modern and readable in daylight. I sprayed a $9 matte topcoat over pink acrylics and added a glossy orange accent. Pro tip: matte shows oils, so carry a small powder compact to tap on the T-zone of the nail otherwise it looks patchy. Ugly truth: matte chips differently and can reveal brush marks if not cured well.
Shop this idea:
5. Neon Stripe Stiletto With Pearly Cuticle
Style: Bold & Saturated | Budget: Under $50 | Best For: Long nails / Night outs


Stilettos read ultra-glam in photos. I layered thin stripes of neon orange over a hot-pink base, then glued a tiny pearl at the cuticle. I spent $12 on pearl mix and it elevated the whole vibe. Tip: stiletto nails catch on linen, so keep them slightly tapered not needle sharp. Ugly truth: stilettos are not practical for keyboards or zippers.
Shop this idea:
6. Retro Block Color Squares
Style: Bright & Airy | Budget: Under $28 | Best For: Short nails / Vintage lovers
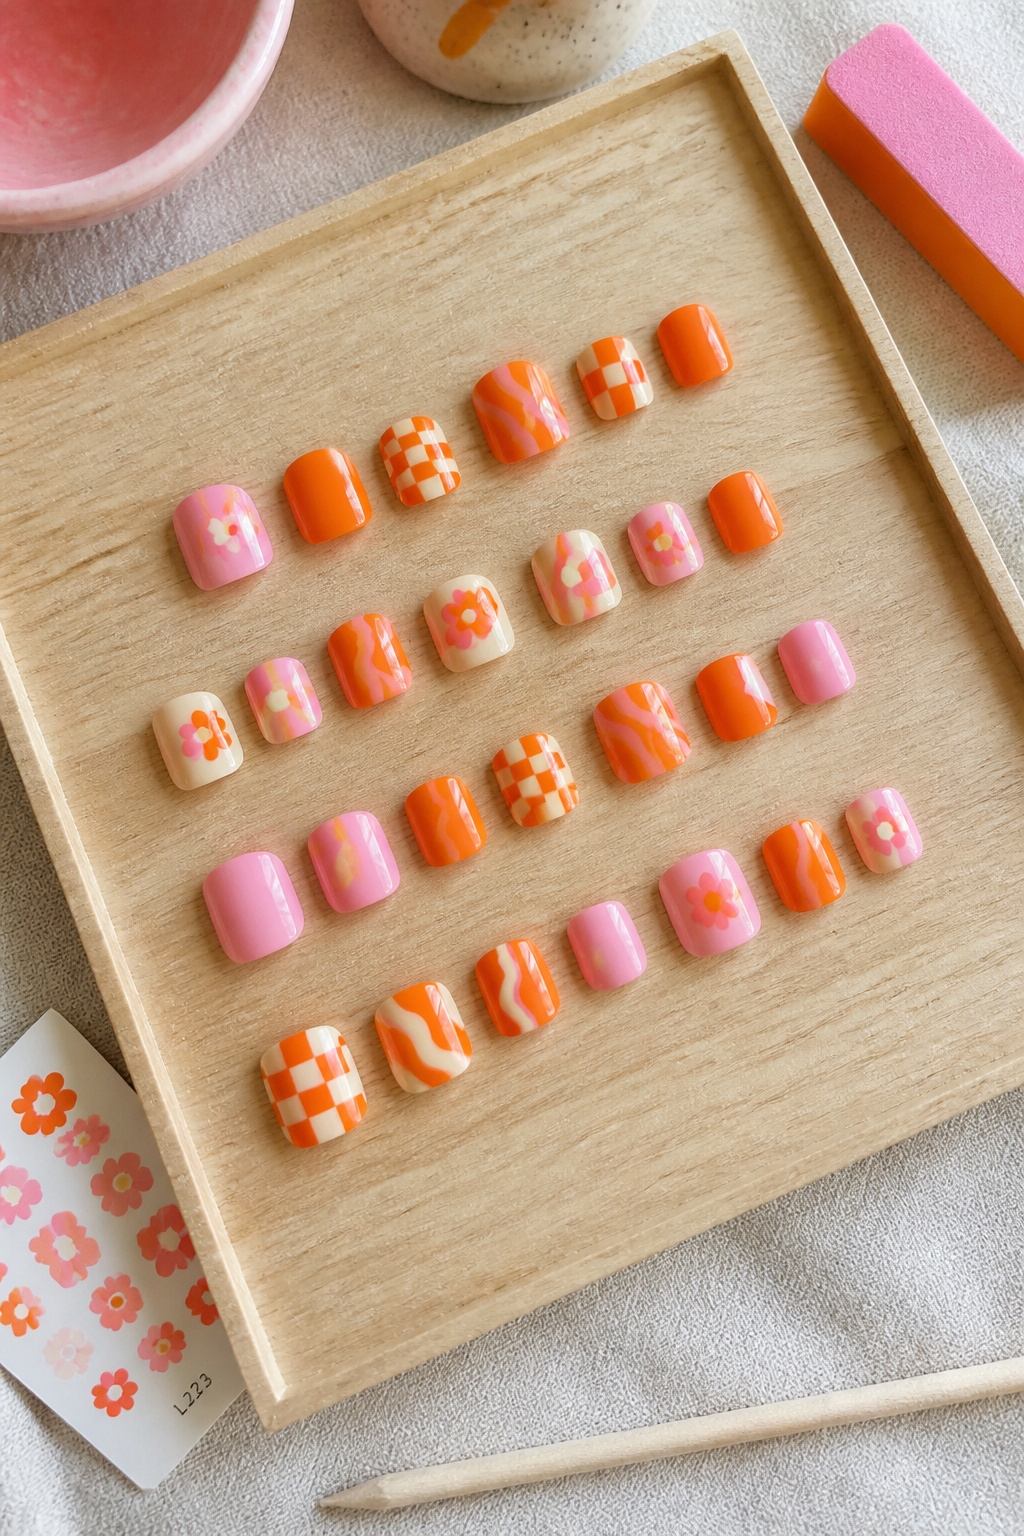

Block color is 90s in the best way. I painted alternating squares of orange and pink and sealed them with a shiny topcoat. It lasted well when I used a $10 chip-resistant topcoat. Tip: tape edges for crisp squares and cure each thin layer. I once tried thicker layers and they wrinkled. That was ugly and teachable.
Shop this idea:
7. Pearlescent Peach-Pink With Orange Sheen
Style: Moody & Cozy | Budget: Under $30 | Best For: Mature skin tones / Soft glam
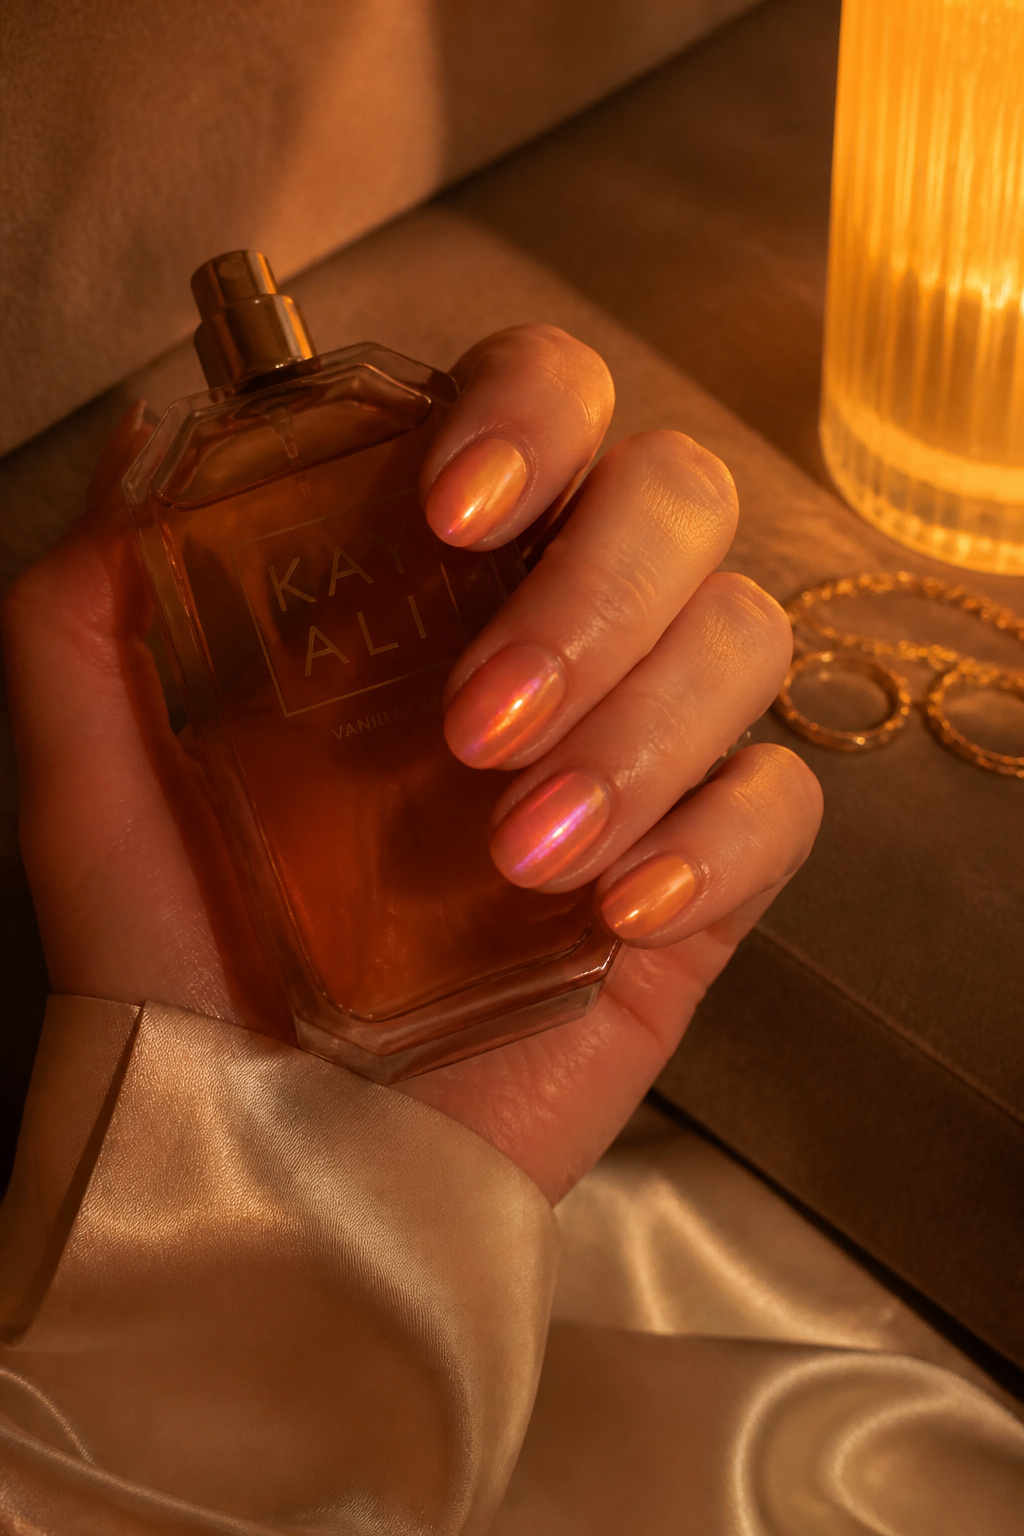

Pearlescent finishes read luxe and photograph like a salon set. I used a pearlized pink polish with a barely-there orange shimmer topcoat, bought for around $16 to $26. Tip: apply pearl polishes in thin strokes to avoid streaks. Someone at dinner complimented how sophisticated they looked, which felt real because they were subtle, not loud.
Shop this idea:
8. Coral French With Pink Glitter Smile Line
Style: Bright & Airy | Budget: Under $35 | Best For: Bridal showers / Dresses and sandals
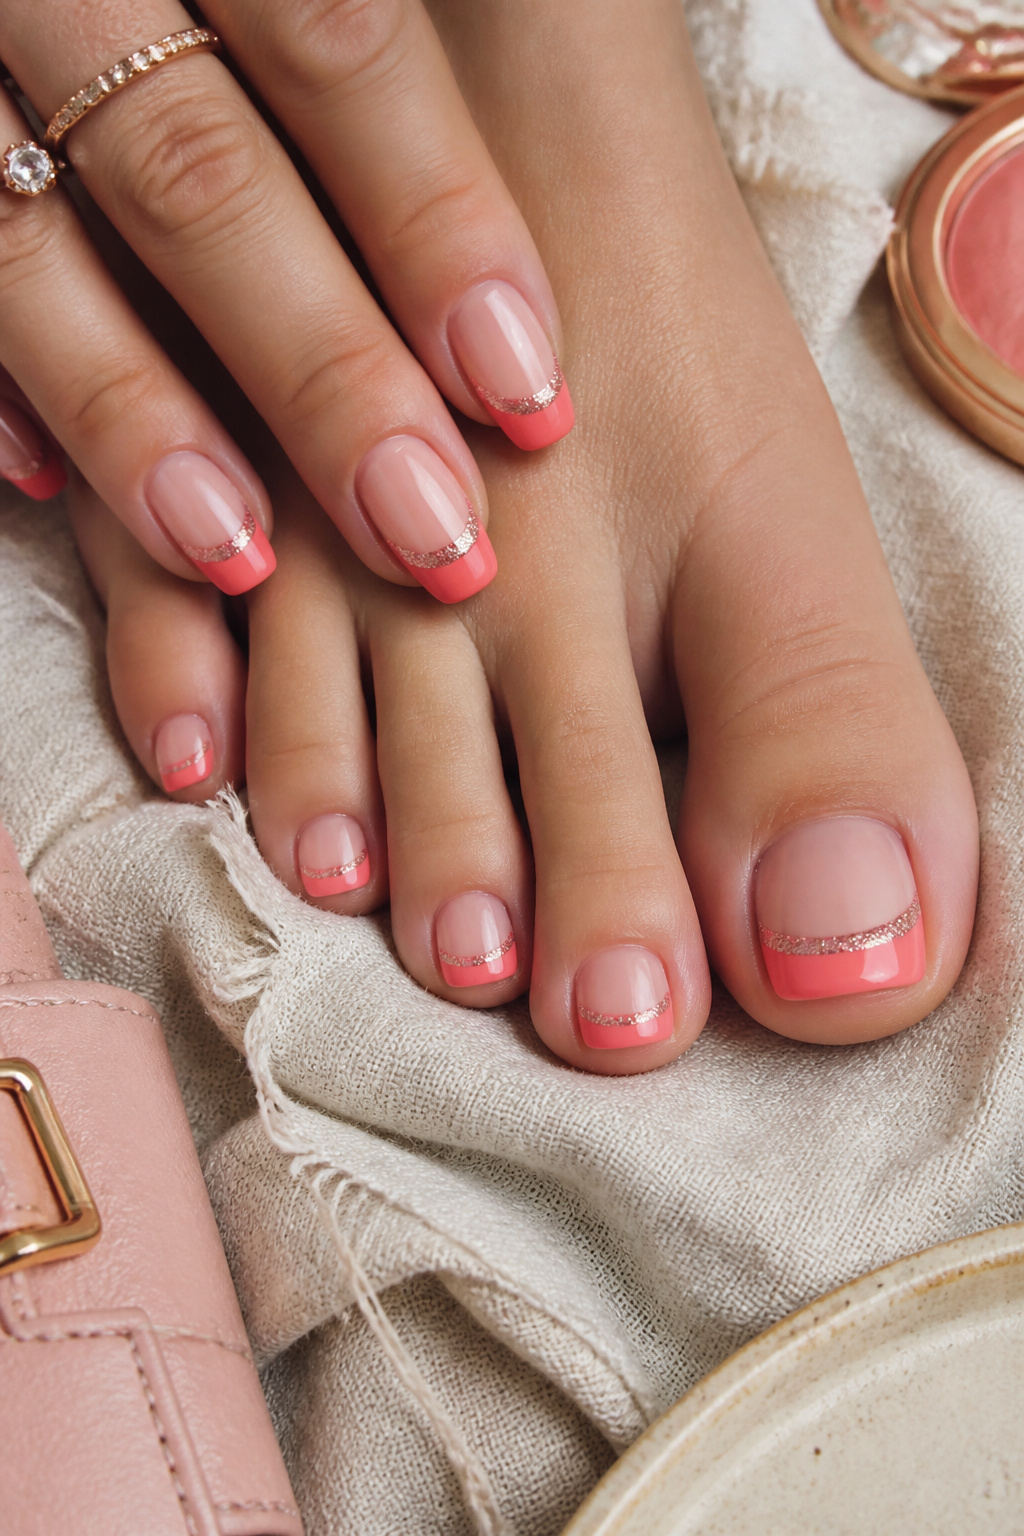

A coral French feels polished with a party-ready twist. I put a thin pink glitter smile line on the free edge and it made sandals look editorial. I used a $9 glitter pot and a tiny brush; patience is the application tip. Ugly truth: glitter gets everywhere, so clean edges immediately or you’ll ruin the look.
Shop this idea:
9. Day-Glo Neon Pink With Orange Microdots
Style: Bold & Saturated | Budget: Under $20 | Best For: Festival looks / Youthful styles
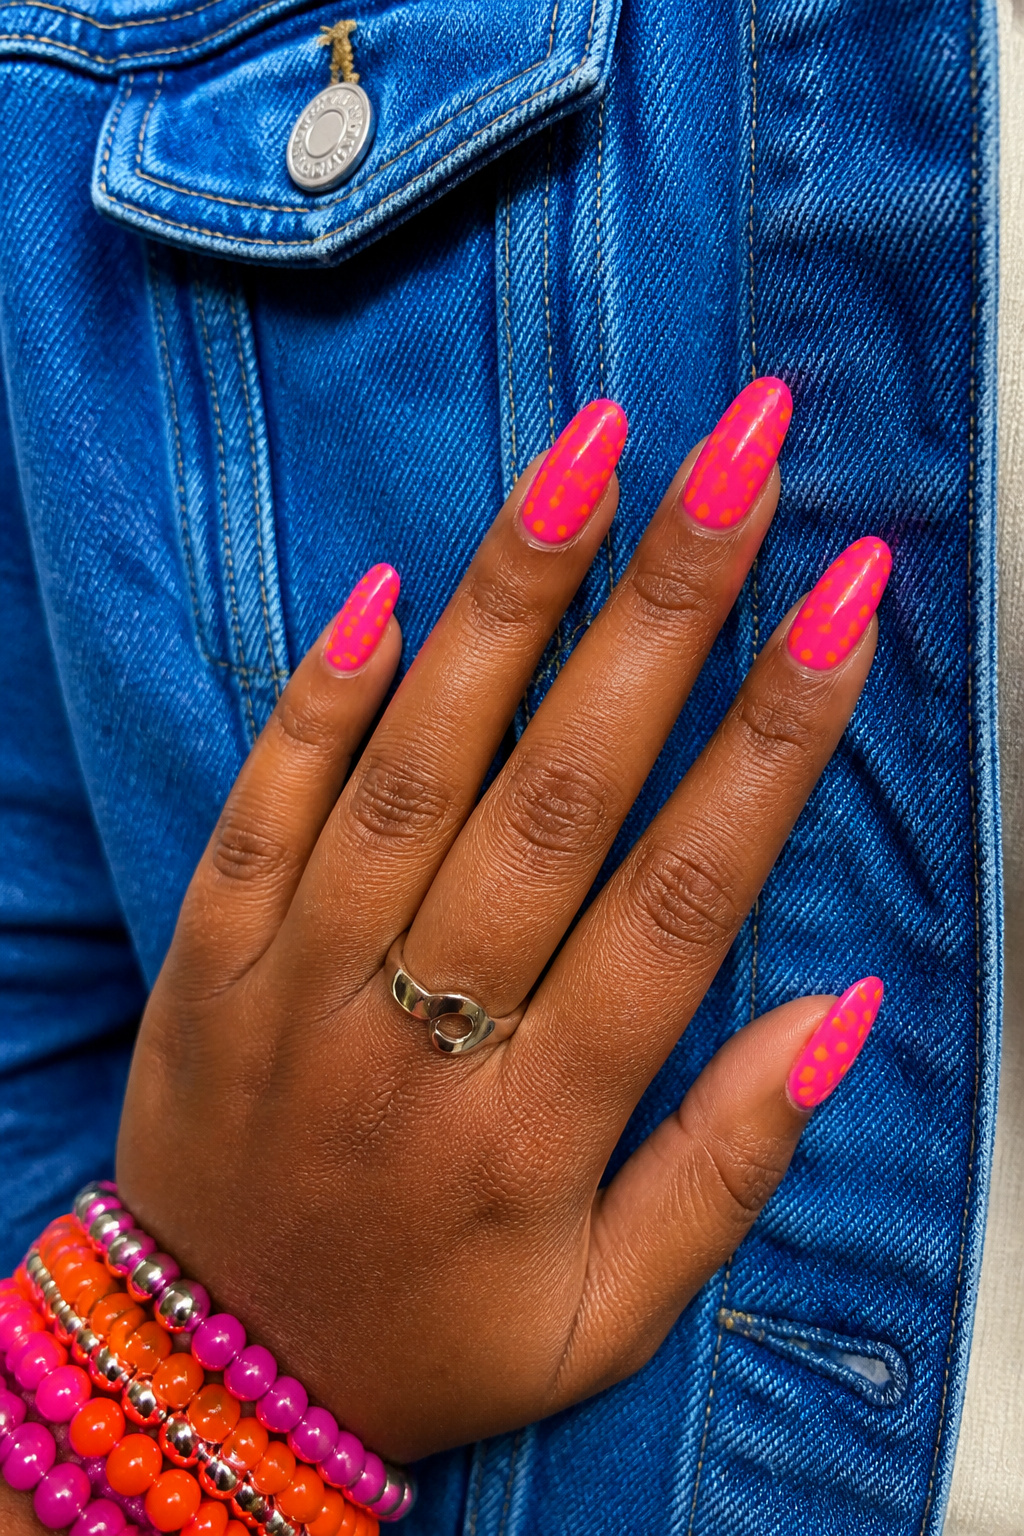

Microdots are a quick way to add texture. I used a toothpick to dot neon orange over neon pink and it read playful in sunlight. This DIY cost me under $15. Tip: practice on paper first to get consistent dots. Ugly truth: perfect symmetry is overrated; slightly imperfect dots look handmade and cooler.
Shop this idea:
10. Pink Marble With Fiery Orange Veins
Style: Moody & Cozy | Budget: Under $40 | Best For: Short or long nails / Art-forward looks
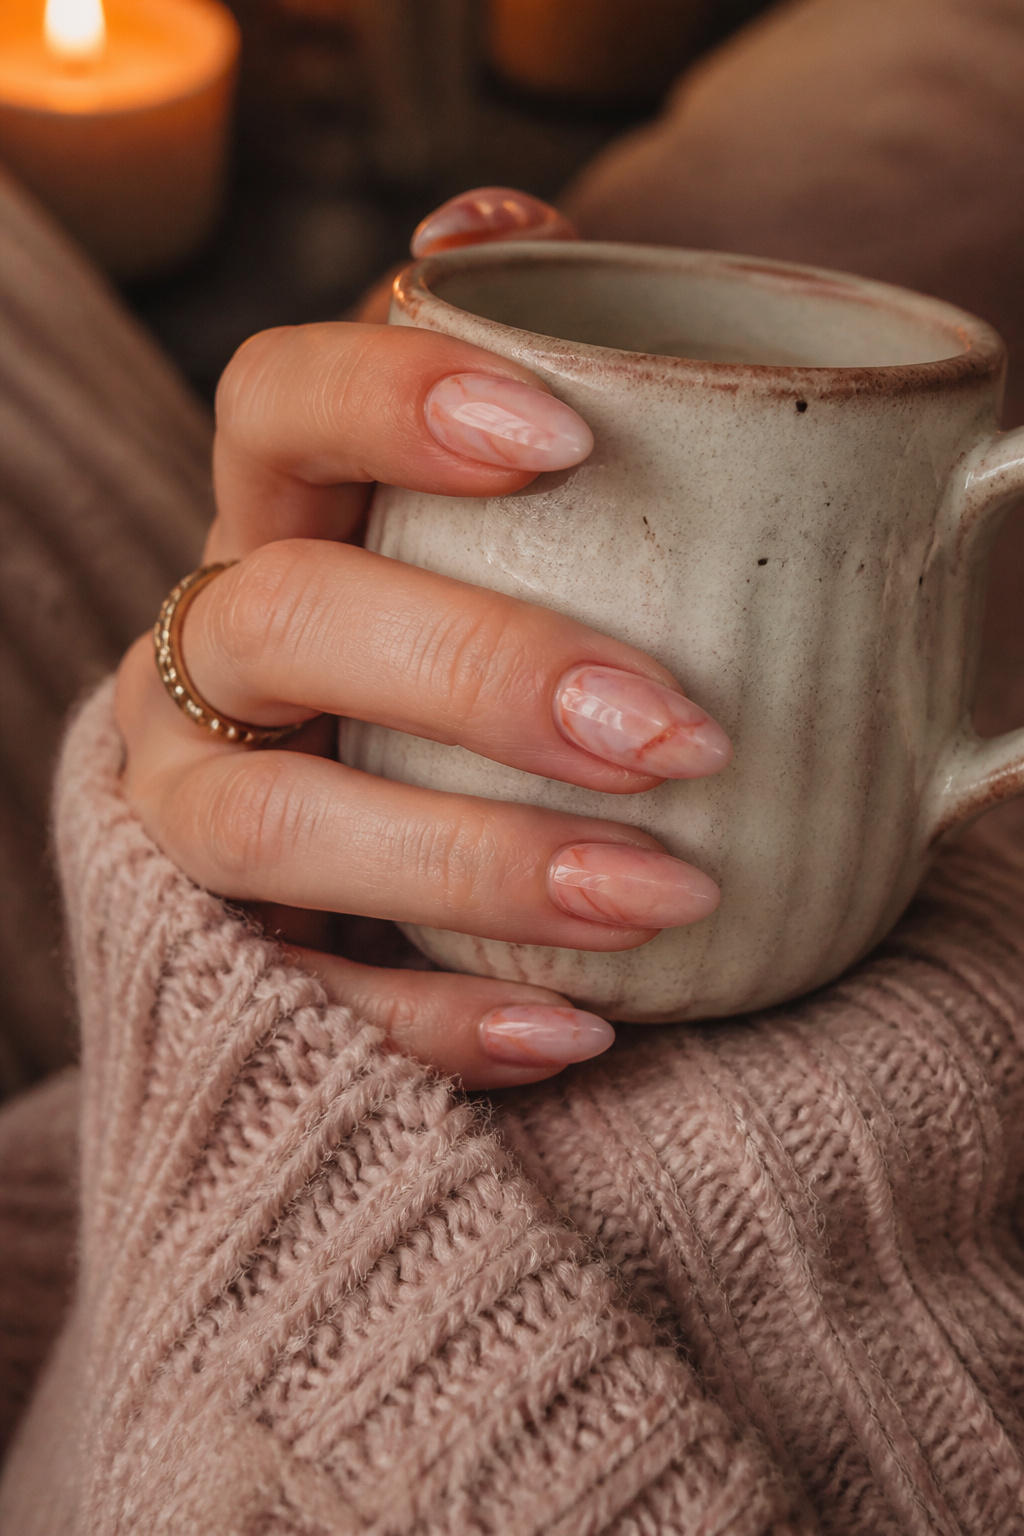

Marble nails look expensive but are easy with a thin brush and patience. I layered soft pinks, dragged a tiny brush with neon orange, and sealed it with gloss. I bought a marble stamping kit at Ulta on sale for about $22 to $38 and used it once for a client shoot. Tip: keep veins delicate, too much orange reads chaotic.
Shop this idea:
11. Candy Stripe Short Square Set
Style: Bright & Airy | Budget: Under $20 | Best For: Office-friendly color / Petite hands
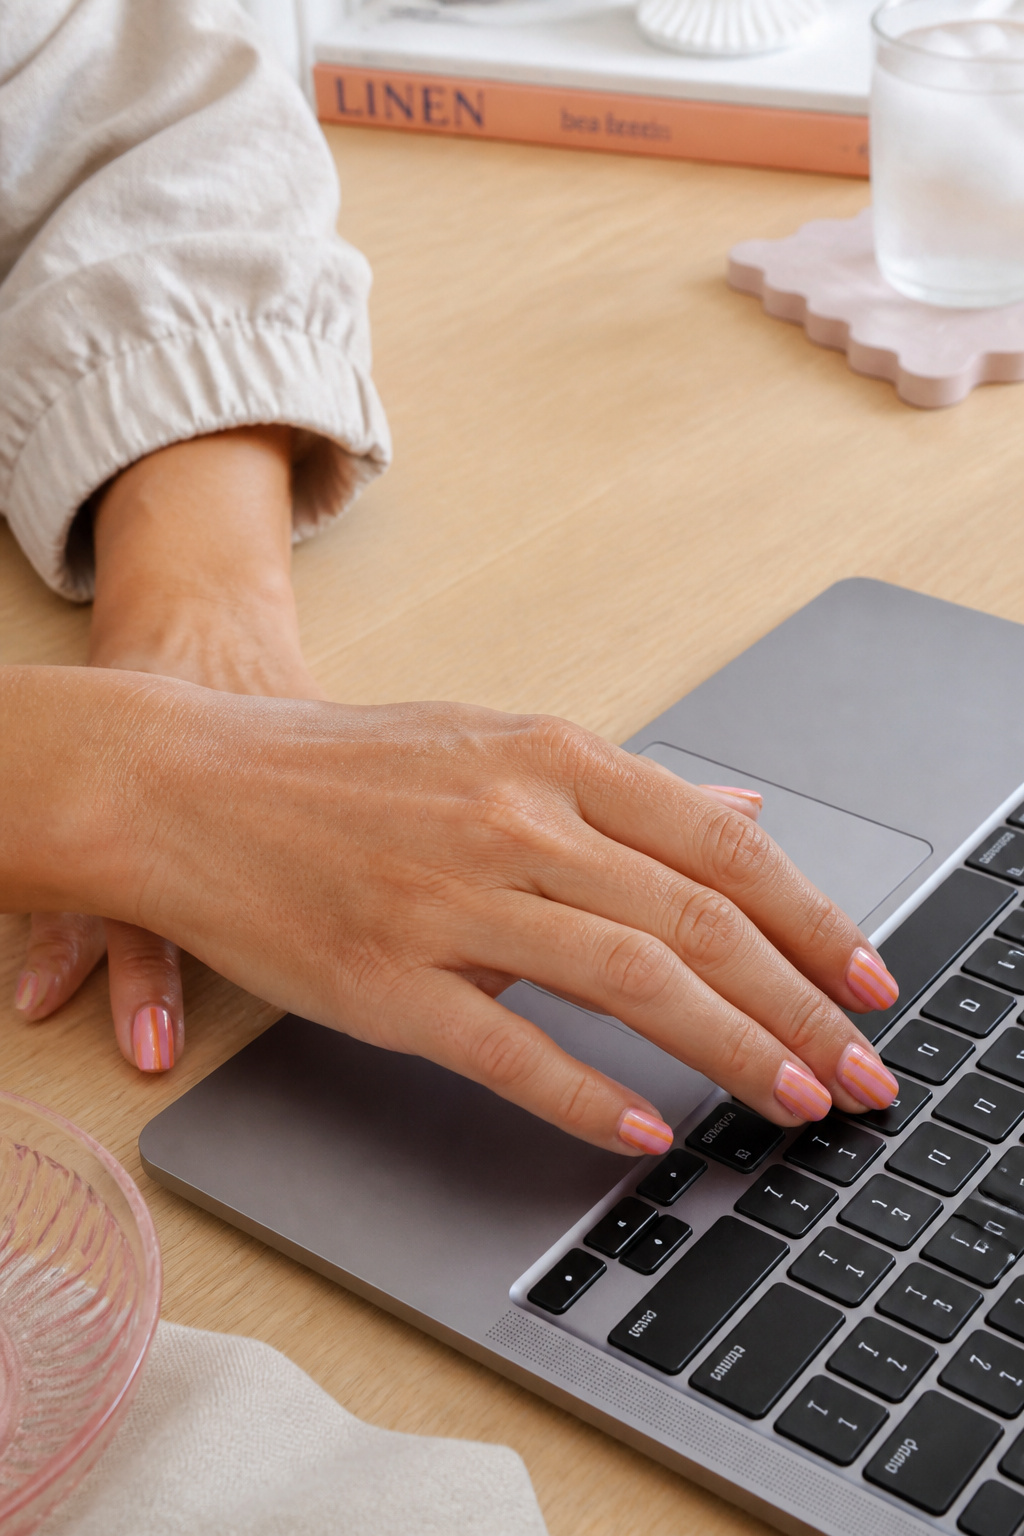

Short square nails with thin candy stripes look playful but professional. I used striping tape and two creams—bubblegum pink and neon orange—costing around $10 to $18 for both polishes. Tip: remove tape while polish is tacky not dry, so lines don’t pull. Ugly truth: striping tape lifts if you topcoat too soon.
Shop this idea:
12. Clear Tip With Pink Base And Orange Glitter Fade
Style: Bright & Airy | Budget: Under $30 | Best For: Photoshoots / Pool days
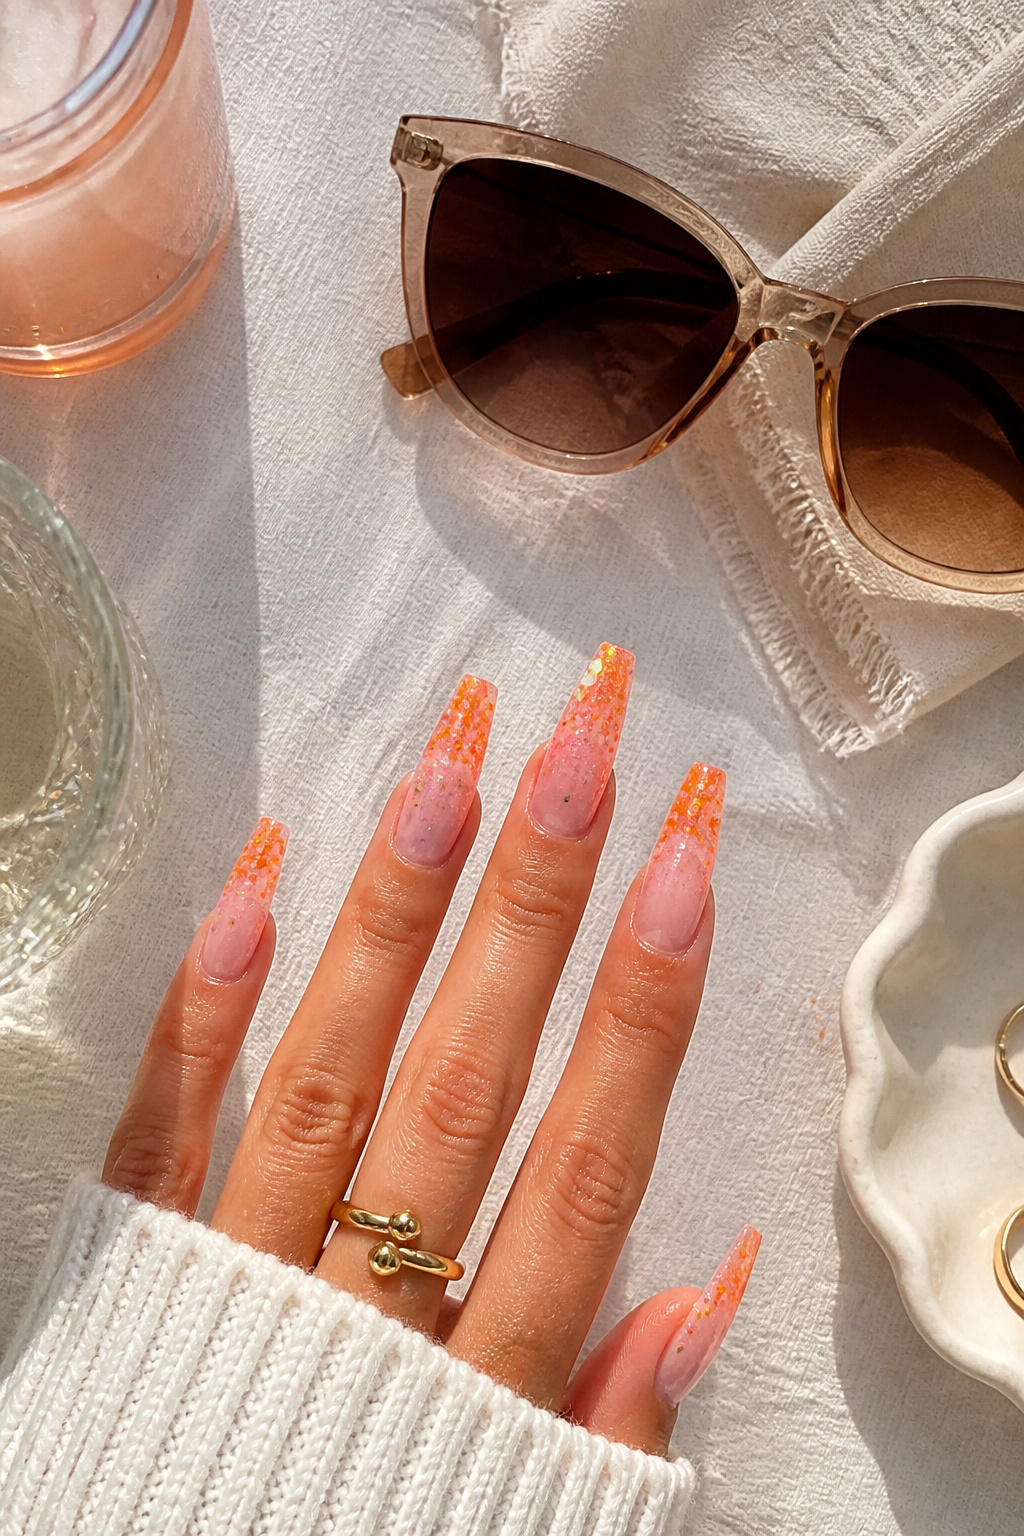

Clear tips keep the neon from overwhelming while still reading very Miami. I built a sheer pink base then feathered orange glitter toward the tips. I paid about $20 for supplies and got compliments at the pool. Tip: seal glitter with two thin topcoats to avoid shedding. Ugly truth: clear tips show growth quickly, so expect fills sooner.
Shop this idea:
What You'll Need to Get This Look
Face & Base Essentials
- LED gel top coat around $8 to $20
- Builder gel base pink around $10 to $28
- Nail glue strong bond around $4 to $12
- Nail file buffer set around $5 to $15
Eyes, Brows & Lips
- Peachy cream blush stick around $8 to $18
- Tinted lip oil coral around $6 to $20
- Warm brown mascara around $6 to $22
Clothing Staples
- Linen shirt white oversized around $25 to $60
- High waist wide leg jeans around $30 to $80
- Silk scarf small square around $10 to $40
Shoes, Bags & Jewelry
- Tan leather slides around $30 to $120
- Gold chunky hoop earrings around $8 to $40
- Mini leather crossbody bag around $25 to $120
Budget Swaps
- Drugstore pink polish around $4 to $10 (dupe for high-end)
- Press-on kit basic around $8 to $20 (fast alternative)
- Pearl sticker pack around $3 to $12 (cheaper embellishment)
Shopping Tips for These Looks
Buy pigment kits during beauty events: Sales like Ulta 21 Days of Beauty and Amazon Prime Day drop polish kits 20% to 40%, so stock up then, see LED gel top coat.
Pick jelly or cream based on light: Jelly finishes read glassy in bright sun, creams look richer indoors, test both with a $10 sample polish, like Neon pink polish.
Thrift your accents: I found tiny vintage pearls at a local thrift for $3 and they looked editorial next to acrylics, but you can grab pearl nail mix online.
Try press-ons before booking: If you’re unsure about length, press-ons are a cheap trial at $12 to $22, such as Pink jelly press-ons.
Prep nails like a pro: A clean, dehydrated nail base extends wear; use rubbing alcohol and a $5 prep pad, like nail prep wipes.
Tap into 2025 color shifts: Expect saturated neons and pearlescent sheens to stay strong this season, so test one bold shade per month, starting with neon orange gel polish.
Frequently Asked Questions
Q: How long do acrylics like these usually last?
A: Properly applied acrylics last 2 to 3 weeks before fills, sometimes longer with careful wear. Try a durable LED topcoat like LED gel top coat and avoid harsh cleaning without gloves.
Q: Can I do these looks at home with press-ons?
A: Yes, many ideas translate to press-ons; pick a shape and glue technique that fits your lifestyle. My go-to for quick changes is press-on kit basic, and use two small glue dots per nail for longevity.
Q: Which finish hides chips best?
A: Glossy finishes hide edge chips slightly better than matte, because they reflect light. A good gloss topcoat like LED gel top coat makes a big difference.
Q: How do I keep neon colors from staining my nails?
A: Use a builder-gel or white base layer to block pigments, then apply color. I seal neon with Builder gel base pink and haven’t had staining since.
Conclusion
Start with one small change, like a single neon accent nail or a press-on set under $20. I usually swap one finger to test a color before committing. If you try any of these 12 orange and pink acrylic nails, tell me which one got the most compliments. Which look are you trying first?