
How to do monolid makeup that stays visible with your eyes open was the problem that changed my morning routine.
I used to pile on dark shadow and then lose it every time I blinked. I spent under $40 learning which textures read with lid movement, and I still get compliments on my eyes when they're open.
The look I teach here is soft, tonal, and built for monolids. It fits a small budget to start (about $30 to $80) and scales up if you want splurge tools.
I find cream formats and targeted primers give the most payoff. (Cream and stick makeup formats grew around 20 percent year-over-year in 2023, per The NPD Group.) Also, monolid tutorials have risen sharply on short-form video, so expect fresh ideas on repeat.
1. Start with the Glow: Skin Prep and Sheer Base
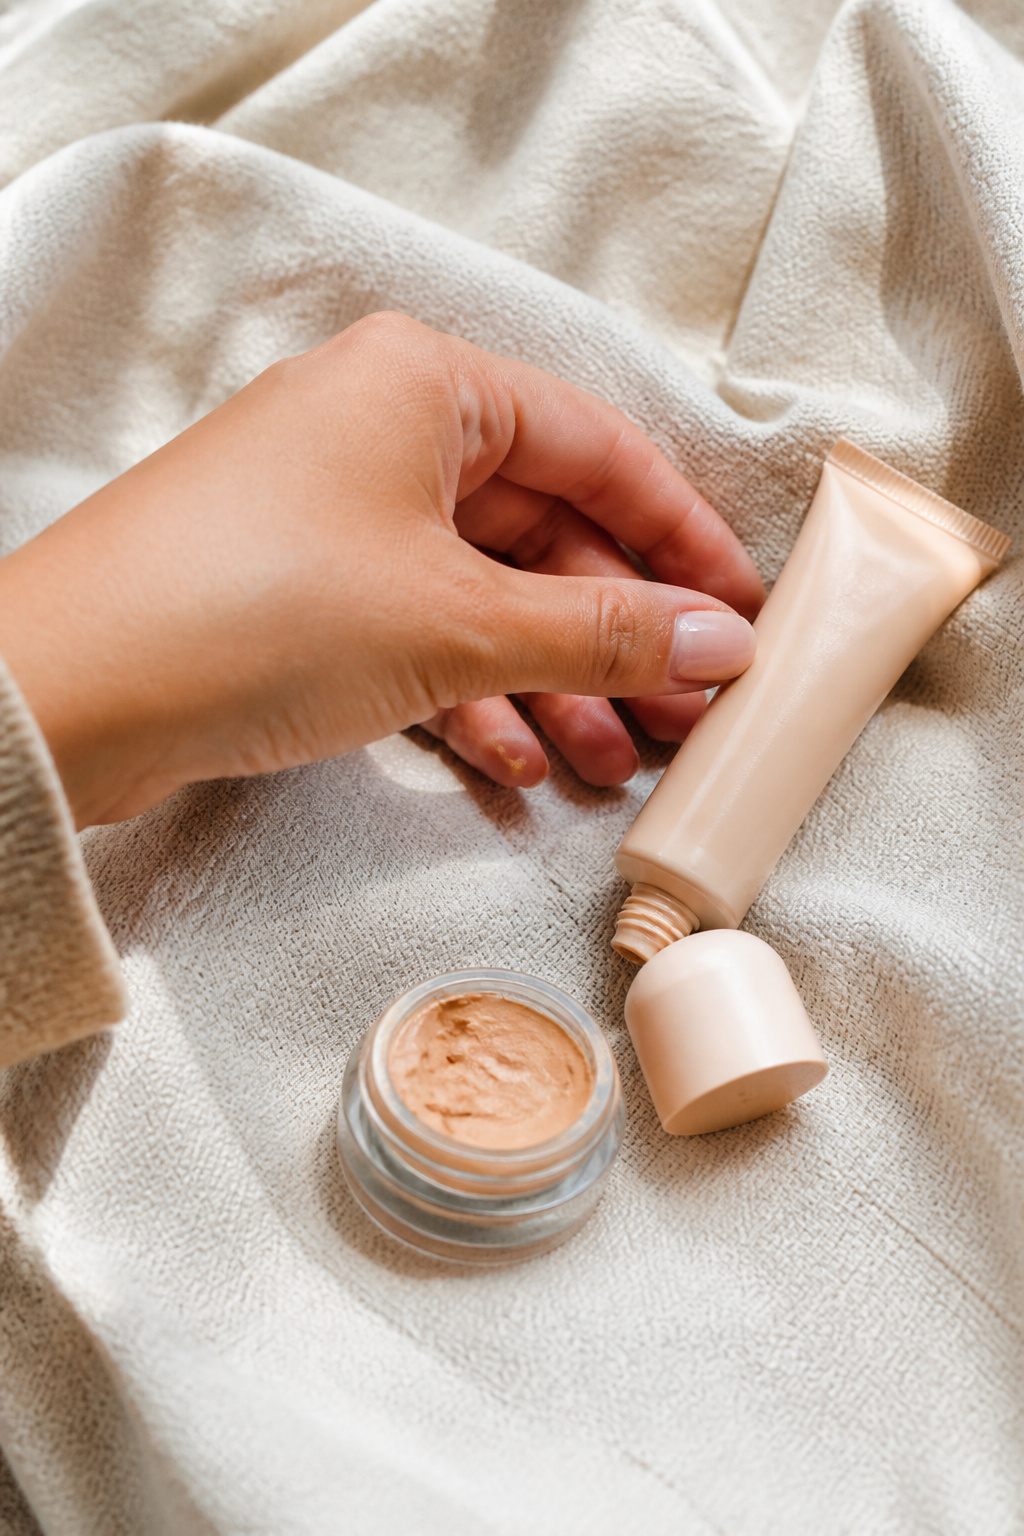

First, skin matters because it frames the eye. On monolids, a smooth, slightly dewy base prevents harsh contrasts that hide subtle eye color.
Use a Hydrating skin tint light coverage to even tone. Spot-conceal with a Cream concealer medium coverage under the eyes only so the lid area stays soft.
The visual principle is soft contrast. Too matte a face flattens the lid color. A light sheen lets the eyeshadow read when your lids move.
Mistake people make: baking the whole under-eye with powder. Instead, lightly set only the center of the face with a Translucent setting powder travel size. Result: skin looks alive and eyeshadow stays visible.
2. Layer Cream Color in Three Strategic Places
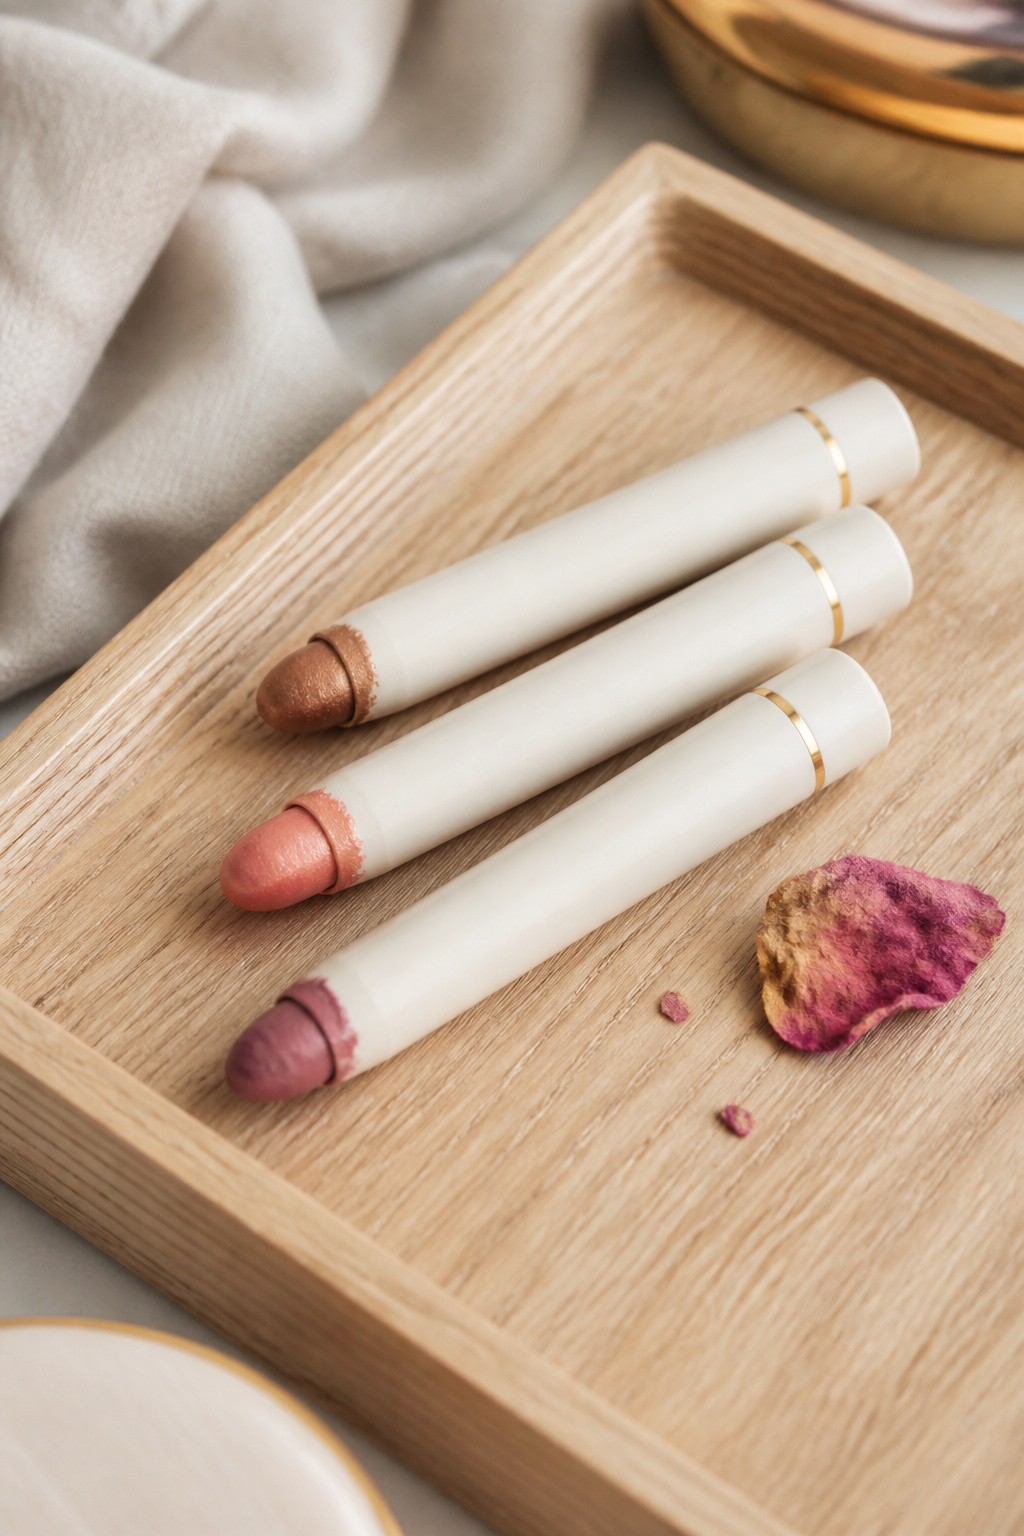

The trick is to layer cream on the lid, outer corner, and just under the lower lashline. Creams read better on moving lids than powders.
Swipe a Cream eyeshadow stick in warm caramel across the mobile lid. Dab a second shade (peach or rose) toward the inner lid for lift. Use a fingertip to blend; warmth from skin softens edges.
Add depth with a Brown matte eyeshadow single 2g pressed into the outer lid and just above the lash line to suggest a crease.
People overblend into the socket area and lose definition. Stop blending when colors meet; that soft edge reads on open lids. Finish the layer with a tiny sweep of Cream highlighter pen champagne at the inner corner to catch light.
3. Define Without Hardness: Soft Eye and Brow Work
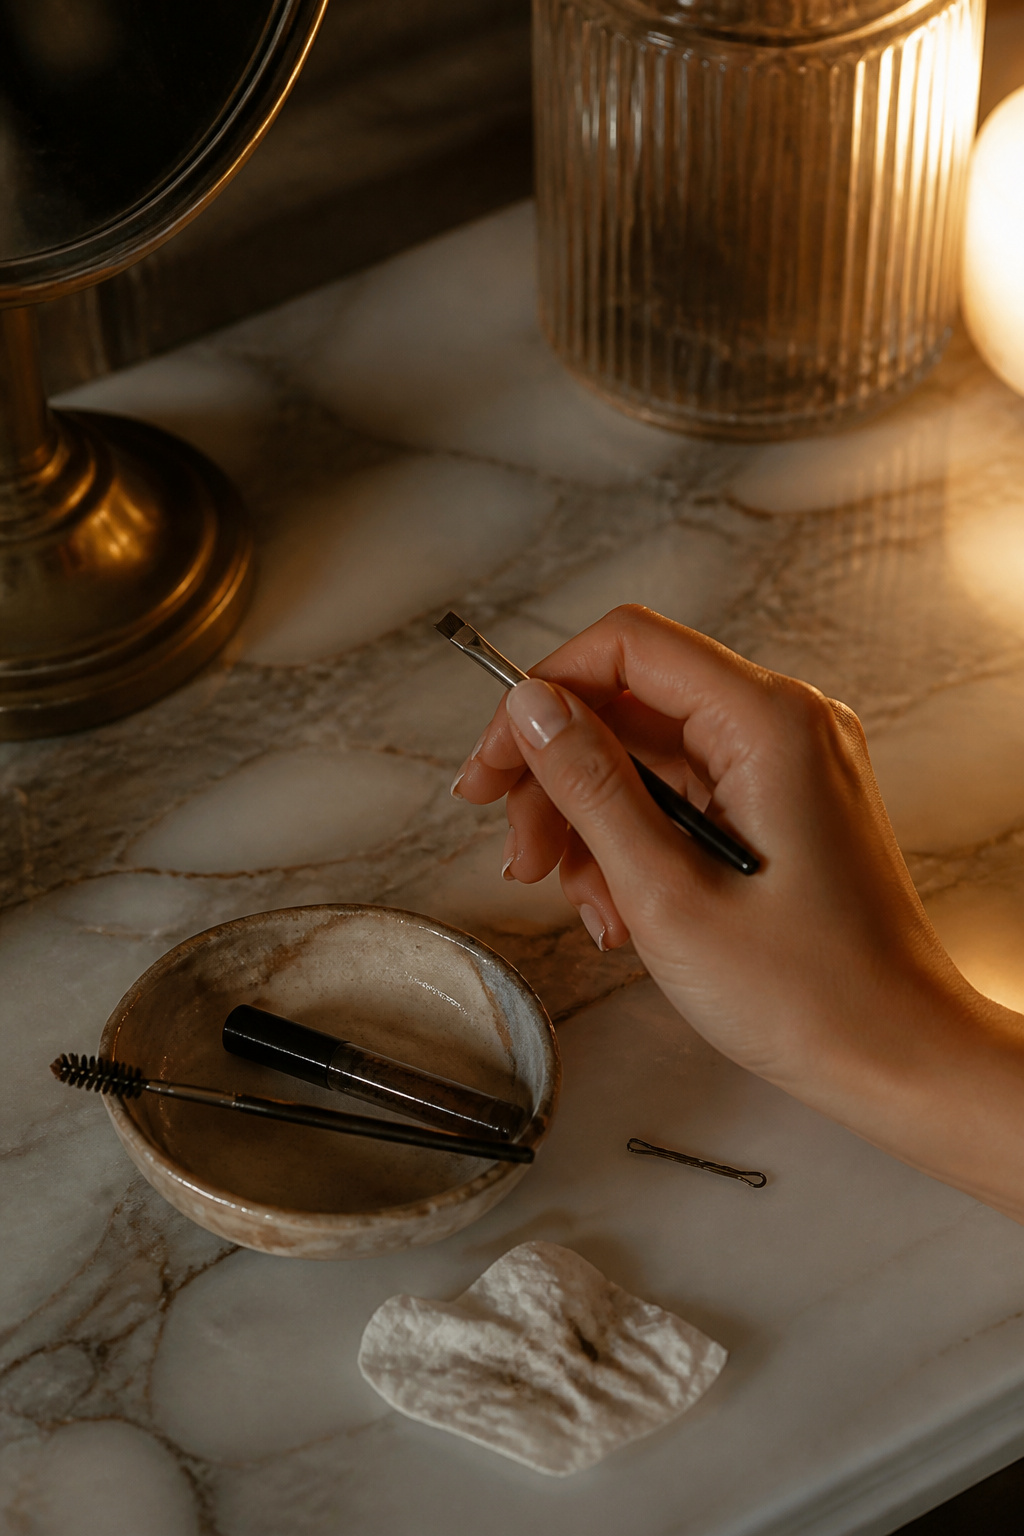

Sharp liner on monolids can disappear with natural lid movement. The solution is soft tightlining and feathered brows.
Tightline the upper waterline with a Soft eyeliner pencil espresso waterproof. Use a Tightline brush angled to press color between the roots of lashes. This creates the illusion of thicker lashes without a heavy lid line.
Groom brows with a Clear brow gel strong hold travel size and lengthen lashes with a Waterproof lengthening mascara black. Lifted lashes reveal the eye shape.
Common misstep: drawing a thick wing to force an eye shape. It makes the lid look smaller. Do precise root work instead for a softer, open result.
4. Finish with Tonal Lip and Subtle Setting


Balance makes the eyes pop. A tonal lip keeps attention on your eye color and motion.
Choose a Tinted lip oil sheer berry and add a dot of Tonal cream blush stick peachy warm on the cheekbones for cohesion.
Lock everything with a spritz of Setting spray dewy finish 60ml. The spray melds creams and powders so the lid color stays visible when you open your eyes.
Ugly truth: heavy powder ruins the soft layering you made. Use a light hand and focused setting only where you crease.

Common Styling Mistakes to Avoid
Mistake: Using a heavy matte base all over the face
Why it doesn't work: Mattes flatten cream eyeshadow so lid color reads weak when eyes open.
Do this instead: Use a Hydrating skin tint light coverage and spot set.
Mistake: Drawing thick top liner to "create a crease"
Why it doesn't work: It shuts the lid visually and hides the subtle gradient.
Do this instead: Tightline with a Soft eyeliner pencil espresso waterproof.
Mistake: Skipping primer on oily lids
Why it doesn't work: Creams slip and fade in hours.
Do this instead: Use an Eyelid primer for monolids under creams.
What You'll Need for This Look
Face & Base Essentials
Hydrating skin tint light coverage around $12 to $28
Cream concealer medium coverage around $10 to $24
Translucent setting powder travel size around $8 to $18
Eyes, Brows & Lips
Eyelid primer for monolids approx $8 to $22
Cream eyeshadow stick in warm caramel approx $6 to $18
Waterproof lengthening mascara black around $7 to $25
Clothing Staples
White crew neck tee cotton approx $10 to $30
Straight leg high waist dark wash jeans approx $30 to $120
Shoes, Bags & Jewelry
Leather loafers brown size 7 approx $40 to $150
Leather tote bag tan medium approx $60 to $200
Gold chunky hoop earrings 14k plated around $12 to $45
Budget Swaps
Drugstore cream blush stick dupe approx $6 to $12
Makeup remover oil balm 50ml around $8 to $20
Shopping Guide for This Look
Time your buys: Pick primers and cream sticks during spring sales; Eyelid primer for monolids often discounts in March and November.
Thrift + new: Pair a thrifted blazer with a White crew neck tee cotton for polish at low cost.
Trend note 2025: Cream textures are staying relevant; stock a Cream eyeshadow stick in warm caramel for an on-trend base.
Splurge vs save: Splurge on a good lash curler if lashes lift your lid view, or save on Waterproof lengthening mascara black.
Conclusion
Start with one thing: an eyelid primer or a cream eyeshadow stick. It will change how your monolid color reads when your eyes are open.
One final tip: think in layers, not coverage. Cream, then a touch of powder where needed, then seal.
Which step do you want to try first — primer or cream color?