








How to do white ombre nails without patchy sponge marks starts with admitting I used to love sponging until every nail looked polka-dotted. I learned the hard way: it is possible to get a soft fog of white that reads seamless in photos and real life.
You will learn a low-waste routine using tools under $30 to start and affordable upgrades if you want salon-grade longevity. This suits anyone who likes clean, tonal manicures and prefers cream finishes over glitter.
The nail world is big. The global nail care market surpassed $12 billion in 2023 (Statista). Lately I see a move toward sheer creams, negative-space fades, and techniques that read soft but last. This guide follows that vibe.
1. Start With The Right Base: Prep That Holds Pigment
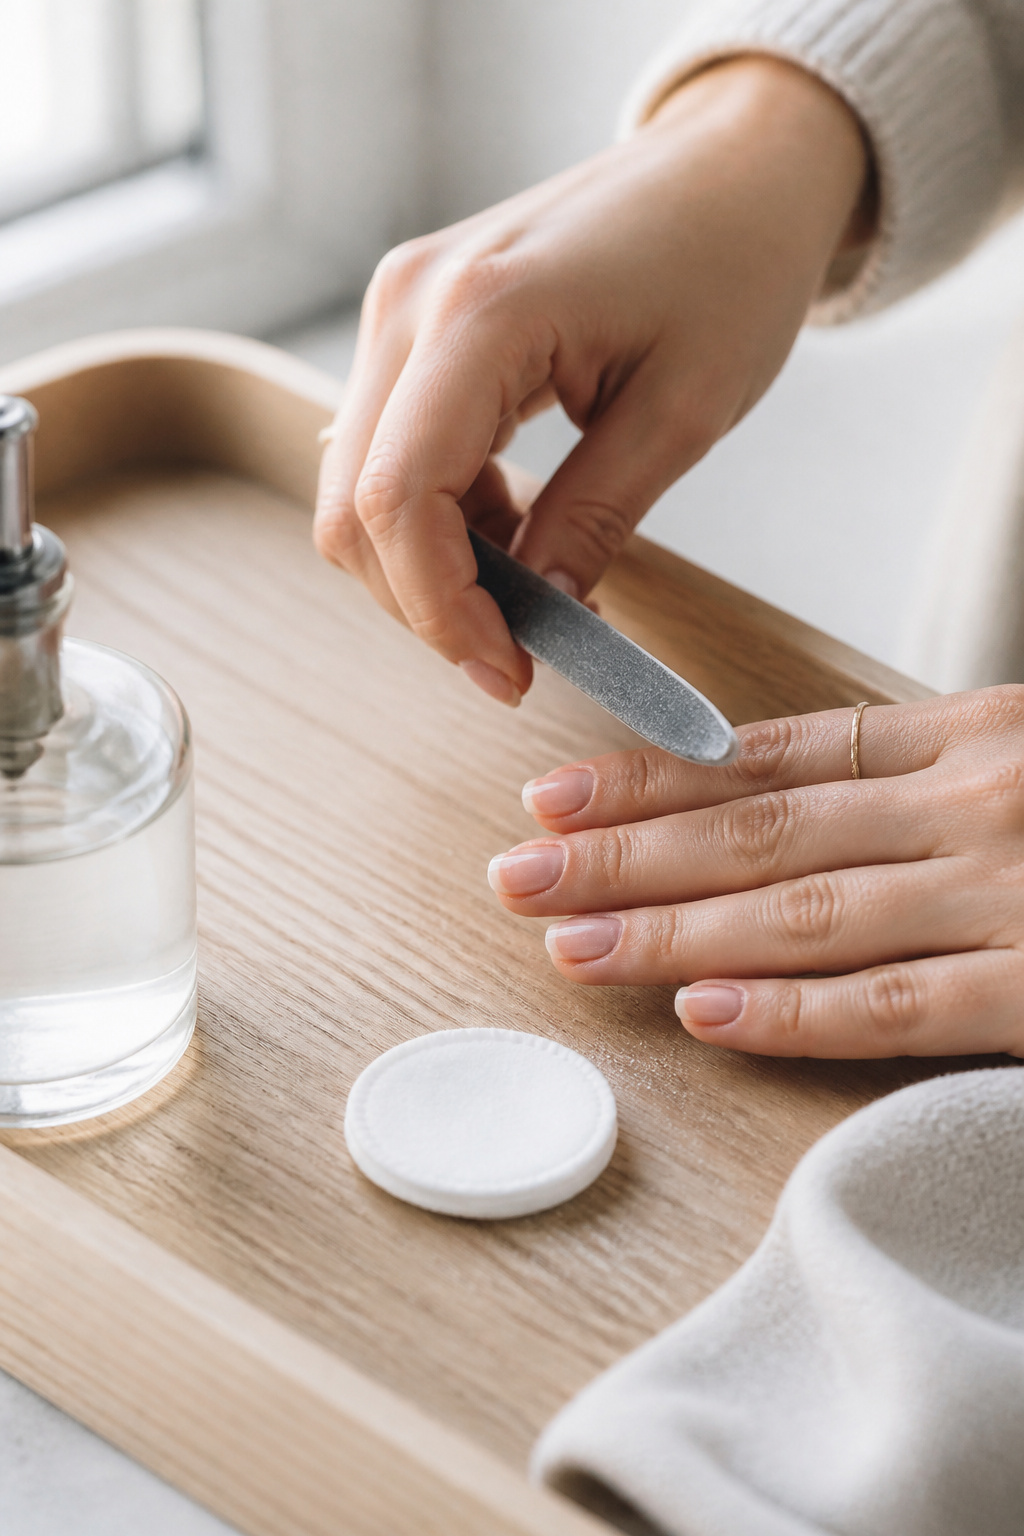

Clean nails are nonnegotiable. File to your desired shape and remove surface oils with Lint free nail wipes acetone-safe. A light buff gives polish something to cling to.
Next, apply a thin, sticky-less base. I use Peel off base coat clear when I want short-term looks and Strengthening ridge-filling base coat for week-long wear. The right base controls bleed and gives an even ground for gradients.
Visual rule: even foundation equals even fade. If you skip dehydration or use a thick base, the ombre will pool and look patchy. Do thin coats; two thin layers beat one thick layer every time.
Common mistake: over-buffing the nail plate. It roughens too much and causes uneven polish absorption. Stop at a soft matte finish.
2. Build the Gradient: Layer Sheer Whites, Not One Opacity


The trick is layering transparency. Start with a thin veil of a sheer white. I alternate Sheer milky white polish 10ml and a slightly denser cream like Creamy opaque white polish 10ml.
For blending, skip the rough kitchen sponge. Use a soft cosmetic sponge or a dedicated Nail blending sponge duo and dab with a light bouncing motion. Work from the tip inward in thin passes, letting each pass dry 30 to 60 seconds.
Visual principle: small increments of pigment create a soft gradient. If you load the sponge, you get polka-dot texture. Do light bounces, not presses.
Mistake people make: sanding the sponge across the nail. That drags pigment and makes lines. Dab, lift, repeat.
3. Blur Lines With a Brush, Then Lock It With Top Coat


A tiny detail changed my results: a soft-tipped synthetic nail art brush to gently feather the wet edge. I use Synthetic round nail art brush size 0. Stroke toward the cuticle once the tip is still tacky to diffuse any harsh dots.
Finish with two thin layers of a glossy top coat like Fast-dry glossy top coat 15ml for shine and a non-yellowing gel top coat like LED cure gel top coat if you own a lamp.
Principle: a smoothing top coat sinks into tiny surface textures and hides sponge marks. Thick top coats hide less; thin even coats work better.
Common error: immediately overcure or overbrush the wet top coat. That drags the gradient. Cure in short increments and keep strokes light.
4. Clean Up, Nourish, Repeat: Finish Like a Pro


Clean edges with a tiny flat brush dipped in Pure acetone nail clean up. Then hydrate cuticles with Nourishing cuticle oil jojoba 10ml. The oil softens any hardened top coat ridges and makes the fade read intentional.
For maintenance, reapply top coat every three to four days and oil nightly. If tips wear, lightly buff the edge and add a thin top coat layer rather than redoing the whole nail.
Ugly truth: at-home ombre will chip faster than a full gel set. The upside is fixing chips is fast if you keep the same sheers on hand.
Common Styling Mistakes to Avoid
Mistake: Loading the sponge with full-strength polish
Why it doesn't work: Creates visible dots and harsh edges.
Do this instead: Thin the polish with a drop on a palette and use Nail polish thinner clear to keep layers thin.
Mistake: Skipping a sticky-free base coat for gel overlays
Why it doesn't work: Pigment bleeds and gaps appear under top coat.
Do this instead: Use No-wipe base coat clear gel for smooth adhesion.
Mistake: Trying to speed-dry with excessive heat or fan
Why it doesn't work: Causes tiny bubbles and uneven finish.
Do this instead: Use a Compact LED nail lamp 48W for controlled cure and avoid heat bursts.
What You'll Need for This Look
Face & Base Essentials
Peel off base coat clear around $6 to $12
Strengthening ridge-filling base coat approx $8 to $18
Lint free nail wipes acetone-safe around $5 to $10
Eyes, Brows & Lips
Fast-dry glossy top coat 15ml approx $6 to $14
LED cure gel top coat around $10 to $22
Synthetic round nail art brush size 0 approx $4 to $12
Clothing Staples
Silk sleep set ivory around $30 to $90
Shoes, Bags & Jewelry
Gold signet ring brass approx $12 to $40
Small leather tray tan around $15 to $50
Budget Swaps
Nail blending sponge duo around $4 to $10
Compact LED nail lamp 48W approx $18 to $45
Shopping Guide for This Look
Time your upgrades: Buy a small LED lamp around Prime Day for best prices. Compact LED nail lamp 48W approx $18 to $45.
Thrift hack: Find a small marble tray at thrift stores and pair it with new tools for an editorial vanity feel. Small marble tray white around $12 to $30.
2025 trend pick: Cream finishes and negative-space fades pair with minimalist jewelry. Try Gold minimalist hoop 14k plated approx $10 to $30.
Splurge vs save: Splurge on a high-quality LED lamp if you plan frequent gel work; save on disposable sponges. LED cure gel top coat around $10 to $22.
Conclusion
Start by mastering one nail: prep, sheer layering, gentle brush blur, and a thin top coat. That single nail will tell you if your technique or tools need tweaking.
A final principle: small, intentional layers read soft and cohesive. Which part of this routine do you want to try first?


