








My friend stopped me in the elevator and said, "You look like you skinned a 90s movie." I had only six products in my bag.
If you want to know how to do 90s makeup without buying a drawer of things, I’ll show you exactly which six pieces I reach for and why they work together. Budget friendly. Fast. Under $60 to start.
This suits anyone who likes lived-in, tonal makeup — warm undertones to neutral cools — and people who prefer cream textures to heavy powder. I noticed search interest for 90s looks spike again on Google Trends recently, so now’s a good time to simplify.
1. Start with the Glow: Skin Prep and Sheer Base


The trick is a skin tint, not full coverage. It keeps the base thin and lets freckles or texture show through, which is the 90s point.
I use a Hydrating skin tint light medium for quick evening and SPF on top days. Dab three dots on the forehead, nose, and chin, then blend with fingertips. The warmth reads like natural skin versus a mask.
Pair with a translucent pressed powder light on the T-zone if you need control. I found a travel-size Translucent pressed powder compact to keep in bags. Powder only where oil shows, not all over.
Mistake people make: applying heavy foundation first. That erases the soft 90s vibe. Instead, tap a light tint and build only where you need coverage.
2. Layer Cream Color in Three Strategic Places
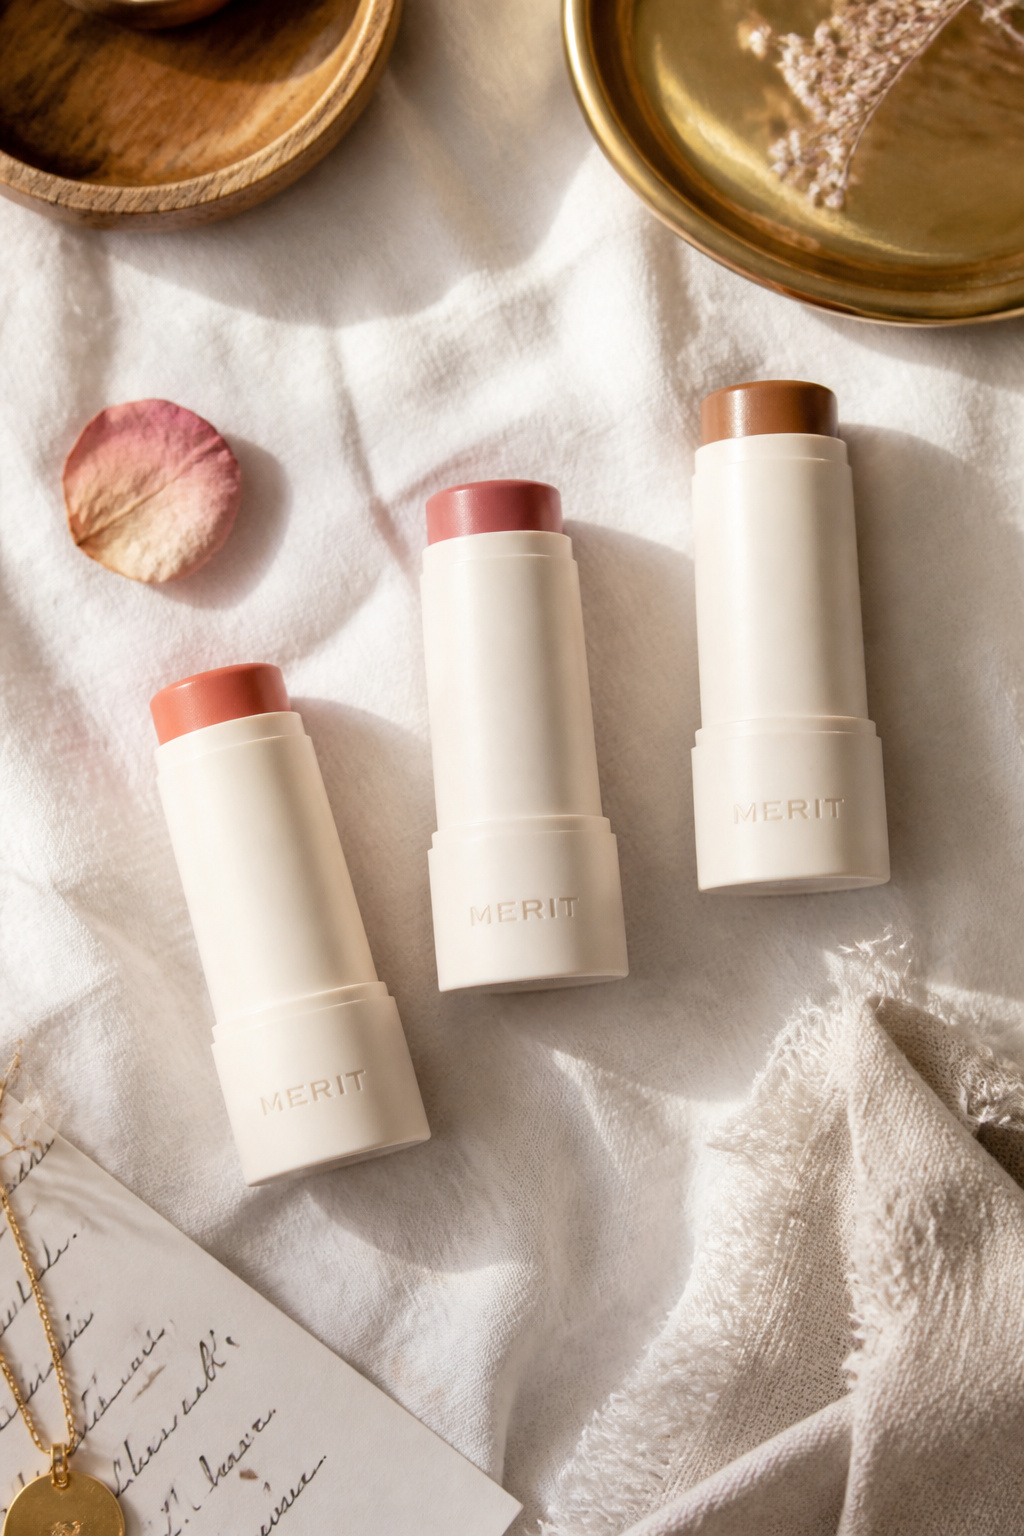

Cream color makes the whole face read youthful without heavy blending. Place color on the cheeks, eyelids, and tips of the lips for that unmistakable 90s tonal look.
My go-tos are a Cream blush stick in warm peach and a Cream shadow stick in caramel brown. Swipe the peach on the high cheekbone and blend with fingers upward toward the temple. Pat the caramel shadow on the lid and blend with the same finger to keep edges soft.
Use a tiny amount of the cream blush on the center of the lips before your lip oil for that blurred, lived-in stain. The visual principle is tonal harmony: one pigment family across three planes ties the look together.
People often over-blend and lose color payoff. Press and pat instead of rubbing. That keeps color placement intentional and not muddy.
3. Define Without Hardness: Soft Eye and Brow Work


Sharp liner was rare in 90s day looks. I sketch a thin brown line close to the lashes with a Brown kohl eyeliner soft brown and then smudge it with my finger.
For brows, a Tinted brow gel deep brown brushed upward gives that brushed but natural look. Fill only sparse spots with short hairlike strokes. The idea is texture over architecture.
Finish with a Lengthening mascara black brown applied mainly at the outer lashes to open the eye without a heavy clump. The visual principle is soft contrast: warm browns around eyes, not harsh black blocks.
A common mistake is drawing a thick black wing. It flattens the face. Keep the definition low and the texture high.
4. Finish with Tonal Lip and Subtle Setting


The final move is a Tinted lip oil maple over the cream blush dabbed on the lips. It looks like a real lip stain from a snack, which is very 90s.
Lock the whole look with a Dewy setting spray misted from arm’s length. One light pass avoids melting your cream colors together too much.
If your skin gets shiny, blot lightly with a tissue rather than piling on powder. The tonal balance stays intact and the makeup reads natural.
Mistake: layering matte powder over cream color. That kills the glow. Let creams stay creamy and set them gently.

Common Styling Mistakes to Avoid
Mistake: Using matte full-coverage foundation first
Why it doesn't work: Erases skin texture and makes color sit on top.
Do this instead: Start with a Hydrating skin tint light medium around $12 to $28 and build only where needed.
Mistake: Heavy black liner on daytime looks
Why it doesn't work: Creates hard edges that age the look.
Do this instead: Use a Brown kohl eyeliner soft brown about $6 to $18 and smudge gently.
Mistake: Powdering cream products into dullness
Why it doesn't work: Removes the dewy, lived-in finish central to 90s makeup.
Do this instead: Set with a Dewy setting spray approx $8 to $24, one light mist.
What You'll Need for This Look
Face & Base Essentials
Cream skin tint light medium around $12 to $28
Cream blush stick in warm peach around $8 to $22
Translucent pressed powder compact light approx $6 to $20
Eyes, Brows & Lips
Brown kohl eyeliner soft brown about $6 to $18
Tinted brow gel deep brown around $7 to $20
Tinted lip oil maple approx $8 to $22
Clothing Staples
Classic white pocket tee medium around $12 to $30
Straight leg high waist dark wash jeans 27 approx $30 to $80
Shoes, Bags & Jewelry
Leather penny loafers tan size 7 around $45 to $120
Leather tote bag tan medium approx $60 to $200
Chunky gold hoop earrings 30mm around $10 to $40
Budget Swaps
Drugstore cream blush stick peach under $8 to $12
Affordable straight leg jeans dark wash 27 approx $20 to $40
Shopping Guide for This Look
Buy seasonally: Stock up on cream products in humid months since they glide on better; try Cream blush stick in warm peach $8 to $22.
Thrift + new mix: Find vintage straight jeans at thrift and pair with a Classic white pocket tee medium $12 to $30 for a modern 90s ratio.
Trend pickup for 2025: Cream textures and soft brow moments are circulating on TikTok this year; get a Tinted brow gel deep brown $7 to $20 to try the look.
Splurge vs save: Save on a Drugstore cream blush stick peach $6 to $12 and splurge on a leather tote bag tan medium $60 to $200 for longevity.
Conclusion
Start with the skin tint and one cream product. That single change gives you the 90s softness without overdoing it.
Keep the colors in the same warm family across cheeks, lids, and lips for cohesion. If you try anything first, try the cream blush stick in warm peach.
Which one of the six products would you buy first?


