

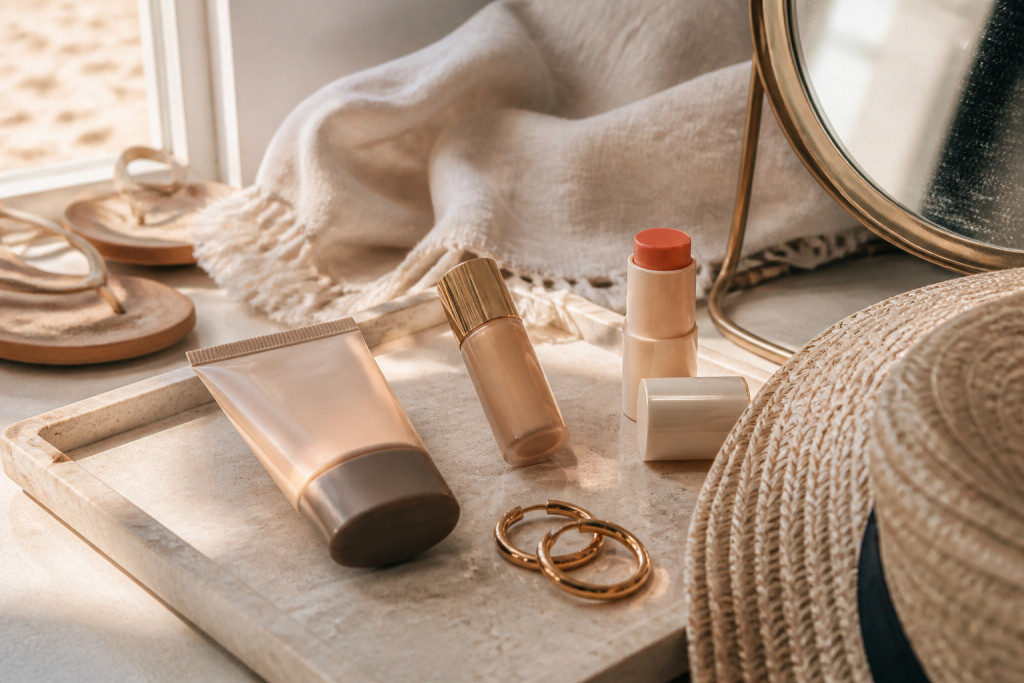

I once wore a full-glam face to the beach and watched it streak into a sand-speckled disaster by noon. If you want to know how to do beach makeup that actually survives heat, sweat, and one accidental dip, this is the routine I now use.
You’ll learn a breathable base, cream color layering, soft eye work that won’t flake, and the one finishing move that saves everything. Budget: around $40 to $150 to build a reliable kit, under $30 to start.
Up to 90 percent of visible skin aging is linked to sun exposure (Skin Cancer Foundation), so this is more than makeup. Reapply sunscreen every two hours and after swimming or sweating (American Academy of Dermatology). That’s the practical backbone of the look.
1. Start with the Glow: Skin Prep and Sheer Base


Start here because sun protection and a breathable base dictate how everything ages and sits on skin.
Apply a mineral tint or tinted sunscreen on damp skin for the most natural finish. I use a thin layer only where bronzing will go and a touch more on cheeks for glow. The mineral filter helps diffuse the sun and reduces midday shine.
Try a Tinted mineral sunscreen SPF 50 around $18 to $36 and a Lightweight skin tint small to medium coverage around $12 to $28. Both let dew show through without sliding.
Visual principle: breathable texture over heavy coverage keeps color from separating when wet. Mistake people make: slapping on thick foundation to “seal” skin. That turns into a cakey strip when you sweat. Do the opposite: less product, better placement. The result reads like real skin on camera and at arm’s length.
2. Layer Cream Color in Three Strategic Places
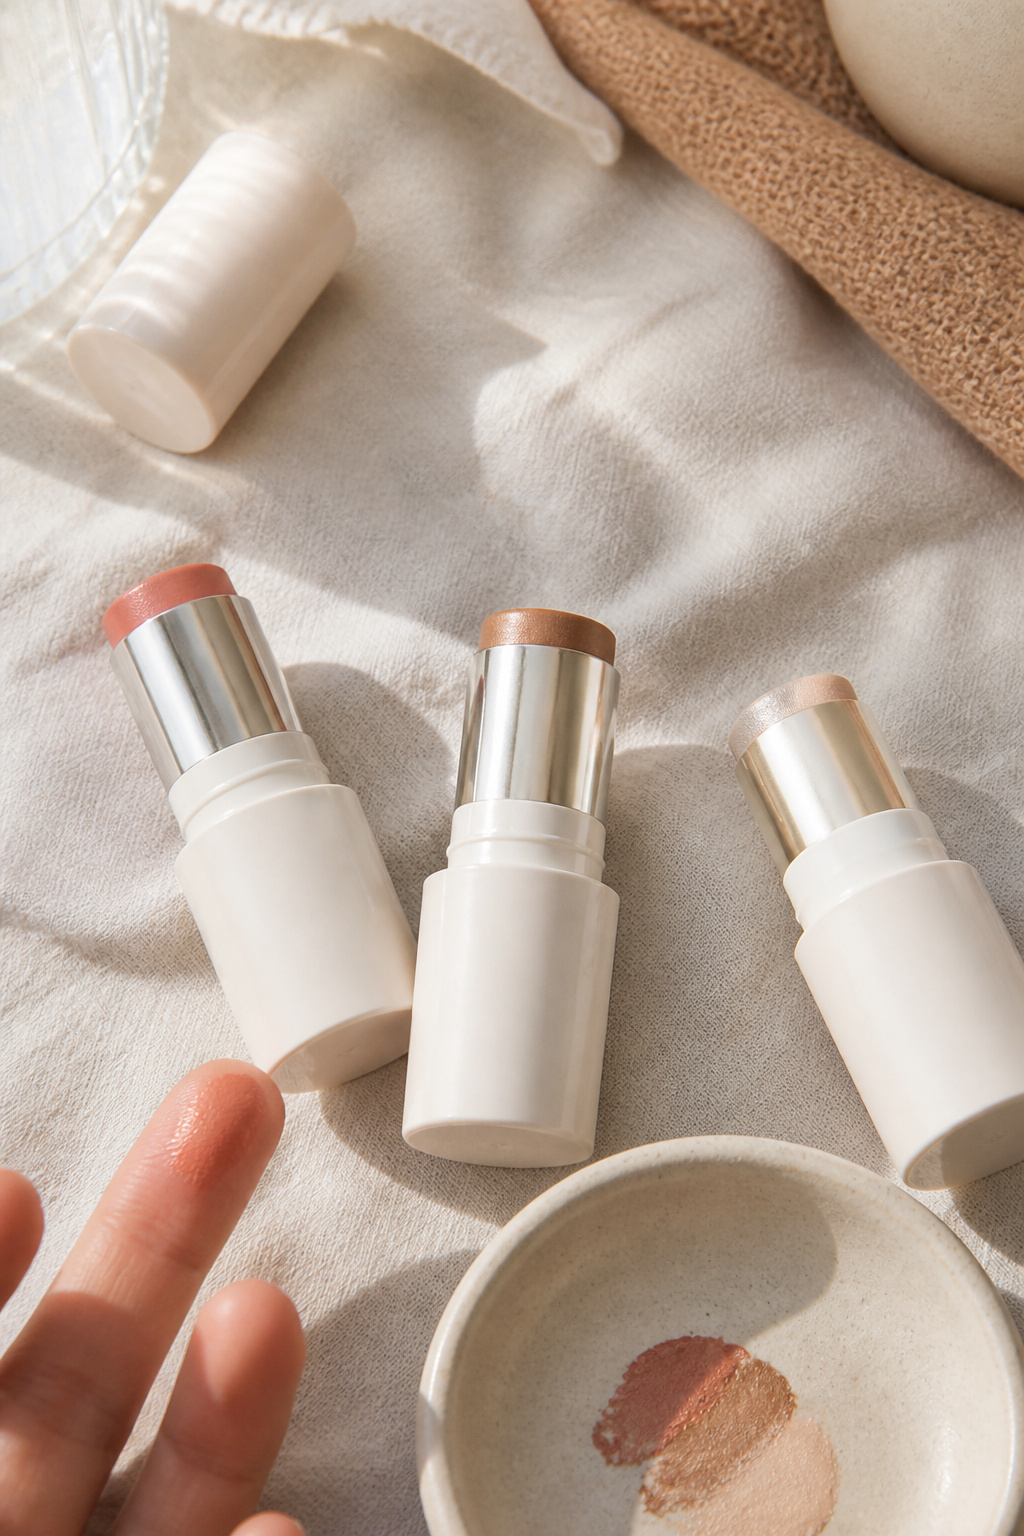

Creams are the beach trick. They sink into skin and move with moisture instead of caking.
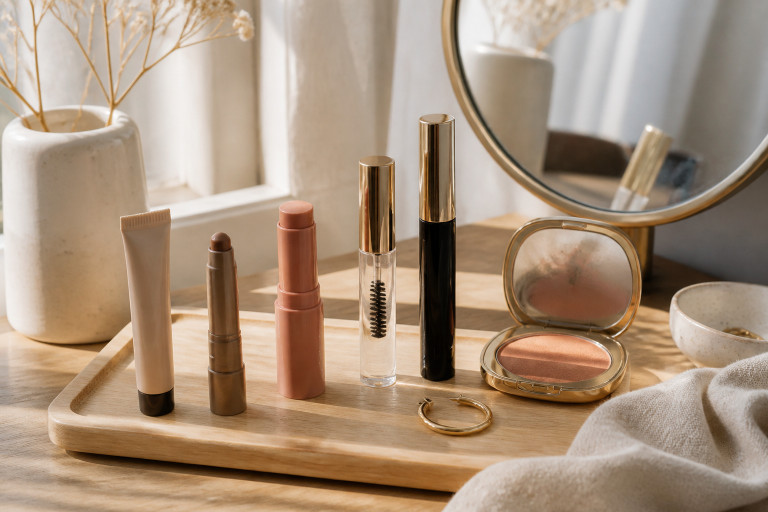
Dab a Cream blush stick in warm peach around $10 to $22 on the high cheekbone and sweep a Cream bronzer stick in warm caramel across the temples and jaw for sun-kissed warmth.
Use fingertips to press product in three spots: apples-plus-high-cheekbone, temple, nose bridge. The visual principle is tonal harmony: one warm family across face reads believable in sunlight.
Common mistake: painting blush on the apple only. That makes you look clownish when you tan. Instead, place color where light naturally hits and blend outward. The final effect is lived-in warmth, not theatrical color.
3. Define Without Hardness: Soft Eye and Brow Work
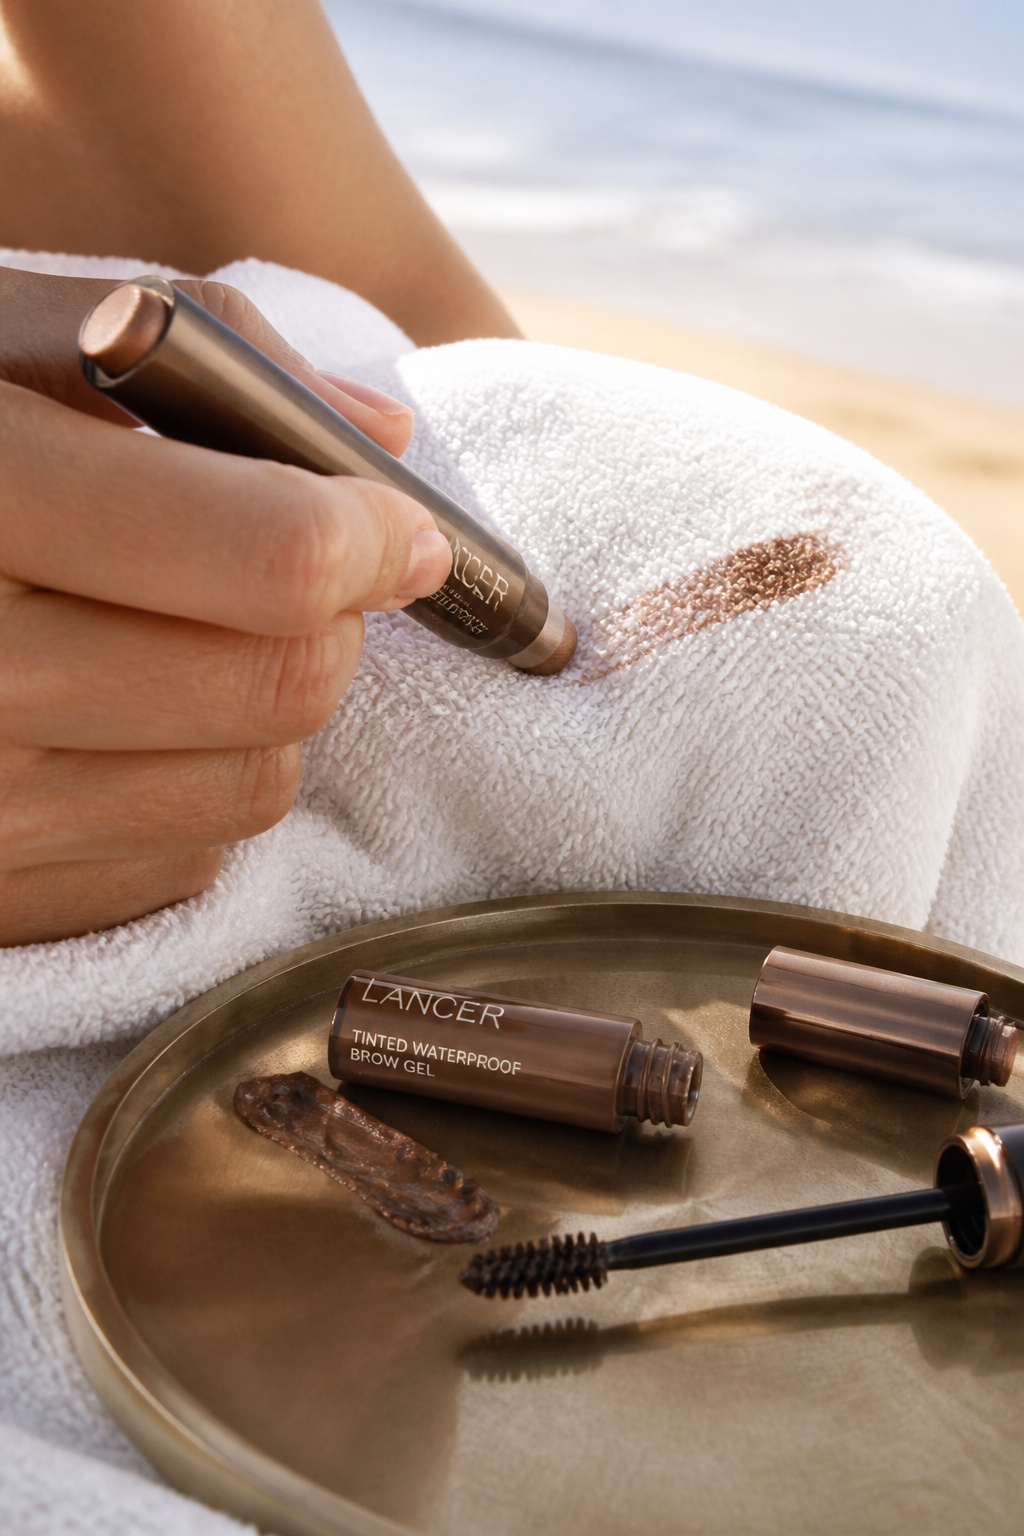

The trick is soft definition that survives water and sweat.
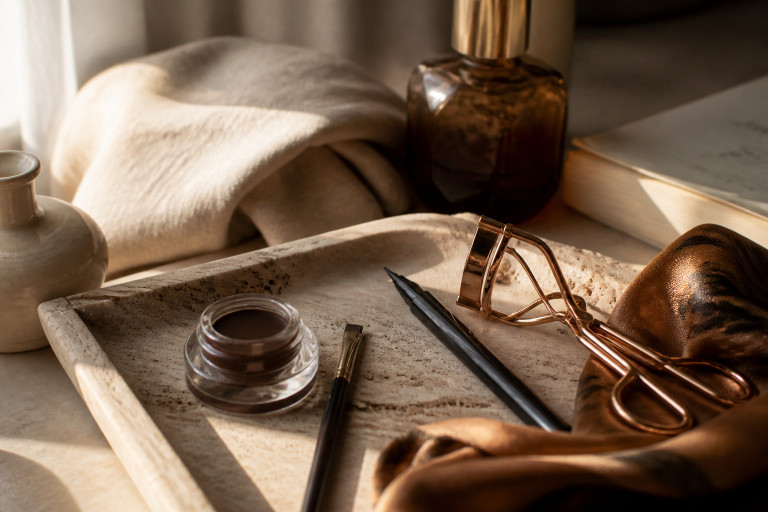
Sweep a cream bronze shadow along the lid and into the outer lash line for depth. Add a quick coat of Waterproof brown mascara around $8 to $20 and set brows with a Tinted waterproof brow gel taupe around $7 to $18.
Why creams work: they meld with skin tones and resist flaking. Color theory: a warm bronze complements sun-kissed skin without competing with cream blush.
People overline and draw sharp wings at the beach. Ugly truth: crisp liner melts into streaks and looks worse than no liner. Do a soft shadow-smudged line with a cream stick instead. The look stays natural while still reading on camera.
4. Finish with Tonal Lip, Setting, and Protective Accessories
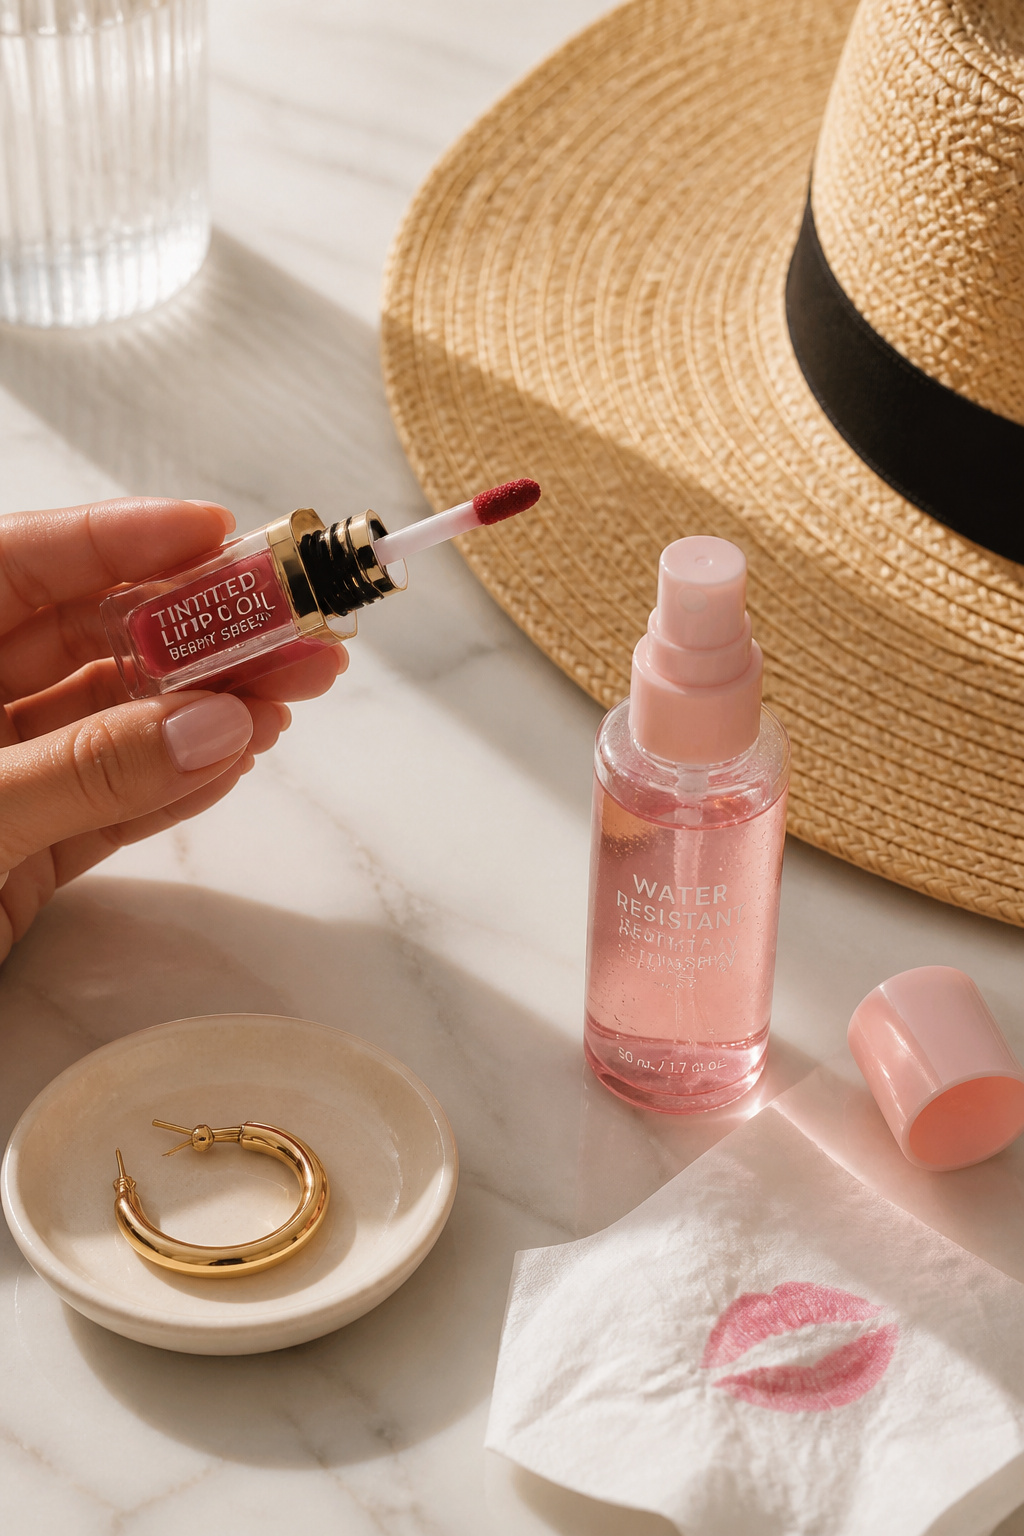

Lock everything with minimal layers so you can reapply as needed.
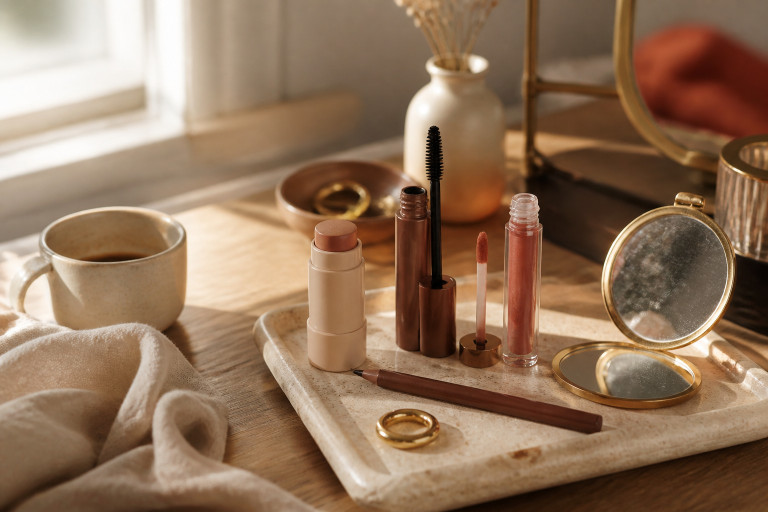
Tap a Tinted lip oil berry sheen around $8 to $20 for hydration and color. Lightly mist a Water-resistant makeup setting spray around $10 to $30 from arm’s length to avoid streaks.
Add physical protection: a wide-brim straw hat and sunglasses to protect the face and preserve makeup.
Visual principle: layer from thinest to most protective. Lip oil on top keeps mouth from cracking. Mist lightly instead of dousing. Common mistake: over-spraying setting spray to “seal” everything. That pools product and drips. A light veil and touch-up with blotting papers is the winning move. You’ll look fresh after a swim and not like a mask.
Common Styling Mistakes to Avoid
Mistake: Skipping SPF under your base
Why it doesn't work: Leaves skin unprotected and makeup fails sooner under UV and sweat.
Do this instead: Use a Tinted mineral sunscreen SPF 50 around $18 to $36.
Mistake: Powdering face until matte
Why it doesn't work: Turns into cakey patches when salt or water hits it.
Do this instead: Blot with an Oil blotting sheets pack around $5 to $12 and press cream where needed.
Mistake: Heavy black eyeliner and layers of waterproof liner
Why it doesn't work: Waterproof pigments flake and look like raccoon eyes after sweating.
Do this instead: Smudge a Cream eyeshadow stick bronze shimmer around $7 to $18 into the lash line for softer definition.
What You'll Need for This Look
Face & Base Essentials
Tinted mineral sunscreen SPF 50 around $18 to $36
Lightweight skin tint small to medium coverage around $12 to $28
Cream blush stick in warm peach around $10 to $22
Eyes, Brows & Lips
Cream eyeshadow stick bronze shimmer around $7 to $18
Waterproof brown mascara around $8 to $20
Tinted waterproof brow gel taupe around $7 to $15
Clothing Staples
Wide brim straw hat natural around $15 to $45
Shoes, Bags & Jewelry
Flat leather sandals tan around $25 to $80
Canvas tote bag natural around $12 to $35
Gold medium hoop earrings plated around $8 to $30
Budget Swaps
Drugstore tinted sunscreen SPF 30 around $8 to $15
Affordable cream blush stick peach dupe around $6 to $12
Shopping Guide for This Look
Plan around sale windows: Buy sunscreen and setting spray during Memorial Day or Prime Day sales; a Tinted mineral sunscreen SPF 50 often drops in price.
Thrift plus new trick: Score a linen coverup or straw hat at thrift stores and pair with a new Canvas tote bag natural around $12 to $35.
2025 trend note: Skinimalism with a glowy finish is still growing; invest in a good Lightweight skin tint small to medium coverage around $12 to $28 and skip heavy foundation.
Splurge vs save: Splurge on a reliable Water-resistant makeup setting spray if you swim regularly; save on cream blush dupe options.
Conclusion
Start with one item: the tinted sunscreen. It protects, blurs, and gives you the soft base that makes every other step easier.
Keep layers thin, focus color where sun naturally hits, and bring blotting papers for quick midday fixes. Which single product would you add to your beach kit first?