






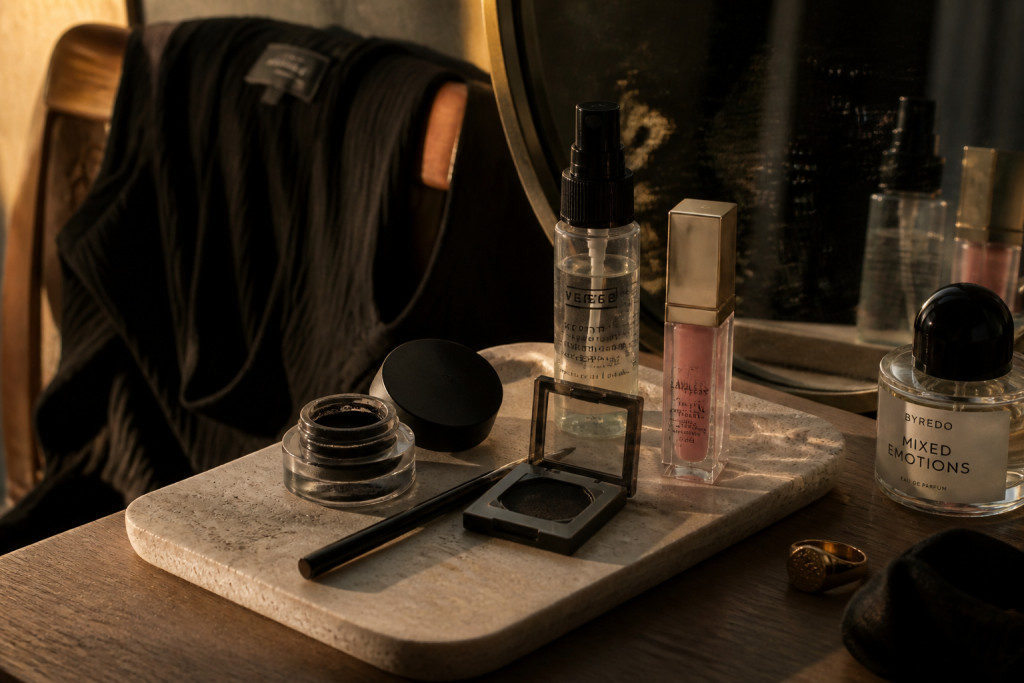

How to do emo eyeliner that stays black, sharp, and smudgy without looking like a raccoon in daylight. I learned this when a wing stayed put through a rainy concert and then softened into the perfect lived-in edge by midnight.
You will get a deep black line, a soft smoky halo, and edges that read graphic on camera but wearable in real life. Start with about $20 to $80 of basics, or $120 if you want pro tools.
Search interest for "emo eyeliner" shows steady spikes in late 2023 on Google Trends, so you are not alone in wanting this mix of precision and grit. I like pairing the look with slightly undone hair and a structured black tee for balance.
1. Start with the Glow: Skin Prep and Sheer Base
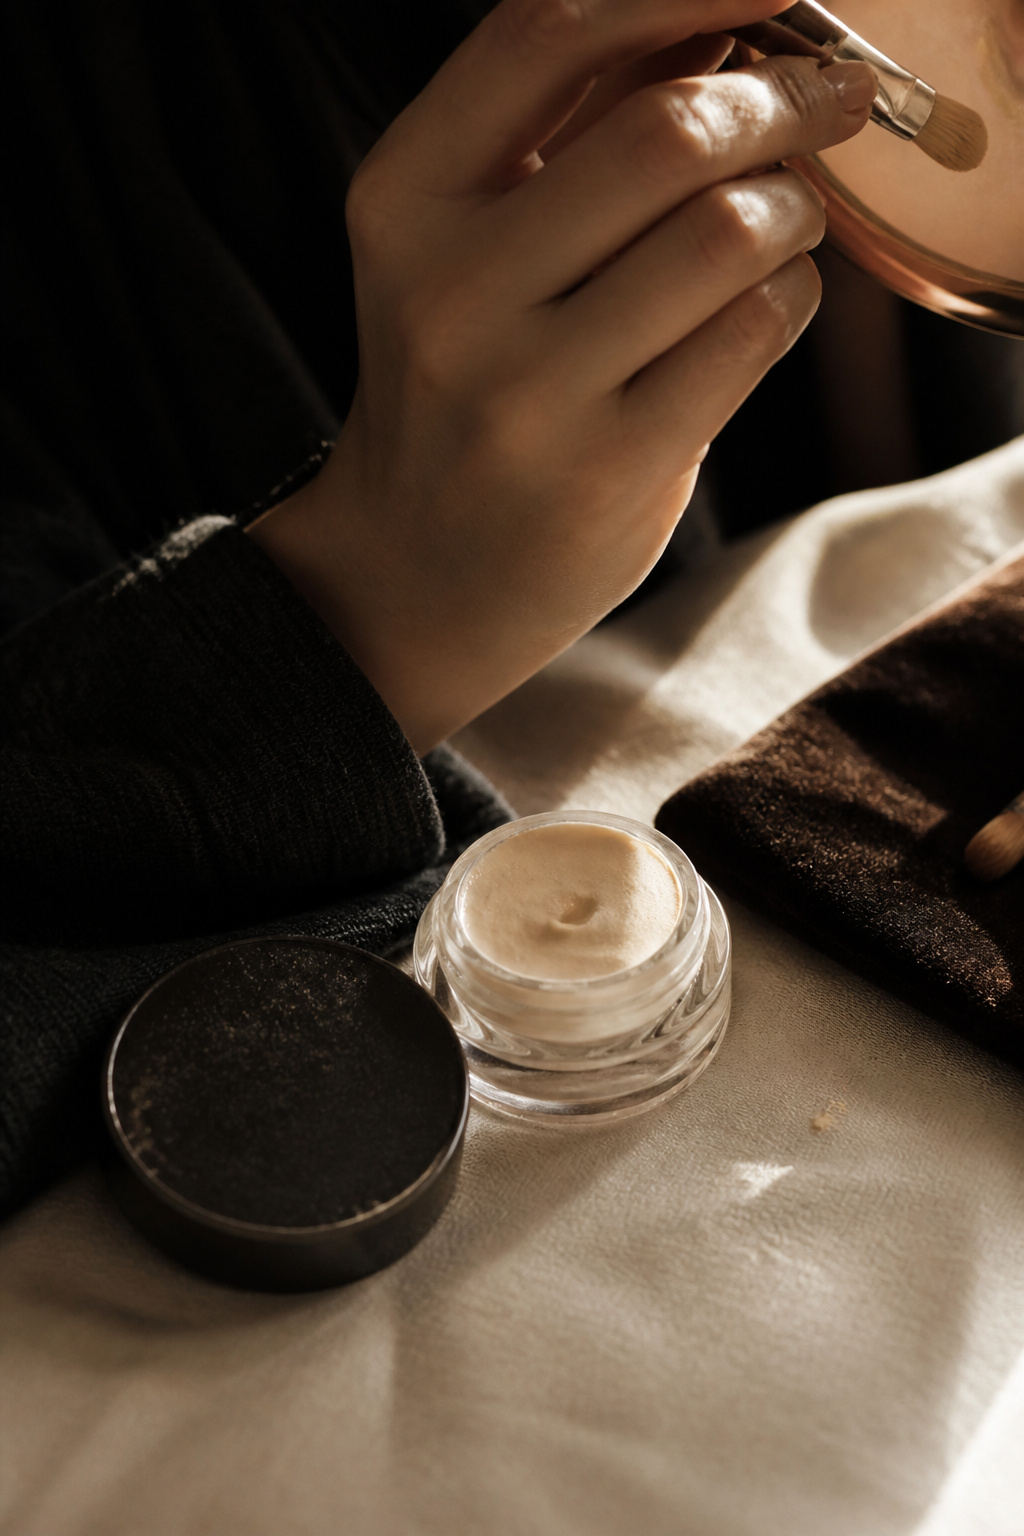

The trick is a clean canvas that lets black eyeliner read sharp. I apply a thin layer of eye primer to stop transfer and a light concealer to even lid tone. Primer also deepens pigment so your black looks richer.
Use an Eyeshadow primer tube around $6 to $20 and a Full coverage concealer wand approx $10 to $24. Light, mattifying powder on the lid keeps cream liners from sliding; try a Translucent setting powder finely milled near $8 to $28.
Visual principle: matte base equals crisp edges. Apply in this order: primer, thin concealer tap, gentle powder press. Most people over-blend concealer and end up with creases. Press product, do not rub. The result is a lid that holds ink and still feels like skin.
2. Layer Ink for Sharpness: Gel Line Then Pen
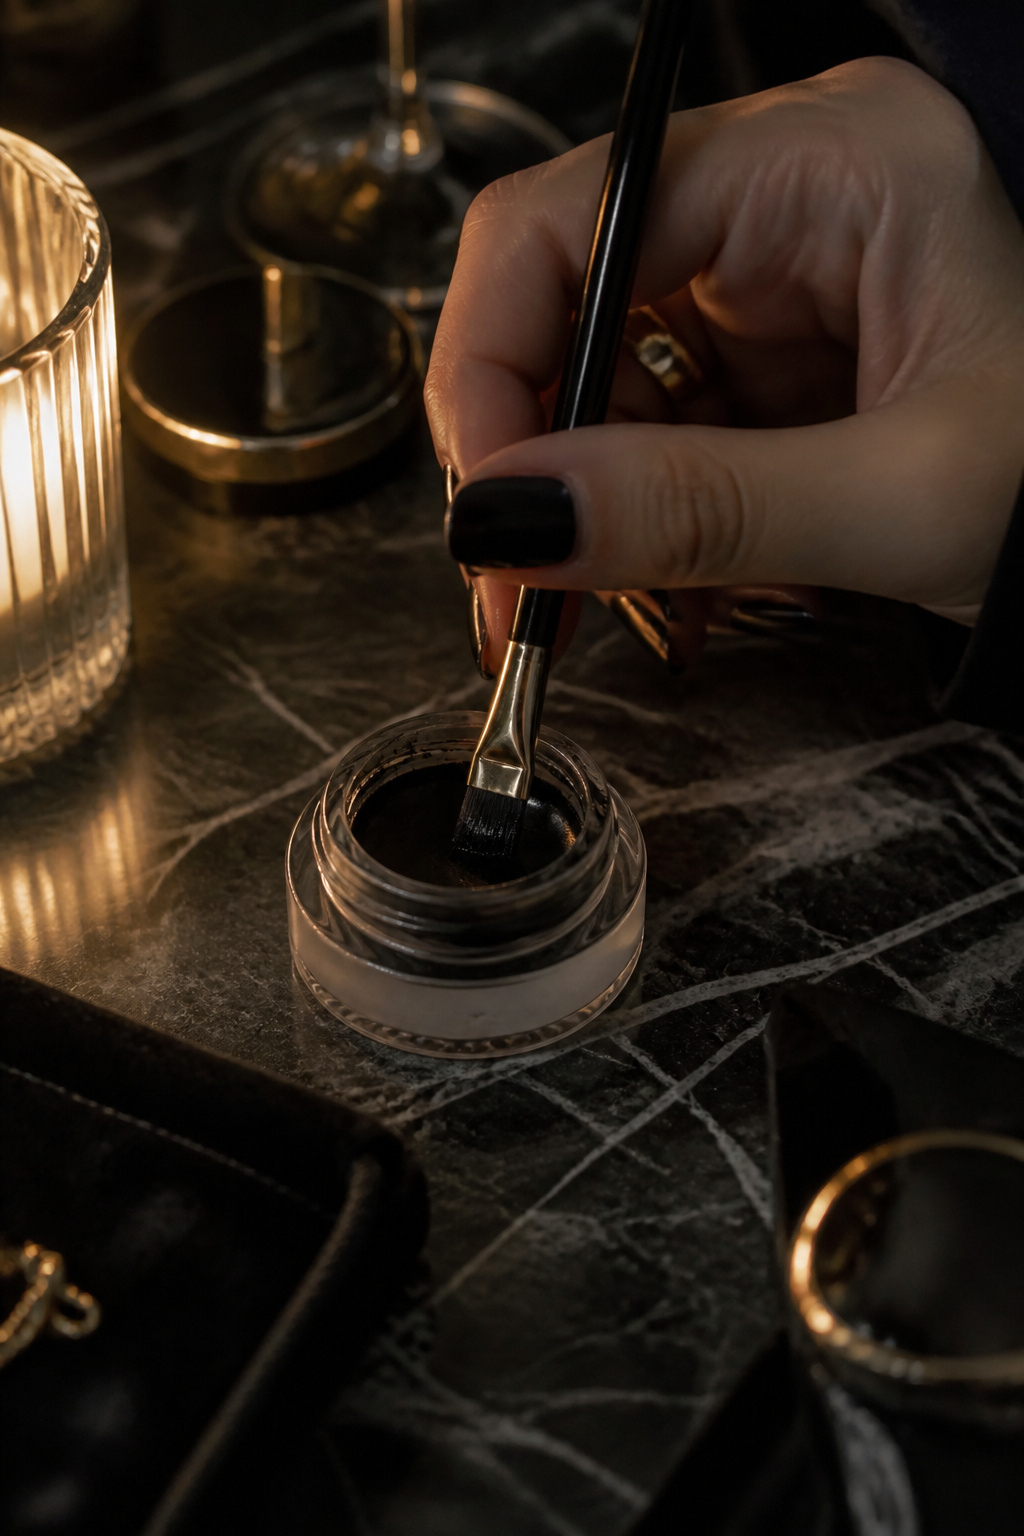

Start with a Black gel eyeliner pot around $6 to $22 because gel lays down dense color and lets you sculpt. Use a Small angled eyeliner brush approx $5 to $18 to paint a clean line close to the lashes.
Then trace over the outer edge with a Longwear liquid eyeliner pen black $8 to $24 for crispness. The gel gives depth while the pen sharpens the wing.
Visual principle: layer contrast. Dense matte base with a precise tip reads both graphic and rich. Common mistake is relying only on a pen which can skip or drag. Do gel first, pen second, and keep a cotton swab and micellar water nearby to clean the edge before it sets.
3. Make It Smudgy Without Losing Shape: Powder and Smudger
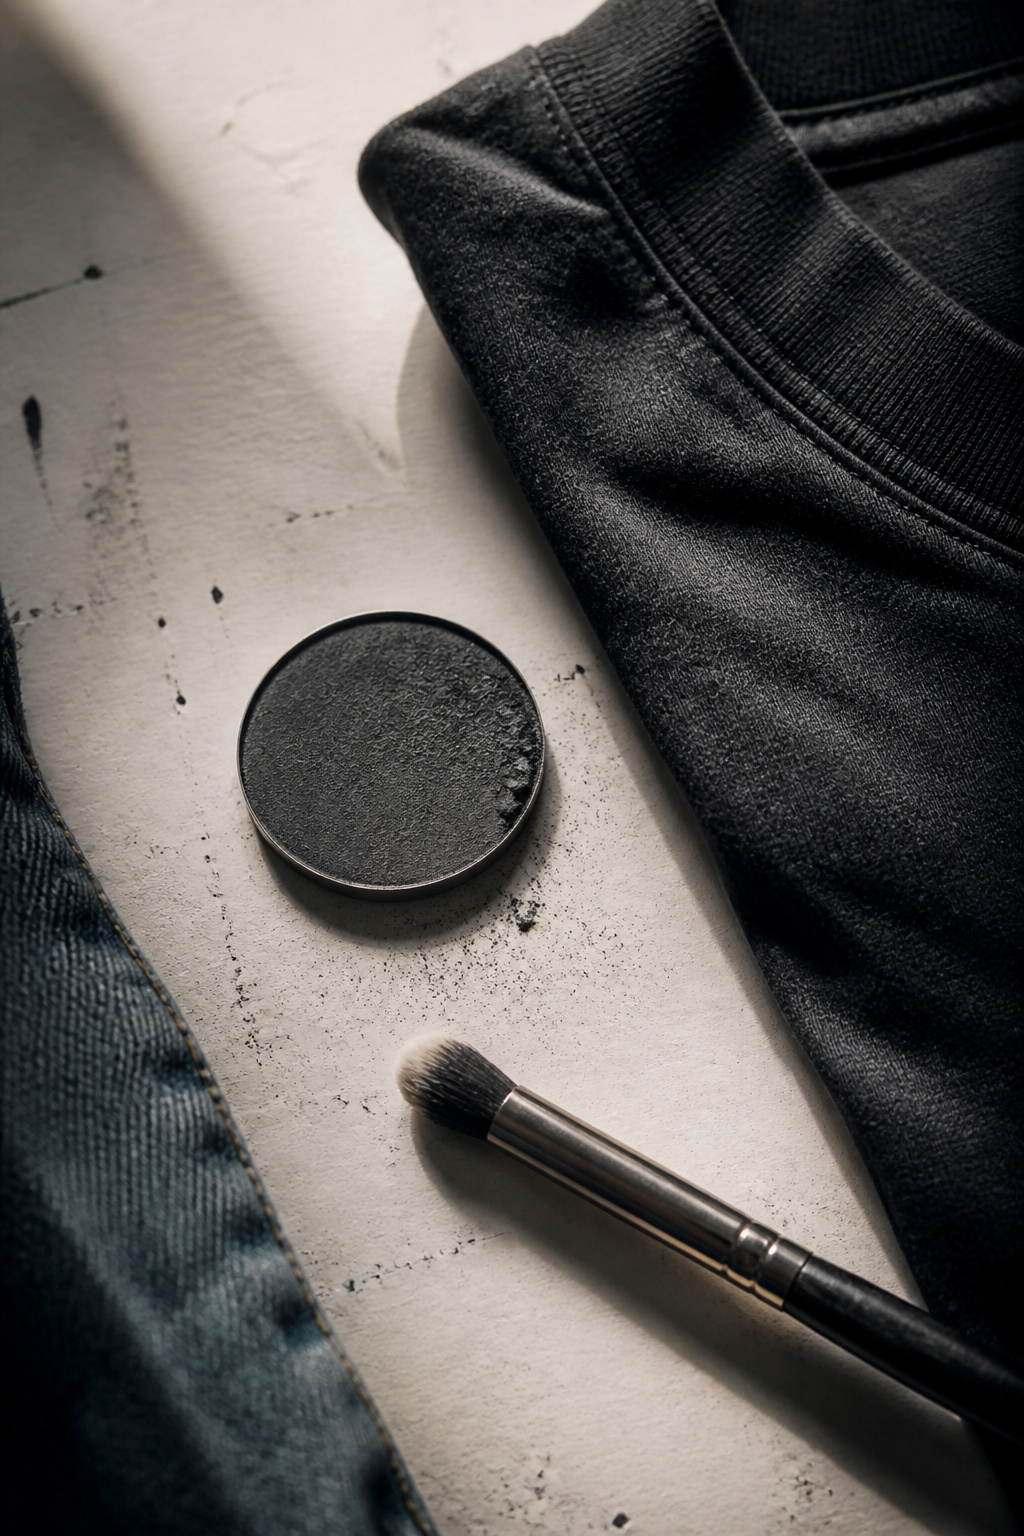

This is where the emo look becomes wearable. Smudge the lower lash line and the outer wing with a Matte black eyeshadow pan $4 to $18 using a Dense smudge brush about $6 to $14. Tap the brush into the gel line while it is still tacky for a halo that fades outward.
Then set everything with a light spritz of Makeup setting spray matte finish $8 to $24 so the powdered edge keeps depth but does not migrate.
Visual principle: softened contrast. The black stays rich at the root and diffuses at the edge. Mistake to avoid is heavy-handed smudging. If you blend too far, you lose the graphic feel. Smudge close to the lash and let it feather naturally.
4. Balance With Tonal Lip and Subtle Fixes
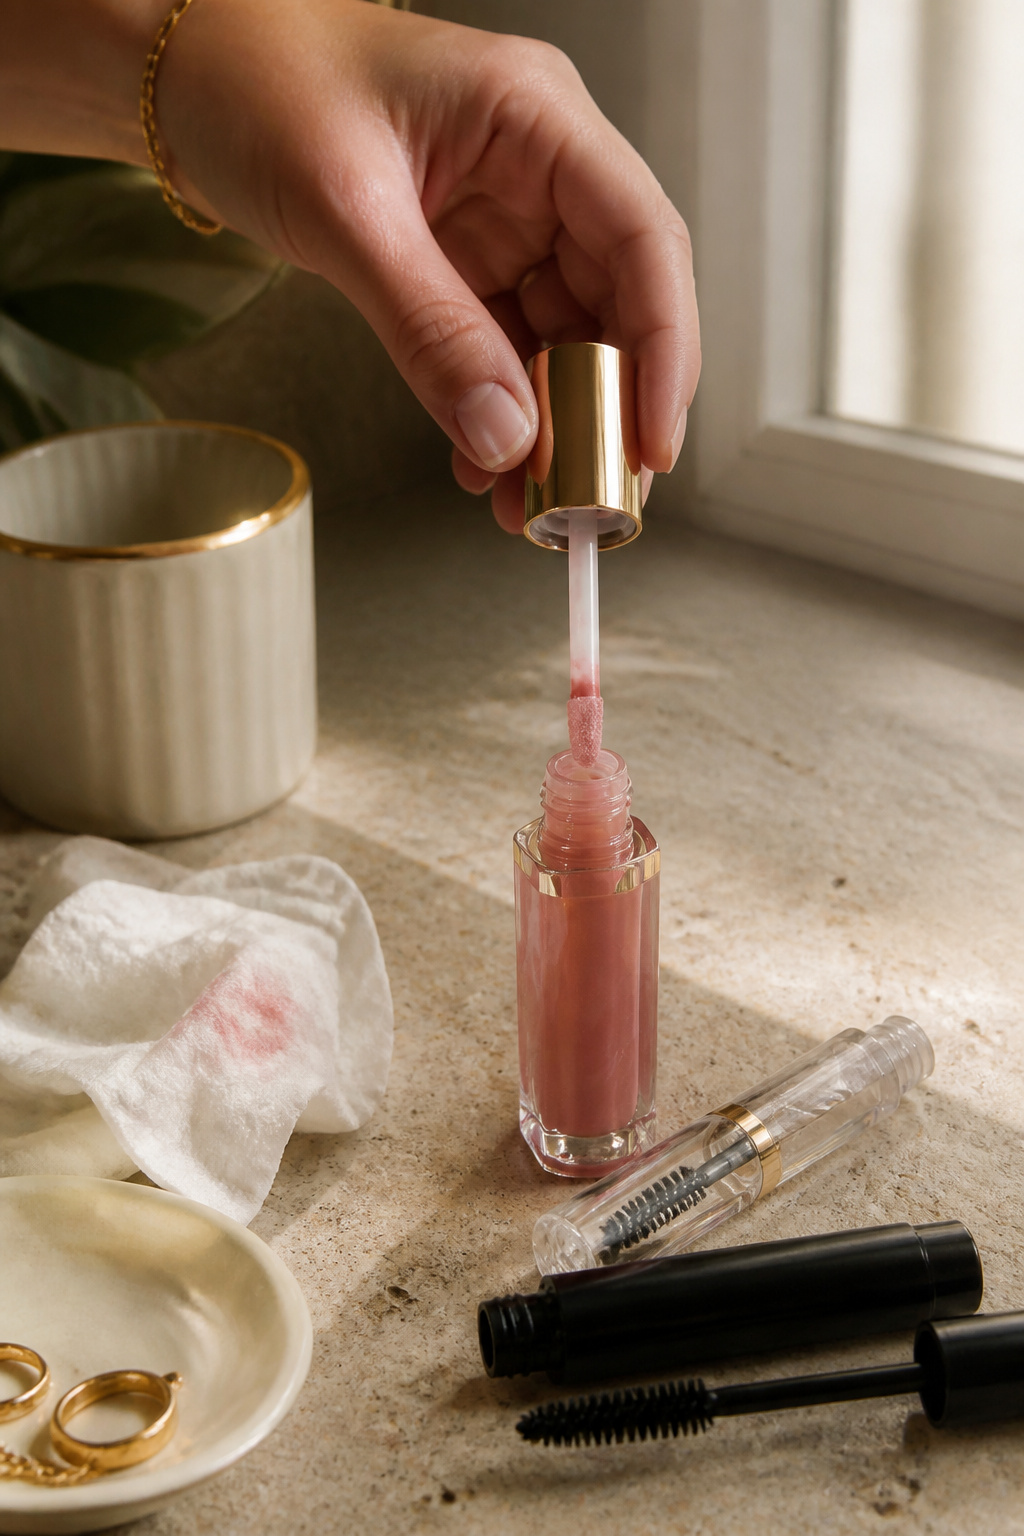

An emo eye reads best with a tonal, understated lip. I swipe a Tinted lip oil pale rose $6 to $20 and clear the brows with a Clear brow gel $5 to $18 to keep the focus on the eyes.
Finish lashes with a Volumizing mascara waterproof black $7 to $24. If you want a grungier touch, add a Black kohl pencil for the waterline $3 to $12, but smudge it immediately so it reads lived-in.
Visual principle: tonal balance. A soft lip prevents the look from feeling heavy. People overdo heavy lips with intense liner and end up theatrical. Keep lips sheer and let the eyes do the talking.
Common Styling Mistakes to Avoid
Mistake: Skipping lid primer
Why it doesn't work: Liner fades and transfers, blurring edges.
Do this instead: Use an Eyeshadow primer tube to lock pigment.
Mistake: Smudging before the liner sets
Why it doesn't work: You lose the sharp root and end up muddy.
Do this instead: Smudge the outer edge with a Matte black eyeshadow pan while the gel is tacky.
Mistake: Applying thick mascara clumps to "balance" bold liner
Why it doesn't work: Clumps read messy next to a crisp wing.
Do this instead: Use a Volumizing mascara waterproof black and comb through with a clean spoolie.
What You'll Need for This Look
Face & Base Essentials
Eyeshadow primer tube around $6 to $20
Full coverage concealer wand approx $10 to $24
Translucent setting powder finely milled around $8 to $28
Eyes, Brows & Lips
Black gel eyeliner pot around $6 to $22
Small angled eyeliner brush approx $5 to $18
Matte black eyeshadow pan about $4 to $18
Volumizing mascara waterproof black $7 to $24
Tinted lip oil pale rose around $6 to $20
Clothing Staples
Black ribbed tee cotton slim fit approx $12 to $30
Straight leg high waist dark wash jeans $25 to $70
Shoes, Bags & Jewelry
Chunky black combat boots leather look $30 to $120
Gold signet ring small $8 to $40
Mini leather crossbody bag black $20 to $80
Budget Swaps
Gel eyeliner pot drugstore black $4 to $10
Tinted lip balm dupe pale rose $3 to $12
Shopping Guide for This Look
Buy when waterproof seasonal drops happen: Shop volumizing mascara waterproof black around holiday sales for best value.
Thrift the tee, splurge on the liner: Mix a Black ribbed tee cotton slim fit thrift find with a new Black gel eyeliner pot $6 to $22.
2025 trend hack: Smoky graphic eyes pair with soft, glossy lips. Try a Tinted lip oil pale rose during spring launches.
Splurge vs save: Splurge on a reliable Longwear liquid eyeliner pen black if you need daily sharpness, save on a Matte black eyeshadow pan.
Conclusion
Start with one element you can practice quickly. For me that was the gel pot and angled brush; it changed everything.
The core idea is contrast: dense black at the root and a soft fade at the edge. Which part of the process do you want a deeper tip on first?


