






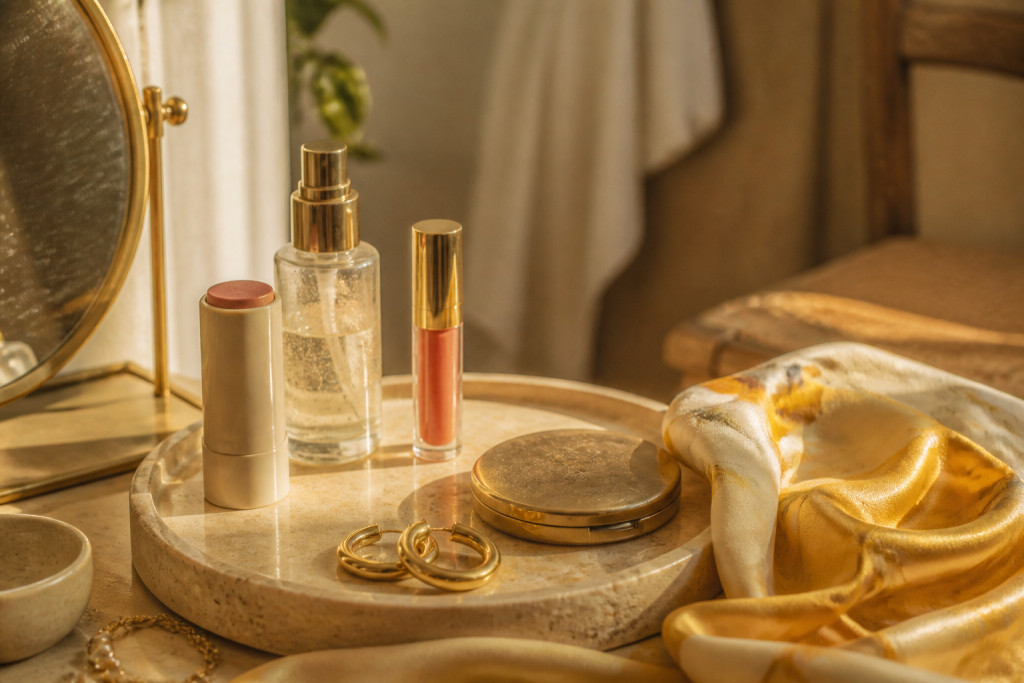

My Haldi looked bright in person and patchy in every photo. I learned how to do haldi makeup at home the hard way: too much powder, uneven turmeric tint, and a flash that turned my face blotchy.
After a few trial runs and one full redo before family arrivals, I nailed a look that reads warm and even on camera. This guide shows the exact products and placement to try at home, budget around $30 to $120 depending on swaps.
A clean, tonal Haldi vibe—soft glam with lived-in texture—works best. This suits warm undertones and anyone who wants a photo-friendly, dewy finish. I’ve noticed cream textures and tonal layering becoming the go-to for 2025 events.
1. Start with the Glow: Skin Prep and Sheer Base
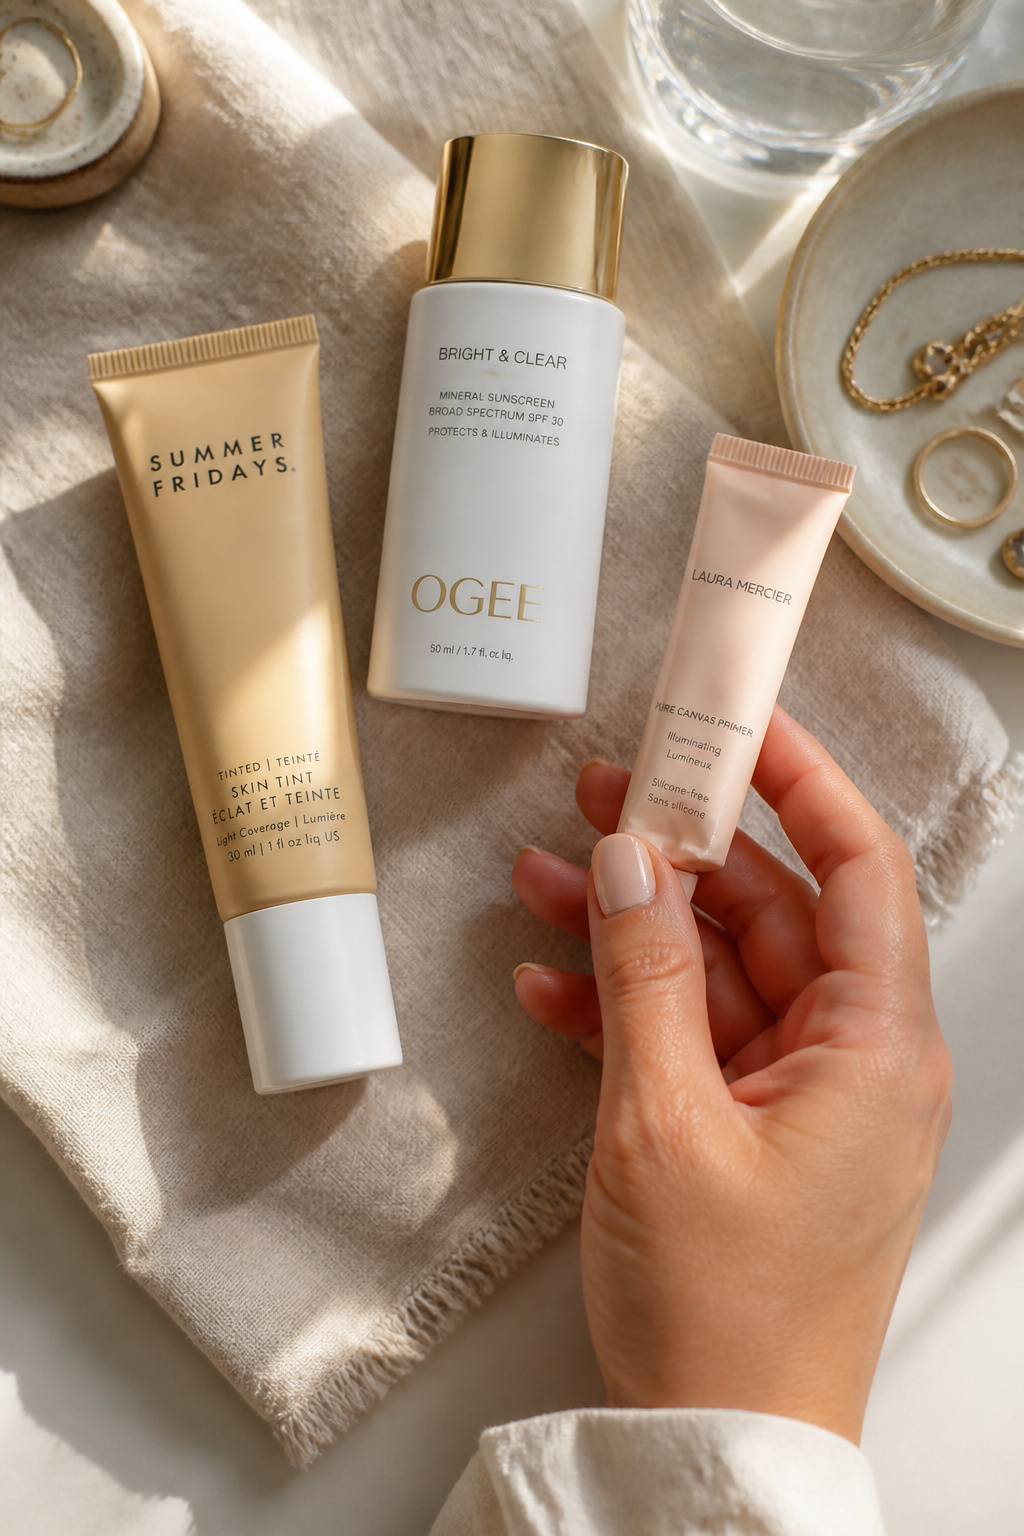

Begin with skin that reflects light rather than wears makeup. The trick is a thin, even skin tint plus a non-white-cast sun product to avoid flashback in photos.
Try a Hydrating skin tint medium around $18 to $30 and a Sheer tint mineral sunscreen approx $12 to $28. Apply tiny dots, blend outward with a damp sponge.
Visually this keeps the face luminous and avoids patchy coverage where turmeric meets foundation. Use a light, radiant primer to blur texture and give a tack for creams, like Radiant primer glow around $15 to $32.
Ugly truth: heavy mattifying powder creates patchy Haldi stains. Instead keep coverage sheer and layer creams only where you need color.
2. Layer Cream Color in Three Strategic Places
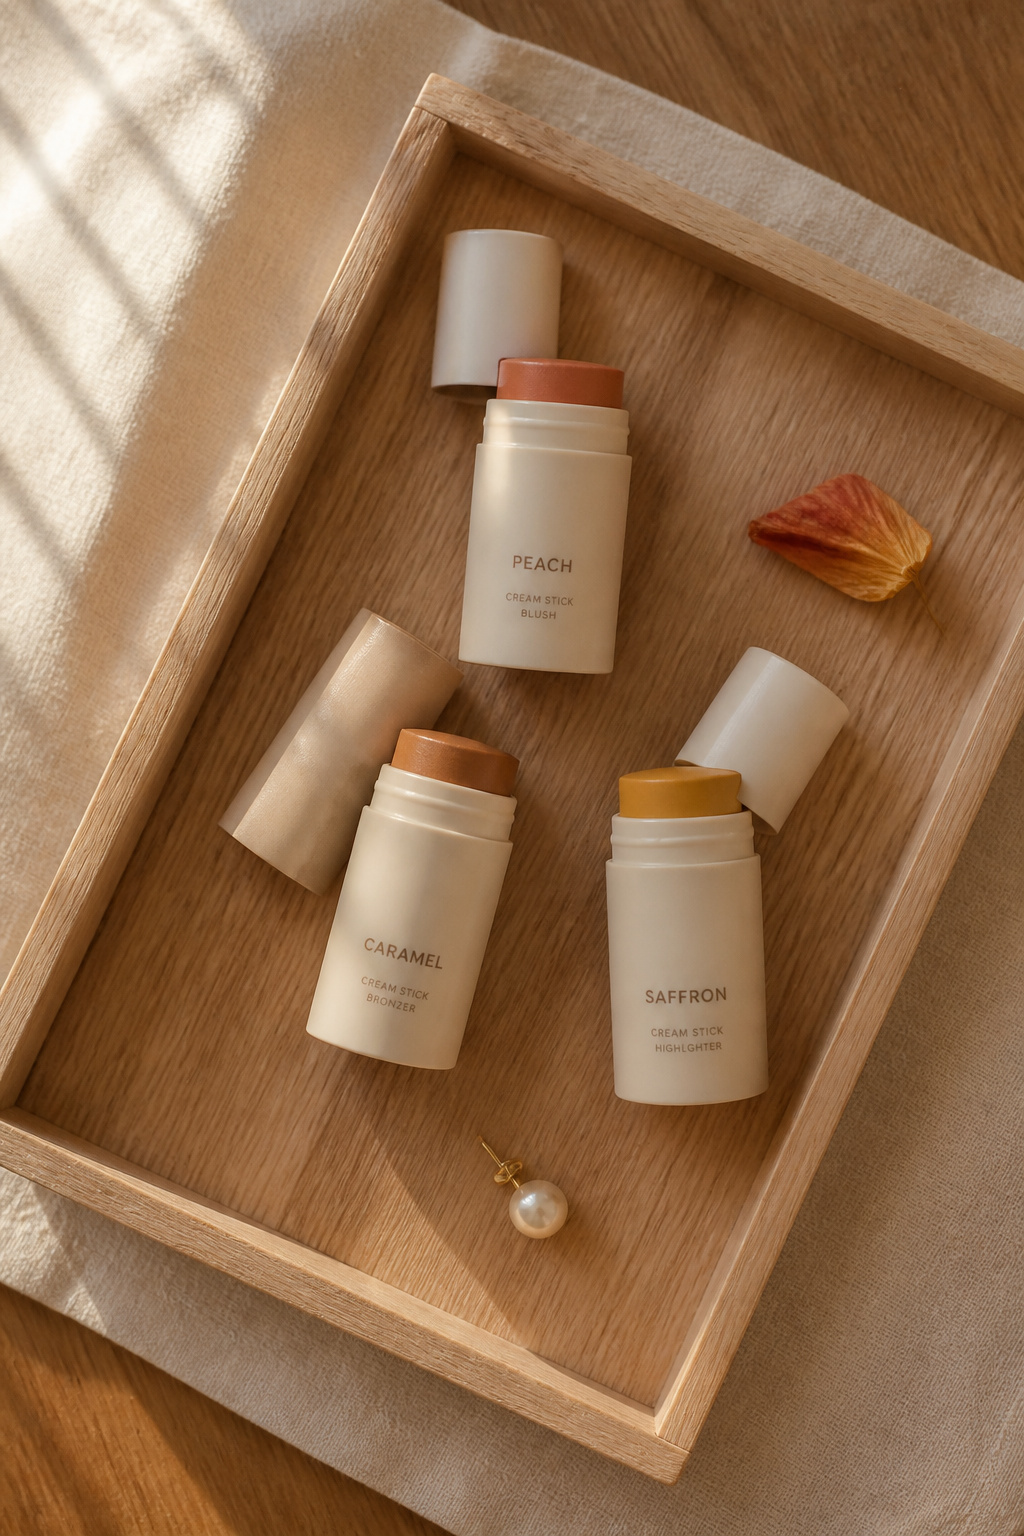

The visual shorthand for Haldi makeup is warm, even color. I place cream color on the cheekbone, temple, and jawline to mimic turmeric’s natural spread without streaks.
Use a Cream blush stick in warm peach around $12 to $24 and a Cream bronzer stick warm caramel approx $10 to $22. Tap with fingertips, then press with a small sponge like Mini stipple sponge around $6 to $12 for seamless finish.
The principle: tonal layering. Matching undertones across cheek, temple, and jaw creates a cohesive wash. Blend edges outward so color reads natural in photos.
Common mistake: swiping products in straight lines. Do small dots and press. That avoids streaks and visible product lines.
3. Define Without Hardness: Soft Eye and Brow Work
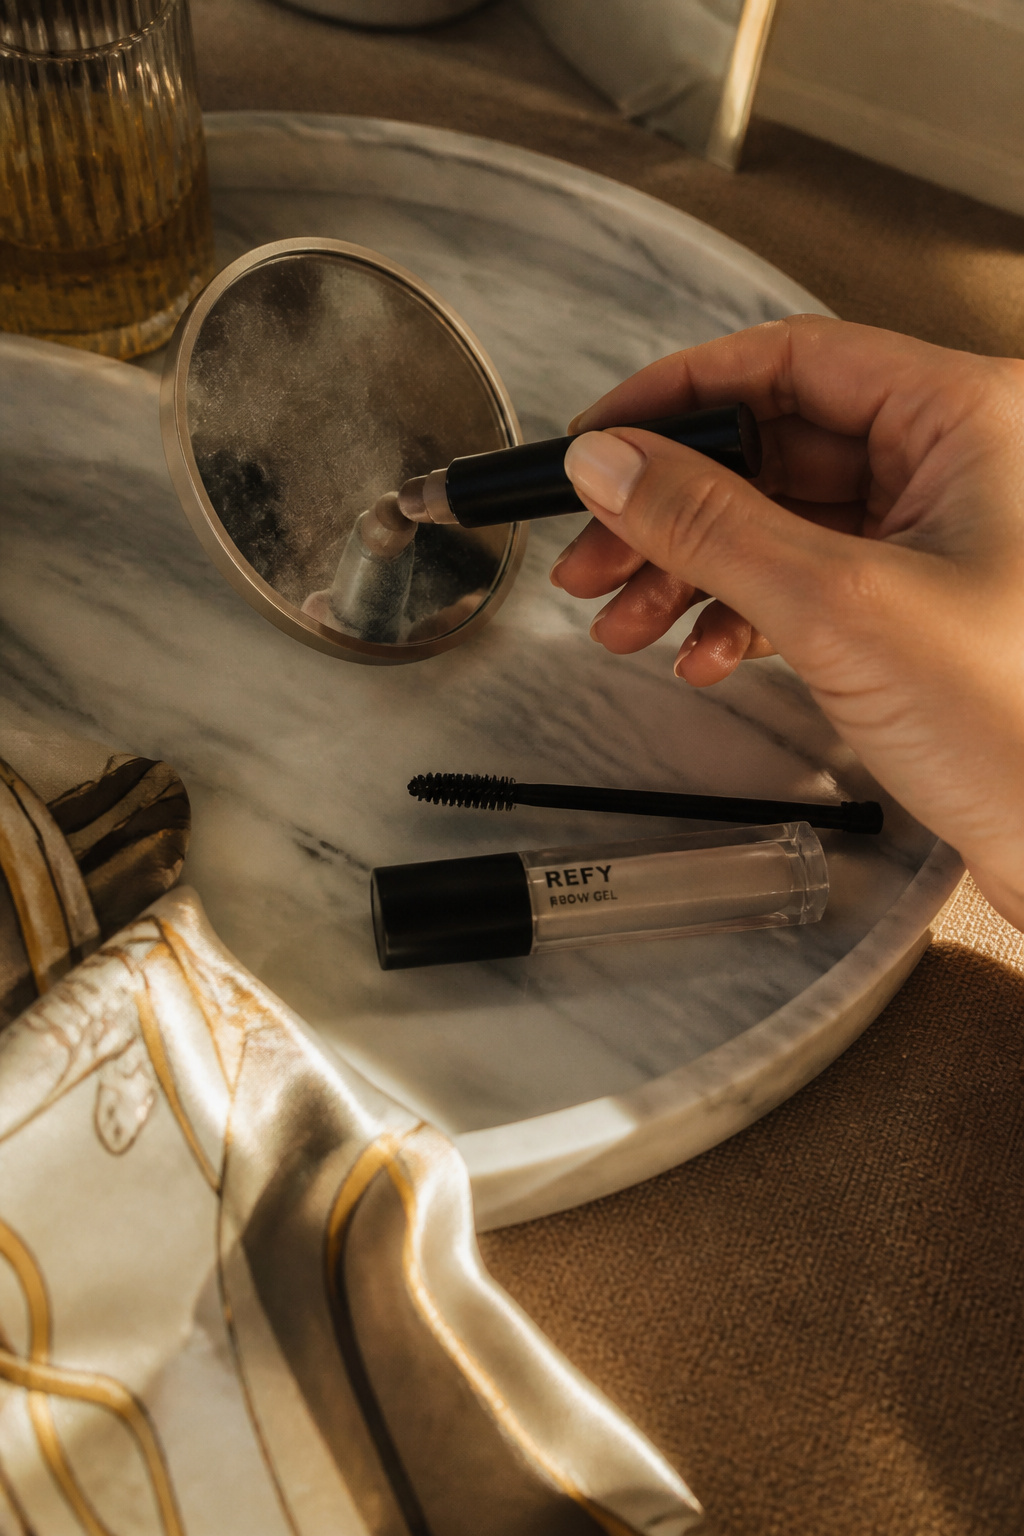

Sharp eyes can read harsh against warm Haldi tones. Keep everything soft and tonal so photos stay flattering.
Sweep a Cream eyeshadow stick warm amber approx $8 to $18 across the lid, then tap out the edges. Set lightly with a matching powder only in the socket if needed.
For brows, use a Tinted brow gel brown around $8 to $20 to groom and add hairlike strokes. Finish lashes with a Brown lengthening mascara approx $6 to $20.
Ugly truth: black liner creates too much contrast. Replace with brown shadow or smudged liner to keep the face warm and photo-ready.
4. Finish with Tonal Lip and Subtle Setting
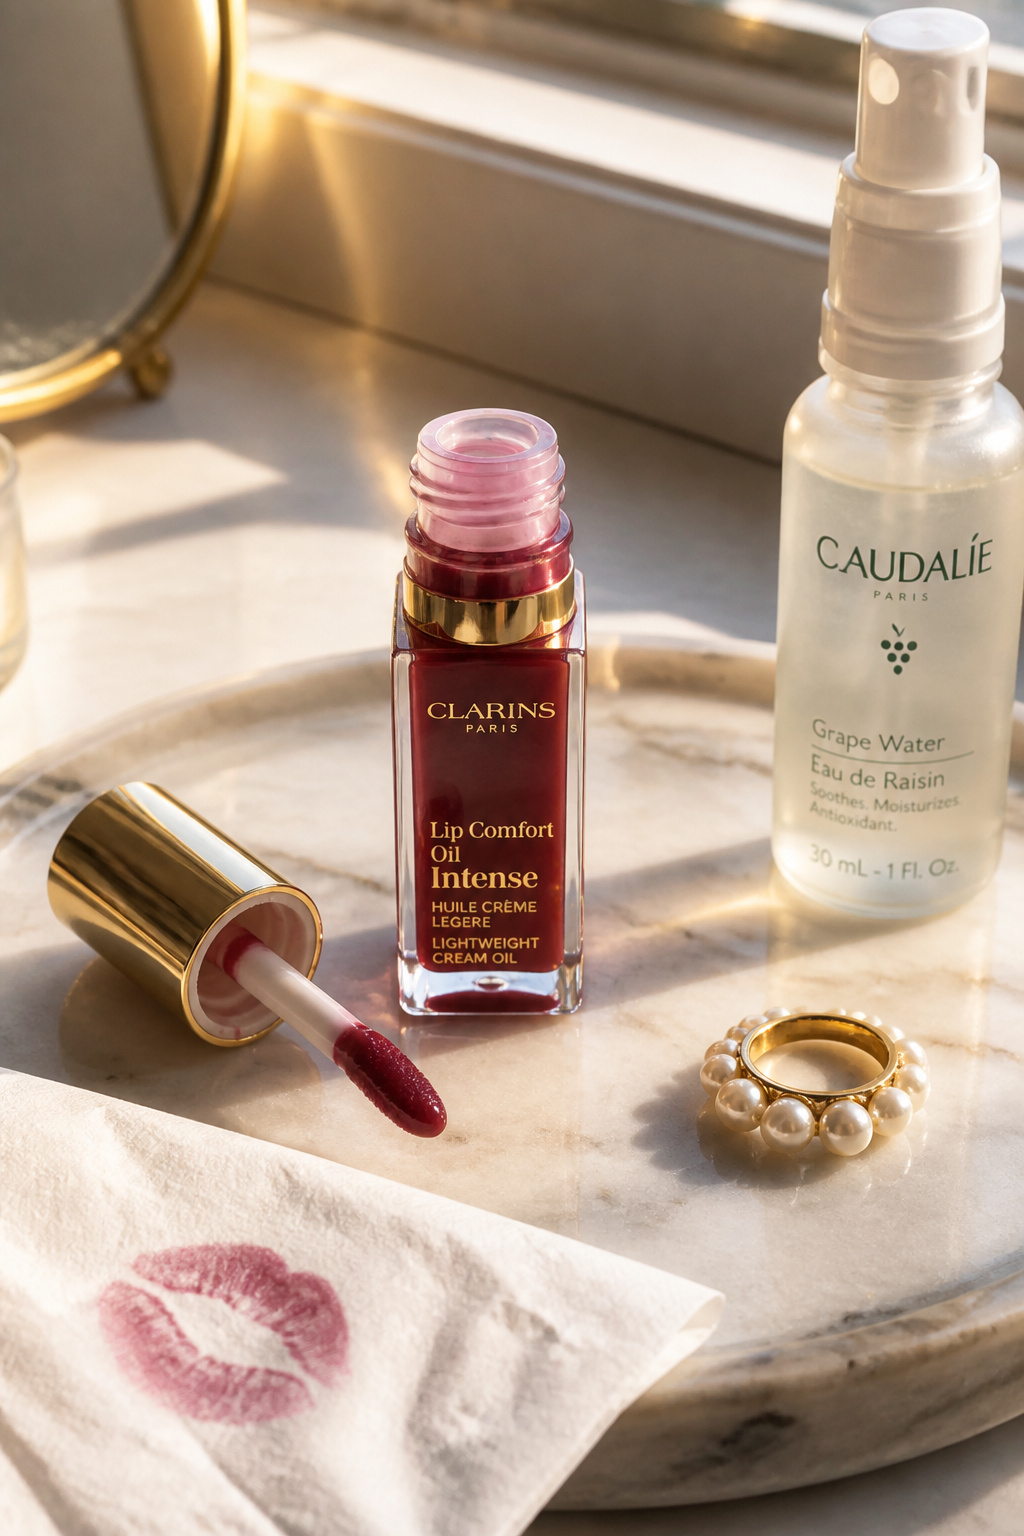

A tonal, hydrated lip keeps the look cohesive. I pick a sheer stain or lip oil that echoes cheek color for a pulled-together result.
Use a Tinted lip oil sheer berry around $8 to $20 and a Dewy setting spray luminous approx $10 to $28. Lightly mist from arm’s length.
Powder only where needed. A small dusting of Translucent finishing powder light medium around $6 to $18 on the T-zone prevents shine without flattening cream colors.
Ugly truth: SPF-heavy foundations can cause flashback. Keep SPF in a sheer sunscreen, not a thick base.
Common Styling Mistakes to Avoid
Mistake: Powdering the whole face until matte
Why it doesn't work: Dries cream layers and shows streaks in photos.
Do this instead: Press a small amount of Translucent finishing powder light medium only on the T-zone.
Mistake: Using stark black brows and liner
Why it doesn't work: Creates harsh contrast against warm Haldi tones.
Do this instead: Try Tinted brow gel brown and smudged brown liner.
Mistake: Applying color in long strokes
Why it doesn't work: Produces stripes and patchiness.
Do this instead: Dot and press with a Mini stipple sponge for seamless blending.
What You'll Need for This Look
Face & Base Essentials
Hydrating skin tint medium around $18 to $30
Sheer tint mineral sunscreen approx $12 to $28
Translucent finishing powder light medium around $6 to $18
Eyes, Brows & Lips
Cream eyeshadow stick warm amber approx $8 to $18
Tinted brow gel brown around $8 to $20
Tinted lip oil sheer berry approx $8 to $20
Clothing Staples
Silk scarf mustard around $12 to $40
Lightweight linen kurta cream approx $25 to $80
Shoes, Bags & Jewelry
Gold chunky hoop earrings 14k around $15 to $60
Leather tote bag tan approx $40 to $160
Delicate signet ring gold vermeil around $10 to $45
Budget Swaps
Cream blush stick warm peach drugstore around $6 to $14
Brown mascara budget friendly approx $5 to $12
Shopping Guide for This Look
Time buys: Shop skin tint and creams during spring sales; Hydrating skin tint medium around $18 to $30.
Thrift + new hack: Score a vintage silk scarf, pair with Gold chunky hoop earrings 14k approx $15 to $60.
2025 trend tip: Cream textures are popular; pick a Cream blush stick in warm peach around $12 to $24.
Splurge vs save: Splurge on a dewy setting spray like Dewy setting spray luminous approx $10 to $28; save on mascara with Brown mascara budget friendly around $5 to $12.
Conclusion
Start small: try the cream blush and tinted lip oil first. That pair gives the highest impact for the least effort and photos respond well to tonal layers.
One last tip: take a quick phone selfie in natural window light before guests arrive to check for streaks or flash hotspots.
Which part of this routine would you test first at home?


