






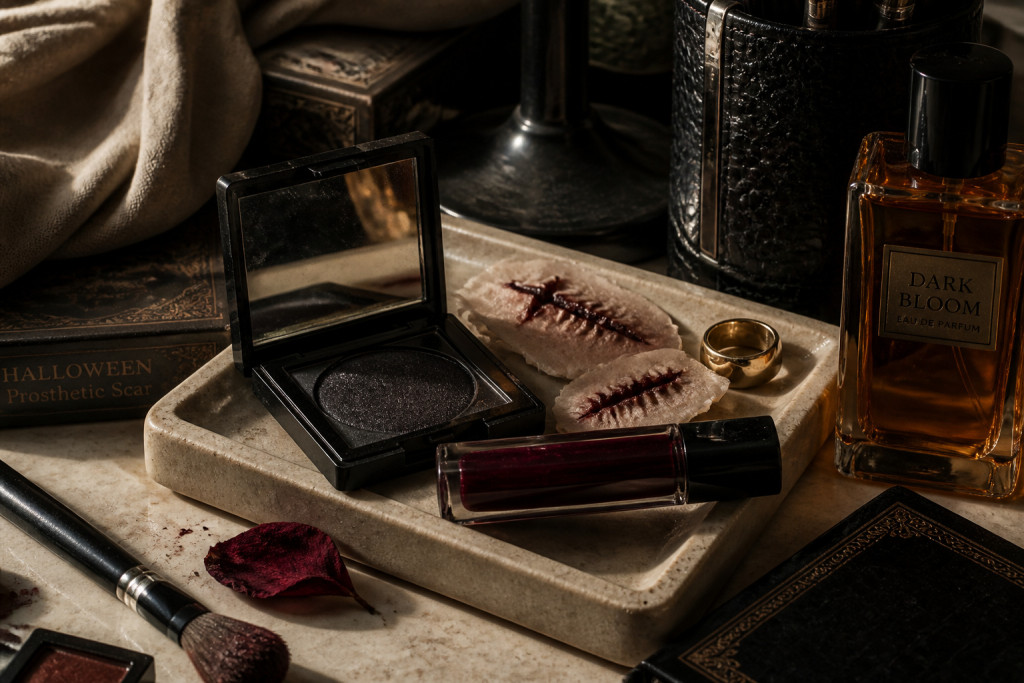

Scary Halloween makeup looks that hold up in extreme close ups are different from your usual spooky swipe of black liner. I tested 11 detailed face ideas that read as horror-film keen in photos and readable in person. All budgets included, most looks under $30, a few splurges around $80. Expect tips for texture, camera-friendly finishes, and real-life fixes for things that usually fall apart.
I lean moody and tactile. These looks suit gritty, cinematic, or party-ready vibes. Most products are under $30 to $40, with a few specialty adhesives and prosthetics around $60 to $80. I noticed Pinterest searches for close-up horror makeup rose again in 2024, and NRF says Americans spend over $10 billion on Halloween each year, so people are investing in detail.
1. Fresh Cut Lip Vein Detail
Style: Bold & Saturated | Budget: Under $30 | Best For: All tones
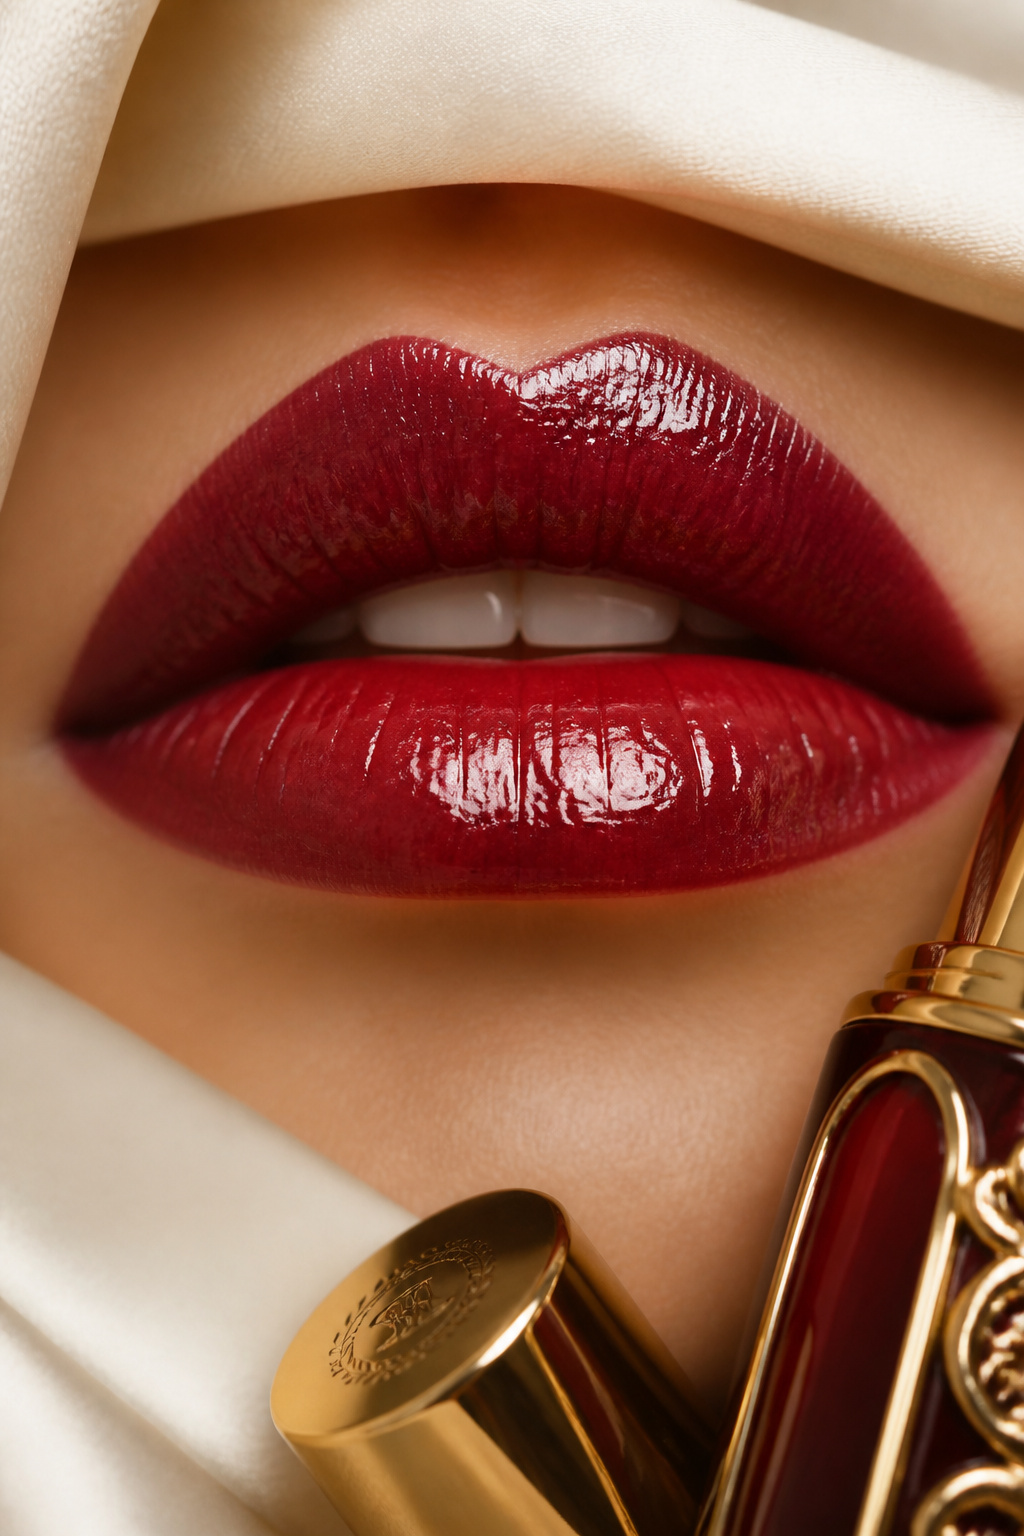

Result: a wet, realistic vein detail that reads terrifying in a macro shot. I use a thin brush and a cool plum liner to draw fine veins, then tap a drop of gloss for depth. Product: Deep plum eyeliner pencil around $8 to $15. Tip: draw veins in layers; start light and intensify. Ugly truth: cheap felt-tip liners blob in close ups. I learned that after a Halloween party at my friend Jess's apartment.
Shop this idea:
2. Split Forehead Prosthetic Scar
Style: Moody & Cozy | Budget: $30 to $80 | Best For: Medium to fair skin
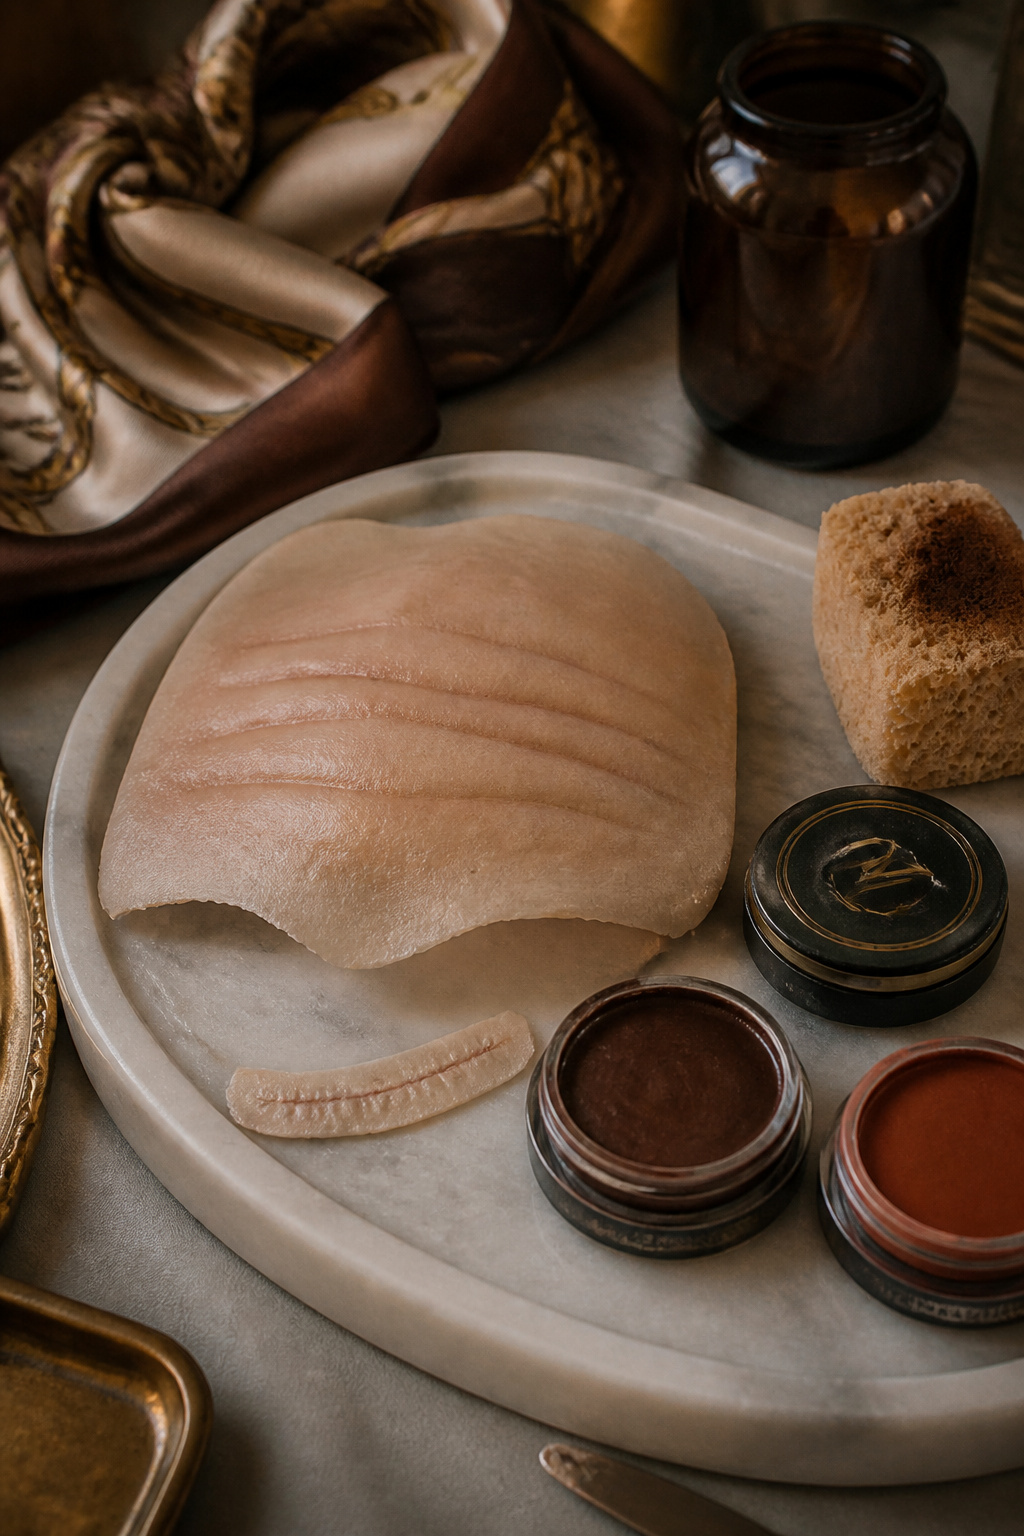

I glued a thin prosthetic strip with skin-safe adhesive then shaded with alcohol-activated paint for depth. Product: Skin adhesive 30 ml around $12 to $22. Tip: heat the latex slightly to blend edges. Ugly truth: skipping sealant makes prosthetics peel in a crowd. I found this on a weekend props run at a craft store and swore I would never use regular glue again.
Shop this idea:
3. Blood Trail Tear Stain
Style: Bold & Saturated | Budget: Under $25 | Best For: All skin tones
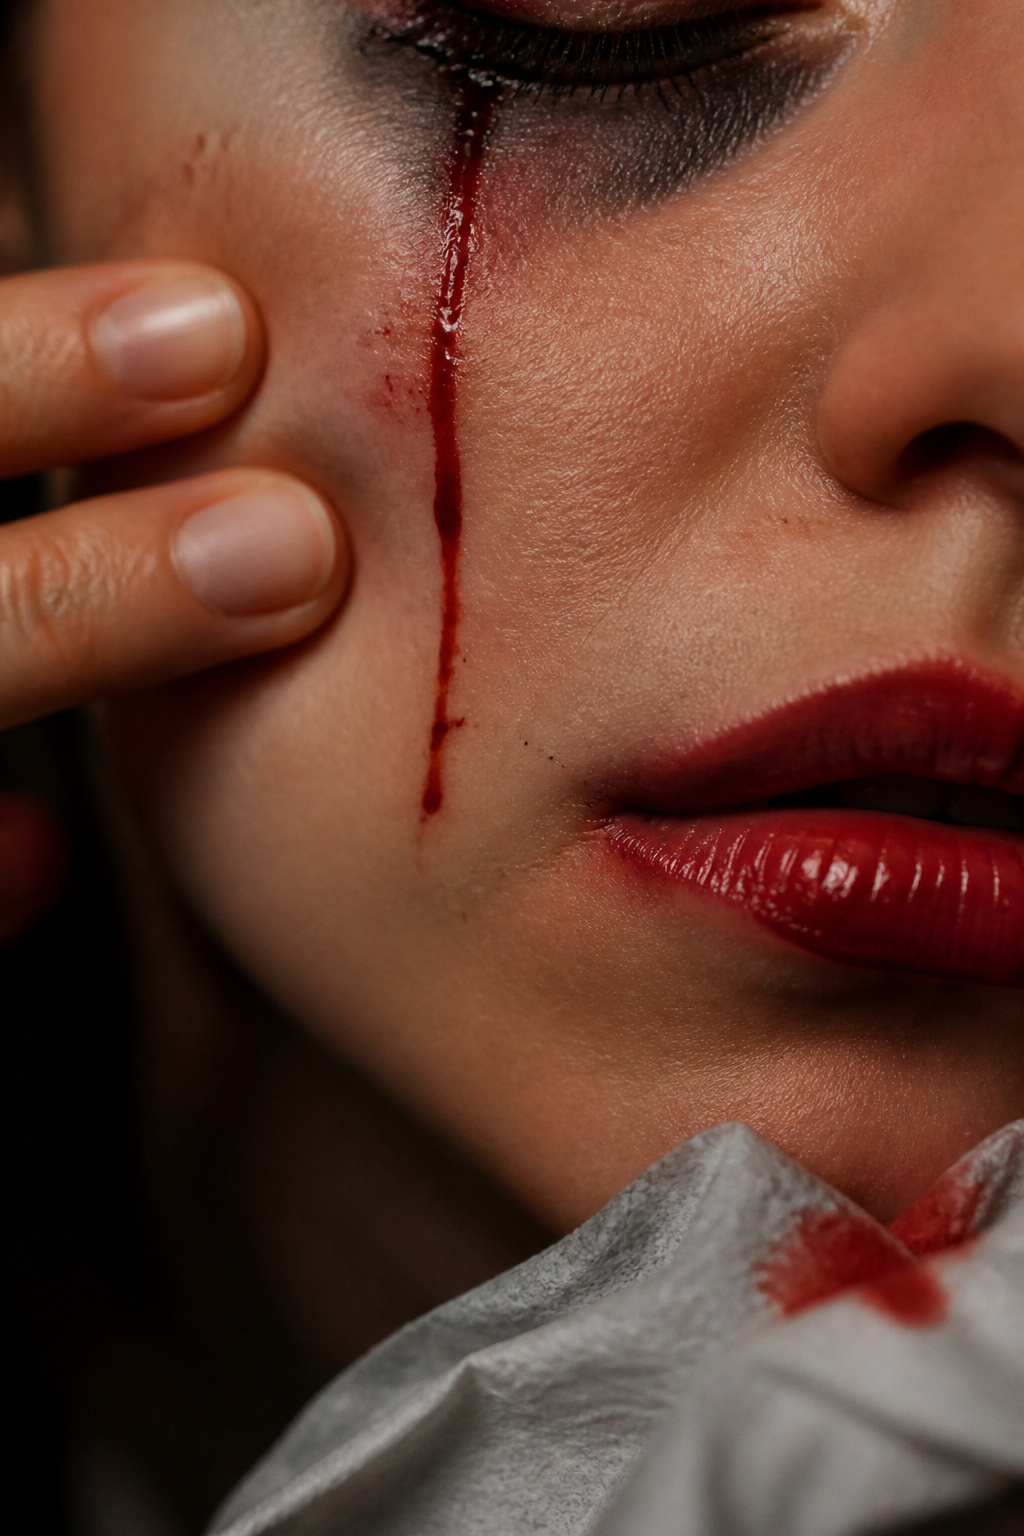

The trick is a stained, runny trail that photographs wet. I mix a watery red lip tint and lightly drag downward with a micro brush. Product: Waterproof red lip tint around $9 to $18. Tip: blot with tissue to vary opacity. Ugly truth: theatrical fake blood can look glossy and fake in macro shots. My cousin called it "too cartoon" once.
Shop this idea:
4. Milky Eye With Vein Network
Style: Moody & Cozy | Budget: Under $40 | Best For: Hooded eyes
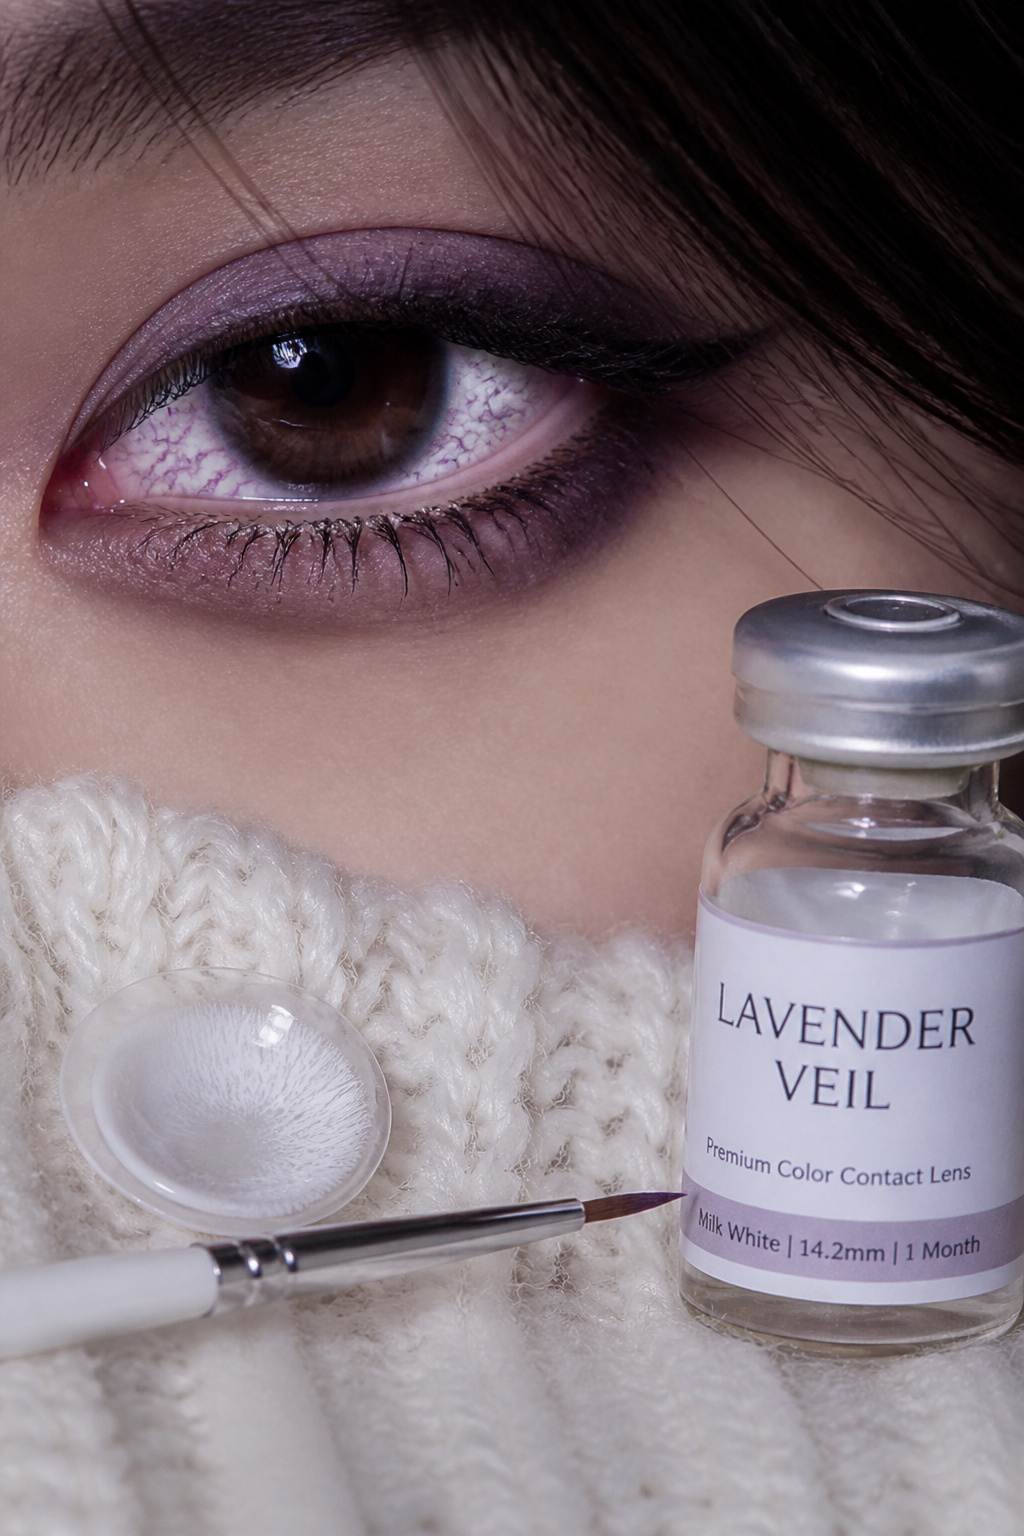

Using opaque white cream shadow around the eye and tiny purple veins gives a milky, close-up horror. Product: Opaque white cream shadow around $6 to $16. Tip: seal with setting spray to keep veins crisp. Ugly truth: contacts are not one-size-fits-all; try them before a night out. I borrowed a pair from a friend and paid for it with irritation that took two days to clear.
Shop this idea:
5. Stitching Detail With Threaded Gloss
Style: Bright & Airy | Budget: Under $30 | Best For: Coquette or Y2K vibes
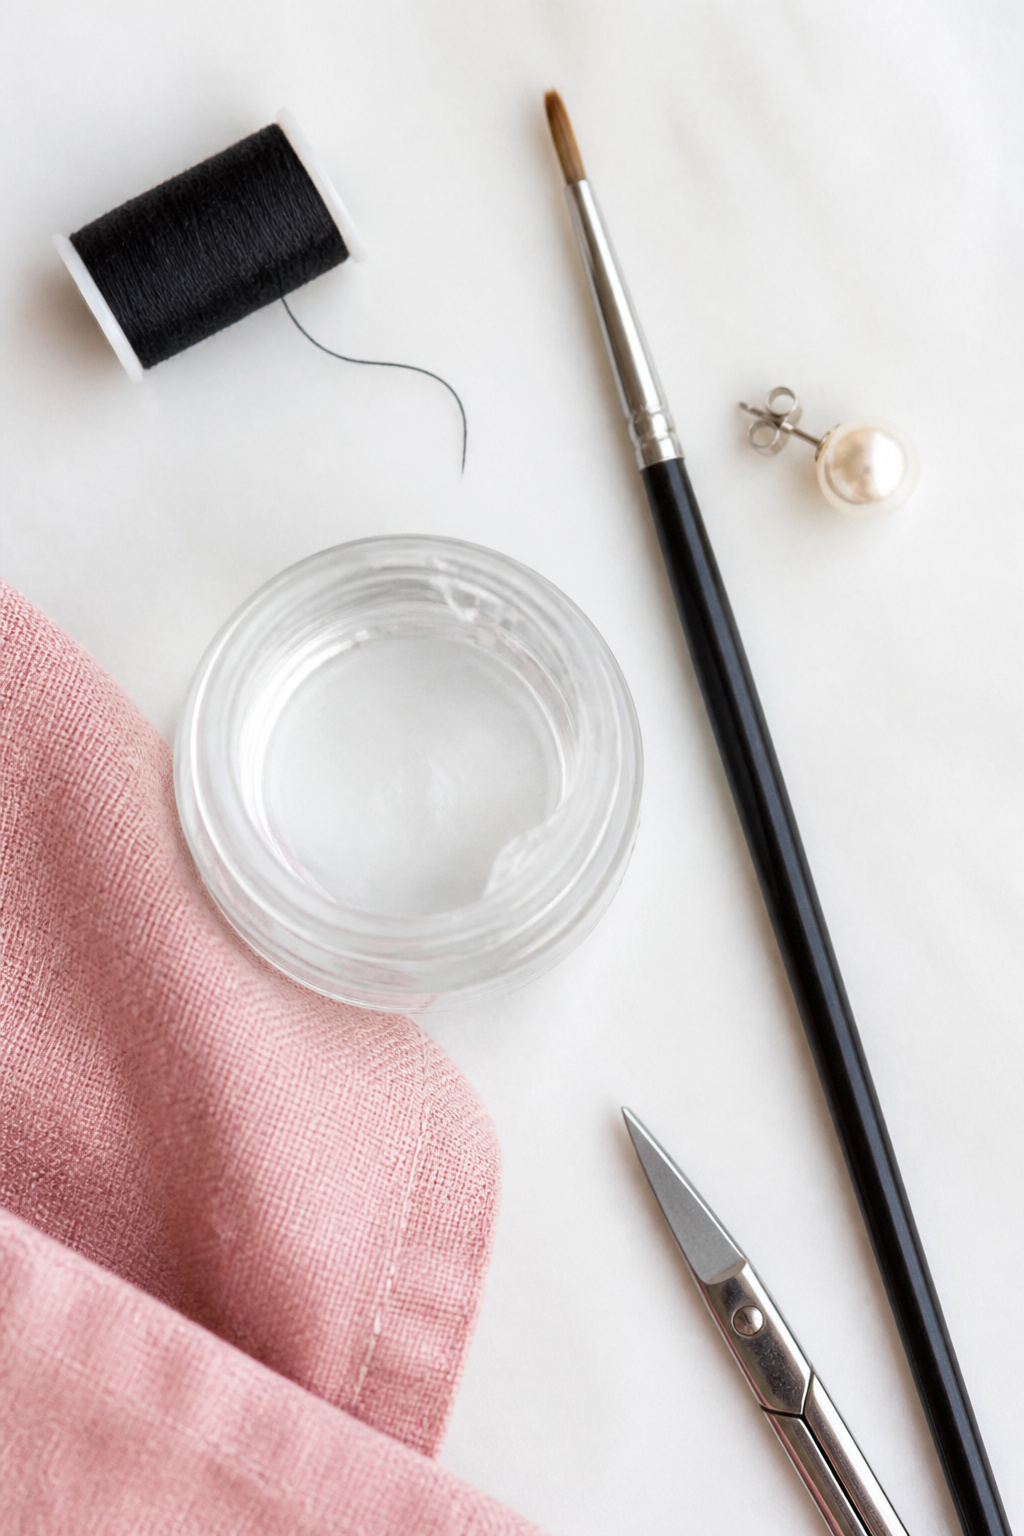

I draw tiny stitch marks and seal them with clear gloss for a stitched-up lip illusion. Product: Black micro brow pencil around $7 to $14. Tip: use a single strand of thread pressed into gloss for texture. Ugly truth: overdoing it reads fake; less is creepier. I learned this after trying a full-mouth stitched look at a bar and people laughed instead of gasped.
Shop this idea:
6. Rotten Doll Cheek Blush
Style: Bold & Saturated | Budget: Under $20 | Best For: Pale to medium tones
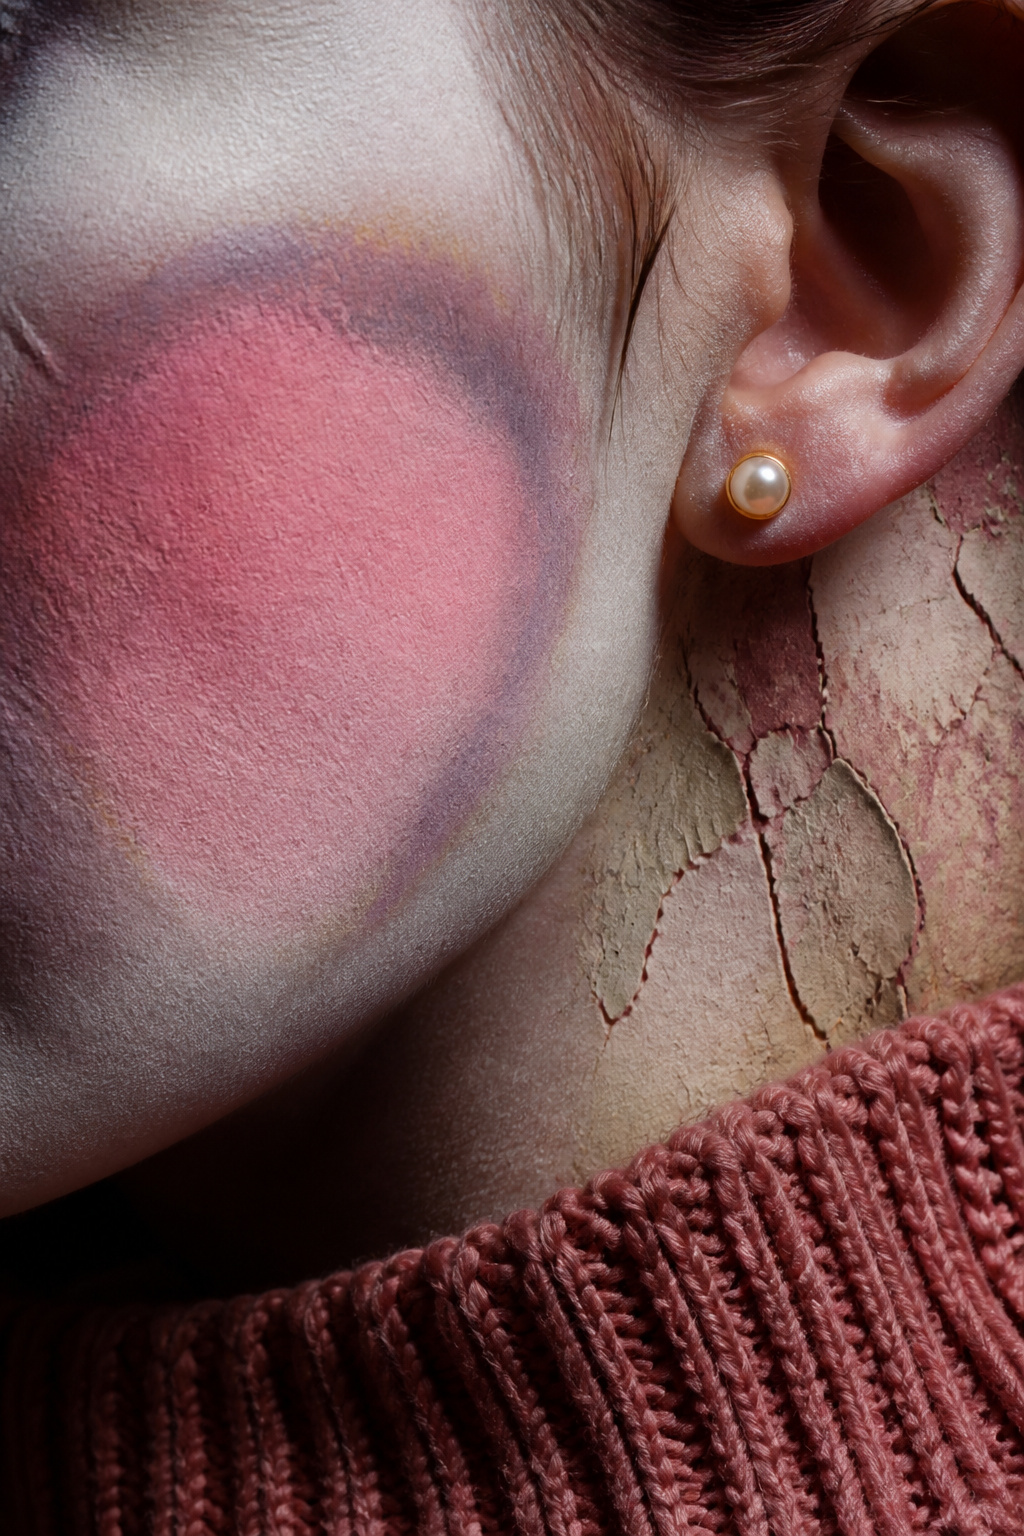

Make the cheek look doll-like then add bruise rings and tiny crack lines. I layered a matte cream blush with violet shadow at the edges. Product: Matte cream blush stick around $10 to $18. Tip: set with translucent powder to photograph matte. Ugly truth: shimmery blush ruins the rotten-doll vibe. I once showed up with glitter cheeks and looked like a disco prop.
Shop this idea:
7. Peeling Skin Layer With Tissue Texture
Style: Moody & Cozy | Budget: Under $25 | Best For: Medium to deep tones
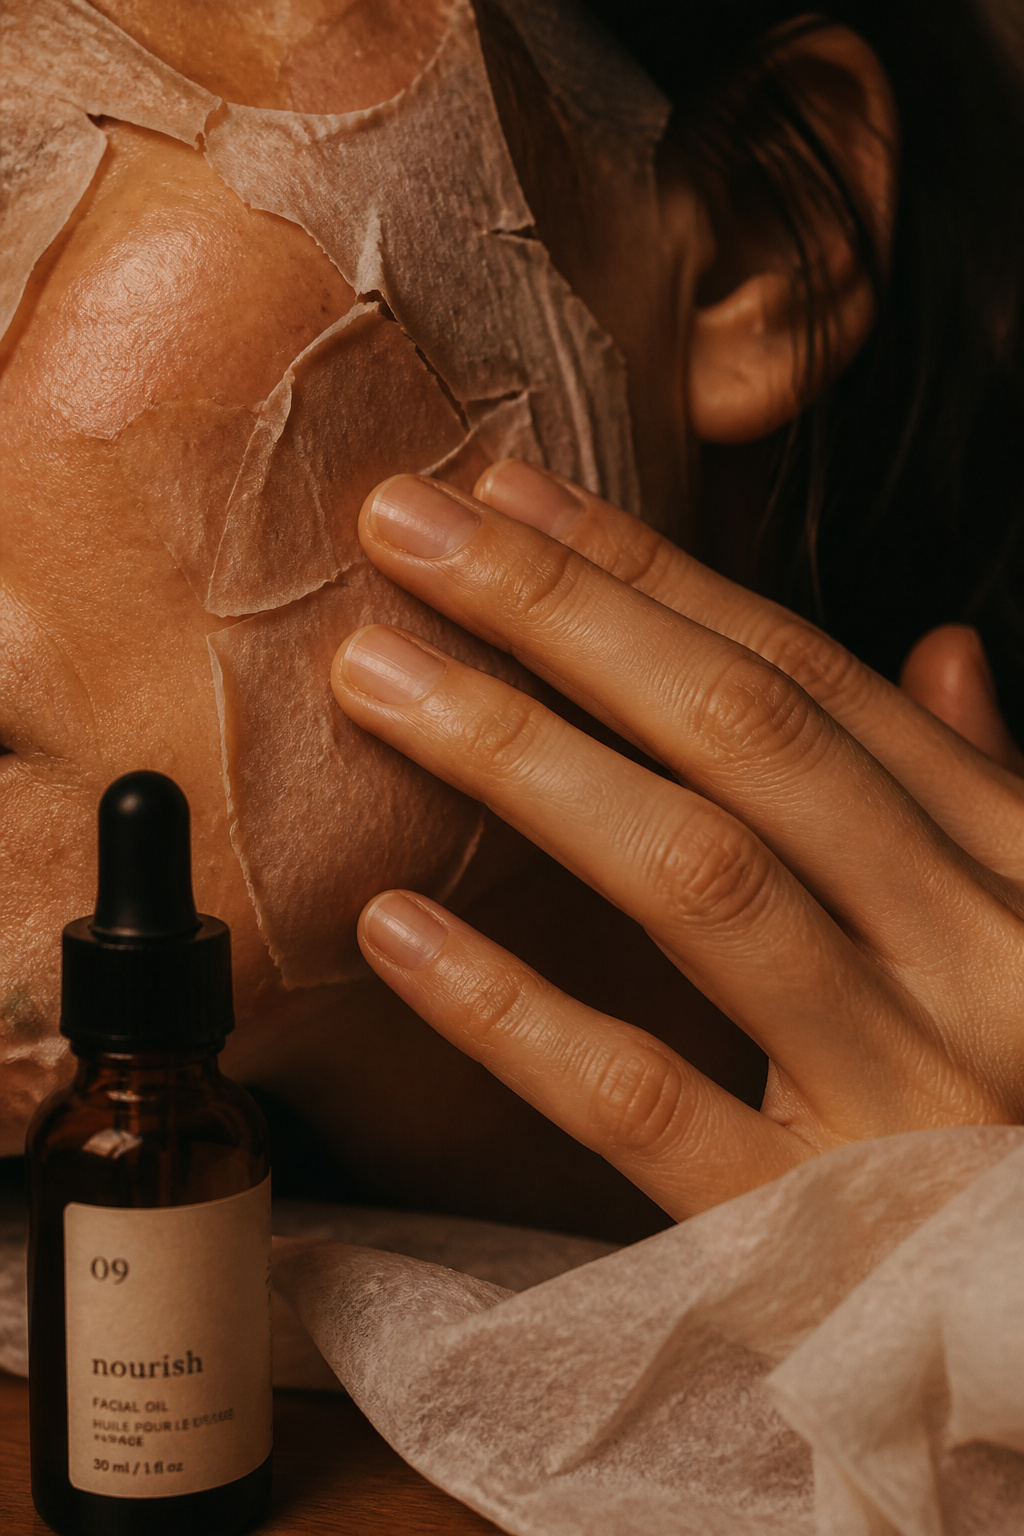

Layer tiny tissue shreds with liquid latex then color for a convincingly peeling effect. Product: Liquid latex 1 oz around $7 to $15. Tip: use a stipple sponge for texture. Ugly truth: overuse of latex flakes looks like dandruff in photos. I sprayed setting spray and still had one tiny flake all night.
Shop this idea:
8. Glassy Eye Pus Effect
Style: Bold & Saturated | Budget: Under $40 | Best For: Editorial close-up shots
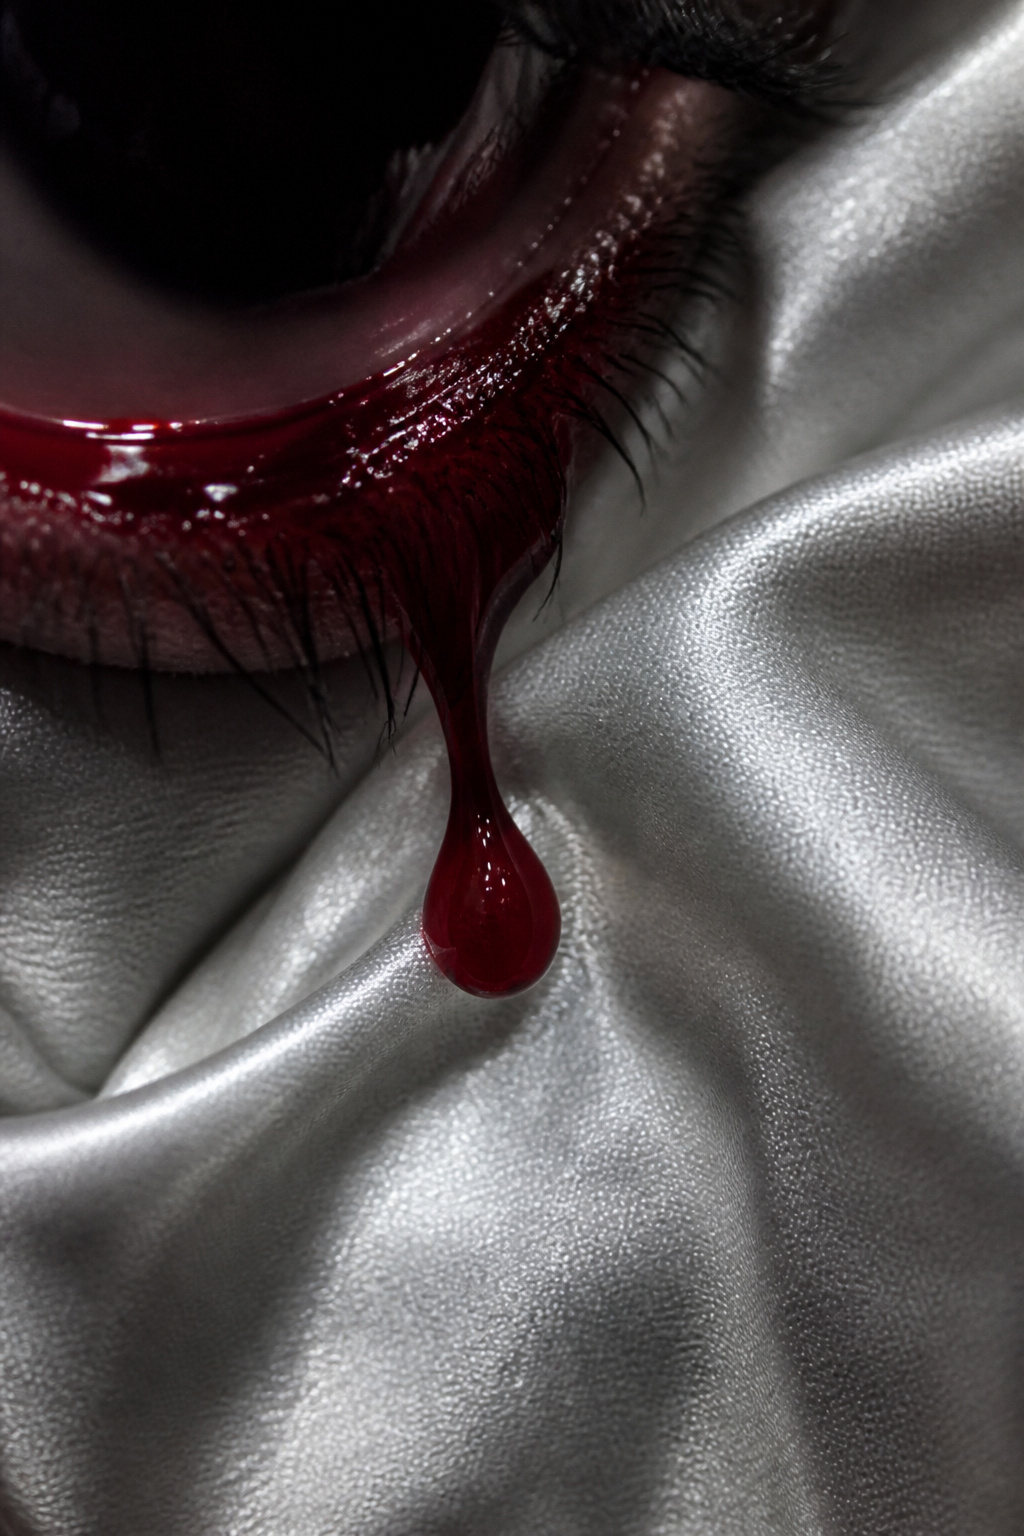

A concentrated gloss pool on the lower lid with white paint flecks makes the eye look infected in the best way. Product: Non-sticky high shine gloss around $8 to $20. Tip: keep upper lid matte to balance. Ugly truth: glossy products migrate; use minimal amounts. I learned to carry cotton swabs for touch ups.
Shop this idea:
9. Cavernous Cheek Hollowing
Style: Bright & Airy | Budget: Under $20 | Best For: Chisel-enhancing looks
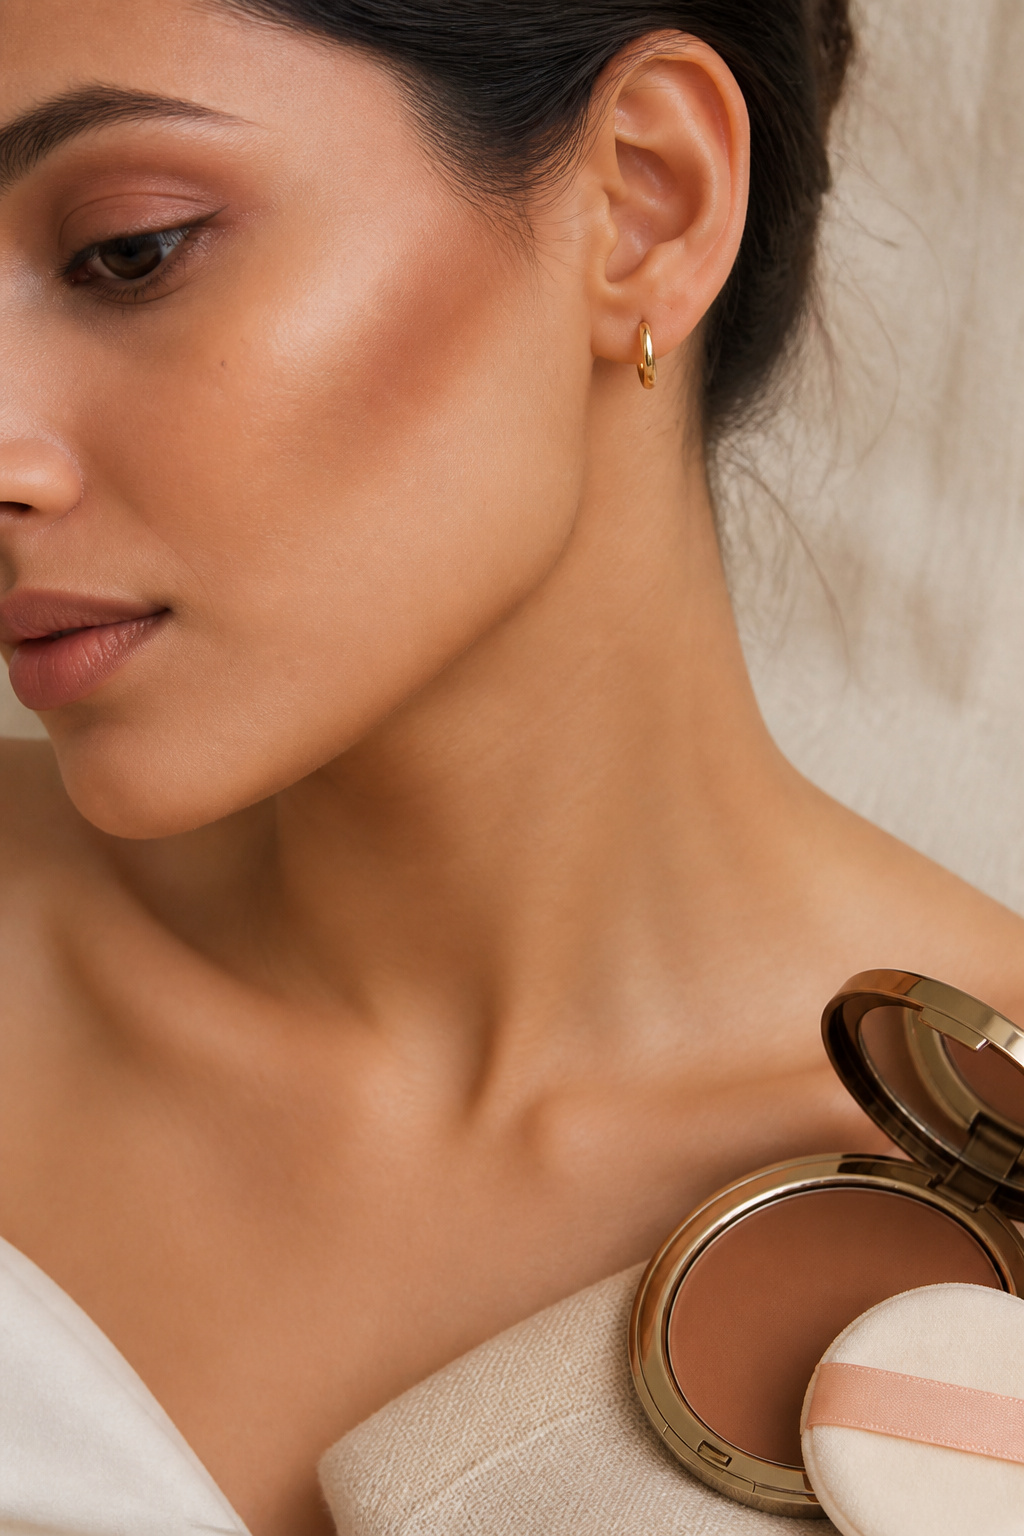

Dramatic cheek hollows photograph like real destruction when the contour is matte and feathered. I use a cool matte powder bronzer and blend with a dense brush. Product: Cool matte contour powder around $9 to $18. Tip: map the hollow first with fingers then build. Ugly truth: shimmery bronzers read fake in close-up shadow.
Shop this idea:
10. Flayed Lip Peel with Tissue Sheen
Style: Moody & Cozy | Budget: Under $30 | Best For: Photo-heavy looks
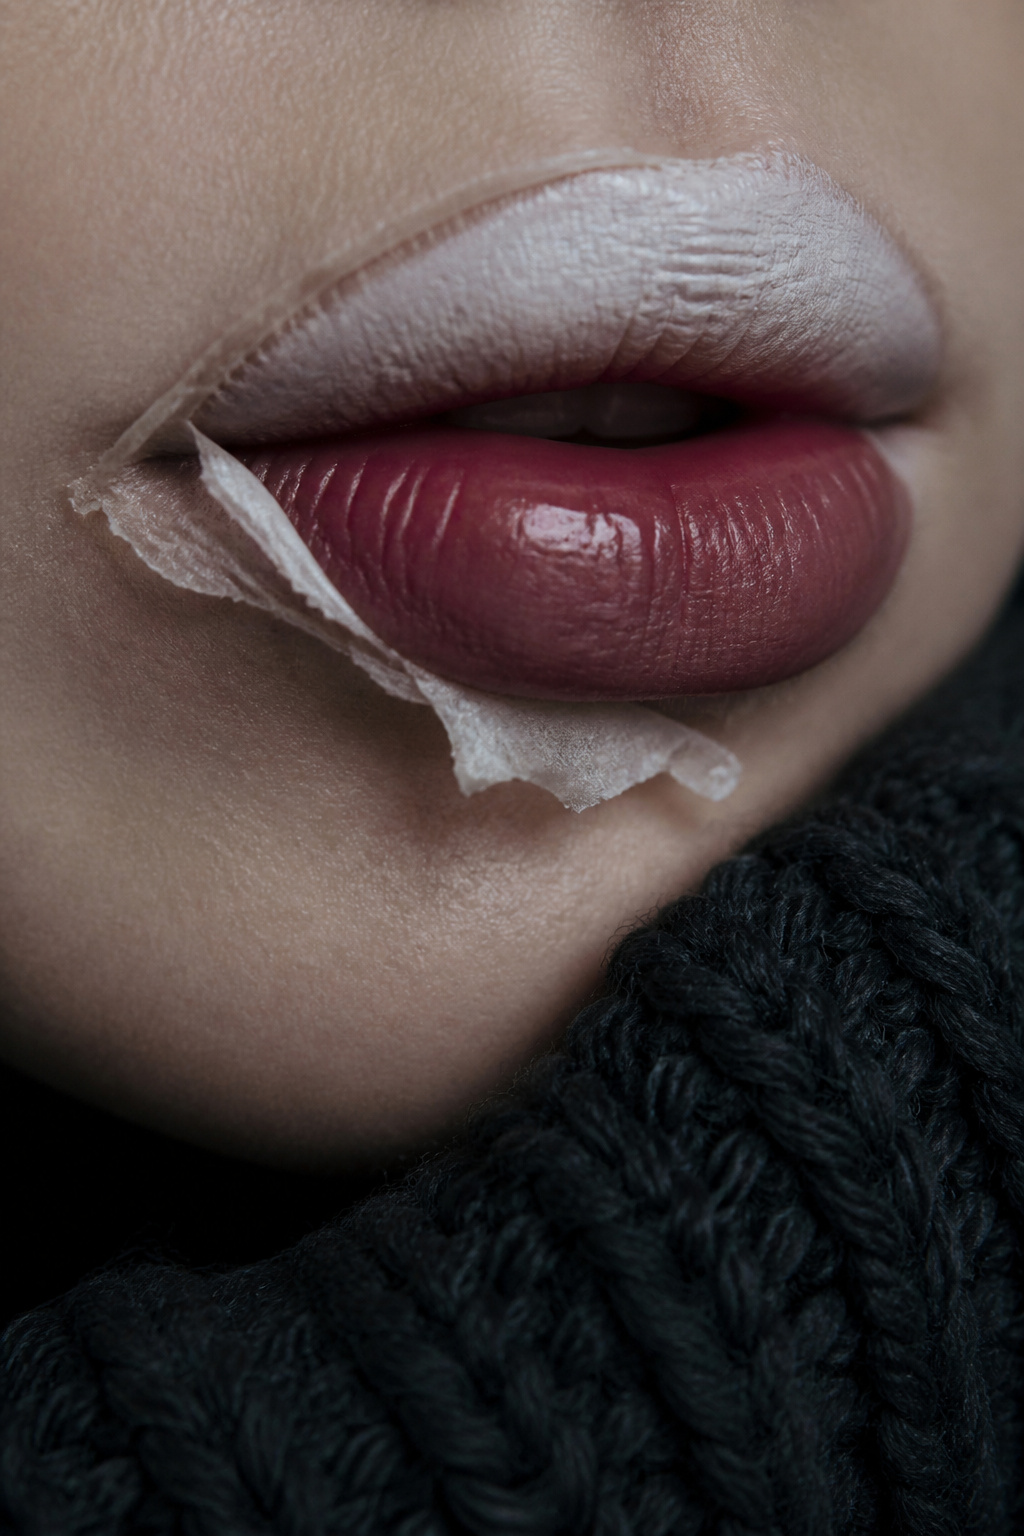

I paint the inner lip pale then add a curled tissue edge for a flayed look. Product: Flesh tone lip paint around $6 to $14. Tip: secure tissue with a dab of gloss, not glue. Ugly truth: too-thick tissue peels off during talking. I practiced this one in the mirror for an hour.
Shop this idea:
11. Creepy Contact Shadow and Blood Veil
Style: Bold & Saturated | Budget: $20 to $60 | Best For: Full-on horror
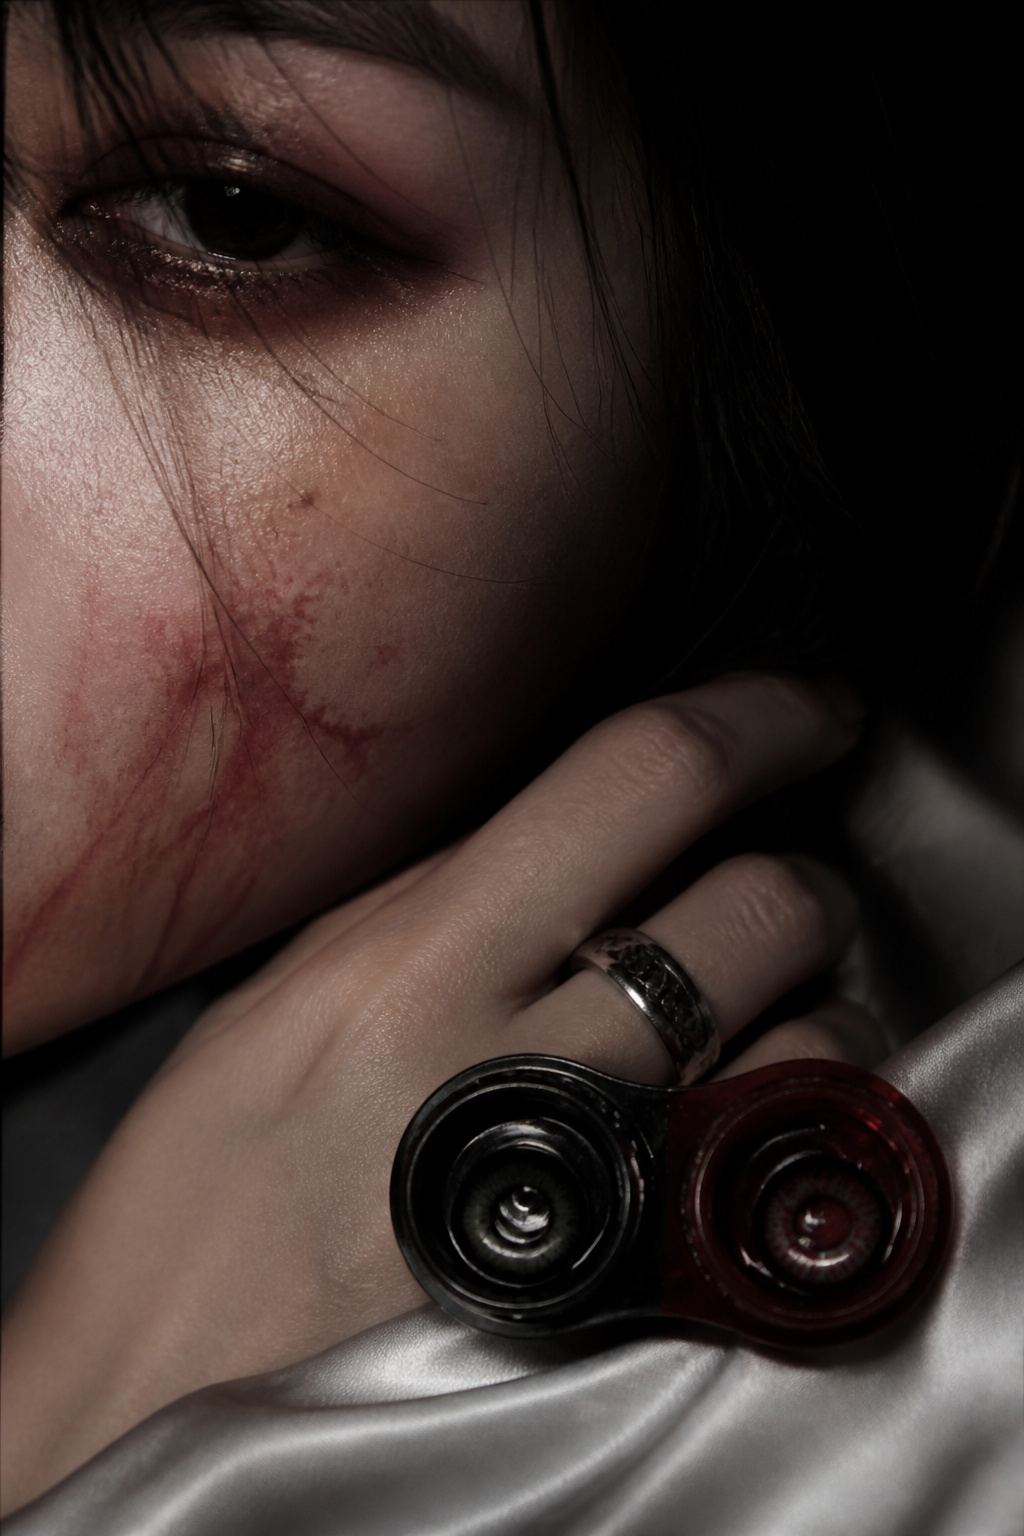

This pairs a pale sclera contact with a sheer veil of red across the cheek for a cinematic close up. Product: White sclera contacts pair around $25 to $60. Tip: buy contacts from a retailer with return info and test a day early. Ugly truth: uncomfortable contacts ruin an otherwise perfect look. I swapped to plano lenses after irritation once.
Shop this idea:
What You'll Need to Get This Look
Face & Base Essentials
- Translucent setting powder around $8 to $20
- Matte cream concealer 12g around $6 to $18
- Micro detail brush set around $8 to $22
- Alcohol-activated paint palette around $20 to $45
Eyes, Brows & Lips
- Deep plum eyeliner pencil around $8 to $15
- Non-sticky high shine gloss around $8 to $20
- Purple micro liner around $6 to $14
Clothing Staples
- Black velvet choker necklace around $6 to $18
- Sheer black blouse small around $15 to $40
Shoes, Bags & Jewelry
- Antique gold signet ring around $12 to $40
- Chunky black boot ankle around $40 to $120
Budget Swaps
- Drugstore liquid latex 1 oz around $7 to $15 (swap for prosthetics)
- Generic clear gloss tube around $5 to $12 (dupe for couture gloss)
Shopping Tips for These Looks
Shop early for contacts and adhesives: Many retailers have limited stock; order white sclera contacts pair 2 weeks ahead.
Use sale cycles: Look for Ulta and Amazon Prime Day deals for specialty palettes around $20 to $45. I scored a palette during a spring sale once.
Thrift and customize: Buy a thrifted blouse and add a stitched tear for texture, then seal with a tiny bit of clear cosmetic gloss.
2025 trend note: Cream-based textures photograph more naturally now, so favor matte cream concealer 12g for base.
Test adhesives in daylight: Try skin adhesive 30 ml on a wrist 48 hours before event.
Pack a repair kit: Bring cotton swabs, mini setting spray, and non-sticky high shine gloss.
Frequently Asked Questions
Q: Are theatrical products safe for sensitive skin?
A: Many are safe when used as directed; do a patch test with liquid latex 1 oz 48 hours ahead. If irritation appears stop use.
Q: Can I wear contacts all night?
A: Only if they fit and you tested them earlier. Buy from a reputable seller like white sclera contacts pair and follow lens care.
Q: How do I photograph makeup close up?
A: Use soft window light and a macro lens or phone with portrait macro mode. Lock in details with translucent powder like translucent setting powder.
Q: What's a cheap dupe for prosthetic texture?
A: Tissue plus liquid latex 1 oz creates convincing texture at low cost.
Conclusion
Start with one small detail, like a vein or a gloss pool, and build from there. My go-to trick is to test textures in daylight and carry cotton swabs for emergency touch ups. Which close-up detail are you trying first this year, the vein work or the prosthetic scar?


