
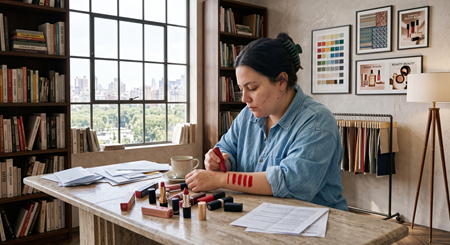


Natural homecoming makeup can look effortless and photo-friendly. I tested 13 soft looks that actually translate in pictures, not just on TikTok. These are practical, mostly under $30, with a few splurges around $120, and each is meant to read soft, pretty, and wearable in phone photos or prom snaps.
I focused on soft glam, tonal color, and pieces you can mix. Most picks are under $30, a couple are $60 to $120 splurges. These suit clean girl, soft glam, and petite frames. I’ve noticed Pinterest Predicts and Google Trends favoring cream textures and tonal looks going into 2025.
1. Cream Blush Trio for Lit-From-Within Glow
Style: Clean Girl | Budget: Under $25 | Best For: Normal to dry skin
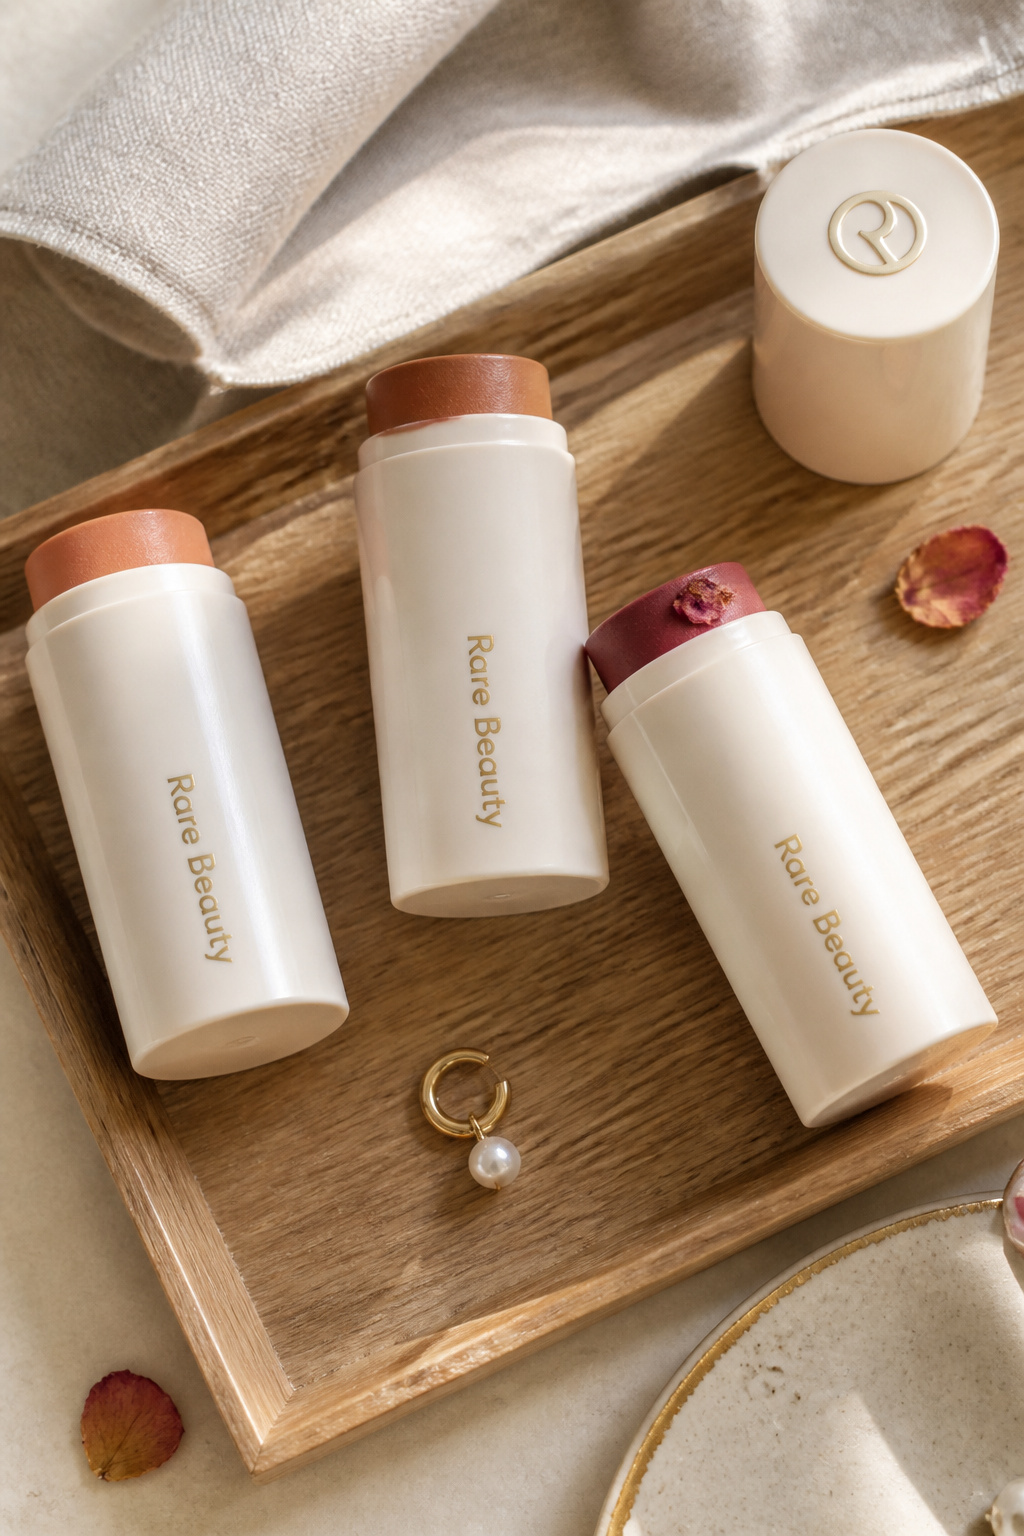

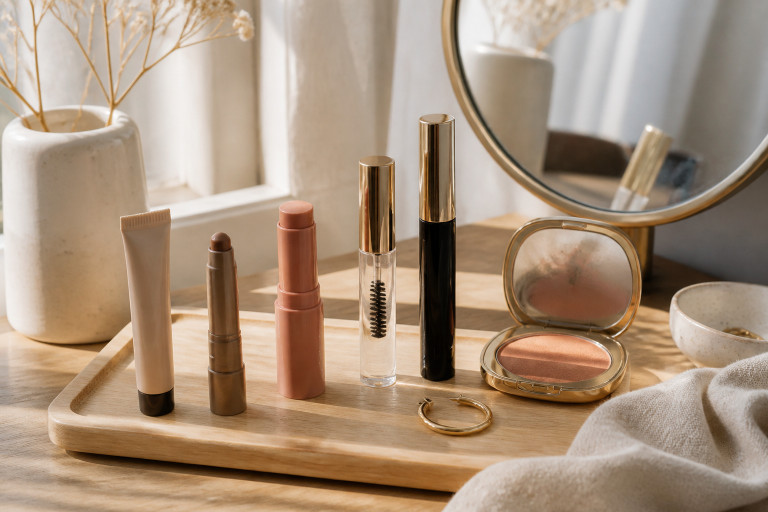
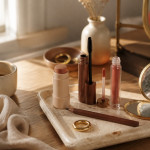
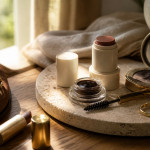
The result is a skin-like warmth that photos pick up beautifully. I tap a tiny dot of a cream blush stick in warm peach on the apples, blend with fingers, then sweep a bit on the lids for cohesion. My trick is to warm the stick on the back of my hand first. One ugly truth: powder blush often disappears under flash, cream reads better. I found my favorite at Ulta during a sale for about $14 to $22 and the little compact lasted months.
Shop this idea:
2. Sheer Dewy Base With Lightweight Tint
Style: Soft Glam | Budget: Under $30 | Best For: Combo and dry skin
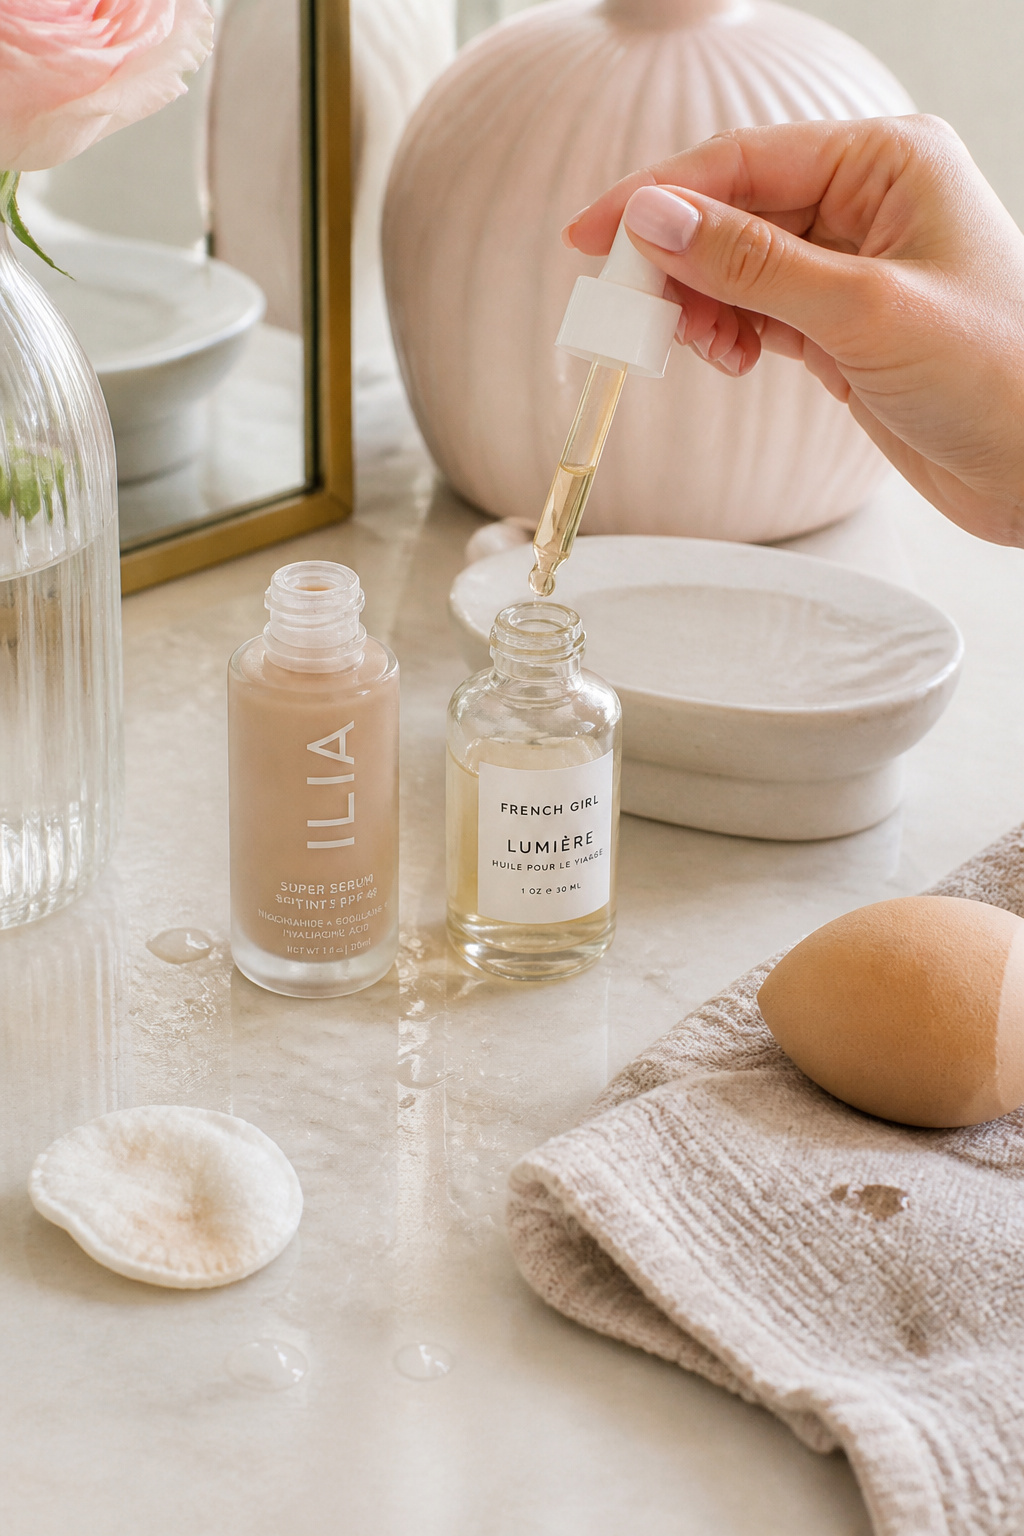

Skip heavy foundations for homecoming photos. I use a lightweight tinted serum for coverage and a small bead of concealer only where needed. The trick is to sheerly layer, not cake. One ugly truth: full-coverage foundations can look mask-like in phone flash. I grabbed a travel-size tint around $18 to $28 and loved how it kept pores visible but evened tone.
Shop this idea:
3. Soft Brown Smoky Eye, No Harsh Lines
Style: Tonal | Budget: Under $30 | Best For: All eye shapes
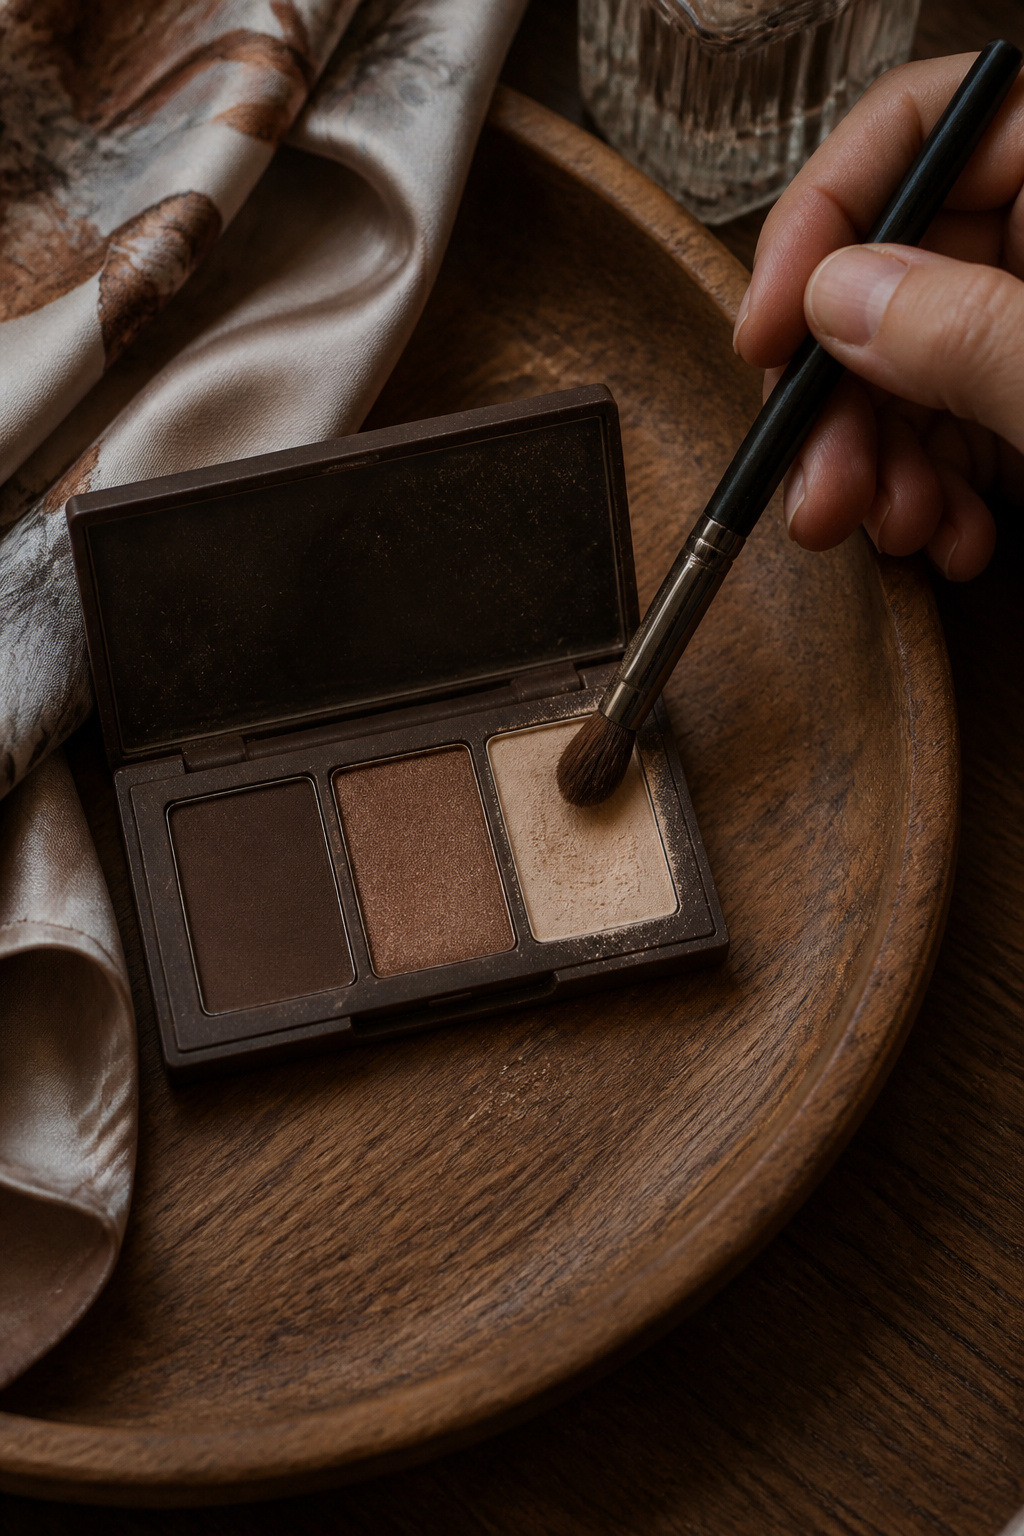

Soft brown smoky is forgiving in photos. I use a warm caramel transition shade, deepen outer corners with soft espresso, then smudge with a small pencil brush. Avoid stark black; brown photographs warmer. Tip: use a slightly dampened brush for the deepest shade to prevent fallout. I once used black and regretted the harshness under flash. I bought an everyday brown quad for roughly $15 to $28.
Shop this idea:
4. Glassy Tinted Lip That Lasts
Style: Coquette | Budget: Under $20 | Best For: Thin to full lips


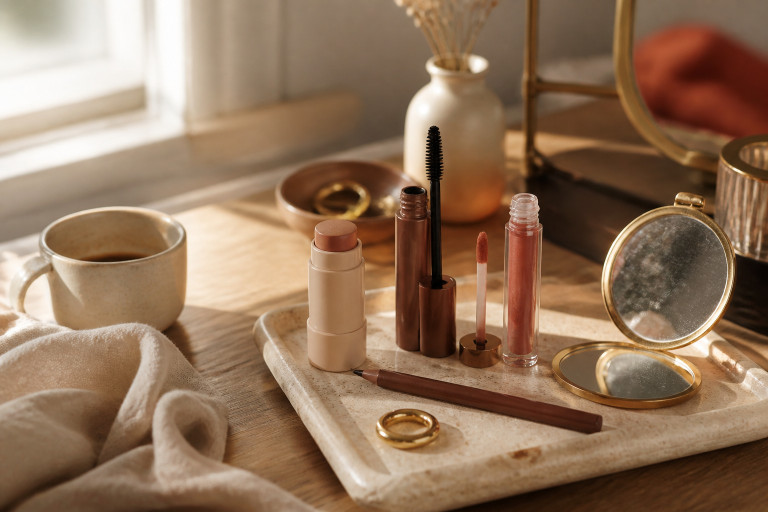
A tinted lip oil keeps lips glossy without sliding off in photos. Layer a stain first for staying power, then a clear tint oil. The trick is to blot once between layers. One ugly truth: thick glosses slide in humid gyms or crowded cars. I snagged a cushiony tinted oil for about $12 to $18 that lasted through pictures and dancing.
Shop this idea:
5. Peachy Monochrome Look for Warm Skin
Style: Tonal Monochrome | Budget: Under $40 | Best For: Warm undertones
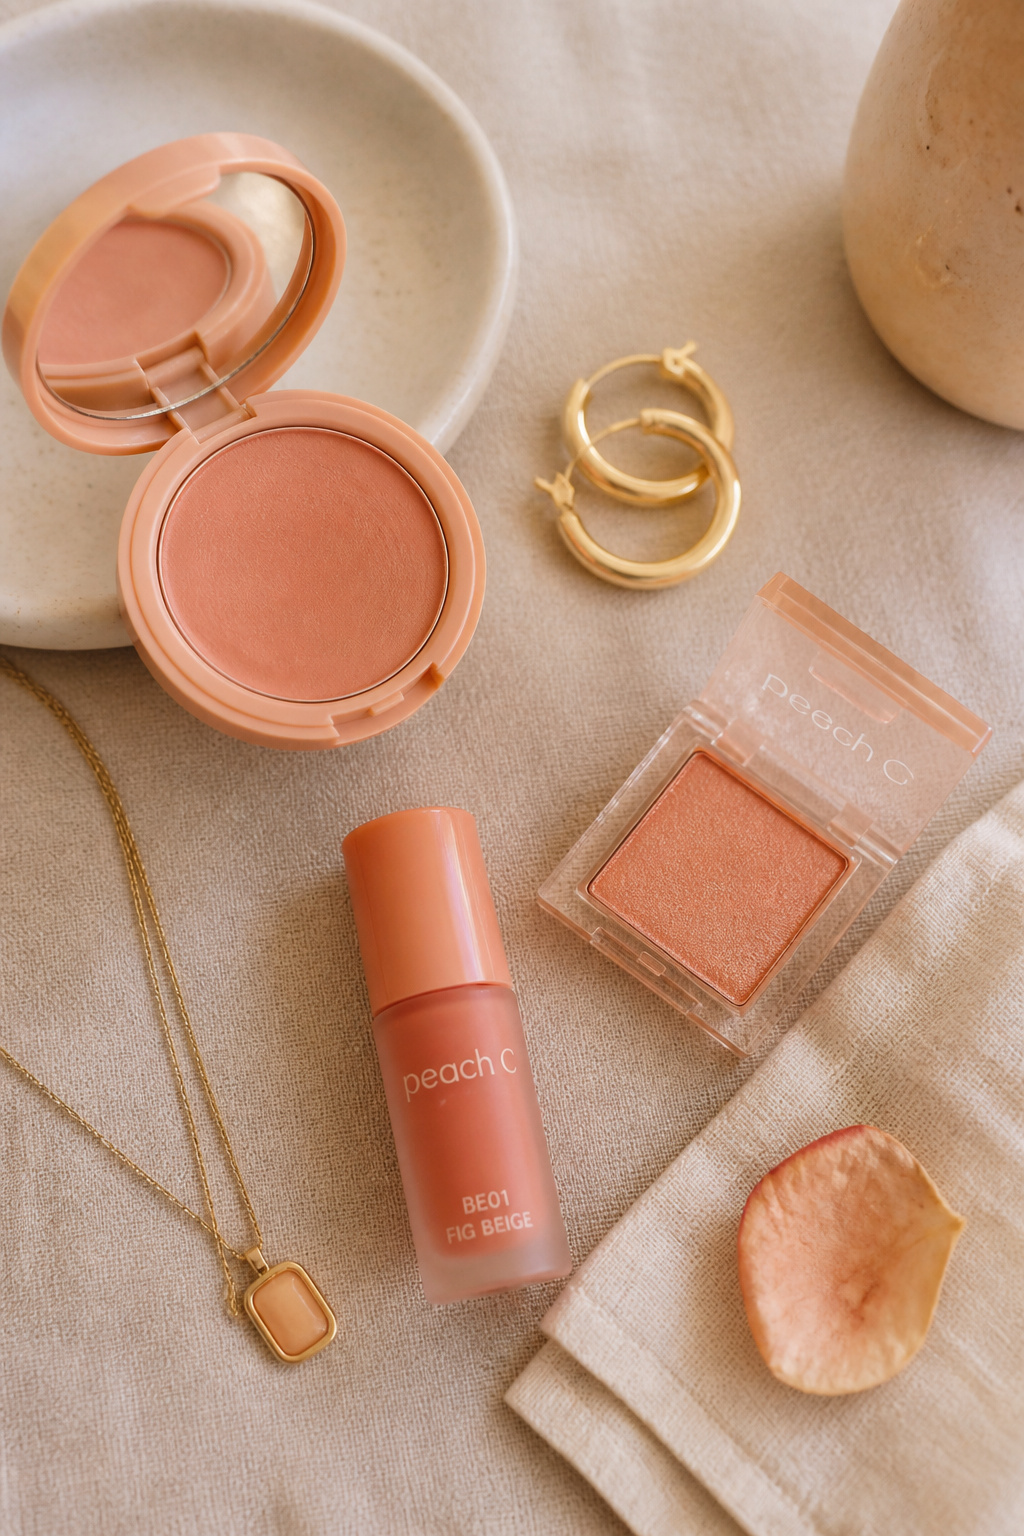

Monochrome in peach feels lifted and natural in photos. I dot peach cream on cheeks and lids, then use a slightly deeper peach on lips. Practical tip: keep tones within two shades so it looks cohesive. I learned that orange-red lips with peach eyes compete in pictures. My monochrome routine cost about $20 to $38 total.
Shop this idea:
6. Rosy Cool-Toned Look for Fair Skin
Style: Soft Glam | Budget: Under $35 | Best For: Cool undertones
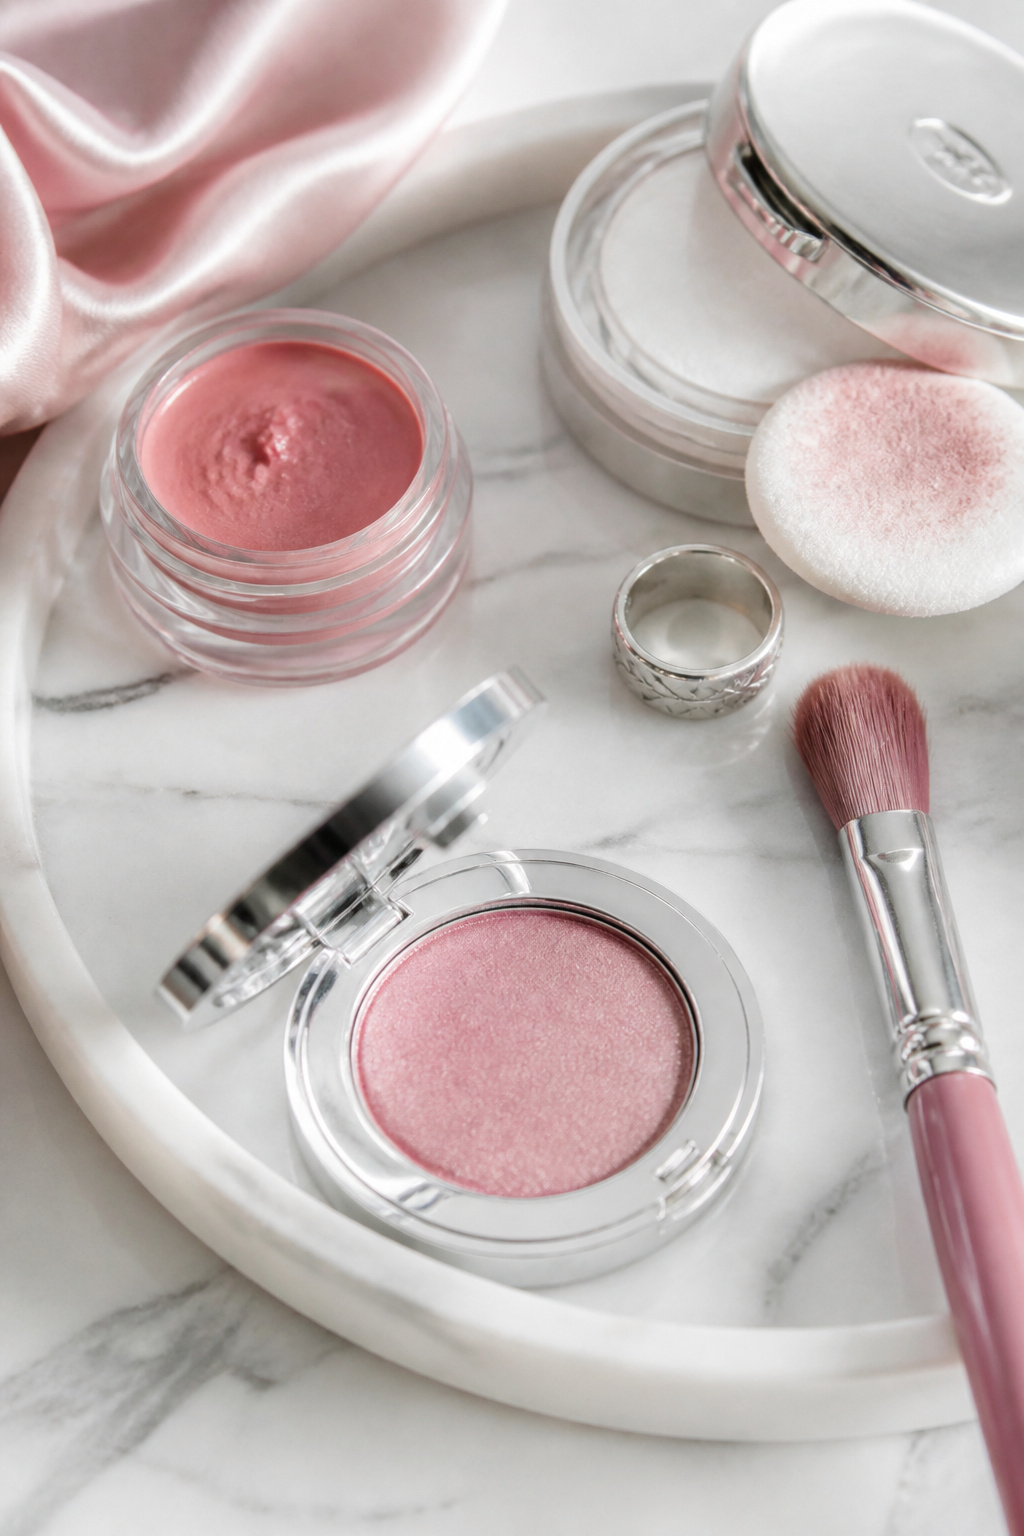

Cool rose tones can brighten fair skin in photos. I use a cool mauve blush lightly and a frost-leaning highlighter on cheekbones. One tip is to avoid blue-based foundations; they can look ashy under flash. I bought a rose palette for around $18 to $30 and used it for a dozen photo-ready looks.
Shop this idea:
7. Brown Mascara + Lash Lift Effect
Style: Natural | Budget: Under $25 | Best For: Light lashes
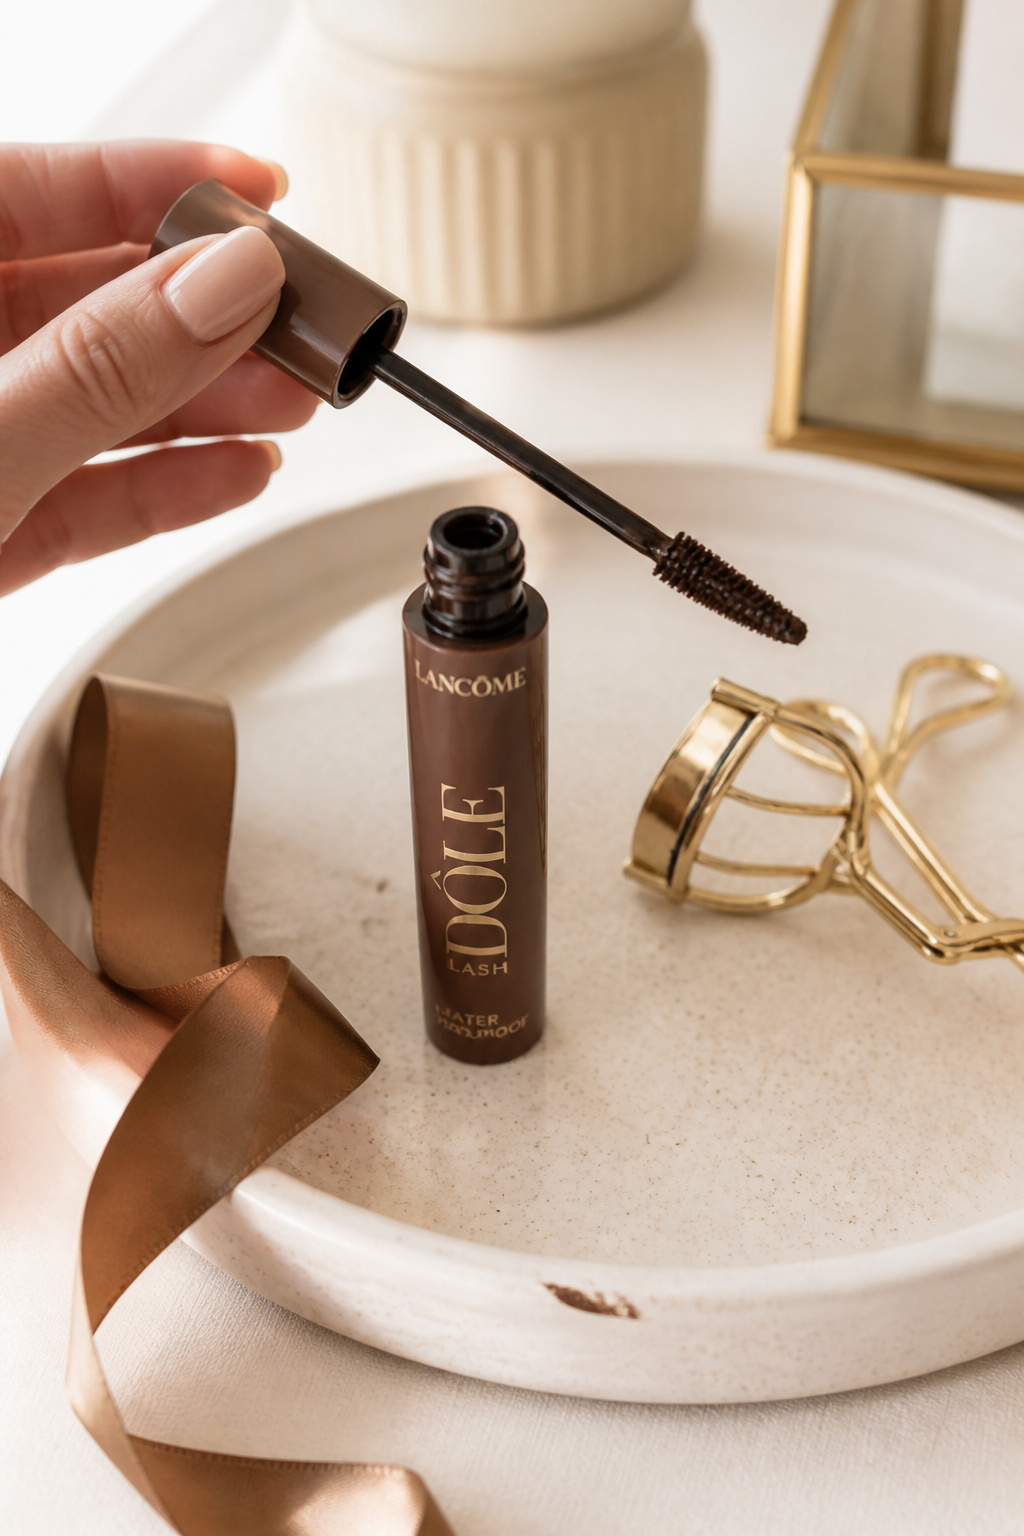

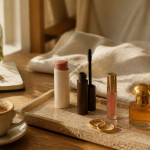
Brown mascara softens and looks less harsh than black in daytime photos. I curl, coat from root to tip, then comb lashes with a clean spoolie for separation. Practical tip: use two light coats rather than one heavy coat to avoid clumps. Ugly truth: waterproof mascaras can flake and look patchy by midnight. I keep a brown lengthening mascara for $10 to $22 in my pouch.
Shop this idea:
8. Diffused Wing With Brown Gel Liner
Style: Polished | Budget: Under $20 | Best For: Almond eyes
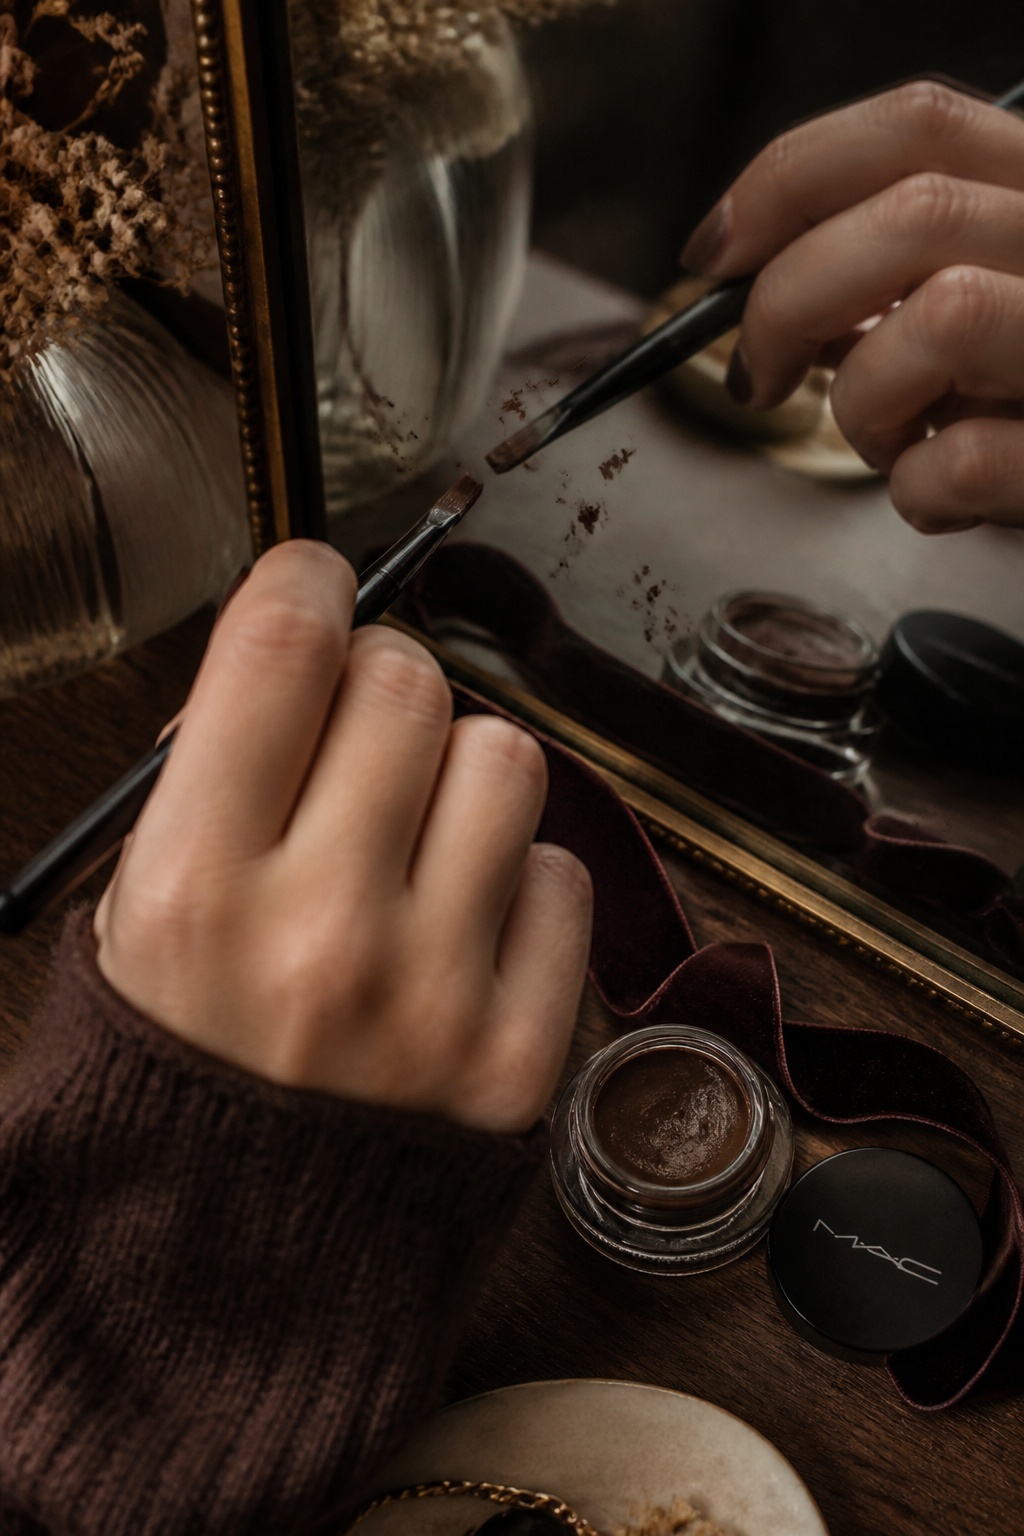

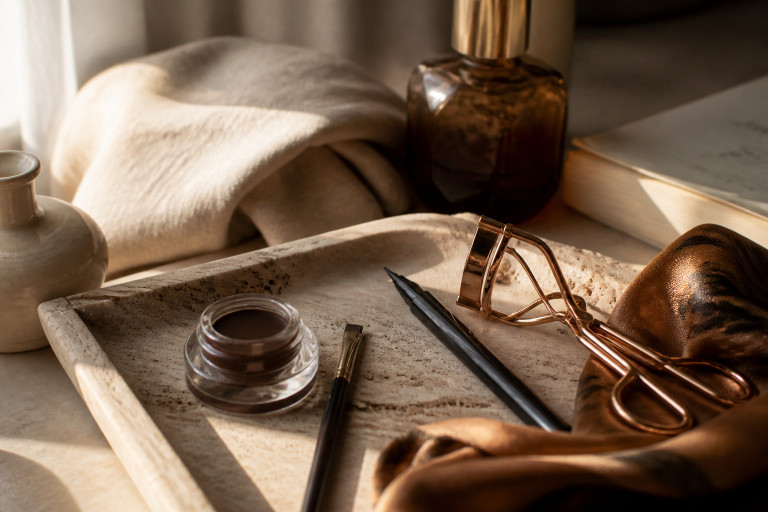
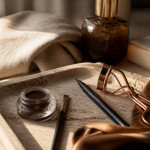
A diffused brown wing gives definition without drama. Apply a thin line, then smudge with a pencil or brush into a soft wing. Tip: seal with a matching powder shadow to prevent transfer. One ugly truth: harsh black wings can age a soft look in photos. I picked a gel liner under $12 to $18 that blends cleanly.
Shop this idea:
9. Cream Highlighter On High Points
Style: Dewy | Budget: Under $20 | Best For: All skin tones
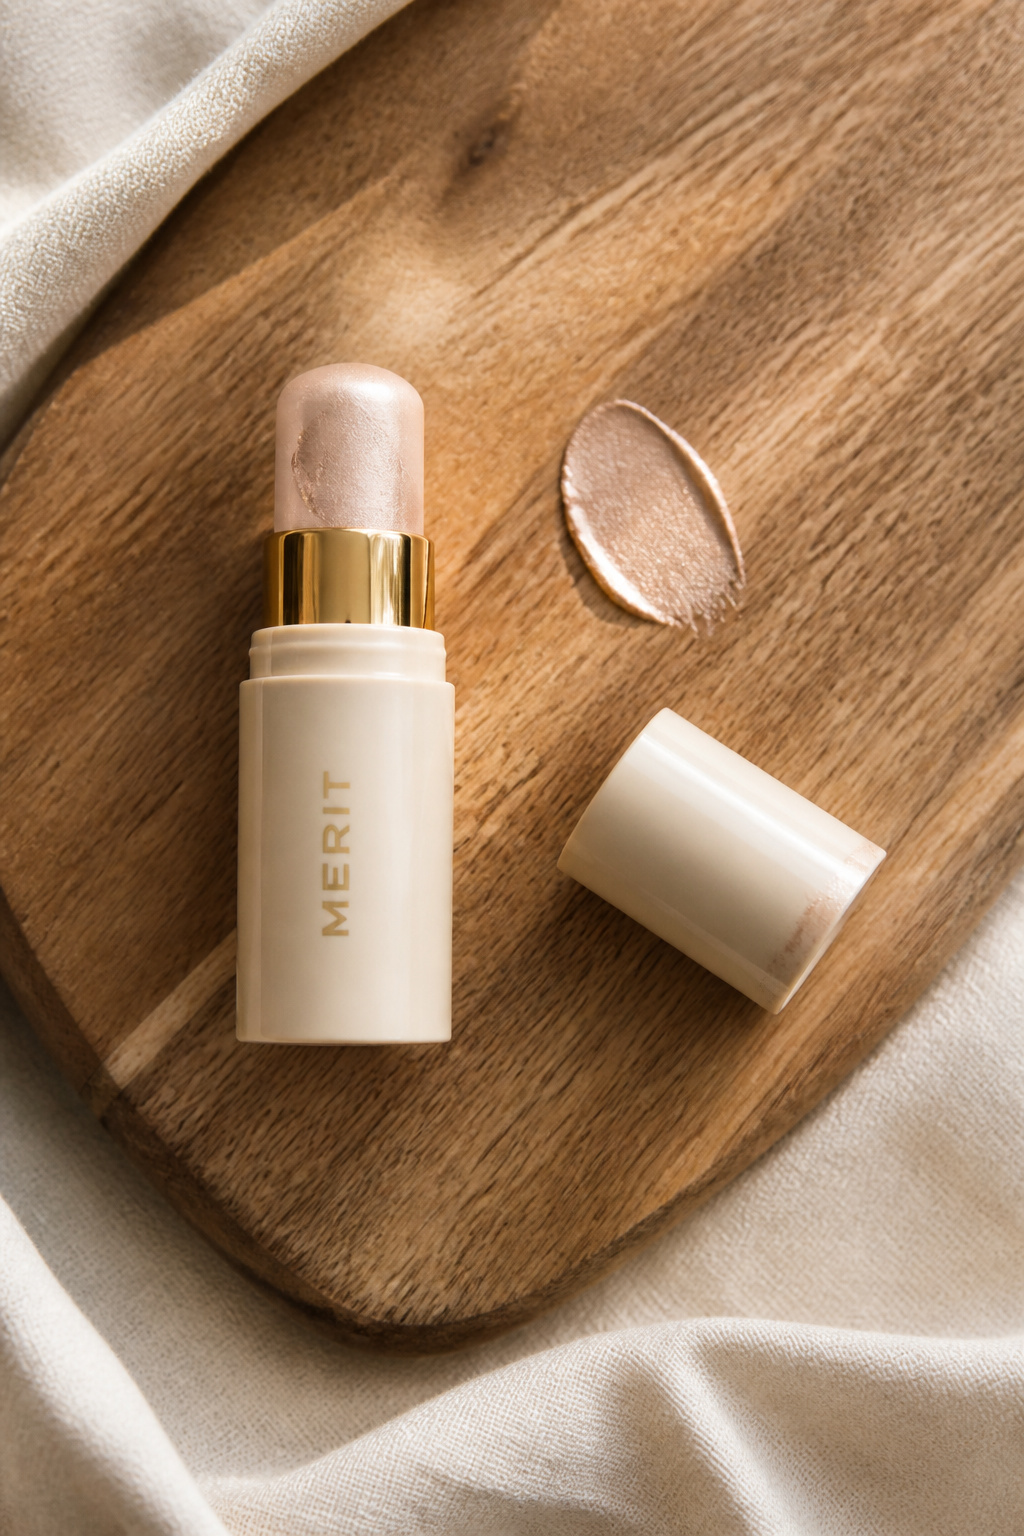

A cream highlighter blended into cheek hollows and brow bone reads natural on camera. I apply sparingly, then buff with a damp sponge to avoid shine spots. Tip: prefer pearlescent champagne for darker skin and soft gold for warm tones. Ugly truth: chunky glitter shows up as specks in photos. I bought a travel-size cream highlighter for $10 to $16.
Shop this idea:
10. Subtle Contour With Warm Bronzer
Style: Sculpted Natural | Budget: Under $30 | Best For: Round faces
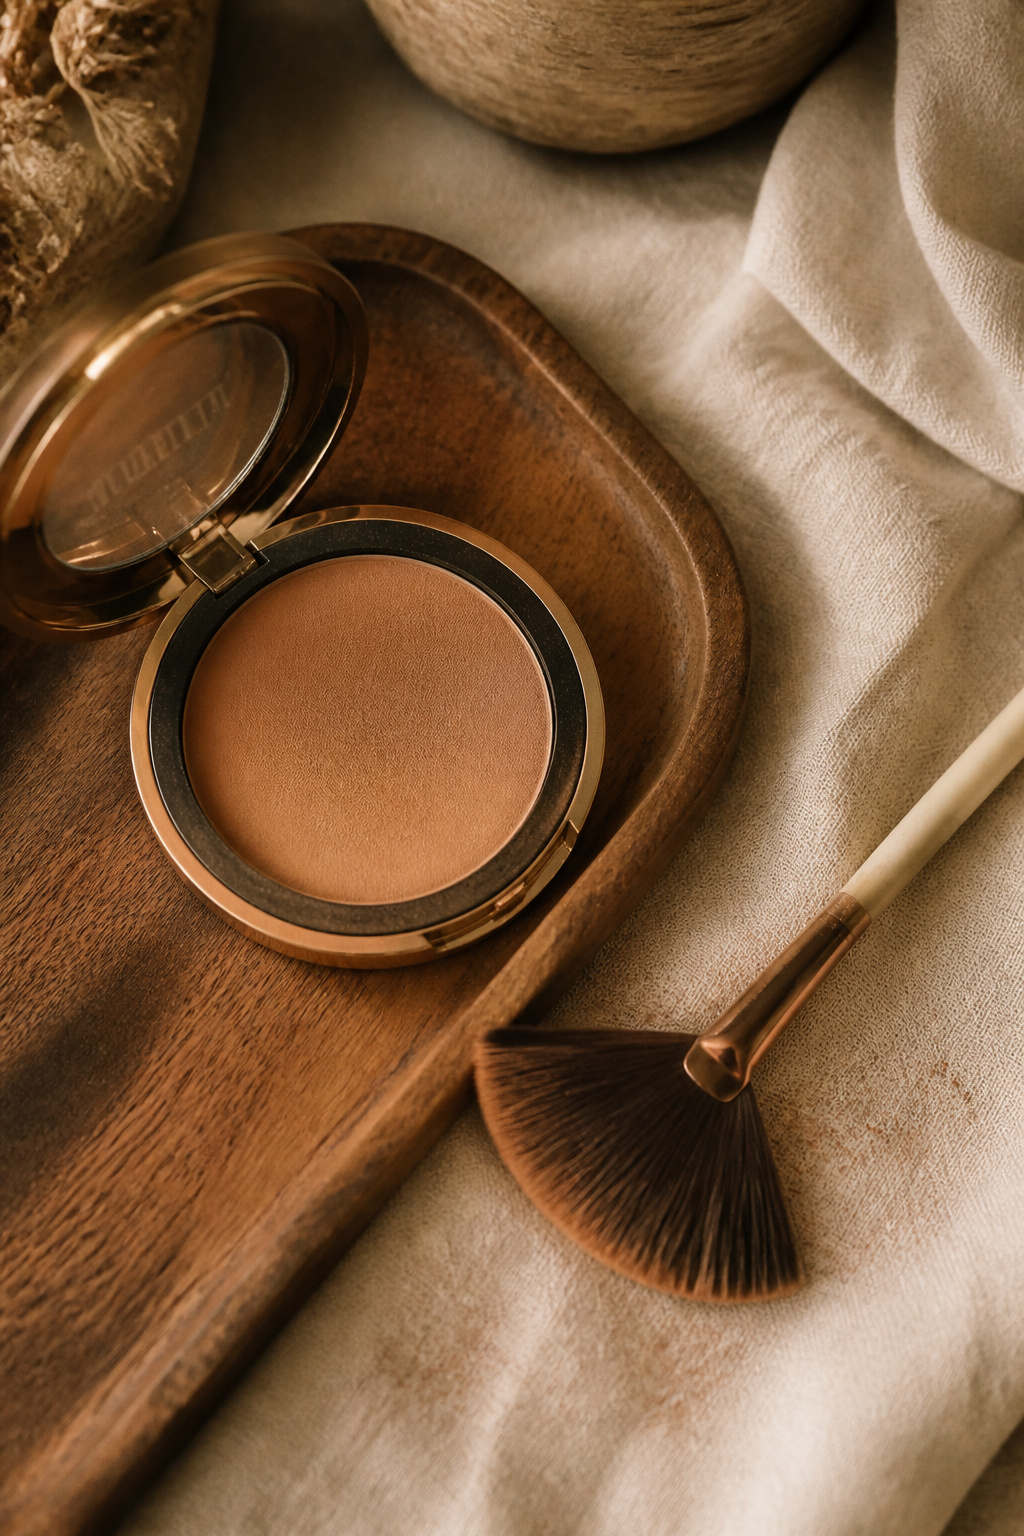

Soft contour using a warm matte bronzer sculpts without looking harsh. I apply under cheekbones, along jaw, and gently at temples, then blend up. Practical tip: contour with a fluffy brush and keep product two shades darker than your natural tone. One ugly truth: contouring with cool gray powders photographs muddy. My go-to bronzer cost around $18 to $30.
Shop this idea:
11. Polished Low Bun + Face-Framing Tendrils
Style: Classic | Budget: Under $40 | Best For: Medium to long hair
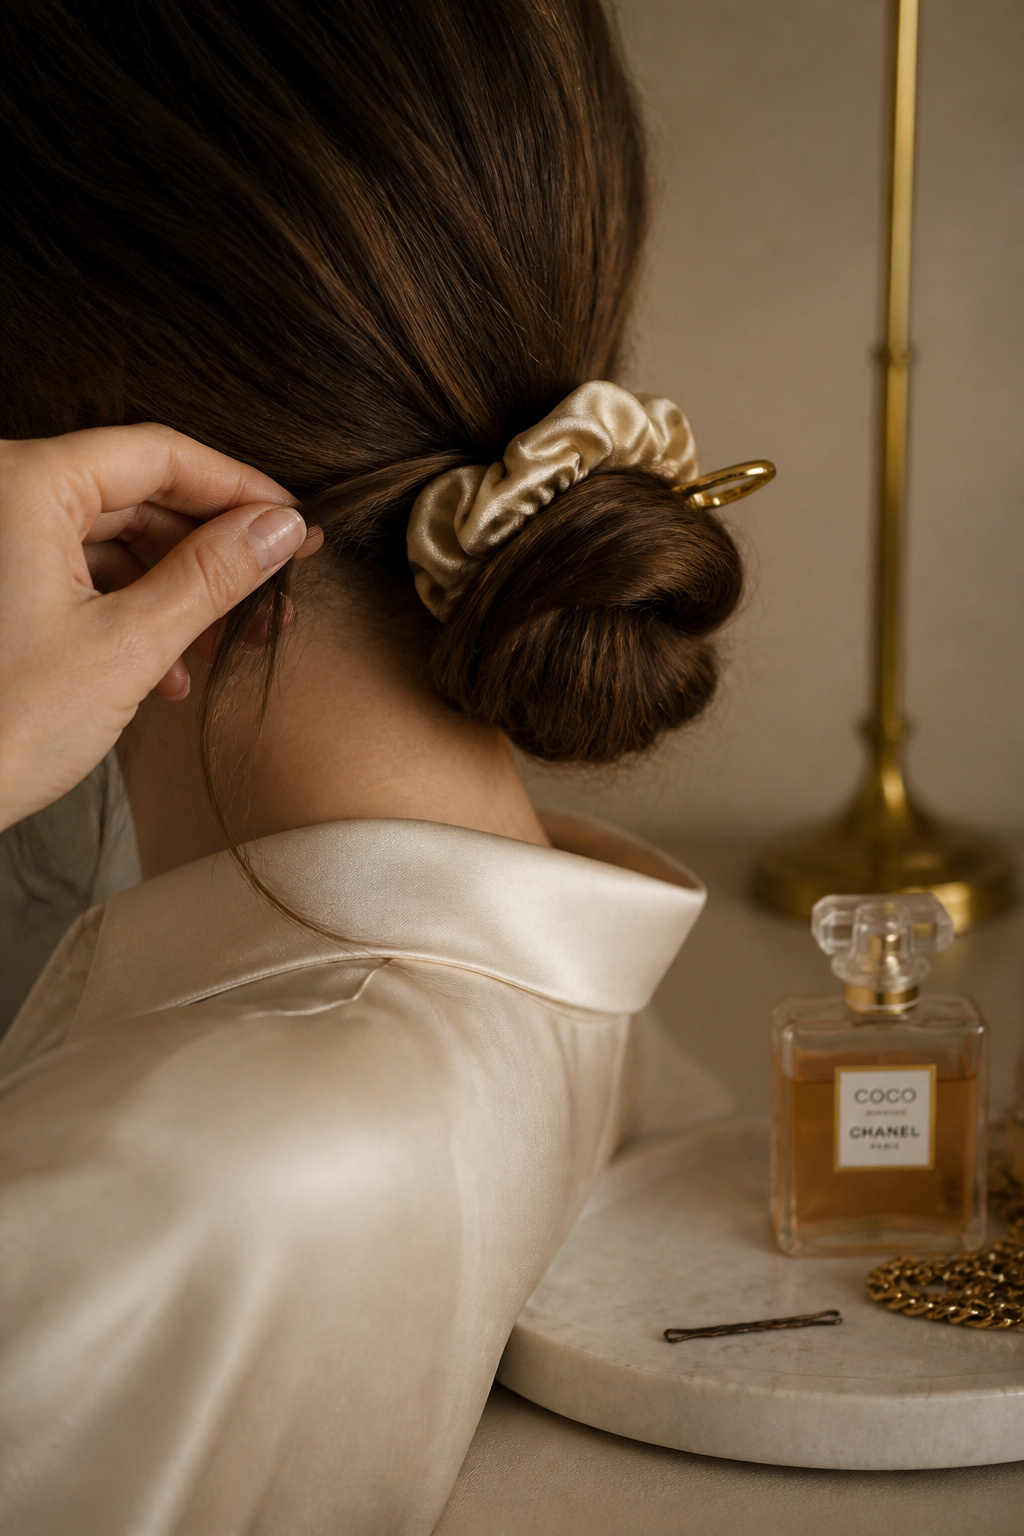

A low bun with wisps frames the face and softens photos. I secure a low bun with a silk scrunchie, pull two pieces forward, and mist lightly to tame frizz. Tip: avoid heavy hairsprays that make hair look helmet-like in pictures. I learned this after a prom where my updo looked stiff. My silk scrunchie and pins cost $8 to $22 together.
Shop this idea:
12. Satin Slip Dress + Minimal Jewelry Styling
Style: Old Money Vibe | Budget: Dress $40 to $120 | Best For: Evening homecomings
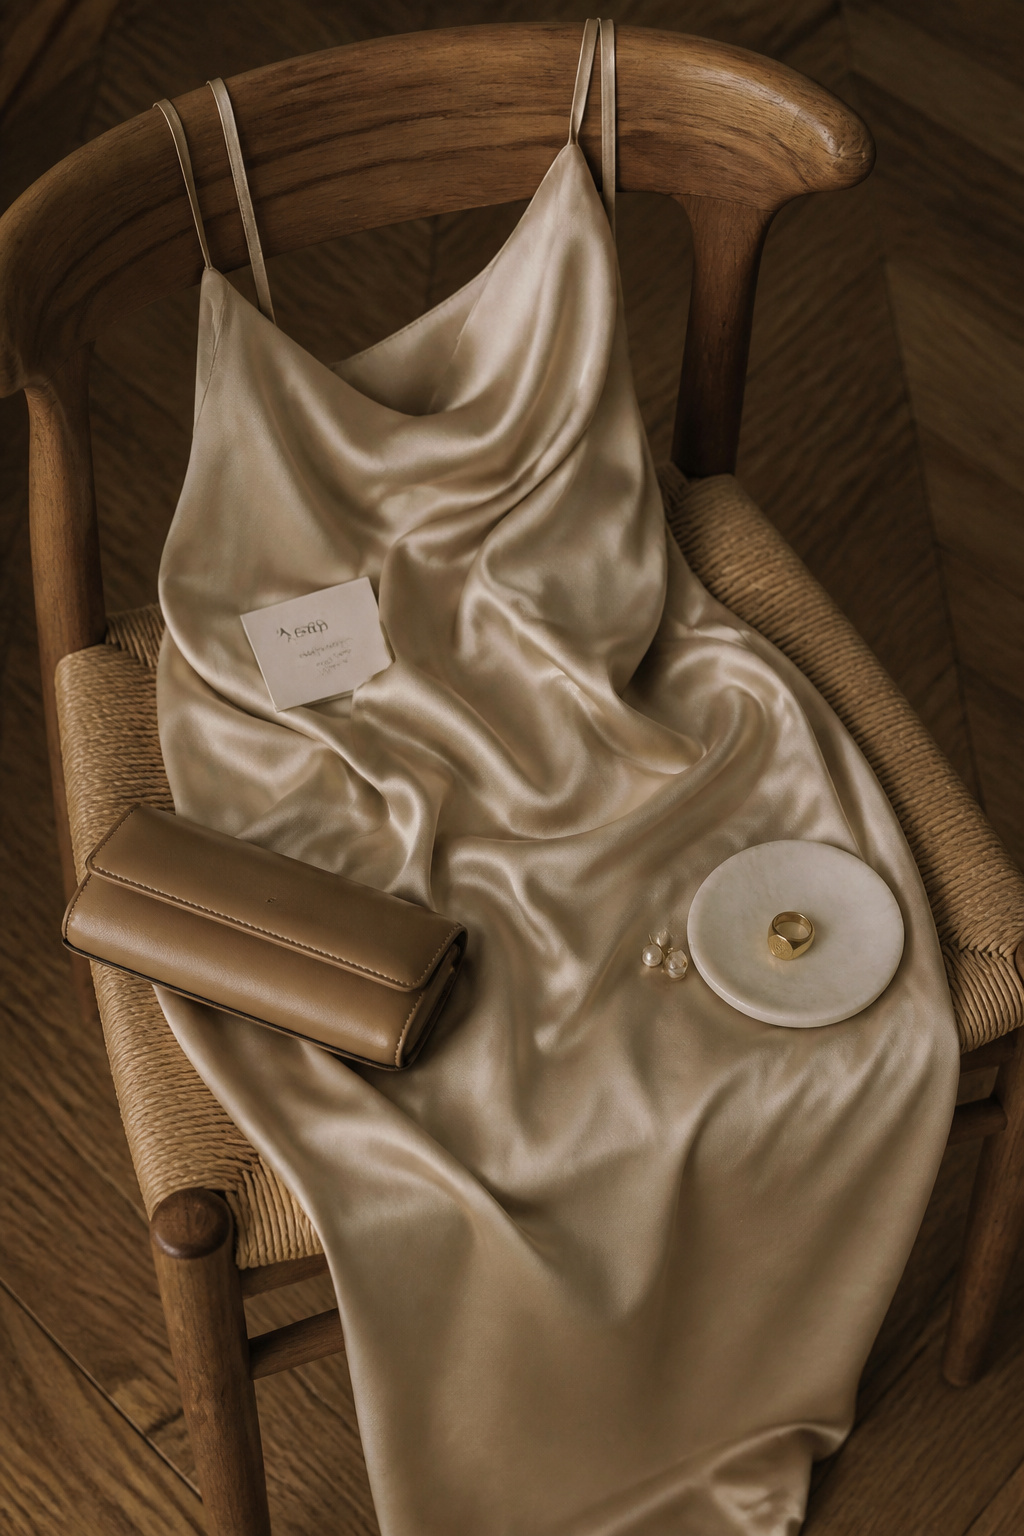

Satin photographs like luxury even if the price is modest. I pair a slip dress with a single pearl stud and slim clutch. Tip: steam the hem and sit carefully while taking photos to avoid wrinkles. One ugly truth: sequins can over-reflect, creating hotspots. I found a flattering satin slip around $40 to $80 and paired it with thrifted pearl studs.
Shop this idea:
13. Fresh-Faced With Tinted SPF And Powder Blot
Style: Photo-Ready Natural | Budget: Under $35 | Best For: Outdoor photos


Tinted SPF prevents white flashback and protects skin under golden-hour lights. I apply a thin tinted SPF, blot with oil-absorbing papers where needed, and set the center T-zone with a fine translucent powder. Tip: let SPF settle five minutes before powdering to avoid pilling. Ugly truth: many glowing primers contain SPF that flakes when layered. I keep a tinted SPF priced around $18 to $32 in my bag.
Shop this idea:
What You'll Need to Get This Look
Face & Base Essentials
- Tinted face serum light medium around $18 to $28
- Cream blush stick warm peach around $10 to $22
- Cream highlighter stick champagne around $10 to $16
- Translucent finishing powder around $8 to $25
Eyes, Brows & Lips
- Warm brown eyeshadow quad around $12 to $30
- Brown lengthening mascara around $10 to $22
- Tinted lip oil berry brown around $8 to $18
Clothing Staples
- Satin slip dress champagne around $40 to $120
- Silk scrunchie large around $6 to $18
- Pearl stud earrings small around $10 to $30
Shoes, Bags & Jewelry
- Slim leather clutch tan around $30 to $120
- Gold chunky hoop medium around $12 to $40
Budget Swaps
- Drugstore cream blush peach around $6 to $14 (drugstore dupe)
- Compact satin slip alternative around $20 to $45 (fast-fashion)
Shopping Tips for These Looks
Buy for September Timing: Shop tinted SPF and base products in August to catch back-to-school and homecoming sales, often with promo codes at Ulta. Tinted SPF medium coverage
Layer Textures, Not Colors: Use cream on cream then set the center with fine powder to keep a natural photo finish. Try a Cream highlighter stick champagne
Thrift Then Tailor: Find a satin dress at a thrift shop and get the hem tailored for under $30 to make it photo-ready. For pins and clips pick Gold hair pins set
2025 Trend Watch: Cream textures and tonal monochrome faces keep trending into 2025, so prioritize cream blush and lip oils over matte-only kits. See Cream blush stick warm peach
Dupe Hack: Swap a $60 bronze for a drugstore warm matte bronzer and gentle bronzing brush to get the same photo effect for $20. Try Warm matte bronzer medium
Avoid Over-Highlighting: Small amounts of cream highlighter go further than heavy powders, especially under phone flash. I recommend Mini cream highlighter champagne
Frequently Asked Questions
Q: How do I avoid white flashback in photos?
A: Use tinted SPF or a foundation without titanium dioxide zinc oxide in high concentrations. Try Tinted SPF medium coverage and wait five minutes before powdering.
Q: Can I wear cream blush if I have oily skin?
A: Yes, if you set lightly with translucent powder in the T-zone. A small cream-to-powder product works well, like Cream blush stick warm peach.
Q: What’s a quick fix for chapped lips before photos?
A: Exfoliate gently with a sugar scrub and apply a tinted lip oil; it smooths and adds photo-friendly shine. Try Tinted lip oil berry brown.
Q: How do I make eye makeup survive an evening of dancing?
A: Use a small layer of waterproof or long-wear brown gel liner and set with powder shadow to avoid transfer. I like Brown gel eyeliner pot.
Conclusion
Start small, like swapping powder blush for a $14 cream stick, and see immediate photo upgrades. My final tip is to test your look in phone flash and golden-hour light before the night; a quick photo catch will save you from heavy makeup mistakes. Which look do you want me to demo first for a step-by-step?