








My camera roll is full of saved makeup looks I actually wore, and I keep 17 of them for different moods and moments. These makeup looks helped me stop over-editing photos and instead capture the real-me version of glowy, polished, or playful. Most looks cost under $30, with a few splurges around $120 that I reach for when I want to feel extra put together.
I focus on wearable vibes: clean girl, soft glam, coquette, tonal dressing, and a couple bold moments. Most products are under $30; a few investment pieces hit $120. These suit mixed skin tones, petite frames, and everyday photoshoots. Also, I’ve noticed cream textures and glossy lids are still growing in 2025.
1. Cream Blush Trio For Lit-From-Within Glow
Style: Clean Girl | Budget: Under $30 | Best For: Dry to normal skin


The result is a soft, skin-like glow that survives a quick coffee run and a few photos. I use a warm peach stick on my cheeks and dab the leftover on lids for a tonal look. The trick is to warm the product on your ring finger before tapping; it blends like second skin. I once bought a three-pack at Ulta during a sale for about $18 to $28 and never looked back.
Shop this idea:
2. Soft Brown Smokey Eye For Every Night Out
Style: Soft Glam | Budget: Under $40 | Best For: Hooded eyes / Brown eyes
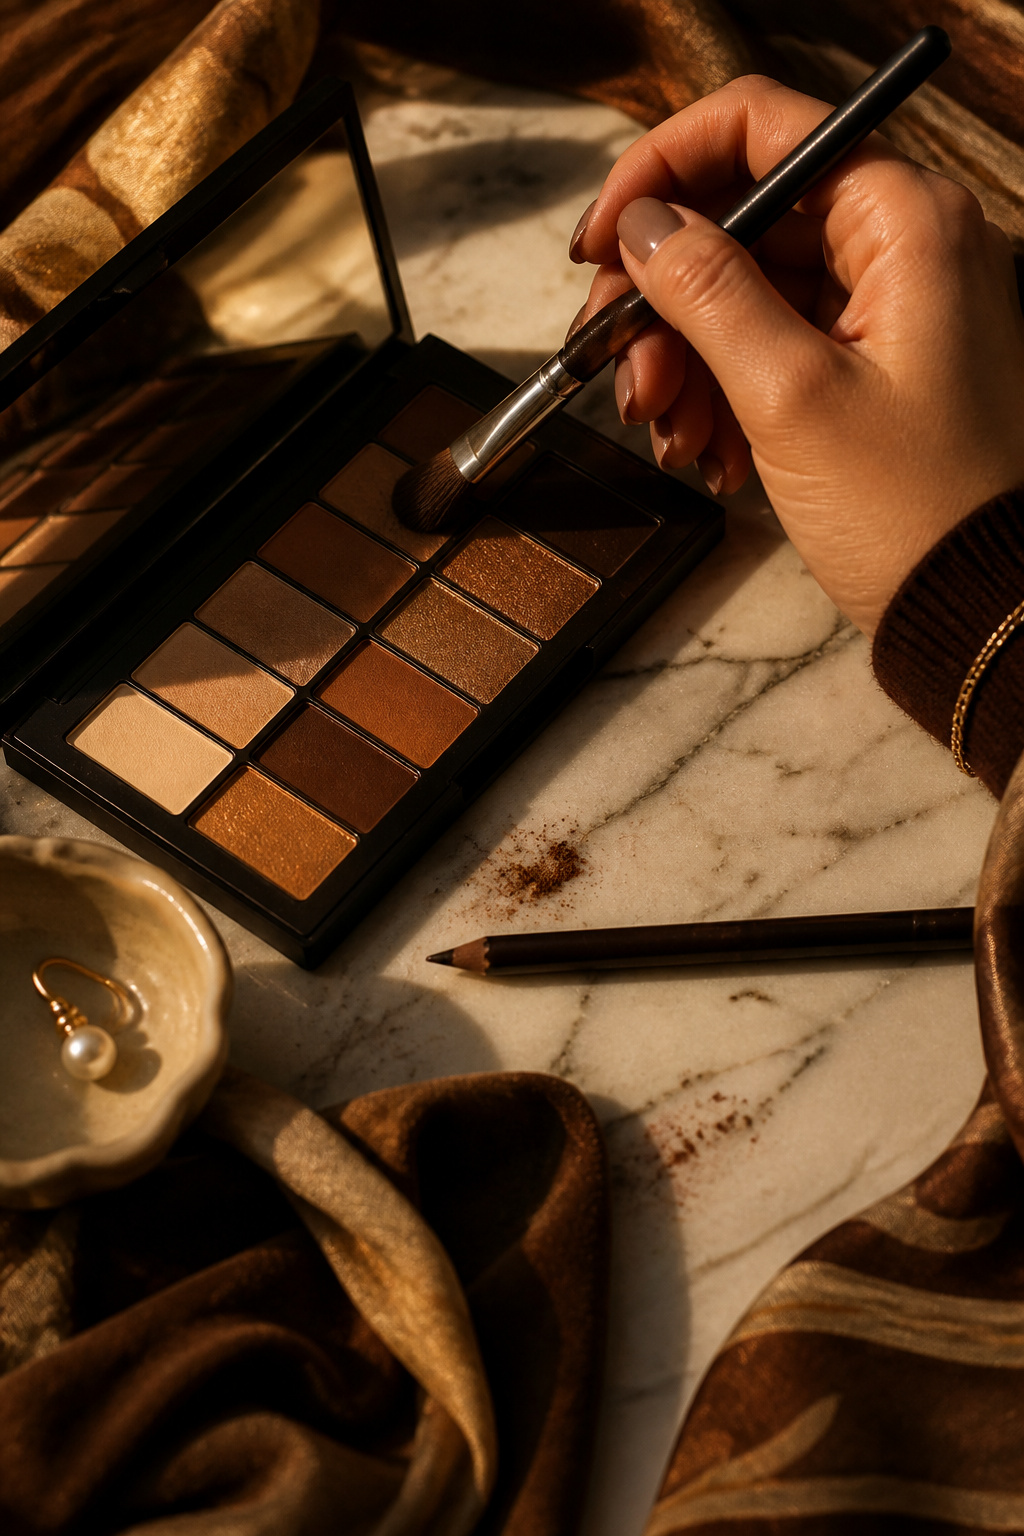

This warm brown smokey is not about heavy black liner. Use a matte caramel lid, deepen the outer V with chestnut, and smoke the lower lash line with a smudged brown pencil. Apply a thin waterproof liner on the waterline if you want more pop. I learned the hard way that powder black liner makes my eyes look smaller. Spent $24 on a tiny palette that lives in my clutch.
Shop this idea:
3. Glossy Lid And Dewy Skin For Daytime Dates
Style: Bright & Airy | Budget: Under $35 | Best For: Combo to dry skin
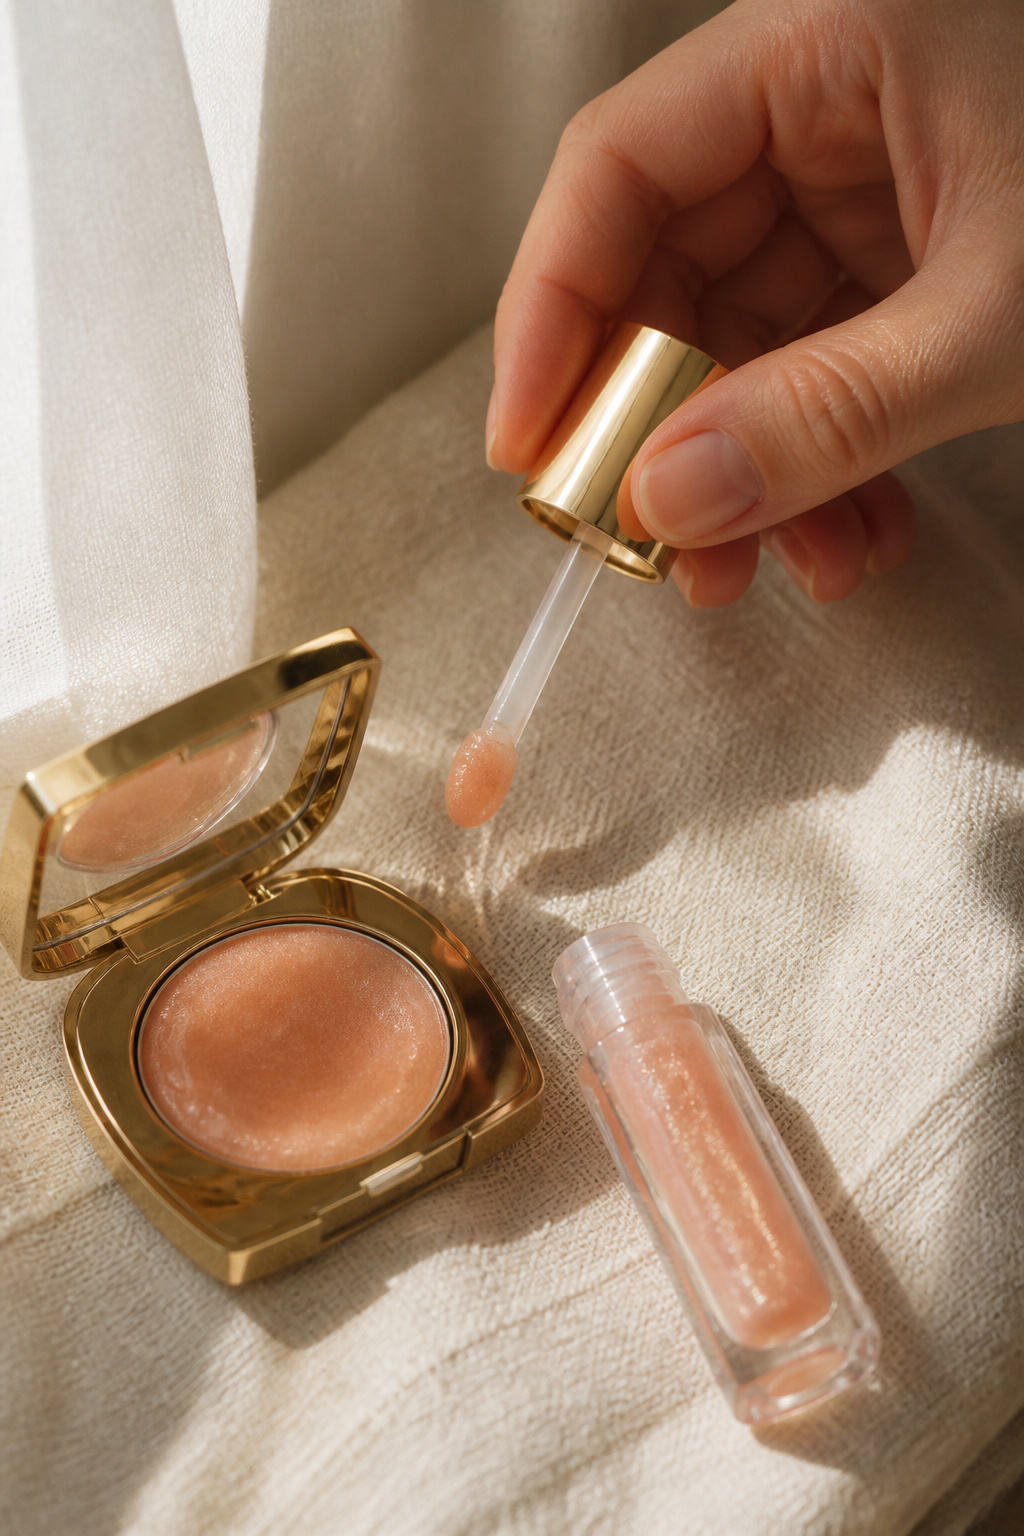

Dewy skin plus a glossy lid photographs like a soft filter. I start with hydrating primer, light medium-coverage tinted moisturizer, then use a dab of clear glossy eyeshadow on the center of the lid. The ugly truth is this: glossy lids crease quickly if you skip primer. I pack the look for brunch and retouch with a cotton swab. Spent $14 to $22 on the gloss that doubles as a lip topper.
Shop this idea:
4. Minimal “No-Makeup” Makeup With Brow Focus
Style: Clean Girl | Budget: Under $25 | Best For: Sparse brows / Busy mornings
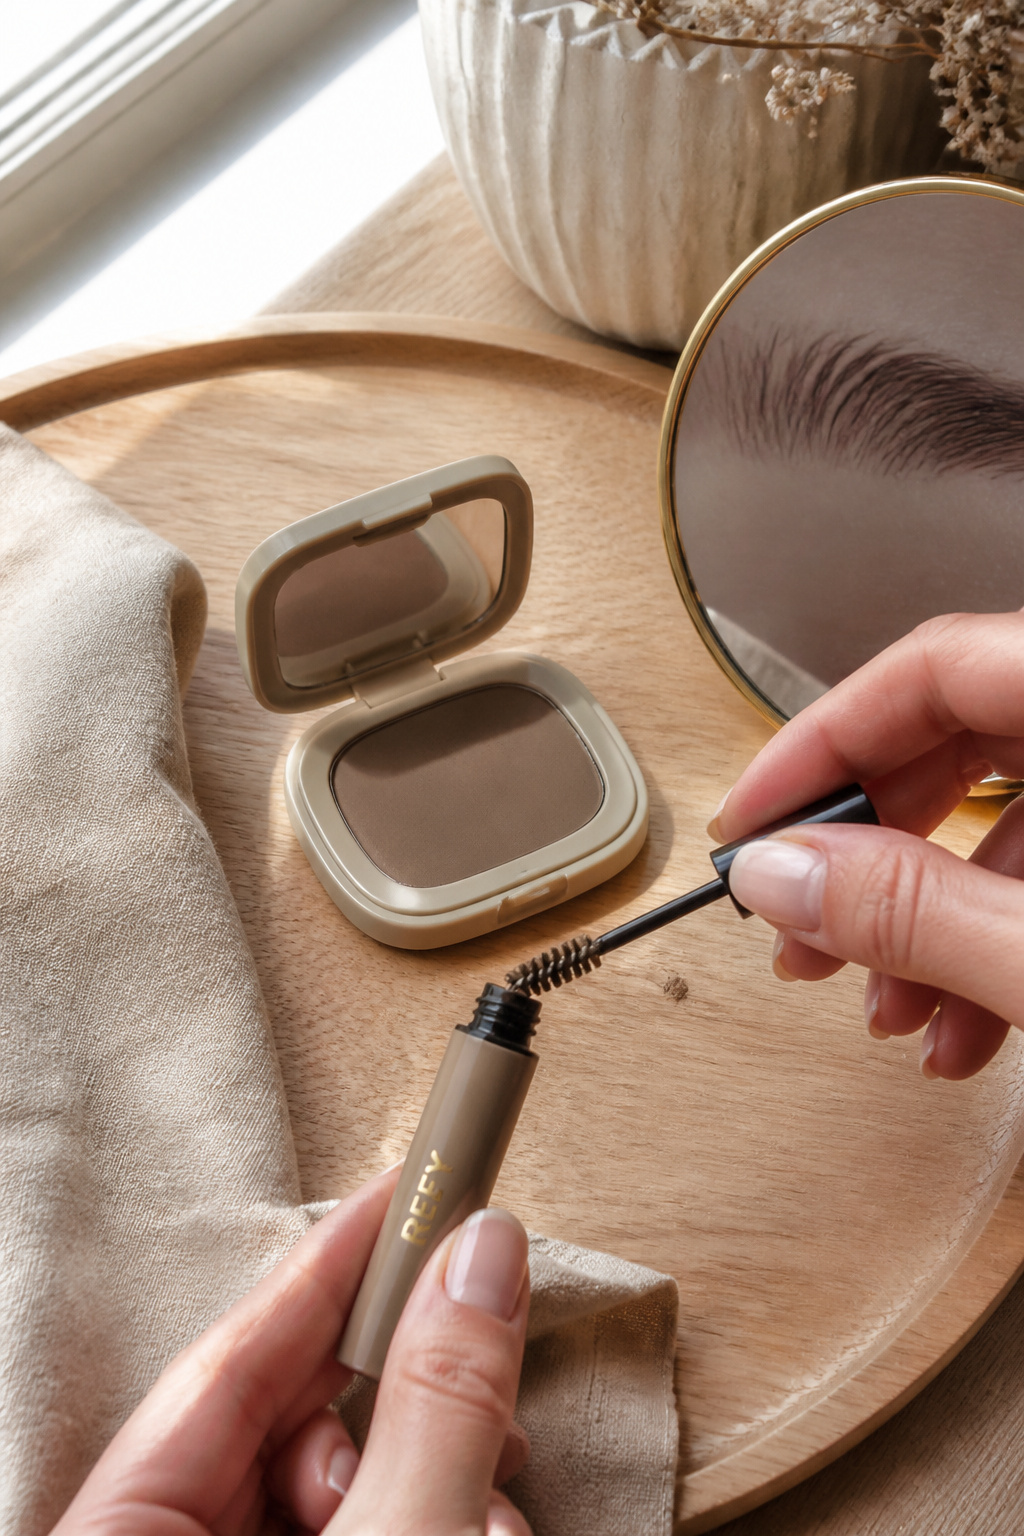

Result: polished but like you didn’t try. The trick is tinted brow gel brushed upward and a single sweep of sheer concealer under the arch. Nobody tells you this, but filling brows too dark is the fastest way to look made-up. I once ruined a photo because I overfilled my tail. I keep a travel brow gel for $12 to $18 in my bag.
Shop this idea:
5. Cherry Lip And Simple Eye For Bold Energy
Style: Bold & Saturated | Budget: Under $20 | Best For: Fair to medium skin tones


A saturated cherry lip photographs instantly editorial. I pair it with feathered brows and coat-on-coat mascara rather than heavy shadow. The ugly truth is red will show dry, so exfoliate first with a cheap scrub. I found my favorite inexpensive tint at a drugstore on a whim for about $9 to $14 and it stayed put through dinner.
Shop this idea:
6. Tonal Brown Monochrome For Effortless Photos
Style: Tonal / Classic | Budget: Under $35 | Best For: Warm undertones
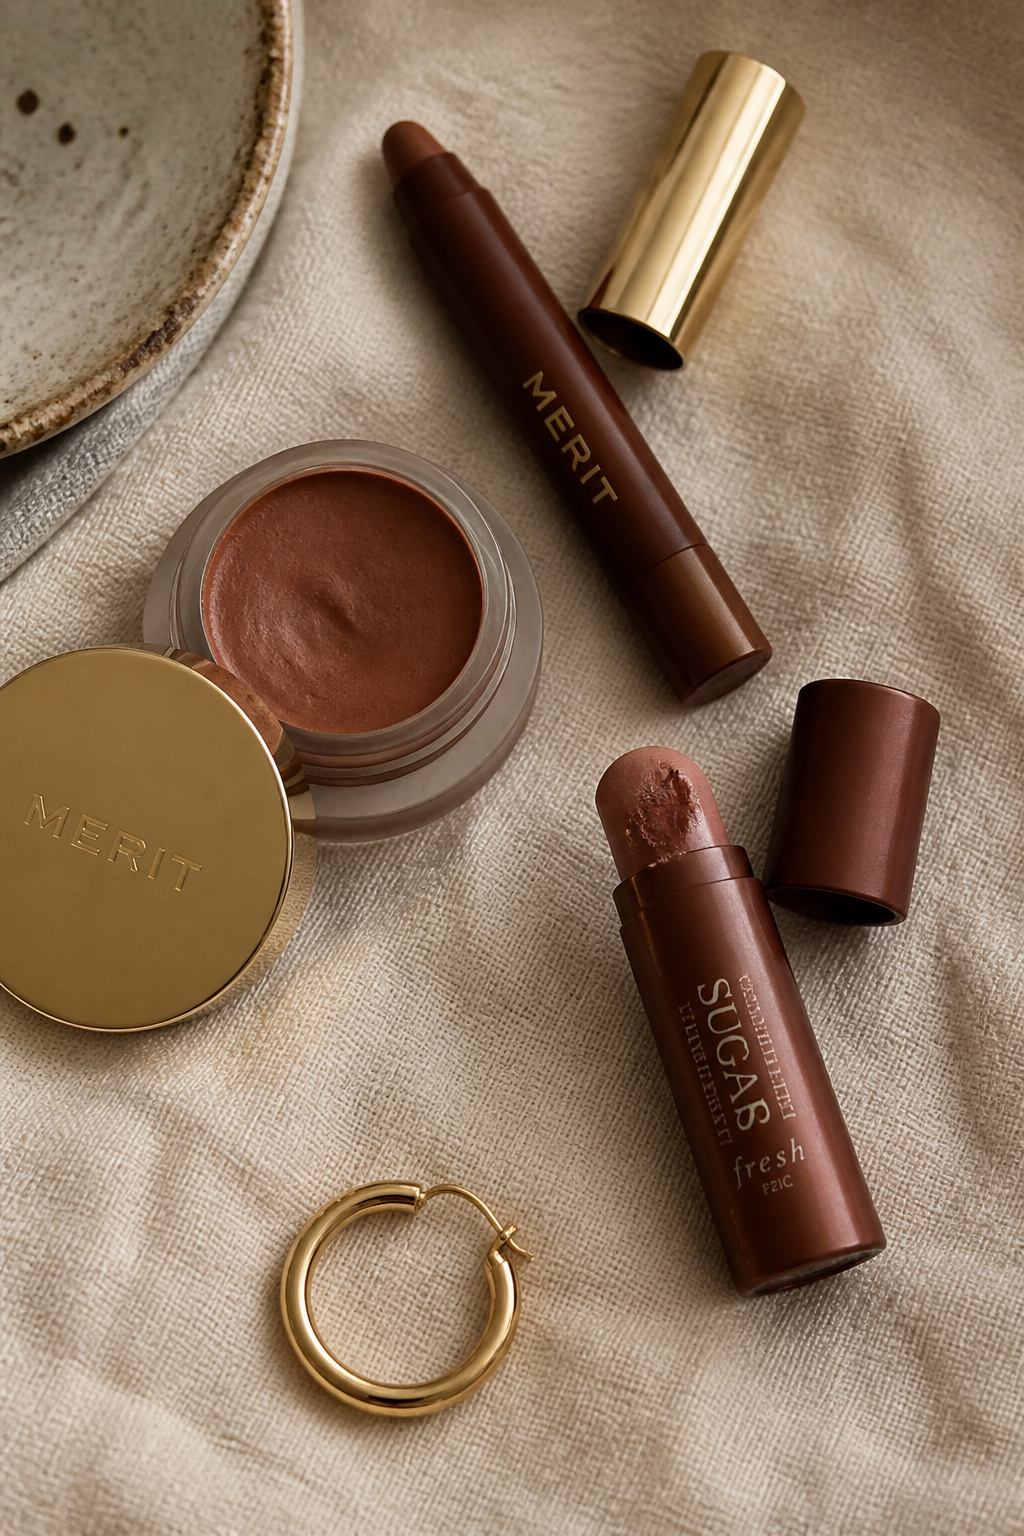

Tonal makeup makes you look curated without effort. I use a cocoa eyeshadow stick, warm brown blush, and a caramel lip tint for a one-color finished face. Tip: match your lip and cheek undertones for photos. I learned that matte-only faces read flat on camera. I bought a cocoa stick at Sephora for about $22 to $30.
Shop this idea:
7. Glossy Brown Liner With Natural Lashes
Style: Clean Glam | Budget: Under $30 | Best For: Small eyes / Monolid


Brown liner with a glossy finish softens the eye and keeps lashes the focus. I tightline with a waterproof brown then press a touch of gloss in the center lid for reflected light. Practical tip: avoid glossy liner all over the lid; it can pill. I picked up a glossy brown pencil on Amazon for $10 to $16 and it became my weeknight staple.
Shop this idea:
8. Sun-Kissed Bronzer And Flushed Cheeks
Style: Outdoor / Warm | Budget: Under $30 | Best For: Olive skin / Tan
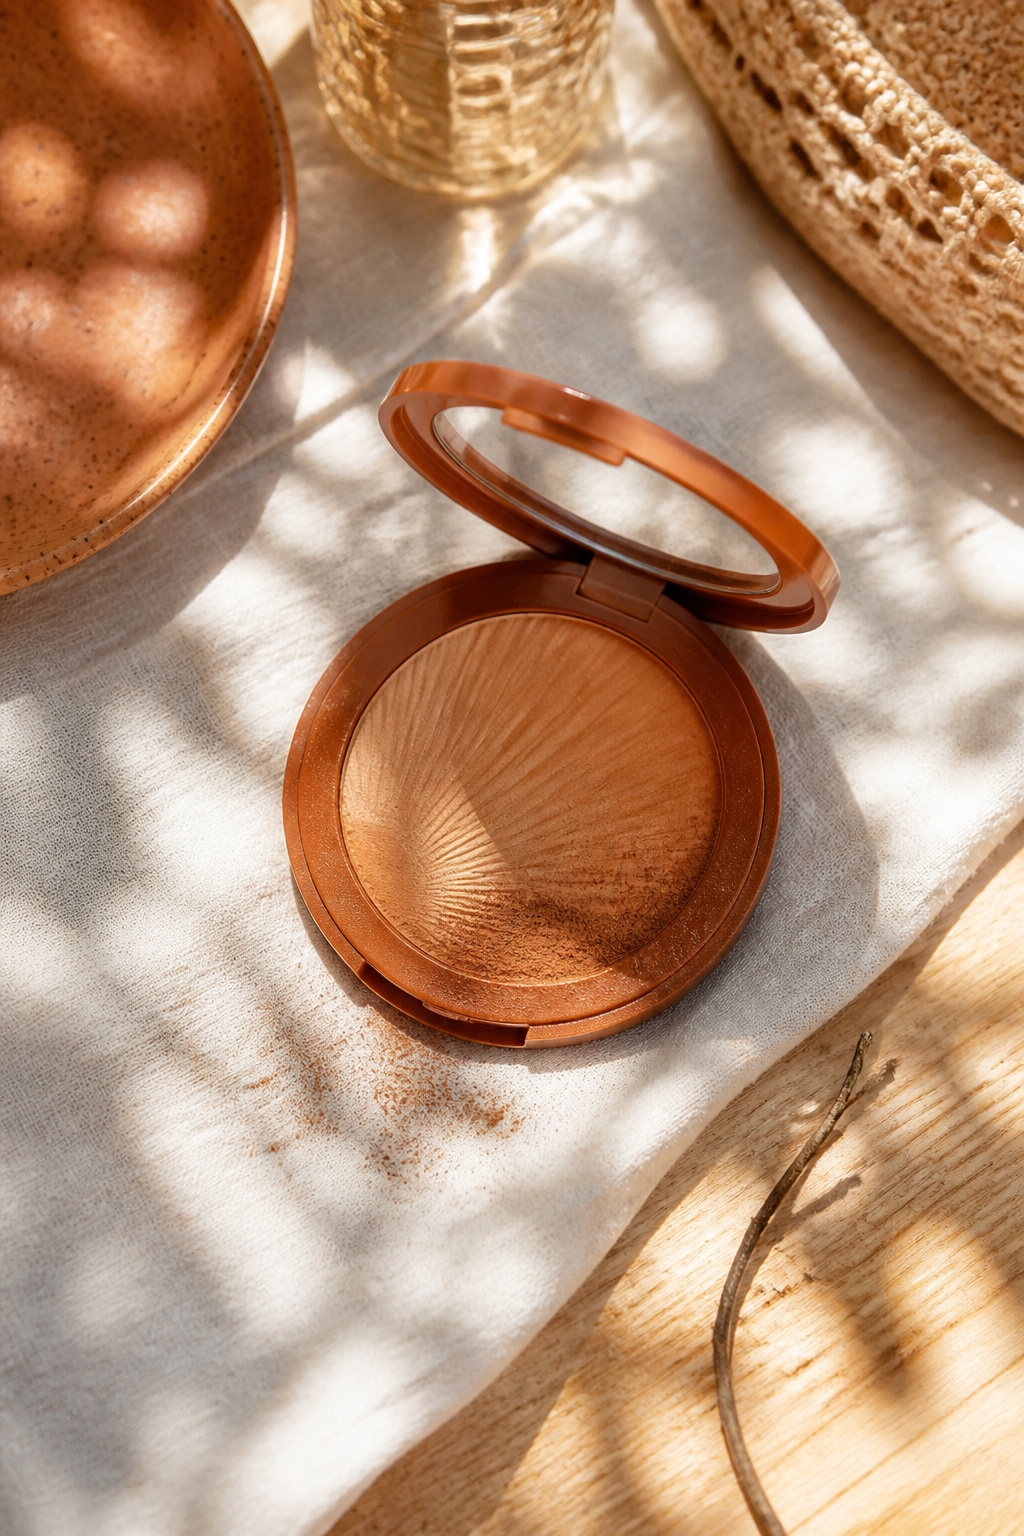

Bronzer first, blush second is my summer trick. I lightly bronze the hollows and temples, then add a peachy blush to the apples for a healthy contrast. Mistake to avoid: heavy matte bronzer across the whole forehead. I paid $16 to $26 for a travel bronzer that doubles as eyeshadow in a pinch.
Shop this idea:
9. Soft Cut Crease With Subtle Glitter
Style: Night Out | Budget: Under $45 | Best For: Hooded / Deep set eyes
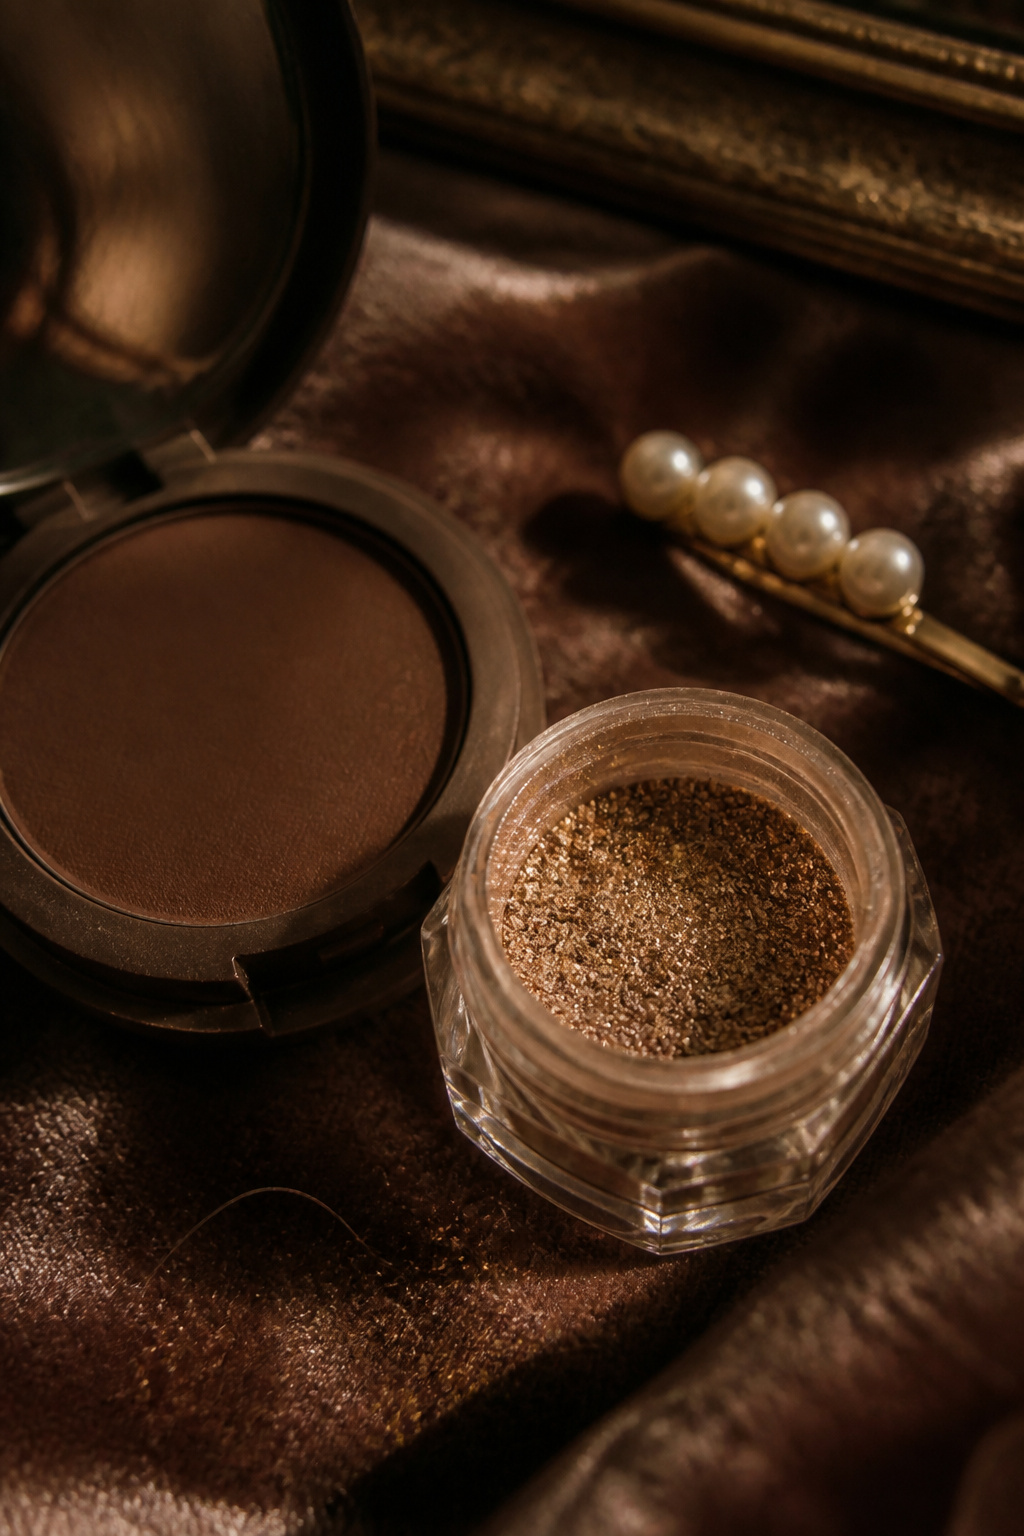

A soft cut crease lifts my eyes in photos without feeling heavy. I use a matte base for definition and press a tiny low-sheen glitter into the center of the lid. Real talk: chunky glitter is a photo nightmare. I learned to use finely milled glitter after a festival mishap. The compact I love was about $28 to $42.
Shop this idea:
10. Peachy Monochrome For Fresh Weekend Vibes
Style: Coquette / Soft | Budget: Under $30 | Best For: Fair to medium


Peach on cheeks, lids, and lips makes pictures feel cohesive. I prefer cream peach blush applied with fingertips and a sheer peach tint for lips. Ugly truth: peach can look washed out on cool undertones. I snagged my favorite peach tint during a flash sale for $11 to $18 at an online retailer.
Shop this idea:
11. Smudged Black Liner And Glossy Lips For Edge
Style: Edgy | Budget: Under $30 | Best For: Night photos / Statement looks


Smudged black liner feels intentionally undone and photographs cool. Use a creamy black pencil and smudge with a small brush, then pair with a reflective lip gloss. Mistake I made: pairing smudged black with matte lips felt dated. I prefer a glossy finish and spent $15 to $25 on a multifunctional eyeliner.
Shop this idea:
12. Dewy Bronzed Face With Sculpted Brows
Style: Glam | Budget: Under $50 | Best For: Medium to deep skin tones


This look gives dimension without heavy contour. I bronze the face with a creamy bronzer, sculpt the temples lightly, and set sparse brows with a tinted pomade. Honest moment: over-contouring once made my face read flat in photos. Keep it soft and layered. I bought a high-quality cream bronzer for $36 to $52 and still reach for it.
Shop this idea:
13. Popped Inner Corner With Natural Skin Finish
Style: Fresh / Daytime | Budget: Under $25 | Best For: Tired eyes / Pale skin
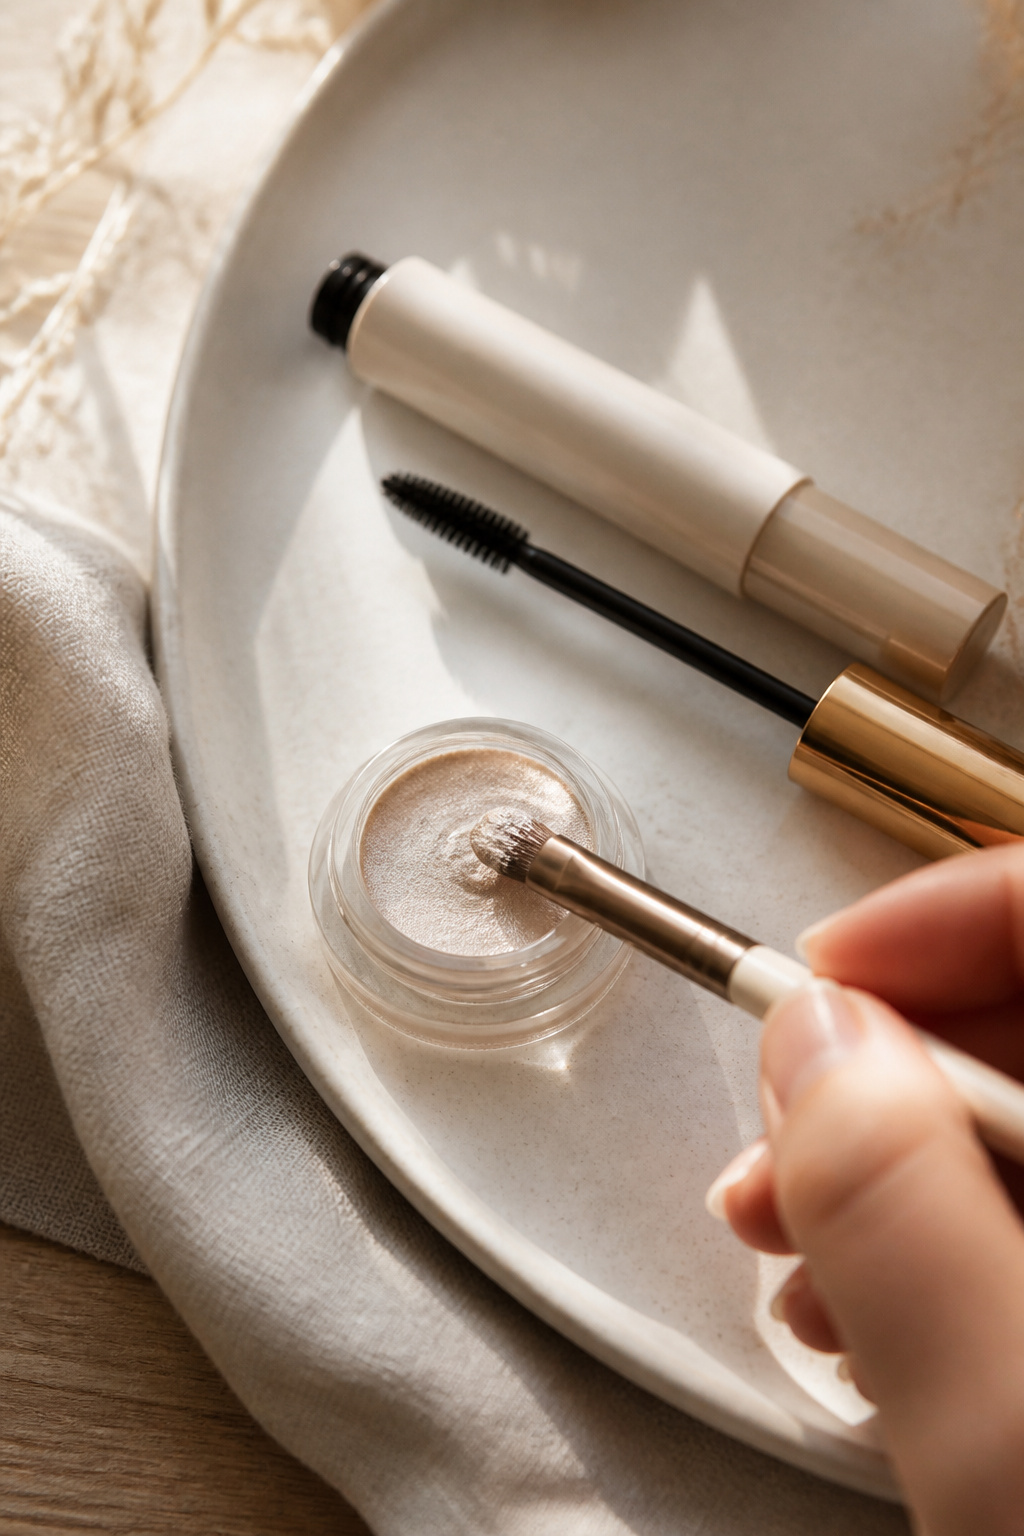

A bright inner corner trick wakes up photos. I tap a pearly highlight into the inner eye and blend with a clean brush. It’s one of the quickest ways to look awake. Ugly truth: too much sparkle looks cheap on camera, so stick to fine pearl. I picked a multi-use mini highlighter for $9 to $16 at a drugstore.
Shop this idea:
14. Subtle Wing With Rosy Lips For Special Occasions
Style: Romantic | Budget: Under $35 | Best For: Date nights / Photos with warm light
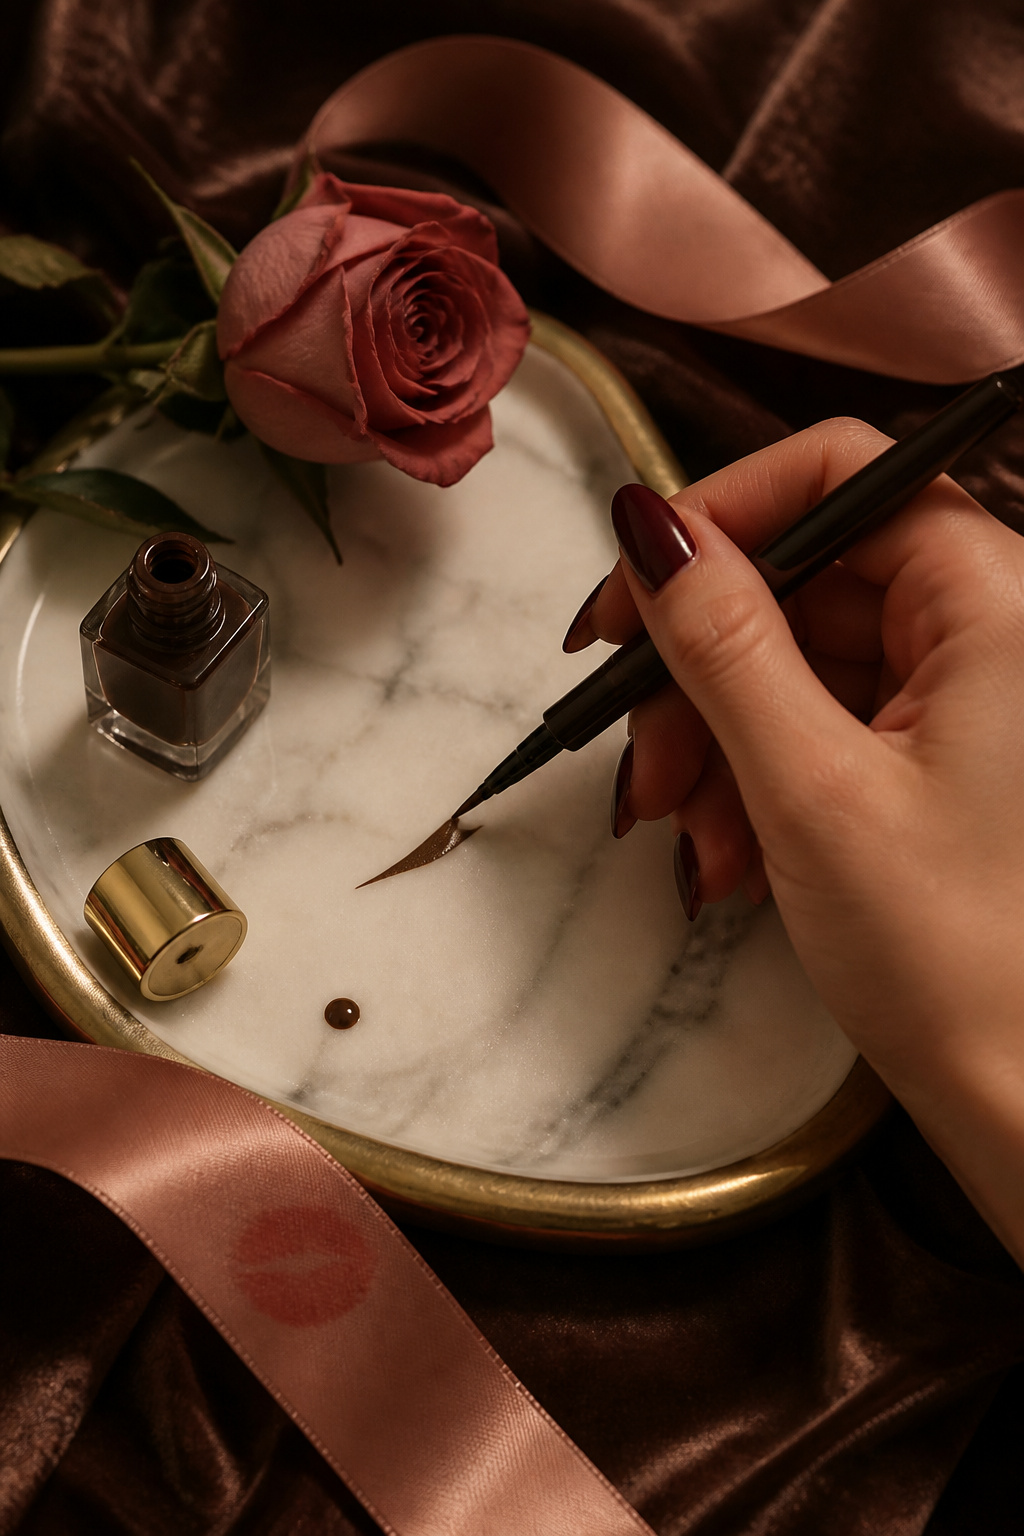

Thin wings lift the eye and pair beautifully with a rosy satin lip. I use a fine-tipped brown liquid liner and finish with a soft rose lip stain. The trick is to keep the wing short and slightly upward. I once over-extended a wing and the photo read theatrical. My liner cost $12 to $19 and lasts all evening.
Shop this idea:
15. Bronze Smokey With Glossed-Out Center
Style: Evening Glam | Budget: Under $45 | Best For: Deep eyes / Photogenic nights
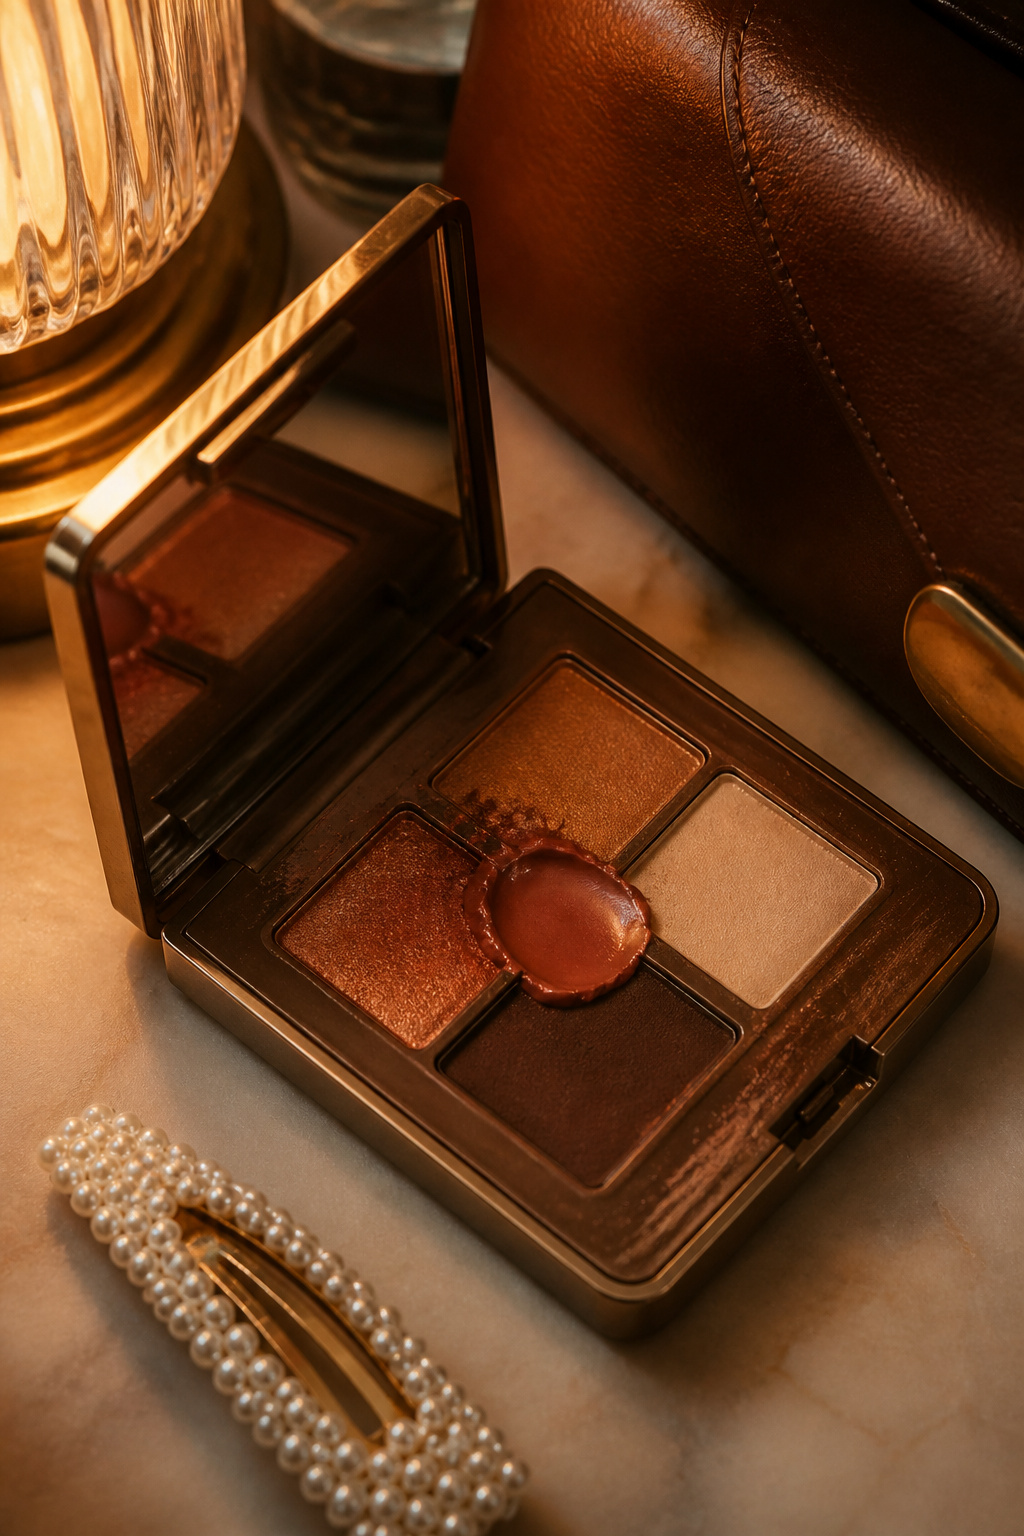

Bronze tones catch flash beautifully. I blend matte bronze into the crease and press a reflective gloss into the center of the lid. Pro tip: blot excess gloss so it doesn’t migrate. I once went to a wedding with glossy fallout all evening. The palette was $30 to $45 and feels editorial in photos.
Shop this idea:
16. Fresh Face With Soft Pink Lip And Pearl Earring
Style: Soft Classic | Budget: Under $40 | Best For: Interviews / Day events
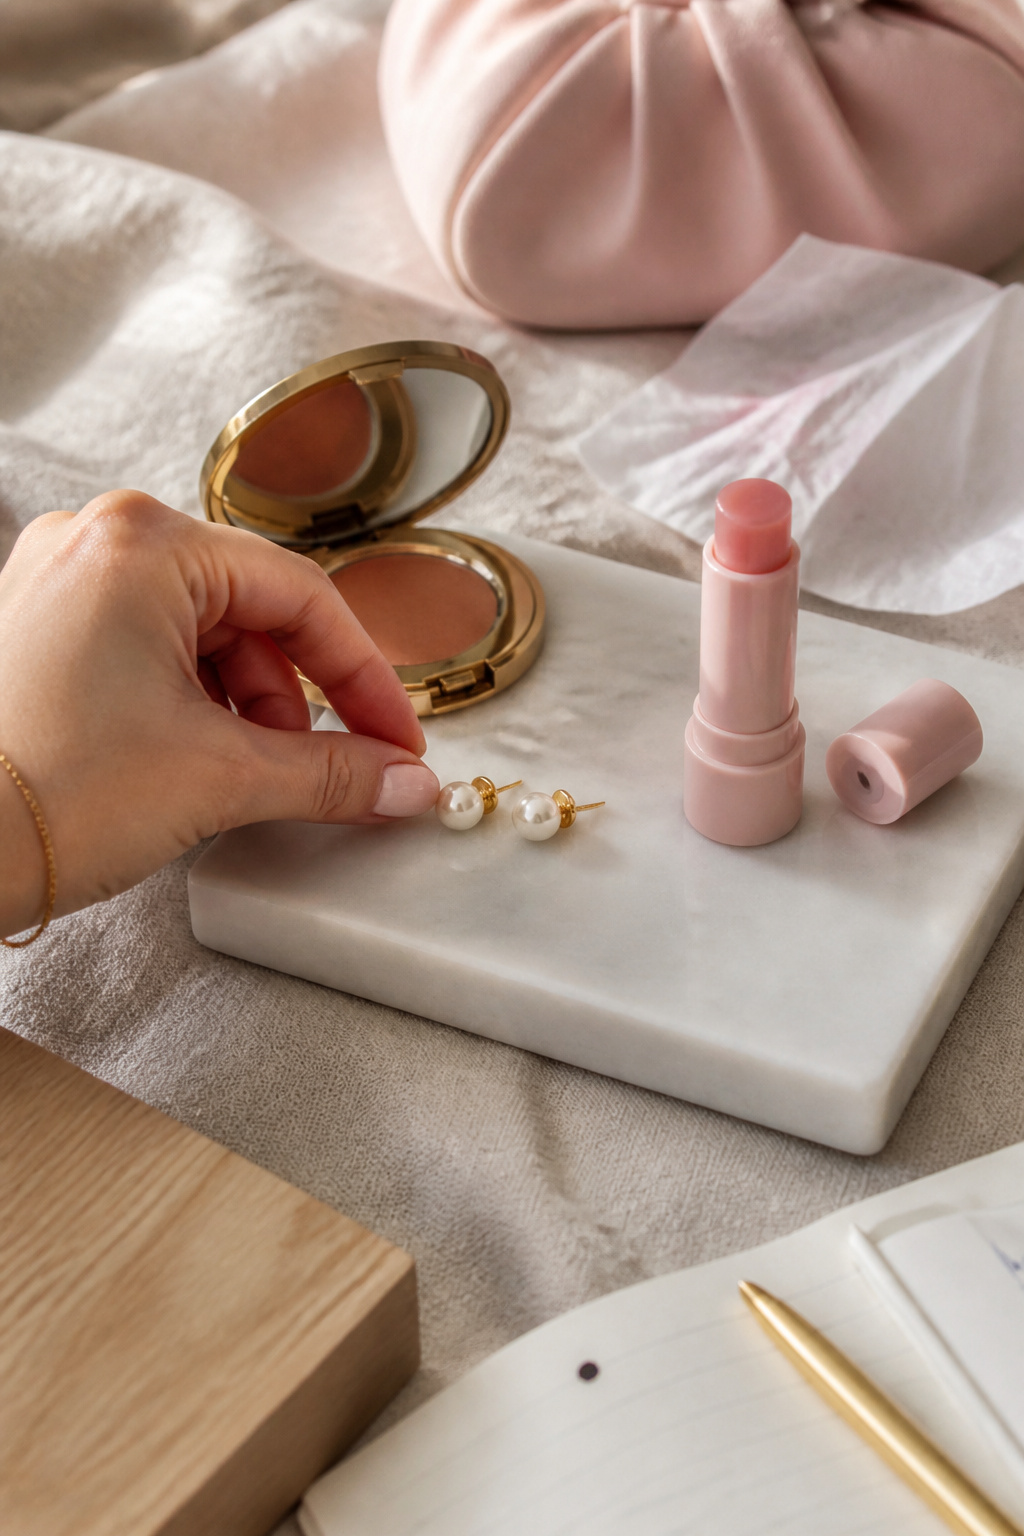

This look reads polished in headshots without feeling overdressed. A sheer pink lip, clean brows, and a pearl earring create a balanced frame. I learned that matte heavy lips make you look older in some lighting. My go-to pink balm cost $8 to $14 and gets compliments every time.
Shop this idea:
17. Monochrome Black Outfit With Strong Lip
Style: Capsule / Elevated | Budget: Outfit $60 to $120 | Best For: City nights / Minimalists
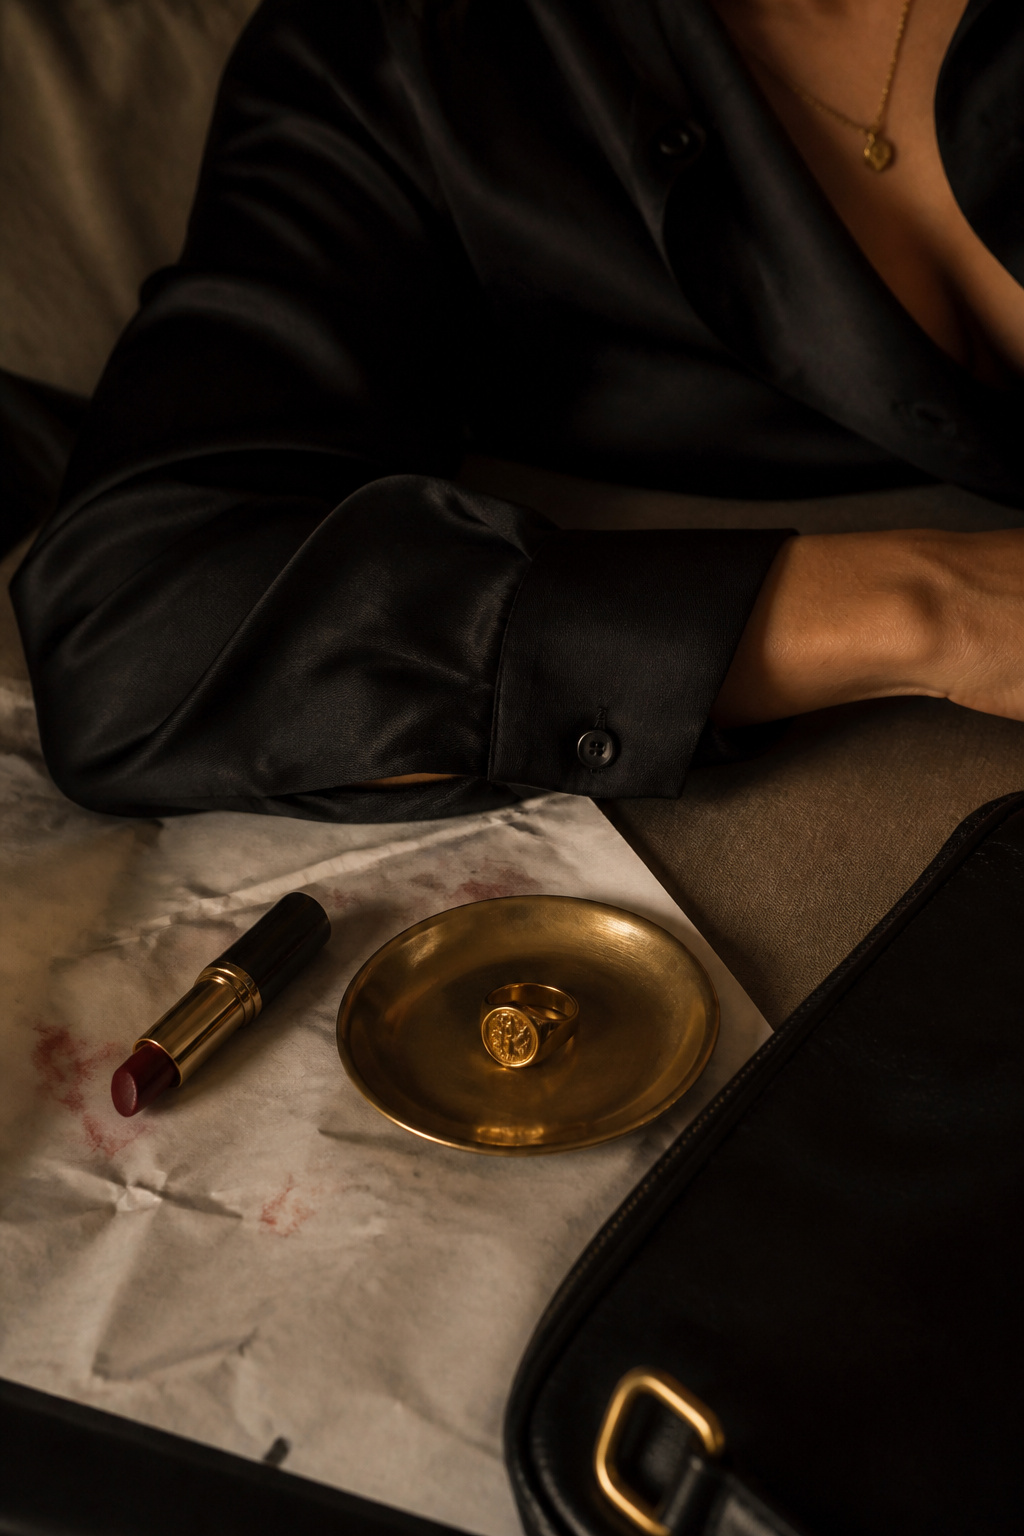

A simple black outfit and a strong lip create a powerful image. I pair a deep burgundy lip with minimalist eye makeup and a gold signet ring. Practical tip: blot lipstick on a tissue to avoid transfer onto collars. I bought the silk blouse on sale for about $60 to $120 and it elevated every photo.
Shop this idea:
What You'll Need to Get This Look
Face & Base Essentials
- Tinted moisturizer light to medium around $12 to $28
- Cream blush stick warm peach around $10 to $24
- Cream bronzer stick deep around $16 to $36
- Sheer concealer stick light approx $8 to $18
Eyes, Brows & Lips
- Neutral eyeshadow quad warm brown approx $12 to $30
- Tinted brow gel taupe around $10 to $18
- High shine lip gloss clear $8 to $20
Clothing Staples
- Cream cashmere crewneck sweater approx $60 to $120
- Straight leg high waist jeans around $40 to $90
- Silk blouse black approx $45 to $120
Shoes, Bags & Jewelry
- Leather tote bag tan around $80 to $200
- Gold chunky hoop earrings $12 to $40
- Pearl stud earring single approx $10 to $30
Budget Swaps
- Drugstore blush cream peach similar at Ulta on rotating sale
- Affordable brown eyeshadow stick great dupe for $8 to $14
- Mini travel mascara pocket friendly $6 to $12
Shopping Tips for These Looks
Buy during beauty events: Stock up at Sephora VIB or Ulta 21 Days of Beauty for travel sizes and seasonal markdowns, like the cream blush sets linked Cream blush stick warm peach.
Thrift and tailor: Find silk blouses or vintage pearl studs at thrift stores, then tailor for a polished fit. I paired a $10 thrift blouse with new earrings and it read luxe.
Layer cream then powder sparingly: Use cream color first, then set only where needed to keep that dewy camera-friendly finish. Try the Cream bronzer stick deep.
Timing matters for trends: Buy glossy lids and cream blushes before season shifts; 2025 favored cream textures and glossy accents, I noticed them in editorials and street style.
Use multi-use minis: Pick multi-use products for travel and quick edits; a cream blush that doubles as lip tint saves bag space and money. See Peach cream blush stick.
Frequently Asked Questions
Q: How do I make cream products last all day?
A: Layer a thin powder in oily zones only, and use a hydrating primer under creams. Try the Tinted moisturizer light to medium for a long-wearing base.
Q: Which lip color photographs best in natural light?
A: Soft peaches and rose stains read natural and flattering. I recommend the Sheer peach lip tint for daytime shots.
Q: What’s a quick eye lift for hooded lids?
A: Matte crease definition plus a light inner corner highlight lifts the eye. Use Pearl inner corner highlighter for instant brightness.
Q: Any tips for matching makeup to outfits?
A: Pick one color family and repeat it across lips, cheeks, and accessories. A tonal brown palette like Cocoa eyeshadow stick keeps things cohesive.
Q: How do I avoid flashback from highlighter?
A: Avoid high SPF powders and choose finely milled, non-white shimmery highlighters. Opt for Fine cosmetic glitter pot only for lids.
Conclusion
Start with one small swap, like a cream blush or a glossy lid, to change how your photos feel. My final tip is to test looks in natural window light and take quick phone pictures before committing. Which of these 17 makeup looks are you saving first to your camera roll?


