








My camera used to show every powder patch and excess shimmer. I counted 19 drugstore makeup products that actually read like higher-end on video and in photos. They’re mostly under $30, a few $30 to $60 finds, and each one helped me look polished without heavy layers. If you’re chasing camera-friendly makeup that doesn’t scream “budget,” this list is exactly that.
I lean clean, tonal looks and small luxe details. Most picks are under $30, a couple around $45 to $60. These work for clean girl, soft glam, and telework meetings. I’ve noticed cream, blurred finishes and warm browns keep appearing in 2025 beauty feeds.
1. Cream Blush Stick For Lit-From-Within Glow
Style: Clean Girl | Budget: Under $18 | Best For: Dry to normal skin
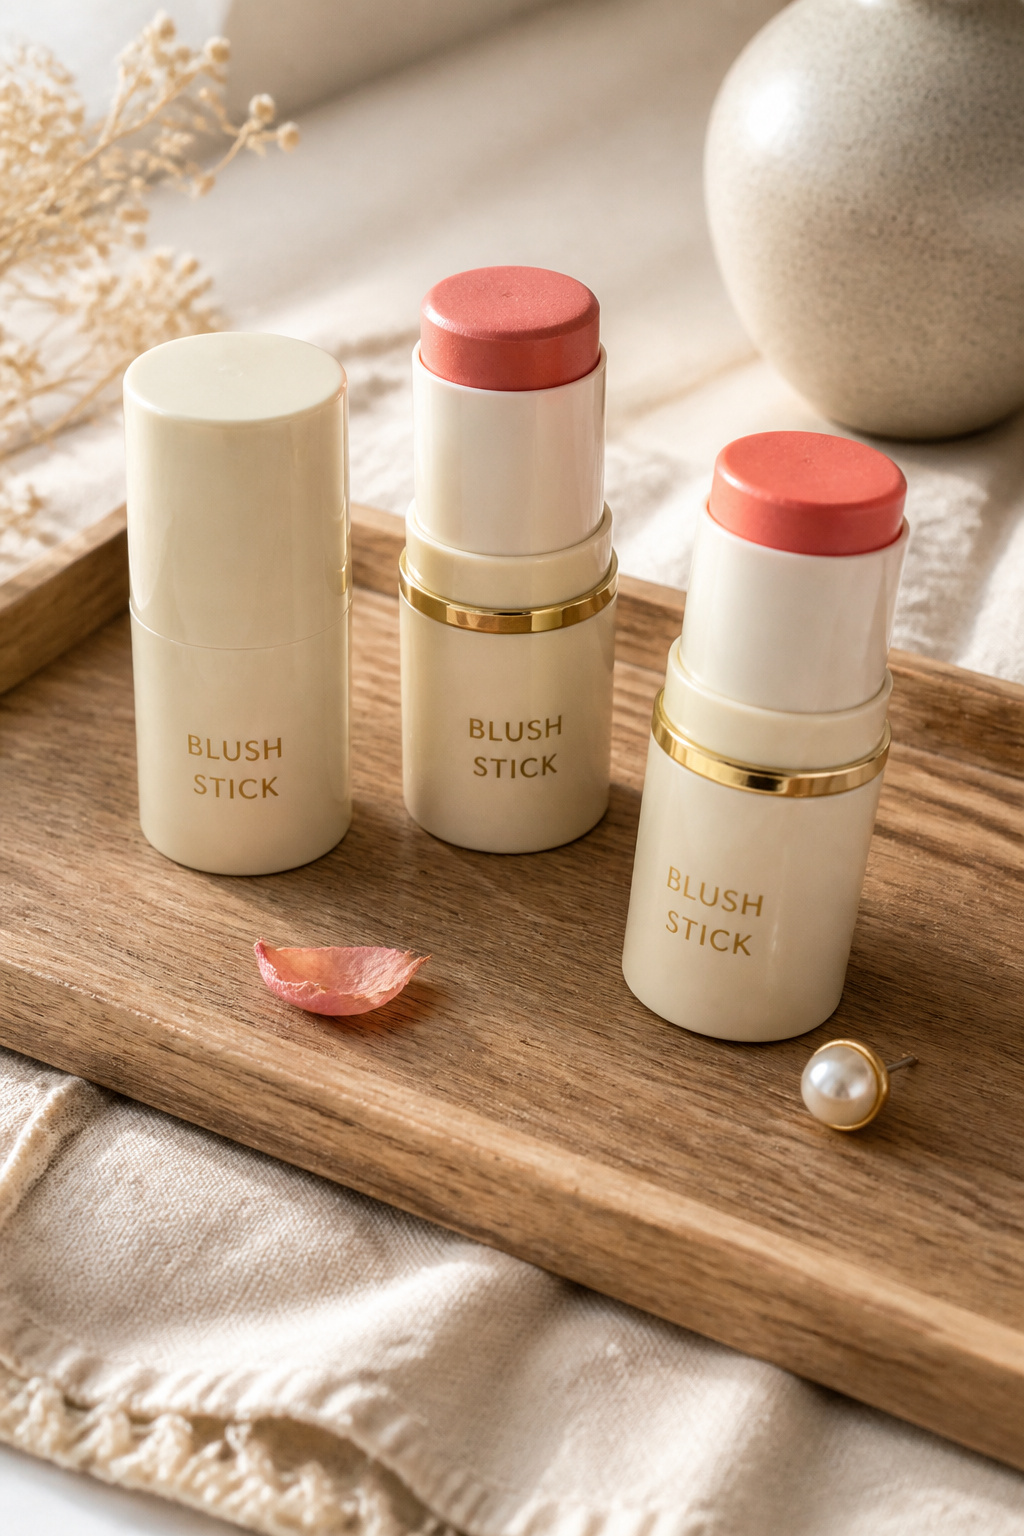

The result is a soft, dewy flush that reads expensive on camera. I use a warm peach shade and tap with my ring finger for the most natural blend. Tip: apply to cheeks then swipe a tiny bit on eyelids to tie the face together. I spent $12 on this at Target and got compliments from my photographer friend who thought it was cream couture. Powder blush can look cakey on HD, that’s the ugly truth.
Shop this idea:
2. Luminous Liquid Highlighter Drops
Style: Soft Glam | Budget: Under $20 | Best For: All skin tones


A few drops mixed into foundation give a blurred, cinematic sheen without glitter. I mix a pearl champagne drop into my tinted SPF for slow-motion-friendly glow. Practical tip: less is more, start with half a pump. I once overdid a glittery highlighter and the camera flattened my complexion. This liquid reads natural and costs about $14 to $18.
Shop this idea:
3. Lightweight Stick Foundation For Natural Coverage
Style: Minimal | Budget: Under $20 | Best For: Normal to combination skin


This kind of stick gives buildable coverage without settling into fine lines. I swipe the caramel shade across my cheeks and blend with a damp sponge. Tip: warm the stick on the back of your hand first to avoid streaks. I bought mine at CVS for $16 and it filmed beautifully on a Zoom call. Heavy liquid foundations often read mask-like on camera.
Shop this idea:
4. Tinted Mineral SPF That Blurs Pores
Style: Clean Girl | Budget: Under $18 | Best For: Sensitive skin


Sunscreen that doubles as light coverage is a camera cheat. The warm beige tint neutralizes redness and creates a smooth base for minimal makeup. Tip: pat, don’t rub, to keep the finish even. I discovered this on a beach trip, bought it at Walgreens for $15 to $18, and my mirror selfies looked filtered. Ugly truth: chemical SPFs can pill under makeup, so test first.
Shop this idea:
5. Full-Coverage Yet Lightweight Concealer
Style: Polished | Budget: Under $12 | Best For: Dark circles and spots


A brightening concealer with a demi-matte finish looks camera-ready without creasing. I pick a shade slightly lighter than my foundation and thinly layer in triangle shape. Tip: set the inner corner with a whisper of translucent powder. I used this after an overnight flight and it held up through a long day. Thick, heavy concealers tend to crease and look heavy on HD.
Shop this idea:
6. Silky Translucent Finishing Powder
Style: Elevated | Budget: Under $20 | Best For: Oily to combo skin


This is the powder I reach for when I need texture control without a matte mask. It blurs pores and photographs naturally. Tip: press into the T-zone with a damp sponge, then sweep off excess. I bought this during a sale for $14 to $18 and got fewer midday shine alerts on video. Over-powdering steals glow, which is a mistake I’ve made more than once.
Shop this idea:
7. Lightweight Blurring Primer With Silicone Finish
Style: Clean | Budget: Under $18 | Best For: Visible pores


A thin layer of primer creates an even canvas that cameras love. Use a pea-sized amount only where pores and texture show. Tip: warm it between fingers before smoothing. I once skipped primer and my foundation clung to uneven skin. This drugstore primer runs about $12 and noticeably softens texture on video.
Shop this idea:
8. Multi-Task Cream Eyeshadow Sticks
Style: Tonal | Budget: Under $10 | Best For: Busy mornings


Cream shadow sticks are an on-camera dream. I swipe a caramel shade over lids and blend with fingertips for a slumped, soft look. Tip: set the edges with a dusting of the finishing powder to avoid creasing. I grabbed these at my local drugstore for $8 each during a beauty event. Powder-only eyeshadows can look flat on camera, so cream helps keep depth.
Shop this idea:
9. Brow Pen For Tiny Hairlike Strokes
Style: Natural | Budget: Under $12 | Best For: Sparse brows


Microstroke brow pens mimic real hairs and read natural on camera. I use a taupe-brown shade and focus on the arch and tail. Tip: seal with a clear gel to avoid transfer on light masks. I learned that drawn-on block brows look harsh in HD. This pen cost $10 and the result fooled a friend who asked if I’d been to a salon.
Shop this idea:
10. Brown Lengthening Mascara
Style: Soft Glam | Budget: Under $10 | Best For: Daytime camera looks
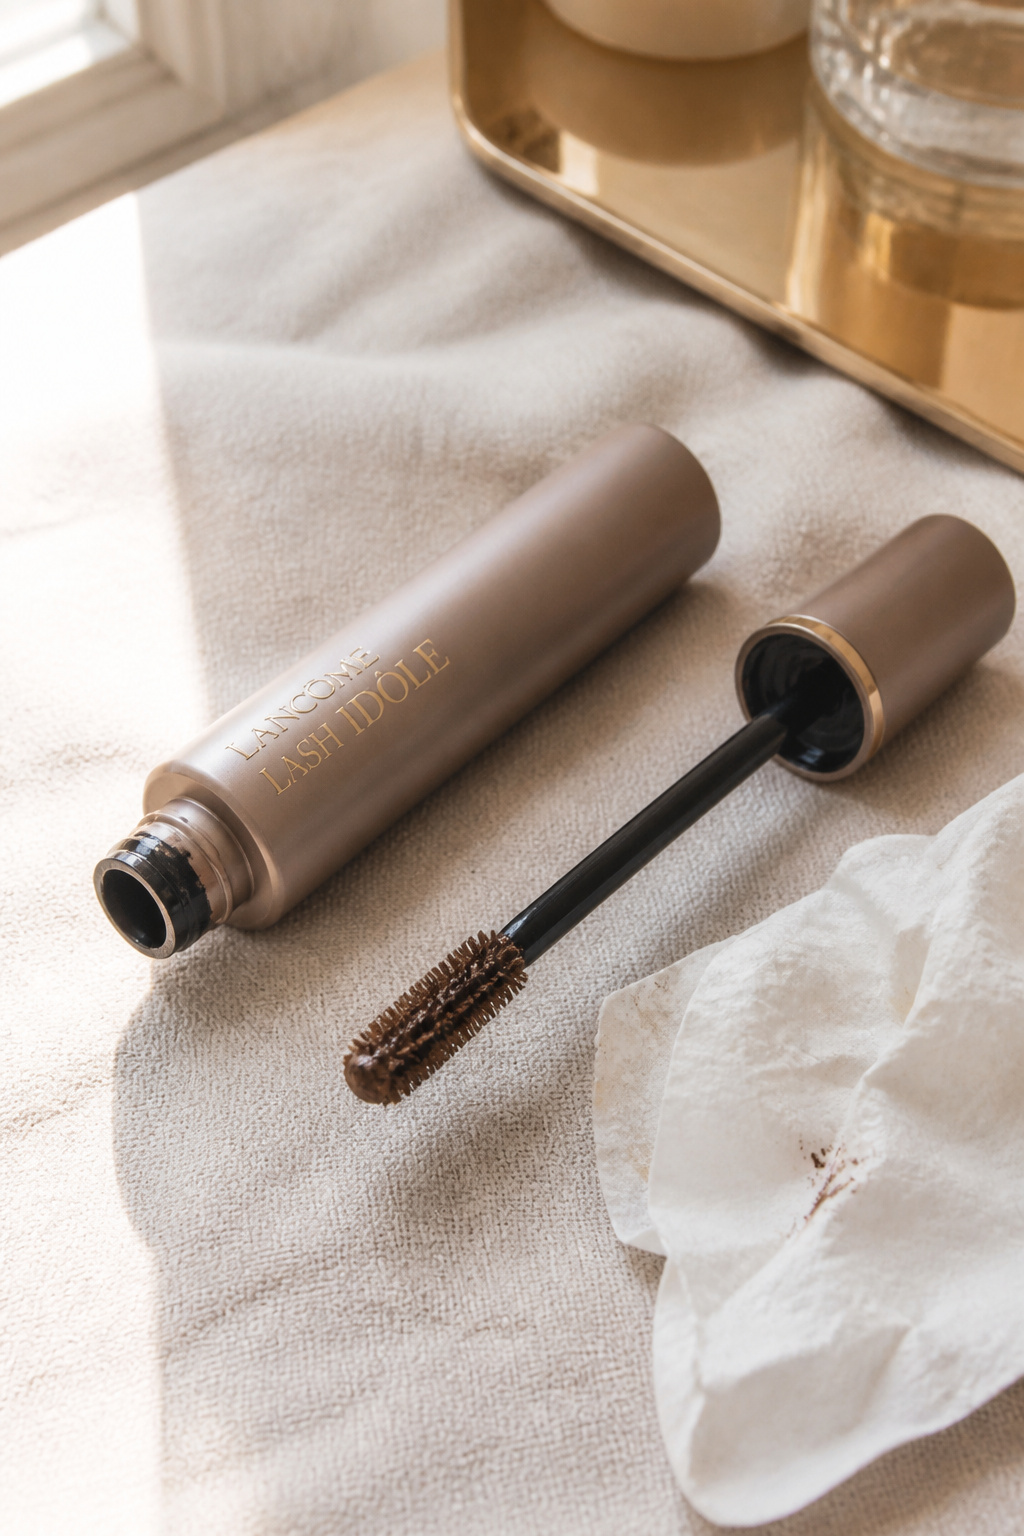

A brown mascara lifts lashes without the starkness of black. I coat roots and comb through with a lash comb for separation. Tip: replace mascara every three months to avoid clumps. I used black once for an interview and looked overly intense on camera. This brown version cost $9 and reads softer while still framing eyes.
Shop this idea:
11. Soft Brown Eyeliner Pencil
Style: Tonal | Budget: Under $8 | Best For: Sensitive eyes


A smudged brown liner tightens the lash line without harsh edges. I use a warm cocoa shade, smudge with an angled brush, then lift slightly at the outer corner. Tip: sharpen it before use for a clean application. I once used liquid black and it read too graphic on a daytime reel. This pencil is $6 to $8 and photographs soft and intentional.
Shop this idea:
12. Cream Bronzer Stick For Gentle Sculpt
Style: Tonal | Budget: Under $12 | Best For: Medium to deep skin tones
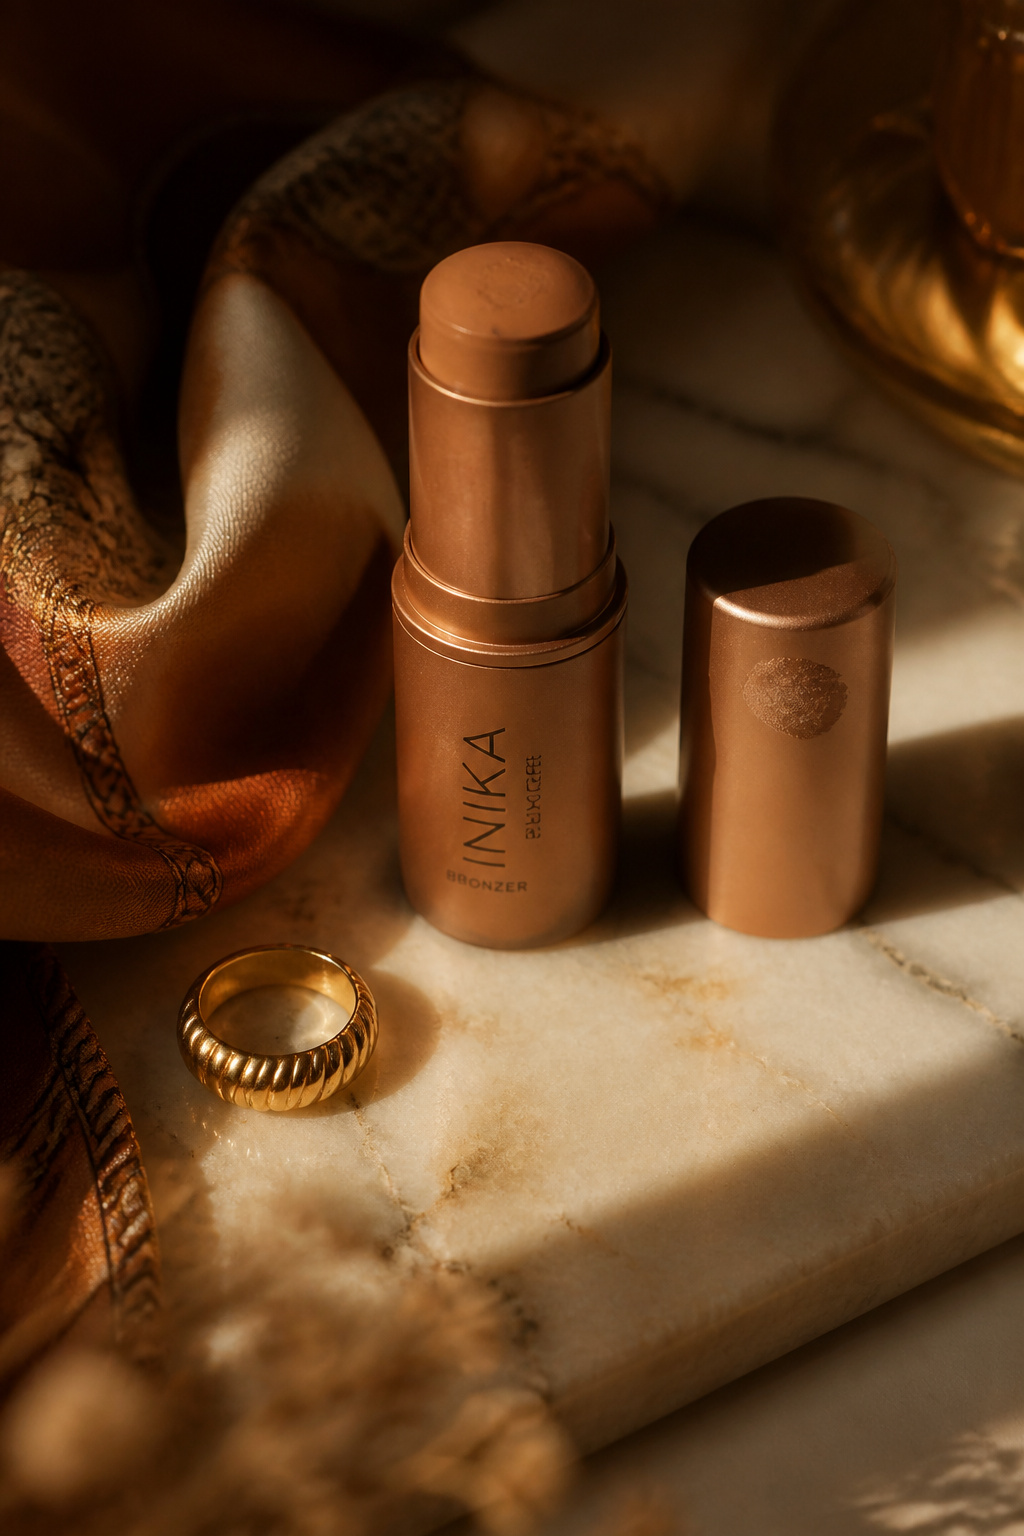

A cream bronzer gives warmth without harsh lines. I warm the deep caramel shade on my fingers and press it into the hollows and hairline. Tip: blend quickly to avoid patchiness. I once powdered a heavy contour and it read as a line on camera. This stick was $11 and kept my skin looking dimensional and camera-ready.
Shop this idea:
13. Satin Lipstick That Photographs Rich
Style: Classic | Budget: Under $10 | Best For: All skin tones
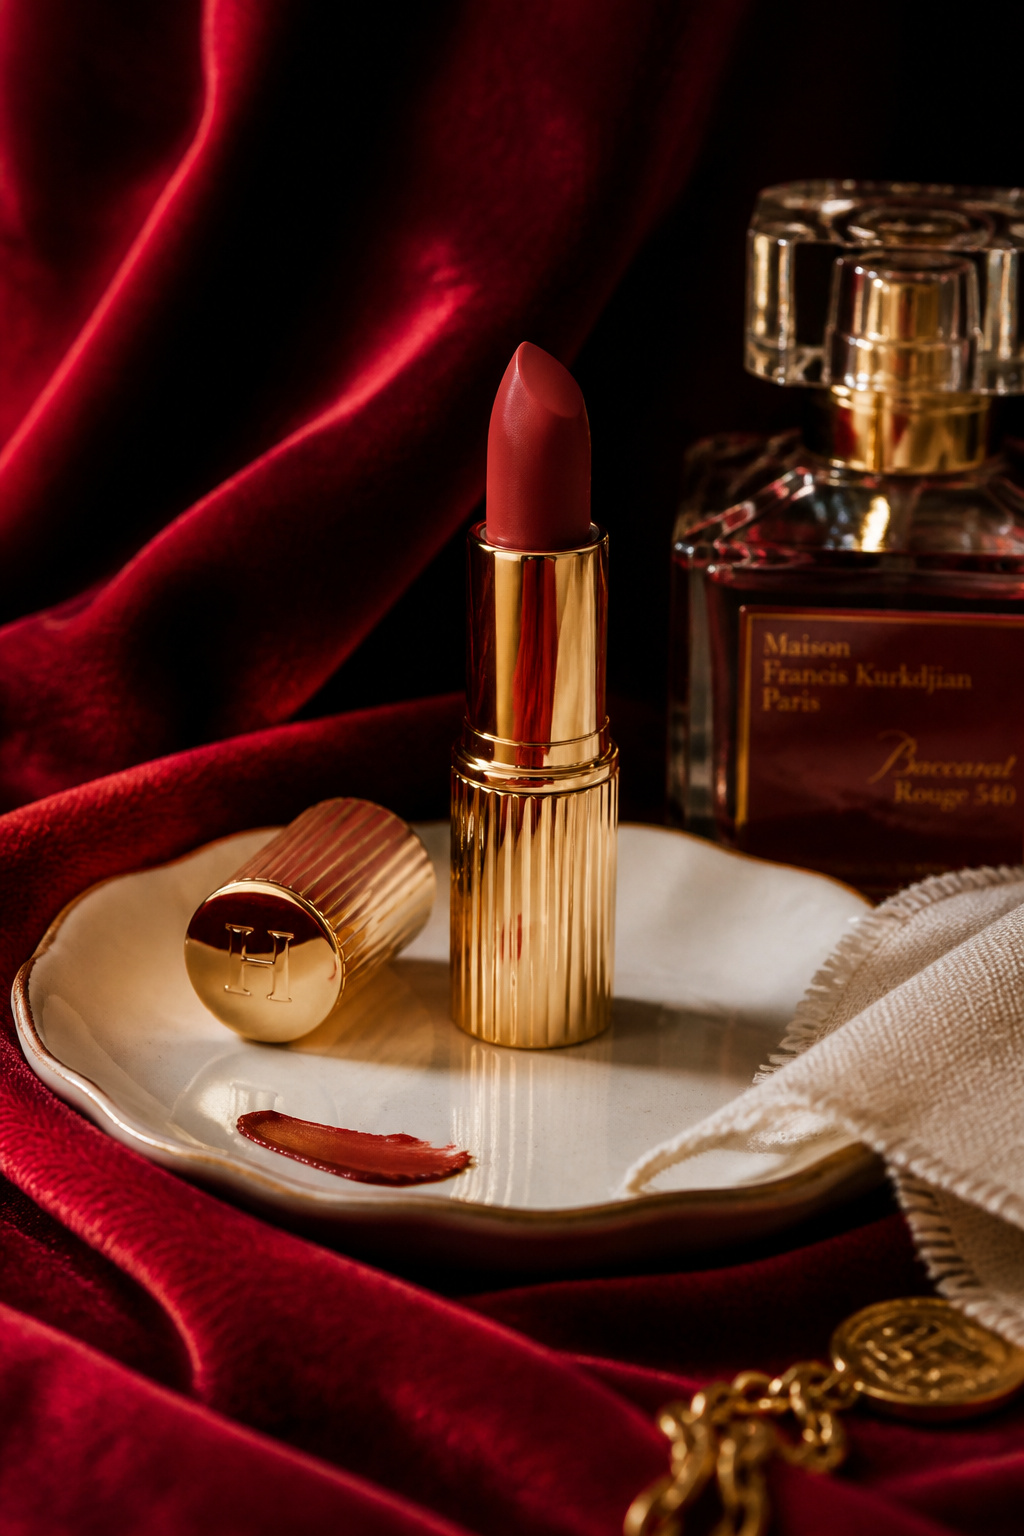

A satin finish gives pigment with a subtle sheen on camera. I love a berry-brown shade for evening and a muted rose for daytime. Tip: line lips first to avoid feathering under warm lights. I used a matte red once on video and it flattened my smile. This satin option runs $8 and looks lush on both photos and HD video.
Shop this idea:
14. Longwear Tinted Lip Stain
Style: Effortless | Budget: Under $12 | Best For: Long days and masks
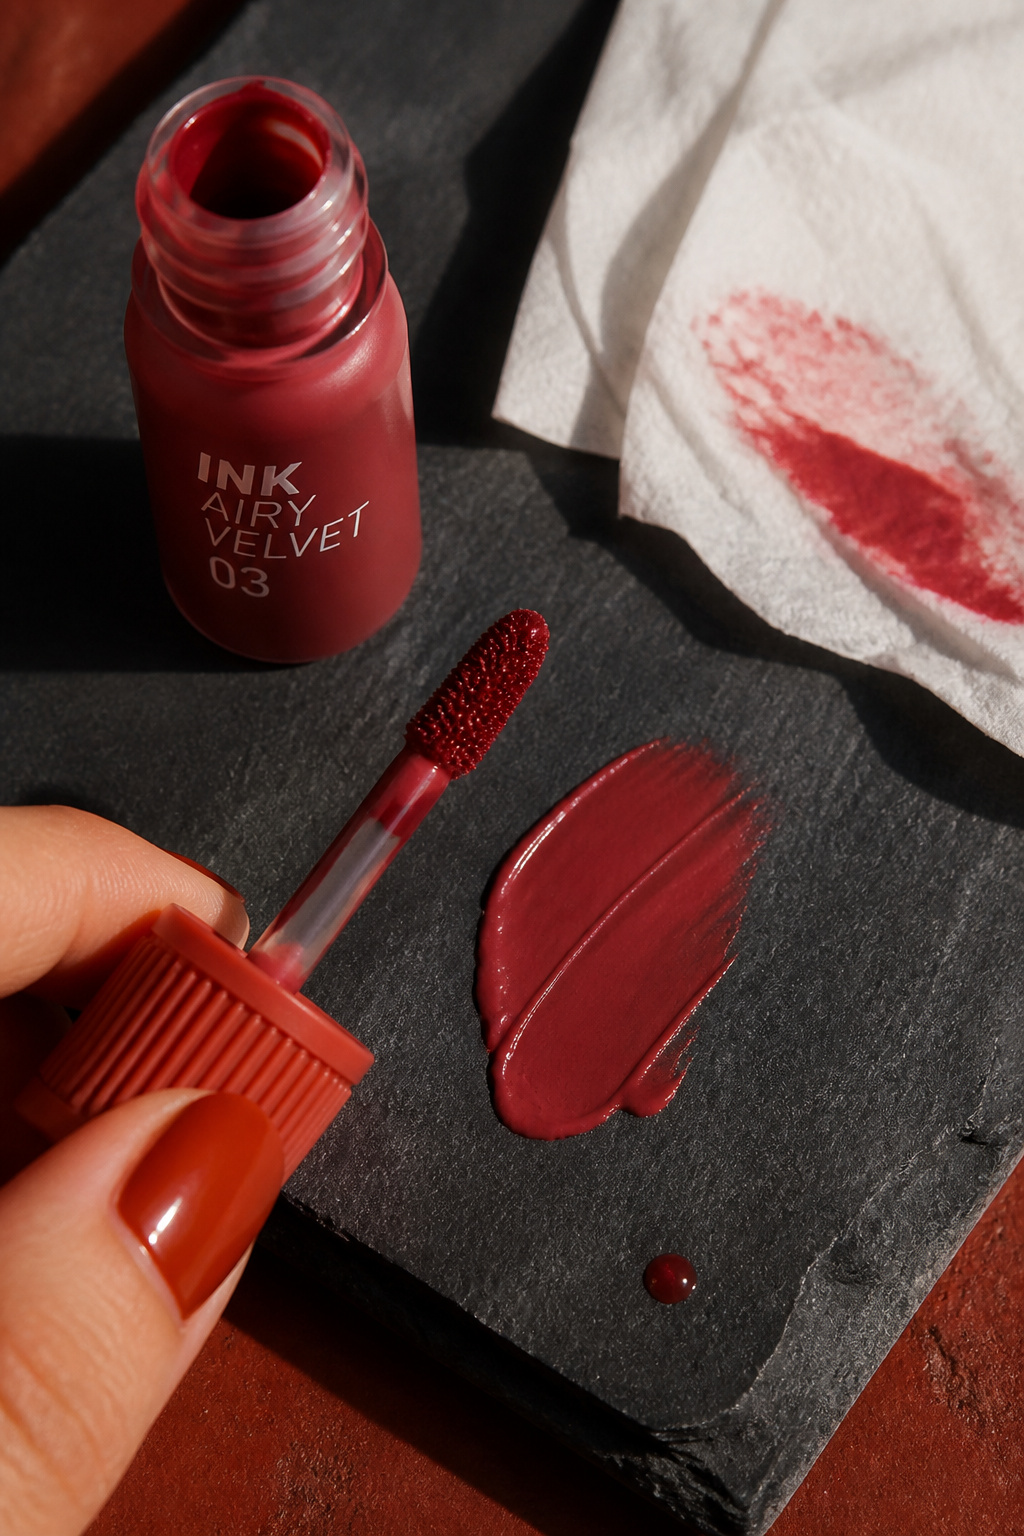

A tinted stain gives a natural stain without transfer. I dab a warm terracotta tint and blot for a soft, lived-in look. Tip: layer a glossy balm on top if I want shine for photos. I learned the hard way that glossy stains can bleed under hot lights. This stain is $10 to $12 and lasts through coffee and calls.
Shop this idea:
15. Glassy Lip Oil For Mirror-Smooth Shine
Style: Polished | Budget: Under $9 | Best For: Dry lips
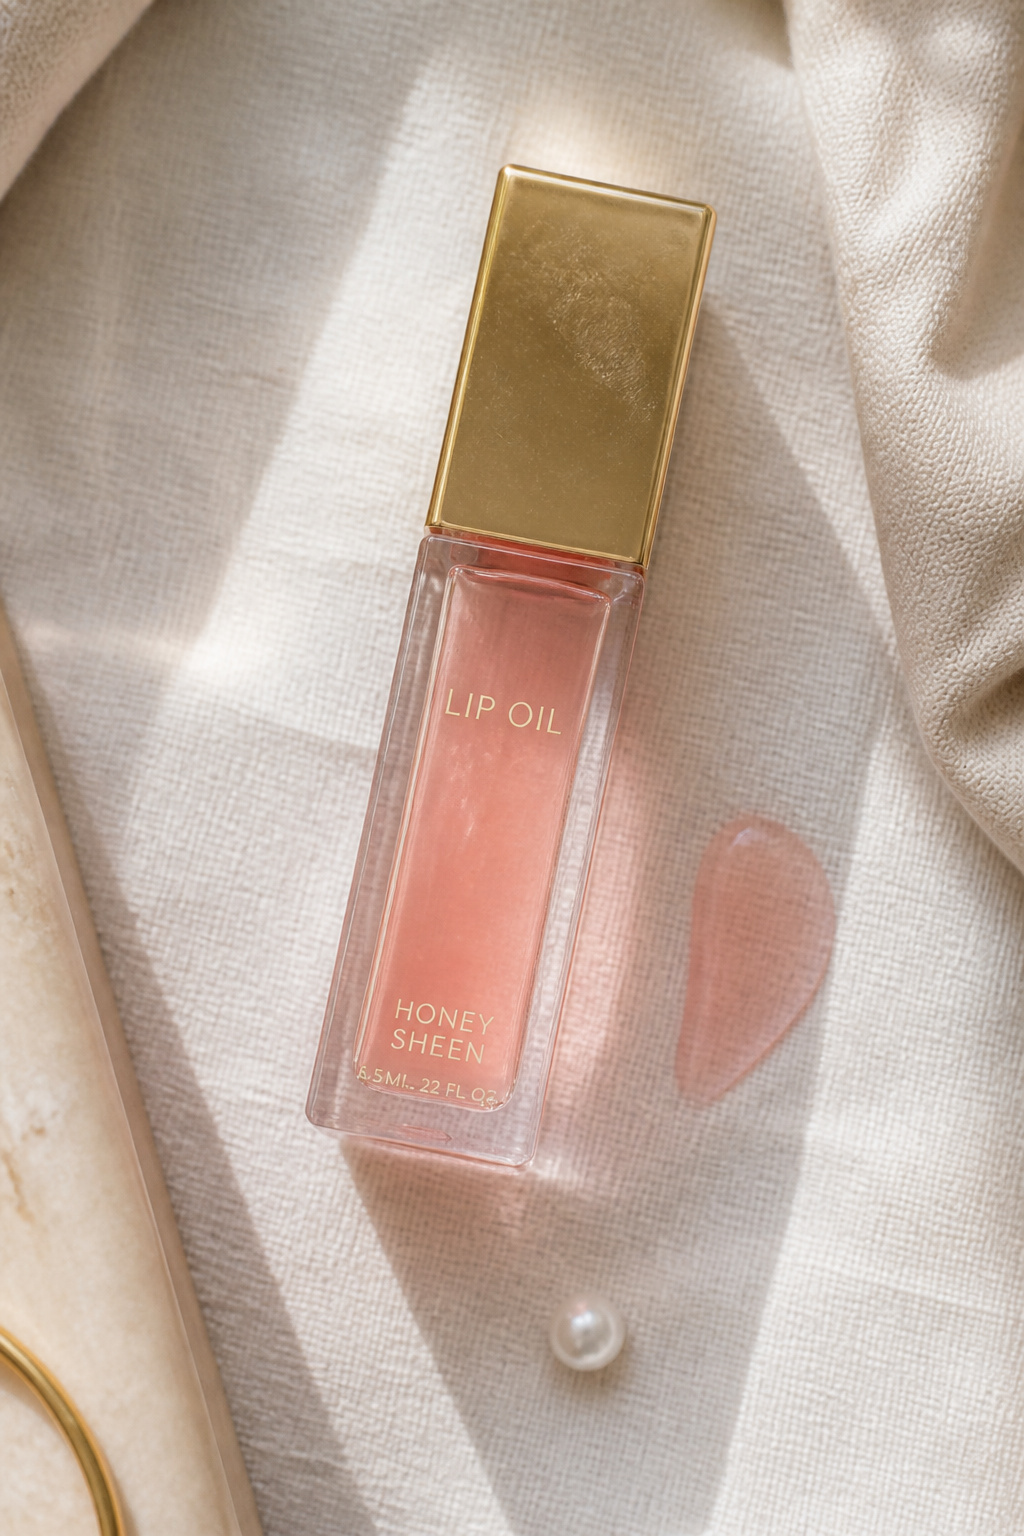

Lip oils create the modern glossy finish that catches light on camera. I swipe a berry-brown tint over a lip stain for depth and shine. Tip: blot once on tissue if you need to control transfer. I carried this to a wedding and my photos showed a healthy, reflective lip without crusting. This oil costs $8.
Shop this idea:
16. Dewy Setting Spray To Melt Products Together
Style: Natural | Budget: Under $12 | Best For: Dry and normal skin


A lightweight dewy spray takes powdery edges away and photographs like skin. I mist twice from arms-length after makeup and again for touch-ups. Tip: let it dry naturally, no blotting. I skipped setting spray once and my makeup looked separate on camera. This bottle was $11 to $14 and is my easy finish step.
Shop this idea:
17. Matte Lip Liner For Clean Edges
Style: Classic | Budget: Under $7 | Best For: All-day wear
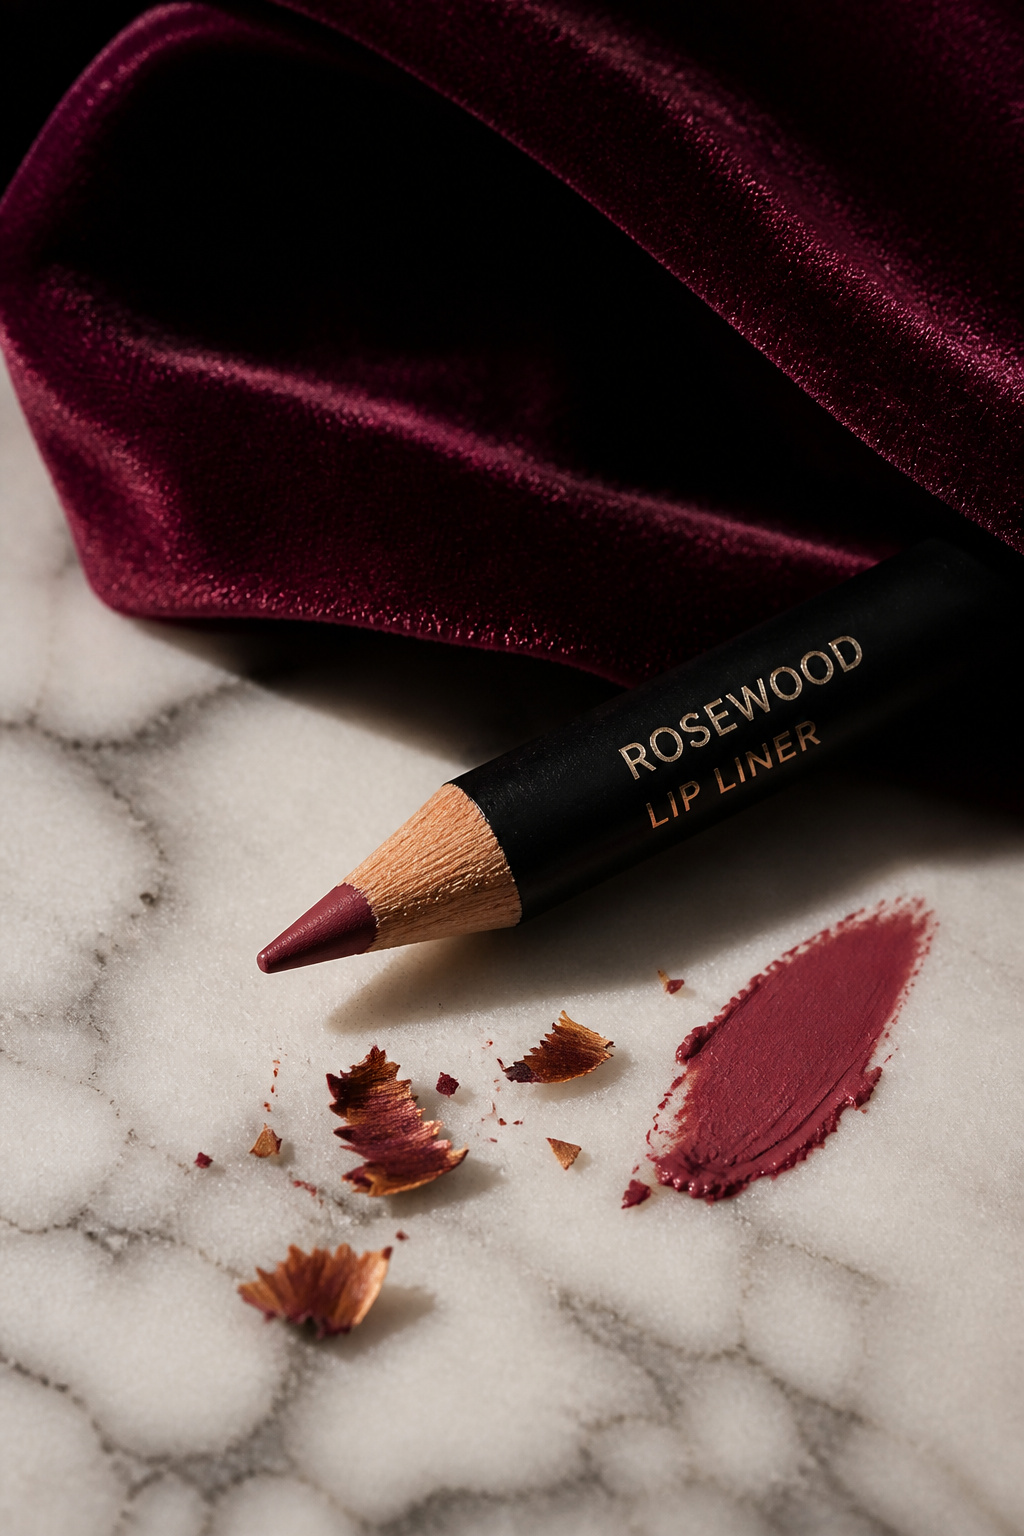

A matte lip liner keeps color crisp in photos. I fill the lip lightly then dab with stain to lock color. Tip: choose a liner within one to two shades of your natural lip to avoid harsh outlines. I once wore a too-dark liner and my lips looked drawn. This liner costs $6 and is a small investment for sharp photos.
Shop this idea:
18. Cream Highlighter Stick For Subtle Sculpt
Style: Clean | Budget: Under $14 | Best For: Mature skin


A champagne cream highlighter gives lift without obvious sparkle. I tap a sliver on cheekbones and the bow of my lip. Tip: blend with a small brush to avoid sheer lines. I used chunky glitter once and the camera made my skin look flaky. This stick was $13 and keeps highlights soft and photogenic.
Shop this idea:
19. Pore-Filling Matte Primer For Close-Ups
Style: Polished | Budget: Under $20 | Best For: Oily skin in studio light


This is the last step for close-up work when I need texture gone. I apply a thin film where pores and shine show, then add minimal coverage. Tip: avoid over-applying or makeup looks separated. I was filming a tutorial and swapping to this product cut editing time. Price is about $16 to $20 and the camera loves the result.
Shop this idea:
What You'll Need to Get This Look
Face & Base Essentials
- Tinted mineral SPF warm beige around $15 to $18
- Stick foundation caramel shade around $12 to $20
- Brightening concealer medium shade around $8 to $12
- Translucent finishing powder around $10 to $18
- Blurring silicone primer around $10 to $18
Eyes, Brows & Lips
- Cream eyeshadow stick caramel around $6 to $10
- Microstroke brow pen taupe around $8 to $12
- Brown lengthening mascara around $7 to $12
- Tinted lip stain terracotta around $8 to $12
Clothing Staples
- Silk scarf neutral around $12 to $35
- Soft cashmere crewneck cream around $45 to $120
Shoes, Bags & Jewelry
- Small gold hoop earrings around $12 to $35
- Minimal leather tote tan around $60 to $220
Budget Swaps
- Cream blush stick warm peach around $12 to $18 (dupe for high-end cream blush)
- Dewy setting spray travel around $10 to $14
Shopping Tips for These Looks
Buy during sale windows: Target, Ulta, and Walgreens run beauty events. I pick up primers and concealers during the 21 Days of Beauty or holiday sales, often saving 20 to 40 percent. See current deals at Ulta.
Mix high and low: Use an inexpensive cream blush and pair it with a nicer silk scarf to elevate the whole outfit. I once paired a $12 blush with a $60 scarf and the photos read luxe. Try silk scarf options.
Try before you commit: Cream products behave differently on dry versus oily skin. Patch-test primers and cream sticks at the counter or buy travel sizes. I keep small samples for shoots. Check travel minis.
Thrift your accessories: A vintage brooch or thrifted chain can look designer next to simple makeup. I snagged a brass signet at a flea market and it made a basic sweater feel curated. Explore local thrift.
Follow the 2025 tone trend: I’m seeing quiet, tonal makeup and warm browns dominate feeds this year. Favor cream products in warm beige and caramel tones for a current look. Browse warm brown palettes.
Frequently Asked Questions
Q: How do I avoid my makeup looking flat on camera?
A: Use cream products for dimension, set selectively with translucent powder, and finish with a dewy setting spray. Try Dewy setting spray travel for the final melt.
Q: Which concealer works best under HD lighting?
A: A lightweight, demi-matte brightening concealer avoids creasing and glare. Apply sparingly, then set with a small touch of powder. Consider Brightening concealer medium shade.
Q: Are cream products okay for oily skin?
A: Yes if you prep with a thin blurring primer and set only the T-zone. The right cream gives depth without shine. I use Blurring silicone primer beforehand.
Q: How often should I replace mascaras and liners?
A: Mascara every three months, liners every six to eight months for hygiene and performance. Fresh products apply cleaner and photograph better. Swap frequently for shoots.
Conclusion
Start with one small swap, like a cream blush or a pore-blurring primer, and notice how it changes your photos. My easiest win was replacing a matte powder with a dew-finish setting spray. Which product would you try first for your next selfie or Zoom call?


