






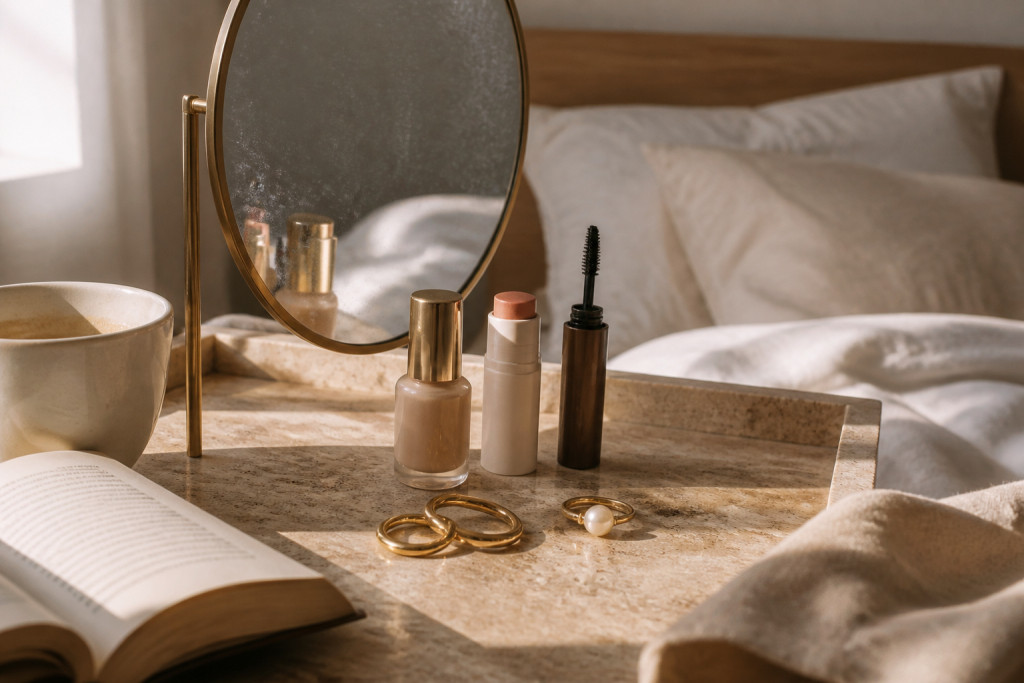

I learned how to choose makeup products for beginners the hard way: I bought eight single-use items and used two of them twice.
The result was a cluttered drawer, wasted cash, and a face that read overdone on video calls.
This guide shows a compact, high-impact beginner makeup bag you can build for around $80 to $150. I’ll show what to buy, exact shades to look for, and what to skip.
Clean-girl, tonal makeup vibe here: skin-forward, warm neutrals, soft cream textures.
Works best for warm to neutral undertones and small to medium features.
I noticed cream products and multipurpose tools keep winning recent seasons because they travel better and layer gently.
1. Start with the Glow: Skin Prep and Sheer Base
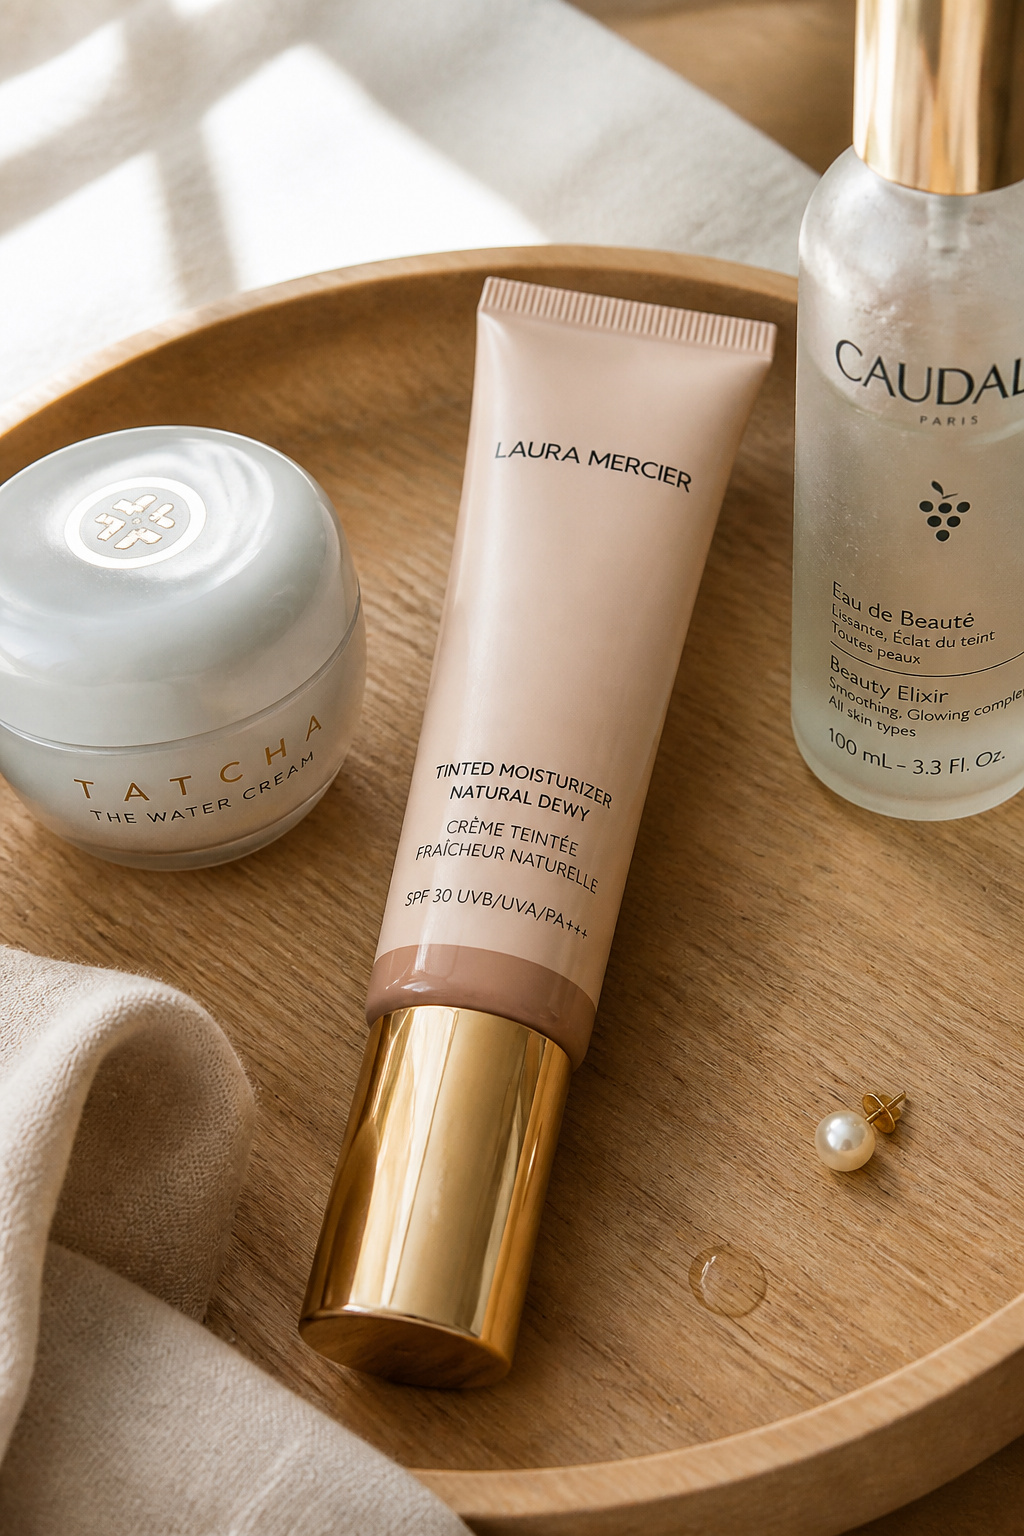

The trick is a skin tint, not a heavy foundation. It blurs redness and lets freckles show.
Start with a light hydrating primer to smooth texture and a small tube of tinted skin tint for sheer coverage.
Tinted skin tint light coverage around $16 to $30 and Hydrating silicone-free primer approx $12 to $28 are my musts.
Use fingertips to warm the tint, tap it where sun hits: forehead, cheeks, nose, chin.
This keeps the finish skinlike and avoids a mask effect.
People overpowder here. The mistake is powdering the whole face.
Instead, set only the T-zone with a translucent powder to maintain glow.
You get a natural base that photographs well and lasts through a commute.
2. Layer Cream Color in Three Strategic Places


Cream products tie everything together without looking heavy.
Pick a cream blush in warm peach and a cream bronzer in warm caramel.
Cream blush stick in warm peach around $12 to $24 and Cream bronzer stick warm caramel approx $14 to $26 blend with fingertips.
Place bronzer under cheekbones and along the temples for a natural shadow.
Dab blush on the high cheekbone, not the apple, then sweep a fingertip to blend toward the ear.
Visual rule: keep color placement vertical to lift the face.
Mistake most beginners make is heavy circular application that makes cheeks look round.
Instead, layer light, build slowly, and stop when it looks lit from within.
3. Define Without Hardness: Soft Eye and Brow Work
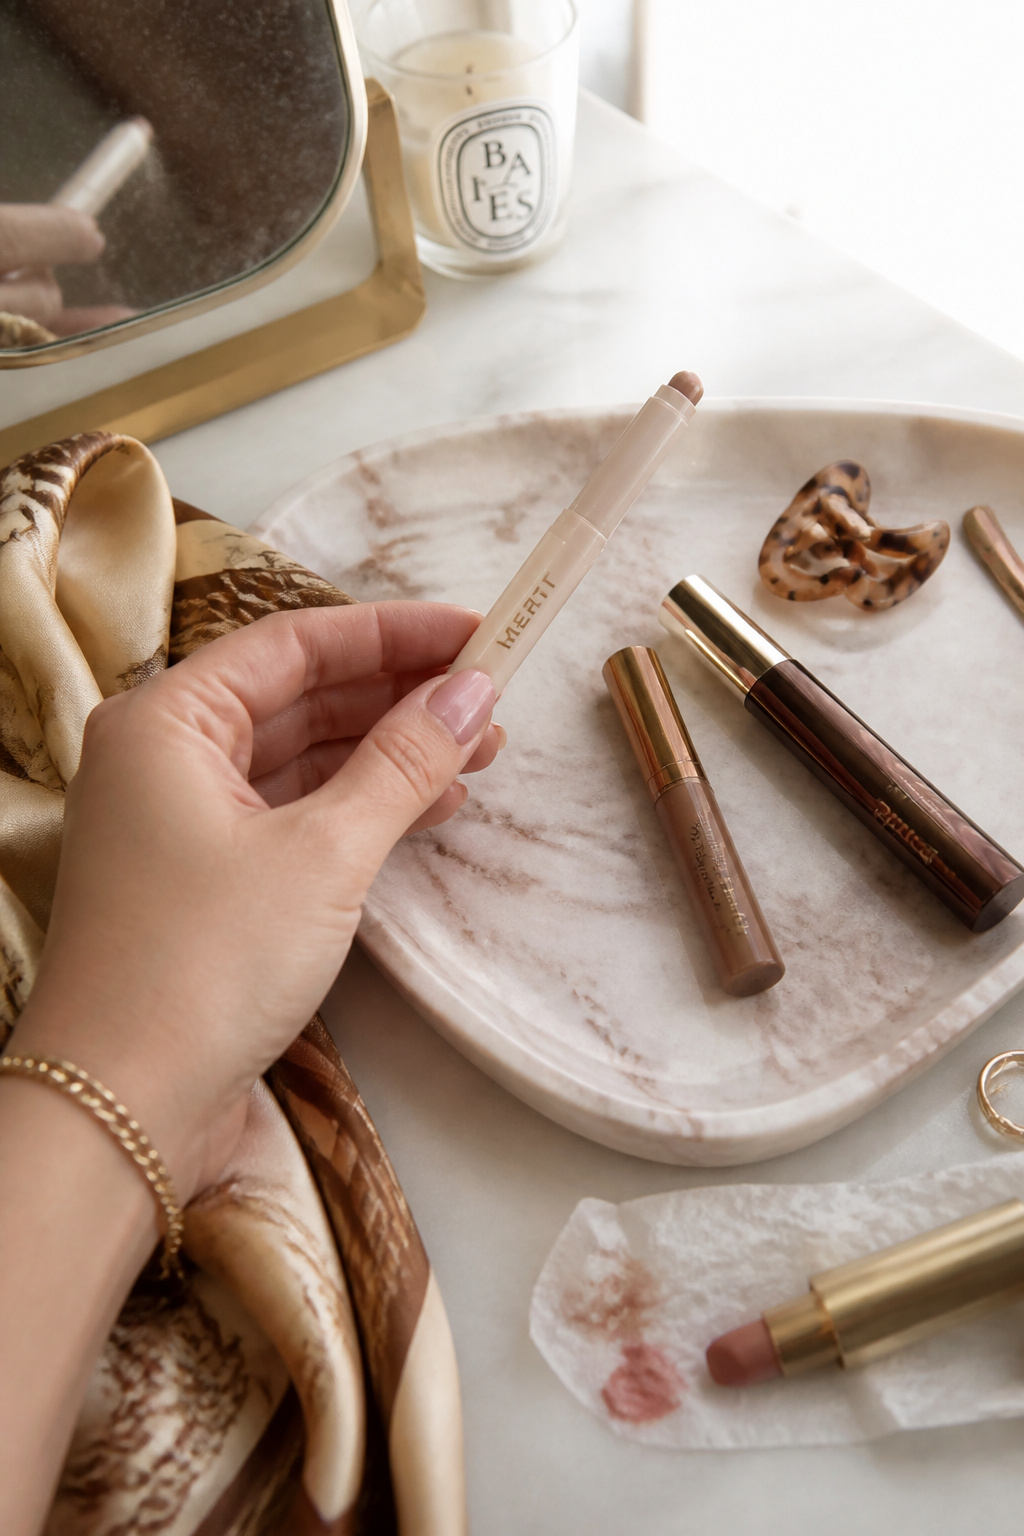

Sharp liner can age a clean look. I favor a neutral cream eyeshadow and brown mascara.
Use a Neutral cream eyeshadow stick around $10 to $20 and a Brown lengthening mascara approx $8 to $18.
Sweep the cream shade across lid and blend with a finger for soft depth.
Comb brows up with a tinted gel to add shape without drawing a harsh line.
The visual principle is tonal contrast not contrast by color.
Mistake: drawing a dark brow and heavy liner to "define" the face.
Do less. Soft brow, shaded lid, and brown mascara harmonize with cream blush for a cohesive look.
4. Finish with Tonal Lip and Subtle Setting


Finish where people notice most: lips and hold.
A tinted lip oil in rose gives color and shine without flaking.
Tinted lip oil rose around $8 to $18 and Lightweight dewy setting spray approx $10 to $22 lock the look.
Tap oil onto the center of lips and press with finger for subtle stain.
Mist setting spray at arm’s length to avoid flattening cream texture.
Common error: over-layering matte lip and heavy powder last.
Instead, pick tonal finishes that repeat warm peach or rose to read cohesive and modern.
Common Styling Mistakes to Avoid
Mistake: Buying trend single-use products
Why it doesn't work: Drawer clutter and low return on spend.
Do this instead: Choose a multi-use cream stick usable as blush and lip color.
Mistake: Matching foundation to cheek only
Why it doesn't work: Creates a face mask at the jawline.
Do this instead: Match neck and jaw with a tinted skin tint for seamless finish.
Mistake: Dark brow + heavy liner for "definition"
Why it doesn't work: Looks harsh on soft makeup styles.
Do this instead: Use tinted brow gel medium brown and a brown mascara.
What You'll Need for This Look
Face & Base Essentials
Cream hydrating primer travel size approx $12 to $28
Tinted skin tint light coverage around $16 to $30
Translucent setting powder small jar approx $8 to $20
Eyes, Brows & Lips
Neutral cream eyeshadow stick around $10 to $20
Tinted brow gel medium brown approx $8 to $18
Brown lengthening mascara approx $8 to $18
Clothing Staples
White fitted tee cotton approx $14 to $30
Straight leg high waist dark wash jeans approx $40 to $90
Shoes, Bags & Jewelry
Leather loafers tan approx $45 to $120
Leather tote bag tan (price range $80 to $200)
Gold chunky hoop earrings 14k look around $12 to $40
Budget Swaps
Drugstore cream blush stick peach approx $6 to $12
Affordable tinted lip oil rose around $6 to $12
Shopping Guide for This Look
Buy cream products in small sizes for trial: Try a mini cream blush when switching textures, approx $8 to $14.
Shop end-of-season sales: I snagged a cashmere crew on Ulta or Nordstrom Rack during fall clearouts; try cashmere crewneck sweater cream $60 to $120.
Thrift the statement pieces: Mix a thrifted blazer with a straight leg dark jeans $40 to $90 for balance.
Splurge vs save: Spend on the base product like a hydrating primer silicone-free $12 to $28; save on trendy palettes.
Stat note: the global cosmetics market topped $400 billion in 2022, per Statista, which helps explain the flood of single-use launches. Pick multipurpose items to avoid that trap.
Conclusion
Start with one high-impact item: the tinted skin tint or a cream blush stick.
That single choice changes how everything else sits on your face.
Which product would you try first, tint or cream blush?


