






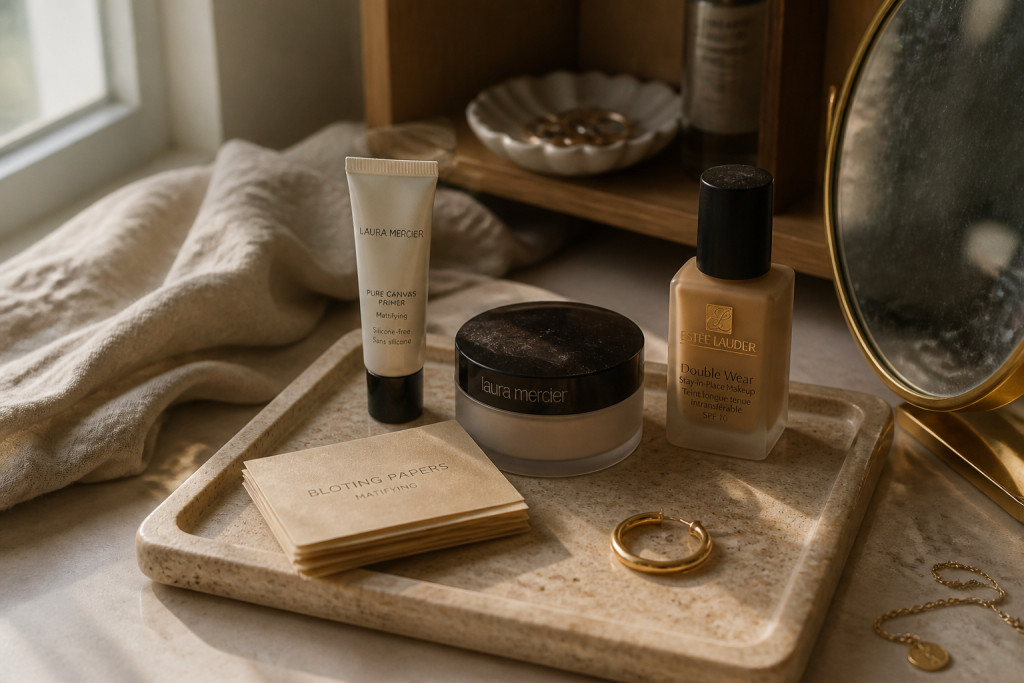

My skin used to slide off by lunchtime. Matte makeup for oily skin became my secret after a disastrous office presentation and a forehead that looked like a high-shine billboard. Here are 15 practical tips I actually wear on long days, most fixes under $30 with a couple splurges around $60 to $120, and a few tricks I learned the hard way.
These picks lean clean-glam and soft glam, mostly under $30, a few splurges around $60 to $120. They suit combo to oily skin, anyone who hates midday shine, and lovers of tonal, polished looks. Lately I’ve noticed everyone layering cream-to-powder products for more natural matte finishes.
1. Mattifying Primer First
Style: Clean Girl | Budget: Under $25 | Best For: Combo to oily skin


The trick is starting with a thin layer of mattifying primer to cut surface oil and help foundation grip. I use a pore-filling silicone primer for T-zone that keeps foundation from sliding; it lasts around $12 to $28. Ugly truth: skipping primer is why many foundations fail by noon. Apply in dots, press with a sponge, then wait 60 seconds before foundation.
Shop this idea:
2. Thin, Buildable Matte Foundation
Style: Polished | Budget: Under $35 | Best For: Oily T-zone / Normal cheeks
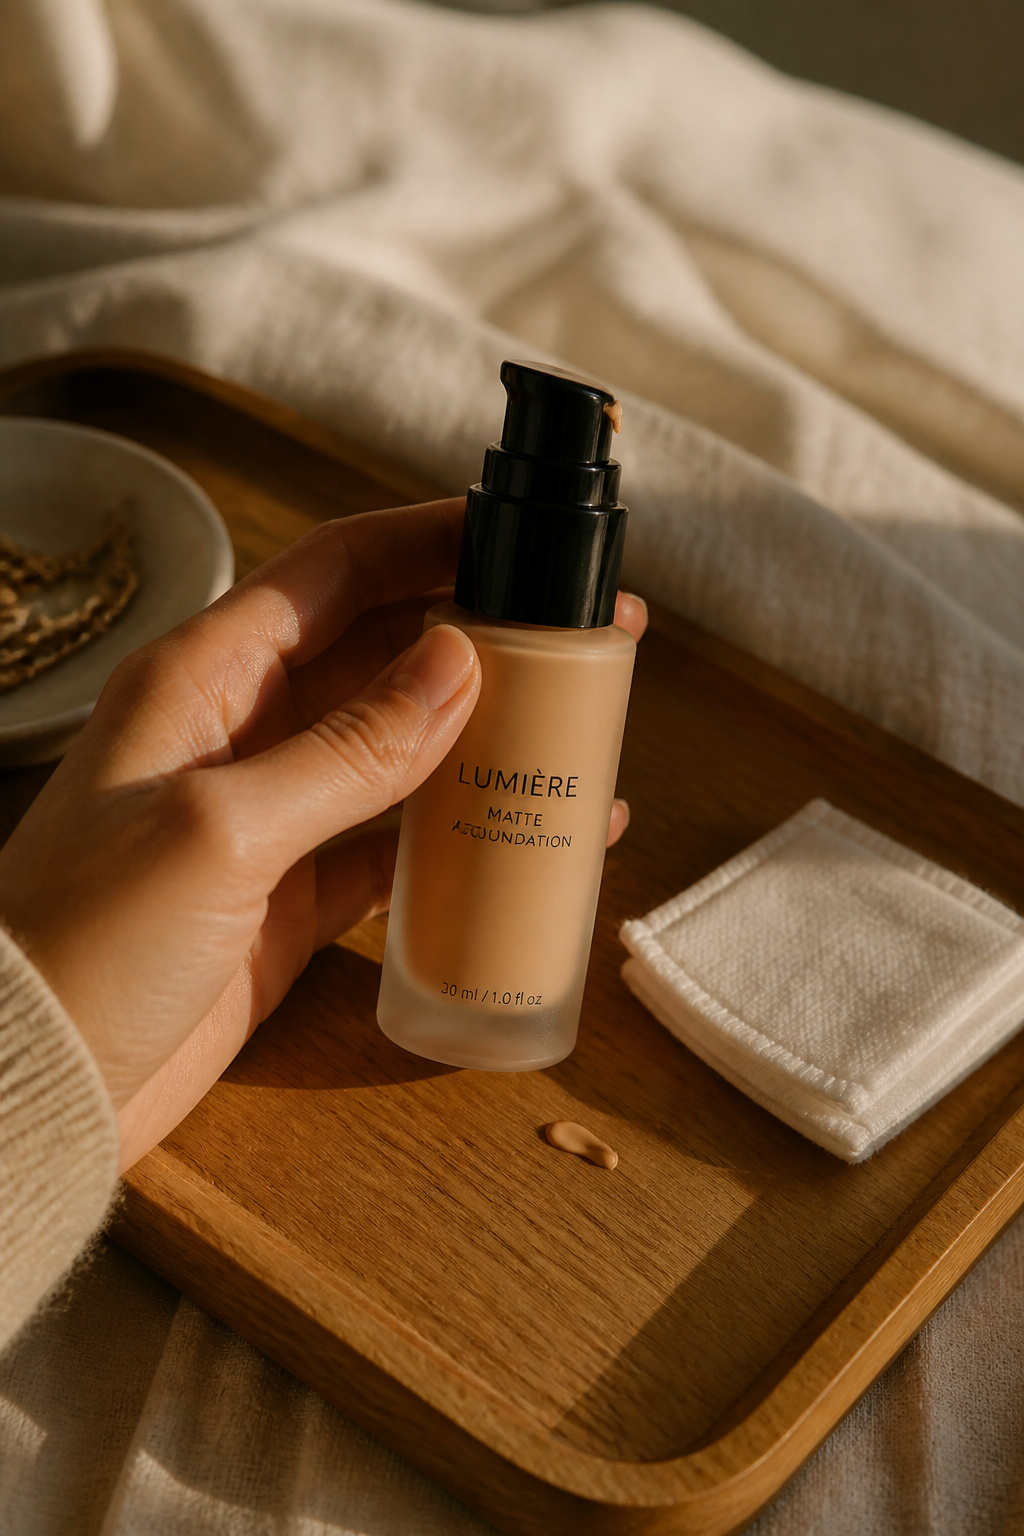

My go-to is a thin liquid matte formula I layer only where needed. Start with a pea-sized dot on forehead, nose, chin and blend outward. A long-wear matte foundation can stay put for 8 to 12 hours when paired with primer and powder. I once wore one to a humid outdoor wedding and the coverage outlasted the vows.
Shop this idea:
3. Damp Sponge Press, Don’t Swipe
Style: Minimal | Budget: Under $10 | Best For: Even coverage / Natural finish
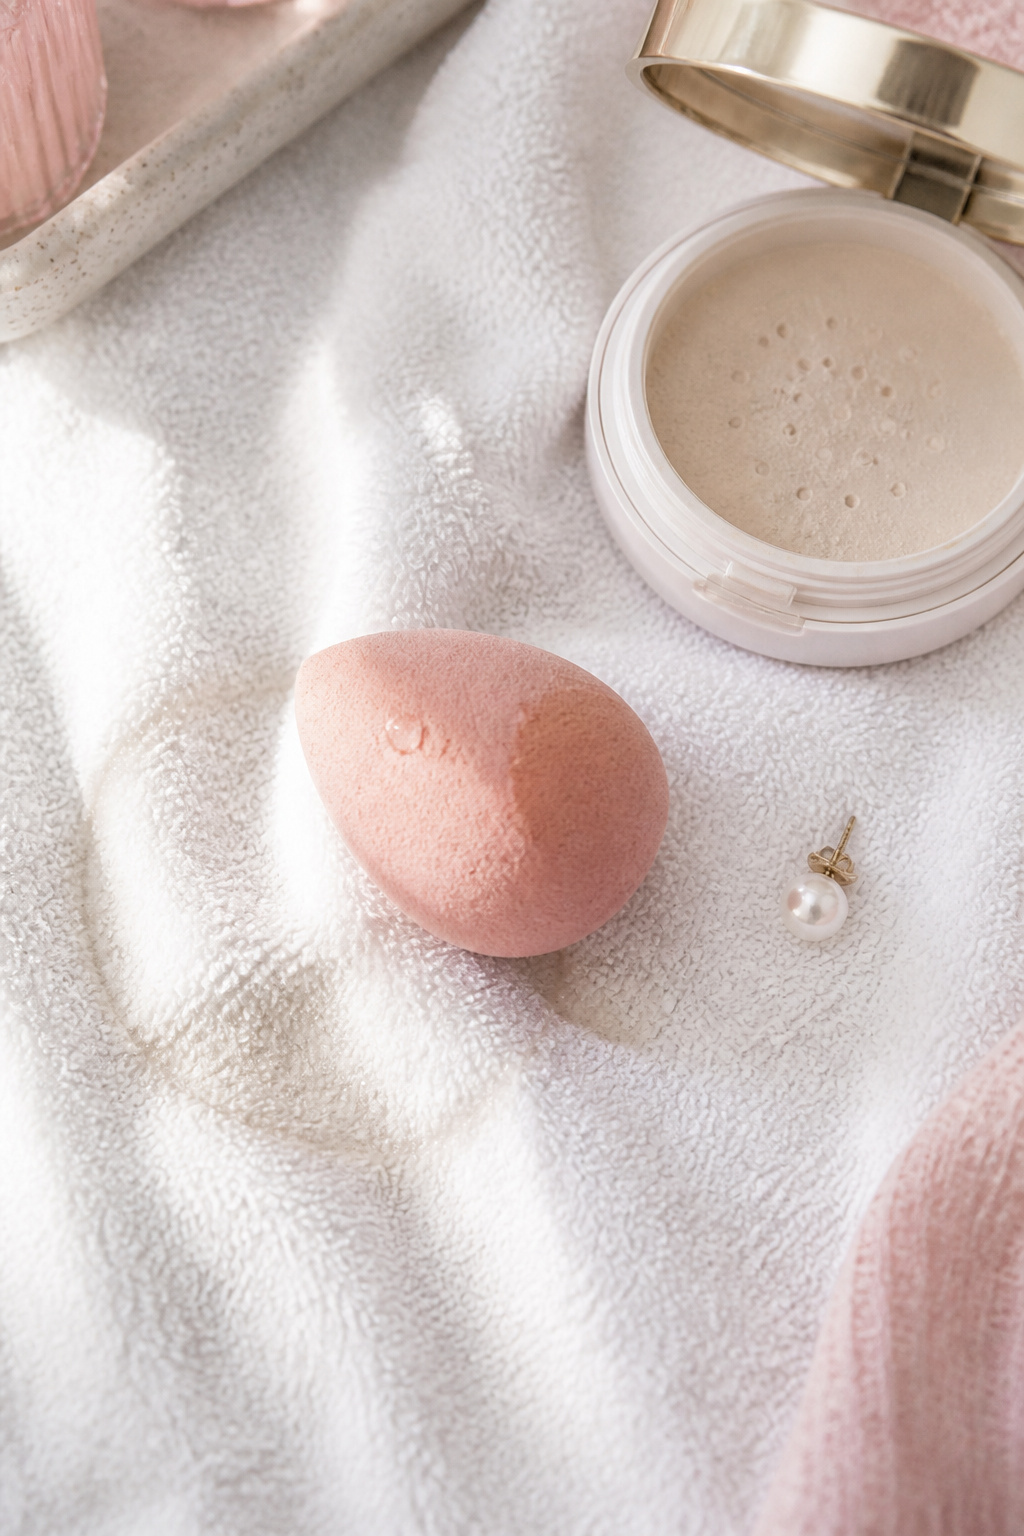

I press foundation in with a damp sponge instead of buffing. Pressing reduces friction which prevents stimulating oil production. A damp sponge gives a thinner, more matte skin finish and wastes less product. I remember buffing once and ending up with streaks and an oily sheen two hours later.
Shop this idea:
4. Translucent Setting Powder In Layers
Style: Classic | Budget: Under $25 | Best For: All skin tones / Long days
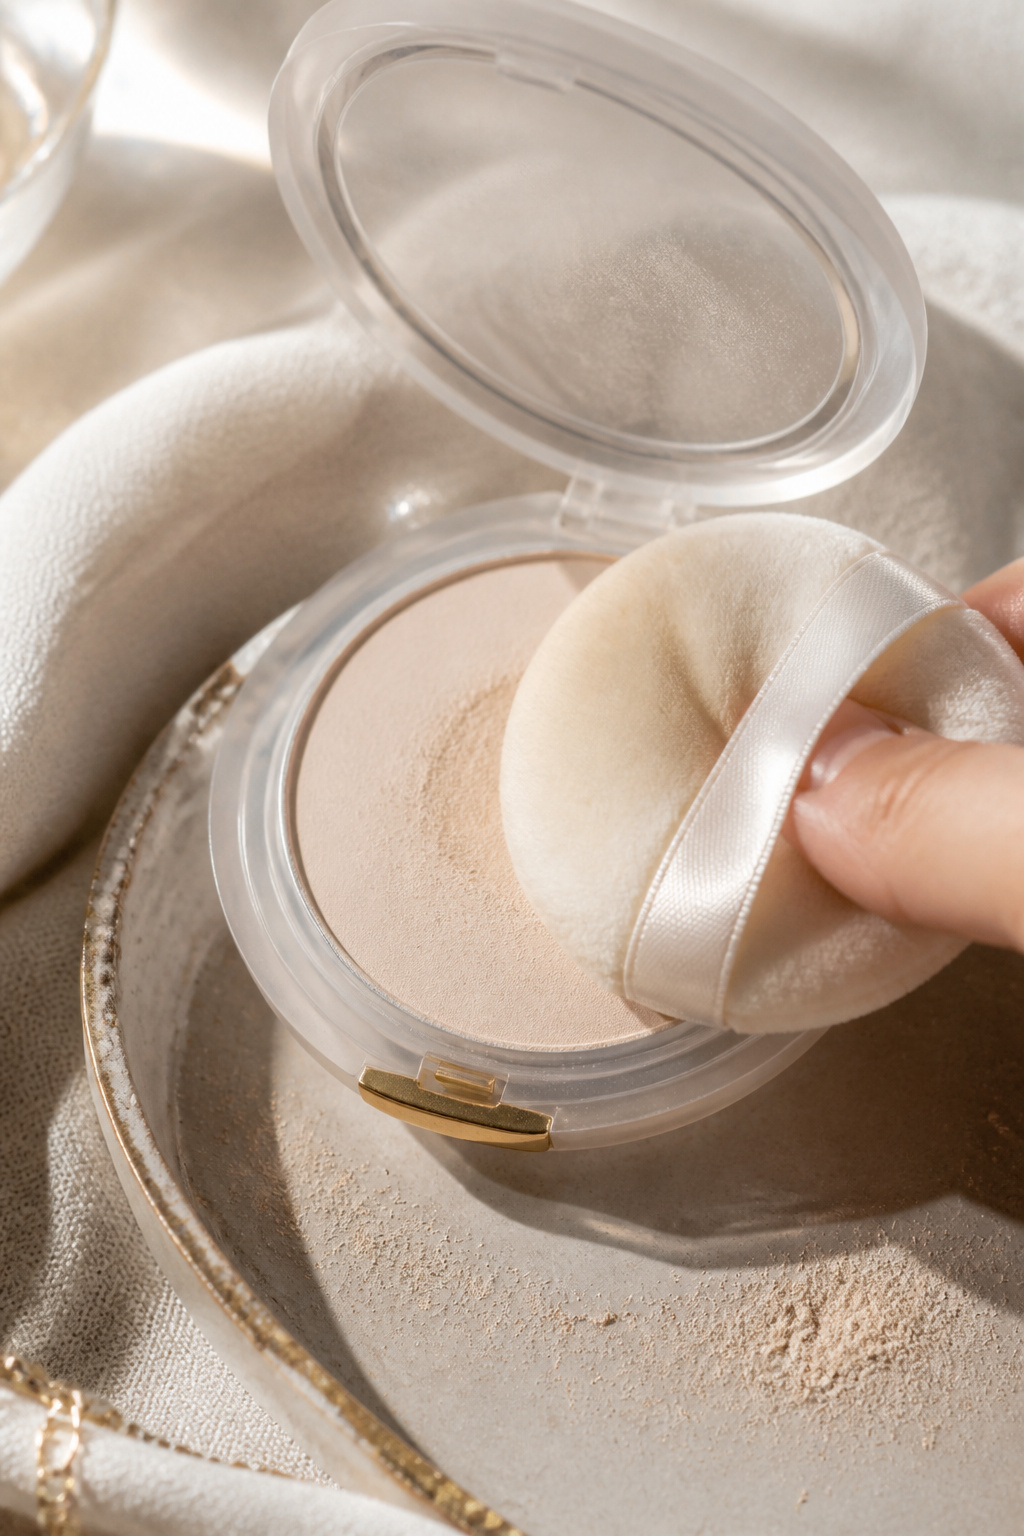

Apply a thin layer of translucent powder with a velour puff on the T-zone, then press. Reapply a light dusting where you naturally get shiny. A light bake under the eyes for two minutes then dust off keeps concealer from creasing. One ugly truth: too much powder looks cakey, so build slowly.
Shop this idea:
5. Blotting Papers Are Your Pocket Savior
Style: On-the-go | Budget: Under $8 | Best For: Midday touch-ups


Instead of piling on powder, blot with oil-absorbing papers to remove shine and preserve base. I always keep a sleeve in my bag; blot first, then lightly dust setting powder if needed. A study shows blotting reduces surface oil without disturbing makeup, which is why I stopped carrying a compact. Ugly truth: powders layered over oil look patchy.
Shop this idea:
6. Matte Cream Blush For Natural Dimension
Style: Tonal | Budget: Under $18 | Best For: Warm and neutral undertones


Cream blushes that dry matte give color without adding oil. I swipe on apples of cheeks, then press with ring finger to set. Pick a warm caramel or soft peach for day, berry for evening. Price range around $8 to $18. I learned the hard way that glossy cream blushes amplify shine on oily skin.
Shop this idea:
7. Waterproof, Smudge-Proof Eye Products
Style: Soft Glam | Budget: Under $20 | Best For: Hooded lids / Humid climates
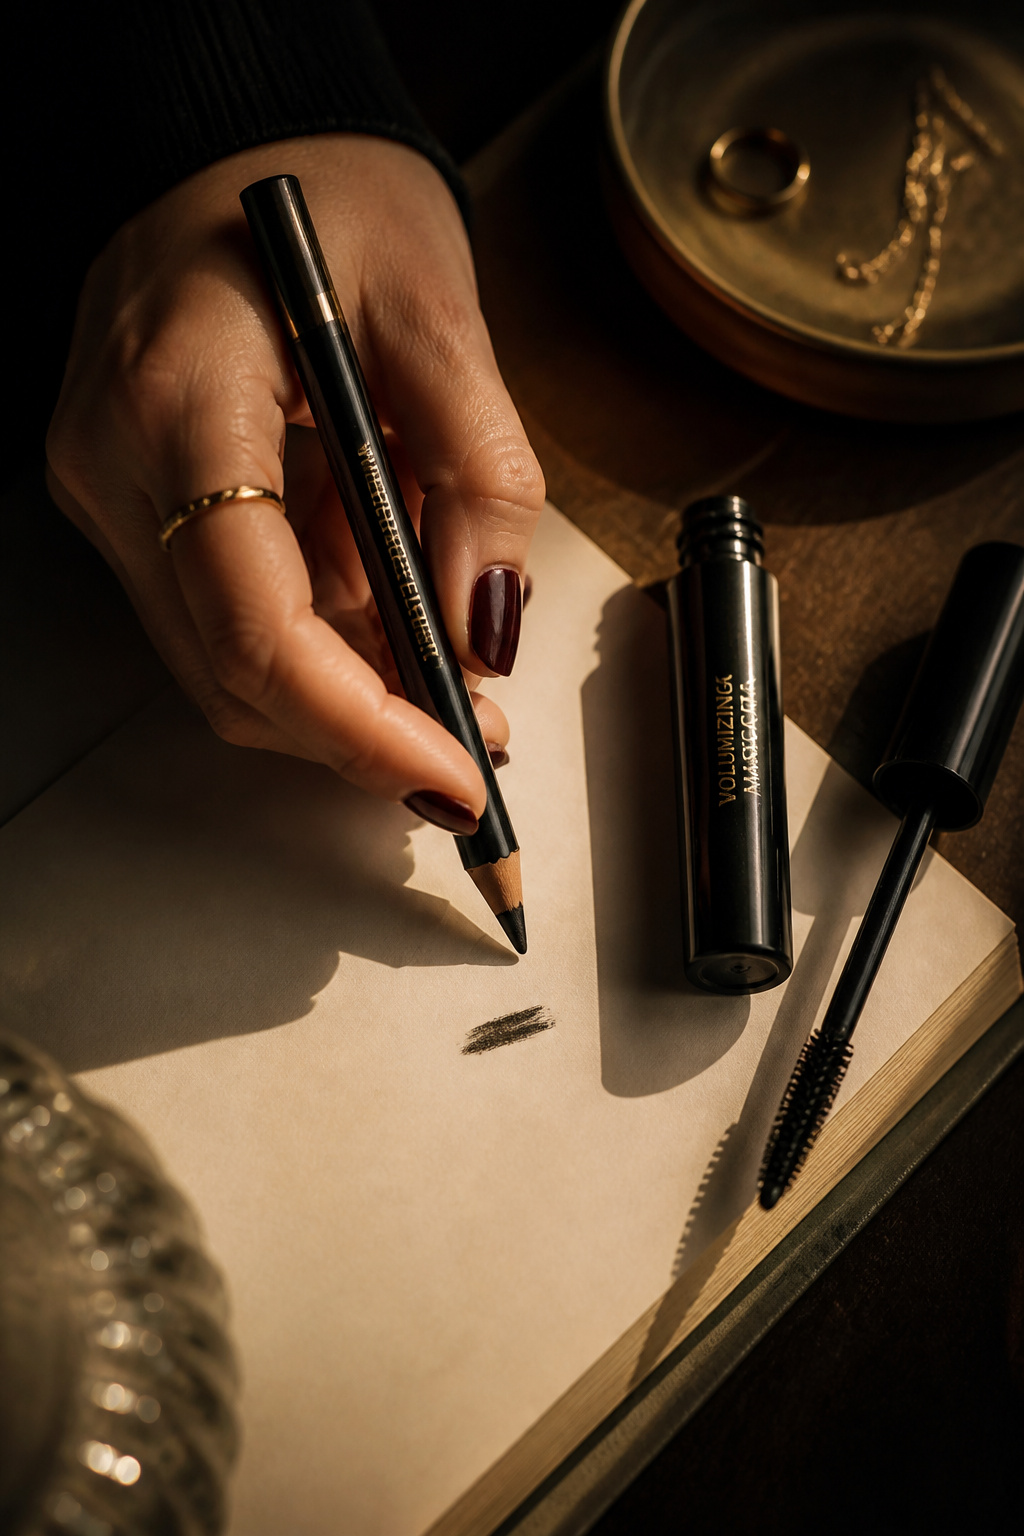

Swap regular liners for waterproof formulas to avoid raccoon eyes. I tightline with a waterproof pencil and use a waterproof mascara for lunch-to-dinner wear. Tip: set liner with a matte black eyeshadow to lock it in. Once I skipped waterproof mascara to save time and paid for it with panda eyes.
Shop this idea:
8. Cream-to-Powder Eyeshadows
Style: Curated | Budget: Under $22 | Best For: Quick, long-wear eye looks
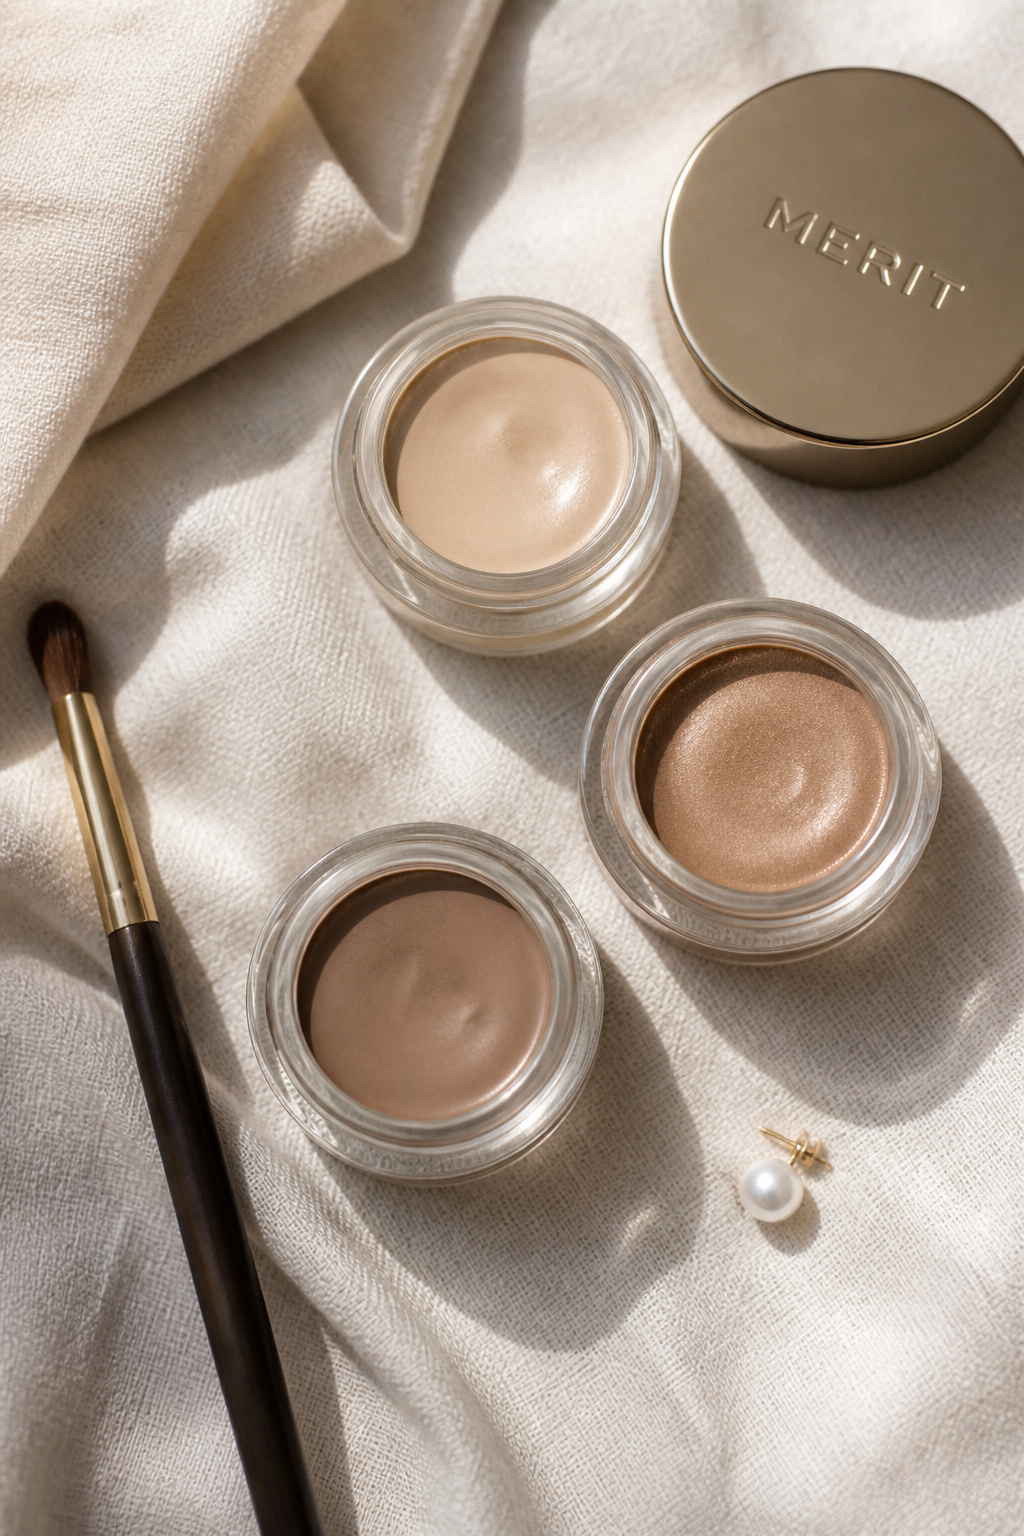

Cream-to-powder shadows dry matte and resist creasing on oily lids. I sweep a neutral matte in warm caramel across the lid and press a slightly darker matte into the outer corner. These give depth without shimmer that shows oil. Price around $10 to $22. Ugly truth: shimmer emphasizes shine, so save glitter for evenings.
Shop this idea:
9. Tight Brows With Clear Gel
Style: Polished | Budget: Under $12 | Best For: Sparse to medium brows


A clear, long-hold brow gel tames hairs and keeps product from migrating into oily skin. Brush brows upward, then set in place. I use gel after filling sparse gaps with a powder brow to keep everything matte all day. That small step made me stop redoing brows during meetings.
Shop this idea:
10. Matte Lip Stain Layered With Balm
Style: Classic | Budget: Under $16 | Best For: All day color


Matte lip stains survive greasy lunches better than glossy formulas. I blot once, add a sheer balm on top so lips don’t feel dry. Matte stains in berry or brown-red look polished without shine. I paid $22 for a cult lipstick that melted through sandwiches; stains fixed that.
Shop this idea:
11. Micro-Setting Spray For Matte Seal
Style: Clean Girl | Budget: Under $20 | Best For: Long meetings / Travel
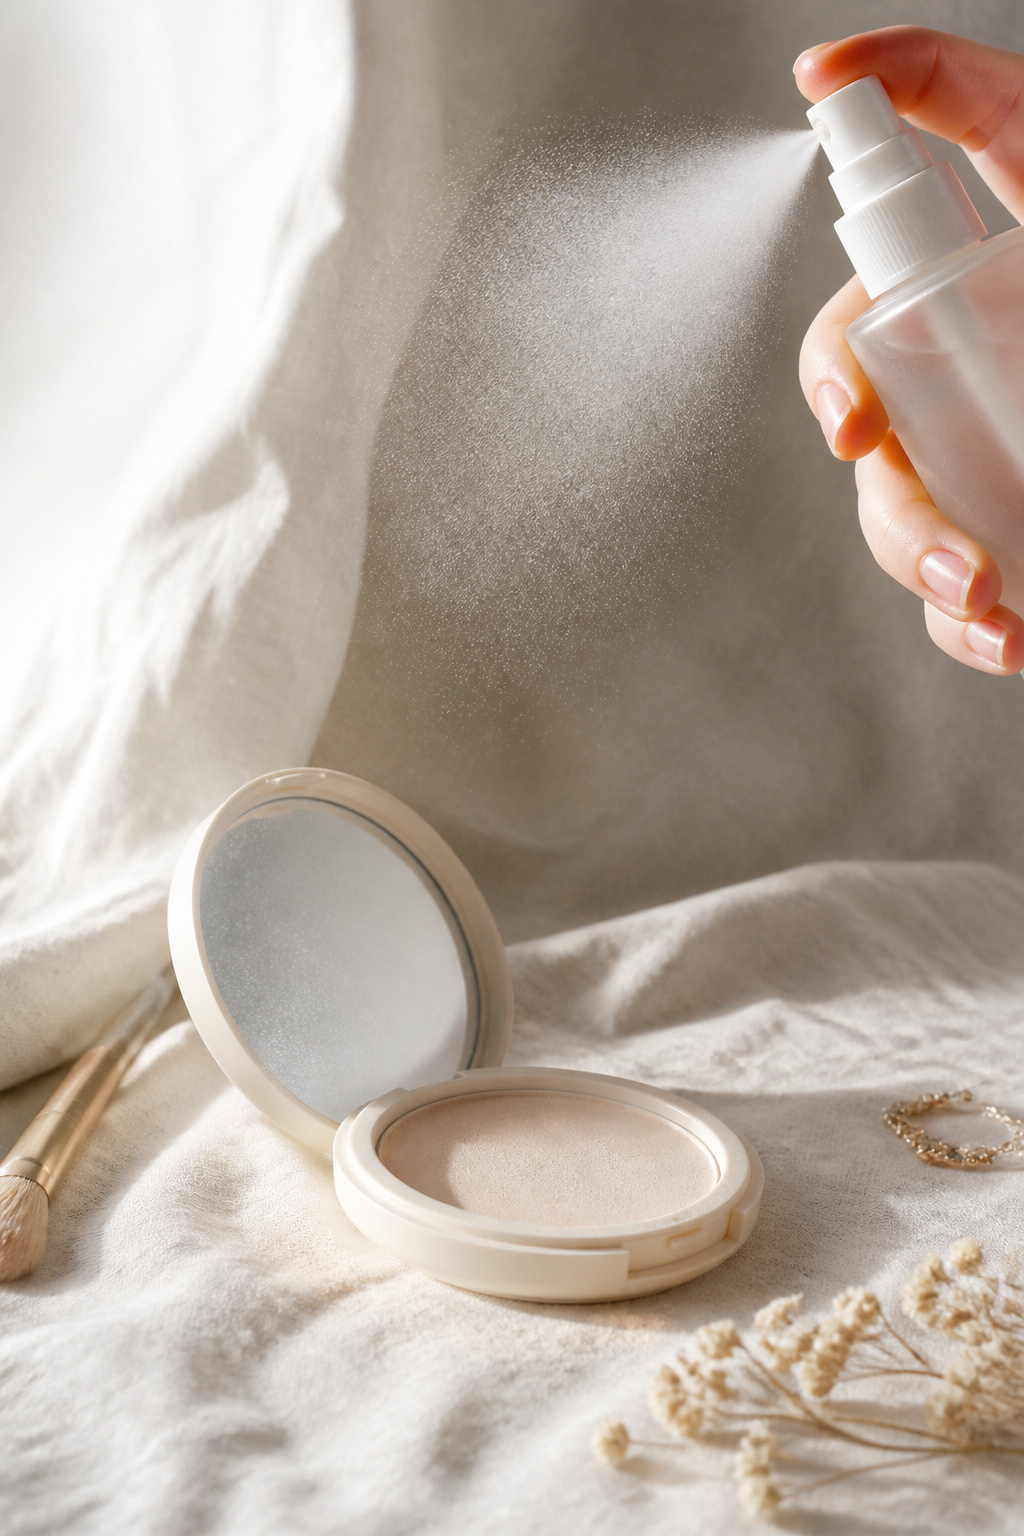

A light, micro-setting spray with matte finish helps makeup resist humidity. Hold 8 to 10 inches away and mist twice. It reduces the need for heavy powders later. I started using a mattifying setting spray after a day that ended with my nose shining in every photo.
Shop this idea:
12. Use Oil-Control Skincare Nightly
Style: Intentional | Budget: Under $30 | Best For: Reducing daytime oil


Treating oil at night reduces daytime production. I use a gentle salicylic acid cleanser and a lightweight oil-control moisturizer with niacinamide. Over time my base sits better and needs less powder. One study from dermatology clinics shows oil-targeted skincare can reduce sebum production over weeks. Price range about $12 to $30.
Shop this idea:
13. Matte Bronzer, Not Shimmer
Style: Sun-kissed | Budget: Under $25 | Best For: Dimension without shine


Shimmer bronzers add midday shine, matte bronzers add structure. I sweep matte caramel bronzer into hollows and warm the forehead. Keep the hairline powdered so oil won’t make a glossy halo. I once tried a glow bronzer and needed blotting every hour to stop the sheen.
Shop this idea:
14. Compact Mirror + Mini Blot Kit
Style: Practical | Budget: Under $12 | Best For: Commuters / Travelers


Keep a compact mirror and mini blot kit in your bag for emergency touch-ups. I re-blot then lightly press powder with a small sponge. This routine saved me during a day of back-to-back client calls. Budget range for the kit is $6 to $12.
Shop this idea:
15. Refresh With Micellar Water and Reapply
Style: Reset | Budget: Under $10 | Best For: Heavy midday oil / Reapplication
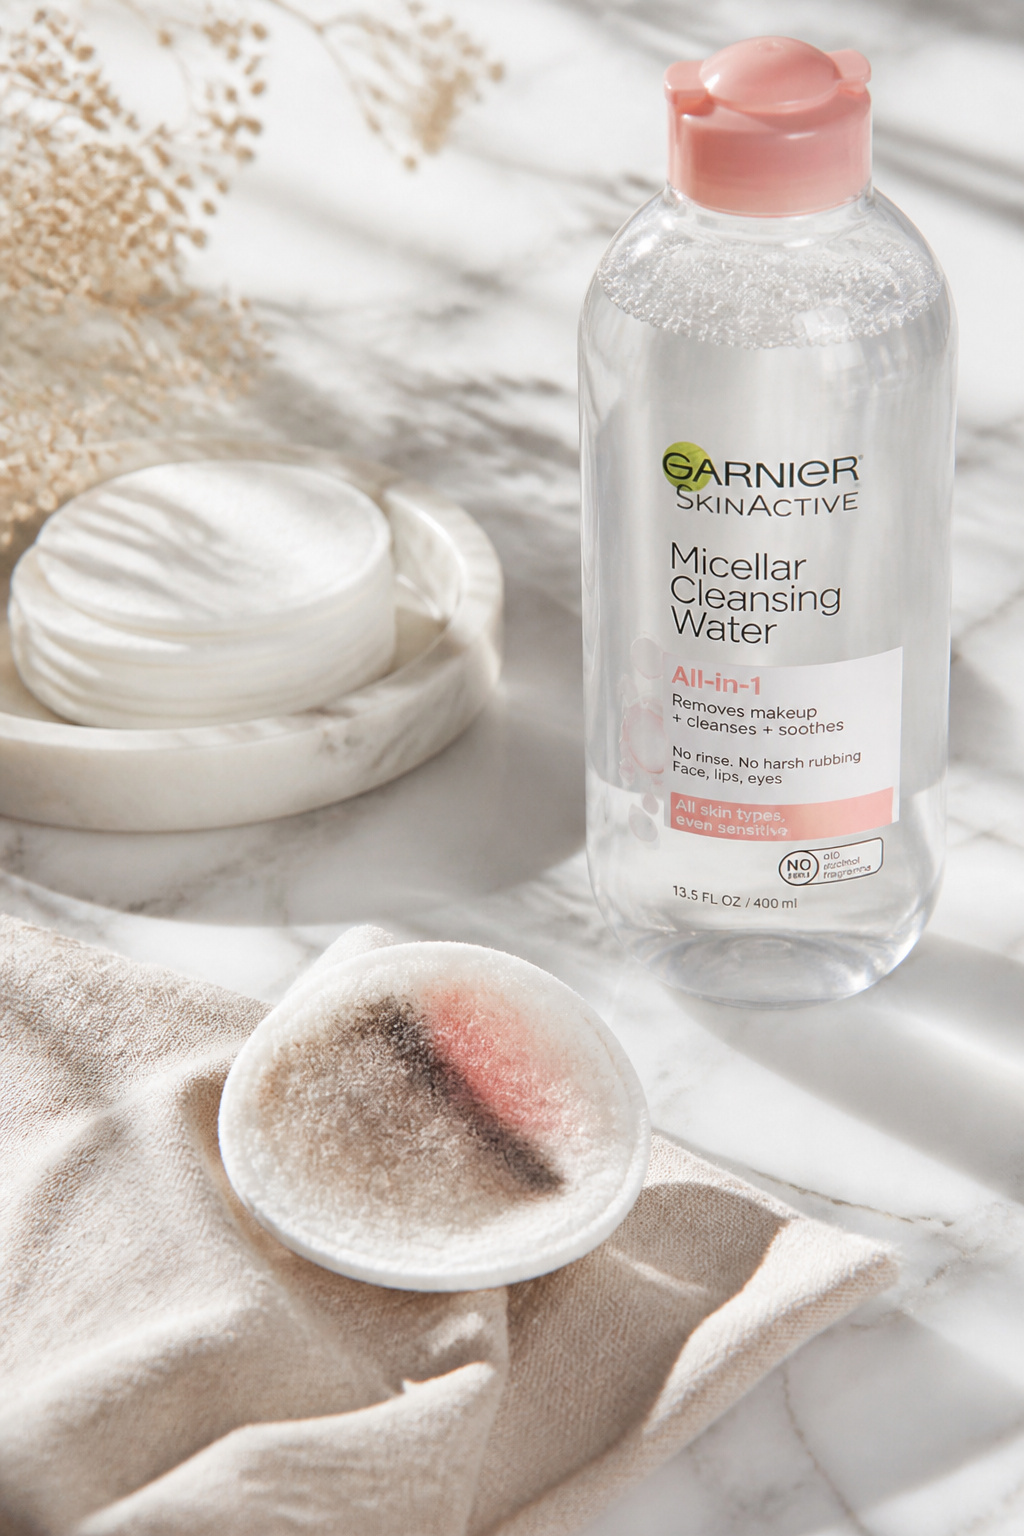

For truly oily middays, I wipe T-zone with micellar water, blot, then reapply primer and a light foundation layer. It resets the canvas without stripping skin. I use this before important meetings and it fixed cakey midday layers. Expect to spend about $6 to $12 on a travel bottle.
Shop this idea:
What You'll Need to Get This Look
Face & Base Essentials
- Mattifying silicone primer pore filling around $12 to $28
- Long-wear matte foundation pump bottle around $14 to $35
- Translucent setting powder compact around $8 to $25
- Oil blotting papers pocket pack around $4 to $8
- Matte setting spray travel size around $10 to $22
Eyes, Brows & Lips
- Waterproof eyeliner pencil black around $6 to $18
- Waterproof mascara longwear around $8 to $22
- Clear long hold brow gel around $6 to $14
- Long-wear matte lip stain berry around $8 to $16
Clothing Staples
- Silk hair scarf neutral around $12 to $30
- Lightweight trench coat beige around $40 to $120
Shoes, Bags & Jewelry
- Gold chunky hoop earrings 14k look around $8 to $30
- Leather crossbody bag tan around $40 to $150
Budget Swaps
- Drugstore matte primer small tube around $6 to $12
- Affordable cream blush stick peach around $6 to $14
Shopping Tips for These Looks
- Seasonal Sales Timing: Buy setting powders and primers during spring beauty events for 20 to 40 percent off, try translucent setting powder compact.
- Thrift + New Mix: Hunt linen shirts or blazers at thrift stores and pair with a new gold hoop, see Gold chunky hoop earrings 14k look.
- Dupe Hack: If a high-end matte foundation is out of budget, layer a drugstore matte primer with a lighter drugstore foundation for similar staying power, try Drugstore matte primer small tube.
- Travel Sizes Save Space: Buy travel bottles of micellar water and setting spray for commutes, see Matte setting spray travel size.
- 2025 Trend Watch: Cream-to-powder formulas are getting bigger in 2025 for natural matte finishes, look for Cream to powder eyeshadow pot.
- Timing Tip: Apply primer to slightly damp skin if you’ve used hydrating serums; it helps primers spread and mattify better, try Mattifying silicone primer pore filling.
Frequently Asked Questions
Q: How long will matte makeup stay on oily skin?
A: With primer, powder, and a mattifying setting spray, expect 8 to 12 hours of control. For touch-ups, carry oil blotting papers like Oil blotting papers pocket pack.
Q: Will powder clog my pores?
A: Not if you use non-comedogenic powders and clean tools. Choose a light translucent powder such as Translucent setting powder compact and wash puffs weekly.
Q: Can I get a matte finish without drying out skin?
A: Yes, balance oil-control with hydrating skincare at night and a lightweight moisturizer in the morning. I use a niacinamide serum like Niacinamide oil-control serum to regulate oil.
Q: Is blotting better than powdering midday?
A: Blotting removes oil without adding product, so it preserves the base. If you need extra coverage after blotting, press powder lightly using a sponge, and keep Mini blot kit travel size handy.
Conclusion
Start with the smallest change, like adding a mattifying primer or carrying blotting papers, and build from there. One final tip: test combinations at home for a full workday before relying on them for events. Which tip will you try first, primer or blotting papers?


