
Monolid eyeliner makeup can feel like a puzzle. I learned the hard way that a thick black wing often vanishes when my eyes open. In this list I share 13 looks that actually show up, from soft brown tightlines to graphic floating lines, mostly under $30 with a few splurges around $80. These are the tricks that got compliments, not laughs, on nights out and in daylight.
Most ideas keep a clean, polished vibe. Budget: most under $30, a few splurges around $80. These suit monolids, hooded-lids, and anyone after tactile, visible liner. I’ve noticed color liner and lash-lift pairings are trending for 2025, especially in K-beauty circles.
1. Brown Tightline With Lengthening Mascara
Style: Clean girl | Budget: Under $25 | Best For: Natural everyday, deep brown eyes
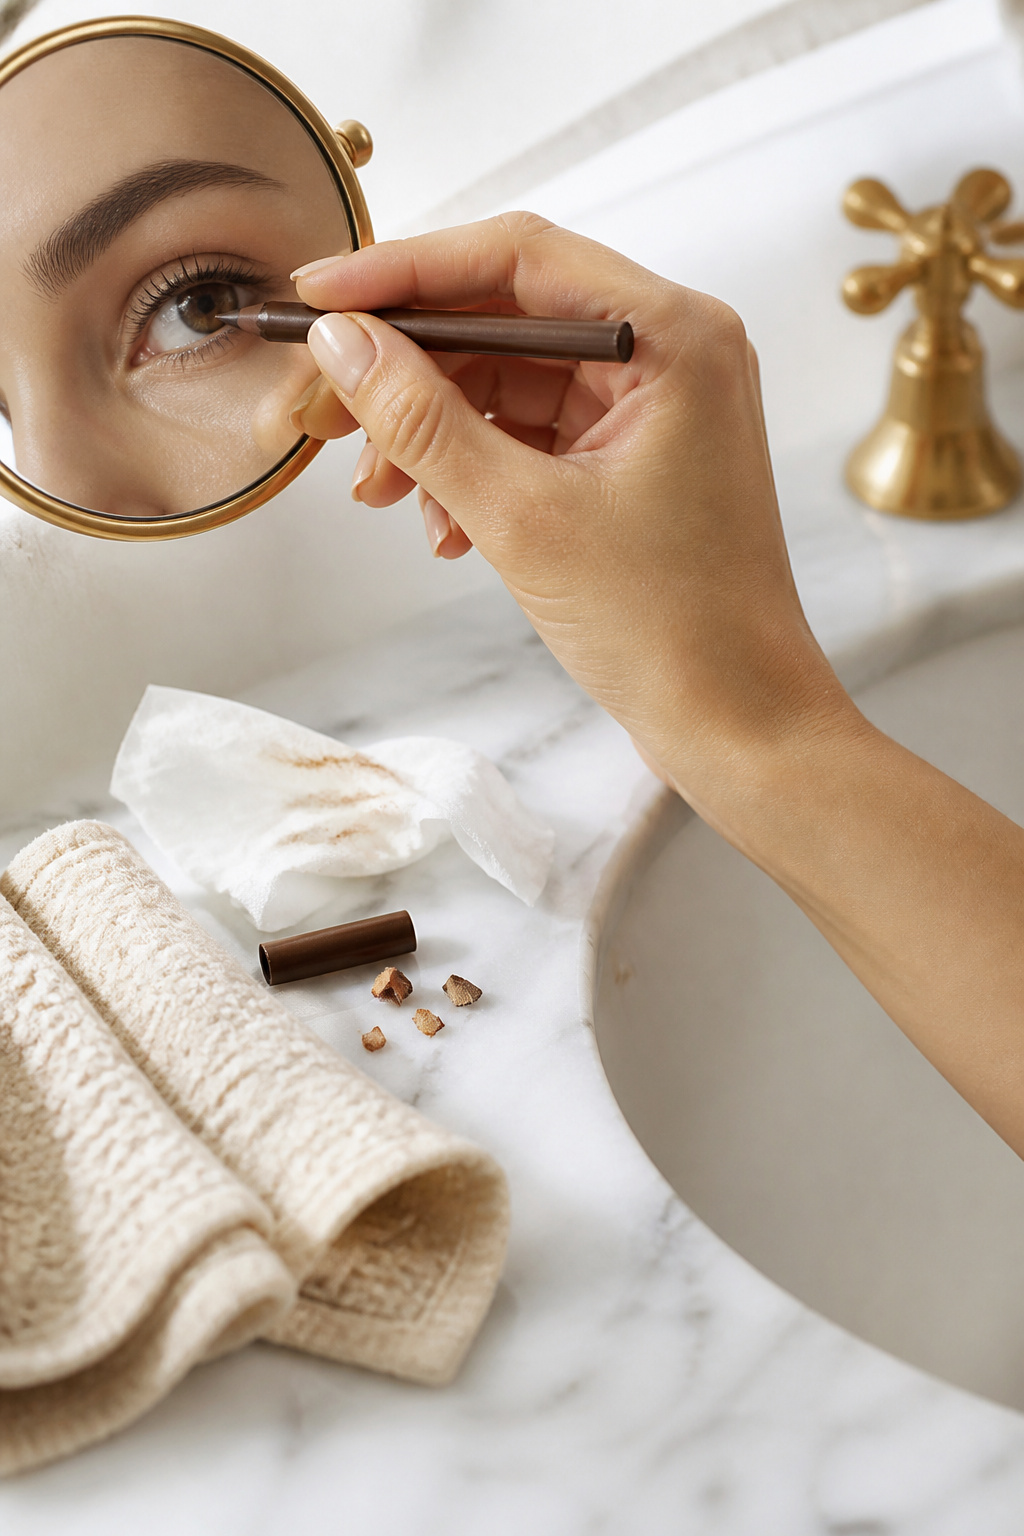

Result: lashes look fuller and liner reads when eyes open. The trick is working the pencil into the roots, not the skin, and immediately pressing a lengthening brown mascara through. I found a drugstore brown pencil at CVS for $8 that outperformed pricier liners in visibility. Tip: warm the pencil on your hand for 3 seconds for smoother transfer. Ugly truth: black kohl on the waterline often looks harsh on monolids.
Shop this idea:
2. Short, Upturned Mini Wing
Style: Soft glam | Budget: Under $20 | Best For: Petite lids, neutral outfits
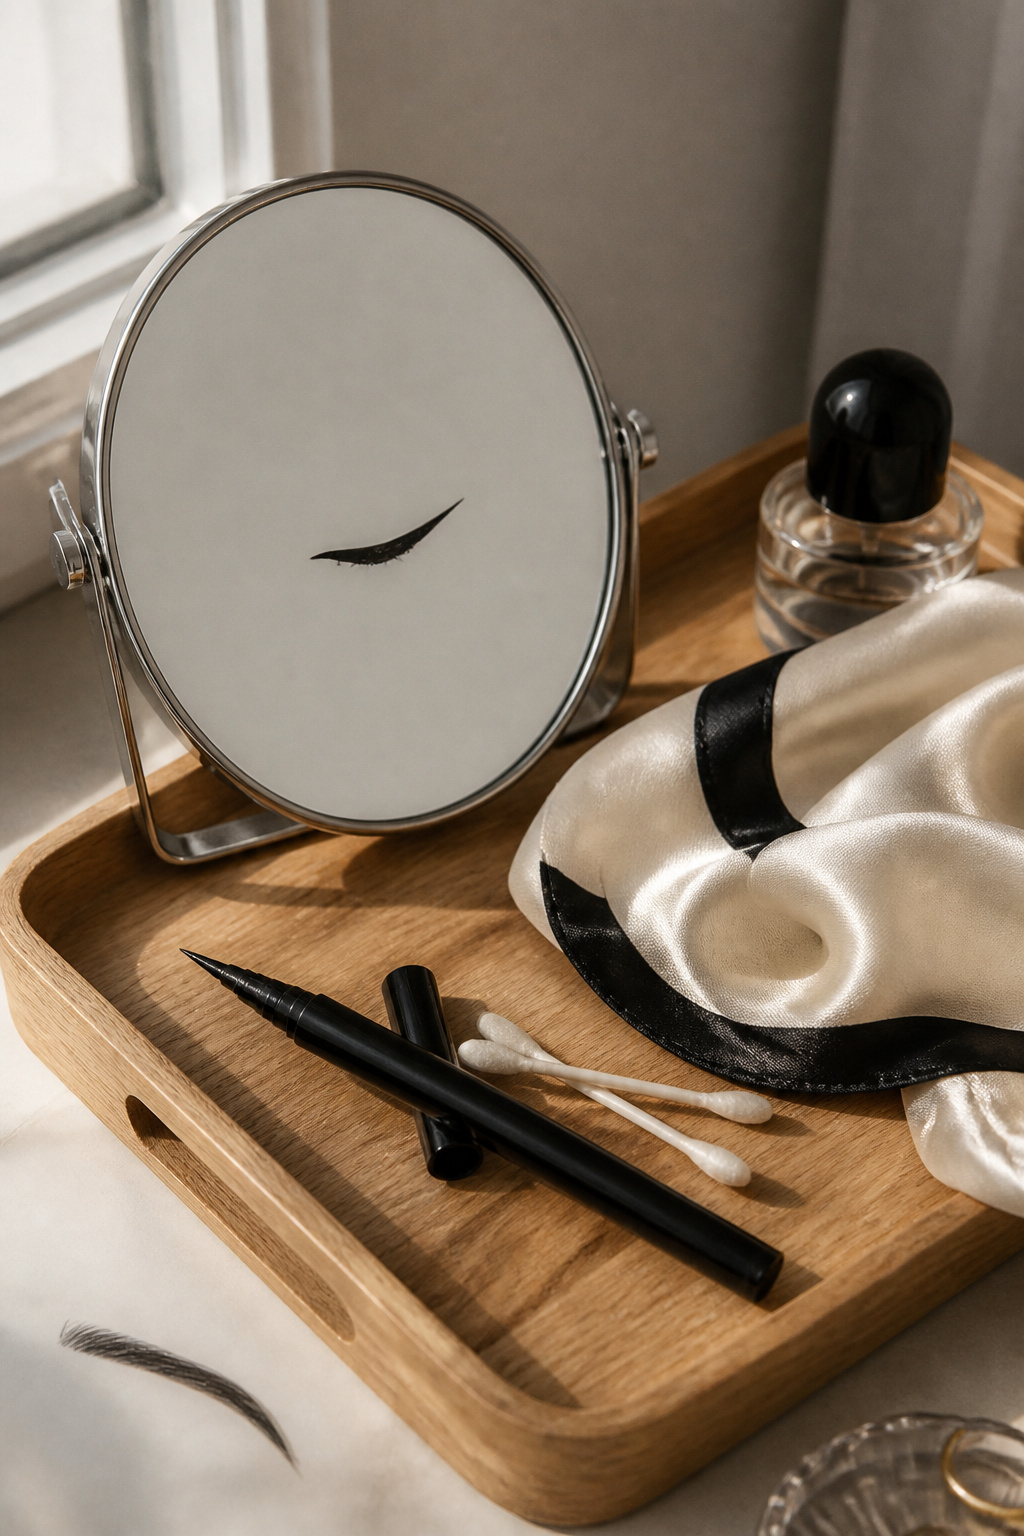

A tiny upturned wing sits above the lash line so it still reads with eyes open. I use a felt-tip liquid with a short 3 mm flick instead of a long cat eye. Apply with the eye relaxed, then lift brow slightly to check visibility. Price anchor: I paid about $12 for the liner that stays put. What doesn’t work: tape wings that extend too far; they crease into the lid.
Shop this idea:
3. Smudged Brown Liner With Warm Shadow
Style: Lived-in | Budget: Under $25 | Best For: Soft glam, hooded eyes
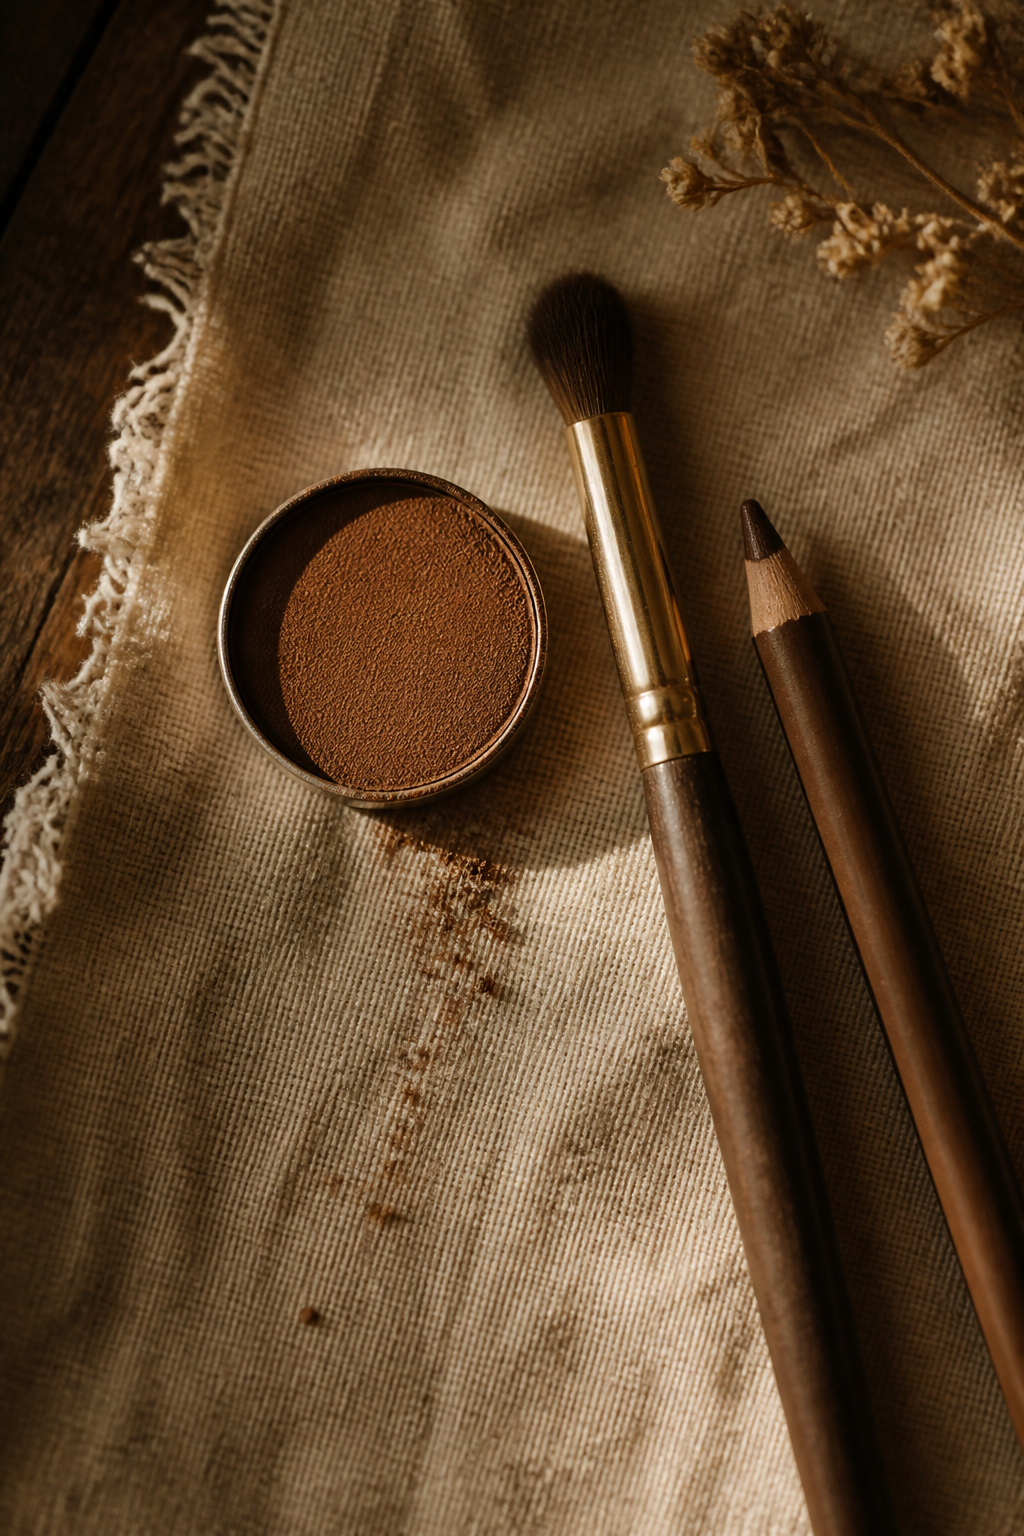

Smudged brown liner reads as a soft lash-extension effect and stays visible when lids open. Line tight to the roots, smudge with a small pencil brush, then press a caramel shadow on top to amplify. I did this after a lash lift; people said my lashes looked thicker without falsies. Product link: a waterproof brown pencil that blends well, $10 to $18.
Shop this idea:
4. Micro Liner Close to Lashes
Style: Minimal | Budget: Under $18 | Best For: Clean girl, small eyes
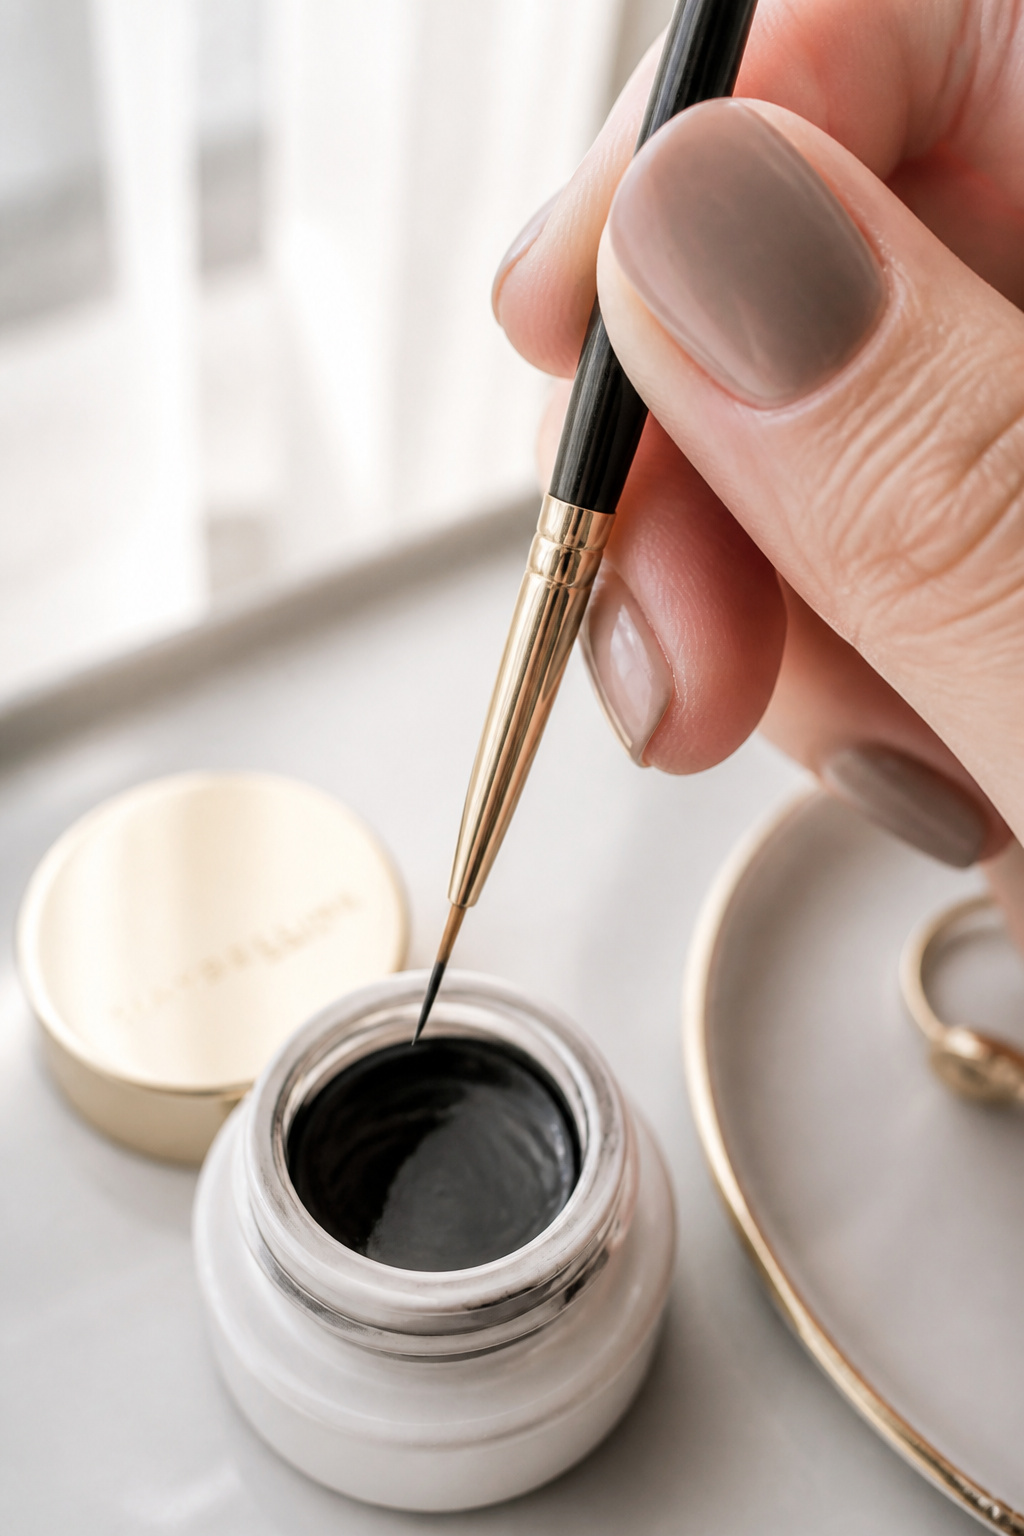

Micro liner is a hairline black or deep brown drawn millimeters from the lash base. It reads when the eye opens because it mimics the natural shadow. Use a steady hand and a tiny angled brush with gel liner. I practiced on my left eye for two weekends before wearing it out. Price anchor: small pot ran about $14 to $22. Ugly truth: thick liners flatten small eyes.
Shop this idea:
5. Floating Line Above the Lash Line
Style: Graphic | Budget: Under $30 | Best For: Statement looks, photos
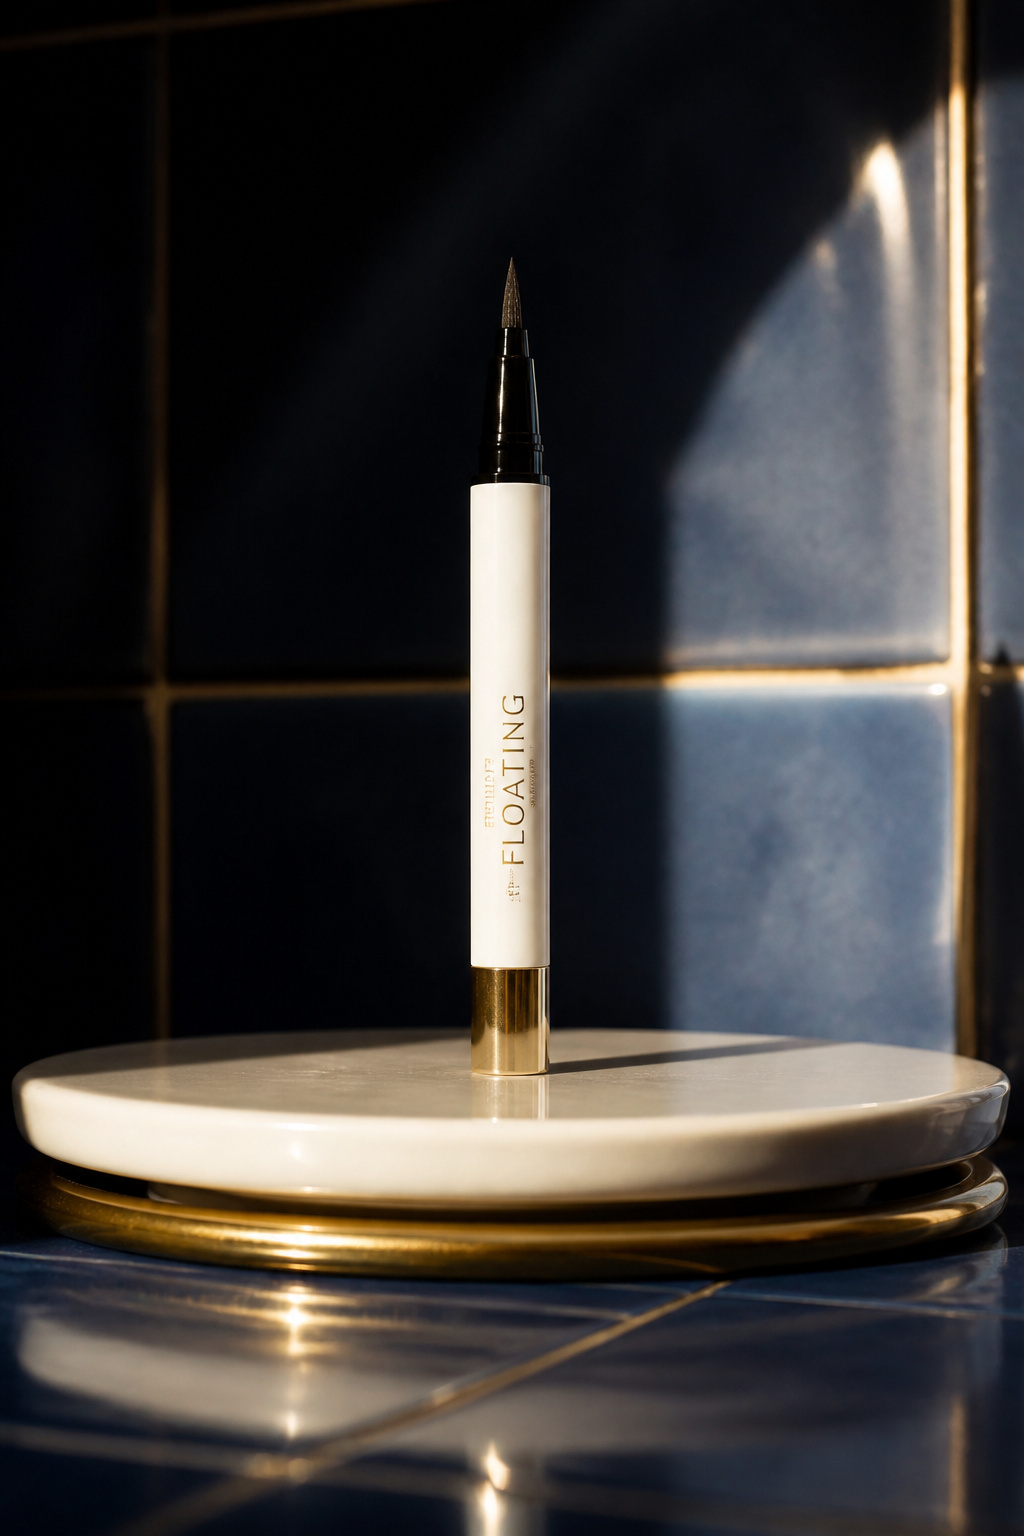

A thin floating line placed 3–4 mm above the lash line stays visible when the eye opens, because it sits above the lid crease. Use a waterproof felt-tip or small brush and steady your elbow. I got stopped twice when I tried a tiny cobalt floating line. Price anchor: felt-tip was $16 to $28. What doesn’t work: thick floating bands; they read heavy.
Shop this idea:
6. Lower Lash Emphasis With Tight Brown Liner
Style: Retro | Budget: Under $20 | Best For: Round faces, small upper lids
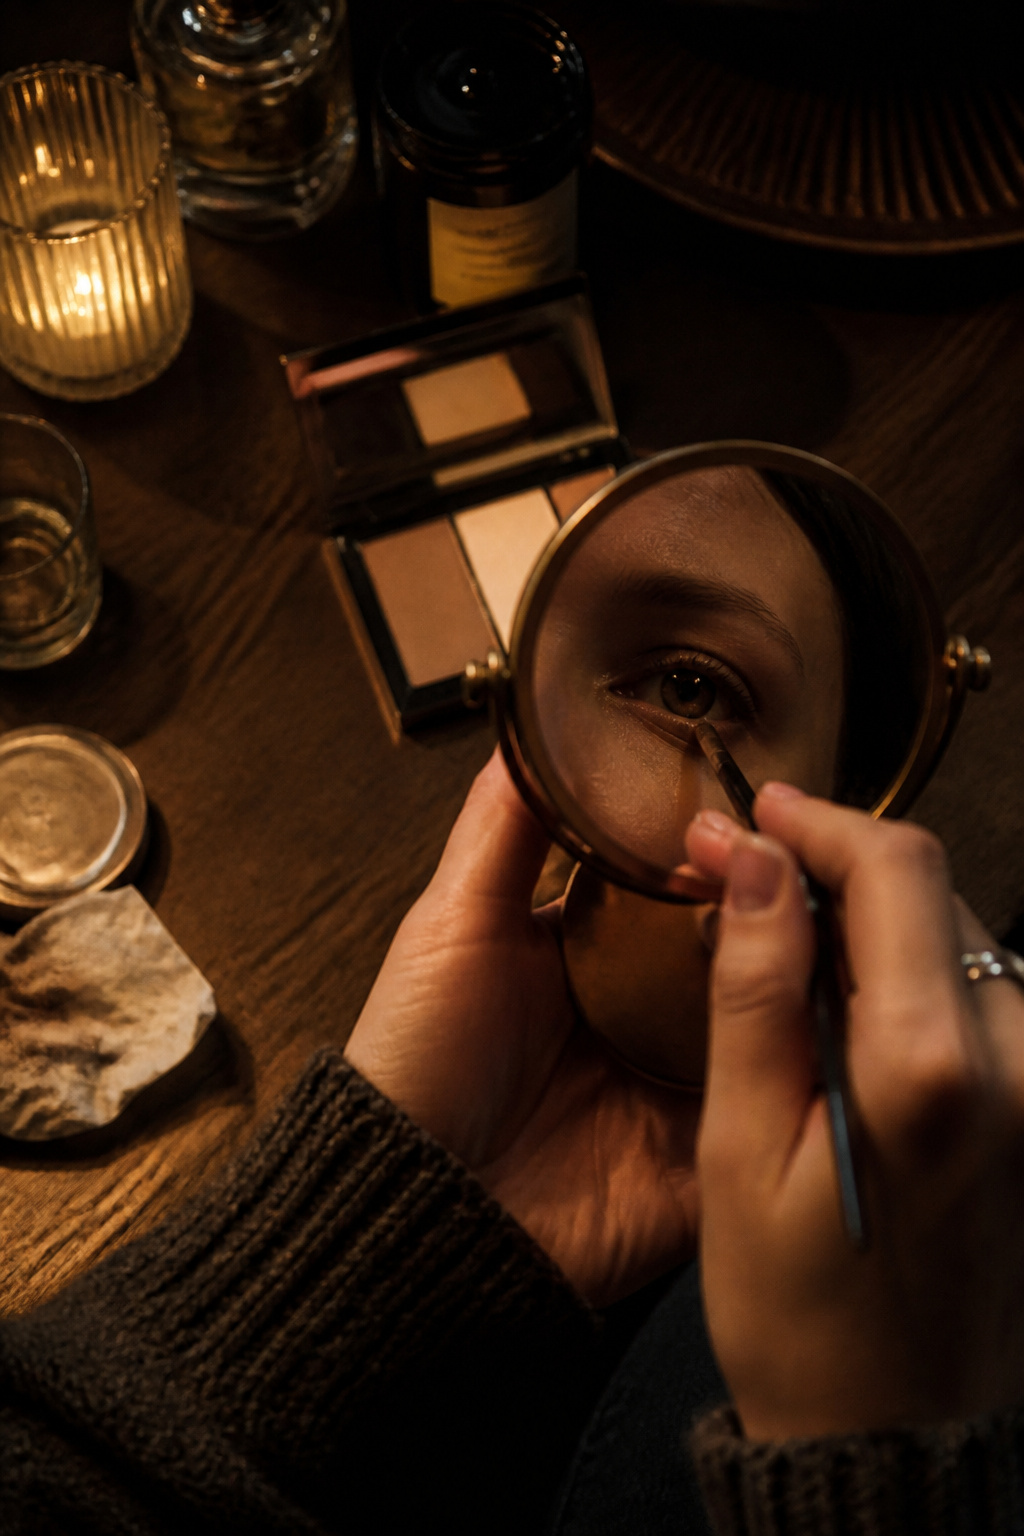

If upper liner hides, emphasize the lower lash line gently. Use a thin pencil or shadow smudged low and connect the outer corner with a tiny flick. This made my eyes look wider without a heavy top line. I kept my mascara limited to the outer lower lashes to avoid panda eyes. Price anchor: pencil was $7 to $12. Ugly truth: over-doing the lower line can look tired.
Shop this idea:
7. Colored Waterline for a Visible Pop
Style: Bold | Budget: Under $15 | Best For: Photogenic, summer looks
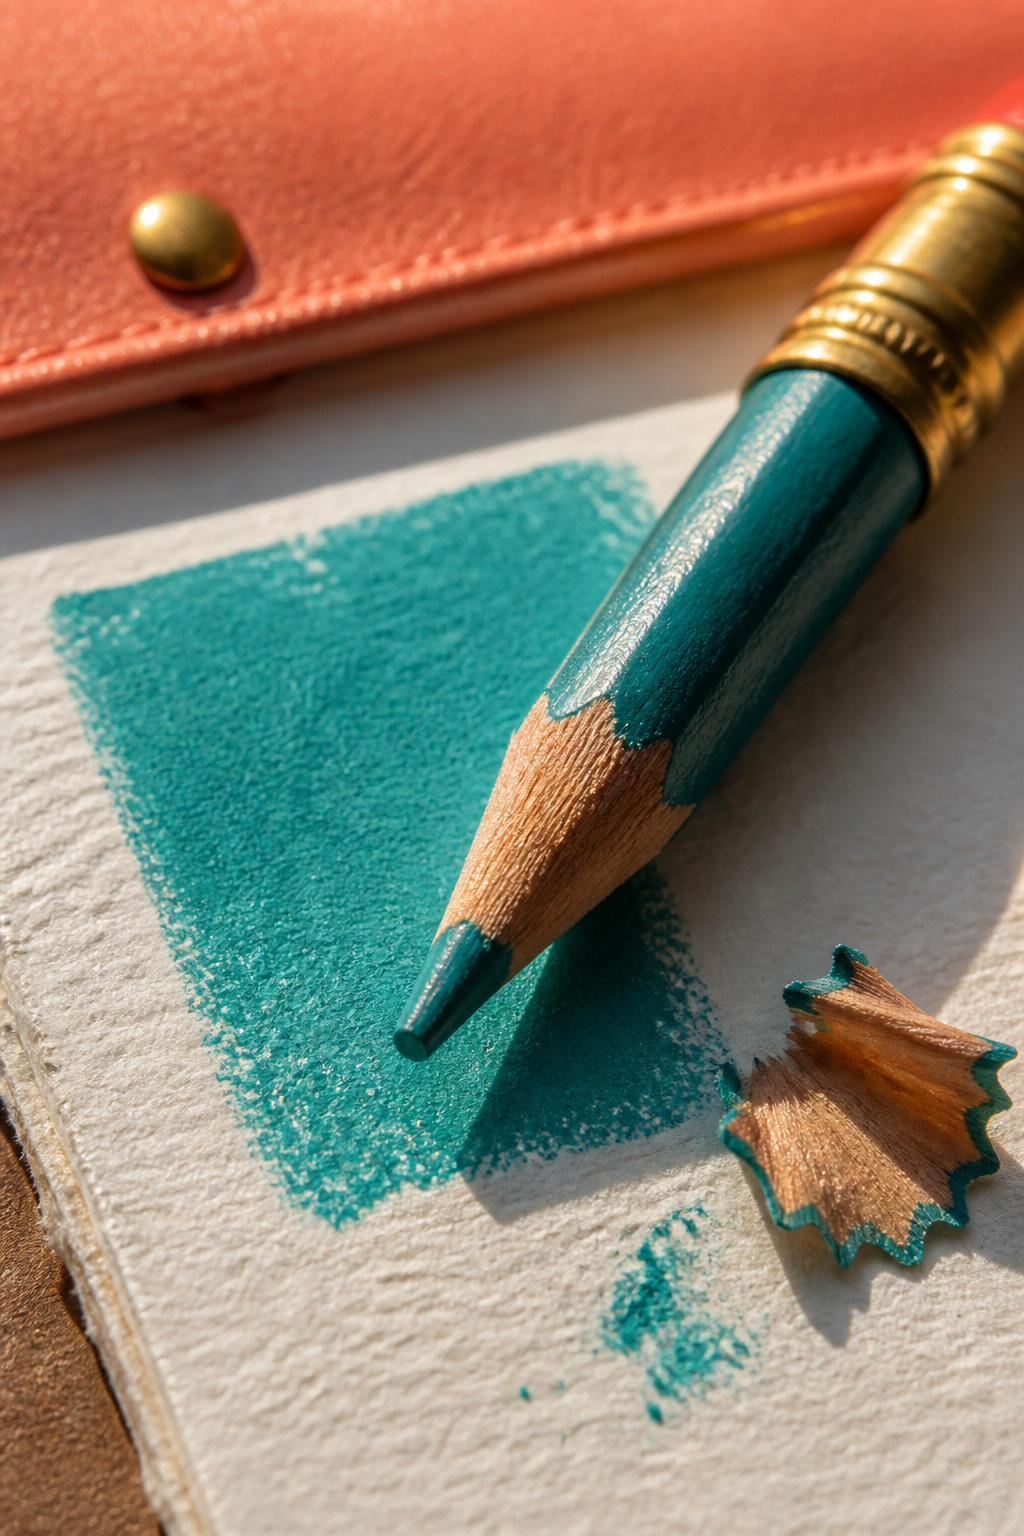

A jewel-toned waterline shows even when the eye is open, especially on monolids. I reach for teal or plum instead of white; it brightens the eye without looking chalky. Apply with a creamy, waterproof pencil and set lightly with matching shadow. I wore teal on a weekend trip and strangers complimented my eyes. Price anchor: pencil $9 to $14. What doesn’t work: cheap chalky whites.
Shop this idea:
8. Thin Gel Wing With Lash Lift
Style: Elevated | Budget: Lash lift $60 to $120, liner under $20 | Best For: Low-maintenance glam
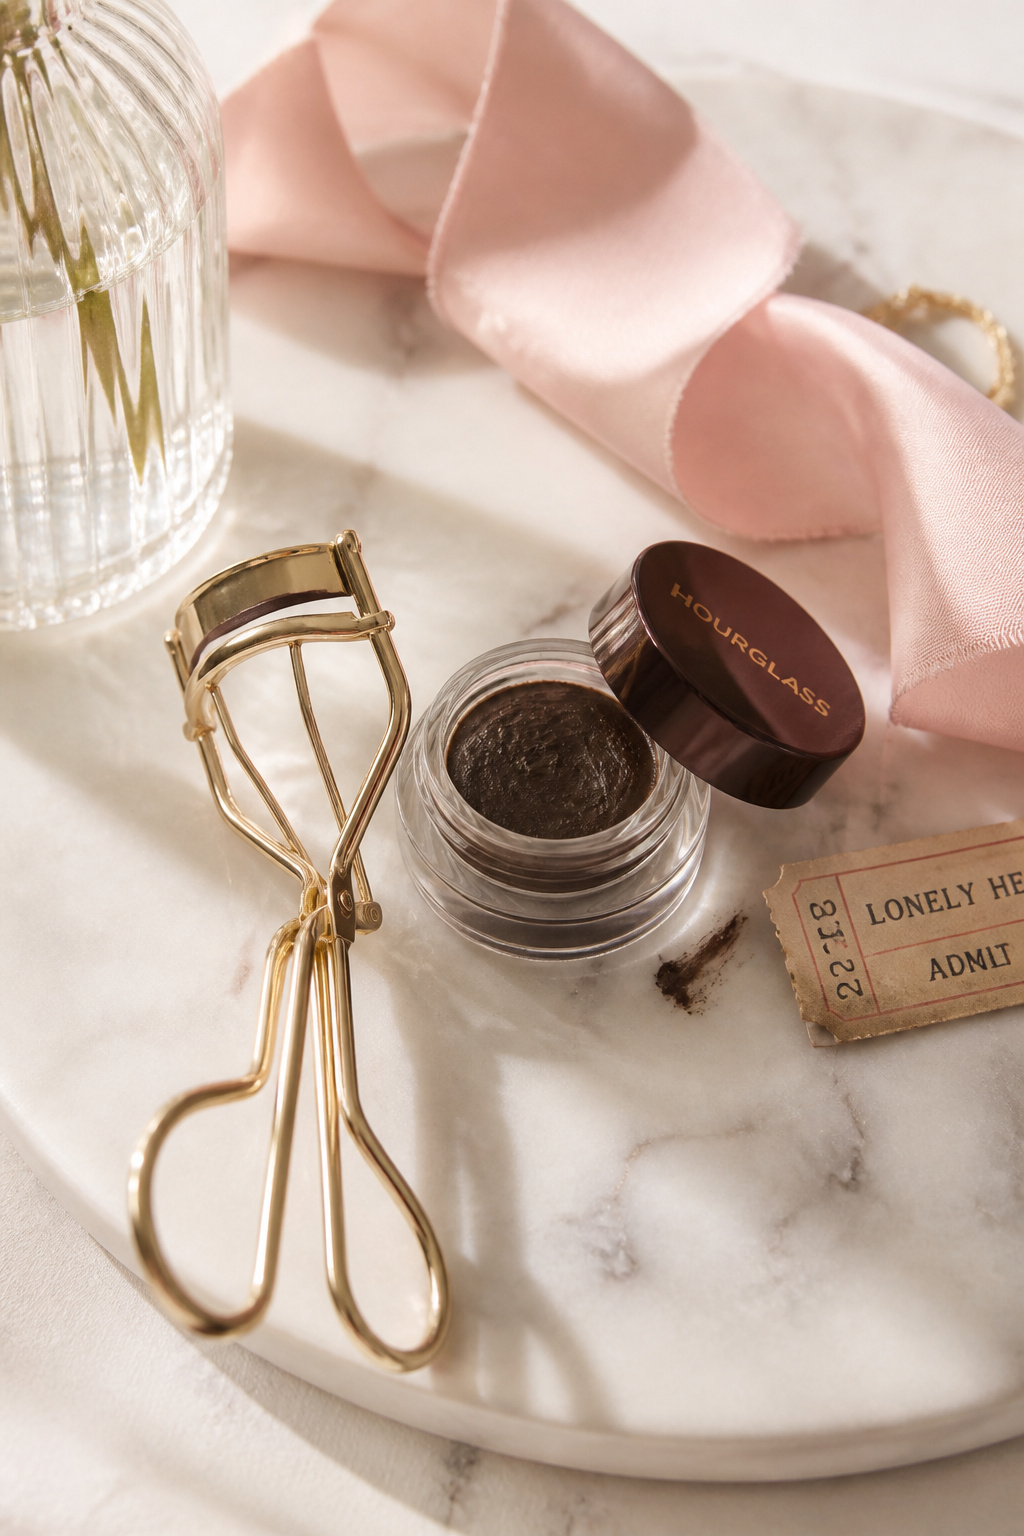

Pair a lash lift with a thin gel wing at the outer lash roots. The lifted lashes reveal more liner when open. I had a lift for $75 at a local salon and the thin wing I draw in the morning stays visible all day. Gel liner works best applied with a tiny angled brush. Price anchor: salon lift $60 to $120. Ugly truth: false lashes plus thick liner often read bulky.
Shop this idea:
9. Dot Liner Along Lash Line
Style: Playful | Budget: Under $20 | Best For: Trendy nights, editorial photos


Small spaced dots along the lash line register easily with eyes open and look intentionally graphic. Use a pointed brush and gel or liquid to place dots at the lash roots. I tried this with a friend and it read better in photos than a thin continuous line. Tip: place dots closer together at the outer third for lift. Price anchor: gel pot $12 to $20.
Shop this idea:
10. Inner Corner Hook With Minimal Lid Line
Style: Modern | Budget: Under $25 | Best For: Editorial, almond-shape illusion
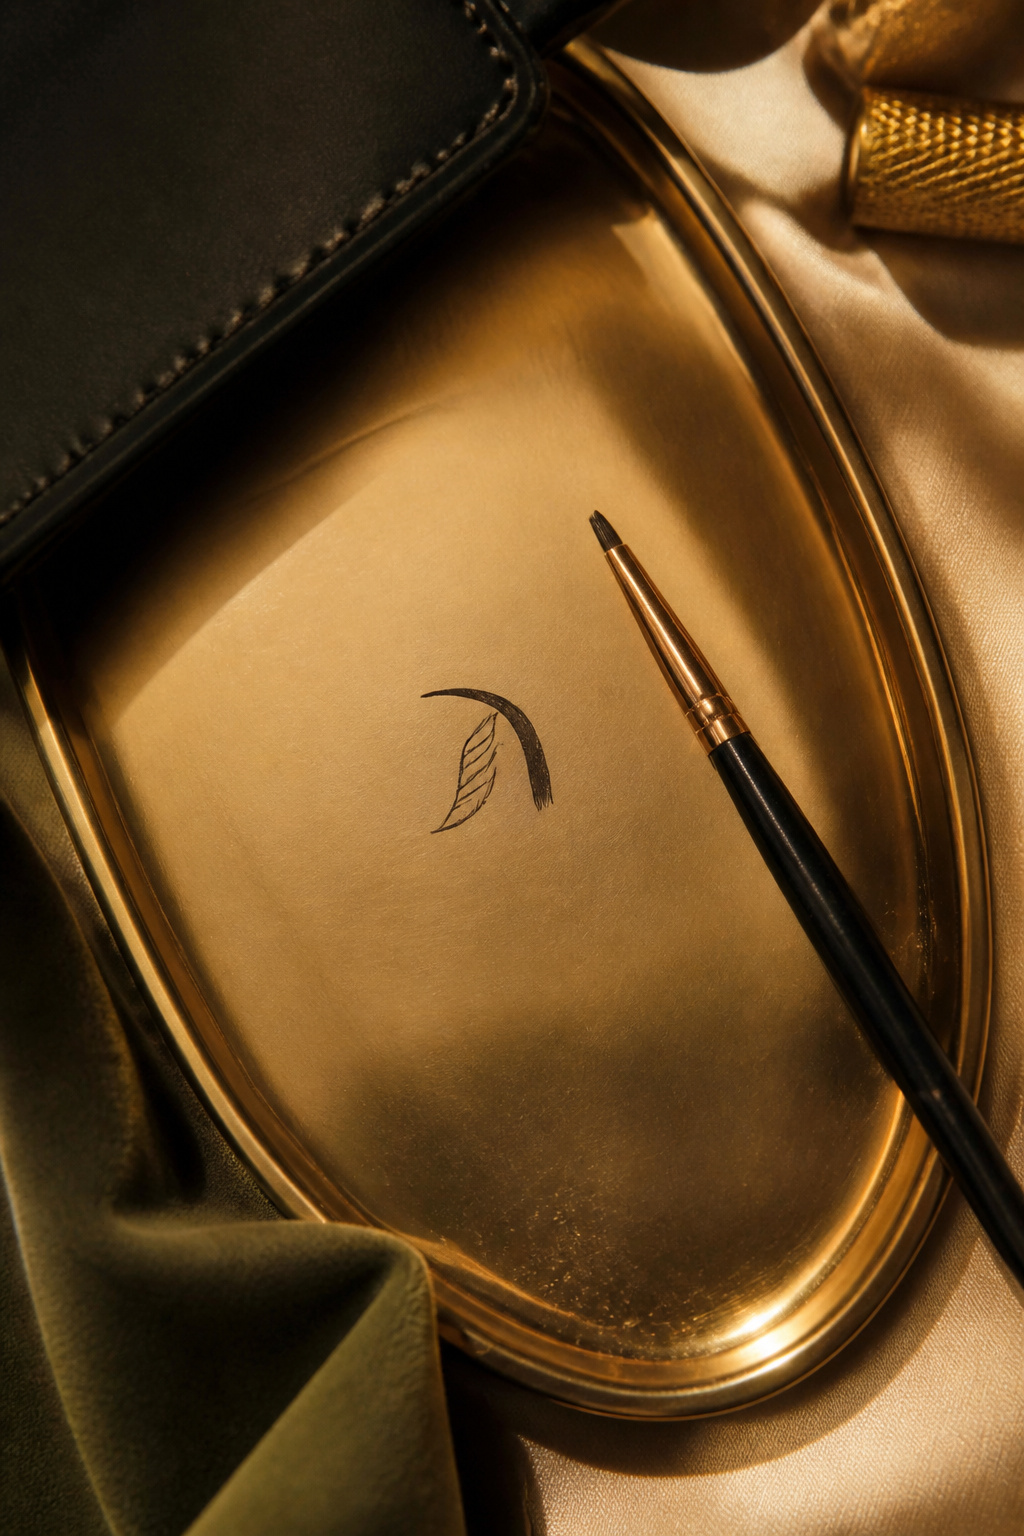

A tiny inner corner hook paired with a minimal lashline stroke draws the eye inward and reads when the eyes are open. I do a 2 mm hook at the inner corner, then a thin line across the inner half of lashes. It feels fresh and less effort than a full wing. Price anchor: micro brush pack $6 to $10. What doesn’t work: heavy inner liner that closes the eye.
Shop this idea:
11. Two-Tone Liner: Thin Black + Colored Shadow
Style: Creative | Budget: Under $30 | Best For: Photos, festivals
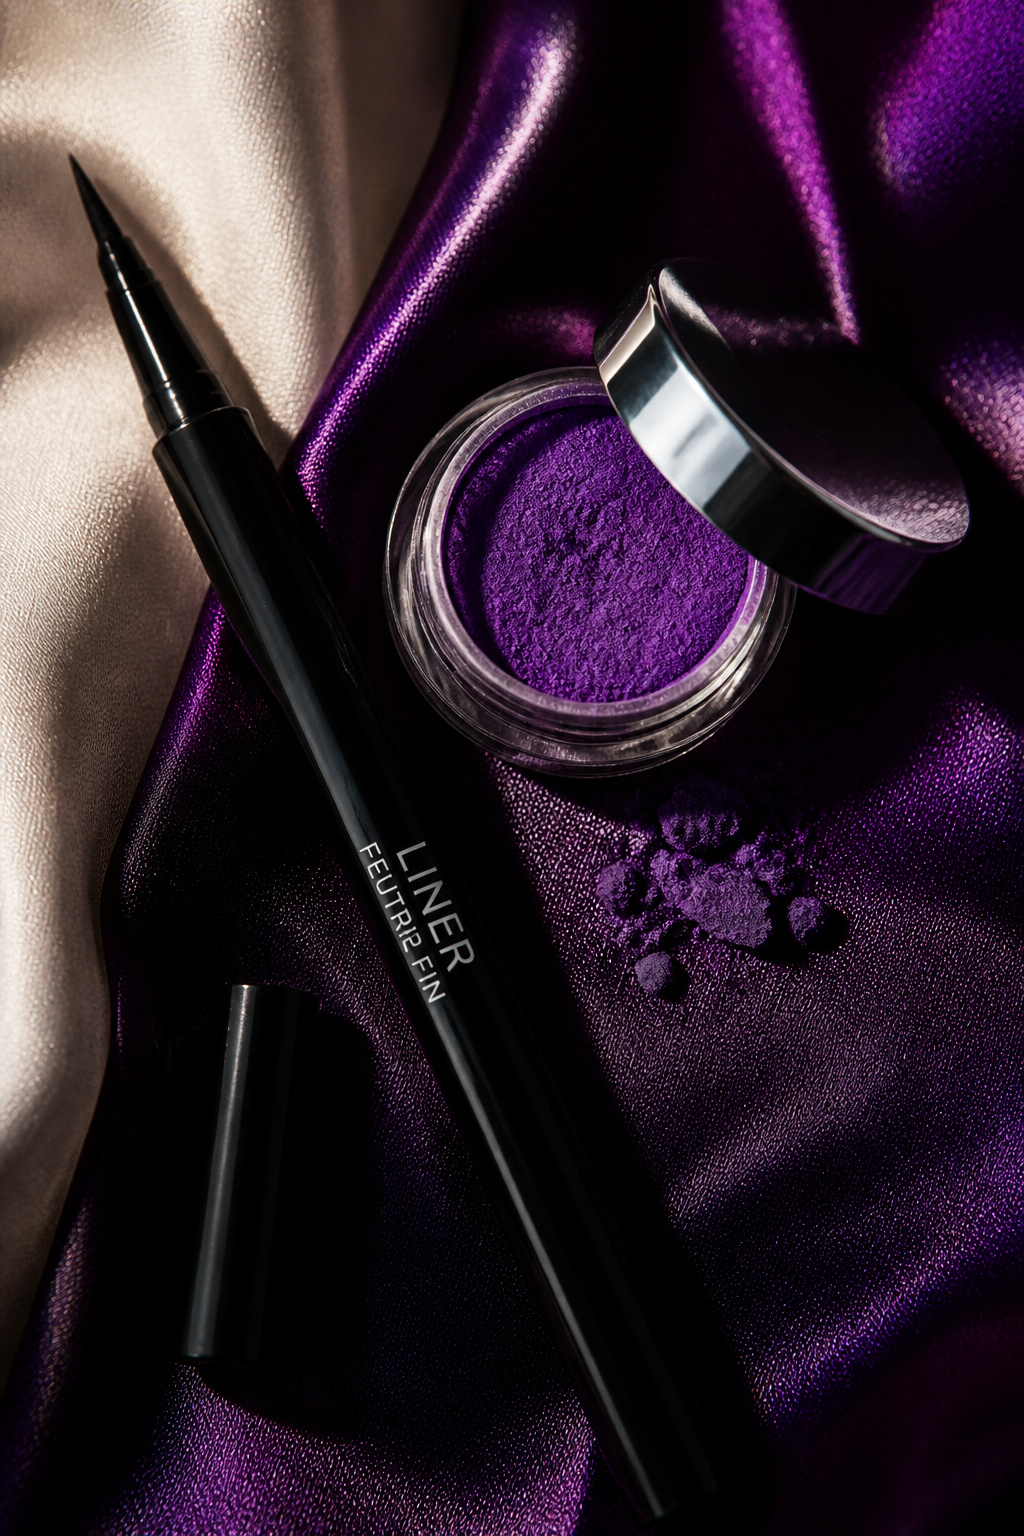

A hairline black line at the roots topped with a thin band of colored shadow above ensures contrast even when lids close. I layered black gel liner then pressed a magenta shadow which popped in sunlight. Use a small stiff brush for placement. Price anchor: shadow pan $8 to $18. Ugly truth: color tamped into the crease looks messy; keep placement flat.
Shop this idea:
12. Subtle Graphic Liner Along Outer Lash
Style: Elevated minimalist | Budget: Under $28 | Best For: Date nights, editorial lunches
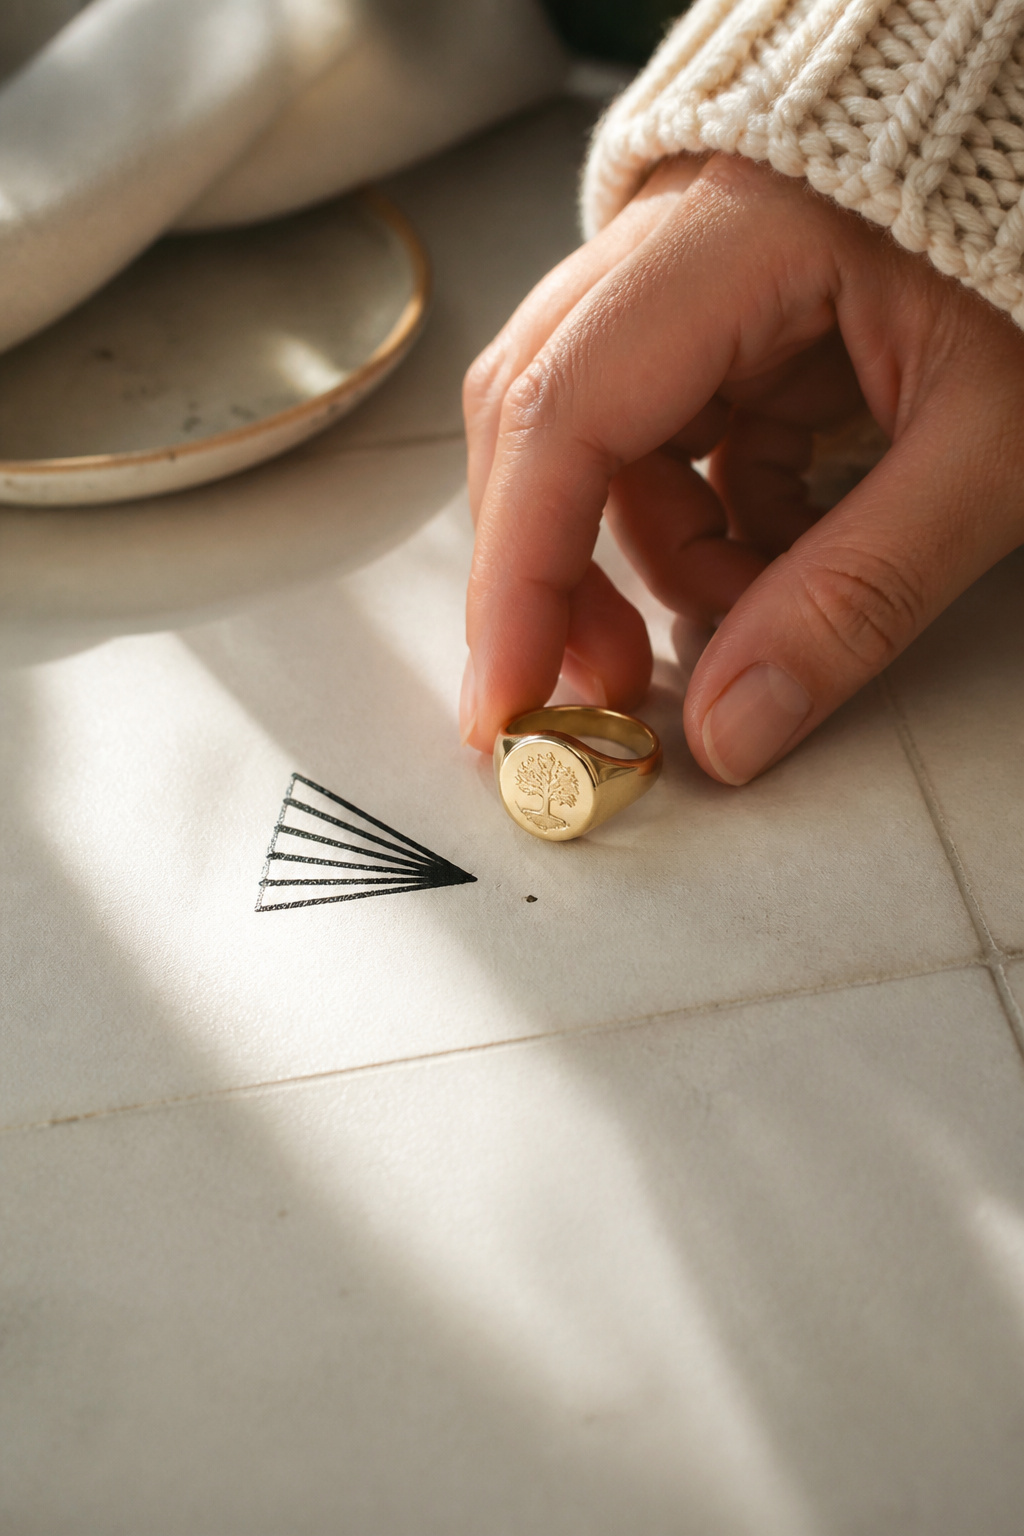

A small graphic wedge at the outer lash root can peek out when open and keeps the lid looking clean. Draw a short triangular wedge that follows the natural lash direction and fill with gel. I wore this to brunch and it read like an intentional accent, not a costume. Price anchor: gel $14 to $26. Tip: seal with clear powder at the base.
Shop this idea:
13. Lash-Root Smudge With Highlighted Lid
Style: Soft polish | Budget: Under $25 | Best For: Day to night, mature skin
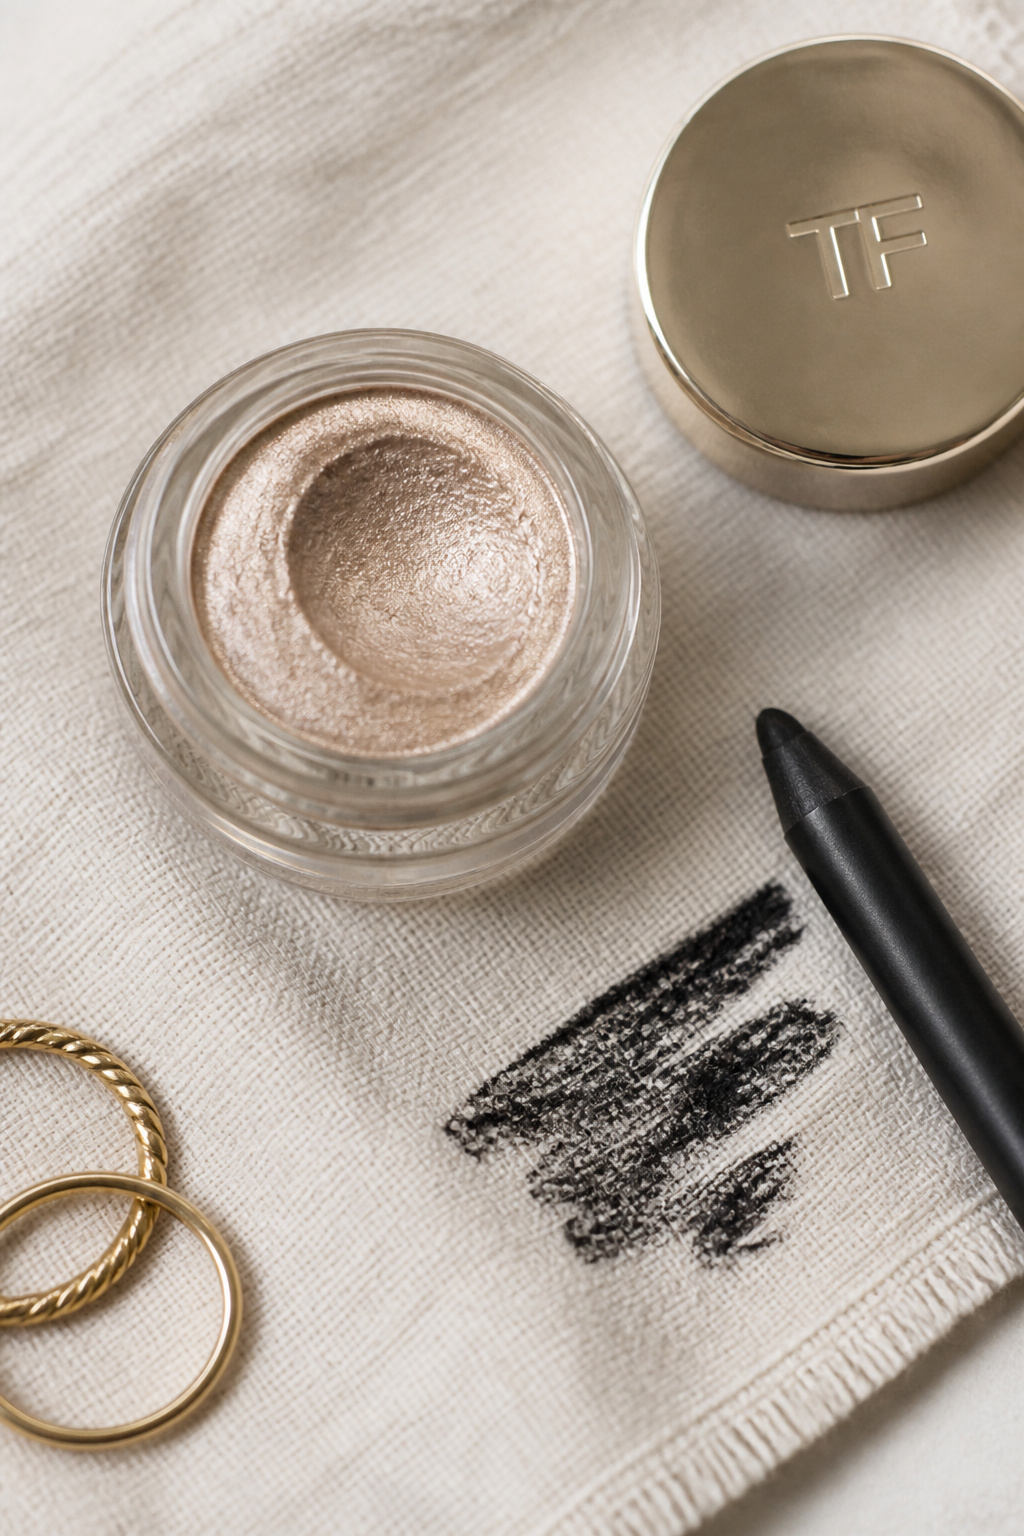

A shadowed lash-root smudge plus a soft champagne highlight on the lid gives definition that shows when eyes open. Smudge a thin dark line into the roots, then tap a sheen cream shadow on the mobile lid to catch light. I used this trick on rehearsal days when I needed my eyes to read from a distance. Price anchor: cream shadow $10 to $18.
Shop this idea:
What You'll Need to Get This Look
Face & Base Essentials
- Cream eyeshadow in champagne around $10 to $18
- Tinted eyelid primer neutral around $8 to $20
- Concealer mini wand light around $7 to $18
- Setting powder small jar around $6 to $22
Eyes, Brows & Lips
- Waterproof brown eyeliner pencil around $7 to $18
- Black gel eyeliner pot around $12 to $26
- Lengthening brown mascara around $8 to $22
Clothing Staples
- Silk scarf cream around $12 to $40
- Soft linen shirt white around $25 to $80
Shoes, Bags & Jewelry
- Gold chunky hoop medium around $12 to $32
- Small leather crossbody tan around $40 to $160
Budget Swaps
- Drugstore brown pencil around $5 to $12
- Affordable cream shadow pan around $6 to $14
Shopping Tips for These Looks
Buy a pencil set for practice: Try a small brown pencil kit to learn tightlining without commitment, like a 3-piece pack around $10 to $20, brown pencil set.
Time visits to sales: Ulta and Sephora have seasonal promos; I snagged a gel pot at the 21 Days of Beauty for close to half price, check brand pages during spring and Black Friday.
Thrift the jewelry: Look for gold hoops and signet rings at vintage stores, then pair with a new silk scarf for polish, try searching vintage gold hoop set for inspiration.
Swap black for brown daily: For daytime, brown liners read better on monolids and soften the face, pick a waterproof brown under $18 like waterproof brown liner.
Invest in an angled brush: A tiny angled brush makes micro and smudged liners precise, grab one around $6 to $14 for long-term use, see angled micro brush.
Try a lash lift before shipping splurge: If you want low-maintenance visible liner, a lash lift (local salons $60 to $120) changes how liner reads with eyes open.
Follow 2025 color cues: I’ve noticed cobalt and plum liners keep popping in street fashion; pick one bright in your under-$20 range, like cobalt eyeliner pencil.
Frequently Asked Questions
Q: How do I make eyeliner show on monolids?
A: Focus on the lash roots and outer third, not a full thick wing. Use a waterproof brown pencil or gel and seal with shadow, try waterproof brown pencil for practice.
Q: Will eyeliner crease on monolids?
A: It can. Prime the lid and use a cream-to-powder technique, then set liner with shadow. A tinted eyelid primer helps, like tinted eyelid primer neutral.
Q: Is brown better than black for daily wear?
A: Yes, brown reads more natural and still shows when eyes open on monolids. Try a lengthening brown mascara and brown pencil combo, see lengthening brown mascara.
Q: How long does a lash lift last with eyeliner?
A: Typically 6 to 8 weeks depending on lash growth. Combine with thin gel wings for visible results, look up local salon options or at-home kits.
Conclusion
Start with one small change, like swapping black for brown or trying a micro liner. Those tiny shifts made the biggest difference for me, especially when I wanted my liner to show paired with everyday outfits. Which of these 13 looks are you trying first, a soft tightline or a graphic floating line?