








Makeup looks for beginners that actually fit a rushed morning. I wanted exactly 11 simple combos that don’t need a drawer full of tiny brushes, and most cost under $30 with a few splurges around $120. These are the looks I wear when I want to look polished in 10 minutes, with products I’ve bought, kept, and returned to.
I’m aiming for clean, soft glam, and tonal faces. Most products are under $30, a few splurges sit near $120. These suit clean girl, soft glam, petite, and deeper tones with shade notes. Also, I’ve noticed cream textures and multi-use sticks are everywhere in 2024 and early 2025 (Euromonitor 2023, NPD Group trend observations).
1. Cream Blush Trio for Lit-From-Within Glow
Style: Clean Girl | Budget: Under $25 | Best For: All undertones, minimal tools
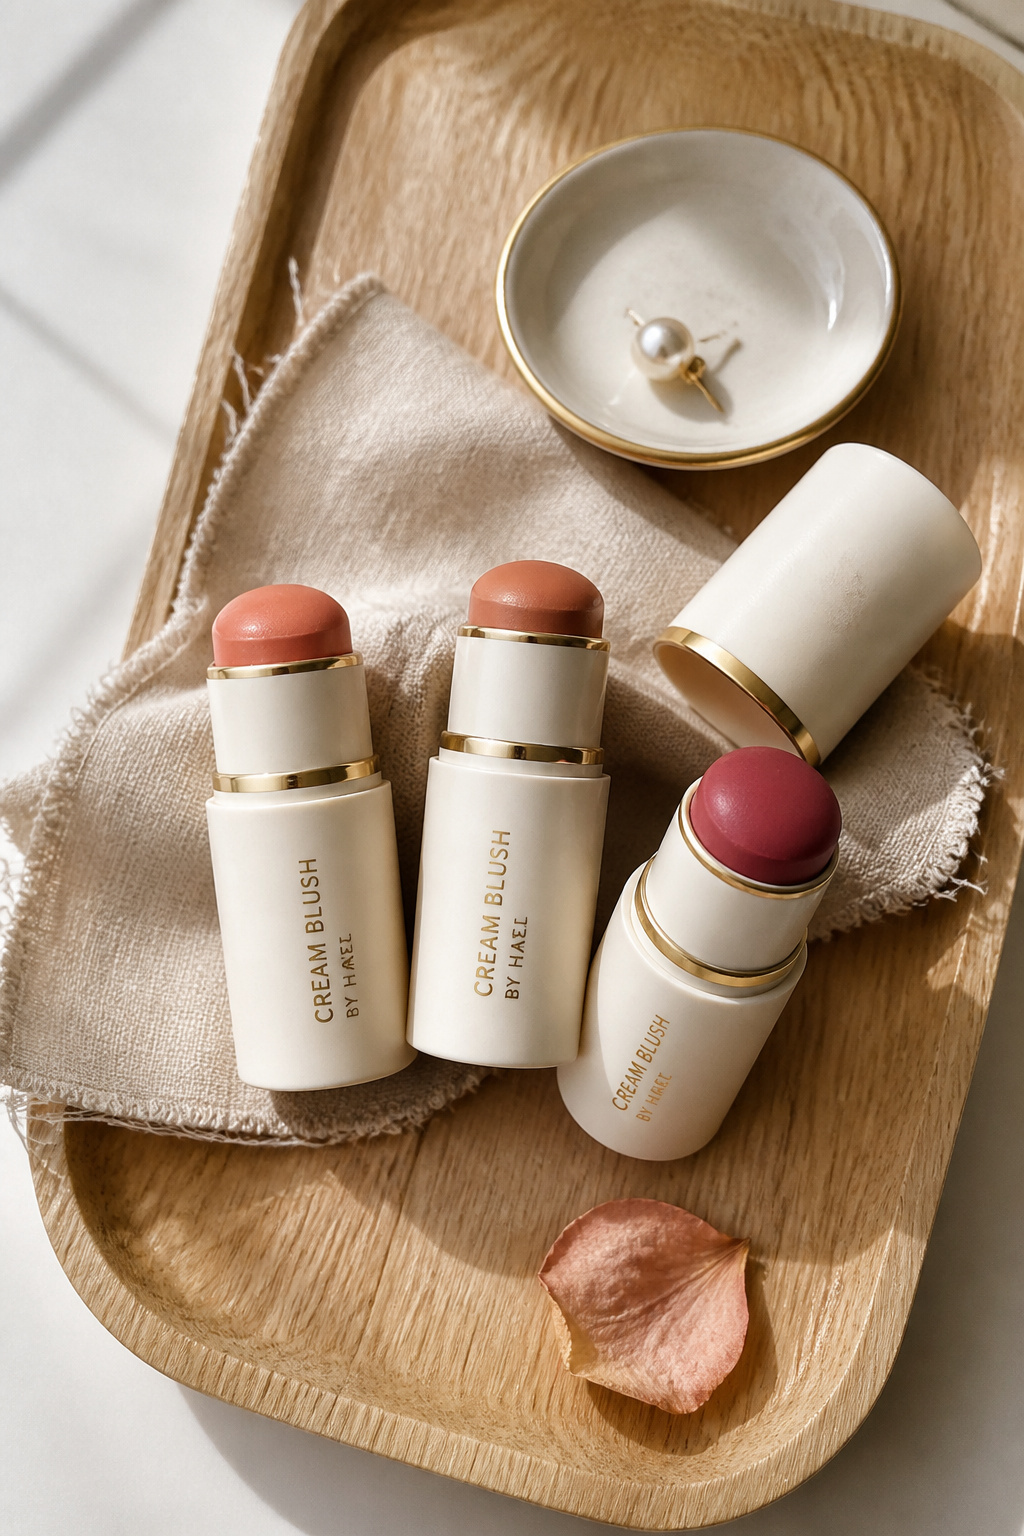

Result: a skinlike flush with one finger and a sponge. I press a warm peach cream blush into the apples, then sweep up to the temple with my ring finger. The trick is tapping, not rubbing, to keep the finish dewy. I paid about $14 to $22 for the tube at Ulta and loved finding the berry shade on a 21 Days of Beauty sale. Ugly truth: powder blush on top will kill this glow, so skip it.
Shop this idea:
2. Skin Tint + Concealer Combo for Fresh Skin
Style: Minimal | Budget: Under $30 | Best For: Low coverage lovers, oily to dry


Result: evened-out skin without a mask. I mix a pea-sized skin tint with a drop of facial oil on the back of my hand. Dab concealer where needed and blend with fingers. Price anchor: most good tints are $18 to $36. The ugly truth: foundation with heavy powders makes me look older; this combo reads younger and lasts when set with a mist. I found my favorite tint in a travel set at Sephora.
Shop this idea:
3. Brown Shadow Wash + Brown Mascara
Style: Soft Glam | Budget: Under $20 | Best For: Hooded eyes, mature eyelids
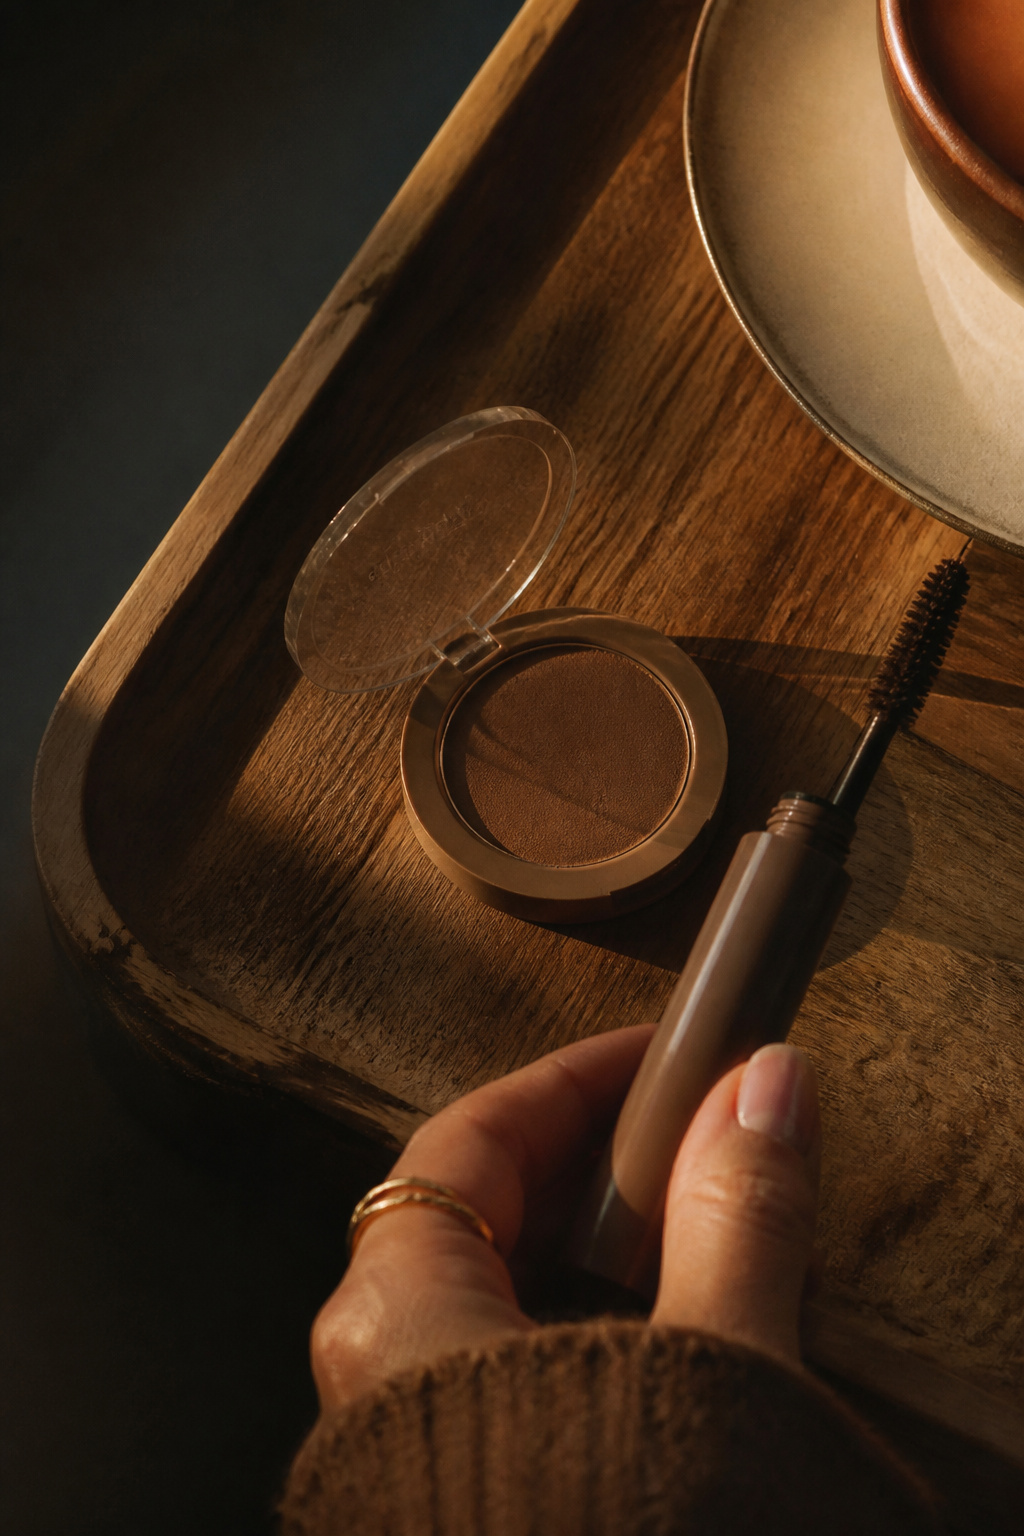

Result: wide-eyed but natural. I sweep a warm cinnamon shadow all over the lid with a finger, then use a spoolie or my mascara wand to push brown through lashes. Brown mascara softens harshness. Tip: warm matte browns in satin finish suit most skin tones. Price anchor: brown mascaras are typically $9 to $22. Ugly truth: sparkly lid toppers look great on camera but crease fast on oily lids.
Shop this idea:
4. Tinted Lip Oil + Brow Gel Combo
Style: Clean Girl | Budget: Under $18 | Best For: Sparse brows, dry lips
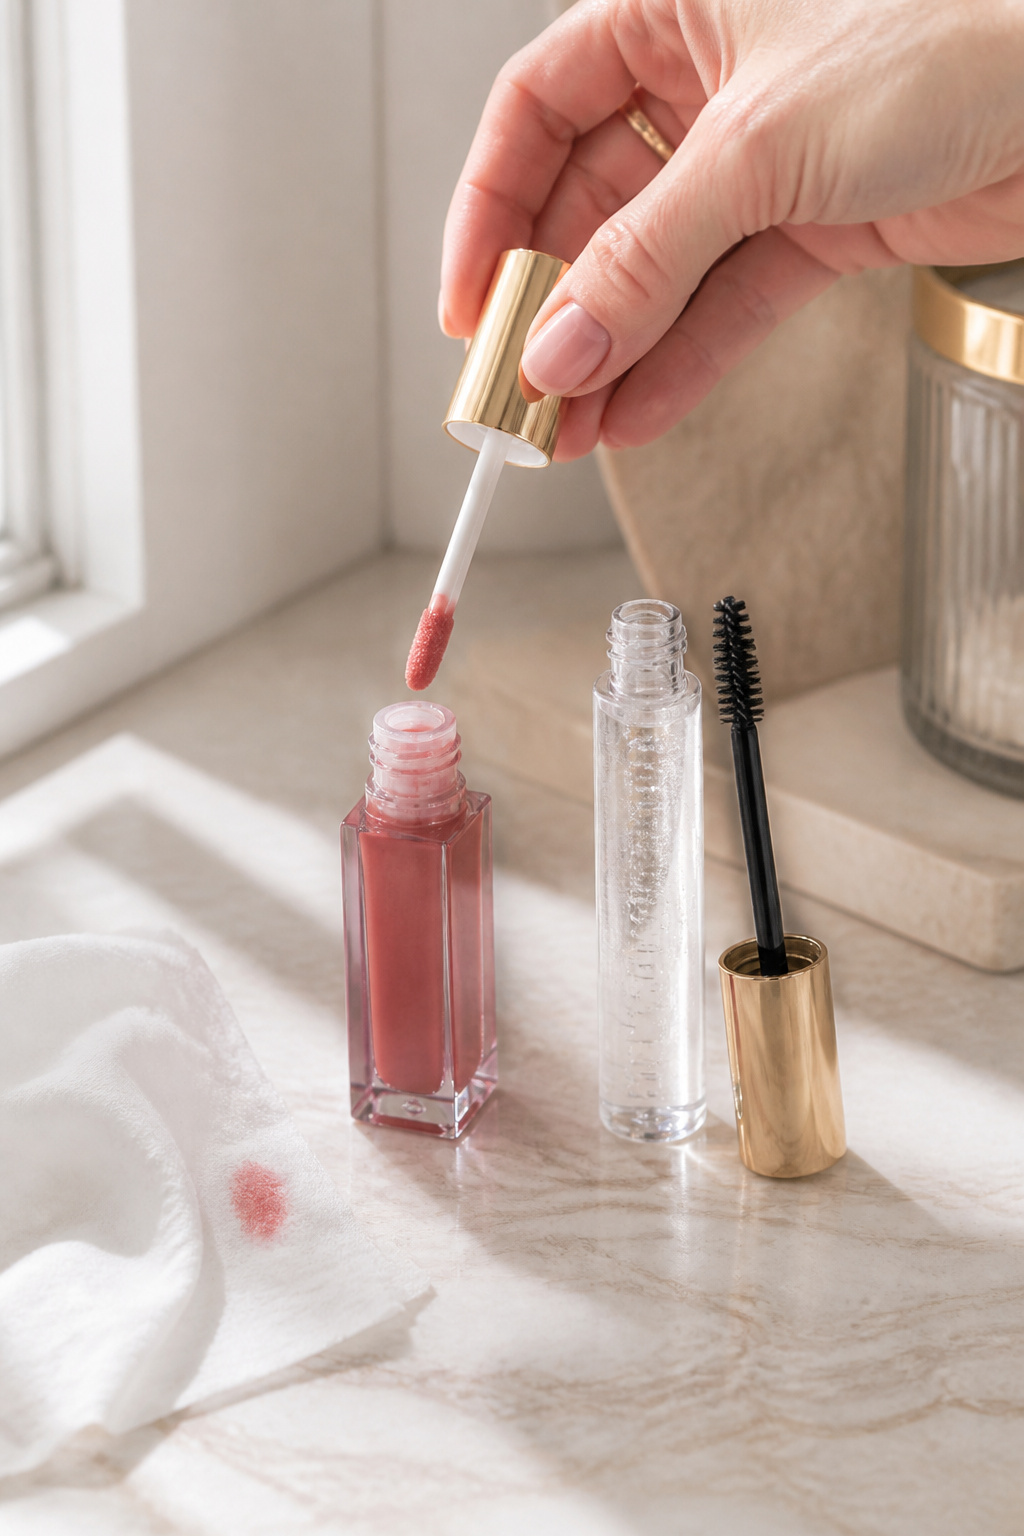

Result: polished in 60 seconds. Brush brows up with a clear gel, then press a pigmented lip oil into the center of the lips. The glossy stain lasts and looks modern. Tip: use a slightly darker oil than your natural lip for structure. Price anchor: decent tinted lip oils run $8 to $20. I bought one after a friend complimented my "fresh" look at brunch.
Shop this idea:
5. One Palette Soft Glam
Style: Soft Glam | Budget: $18 to $45 | Best For: Travel, busy mornings
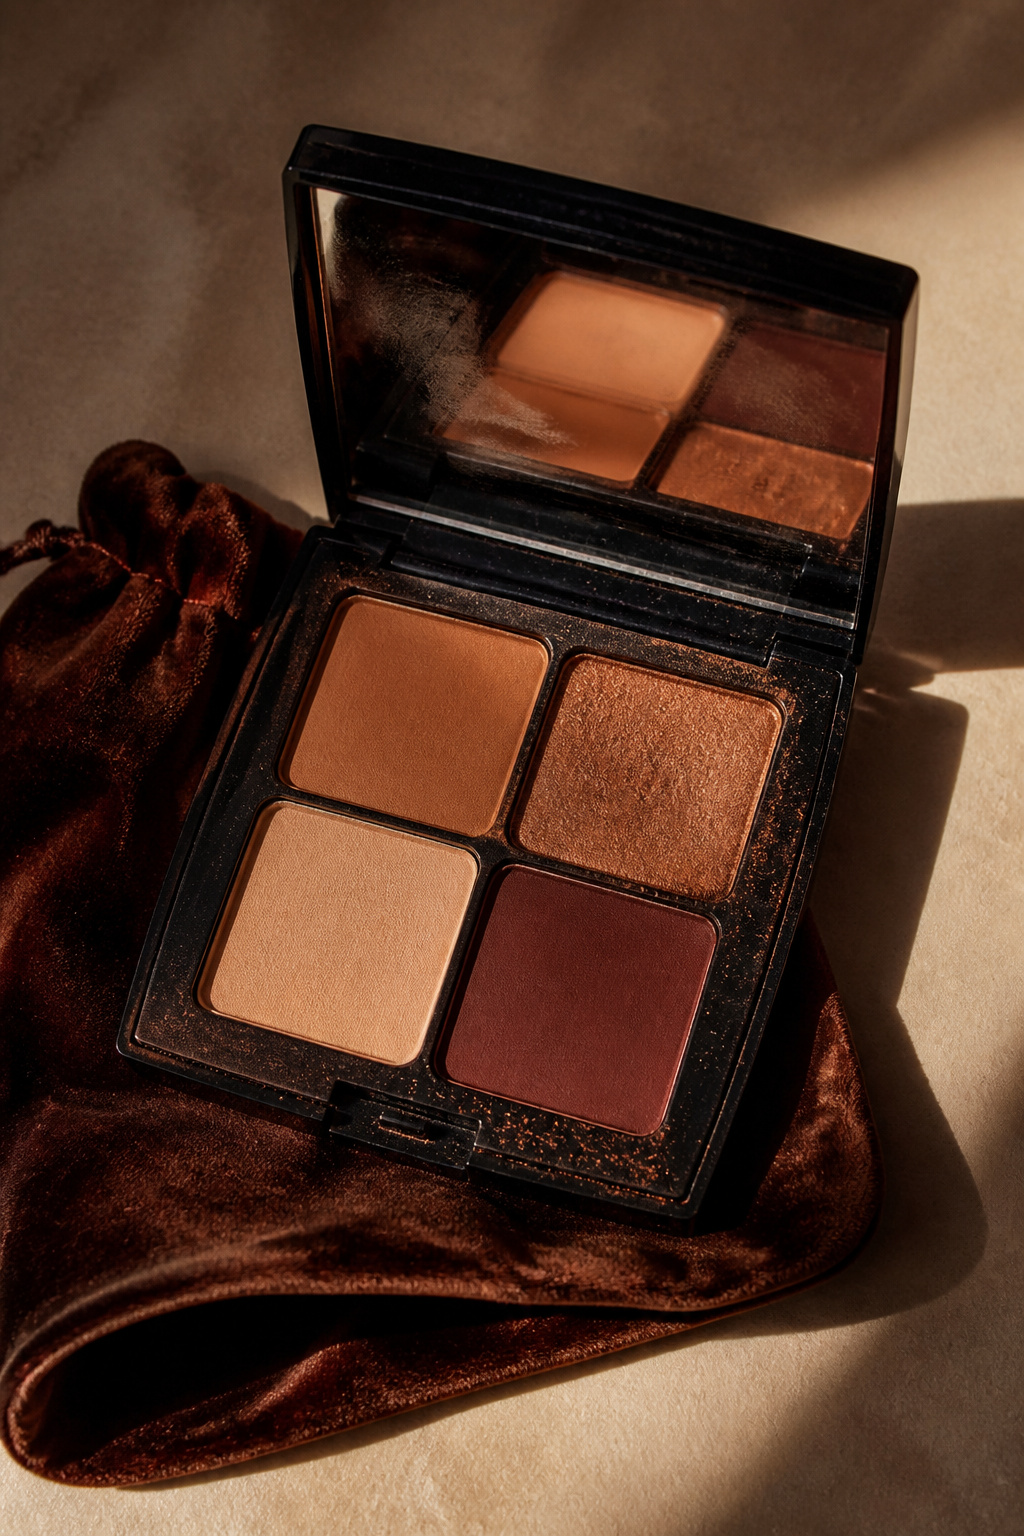

Result: eyes, cheek, and lips from one compact. I use a small stiff brush or finger to pull a mid-tone across lids, deeper shade in the lashline, and a cream shade patted on lips. The trick is to use a damp sponge for cream conversion. Price anchor: quality palettes are $18 to $45. Ugly truth: tiny expensive palettes with one hit shade often gather dust; I prefer picks with 6-8 versatile shades.
Shop this idea:
6. Monochrome Peach Face
Style: Tonal | Budget: Under $30 | Best For: Warm undertones, daytime events
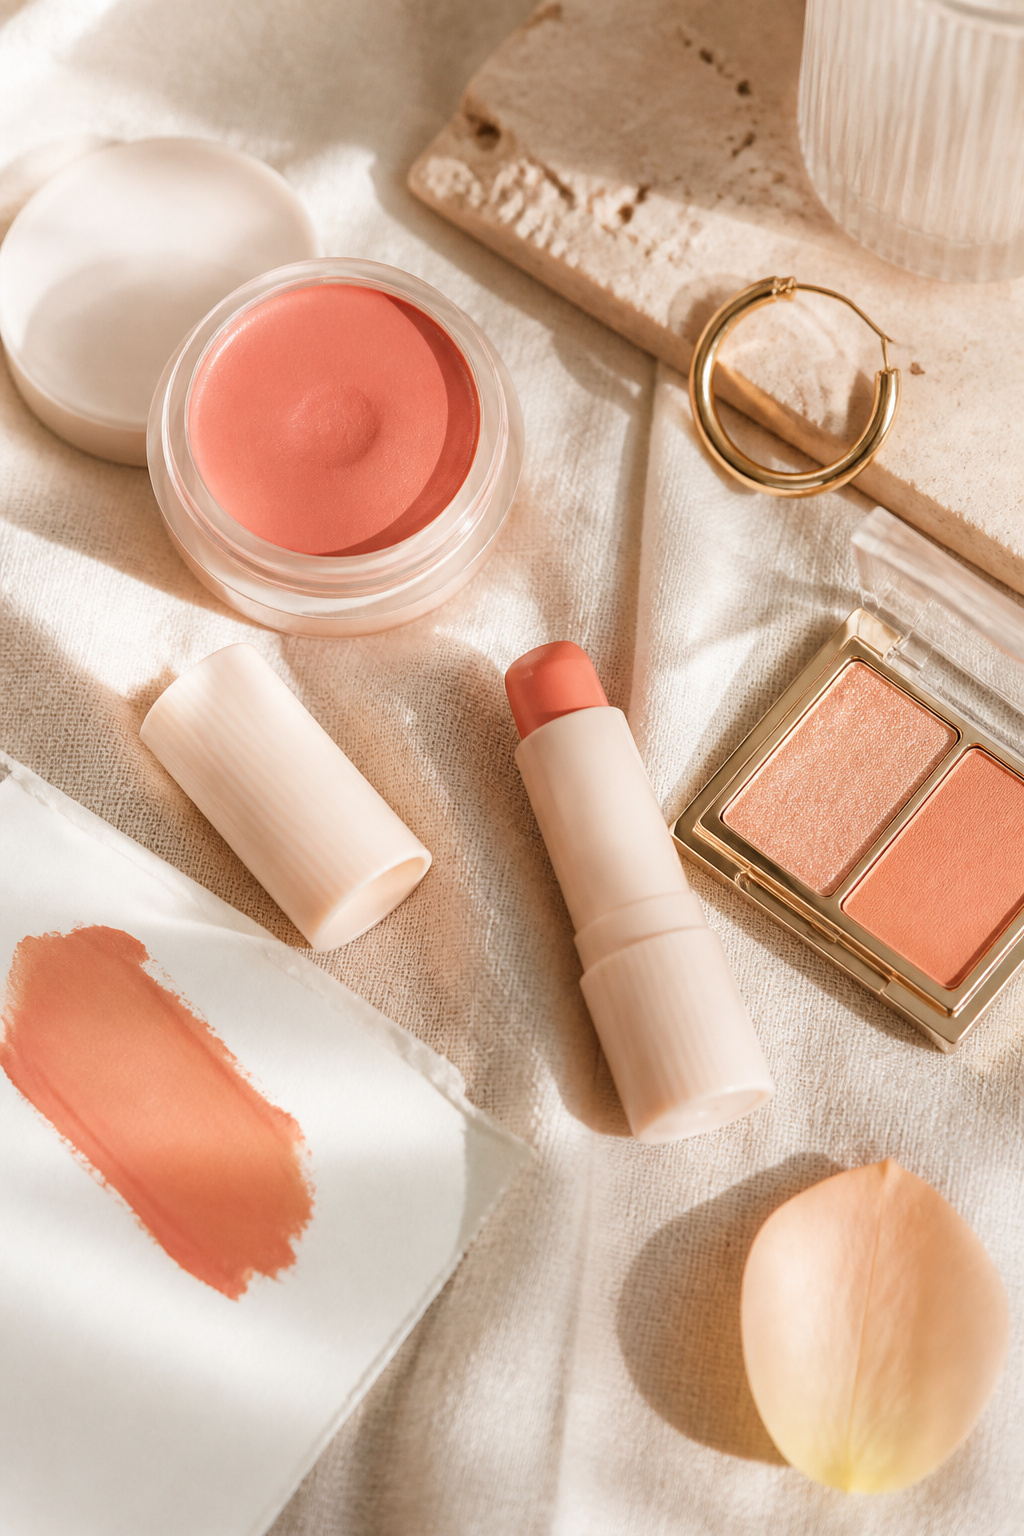

Result: harmonious face with minimal steps. Apply a peach cream on cheeks and lids, then a matching balm on lips. Tip: keep one technique, less is more for tonal looks. Price anchor: peach combos usually $12 to $30. I wore this to a wedding and a coworker asked if I’d gotten a facial. Ugly truth: mismatched tones ruin the look, so swatch in natural light.
Shop this idea:
7. Dewy Highlighter Stick and Skin Prep
Style: Glowy | Budget: Under $40 | Best For: Dry skin, evening out texture
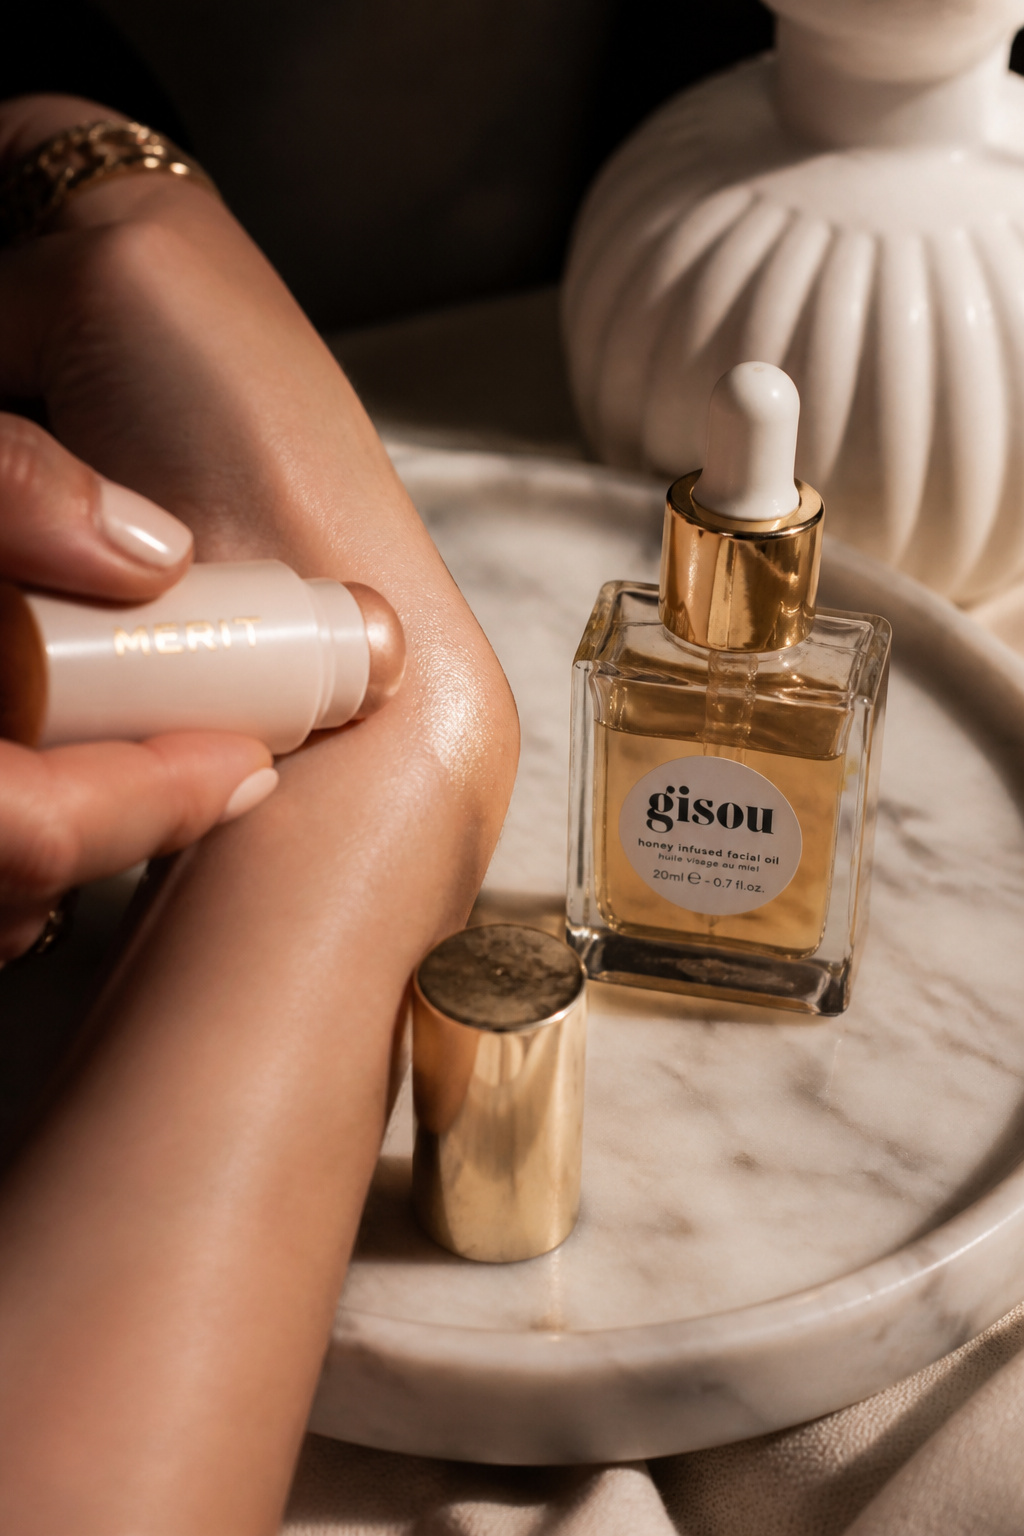

Result: small swipe of highlighter on cheekbones, cupids bow, and inner eye brightens without powder. I prep with a light facial oil, let it sink in, then layer a pearl highlighter stick. Tip: avoid glittery powders on textured skin. Price anchor: highlighter sticks are $10 to $35. I learned this after trying a powder that emphasized smile lines.
Shop this idea:
8. Clean Base + Bold Red Lip
Style: Statement Lip | Budget: Under $30 | Best For: Evening, photos
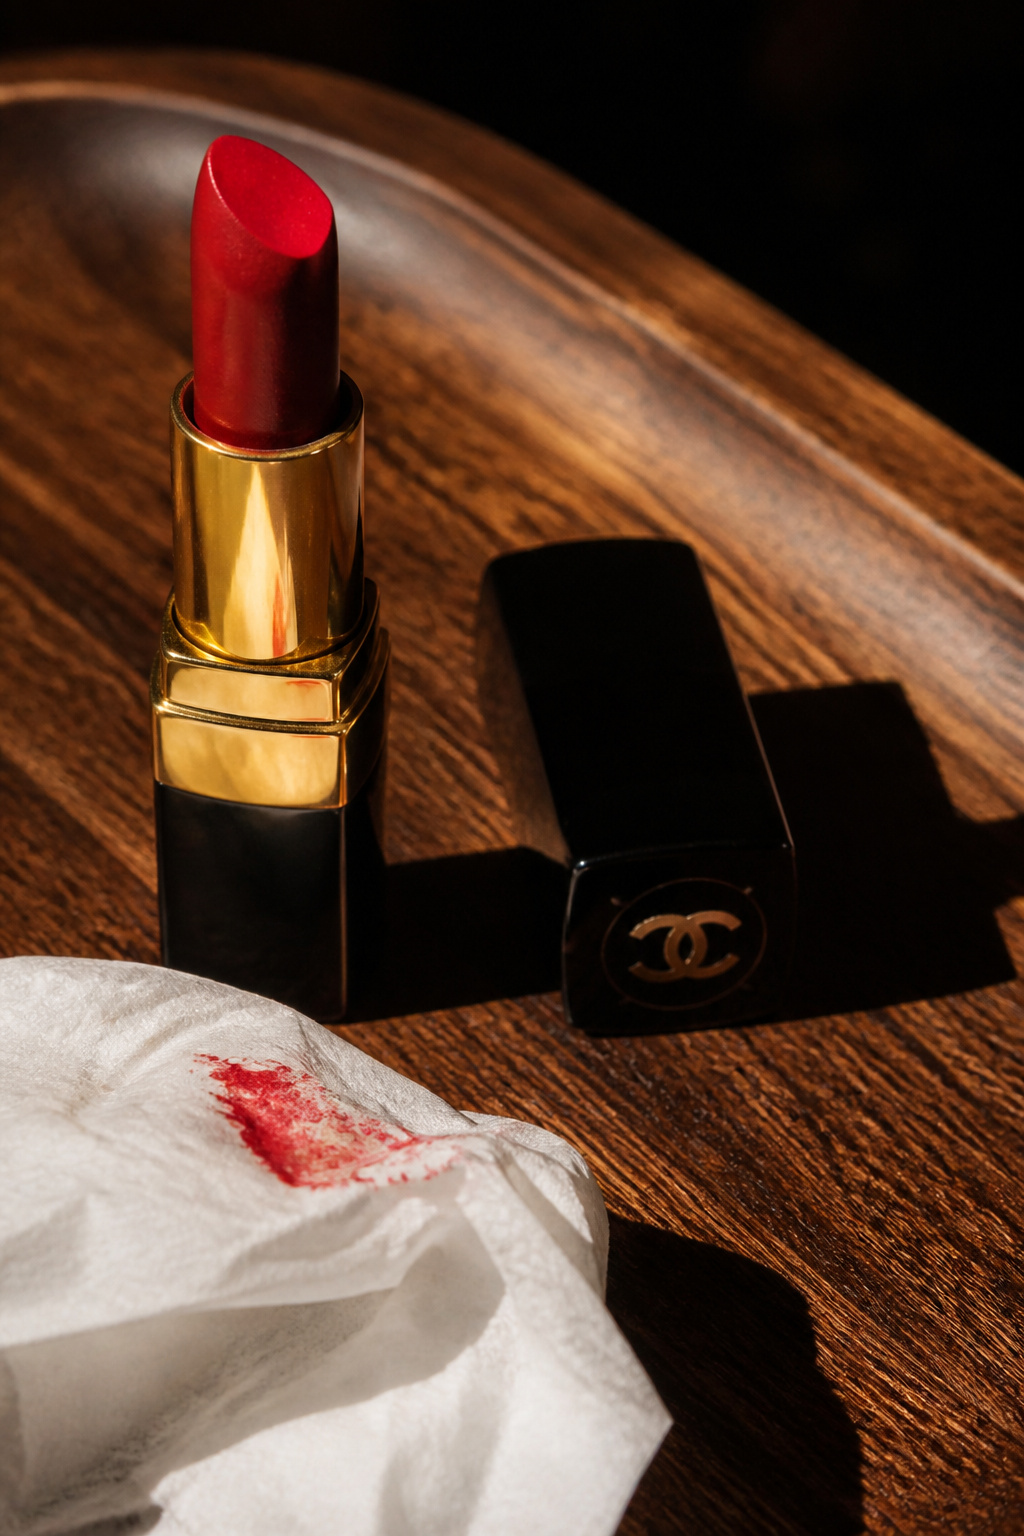

Result: minimal everything, maximum lip. I keep base sheer, do a light sweep of translucent powder in T-zone, then carefully line and fill lips. Tip: pick a red with blue undertone for teeth contrast. Price anchor: classic reds run $10 to $35. Ugly truth: matte reds can flake; a creamy satin red lasts better for beginners.
Shop this idea:
9. Gold Hoops + Slicked-Back Pony
Style: Elevated Casual | Budget: Under $50 | Best For: Plain tee, work-from-home calls
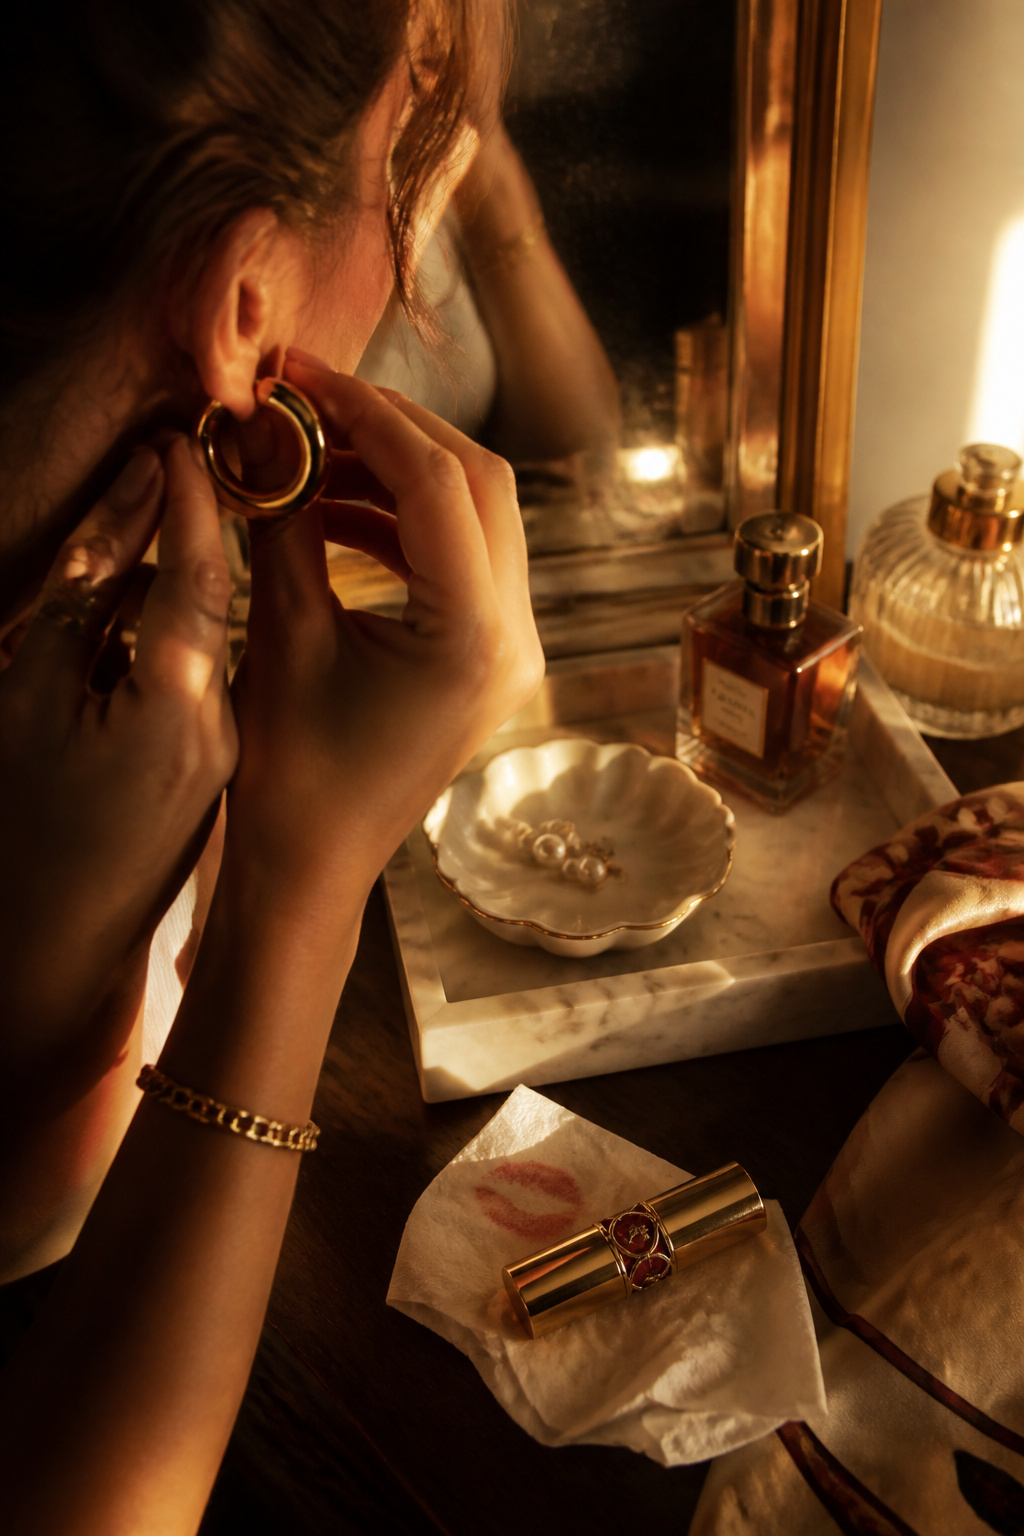

Result: instant polish without makeup complexity. I slick hair back with a small amount of gel or cream and secure a low pony. Gold hoops anchor the face. Tip: choose medium-sized hoops (30 to 40 mm) so they don’t overwhelm. Price anchor: good hoops are $12 to $60. I splurged on a 14k pair years ago and still reach for them.
Shop this idea:
10. Silk Scarf Accent Over Tee
Style: Capsule Elevated | Budget: Under $30 | Best For: Simple outfits, small frames
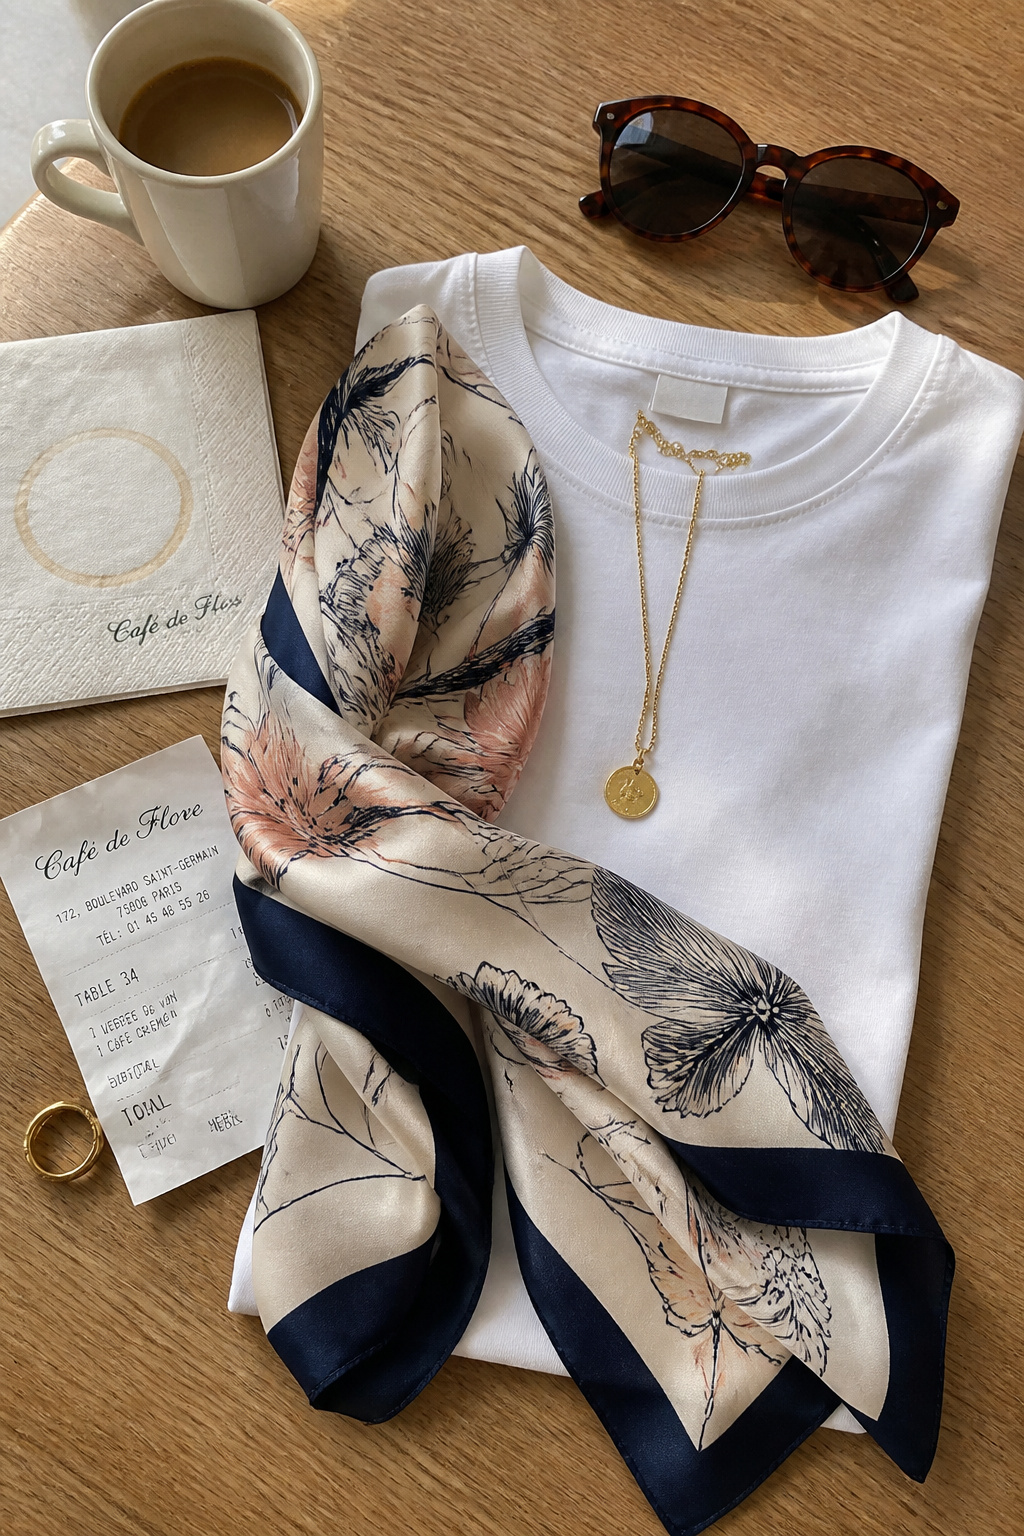

Result: looks curated, not effortful. I tie a small silk scarf at the neck or loop it through a ponytail to make a plain tee feel intentional. Tip: pick a scarf with one dominant color to read cohesive. Price anchor: silk-look scarves are $8 to $44. I learned this after buying a $10 silk blend at a market that elevated every outfit.
Shop this idea:
11. One-Brush Smoky Eye Using Finger Smudge
Style: Bold Eye Minimal Tools | Budget: Under $25 | Best For: Night out, hooded lids


Result: smoky depth with one dense brush and finger blending. I smudge a soft kohl along the lashline, then buff with a dense brush and soften edges with my finger. Use a satin finish shadow for easy blending. Price anchor: good kohl pencils and smudge brushes are $6 to $22. Ugly truth: starting with a pencil that drags is a waste; pick creamy kohl for easy smudging.
Shop this idea:
What You'll Need to Get This Look
Face & Base Essentials
- Tinted skin tint light medium around $18 to $36
- Cream concealer stick medium around $8 to $20
- Cream blush stick in warm peach around $12 to $24
- Sheer setting mist travel size around $6 to $18
Eyes, Brows & Lips
- Warm brown shadow single pan around $6 to $22
- Brown lengthening mascara around $9 to $22
- Tinted lip oil rosy nude around $8 to $20
Clothing Staples
- Classic white cotton tee fitted around $10 to $30
- Silk blend neck scarf small around $8 to $44
- Cashmere crewneck sweater cream approx $60 to $120
Shoes, Bags & Jewelry
- Chunky gold hoop earrings 35mm around $12 to $60
- Leather tote bag tan (price range $80 to $200)
Budget Swaps
- Drugstore cream blush stick dupe around $6 to $14
- Fast-fashion silk scarf lookalike around $6 to $18
Shopping Tips for These Looks
Buy multi-use first: prioritize a skin tint or 6-pan neutral palette that covers eyes, cheeks, and lips, like the 6-pan neutral palette around $18 to $45, so one buy solves multiple looks.
Shop sale windows: watch Ulta and Sephora 21 Days of Beauty and year-end sales, I snagged a cream blush there for under $15.
Thrift the accessories: vintage scarves and gold hoops shine when thrifted, try local markets then pair with one new split-price piece like chunky gold hoop earrings 35mm.
Seasonal swap: switch cream blush to powder in humid summer, and in fall embrace satin lip finishes; check clearance in late summer for winter-ready items.
Follow 2025 trends lightly: cream textures and multi-use sticks are still growing; pick one multi-use piece and build from it, for example a tinted skin tint light medium.
Frequently Asked Questions
Q: How long will these looks last on oily skin?
A: Use a lightweight primer and set the T-zone with a translucent powder. I recommend a small dab of mattifying primer like mattifying primer travel size for extra staying power.
Q: Can I do these looks with darker skin tones?
A: Yes, opt for deeper shade equivalents in cream blush, skin tint, and neutral palettes. Try a deep cream blush stick for rich pigment and build slowly.
Q: Do I need primer for a dewy finish?
A: Not always, a drop of facial oil mixed into skin tint gives dewy skin without heavy primer. I like a small light facial oil mini on dry days.
Q: What brush should a beginner buy first?
A: Start with a dense smudge/packing brush and a small blending brush. One versatile pick is the dense smudge brush small which I use for lids and precise contour.
Conclusion
Start with one look and one multi-use product, then add one accessory that makes you feel put together. My last tip: keep a travel-sized tinted balm and a pair of gold hoops in your bag for instant lift. Which look are you trying first, the cream blush trio or the one-brush smoky eye?


