






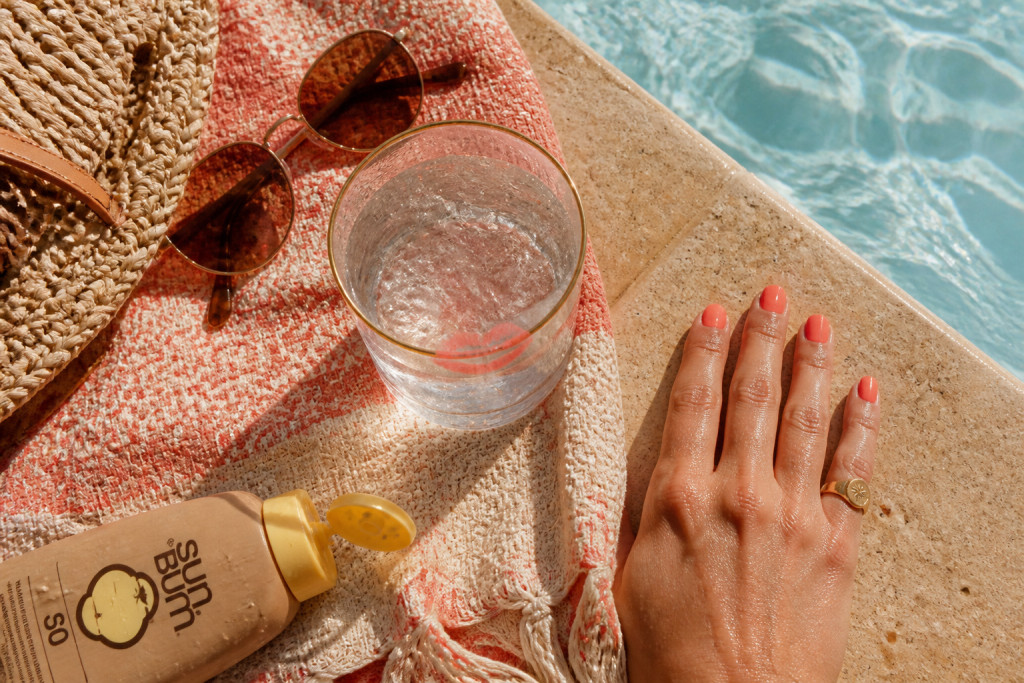

Bright summer nails make pool photos actually stop the scroll. I tested 14 looks over three summers and these are the ones that pop in direct sun, survive chlorine, and look great on phone cameras. This list includes wallet-friendly picks (most under $20) plus a few splurges for chrome and foils. Expect bold color, glossy finishes, and easy at-home tricks that beat chipped polish and washed-out shots.
These ideas lean playful-clean or statement-saturated, mostly under $30, with a few $40 to $90 splurges for powders and lamps. Perfect for warm undertones, neutral tans, and anyone who wants nails that read on camera from a distance. I’ll include tips for chip resistance, clipping, and one 2025 finish trend everyone’s trying.
1. Neon Coral Single-Color Pop
Style: Bold & Saturated | Budget: Under $12 | Best For: Medium to deep tans
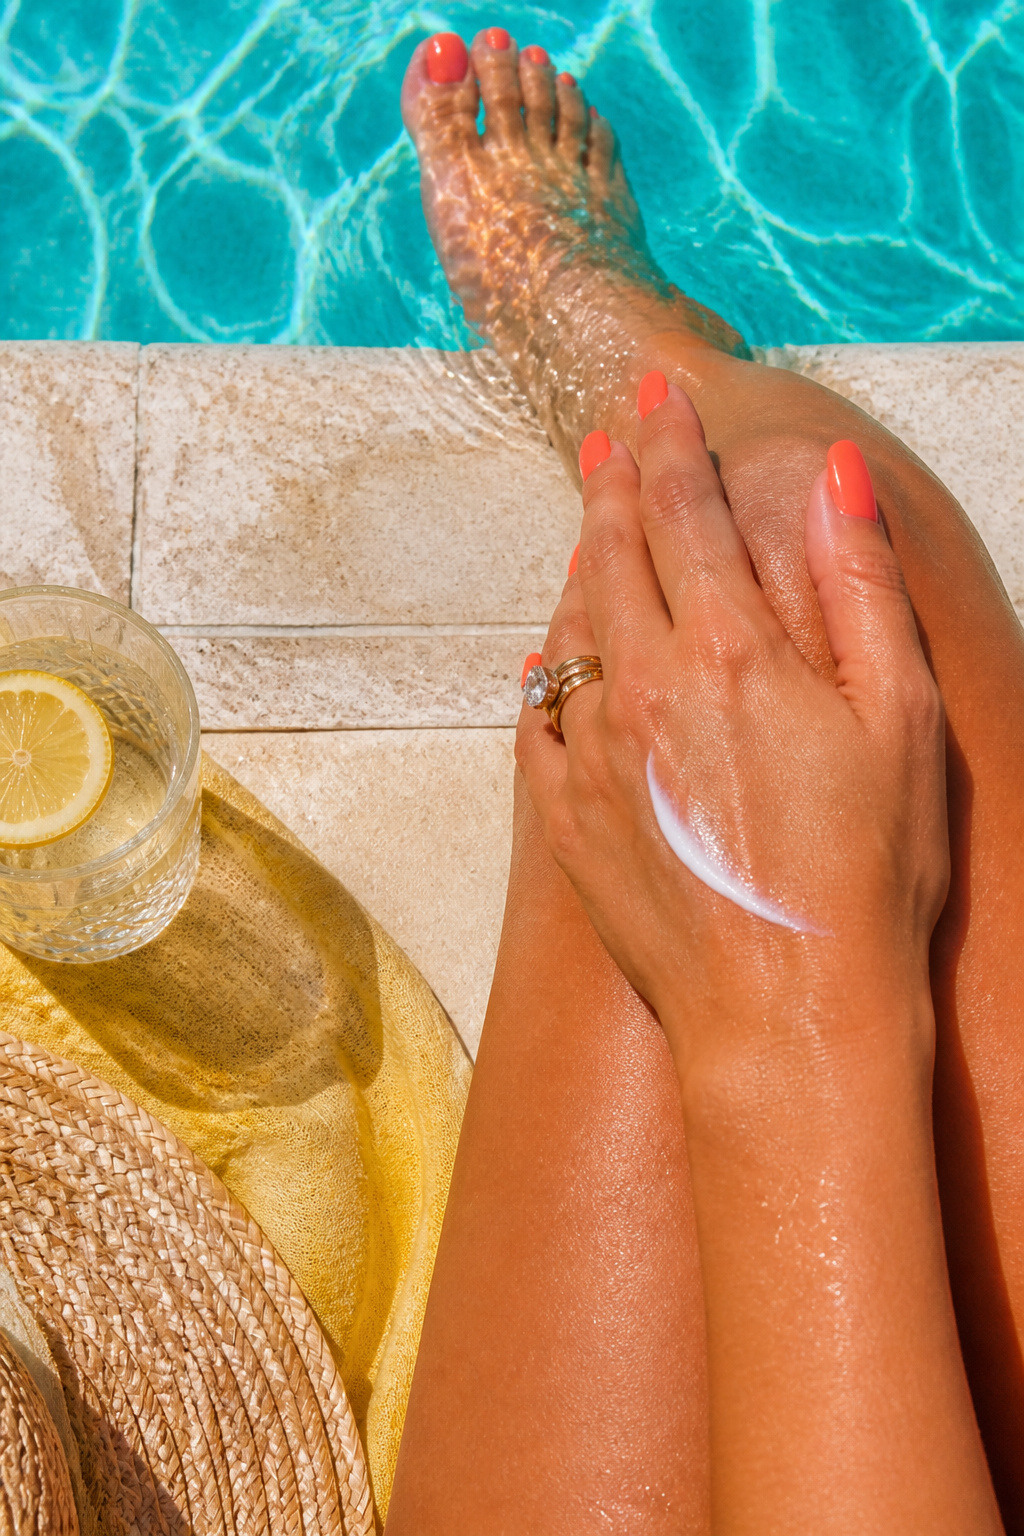

A single saturated neon coral reads like a billboard in sunlight. The trick is two ultra-thin coats then a high-shine topcoat so the polish catches sun without streaks. I bought a neon coral at Target for $6 and it survived a weekend of pool lounging better than a boutique polish I spent $18 on. Use a fast-dry topcoat and pat, don’t rub, when drying to avoid dents.
Shop this idea:
2. Bubblegum Pink With White Accent Dot
Style: Bright & Airy | Budget: Under $15 | Best For: Fair to medium tones
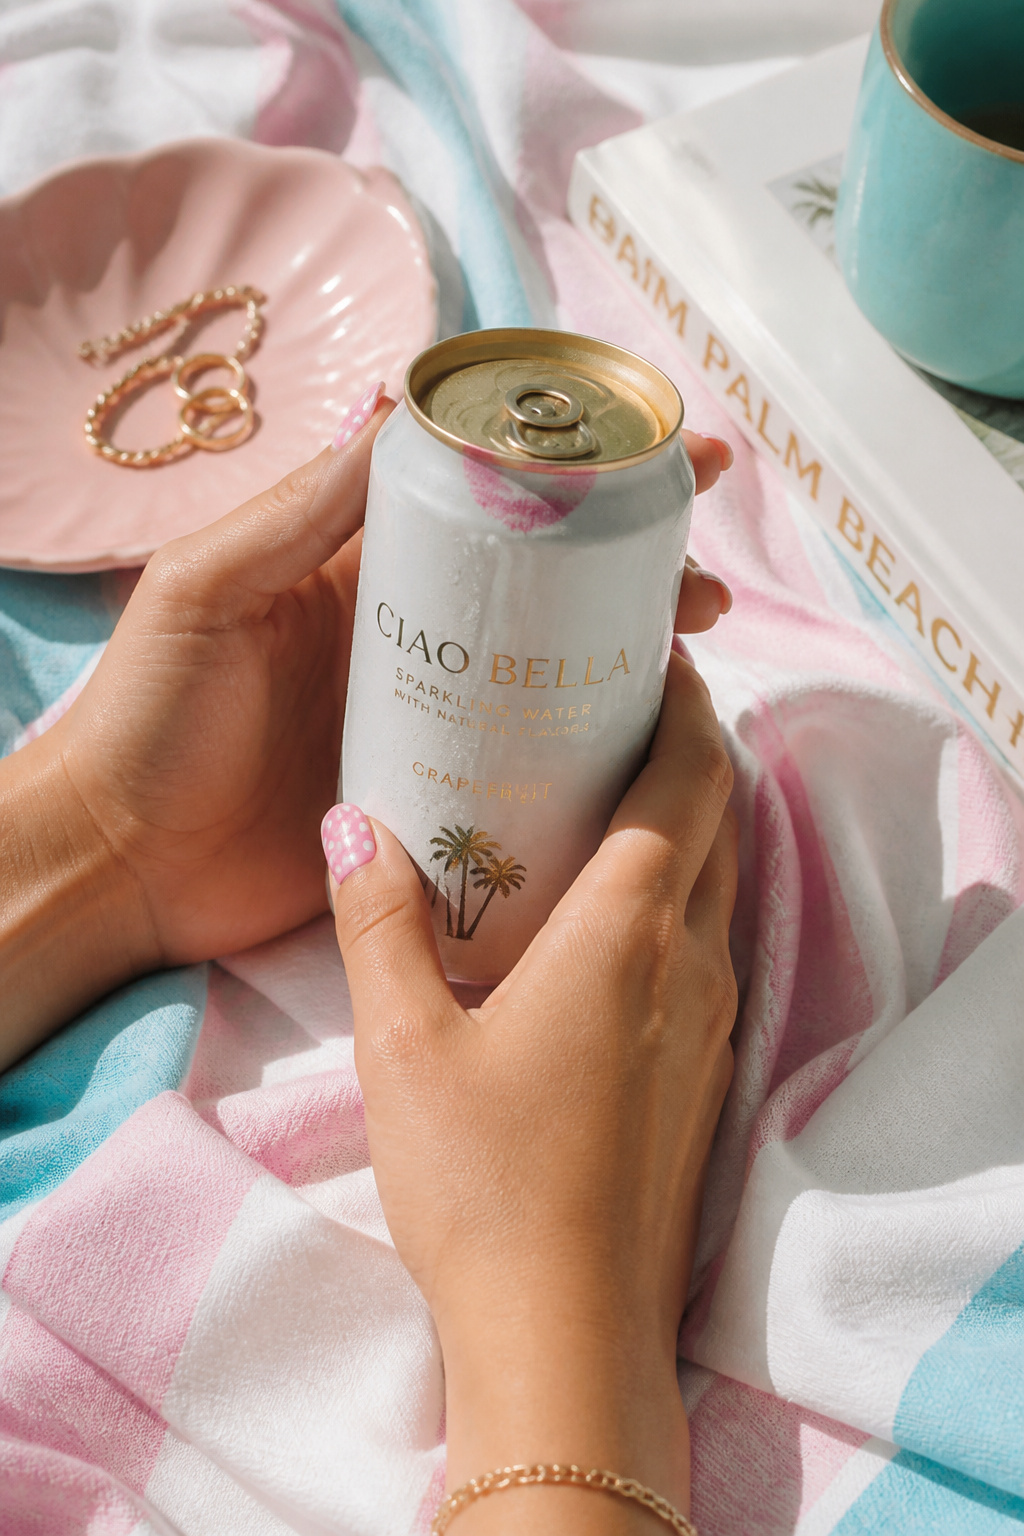

Tiny white dots are the easiest accent that reads on camera. I use a dotting tool and a milk-white creme polish over two glossy bubblegum coats. People assume the dots are nail stickers but they’re hand-painted in 90 seconds. A cheap mistake is overloading the dotting tool; blot it on a napkin first. Expect a long-wear result around $8 to $14.
Shop this idea:
3. Citrus Ombre: Lemon To Tangerine
Style: Bold Gradient | Budget: $12 to $25 | Best For: Warm undertones
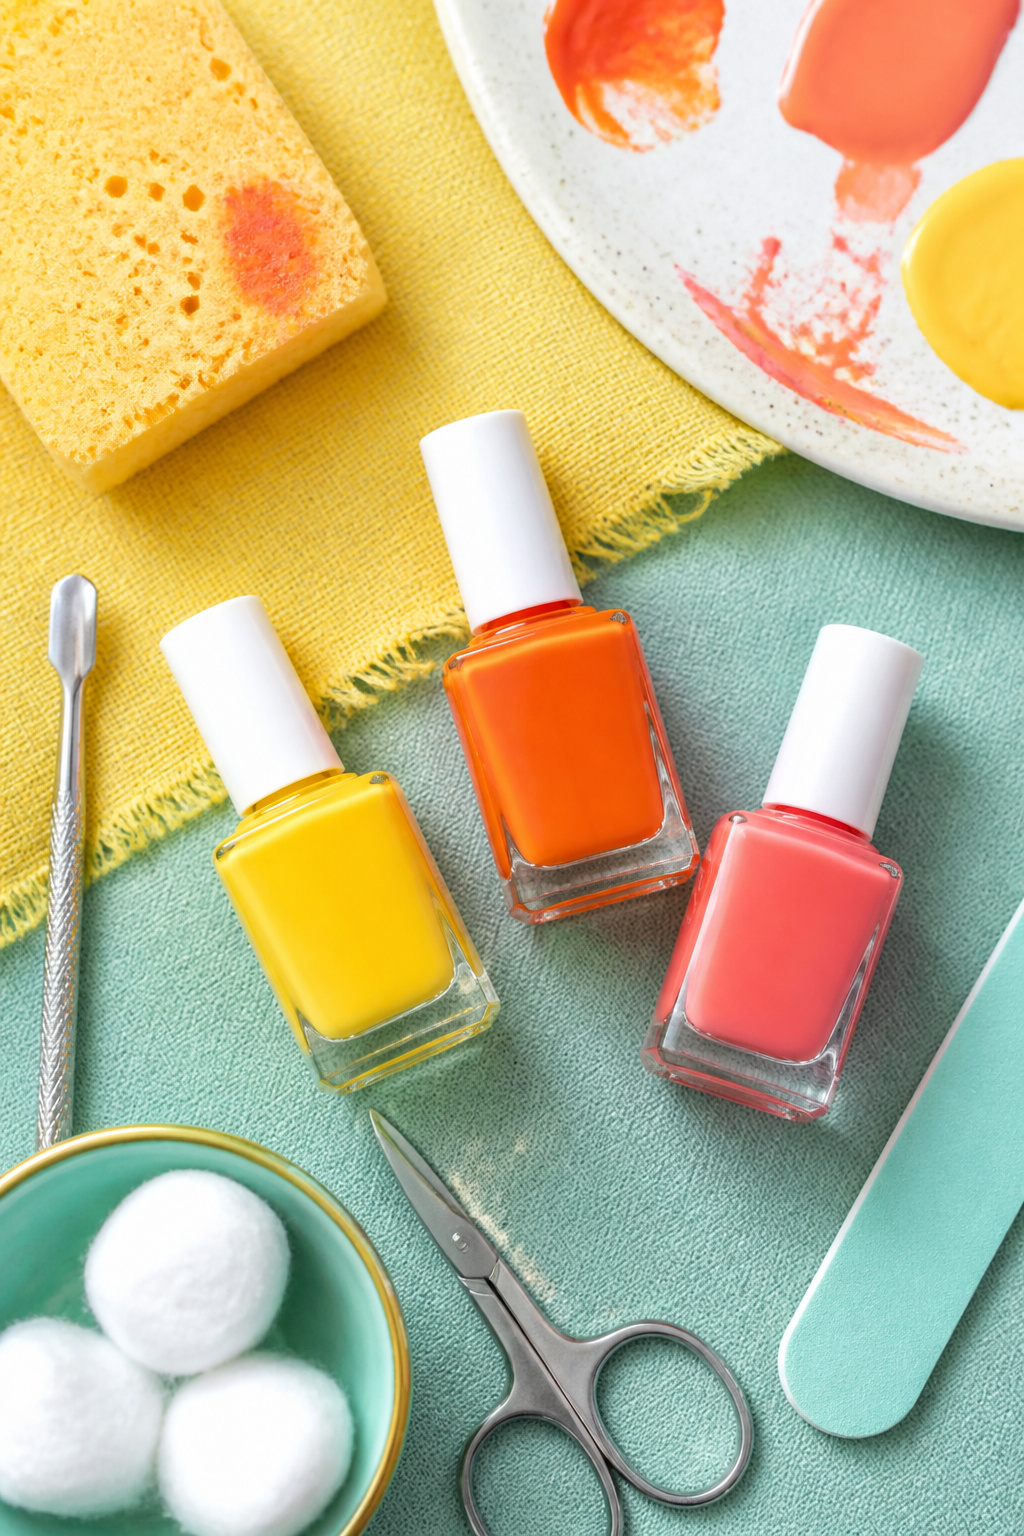

Ombre with a sponge gives that in-between color shift cameras love. I dab lemon into tangerine, blend once, then seal with glossy gel-like topcoat. Ugly truth: using too much polish on the sponge makes a blob, not a gradient. A small makeup sponge and light dabbing solve that. Budget $12 to $25 for good polishes and sponges.
Shop this idea:
4. High-Gloss Glass Nails (Mirror Shine)
Style: Clean & Polished | Budget: $18 to $60 | Best For: Any skin tone wanting sleek look
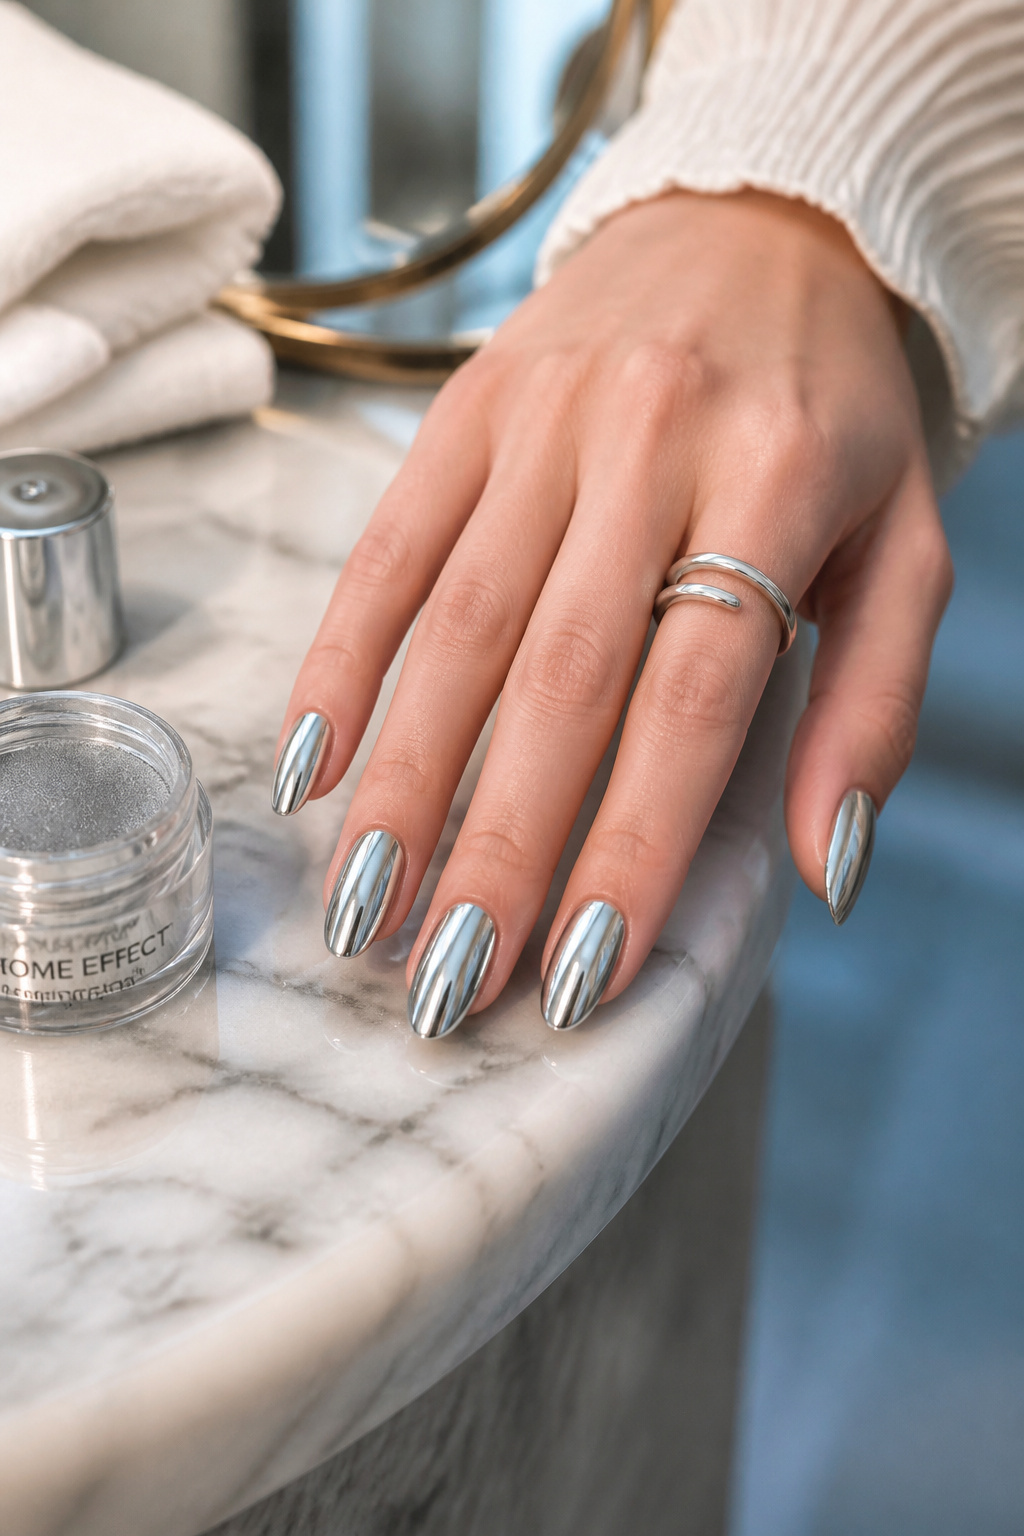

Glass nails read like a studio retouch in daylight. Use a chrome powder over black base, buff it to a mirror, and finish with a no-smudge topcoat. Ugly truth: matte topcoats kill the glass effect. I paid about $28 for a chrome kit and a $12 UV topcoat, and the mirror shine survived multiple pool photos. Avoid buffing too hard or you’ll thin the powder layer.
Shop this idea:
5. Candy Stripe French Tips
Style: Playful & Bright | Budget: Under $20 | Best For: Short nails / petite hands
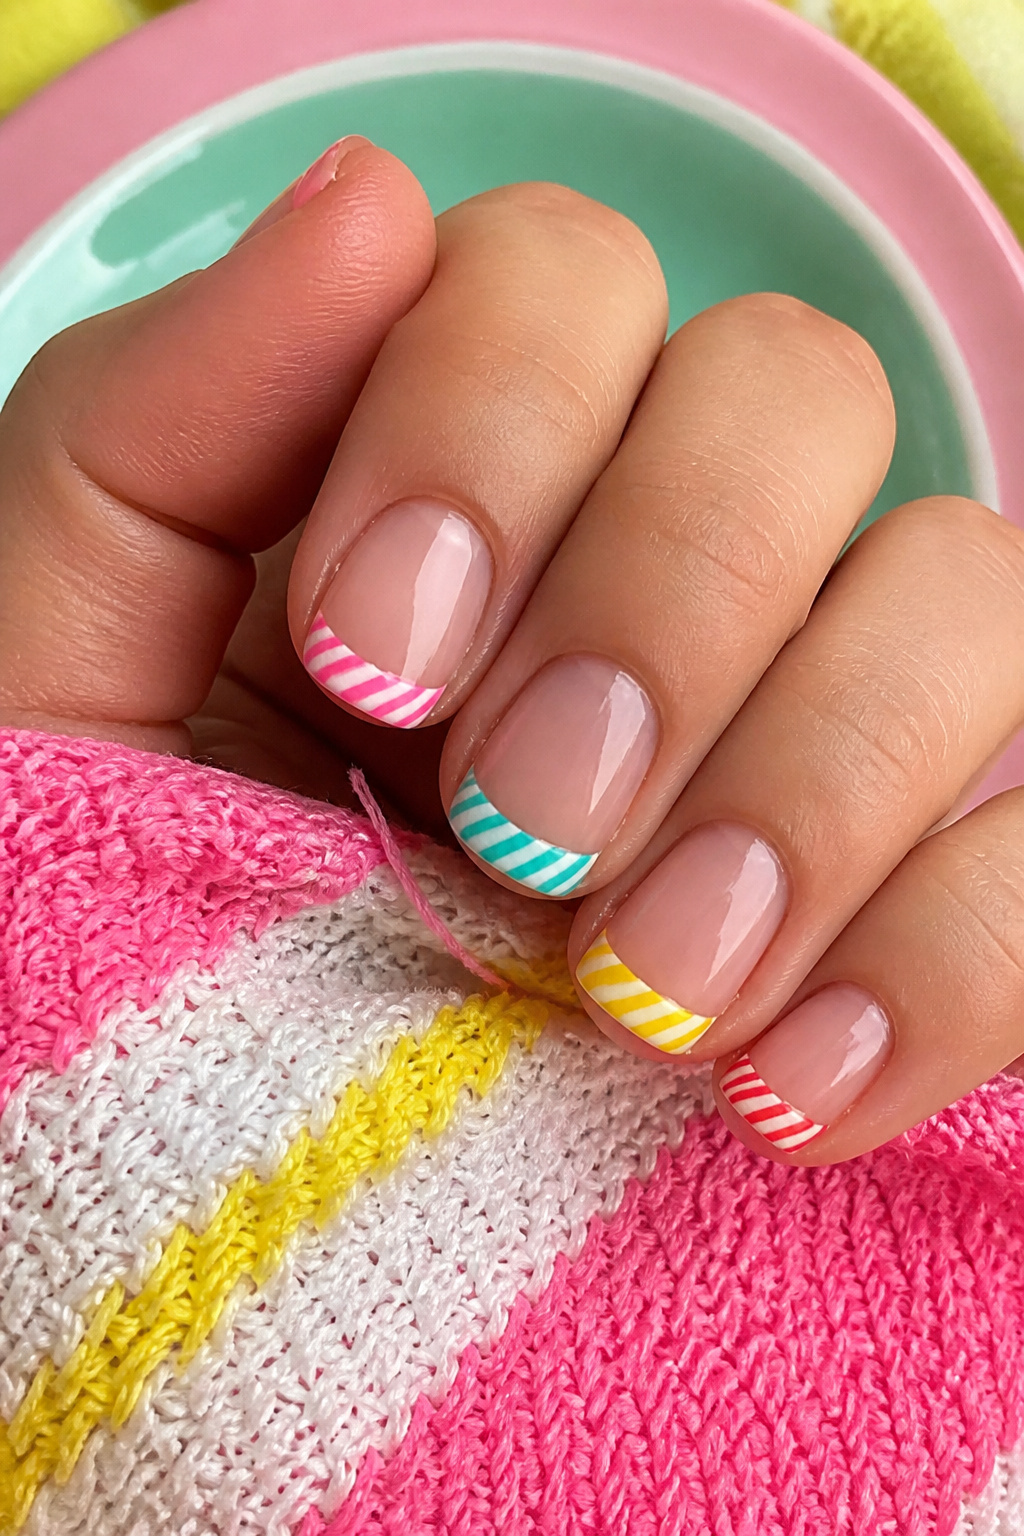

Update the classic French with 2–3 candy stripes instead of white. I paint thin lines with a nail art brush over a sheer base so stripes don’t overpower short nails. Pain point solved: thin stripes visually elongate short nails in photos. Don’t over-layer or the stripes will look clumpy. Expect to spend $6 to $18 on good brushes and polishes.
Shop this idea:
6. Sunburst Yellow Matte With Gloss Tip
Style: Mixed Finish | Budget: $10 to $22 | Best For: Tanned hands / minimalists
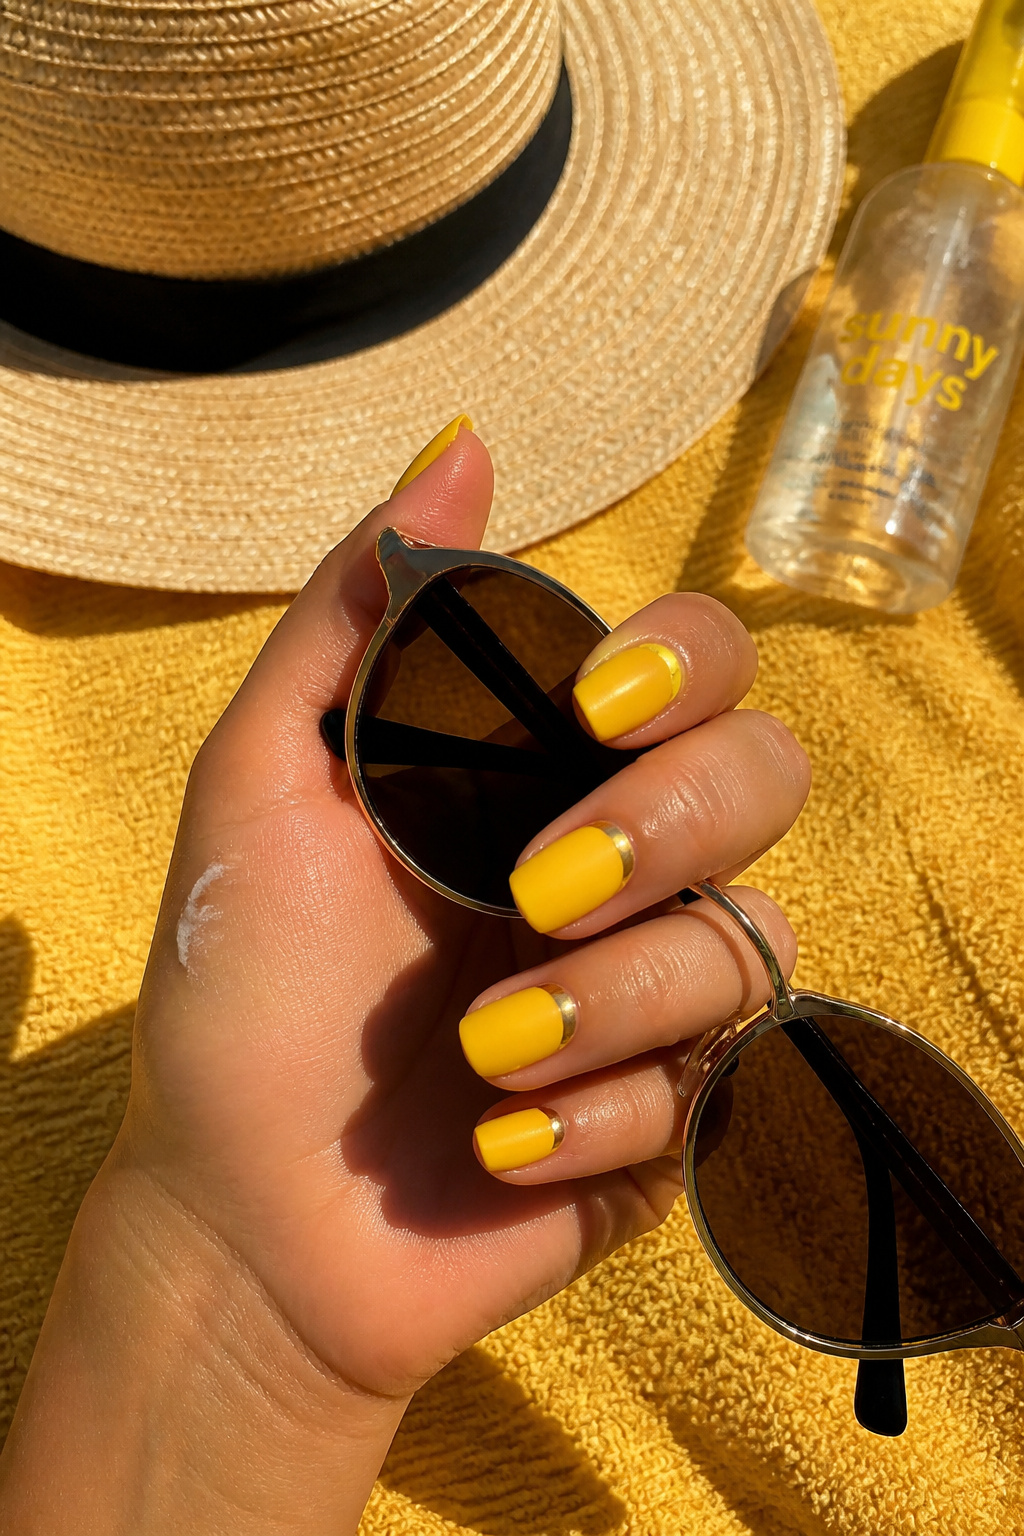

Matte yellow reads soft until you add a glossy crescent at the free edge. The contrast catches light just enough without full-on shine. Truth: full matte can wash out under midday sun and look flat in photos. Balance with a tiny glossy tip. I grabbed a matte yellow at Ulta during a sale for about $11.
Shop this idea:
7. Jelly Turquoise Transparent
Style: Pool-Perfect Jelly | Budget: Under $14 | Best For: Cool undertones / beach outfits
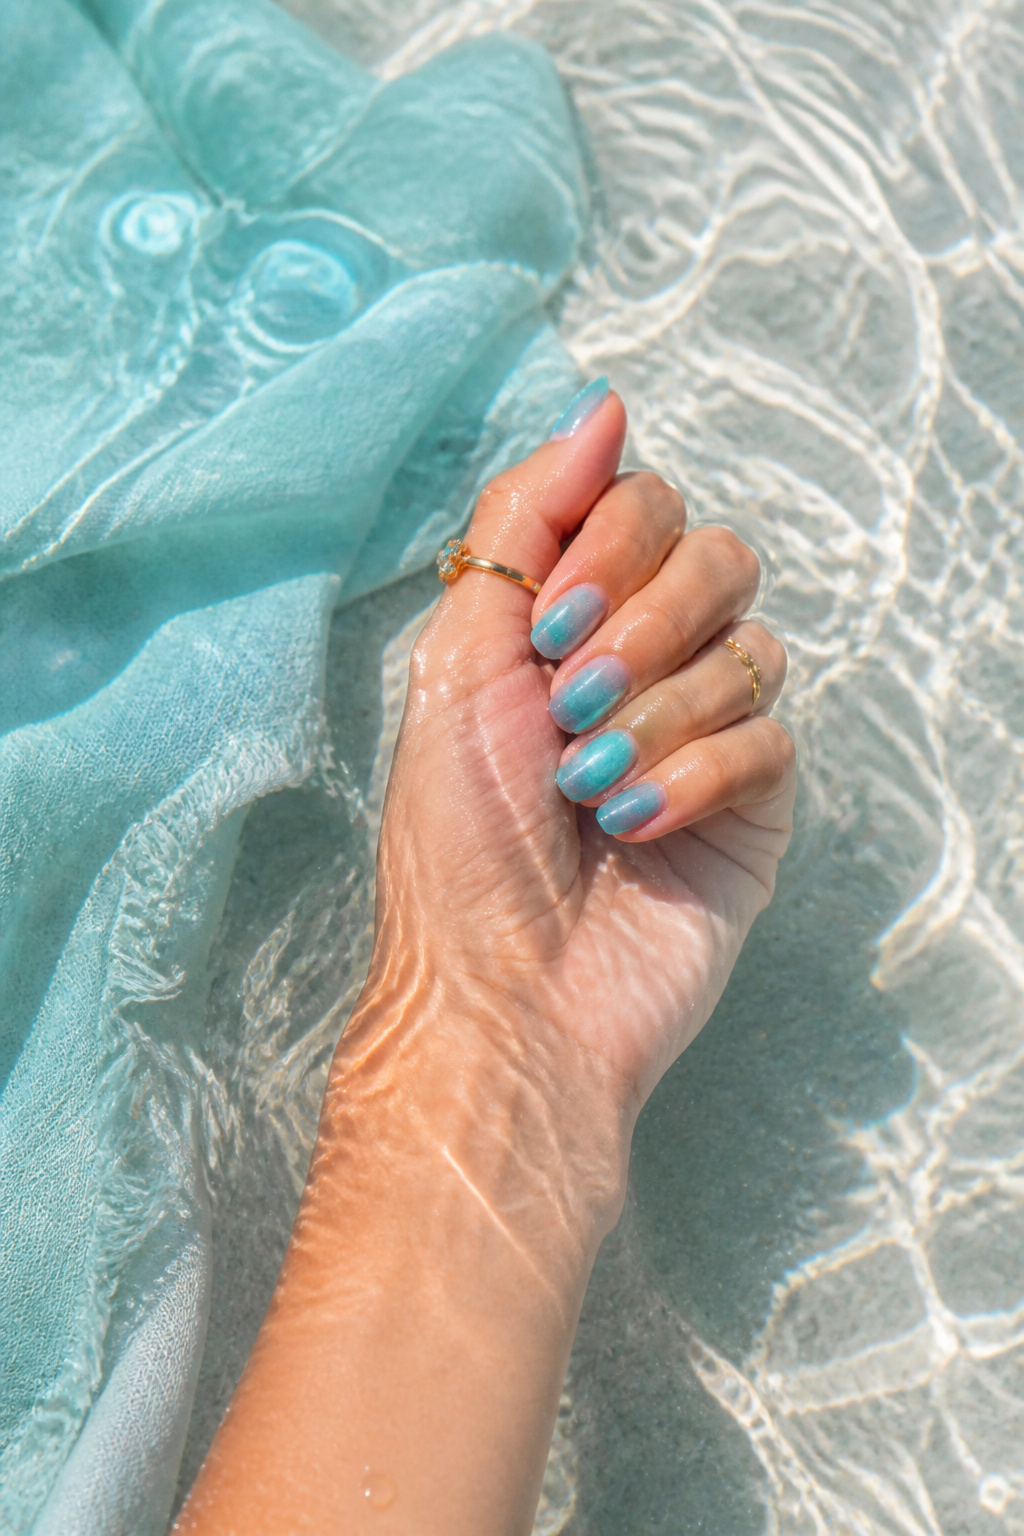

Jelly nails are literally made for pools. The translucent turquoise lets the sun flash through and makes nails appear lit from within. I learned that layering two thin jelly coats avoids streaks; three makes it cloudy. Jelly finishes also hide small chips better than solids. A good jelly bottle runs $8 to $14 and looks expensive in photos.
Shop this idea:
8. Coral With Gold Leaf Accent
Style: Elevated Statement | Budget: $15 to $45 | Best For: Photo editorial vibes
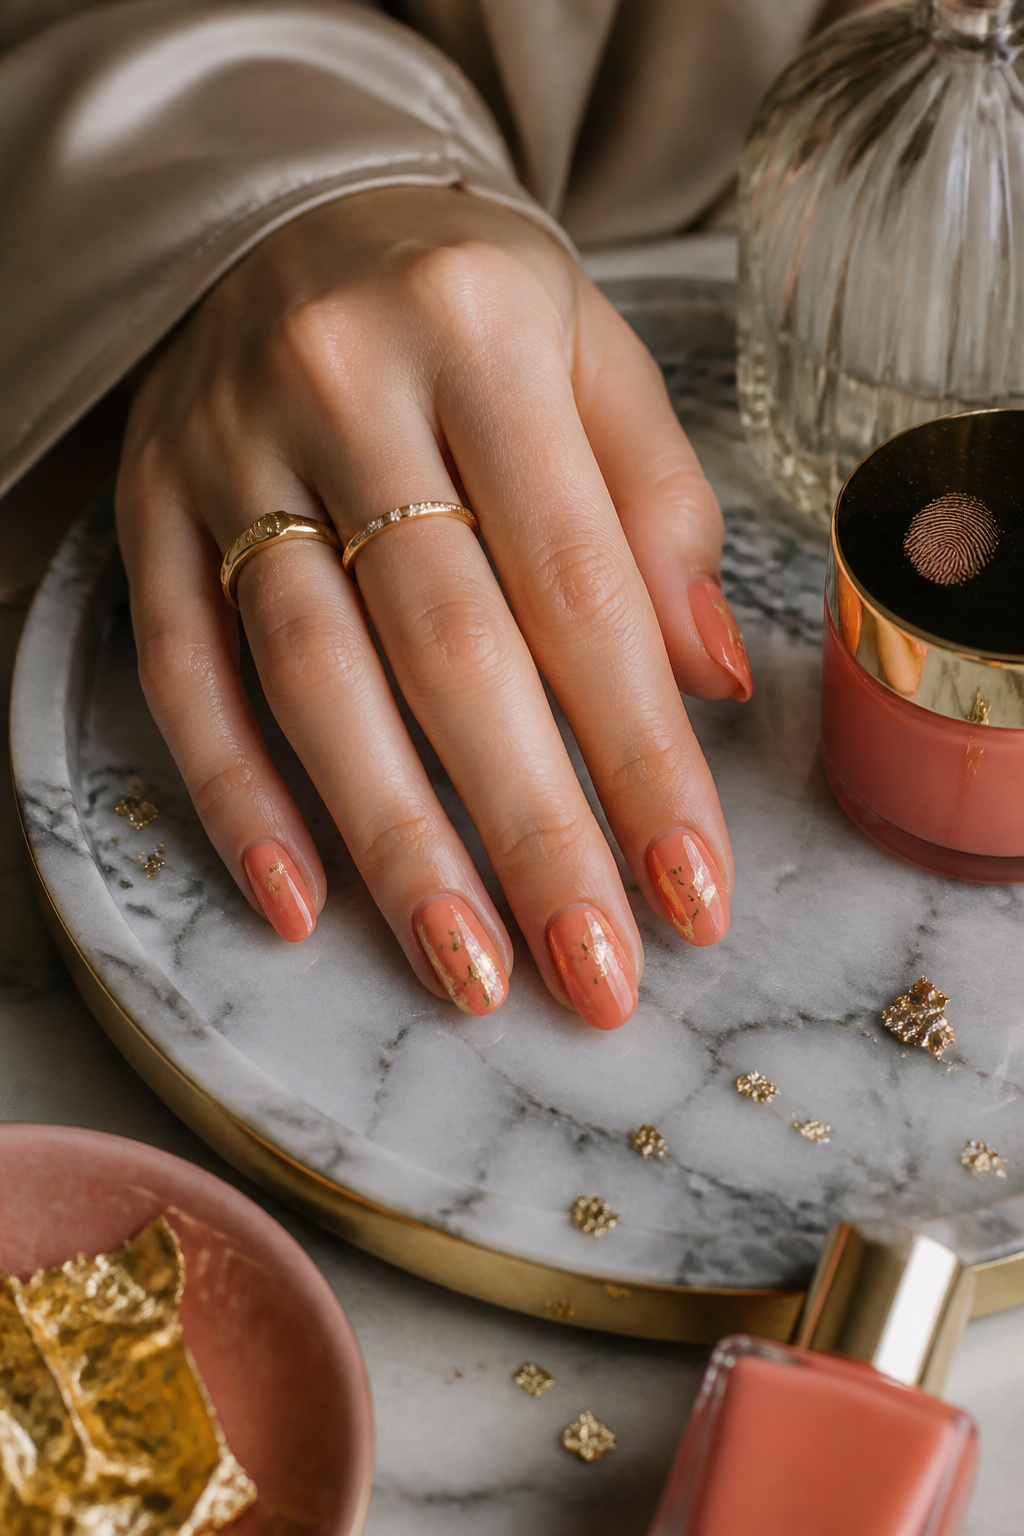

Gold leaf is the secret that reads editorial, not tacky, if used sparingly. I apply coral, tacky base coat, then press tiny foil flakes with tweezers and seal. Ugly truth: too many flakes look costume-y. My first attempt had glitter in odd places; trimming flakes with cuticle scissors fixed it. Expect $8 to $20 for leaf sheets and $18 to $45 if adding a salon gel service.
Shop this idea:
9. Pastel Rainbow With Pearlescent Top
Style: Soft & Curated | Budget: $12 to $30 | Best For: Fair skin / coquette outfits
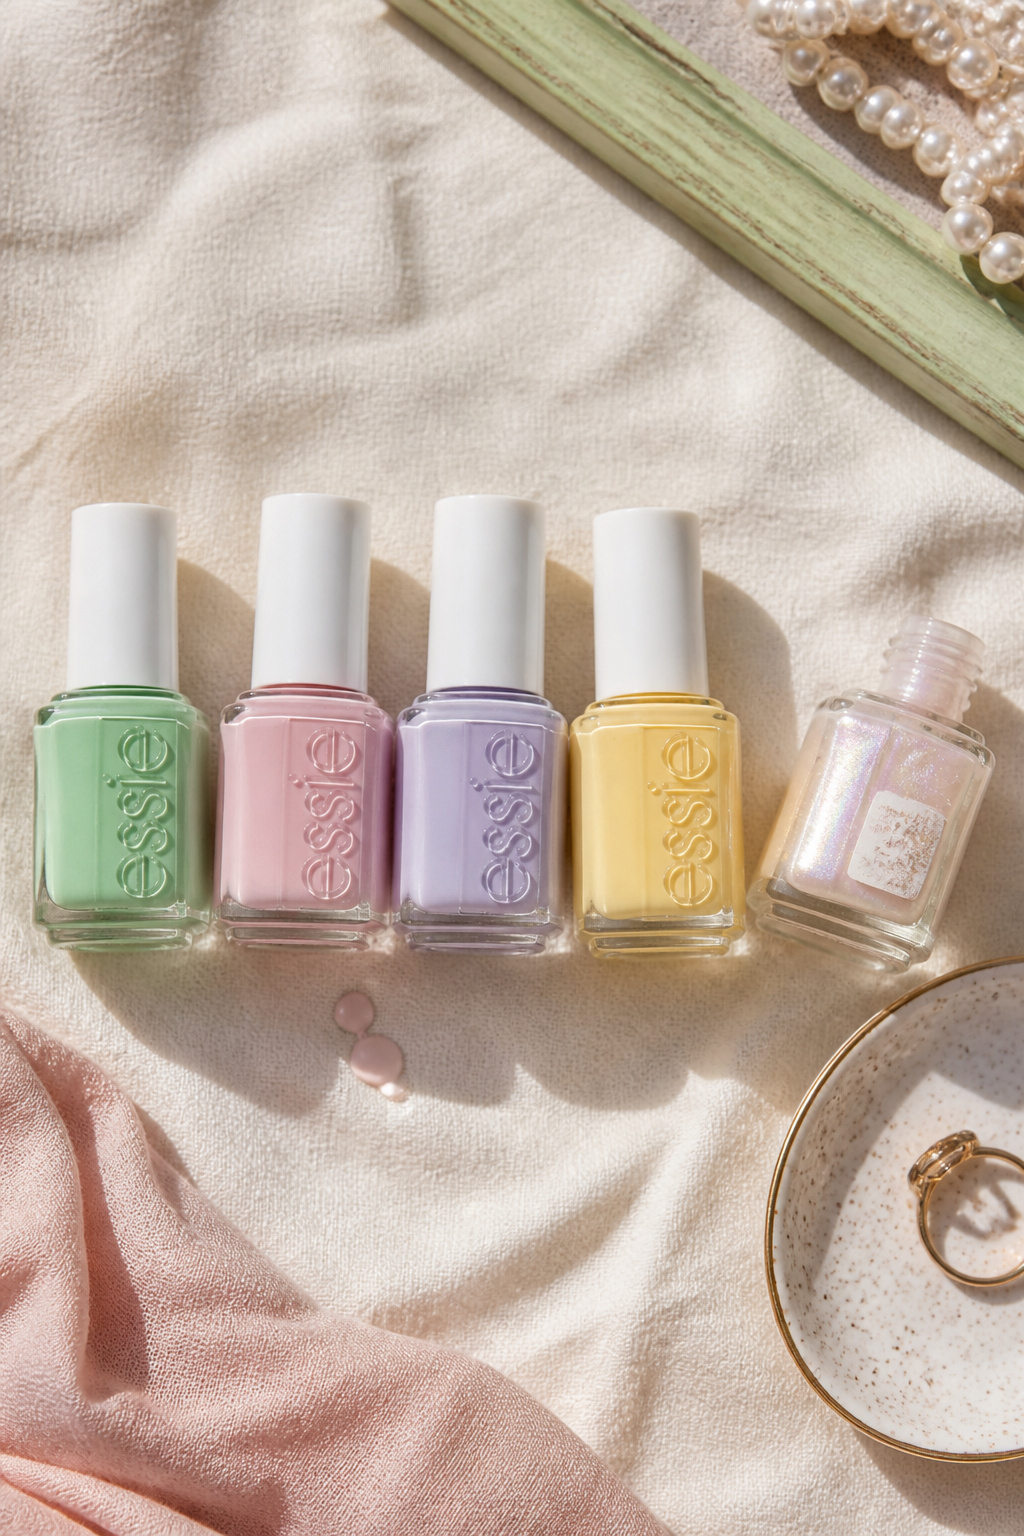

Pastel rainbow softened with pearlescent topcoat looks dreamlike poolside. I paint each nail a different pastel then add a micro-pearl top to unify the palette. Trending for 2025: micro-pearl finishes for soft refracted light. Mistake to avoid: thick pearlescent coats that hide the pastel; thin is elegant. Budget $12 to $30 for polishes and a pearly topcoat.
Shop this idea:
10. Turquoise Ocean Marble
Style: Bold & Saturated | Budget: $10 to $28 | Best For: Statement swimsuits
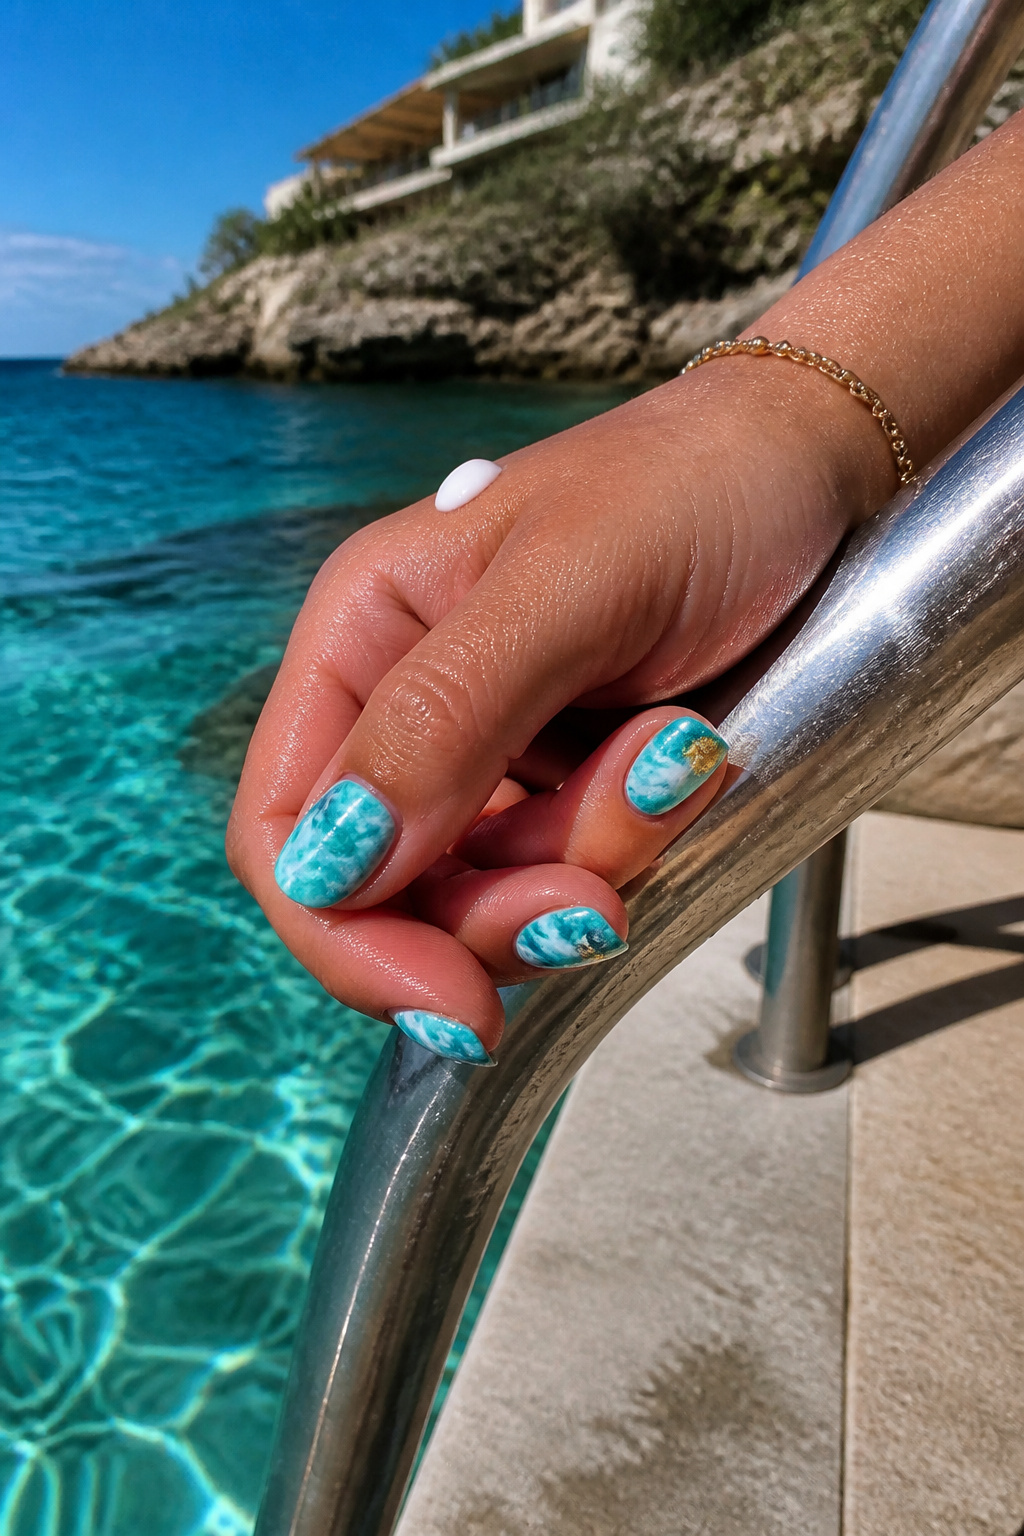

Marble nails mirror waves and photograph beautifully against water. Use two blues with a touch of white and a small fan brush for veins. Pain point solved: marble hides regrowth better than solid colors. I first tried marbling freehand and it looked chaotic; a tiny brush and alcohol drop method created the right water-like streaks. Expect $10 to $28 total.
Shop this idea:
11. Hot Pink With Rhinestone Cluster
Style: Glam Poolside | Budget: $18 to $40 | Best For: Night pool parties


A single rhinestone cluster on a hot pink base reads luxe in evening pool photos. Apply rhinestones with nail glue and seal with a thick rim of topcoat to keep edges down. Ugly truth: too many stones look cheap; one well-placed cluster wins every time. I had a sad cluster fall off at a rooftop party; doubling the glue layer fixed it. Budget $18 to $40.
Shop this idea:
12. Sunset Gradient With Negative Space
Style: Editorial & Clean | Budget: $12 to $25 | Best For: All skin tones
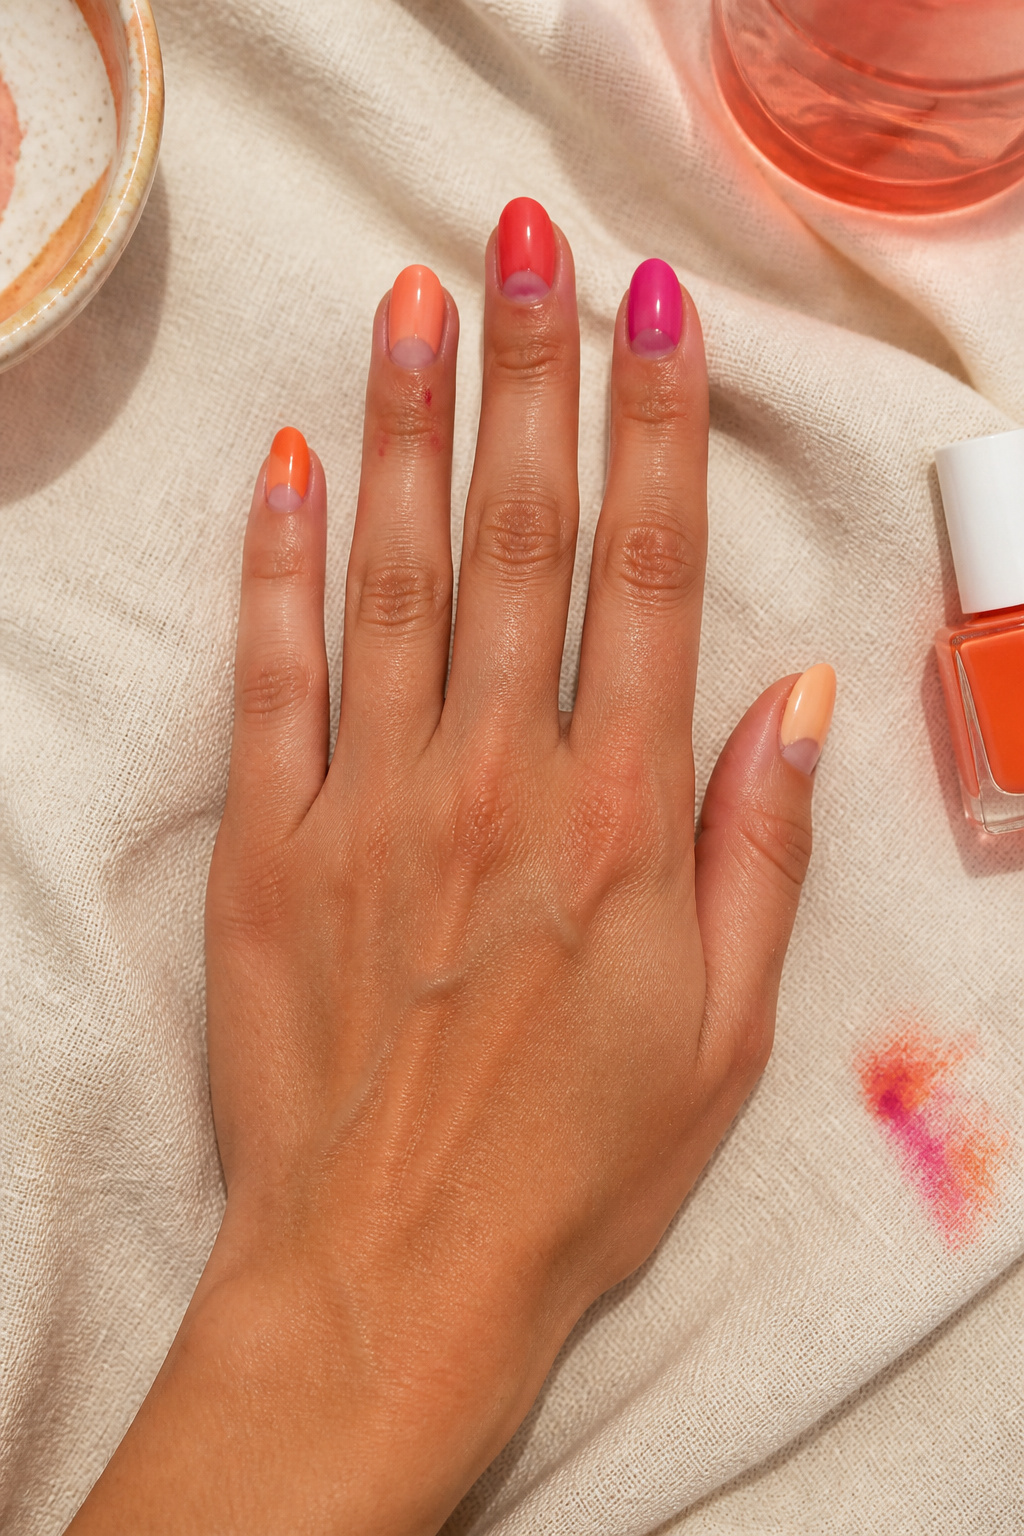

Negative space near the cuticle keeps a bold gradient wearable and camera-friendly. Paint sunset shades toward the tip, leave a thin crescent bare, then outline with a tiny brush. Pain point solved: negative space reduces visible regrowth in week-old mani photos. I first filled the whole nail and regretted daily touch-ups; this trick gave me five days of decent shots.
Shop this idea:
13. Neon Lime Outline Nails
Style: Graphic & Playful | Budget: Under $15 | Best For: Small hands / statement rings
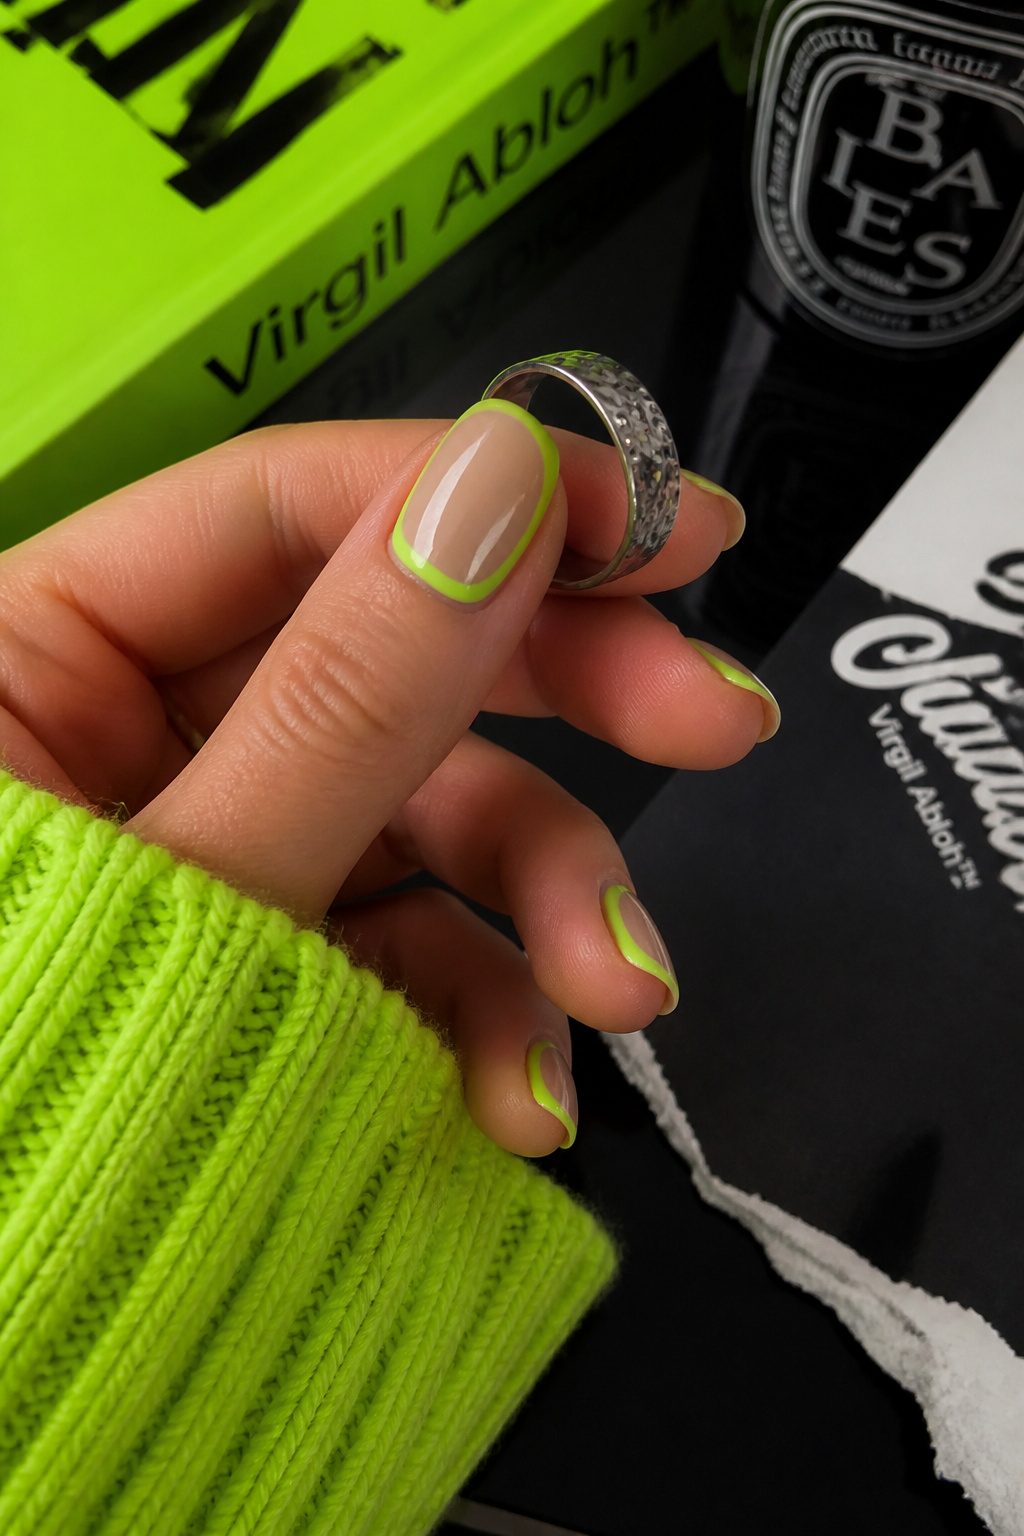

An outline in neon lime around a neutral base frames the finger and highlights rings. I trace a steady line with a fine brush then add glossy topcoat. Ugly truth: shaky freehand looks messy; use a steady fingertip rest or nail stencil. This look cost me about $10 in supplies and makes hands look intentionally styled.
Shop this idea:
14. Color-Blocked Almonds That Match Your Suit
Style: Curated Match | Budget: $10 to $30 | Best For: Coordinated pool outfits


Color-block the nails to match your suit for cohesive photos. Paint alternating blocks on almond shapes and seal with a glossy topcoat. The result looks intentional without being matchy-matchy. I once matched my old navy suit and got more compliments than my makeup that day. Budget $10 to $30 for polishes and a shape file.
Shop this idea:
What You'll Need to Get This Look
Face & Base Essentials
- Peel off base coat around $6 to $14
- Strengthening base coat clear around $8 to $18
- Quick-dry top coat glossy around $8 to $20
Eyes, Brows & Lips
- Tinted lip oil coral around $10 to $22
- Waterproof brown mascara around $8 to $18
Clothing Staples
- Woven straw sun hat around $12 to $45
- High-waist bikini solid around $20 to $60
Shoes, Bags & Jewelry
- Gold signet ring small around $10 to $40
- Clear strap sandals around $15 to $50
Budget Swaps
- Drugstore neon polish around $4 to $9 (swap for indie polish)
- Mini chrome powder sample around $6 to $18 (dupe for salon chrome)
Shopping Tips for These Looks
Buy during big beauty sales: Nail polish and tools drop during Ulta 21 Days or Amazon Prime sales, pick up polishes for $4 to $8. Pearlescent top coat
Thrift and mix: Pair thrifted gold rings with drugstore polish for a high/low vibe and save on accessories. Gold signet ring small
Try micro-pearl finishes (2025 trend): Micro-pearl and sheer jelly are trending for summer 2025, they diffuse light beautifully in photos. Pearlescent top coat
Timing matters: Paint nails the night before a pool day then sleep with hands propped to avoid snags; quick-dry topcoats still need time to fully harden. Quick-dry top coat glossy
Sunscreen caution: Apply sunscreen before stepping in the pool and blot excess from hands; sunscreen can yellow light polishes over time. Cuticle oil pen
Frequently Asked Questions
Q: How do I stop polish from chipping at the pool?
A: Use a strengthening base coat plus a thick glossy topcoat and avoid scraping nails on rough surfaces. Try Strengthening base coat clear for better adhesion.
Q: Can I get salon gel effects at home?
A: Yes, with a small UV lamp and gel topcoat you can extend wear. I used No-smudge gel top coat and a $30 LED lamp at home.
Q: Are rhinestones safe for pool wear?
A: They can be, if glued and sealed properly; press stones into tacky gel and rim edges with topcoat. I recommend Rhinestone nail gems plus strong nail glue.
Q: What's best for quick at-home gradients?
A: A makeup sponge and thin layers. Dab each color lightly and finish with a glossy topcoat. Use Mini makeup sponge pack.
Conclusion
Start with one simple change, like a neon single-color or a pearlescent topcoat, and see how many compliments you get poolside. My final tip: photograph nails in indirect sunlight for truest color. Which look are you trying first this summer — bold neon or soft pearlescent?


