
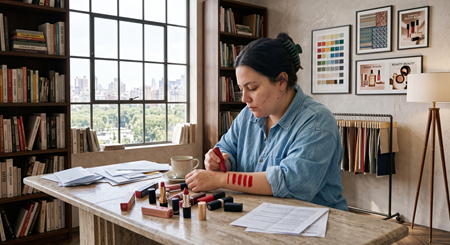
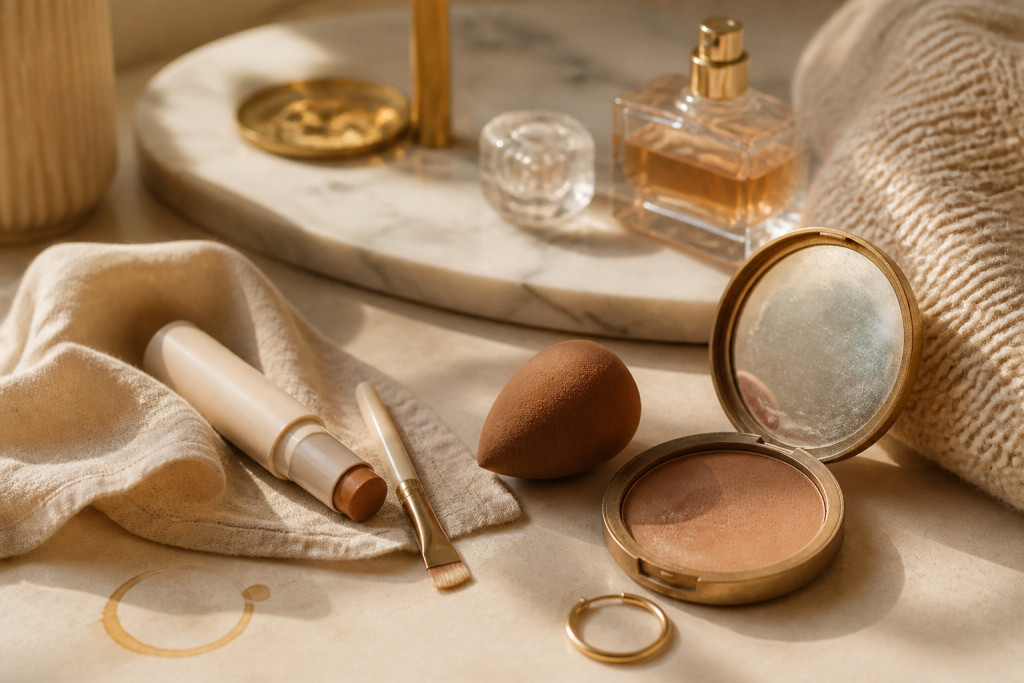

Contour makeup for beginners can genuinely make your face look lifted without heavy sculpting. I tested 17 quick tricks that take under five minutes each, most under $30, a few splurges around $90. These are simple contour placements, texture swaps, and styling nudges that give a lifted look in photos and real life. Expect product picks, one honest mistake I repeat too often, and tiny outfit hacks that frame the face.
I’m writing for clean-glam lovers, petite faces, mature skin, and anyone easing into cream and powder techniques. Most items are under $30, with a couple of $60 to $90 splurges. I’ve noticed cream sticks and soft-focus powders are everywhere lately, and a 2024 NPD note I read confirmed stick formats are growing in sales. Statista also showed the global beauty market stayed resilient in 2023, so new formulas keep arriving.
1. Warm Cream Contour Stick Thin Line
Style: Clean Girl | Budget: Under $20 | Best For: Neutral to warm undertones
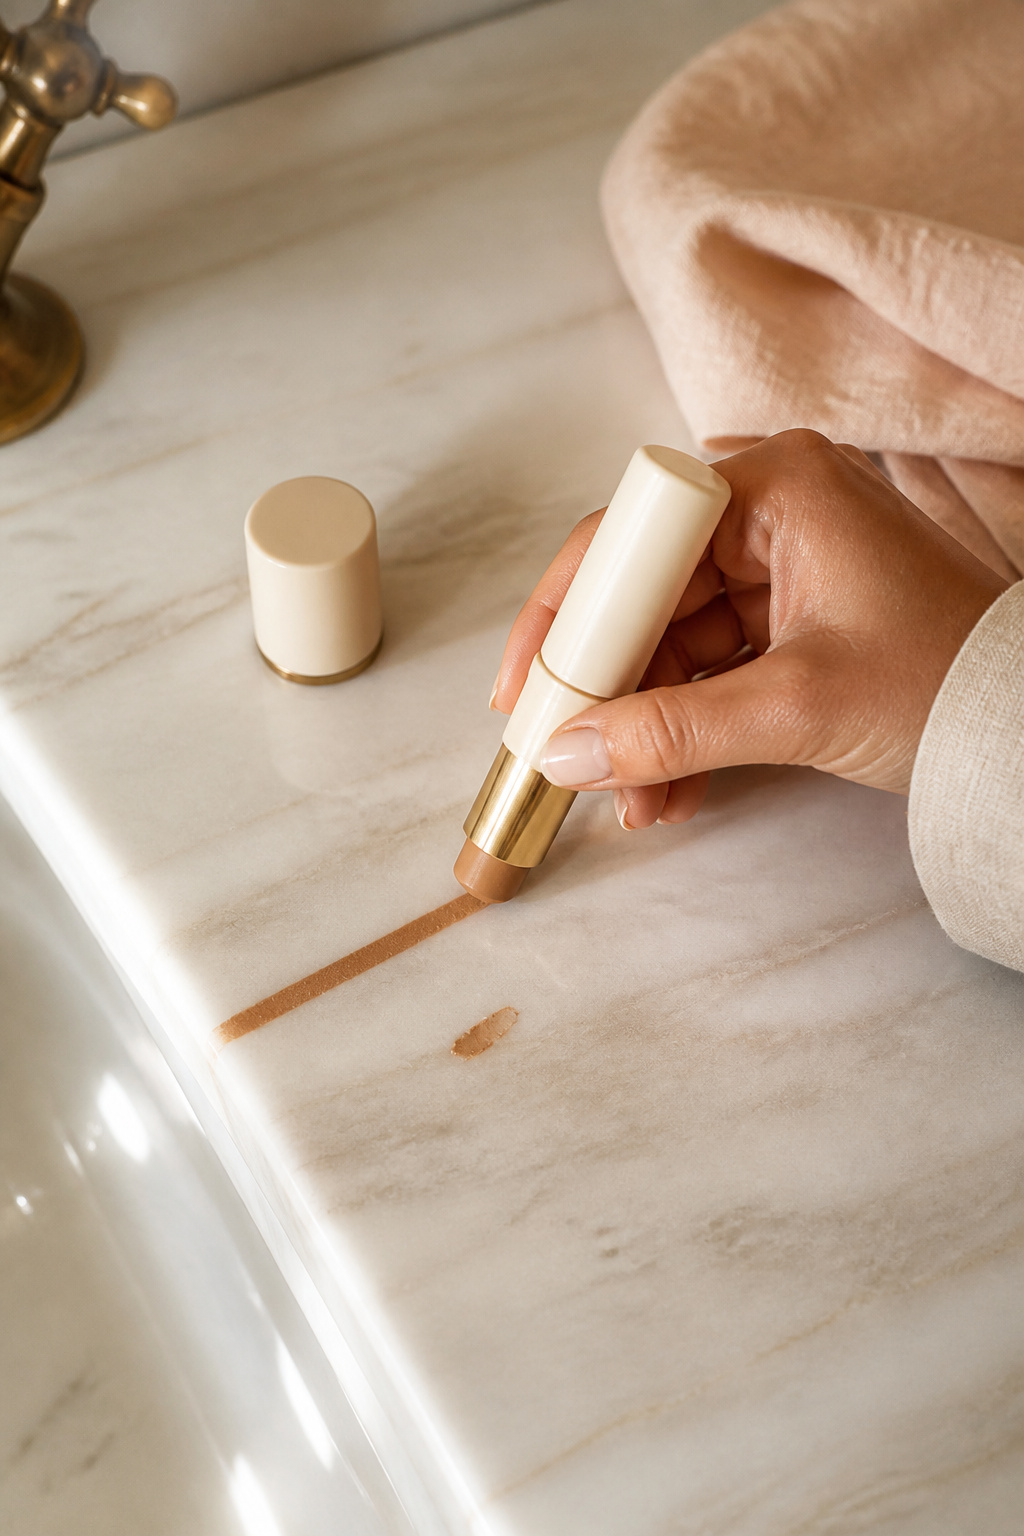

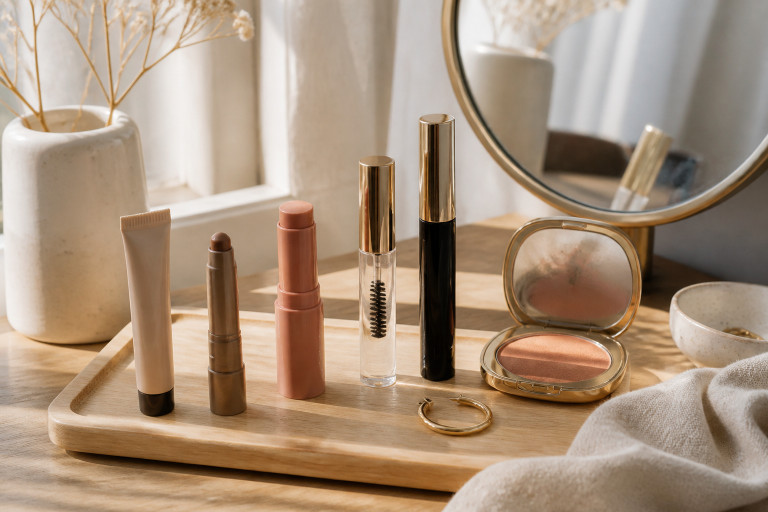
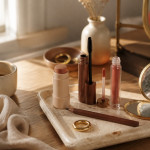
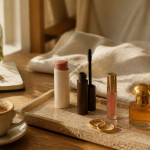
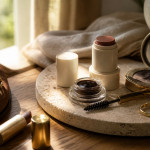
Swipe one thin line of cream contour in warm caramel where your cheek hollow sits, then blend upward with a damp sponge. The trick is thin lines, not bars. I once drew a thick stripe and looked muddy in photos. Use a cream contour stick to avoid patchy powder, around $12 to $18, then set only where needed. The result lifts the cheek, especially when paired with a soft, upward blush.
Shop this idea:
2. Upward Blush Placement
Style: Fresh Glowy | Budget: Under $18 | Best For: Round or short faces
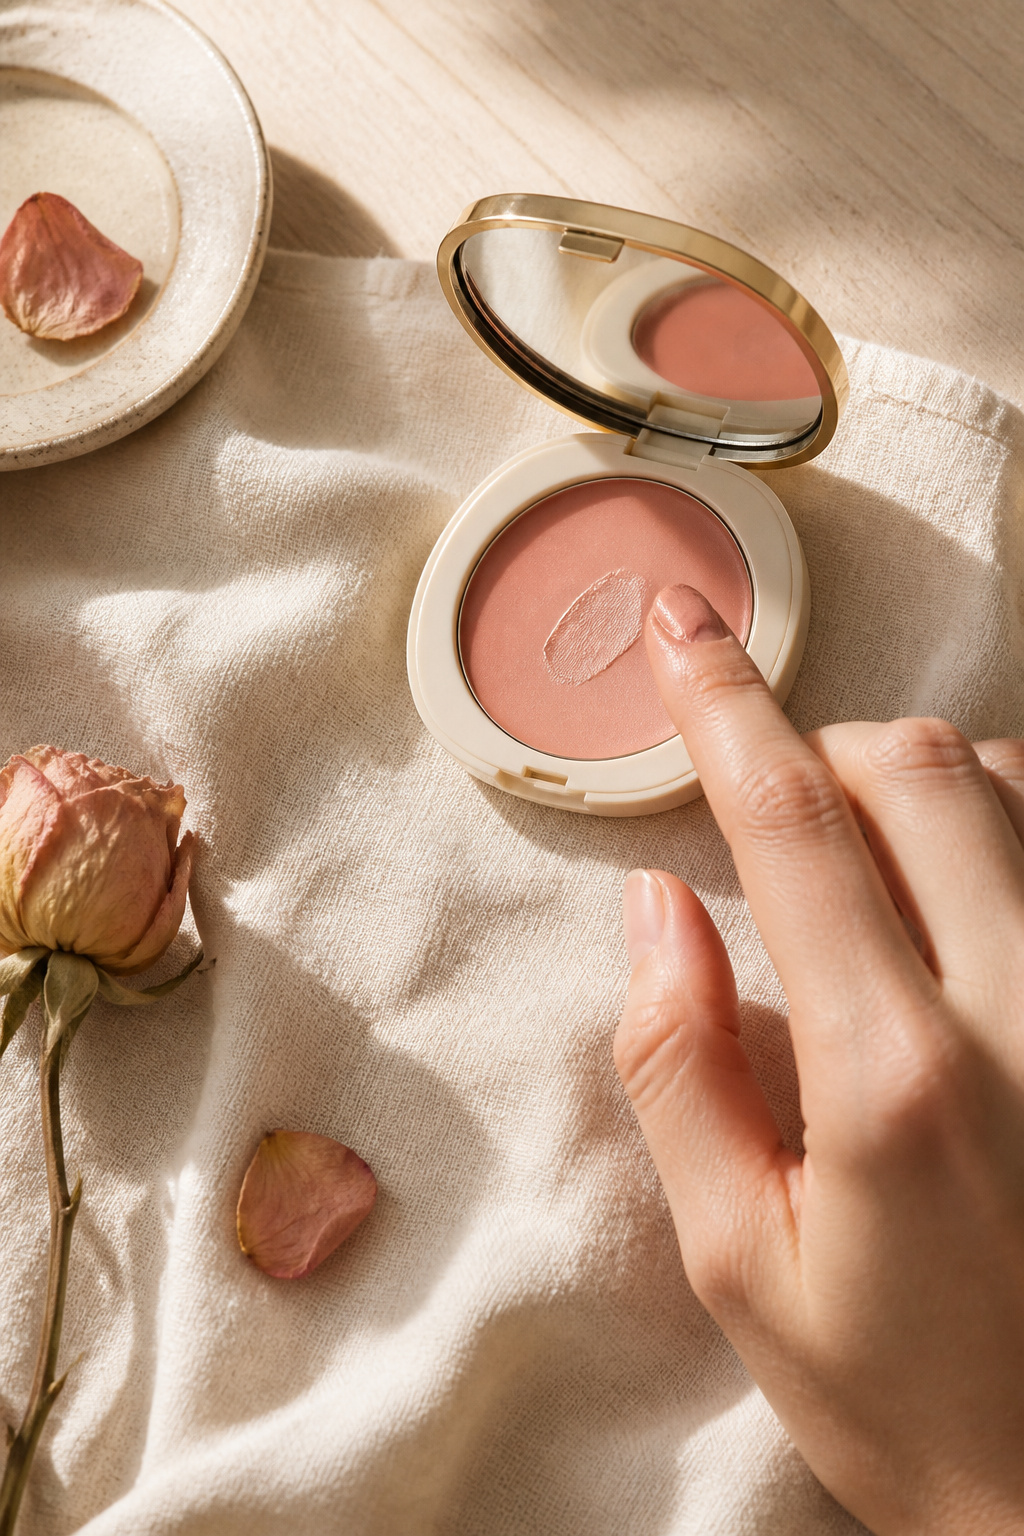

Place cream blush slightly above the apples, toward the temple, not on the apples alone. The trick lifts the mid-face and blends with your contour for a natural cheekbone. I learned this when someone at Ulta complimented my “lifted” look after a demo. Try a warm peach cream blush, around $10 to $16, and tap upward with fingertips. Avoid dabbing too low, which drags the face down.
Shop this idea:
3. Subtle Nose Contour Bridge
Style: Polished | Budget: Under $15 | Best For: Short to medium noses


Sweep a tiny amount of cool-toned powder along the sides of the nose and a dot at the tip’s center, then blend softly. The tiny shadow visually narrows and lifts the nose bridge. I once over-contoured and looked staged in photos, so less is key. Use a finely tapered brush and a neutral contour powder, around $8 to $14. Finish with a pinprick highlight at the bridge if you want extra lift.
Shop this idea:
4. Jawline Sculpt With Short Strokes
Style: Minimal Sculpt | Budget: Under $20 | Best For: Soft jawlines


Use short, feathered strokes right under the jawbone with a cool-toned powder to create a shadow that reads as lift. The trick is feathering toward the ear, not toward the chin. I used too-wide motions once and it looked like a beard shadow. Try a small dense brush with contour powder around $10 to $18. Blend with a kabuki or sponge to avoid harsh lines.
Shop this idea:
5. Brow Lift With Matte Shadow
Style: Clean Brow | Budget: Under $12 | Best For: Hooded or heavy-lidded eyes
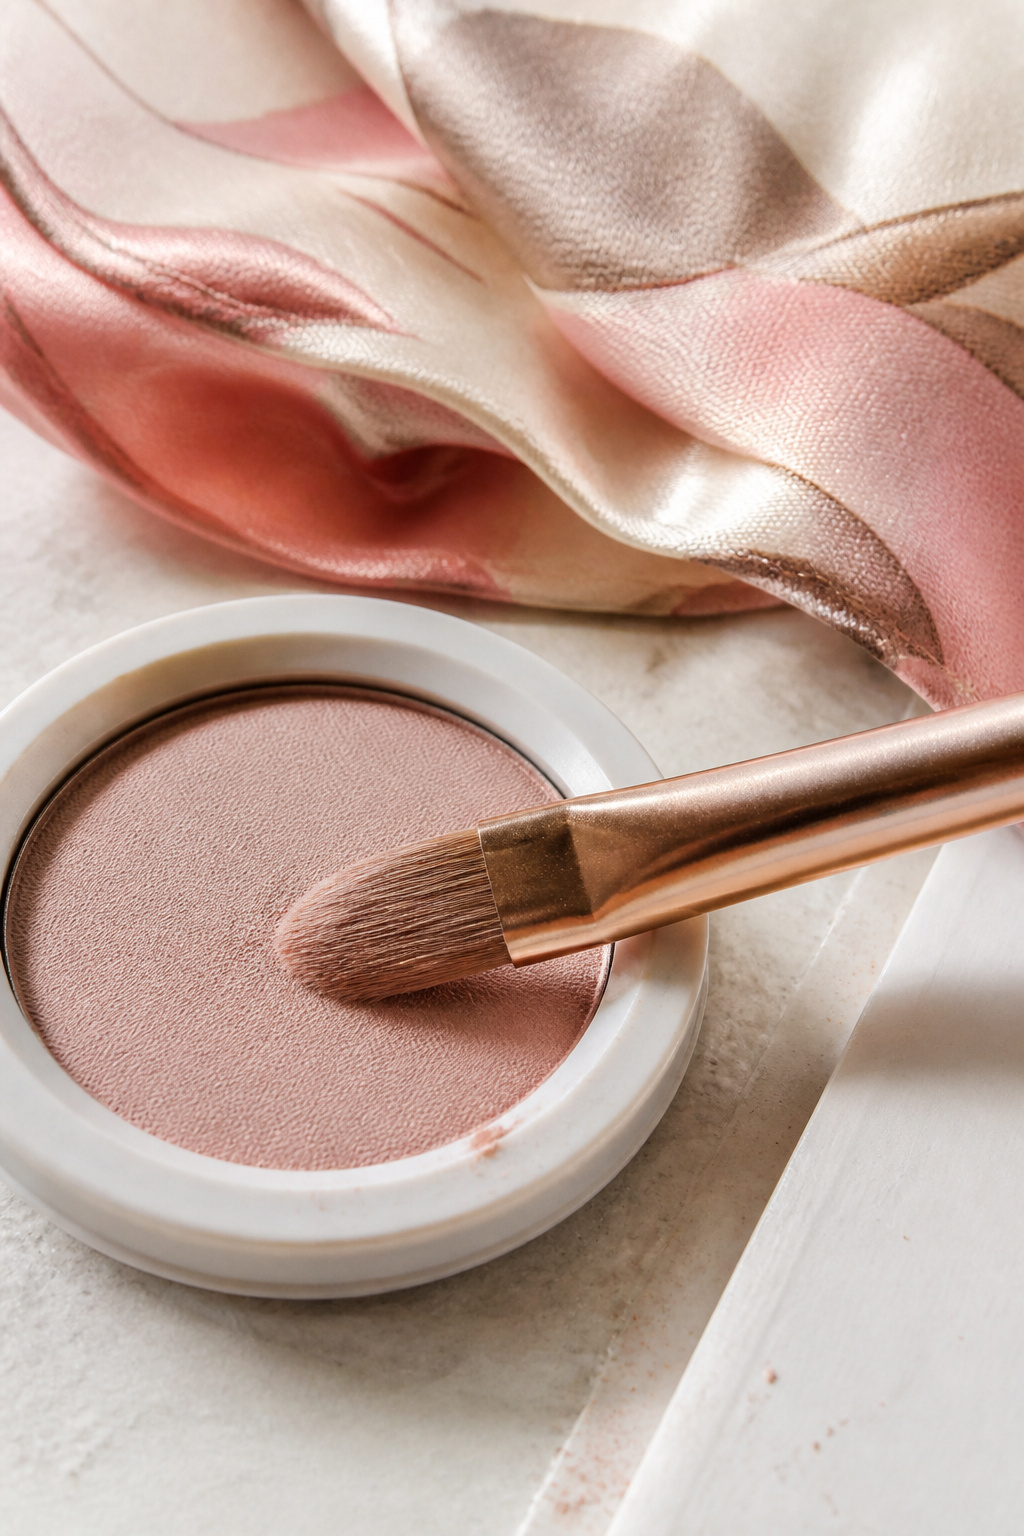

Shade a matte taupe shadow just under the tail of your brow and blend upward into the temple. This creates a subtle lift where eyes meet brow bone. I used highlighter there for years and it puffed the lid. Choose a matte powder around $6 to $12 and an angled brush. The tiny matte shadow tricks the eye into thinking the brow is higher, making the whole face seem lifted.
Shop this idea:
6. Highlight Above Cheekbone, Not On It
Style: Soft Glow | Budget: Under $20 | Best For: All skin tones
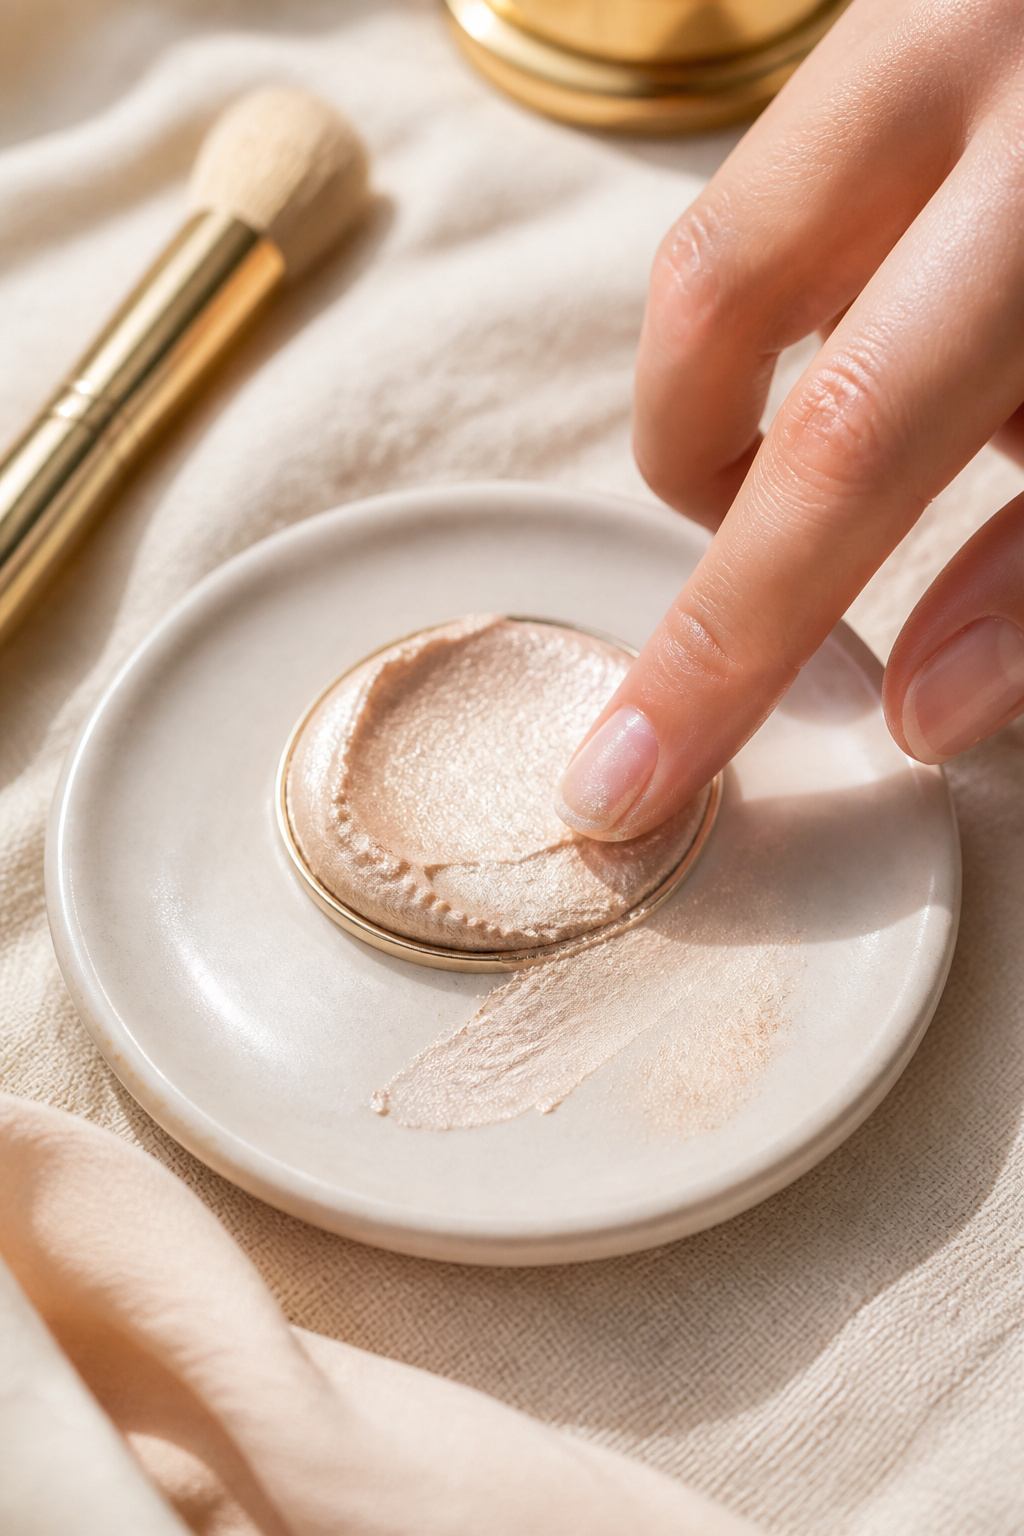

Dab a frosted or pearl cream highlight just above the cheekbone toward the temple. This catches light and lifts the face without adding shine on the apples. I used to slap highlighter on the apples, which ages the face in photos. Use a subtle sheen formula, around $14 to $26. Tip: blend downward slightly into blush so it looks natural in motion.
Shop this idea:
7. Under-Eye Brightening Triangle
Style: Fresh & Awake | Budget: Under $18 | Best For: Tired or mature eyes
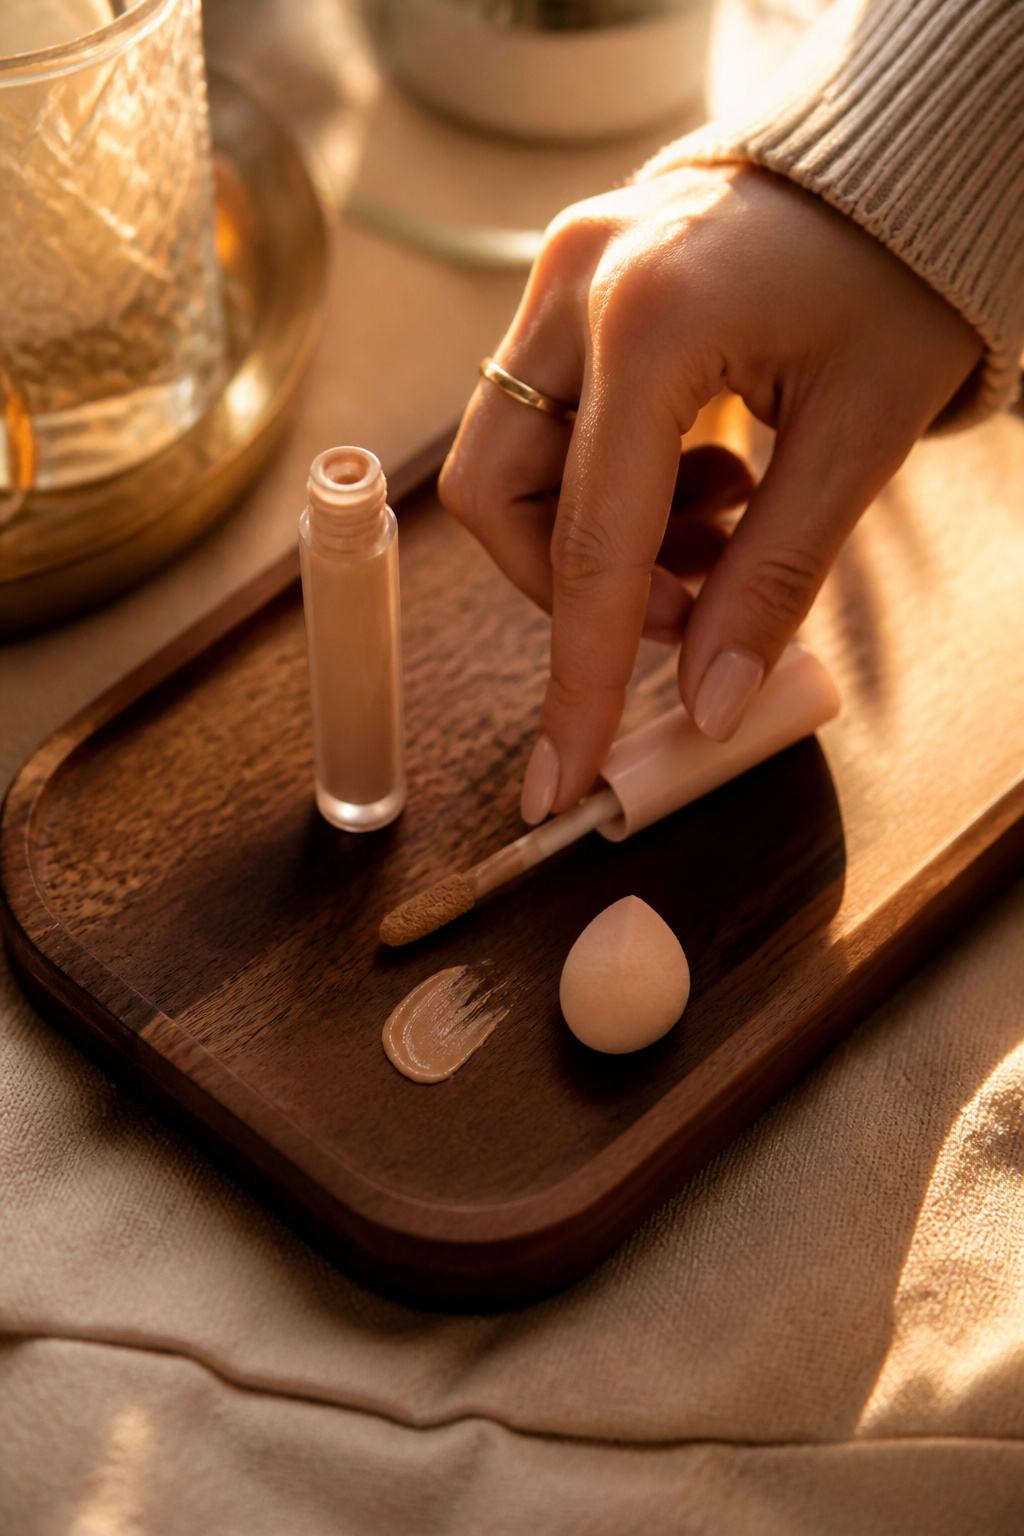

Create a small inverted triangle of concealer under the eye and blend upward into the cheek. This lifts and reframes the under-eye without thinning the lower cheek. Ugly truth, heavy powder here creases and looks cakey. Use a hydrating concealer, around $10 to $18, and set only where it moves. The triangle brightens and visually pushes the cheekbone up.
Shop this idea:
8. Warm Bronzer Sweep on Temples
Style: Sun-Kissed | Budget: Under $20 | Best For: Pale to medium skin


Sweep a warm matte bronzer from temple to upper cheek, pivoting upward toward the front hairline. It frames the face and creates a lifted silhouette. I used a heavy circular bronzer once and looked orange in selfies. Use a fluffy brush and a terracotta or caramel shade, around $9 to $19. Keep strokes soft and repeat on the hairline for continuity.
Shop this idea:
9. Brow Lamination Look With Gel
Style: Sculpted Brows | Budget: Under $15 | Best For: Sparse to medium brows


Brush brows up with a clear or tinted gel to open the eye and give a subtle lift. Brow hairs brushed upward change the face’s vertical lines. I once skipped brow styling and felt my eyes looked heavier. Use a sturdy gel, around $8 to $14, and set the tail slightly higher. For extra lift, lightly conceal under the arch.
Shop this idea:
10. Lip Tint Upwards at Cupid’s Bow
Style: Youthful | Budget: Under $12 | Best For: Thin lips
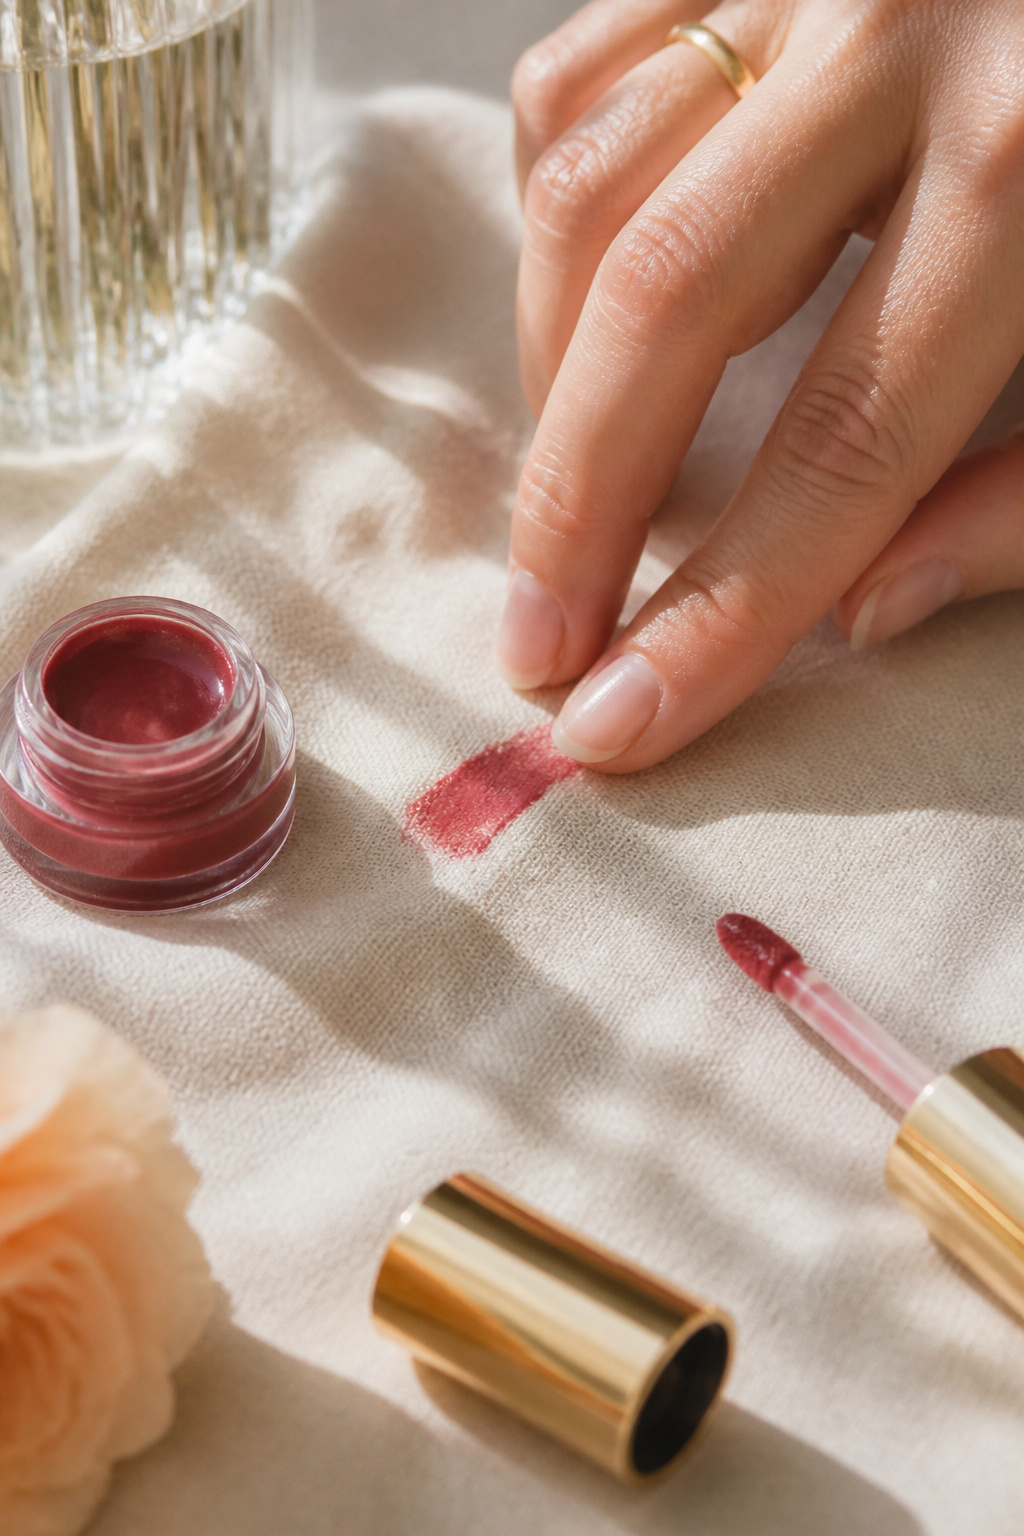

Apply a slightly brighter tint at the cupid’s bow center and blend outward to make the upper lip appear lifted. Overlining at the center, not the outer corners, keeps it natural. I tried full overline and it read unnatural in person. Use a glossy tint or balm, around $8 to $12. Finish with a tiny vertical highlight dot for dimension.
Shop this idea:
11. High Pony With Face-Framing Strands
Style: Elevated Casual | Budget: Under $25 | Best For: All hair types


A high pony lifts the face instantly. Pull a few thin face-framing strands forward and curl them slightly. I wore this to a dinner and everyone said my face looked thinner. Use a silk scrunchie to avoid dents, around $6 to $12. If your hair is layered, pin the base inward to smooth the crown. This physical lift works with contour for strong results.
Shop this idea:
12. Earring Placement: Long Drop Near Jaw
Style: Classic Jewelry | Budget: Under $30 | Best For: Short necks, round faces
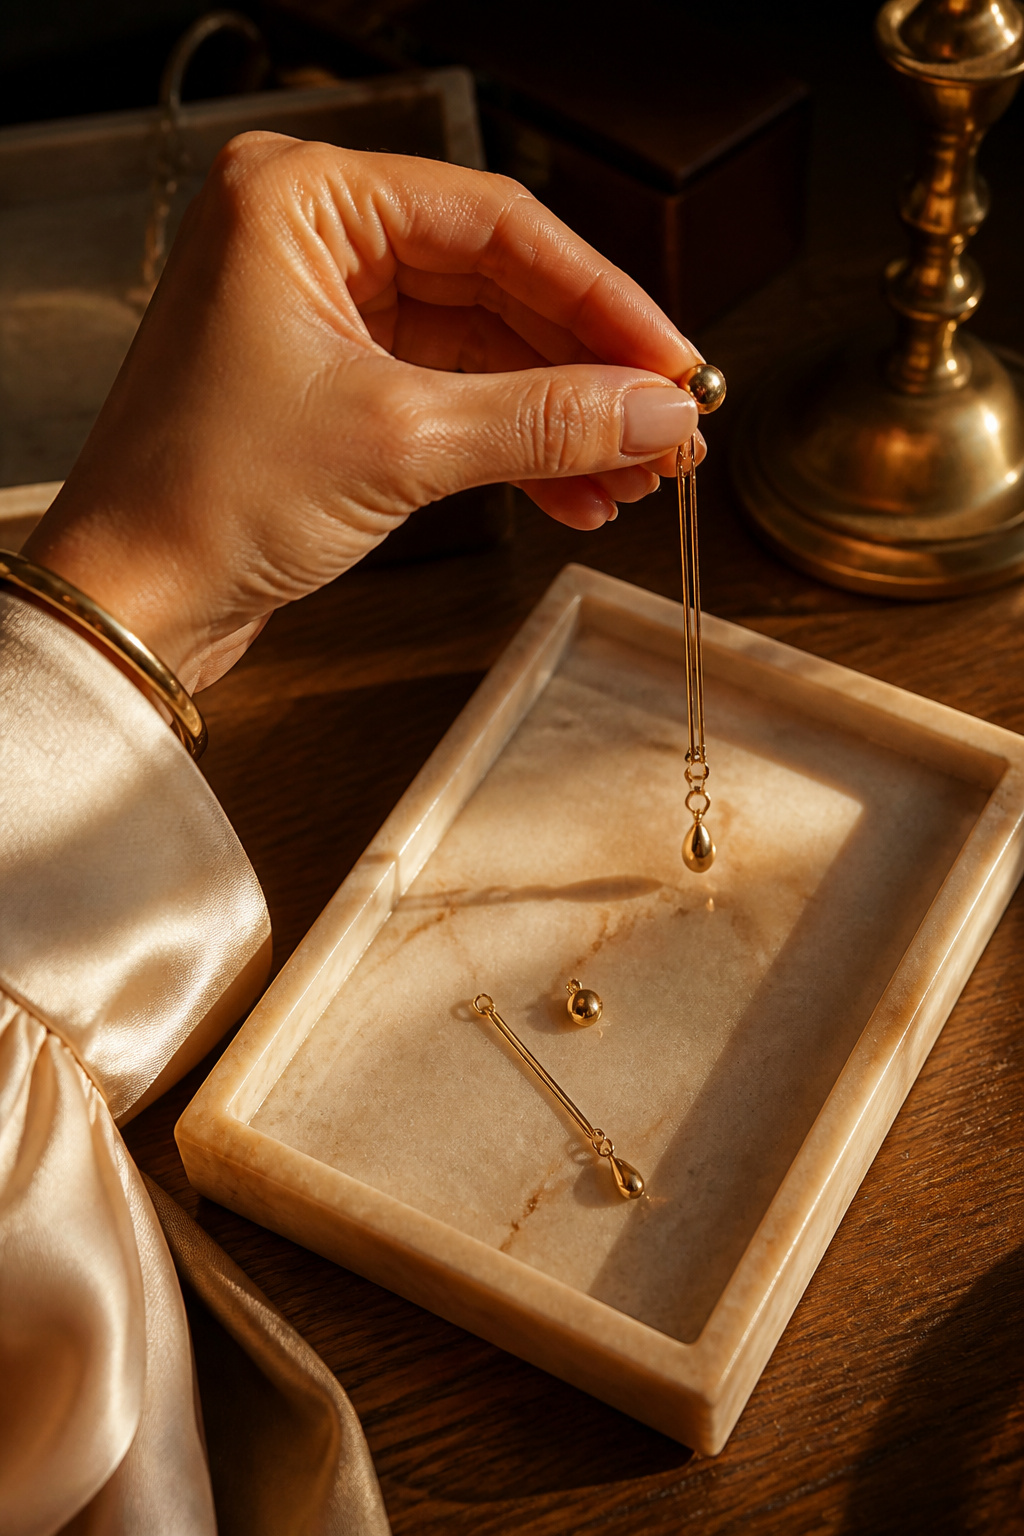

Choose a long drop or thin hoop that sits just below the jawline. The vertical line visually elongates and lifts. I used big studs a lot and my face read wider. Try gold or pearl drops around $18 to $40 depending on metal. Keep earrings proportional; too-large pieces overshadow subtle contouring.
Shop this idea:
13. Neck Blending to Avoid Head-Body Contrast
Style: Seamless Finish | Budget: Under $15 | Best For: All skin tones


Blend foundation and contour down the neck slightly to avoid a mask-like look that flattens the jaw. I learned this after realizing my jawline disappeared in side-light photos. Use a thin foundation or tinted moisturizer around $8 to $20, and buff carefully down the throat. The small blend creates continuity so the contour reads as lift, not harsh separation.
Shop this idea:
14. Short, Clean Necklines to Frame Chin
Style: Old Money Casual | Budget: Under $40 | Best For: Petite frames
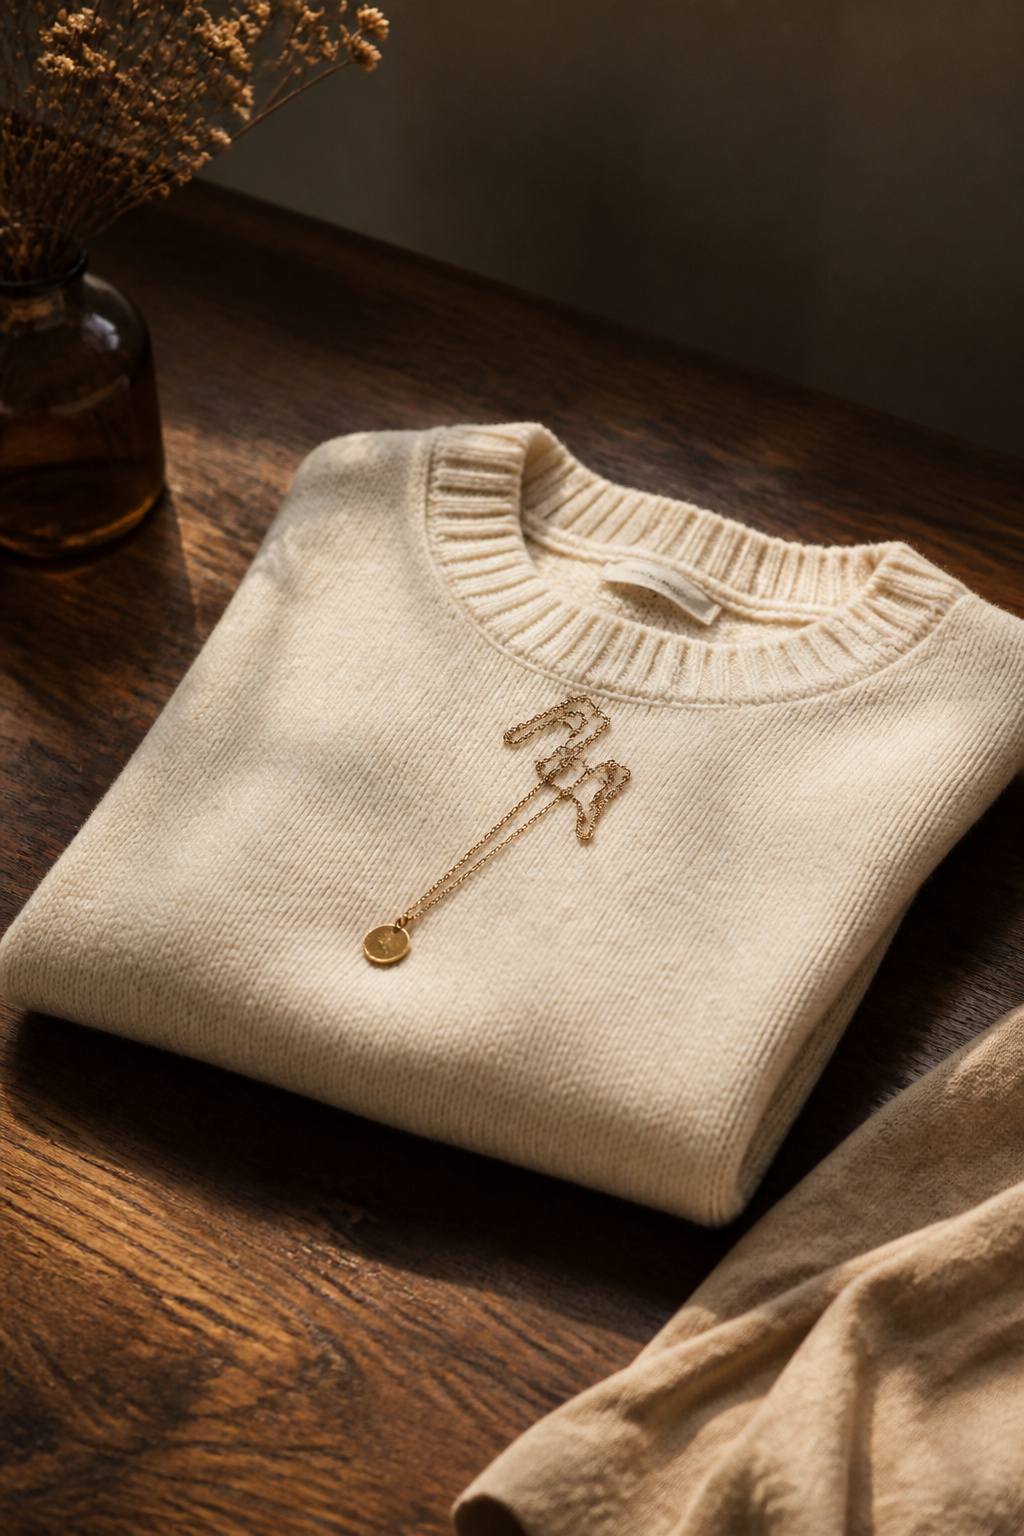

Wear a slightly higher crew or mockneck to visually push the chin up and create a lifted frame. Low V-necks can elongate downward and flatten the jaw visually. I grabbed a thrift mockneck and noticed instant lift in selfies. Pick cashmere or knit in cream or camel, approx $30 to $80 for nicer pieces, cheaper at thrift. Pair with a delicate chain that sits above the neckline.
Shop this idea:
15. Matte Setting Powder Only Where Needed
Style: Polished Finish | Budget: Under $12 | Best For: Oily to combination skin
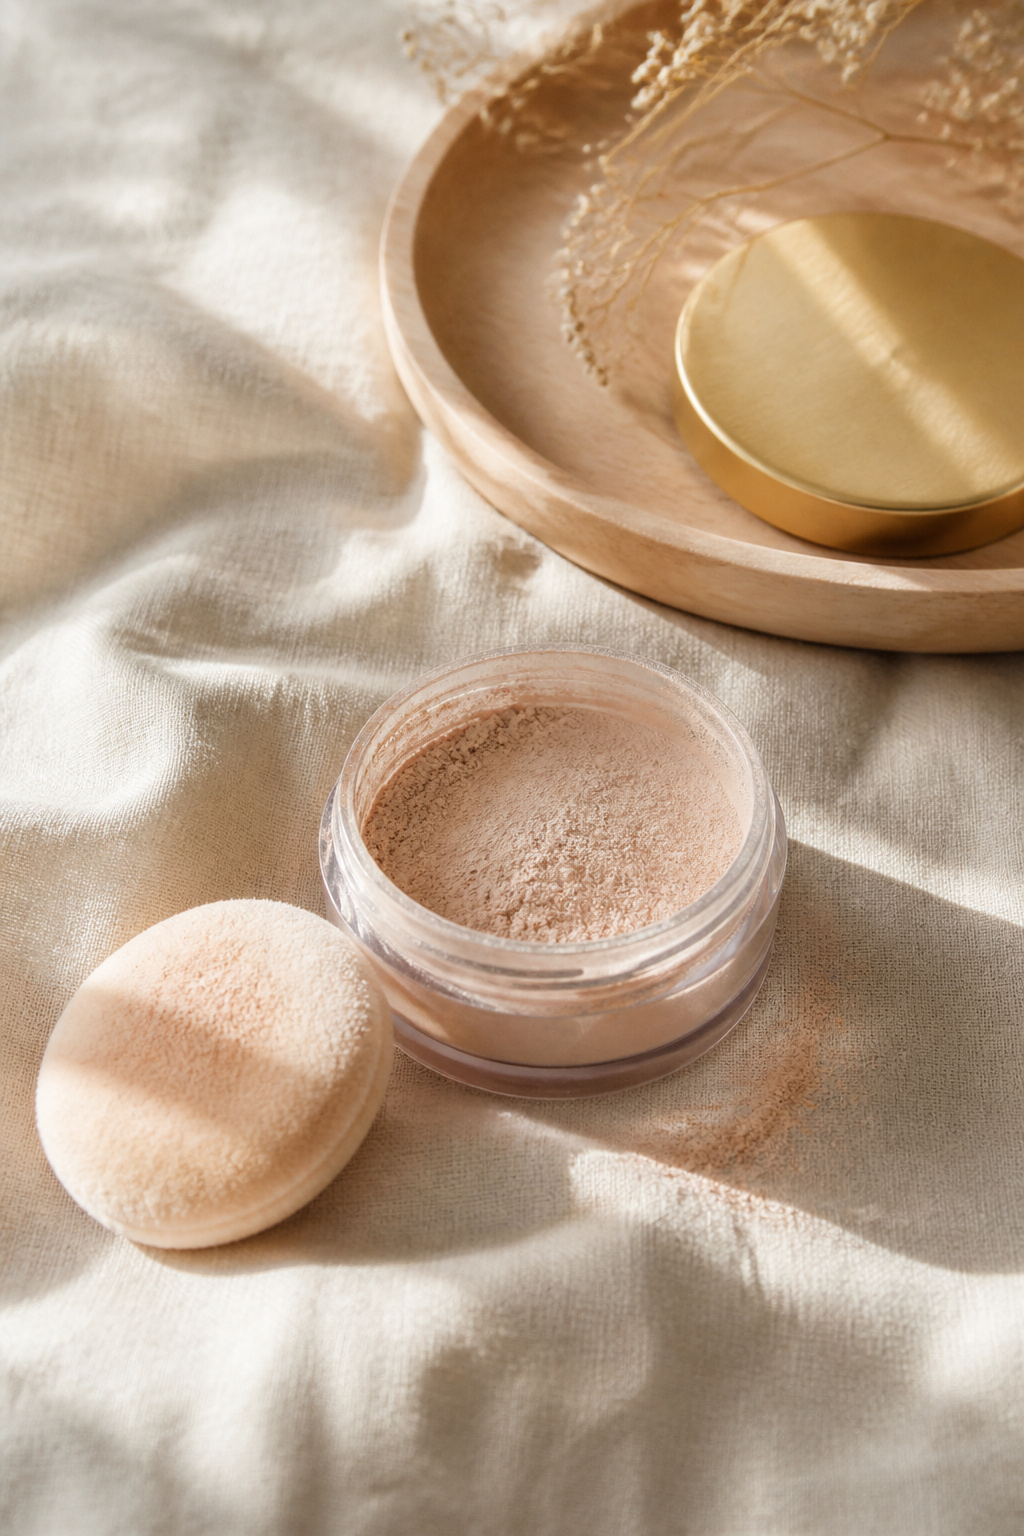

Set only the T-zone and under-eye area lightly with a matte translucent powder. Over-powdering the cheeks flattens contour and removes lift. That’s an ugly truth I learned the hard way. Use a finely milled powder, around $6 to $12, and press, don’t brush. The result keeps your contour looking sculpted and natural throughout the day.
Shop this idea:
16. Soft Matte Lip to Anchor the Lower Face
Style: Classic Polished | Budget: Under $18 | Best For: All skin tones


A soft matte lip in a slightly deeper shade than your natural color anchors the lower face and complements cheek contour. Avoid too-dark lip liners that make the face look heavy. I over-lined once and it felt costume-like. Choose a velvet-matte formula around $10 to $18, and blot to soften. This balances the lift created up top.
Shop this idea:
17. Lighting and Camera Angle Tricks
Style: Photo-Ready | Budget: Free to $20 | Best For: Social photos, video calls
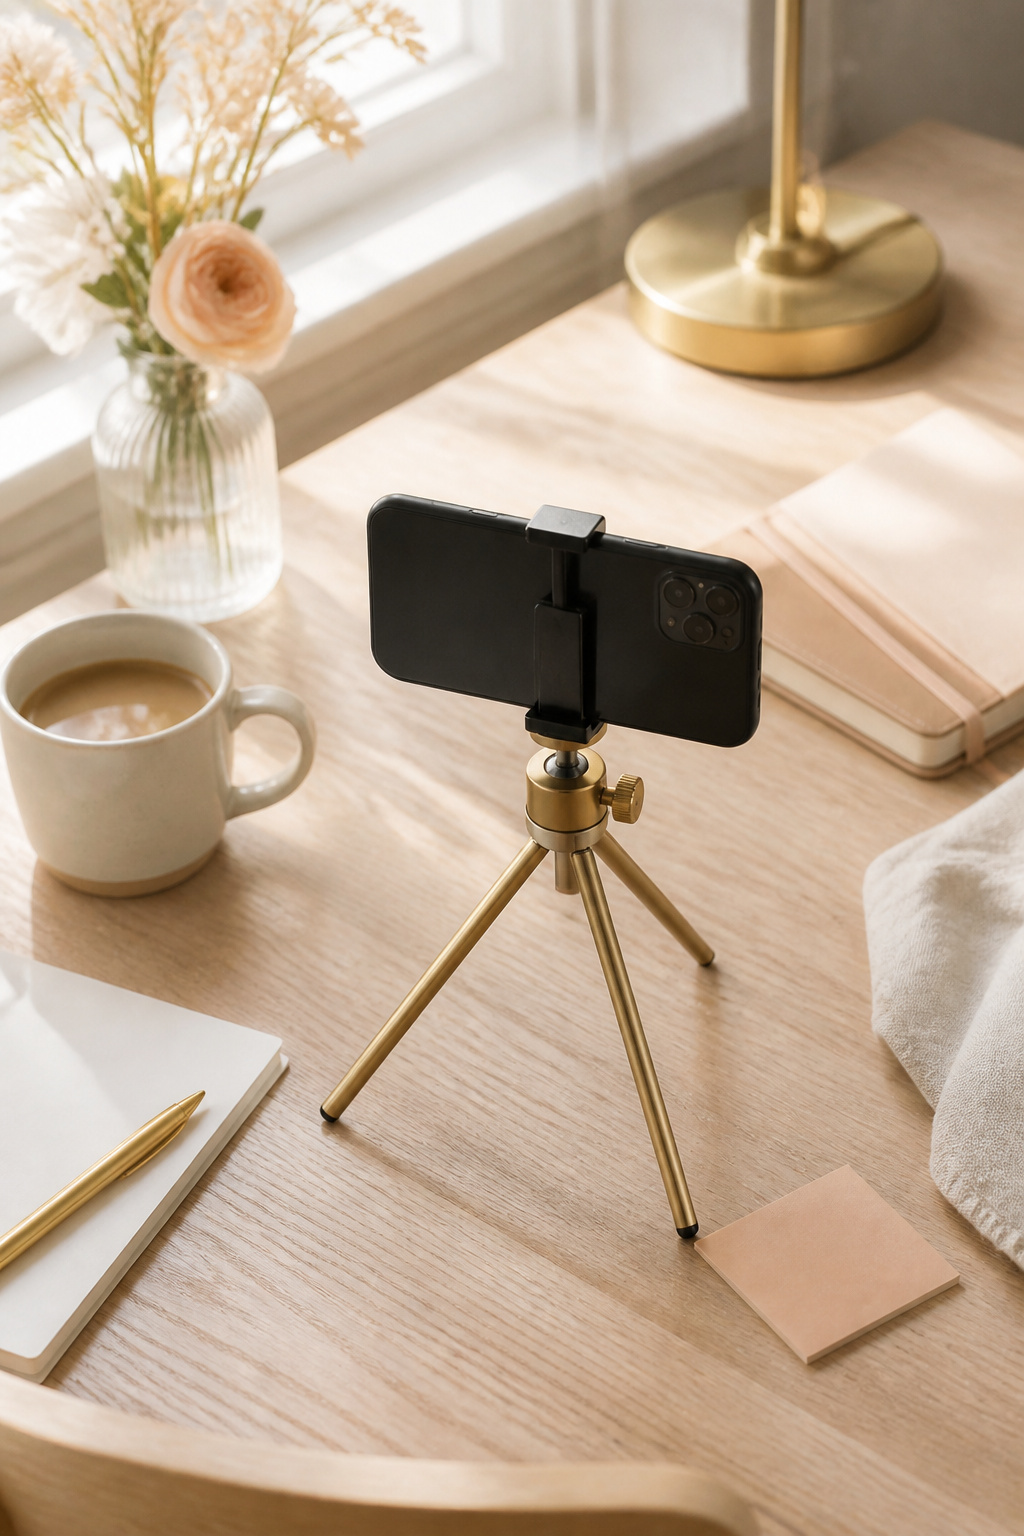

Tilt your camera slightly above eye level and use front-facing window light to emphasize cheekbones and avoid unflattering shadows. I tested before-and-after and the lift is real. A ring light works, but natural window light is gentler. This tip is free or under $20 for a small tripod. Photography choices can rescue mediocre contour work, and many tutorials ignore this.
Shop this idea:
What You'll Need to Get This Look
Face & Base Essentials
- Cream contour stick in warm caramel around $12 to $18
- Neutral contour powder compact around $8 to $16
- Hydrating under-eye concealer around $10 to $18
- Translucent setting powder around $6 to $12
Eyes, Brows & Lips
- Tinted brow gel medium brown around $8 to $14
- Matte taupe eyeshadow pan around $6 to $12
- Velvet matte lipstick rose around $10 to $18
Clothing Staples
- Cream mockneck sweater approx $30 to $80
- Silk scarf neutral print around $12 to $35
Shoes, Bags & Jewelry
- Gold long drop earrings around $18 to $40
- Delicate gold chain necklace around $12 to $30
Budget Swaps
- Drugstore cream contour stick around $6 to $12 (swap for splurge)
- Fast-fashion mockneck sweater around $15 to $30 (thrift or new)
Shopping Tips for These Looks
Buy seasonally: Shop lightweight cream sticks in spring and richer powders in winter, check Ulta and Sephora sale cycles around mid-year for markdowns, often $8 to $20 off.
Try before you commit: Sample a contour shade on your jawline in natural light, many stores offer testers or color-matching services, cheaper swaps exist at drugstores.
Thrift and customize: Thrift a mockneck or silk scarf then dye or tailor it, I found a near-perfect cream sweater for $8 and fixed a neckline for $12.
2025 trend pick: Many people are switching to cream-to-powder formulas for flexible layering, keep an eye on NPD and indie brands for new hybrid sticks.
Small tools matter: A narrow angled brush changes nose work dramatically, spend $8 to $15 and replace yearly.
Timing tip: Buy highlighters and bronzers at holiday beauty sets when they include multiple shades, this often saves 20 to 40 percent.
Frequently Asked Questions
Q: How do I pick a contour shade?
A: Pick a contour one to two shades darker than your skin with a neutral or slightly cool tone. Try a sample on your jawline in natural light, then buy a Neutral contour powder compact.
Q: Cream or powder for beginners?
A: Start with creams if your skin is dry or if you want a blended look, powders if you’re oily or prefer buildable control. A Cream contour stick in warm caramel is a forgiving starter.
Q: Will contour age me?
A: Incorrect placement can, yes. Avoid heavy bronzer on the cheeks and over-powdering. Use a soft Translucent setting powder sparingly.
Q: How to blend without losing definition?
A: Blend outward and upward with a damp sponge, not circular motions. Keep a small dense brush handy, like this Small dense contour brush.
Conclusion
Start with one change, like the thin cream contour line or an upward blush, and wear it for a week to see how people react. My best tip, from trying everything, is to pair small contour moves with a hair or earring tweak for instant lift. Which of the 17 tricks will you try first, the cream contour or the high pony?