
My overplucked-era confession: I used to tweeze every stray hair and think thinner was neater. Eyebrow makeup for beginners saved my face. These are 17 eyebrow makeup tips I wish I knew before overplucking, most fixes under $30 with a few splurges near $120. I learned that repeated plucking can damage follicles (American Academy of Dermatology) and that eyebrow hairs have a short growth phase, about 4 to 6 weeks (DermNet NZ).
These tips skew clean, polished, and very wearable. Most products are under $30, with a few splurges around $90 to $120. They work for clean girl, soft glam, and mature skin, and they nod to 2025 favorites like laminated brows and feathered micro strokes.
1. Let Them Grow For Six Weeks
Style: Clean Girl | Budget: Under $10 | Best For: Everyone trying to recover sparse areas


The result is worth the wait. Stop tweezing for at least six weeks so new hairs can cycle in. I kept a tiny mirror on my desk and a stash of brow gel to live with the awkward gap. For beginners, a brow growth serum helps while you wait. Try Castor oil brow serum around $10 to $18. I remember hiding my brows with sunglasses at brunch the first week.
Shop this idea:
2. Map Your Brows Before You Tweeze
Style: Polished | Budget: Under $12 | Best For: Beginners who overpluck
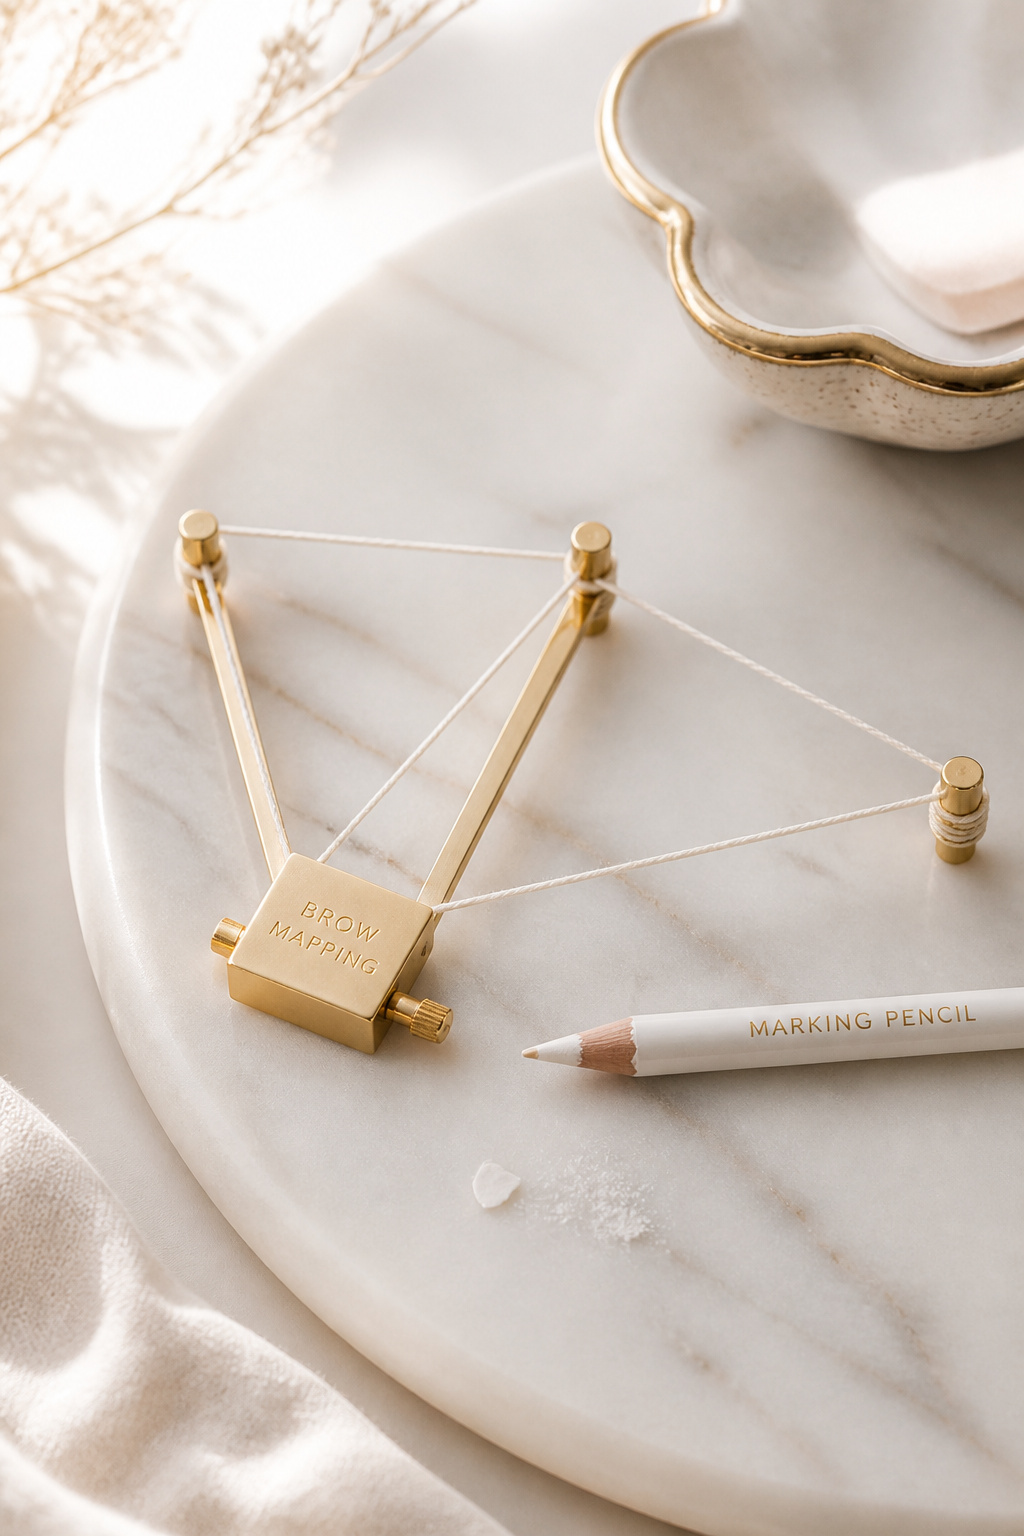

Mapping saves you from one of my biggest mistakes, shaping too high. I use the bridge of my nose, arch line, and tail guidelines. A cheap pencil with a thin tip is all you need. I use Brow mapping pencil taupe around $6 to $12. Tip: mark while leaning back at a mirror to avoid an accidental too-arched shape.
Shop this idea:
3. Use Light, Hairlike Strokes
Style: Natural | Budget: Under $25 | Best For: Sparse patches / fair hair
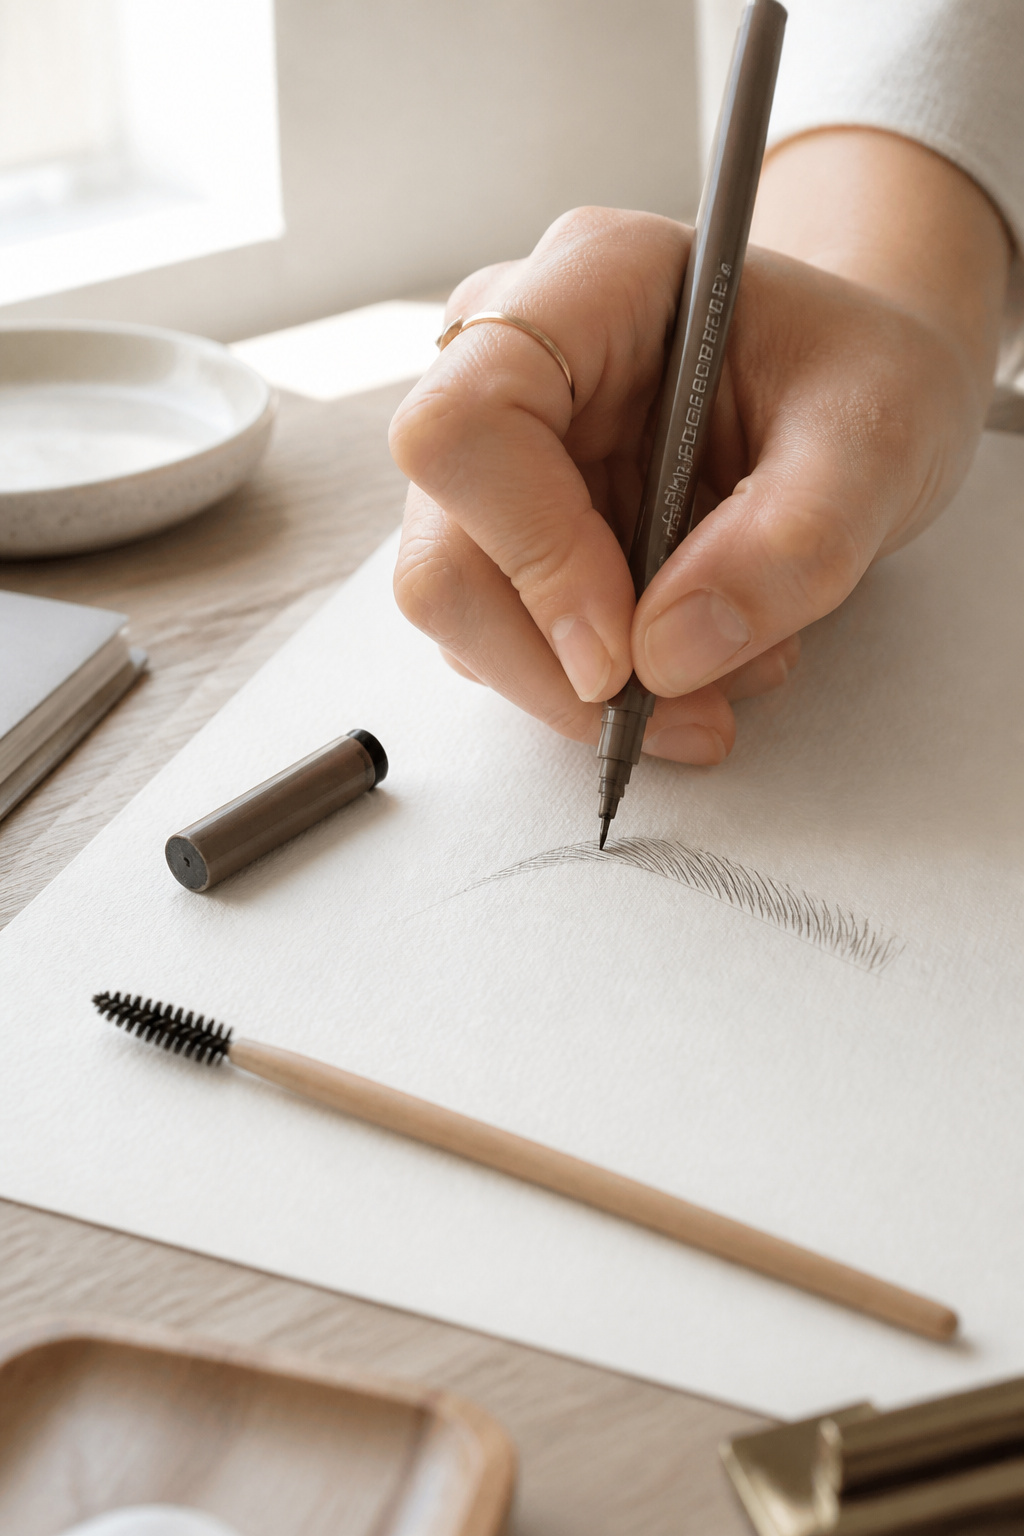

The trick is to mimic hair direction with tiny strokes. Avoid long blocky shapes. My go-to is a micro brow pen for fine strokes. I spent $18 on my first pen and it made a visible difference at brunch. Try Micro brow pen in soft brown around $12 to $20. Ugly truth: heavy filling looks painted from five feet.
Shop this idea:
4. Match Shade To Your Hair’s Undertone
Style: Tonal | Budget: Under $20 | Best For: Red, blonde, brunette variations
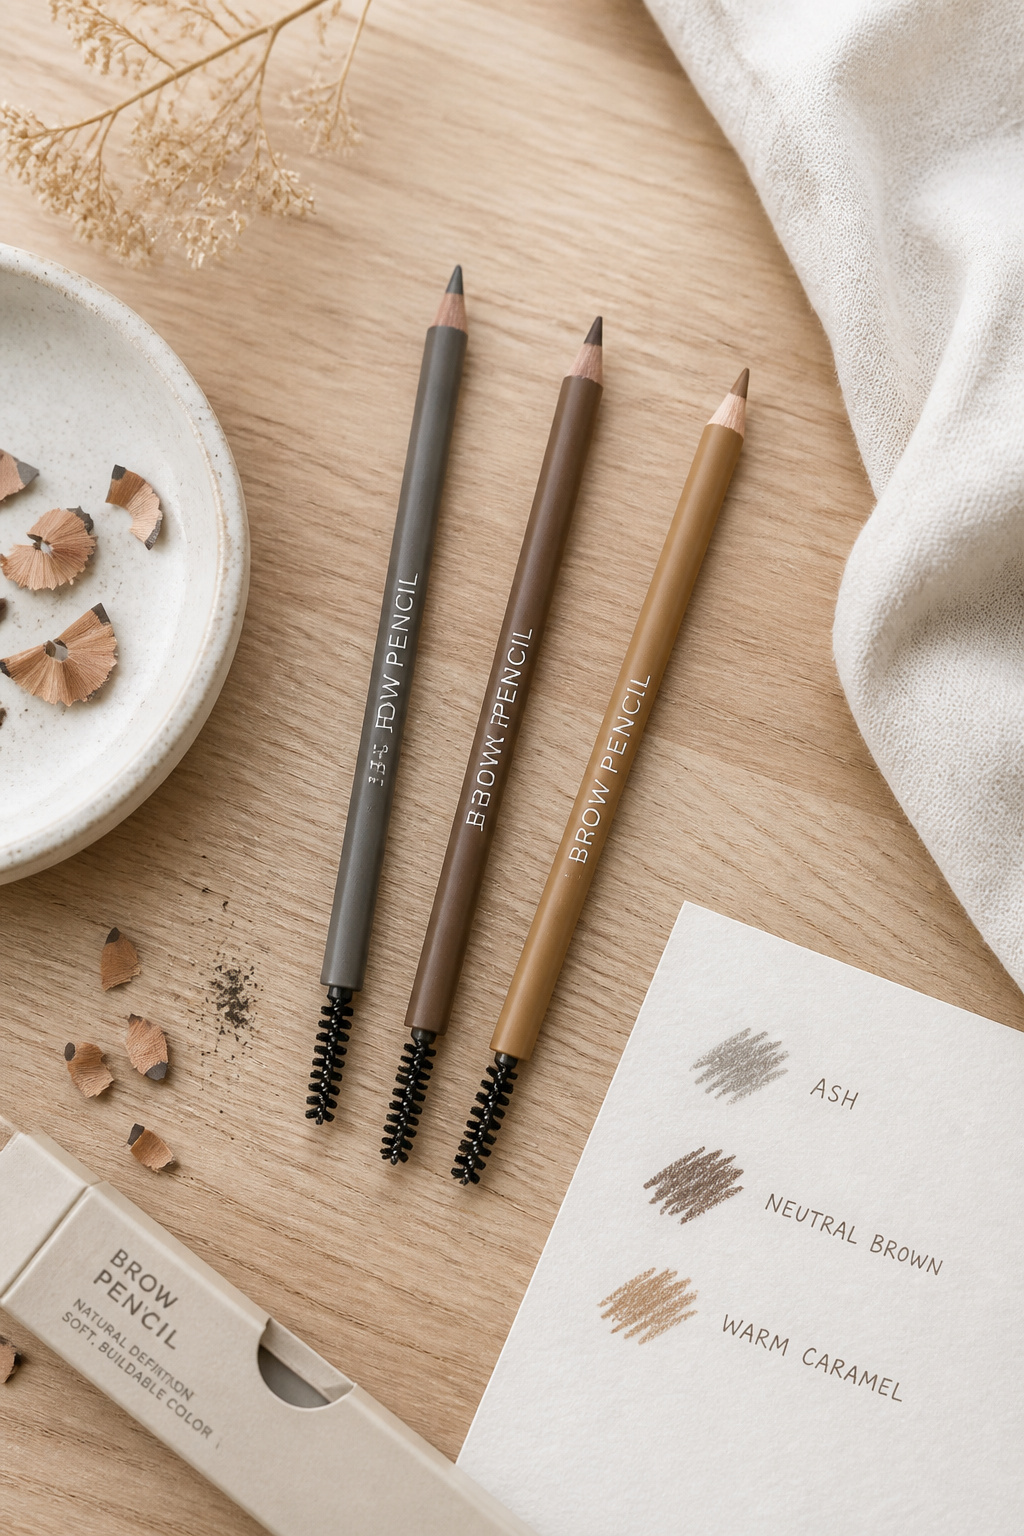

Pick a shade with the same undertone as your hair. If you’re ash blonde, go ash taupe. For warm brunettes, pick warm caramel. I once used a black-brown pencil and got a harsh, unnatural look at a job interview. Try Brow pencil ash taupe around $8 to $18. Tip: test in natural light and blend with a spoolie.
Shop this idea:
5. Powder For Soft, Blended Brows
Style: Soft Glam | Budget: Under $20 | Best For: Fuller, textured looks
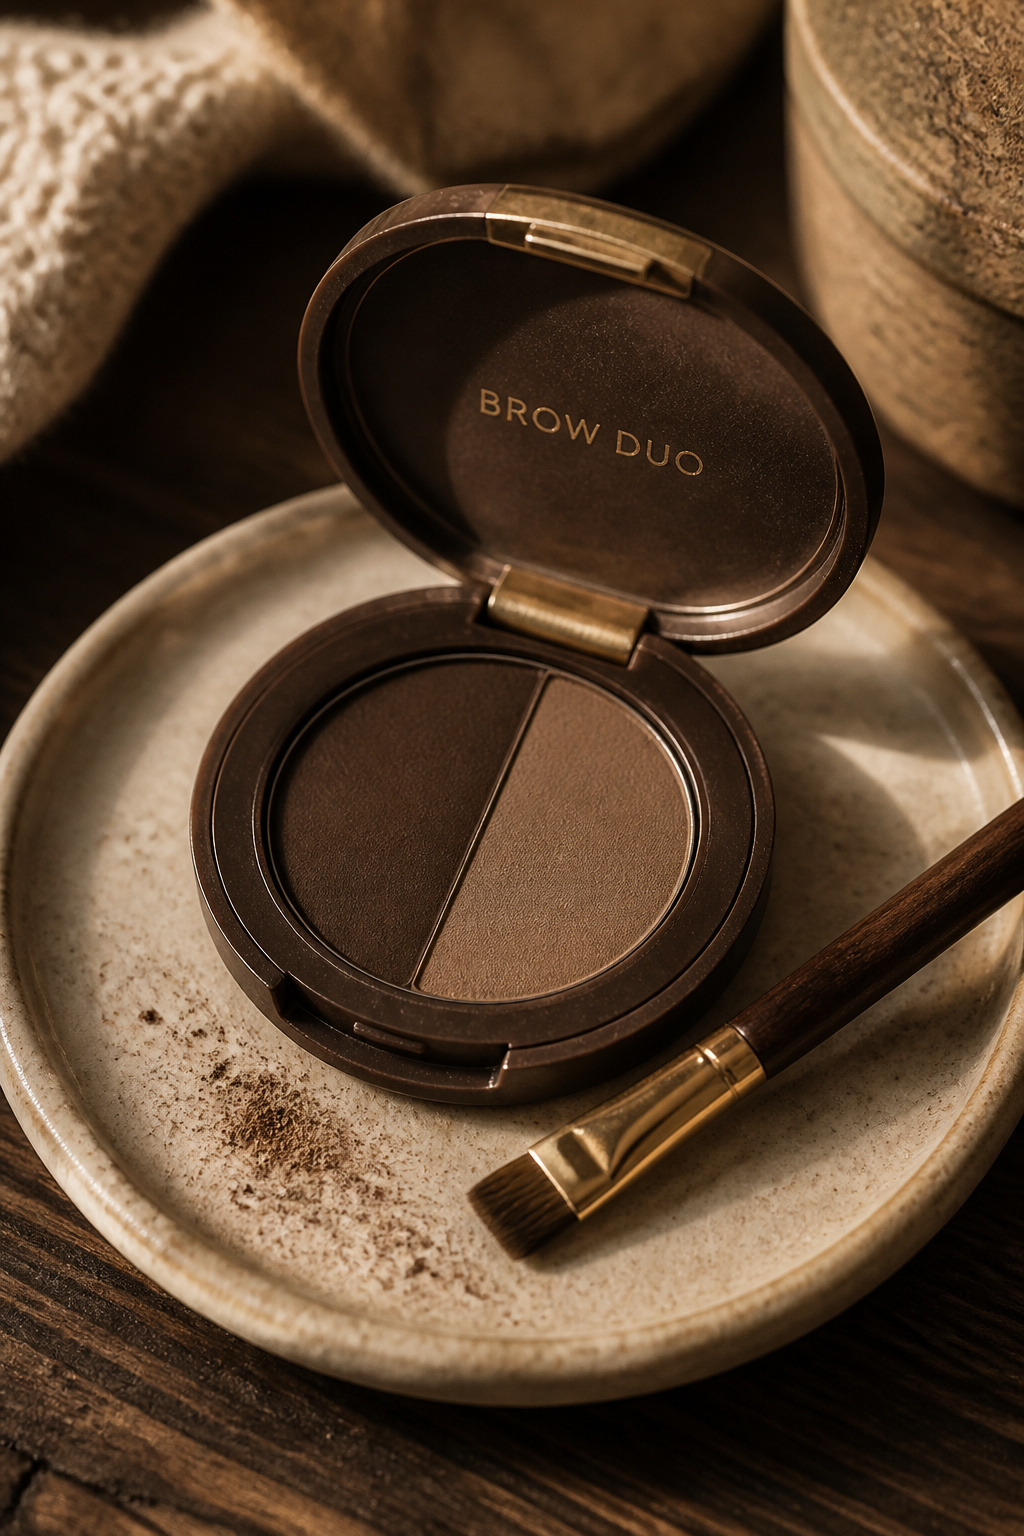

If pencils read too sharp, powders give a soft shadow that reads natural on camera. I use a dense angled brush to press powder into sparse areas. A powder duo lasted me months. Try Brow powder duo warm taupe around $9 to $22. Practical tip: set with clear gel to avoid midday smudging.
Shop this idea:
6. Pomade For Dense, Defined Shapes
Style: Elevated | Budget: $10 to $30 | Best For: Thick or sparse brows needing hold
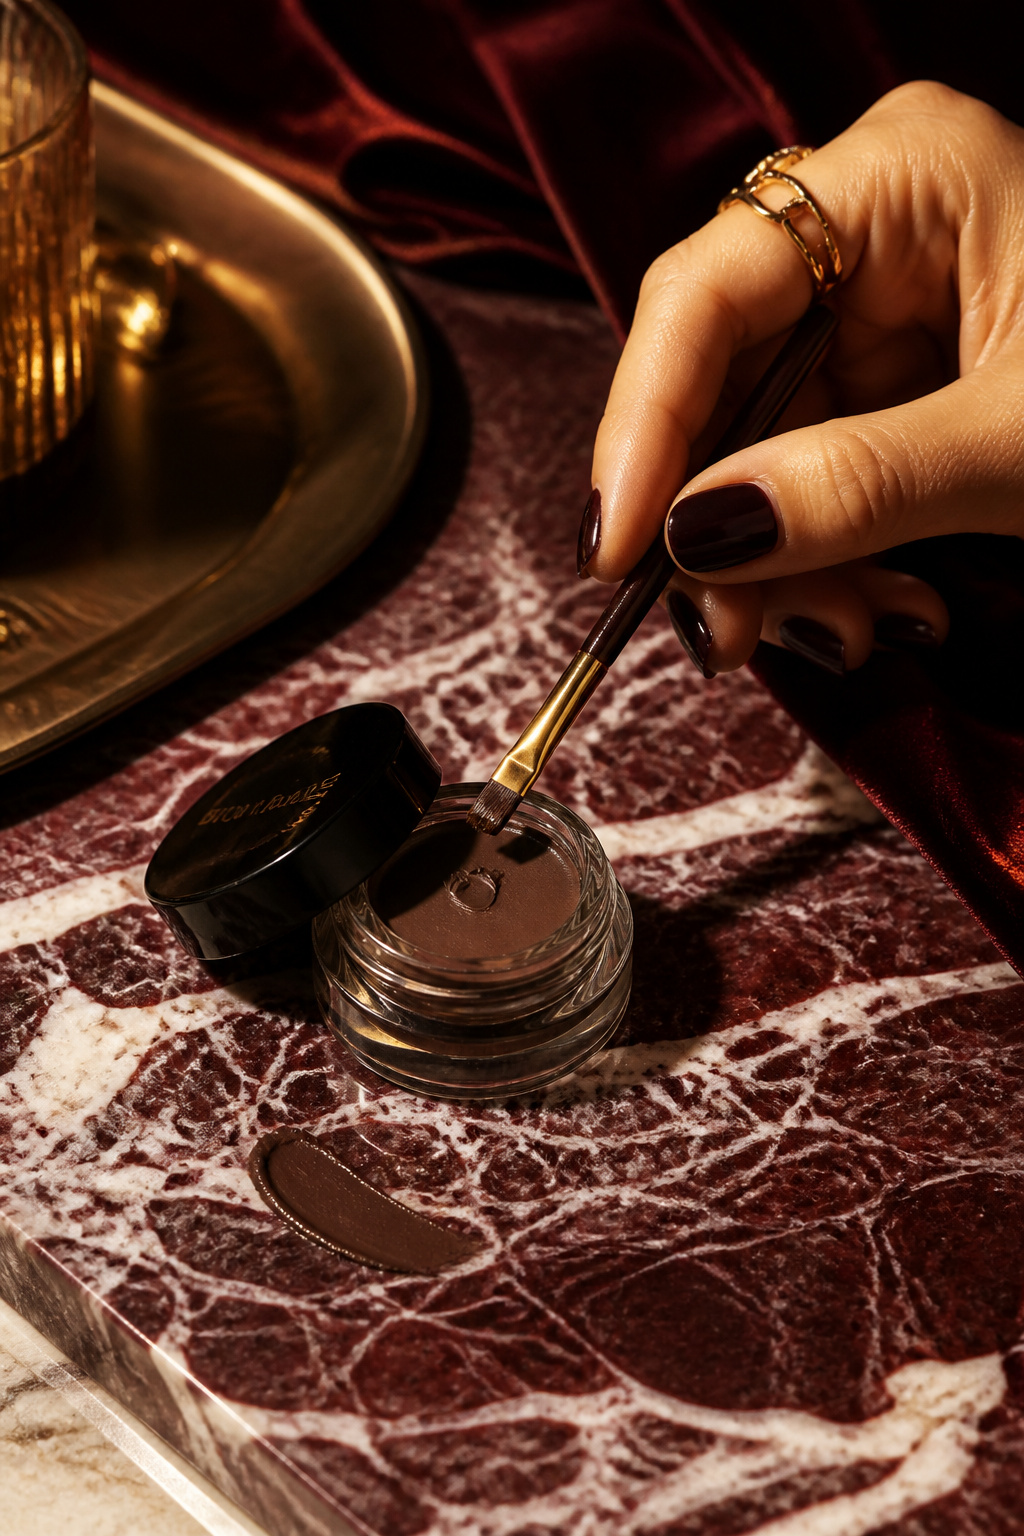

Pomade can create structure and hold. The trick is to use a light hand and tiny strokes at the front. I overdid pomade once and my brows looked like stage makeup. Try Brow pomade medium brown approx $12 to $28. Tip: thin out with a dry spoolie before setting.
Shop this idea:
7. Brow Gel For Laminated Effect
Style: Clean Girl | Budget: Under $18 | Best For: Short hair, boyish brows


A tinted gel lifts and sets hairs upright like a lamination without the salon. My laminated-loving friend taught me this; it lasted a whole flight. Use light upward strokes and brush back through. Try Tinted brow gel dark brown around $8 to $18. Ugly truth: soap brows can flake and feel stiff on humid days.
Shop this idea:
8. Conceal Around Brows For A Sharp Finish
Style: Polished | Budget: Under $20 | Best For: Photogenic brows / events


Cleaning up with a thin line of concealer under the arch makes brows look crisp. Use a small flat brush and blend downwards. I used this trick before a wedding and the photos were my favorite. Try Mini concealer brush and Cream concealer light around $6 to $20 each. Tip: warm the concealer on the back of your hand first.
Shop this idea:
9. Try Brow Tinting Before Microblading
Style: Natural | Budget: $15 to $40 | Best For: Even color without commitment
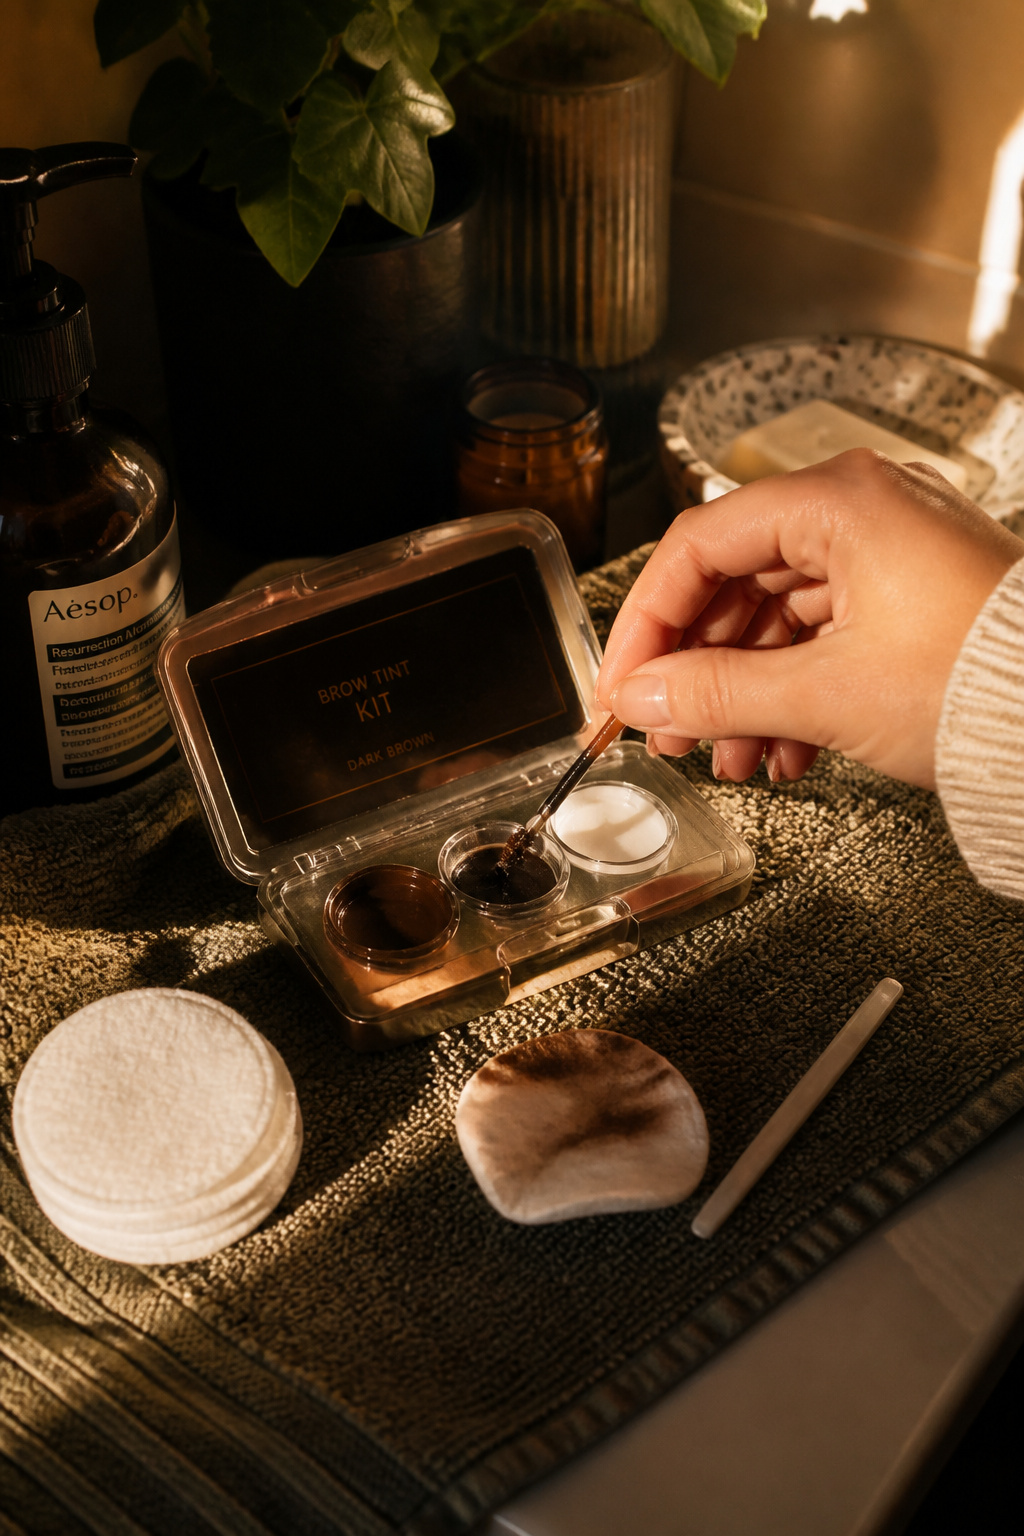

If you want color without semi-permanent ink, try tinting. I did a tint before considering microblading and learned whether I liked bolder brows. A basic at-home kit runs less than a salon touch-up. Try Brow tint kit dark brown around $15 to $30. Dermatologists warn microblading can be a bigger commitment if your brows change later (American Academy of Dermatology).
Shop this idea:
10. Trim, Don’t Overpluck
Style: Classic | Budget: Under $8 | Best For: Thick or fluffy brow hair


Cutting long hairs instead of plucking keeps dimension. Brush hairs up, trim the tips with small scissors, then soften with a spoolie. I ruined one brow by trimming unevenly and learned to go slow. Try Precision brow scissors around $6 to $12. Tip: always trim in bright light.
Shop this idea:
11. Use a Clear Gel To Lock Shape
Style: Everyday | Budget: Under $10 | Best For: Hold without makeup


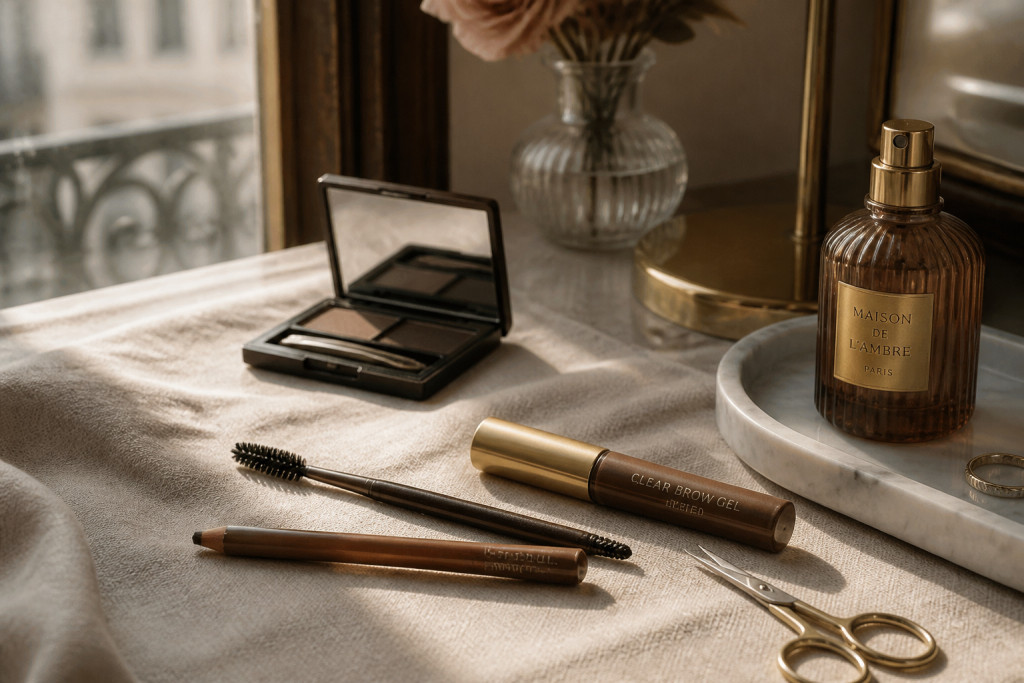
A clear gel is the most forgiving product. On busy mornings, I swipe gel and call it done. It keeps the front feathered and the tail in place. Try Clear brow gel around $6 to $14. Practical tip: run a dry spoolie over excess for a softer finish.
Shop this idea:
12. Learn The Faux-Hair Technique With A Pencil
Style: Natural | Budget: Under $15 | Best For: Beginners with small gaps
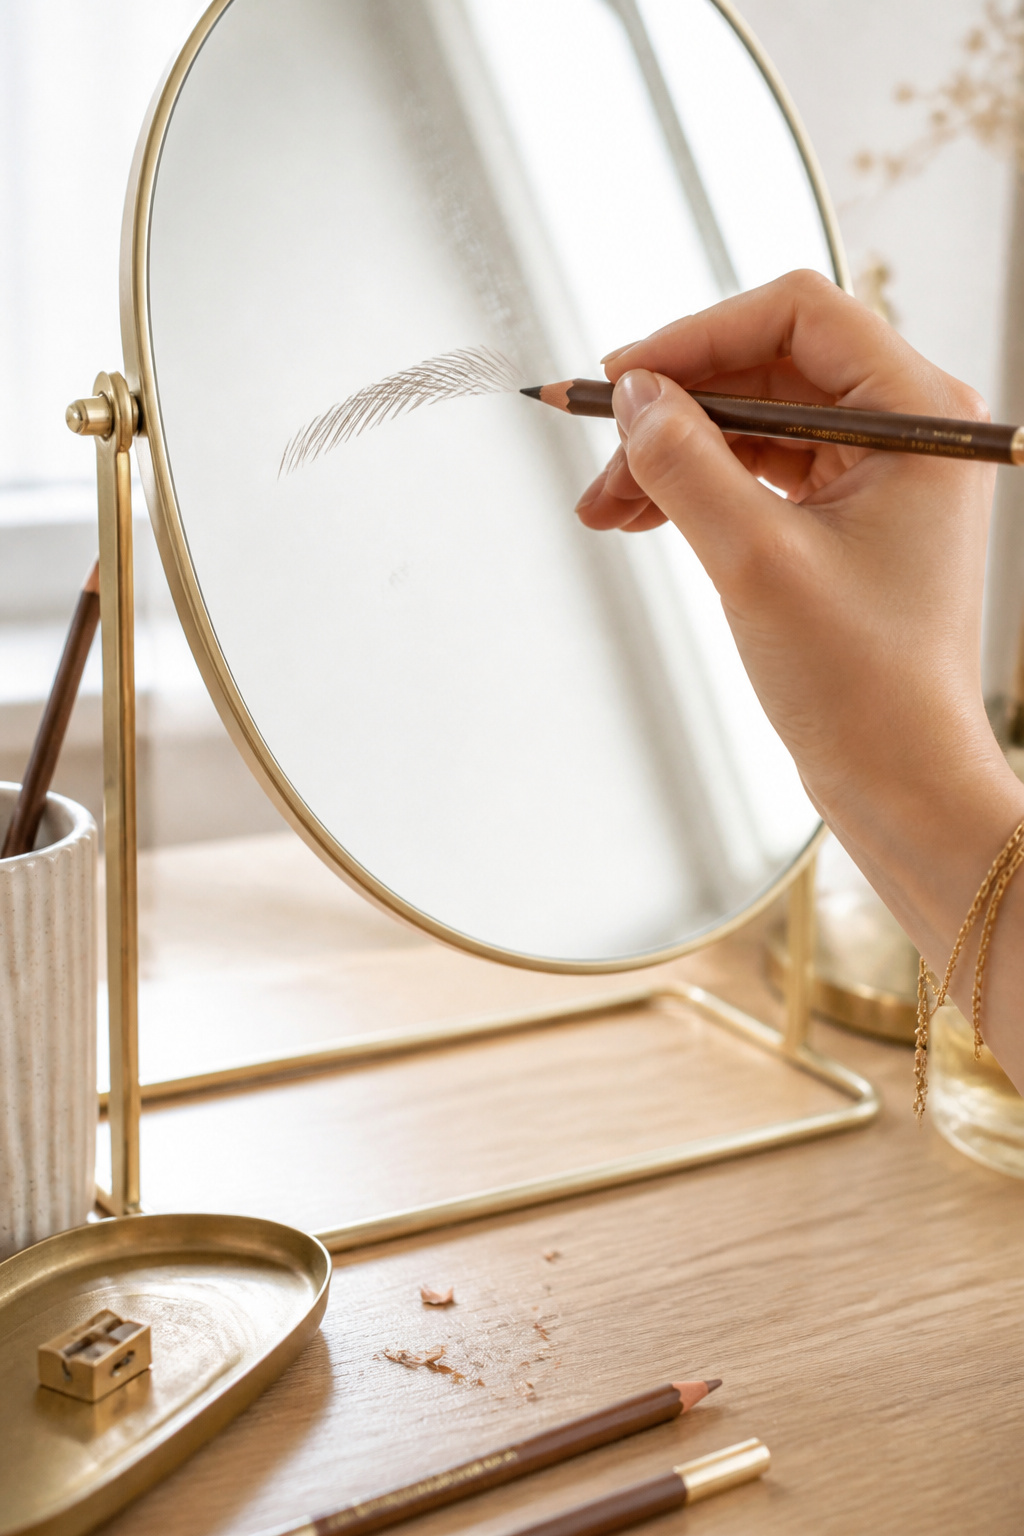

Faux-hair strokes at the front of the brow look less painted than block filling. Use a sharp pencil for crisp micro strokes and then smudge slightly. I practiced on my hand before my first date and felt more confident. Try Ultra fine brow pencil taupe around $7 to $16. Tip: keep strokes vertical at the front.
Shop this idea:
13. Don’t Rely On Stencils Alone
Style: Curated | Budget: Under $10 | Best For: Shape practice, not final look
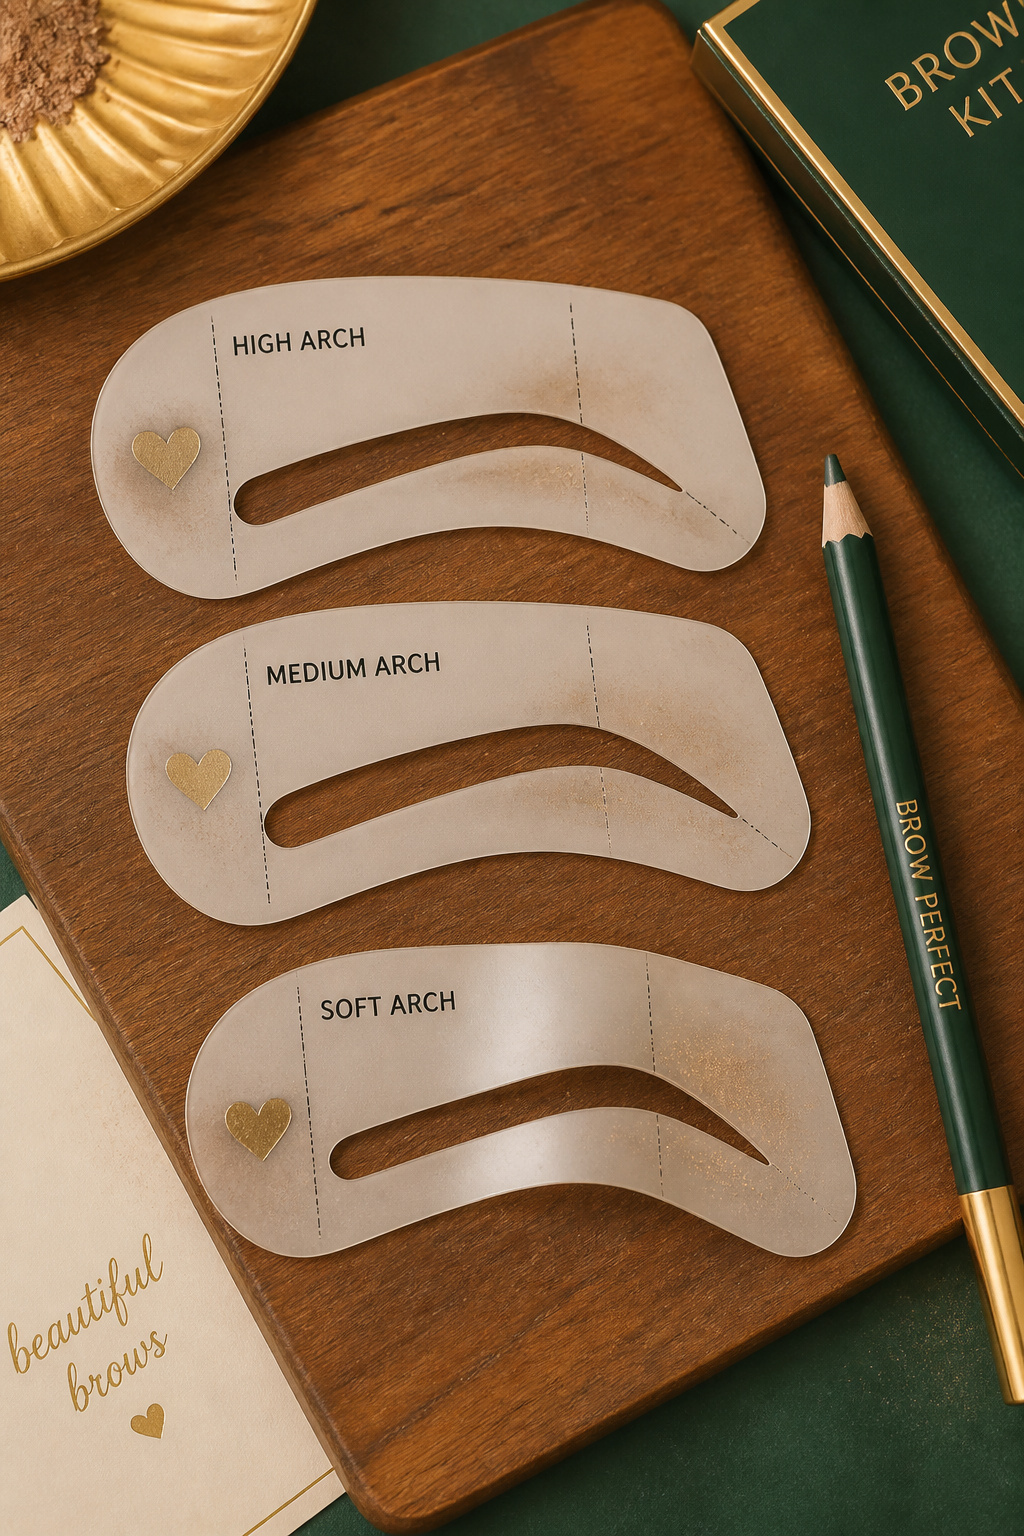

Stencils can teach symmetry but they flatten natural brows. I used a stencil for a job interview and my brows read identical and waxy. Use stencils to practice shape, then freehand with light strokes. Try Brow stencil set universal around $6 to $12. Tip: pick the stencil closest to your natural arch, not the trendiest one.
Shop this idea:
14. Pick Waterproof Formulas For Long Days
Style: Practical | Budget: Under $18 | Best For: Humidity / long wear


If you sweat or cry at weddings, choose a smudge-resistant formula. I learned this at a summer outdoor ceremony. Waterproof products stay put and still blend if you set them right. Try Waterproof brow pen brown around $10 to $18. Tip: use oil-free makeup remover at night to avoid tugging.
Shop this idea:
15. Use A Light Hand With Tinting Kits
Style: Low Maintenance | Budget: $12 to $40 | Best For: First-timers avoiding over-commitment
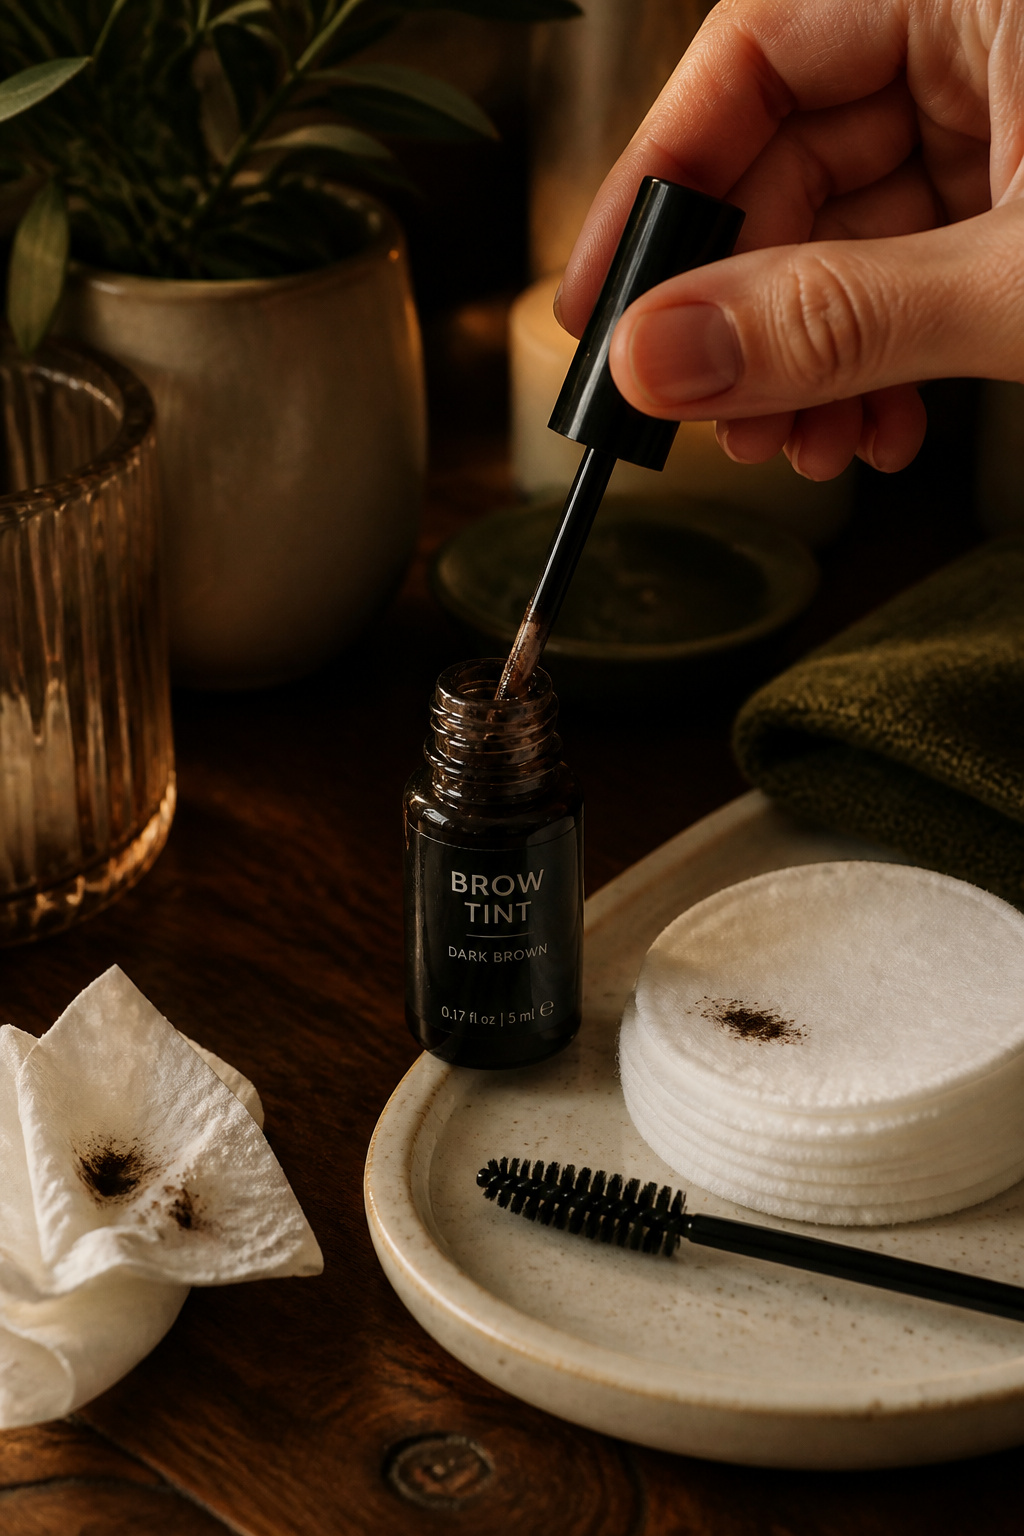

Begin with the shortest recommended time when tinting at home. I once left a diluted tint on too long and walked out with brows three shades deeper. Start subtle so you can add depth at a later touch-up. Try At-home brow tint kit light brown around $12 to $30. Tip: always do a patch test.
Shop this idea:
16. Try A Brow Serum For Long-Term Recovery
Style: Restorative | Budget: $15 to $60 | Best For: Regrowth after overplucking


After overplucking, a targeted serum can encourage thicker-looking brows over months. Consistency matters. I started using one nightly and noticed softer baby hairs after three months. Results vary and cost varies by formula. Try Brow growth serum nightly approx $15 to $60. Tip: track progress with weekly photos.
Shop this idea:
17. Embrace Makeup-Free Brow Days
Style: Low Effort | Budget: Free to $15 | Best For: Brow health and confidence

Letting your brows breathe teaches you what they actually need. I started taking one makeup-free day per week and discovered uneven growth that guided my shaping. It also prevents product buildup and irritation. If you want a tiny boost, dab clear gel or a touch of castor oil. Try Small clear gel sample around $6 to $15.
Shop this idea:
What You'll Need to Get This Look
Face & Base Essentials
- Cream concealer light around $8 to $20
- Tinted brow gel medium brown around $8 to $18
- Mini concealer brush around $6 to $12
Eyes, Brows & Lips
- Ultra fine brow pencil taupe around $7 to $16
- Micro brow pen soft brown around $12 to $20
- Brow powder duo warm taupe around $9 to $22
Clothing Staples
- Silk headband neutral around $8 to $25
- Light linen tee white around $15 to $40
Shoes, Bags & Jewelry
- Minimal gold hoop small around $12 to $40
- Simple leather tote tan around $60 to $220
Budget Swaps
- Castor oil brow serum around $10 to $18 (dupe for pricier serums)
- Disposable applicator brushes around $6 to $12 (cheaper than salon tools)
Shopping Tips for These Looks
Buy a shade warmer, not darker: Start with a warmer pencil and test in daylight; darker shades read harsh indoors. Try Brow pencil warm taupe around $8 to $16.
Shop sale windows: Buy brow kits during Ulta or Sephora sale events in spring and fall for 20 to 25 percent off. Look for Brow kit bundles.
Thrift and layer: Pair a thrifted blazer with a polished brow for a curated look; thrift shops often have structured blazers under $25.
Dupe hack: Use castor oil or drugstore serums as a budget route before investing in $60 serums. See Castor oil brow serum.
Seasonal switch: In humid months choose waterproof gels and powders; in winter, stick to cream pomades and hydrating serums. Try Waterproof brow gel.
Professional timing: If you plan to tint or microblade, schedule appointments in the first week of a month so you can assess healing and follow-up within 4 to 6 weeks.
Frequently Asked Questions
Q: How long before brows recover from overplucking?
A: Most people see baby hairs in 4 to 6 weeks, because eyebrow hairs have a short growth phase (DermNet NZ). For thicker regrowth, expect 3 to 6 months. Try Brow growth serum nightly to support recovery.
Q: Can I tint at home safely?
A: Yes if you follow instructions and do a patch test 48 hours earlier. Start with the shortest processing time, then add time on subsequent sessions. I used At-home brow tint kit light brown.
Q: Is microblading better than tinting?
A: Microblading is semi-permanent and needs careful research; tinting is reversible and cheaper. Try tinting first to test shape and color. For a gentler option, consider Brow tint kit dark brown.
Q: How do I avoid brows looking too harsh in photos?
A: Use light strokes at the front, blend with a spoolie, and clean edges with a thin concealer line. Avoid black-brown shades. Keep a Mini spoolie brush handy.
Conclusion
Start with the smallest, cheapest change: stop tweezing and buy a spoolie. It cost me $3 and saved me from a salon rescue. One last tip, take weekly photos to track subtle regrowth and shape decisions. Which brow mistake are you most likely to stop doing this week?