






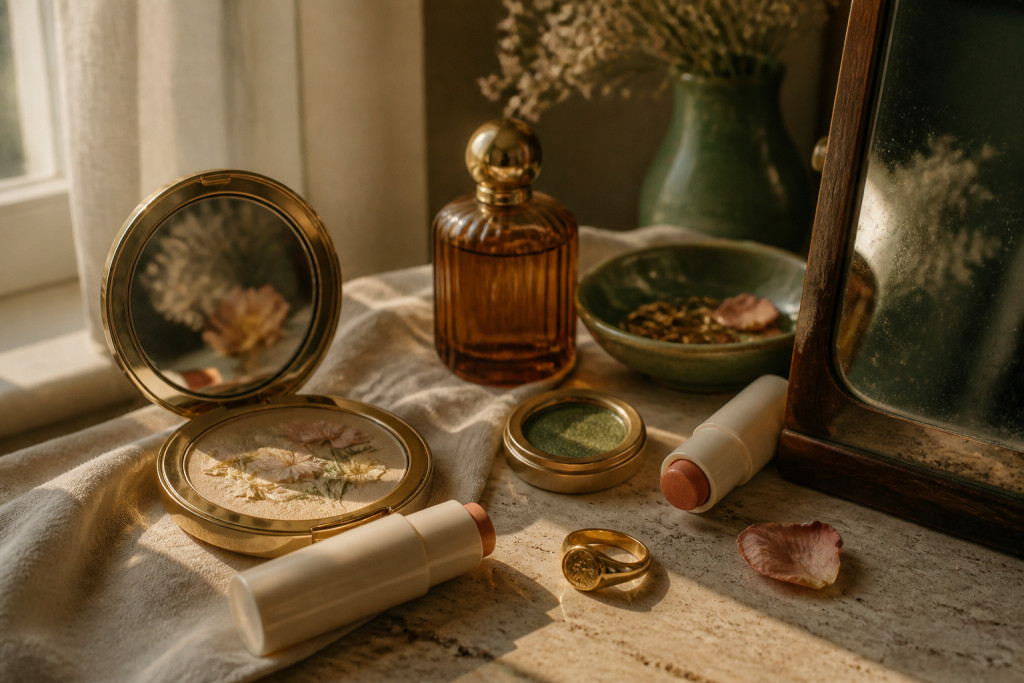

My friend asked if I could create 15 fairy makeup looks in one weekend and I laughed until I tried them on. Fairy makeup looks are easier than they seem, and this pack goes from woodland sweet to dark fae. Most looks use pieces under $30 with a few splurges around $120 for statement jewelry or specialty palettes. I tested every combo at brunch, a concert, and a midnight walk through an overgrown garden.
I focus on tonal, layered color that works for morning coffee or an evening ritual. Most products are under $30, a couple splurges around $120 for palettes or cashmere scarves. These styles fit soft glam fans, coquette lovers, and anyone curious about moody editorial finishes. I’ve noticed Pinterest Predicts calls fantasy-core a growing search term for 2025, and retailers are stocking more cream textures.
1. Dewy Moss Cheek and Soft Hazel Eye
Style: Woodland Sweet | Budget: Under $30 | Best For: Neutral to warm skin tones
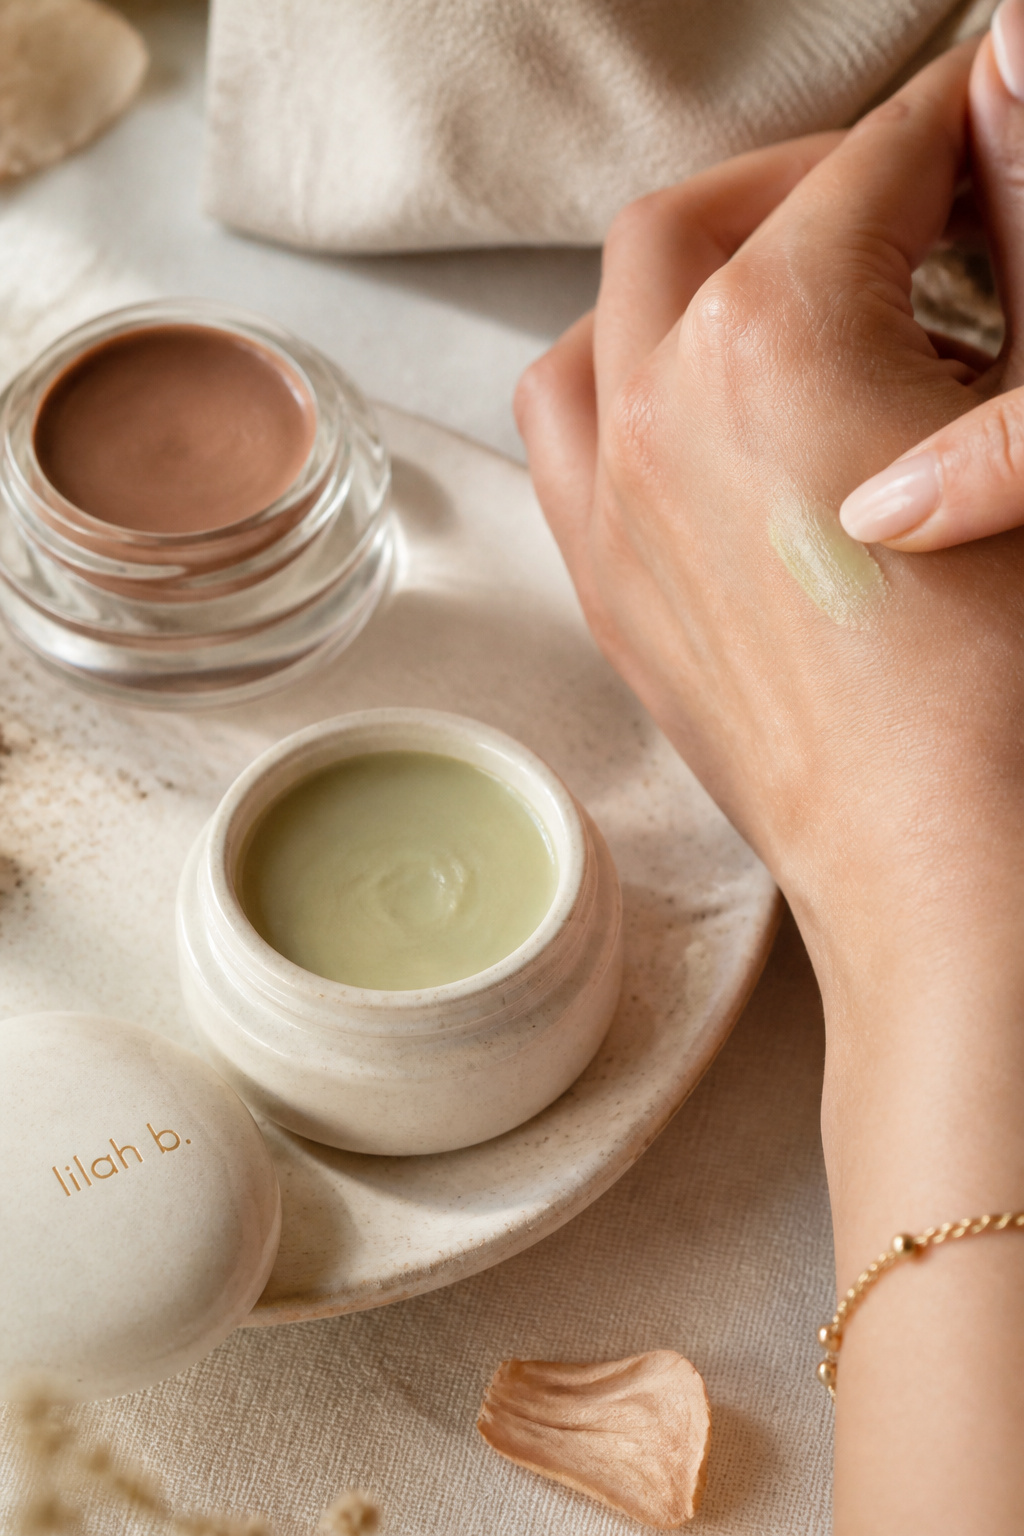

Result first. A soft moss-toned cream highlighter gives cheeks an organic dew without glitter. The trick is sheering with fingertips so the green reads glowy not weird. I bought a similar cream pot at Ulta during a spring sale for about $16 to $22 and got a compliment from a stranger in line. Avoid heavy powder on top, it kills the luminosity.
Shop this idea:
2. Petal Stain Lips With Pressed Floral Accent
Style: Coquette | Budget: Under $20 | Best For: Fair to medium tones


Tiny result. A sheer petal stain topped with a pressed floral decal makes lips look fresh and lived-in. My trick is to blot the stain after application so the floral sticker sits flat and lasts longer. I grabbed a tinted lip oil for $12 to $18 as a cheap experiment and wore it to brunch; my friend asked where I got the sticker. Ugly truth 1: floral stickers peel if you lick your lips a lot.
Shop this idea:
3. Tiny Gold Leaf Inner Corner Shine
Style: Woodland Chic | Budget: Under $15 | Best For: Hooded to almond eyes


A little gold leaf in the inner corner brightens even tired eyes. Use lash glue sparingly and press with a tweezer for precision. I tested this at a concert and the gold held through sweat and fog but peeled if I went heavy with setting spray. Price reference: small packet of leaf runs around $8 to $14. Ugly truth 2: if you overglue, it looks messy, not magical.
Shop this idea:
4. Soft Berry Smudged Liner
Style: Soft Grunge | Budget: Under $20 | Best For: Blue and green eyes


Smudged berry liner replaces smoky black and lifts green or blue eyes. Use a creamy pencil and blend with a stiff brush into the lash line. I ruined a look once by using a dry eyeliner; it dragged and flaked. I spent about $10 to $16 on a dream pencil at a drugstore counter. Tip: set with matching powder shadow to stop transfer.
Shop this idea:
5. Veiled Pearl Under-Eye Dust
Style: Ethereal Minimal | Budget: Under $25 | Best For: Mature under-eyes, hooded lids
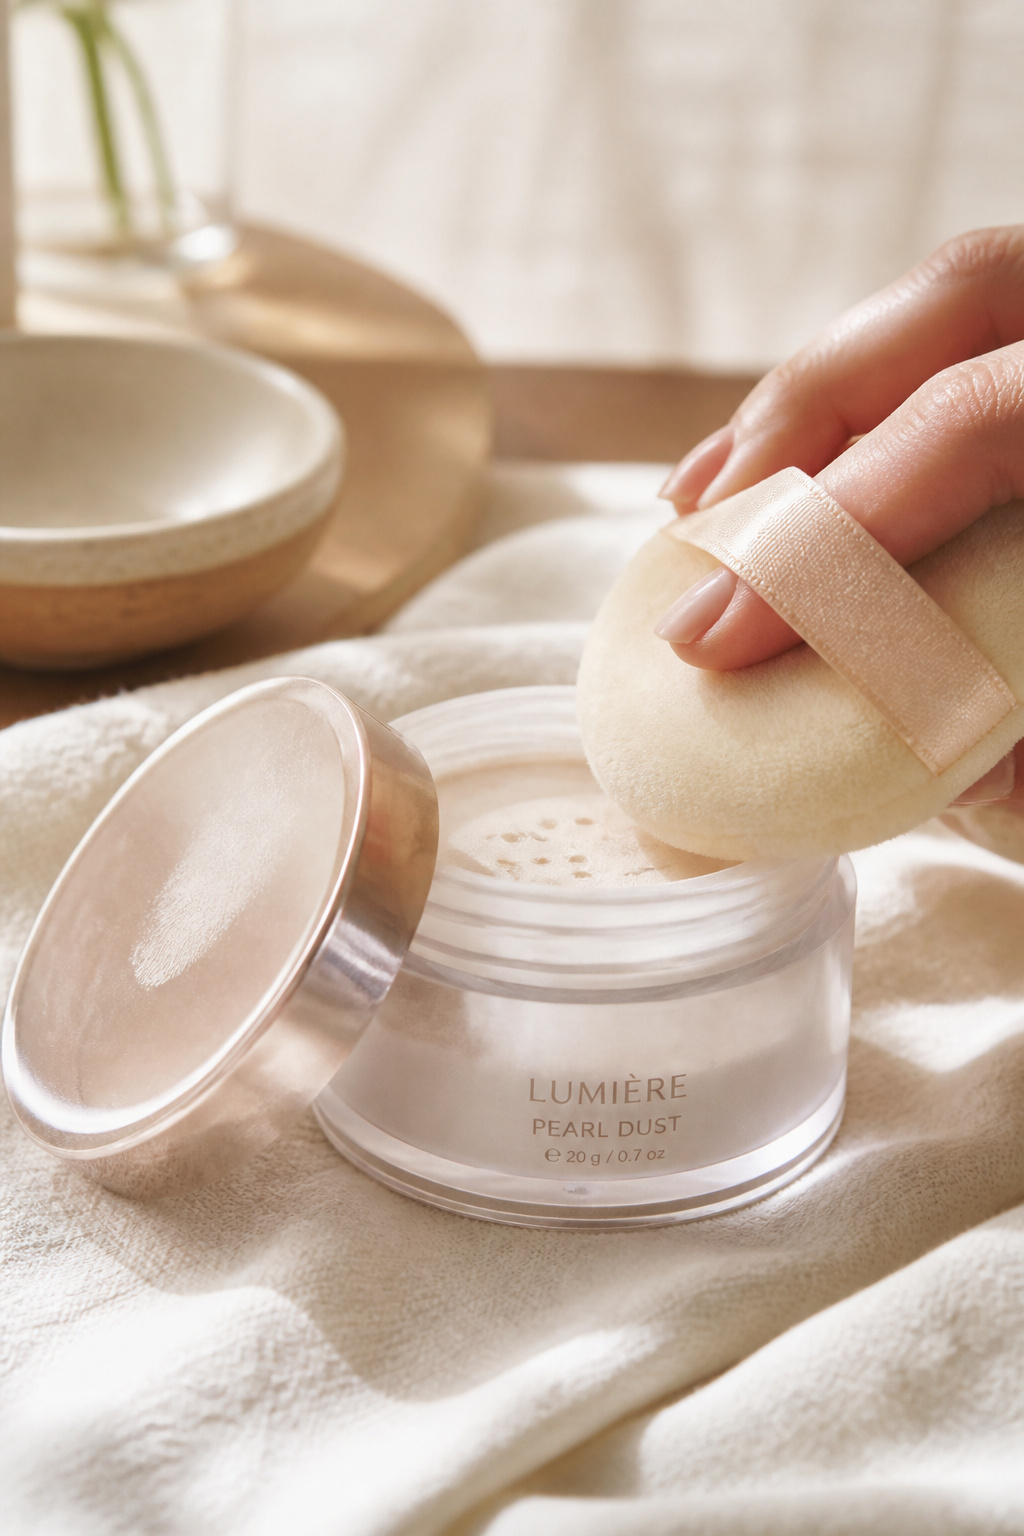

Result: a whisper of pearl dust under the eye reflects light without settling into lines. I use a tiny sponge to press and avoid fallout. Bought a travel-size jar for $14 to $20 at a boutique and it lasted months. Ugly truth 3: chunky shimmer will emphasize texture. Keep the particles ultra-fine.
Shop this idea:
6. Burnt Sienna Monochrome Cheek and Eye
Style: Tonal Warmth | Budget: Under $30 | Best For: Warm undertones
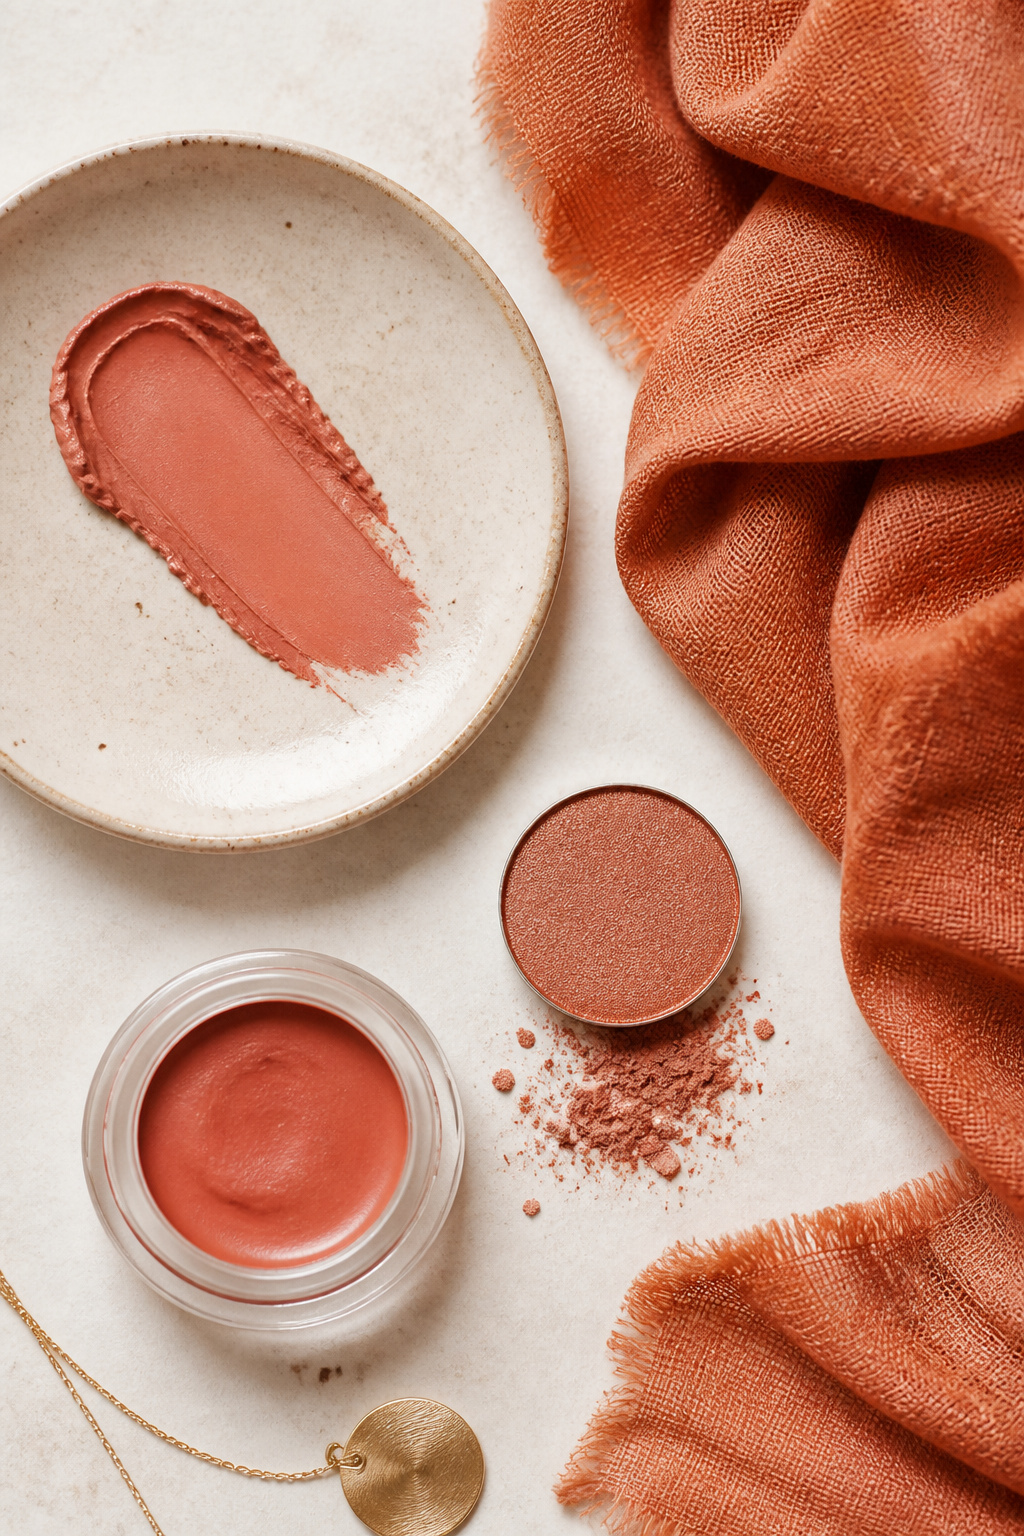

A single burnt sienna cream used on lids and cheeks makes a cohesive, put-together face in minutes. The trick is to warm the product on the back of your hand first. I used a stick I found on sale for $18 to $26 and got ready for a date in under 10 minutes. Avoid using too much near the inner eye or you will read tired.
Shop this idea:
7. Blackened Rose Lip With Gloss Halo
Style: Dark Fae Evening | Budget: Under $30 | Best For: Deeper skin tones and contrast lovers


Dark rose with a central gloss halo reads modern, not goth. Layer a deeply pigmented balm then dot high-shine gloss in the center. I once over-lined lips heavily and it looked costume. Spend $20 to $35 for a long-wear formula that does not feather. Tip: blot then re-gloss to keep the halo in place.
Shop this idea:
8. Thrifted Lace Collar and Subtle Highlight
Style: Vintage Woodland | Budget: Thrifted under $20 | Best For: Petite frames, layered looks


An old lace collar instantly reads forest-nymph without trying hard. I found one at a local thrift for $8 and stitched a tiny hook to secure it. For makeup, keep highlight soft and blend every edge. If you pair heavy highlight with busy lace it can feel overdone. Tip: tuck collar under hair to avoid slipping.
Shop this idea:
9. Forest Green Smoky with Feathered Brows
Style: Dark Fae | Budget: Under $35 | Best For: Almond eyes, strong brows
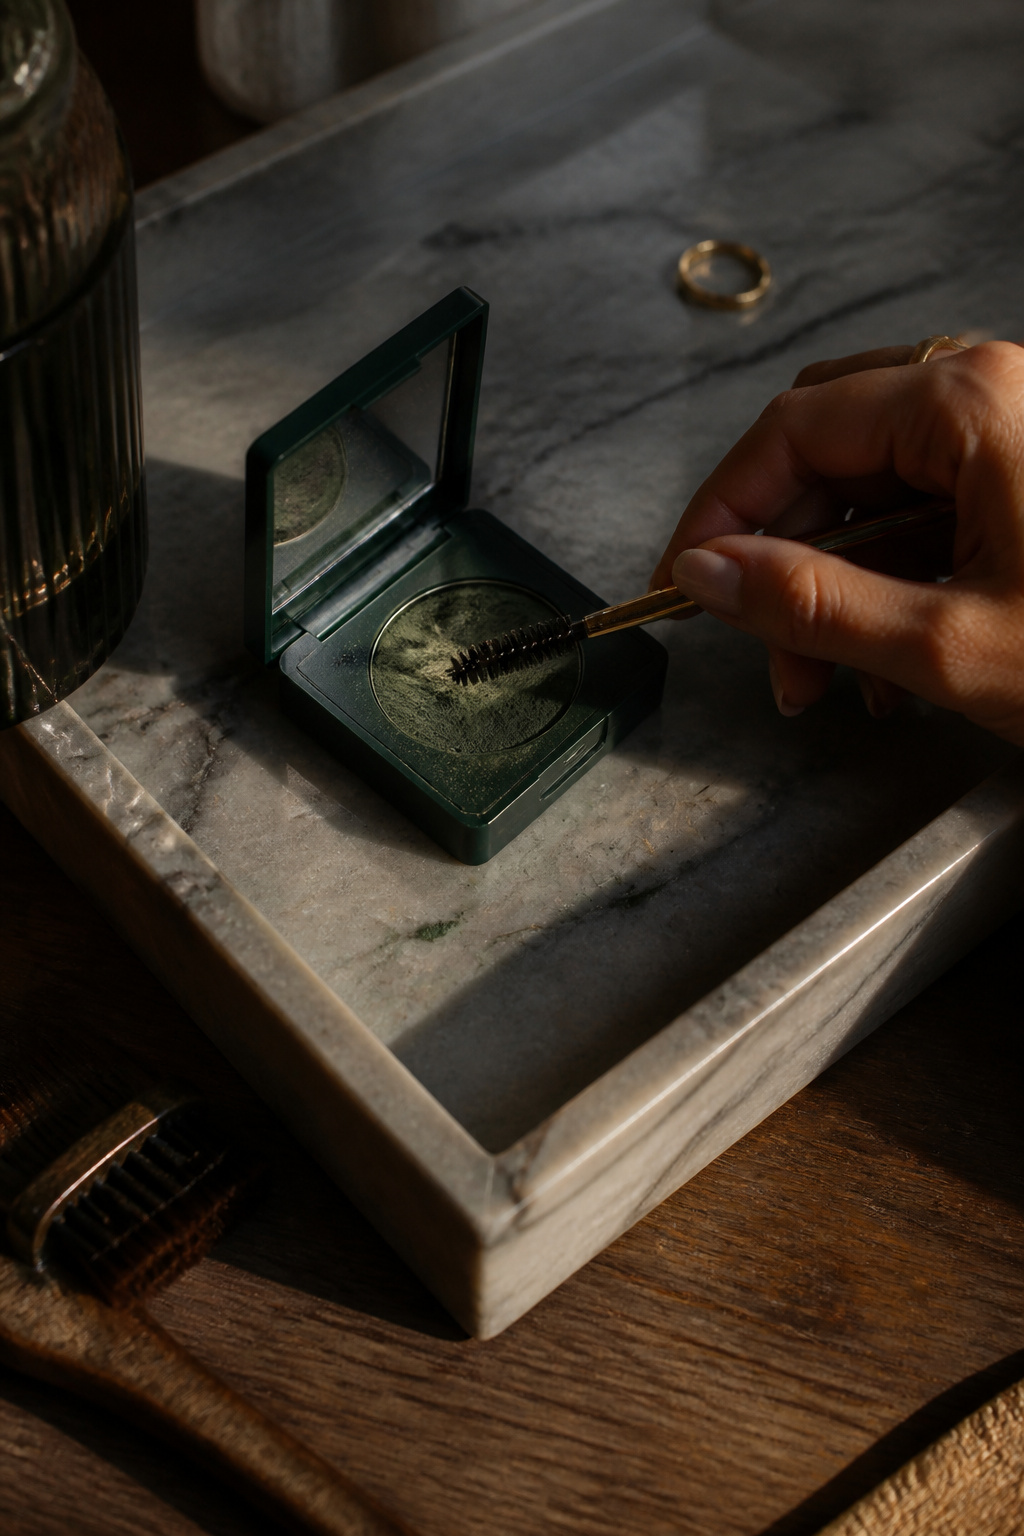

A softened forest green smoke can feel witchy without costume. Blend upwards and keep the lower lash smudged rather than winged. I used a small palette that cost about $24 to $38 and wore it to a rooftop party; strangers complimented the color choice. Practical tip: use a brow gel to contrast soft brows against the shadow. Avoid chunky glitter which ages the look.
Shop this idea:
10. Satin Scarf Hair Ribbon and Dewy Cheekbones
Style: Soft Romantic | Budget: Under $30 | Best For: Long hair, fine hair


A silk scarf gives a fairy feel and protects hair while showing off dewy cheekbones. I tie mine low and let tendrils frame the face; people asked if I had a new haircut. Buy a 70 by 70 cm scarf for $12 to $28. Tip: spritz with a small amount of texture spray to keep ribbon from sliding. Ugly truth 4: cheap satin knots can slip all night.
Shop this idea:
11. Silver Leaf Tear Dot Accents
Style: Avant Fae | Budget: Under $20 | Best For: Editorial shoots, festival looks


Little silver tear dots under the eye read modern and editorial. Use cosmetic adhesive and a fine brush to dot. I tried this at a photoshoot and had to remove a few with micellar water after the adhesive held too well. Cost is about $9 to $16 for a small pack. Tip: do one dot first and live with it before committing to a line.
Shop this idea:
12. Golden Brown Glossed Lid
Style: Warm Glow | Budget: Under $25 | Best For: Olive to deep skin tones
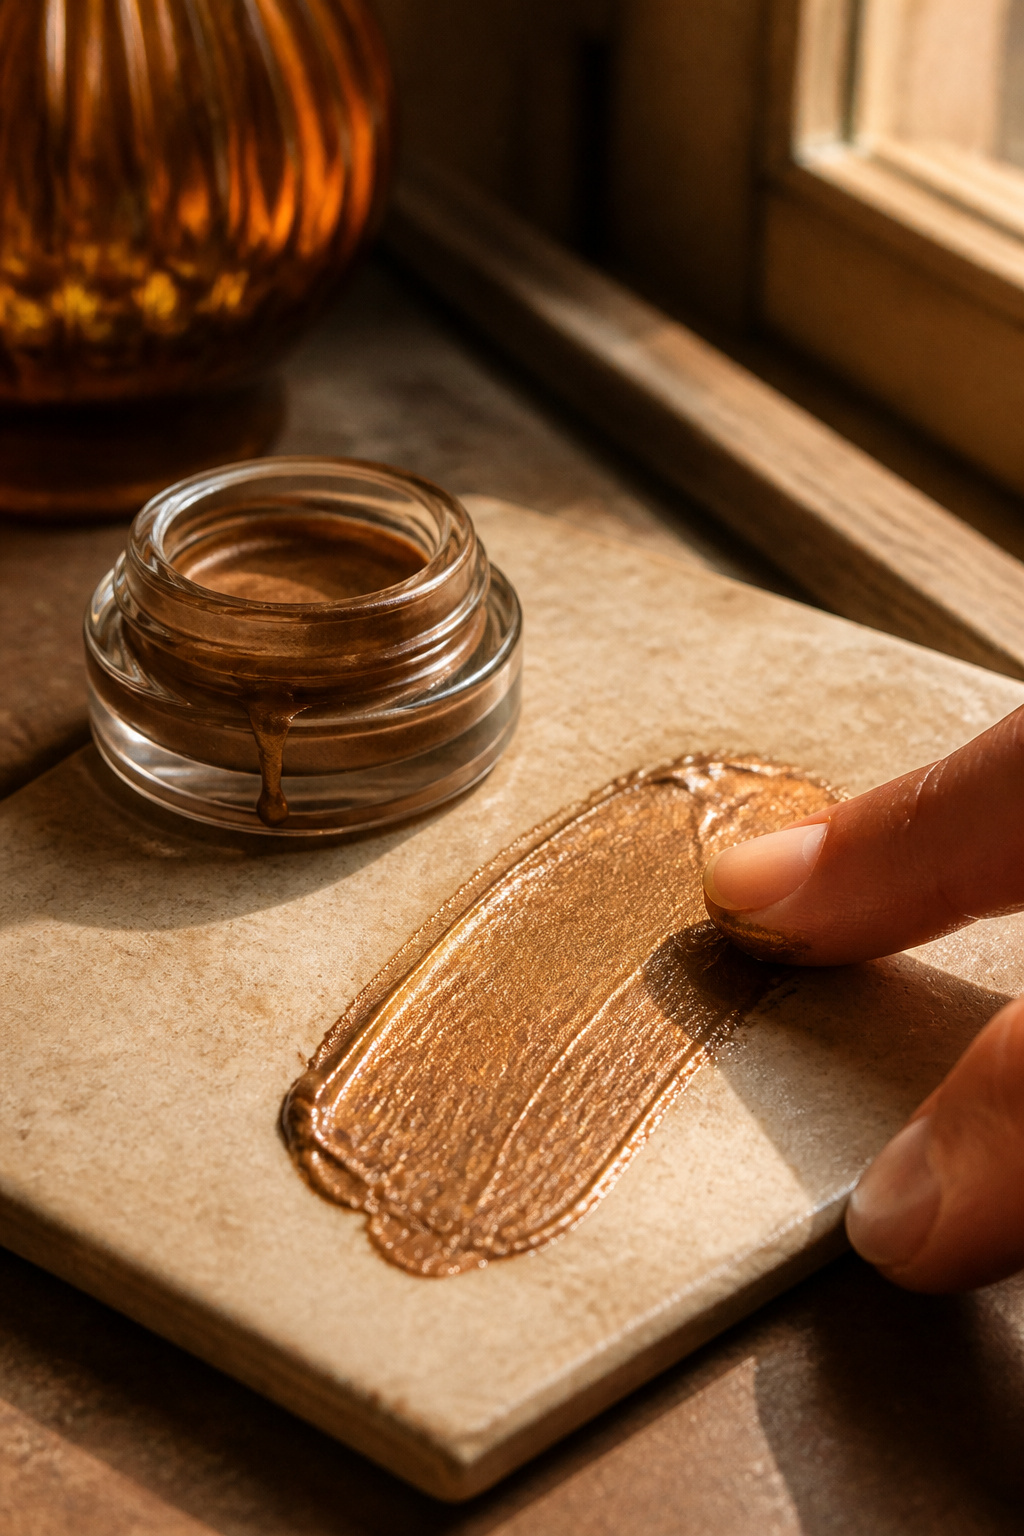

A golden-brown glossed lid looks expensive with minimal effort. Apply a cream shadow base then tap a gloss centrally. I bought a glossy shadow pot for about $18 to $30 and it survived a humid evening. Tip: blot excess oil from lids first to avoid creasing. This look works best with minimal lower-lash makeup to keep the focus up top.
Shop this idea:
13. Raw Silk Capelet and Smoked Olive Liner
Style: Tailored Fae | Budget: Splurge $80 to $120 | Best For: Structured silhouettes, tall frames
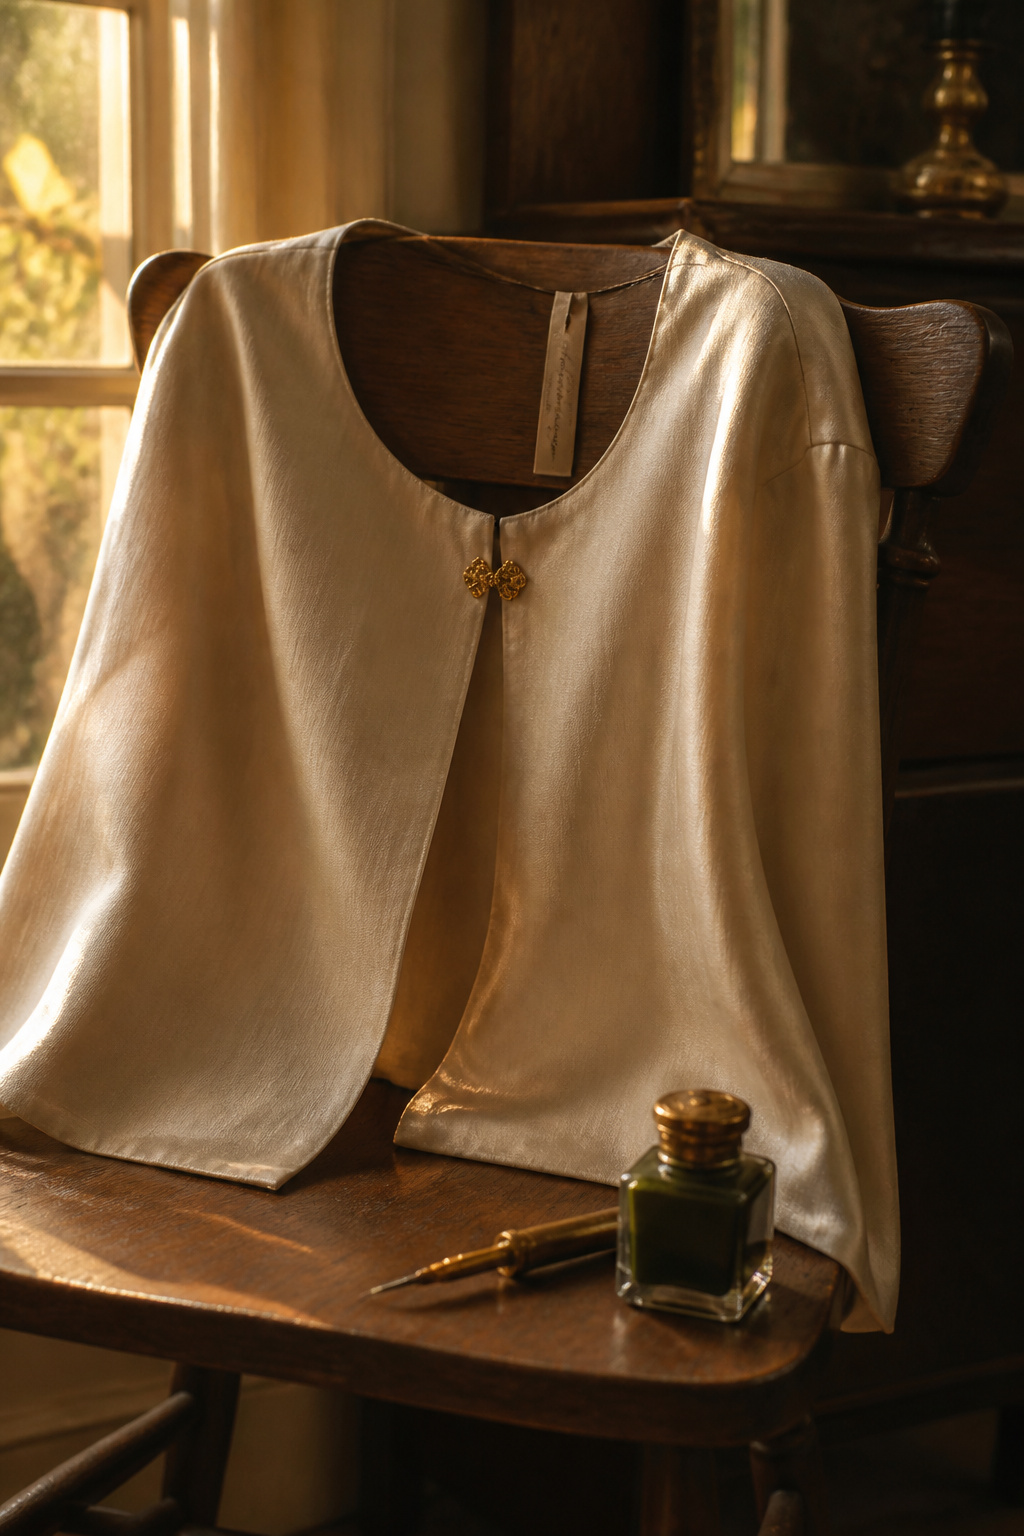

A raw silk capelet elevates a makeup look to costume-level polish. Pair with an olive smoked liner to keep tones cohesive. I invested in a boutique capelet for $95 to $120 and it became my go-to for evening shows. Practical tip: tailor the shoulder seam for your frame or it will swallow you. For makeup, smudge liner with a tiny brush for softness.
Shop this idea:
14. Chalky Pastel Brows with Glossed Roots
Style: Playful Fae | Budget: Under $30 | Best For: Short cuts, bold color lovers
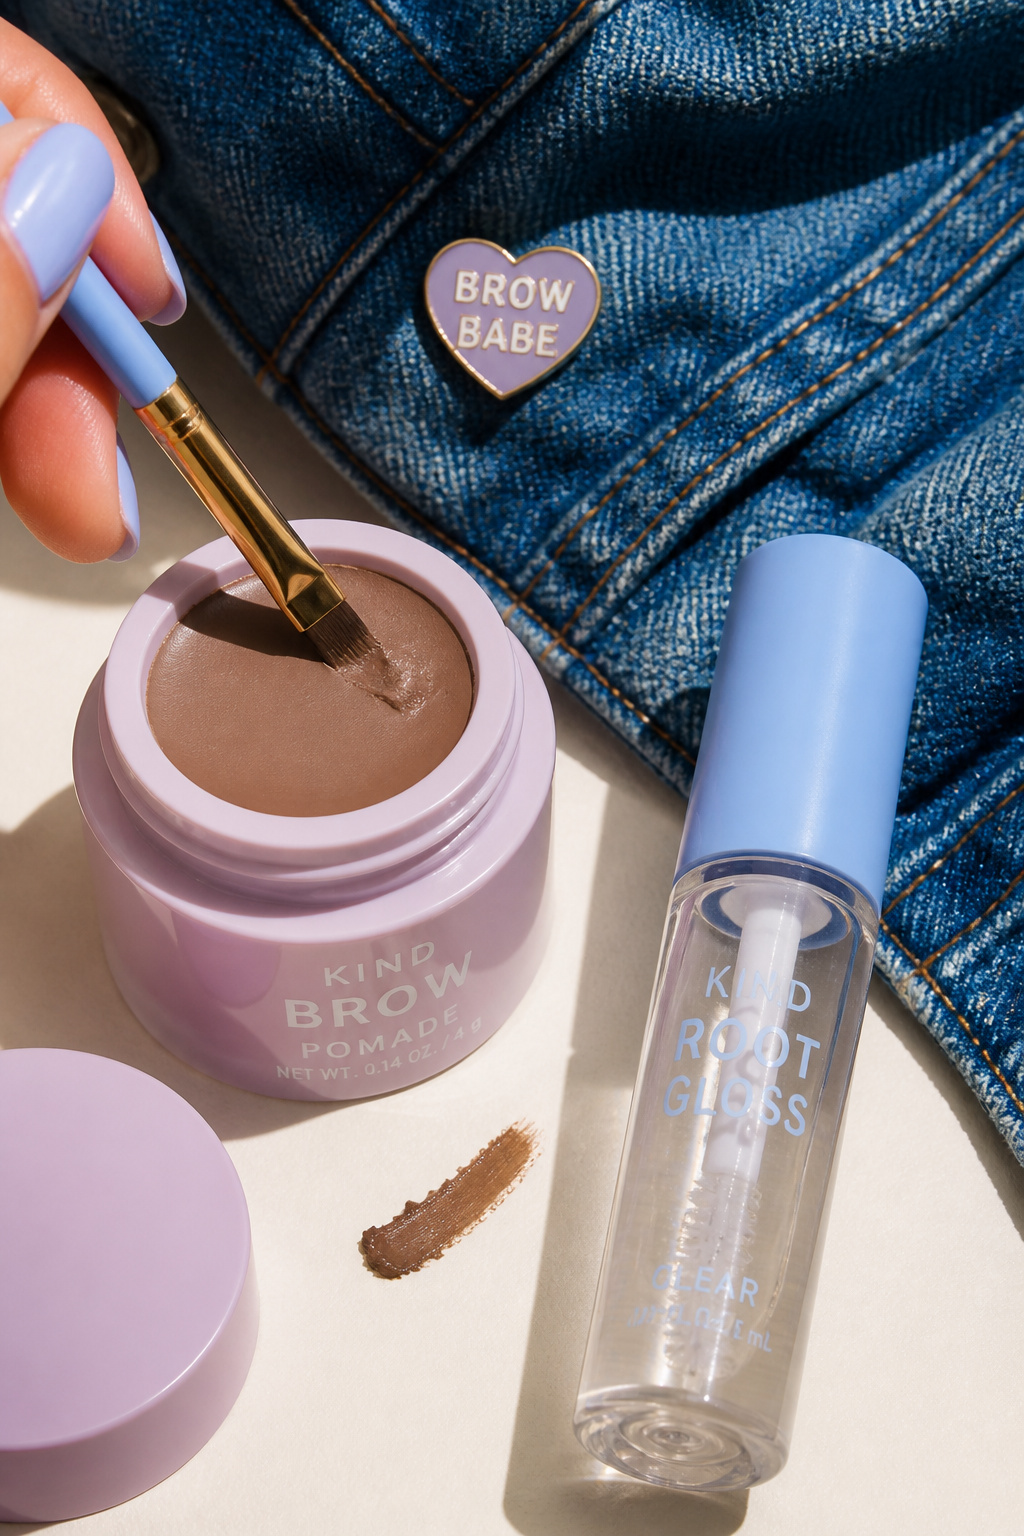

Pastel chalked brows read editorial, not juvenile when balanced with glossy, natural roots. Use a lightweight pomade and blend upward. I tried lilac brows for a weekend and learned you must commit to maintenance, it faded unevenly in three washes. Budget about $12 to $20 for quality pomade. Tip: pair with neutral lashes to avoid a cartoon effect.
Shop this idea:
15. Night Garden Eye with Wet-Leaf Sheen
Style: Dark Fae Glam | Budget: Under $35 | Best For: Evening, photos
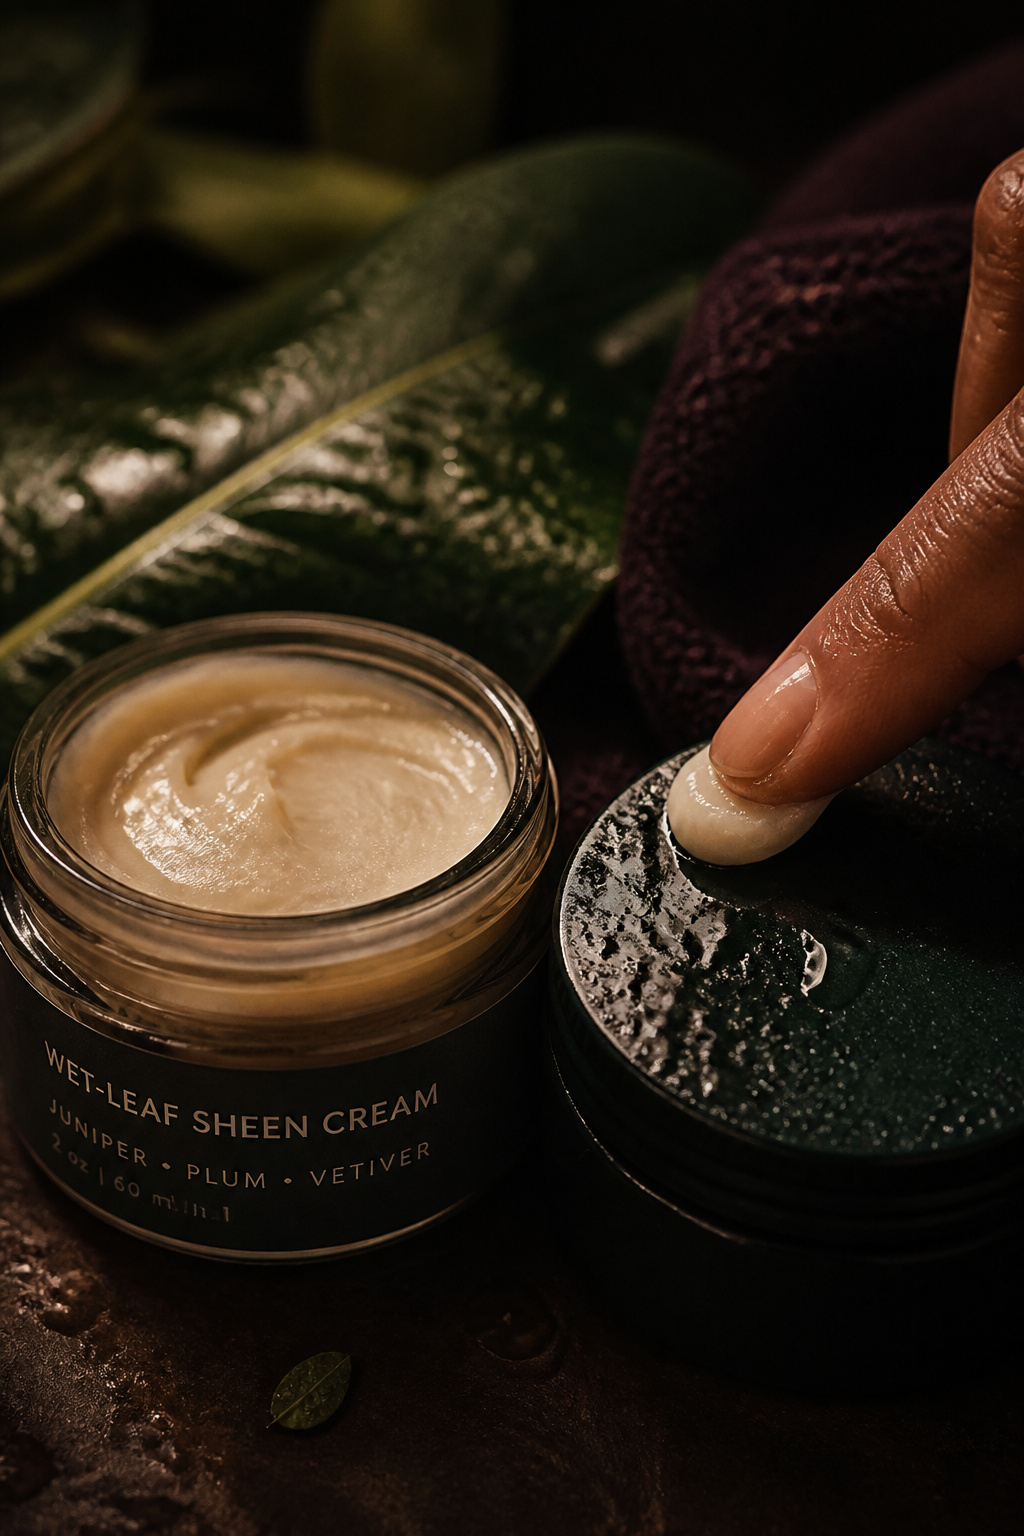

Think glossy, shadowed, and slightly dangerous. A wet-leaf sheen across a deep garden shadow creates light-catching depth. I use a tiny amount pressed with my ring finger and it lasts through a night of dancing if sealed lightly. I spent $22 to $34 on my favorite jar. Tip: avoid powder under the gloss area or it will flake. Perfect for editorial photos and bold nights.
Shop this idea:
What You'll Need to Get This Look
Face & Base Essentials
- Cream blush stick in warm peach around $14 to $24
- Translucent pearl dust around $12 to $20
- Tinted lip oil rosy pink around $8 to $16
Eyes, Brows & Lips
- Forest green eyeshadow pan around $10 to $28
- Berry eyeliner pencil around $8 to $16
- Clear brow gel around $7 to $14
Clothing Staples
- Satin hair scarf 70×70 around $12 to $28
- Raw silk capelet small approx $80 to $120
Shoes, Bags & Jewelry
- Gold hoop earrings medium around $18 to $45
- Leather crossbody tan around $40 to $150
Budget Swaps
- Cream dupes palette travel around $8 to $18
- Thrift shop scarf find similar at local thrift under $20
Shopping Tips for These Looks
Buy seasonal cream formulas: Cream textures work better in cool months; try a cream highlighter for fall and a gel for summer. See cream highlighter options here.
Shop sales windows: Look for Ulta 21 Days of Beauty and Amazon Prime Day for palettes under $25. I saved 30 percent on an olive palette during Prime Day.
Mix thrift plus new: Use a thrifted collar or scarf as the statement and buy a new cream product for face texture. Try thrift alternatives here.
Seasonal trend nudge: Pinterest Predicts 2025 flagged fantasy-core and nostalgia looks, so pick one bold detail per outfit and keep the rest tonal. See curated palettes here.
Test adhesive first: For leaf or foil accents, test lash glue on the back of your hand to check removal. Small adhesive packs are around $6 to $12.
Thrift repair hack: If a vintage piece needs reinforcement, bring it to a local tailor for a $10 stitch. A small repair makes a big difference.
Frequently Asked Questions
Q: How do I make cream products last all day?
A: Layer thinly, set strategically with a matching translucent powder, and use a primer. For cream blush, a small amount spread on warm skin lasts better with translucent setting powder.
Q: Are these looks wearable for mature skin?
A: Yes. Favor ultra-fine pearl highlighters and cream textures applied with a sponge. Try translucent pearl dust to avoid emphasizing lines.
Q: Can I DIY metallic leaf at home?
A: You can, but use cosmetic-grade leaf and skin-safe adhesive. Small kits are affordable and safer than craft leaf. See gold leaf cosmetic pack.
Q: How do I stop glossy lids creasing?
A: Apply a thin cream base, blot excess oil, and use a small amount of gloss only in the center. A tiny gloss pot works best; try glossed lid topper.
Conclusion
Start with one small change, like a cream blush or a satin scarf, then add one bold element for contrast. My favorite trick is testing glows in daylight first. Which look are you trying first, woodland sweet or full dark fae?


