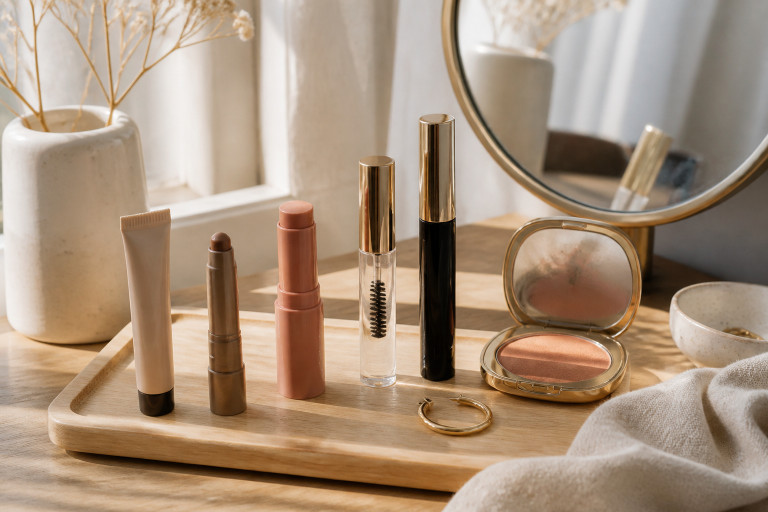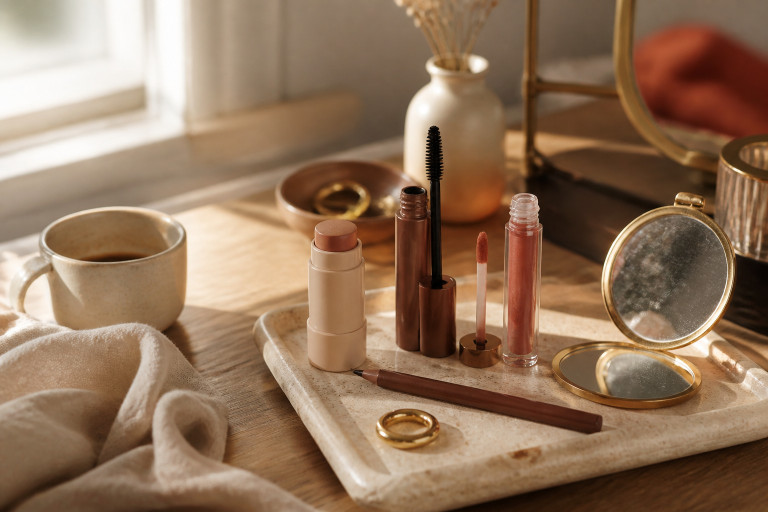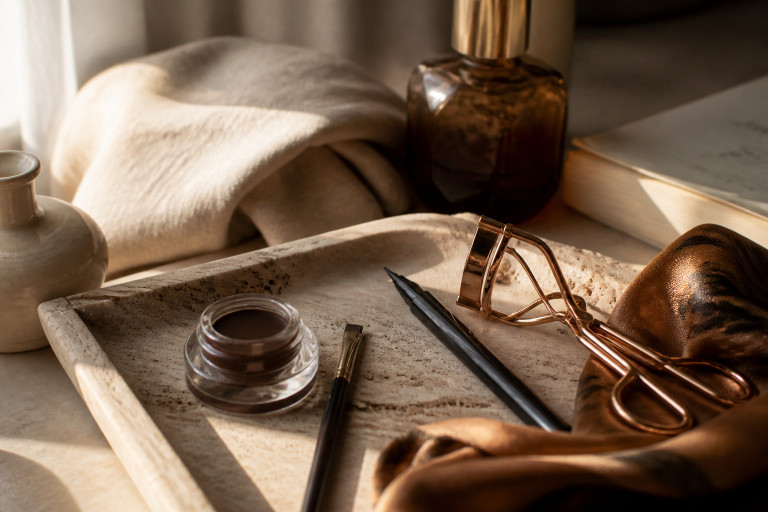
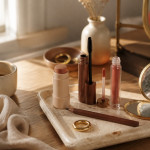

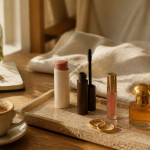
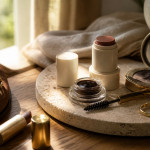

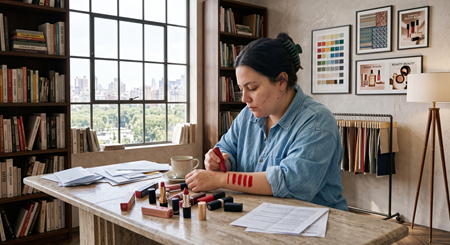
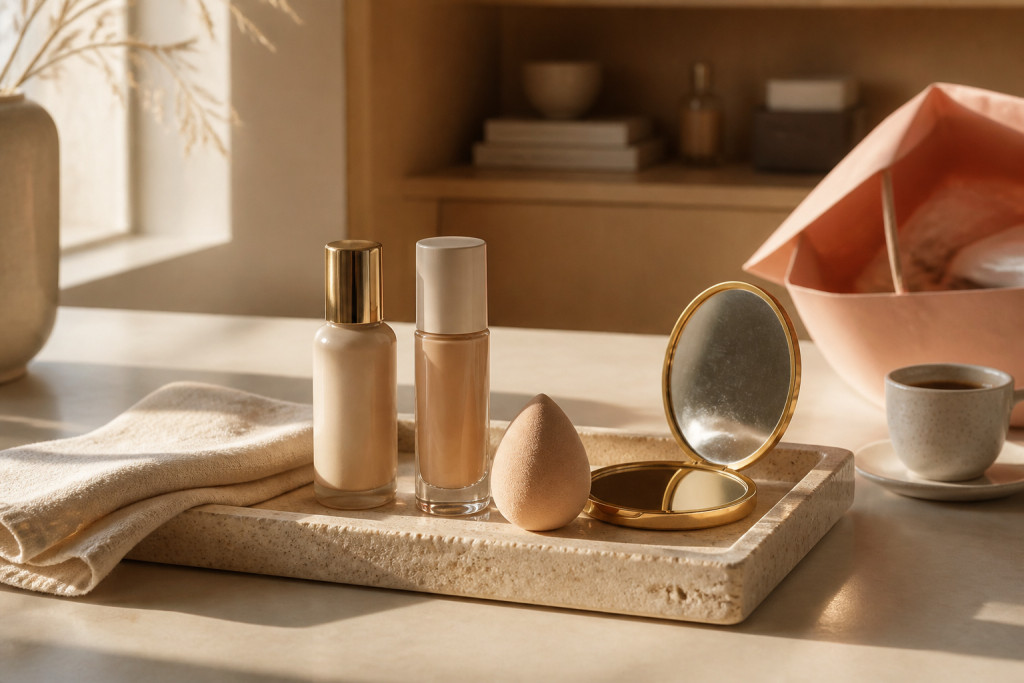

Nobody tells you how many tiny decisions go into foundation. Foundation makeup for beginners is a minefield of shades, primers, and tools, and I learned the hard way. This list covers 12 no-nonsense tips I wish I’d known before my first bottle, with practical buys most under $30 and a couple splurges around $40 to $60.
These tips lean clean-girl and soft-glam, for skin types from combo to dry. Most product picks are under $30, a few splurges around $40 to $60. These suit anyone who wants polished skin without heavy layers, petite-to-tall frames, and folks who love a slightly dewy finish. Lately I’ve noticed people favor skin-care-infused formulas and cream finishes.
1. Match Shade In Natural Light
Style: Clean Girl | Budget: Under $30 | Best For: Neutral to warm undertones


The trick is testing on your jawline, not your hand. I learned this after buying a shade that looked perfect on my hand and turned orange in daylight. Try samples or a 7 ml bottle first. If in doubt, pick a neutral undertone; warm skews yellow, cool skews pink. I once matched at a fluorescent counter and paid $28 to redo the whole face at home. Hydrating tint sample size around $4 to $8.
Shop this idea:
2. Start With A Tiny Pump
Style: Minimal | Budget: Under $15 | Best For: Oily to combination skin
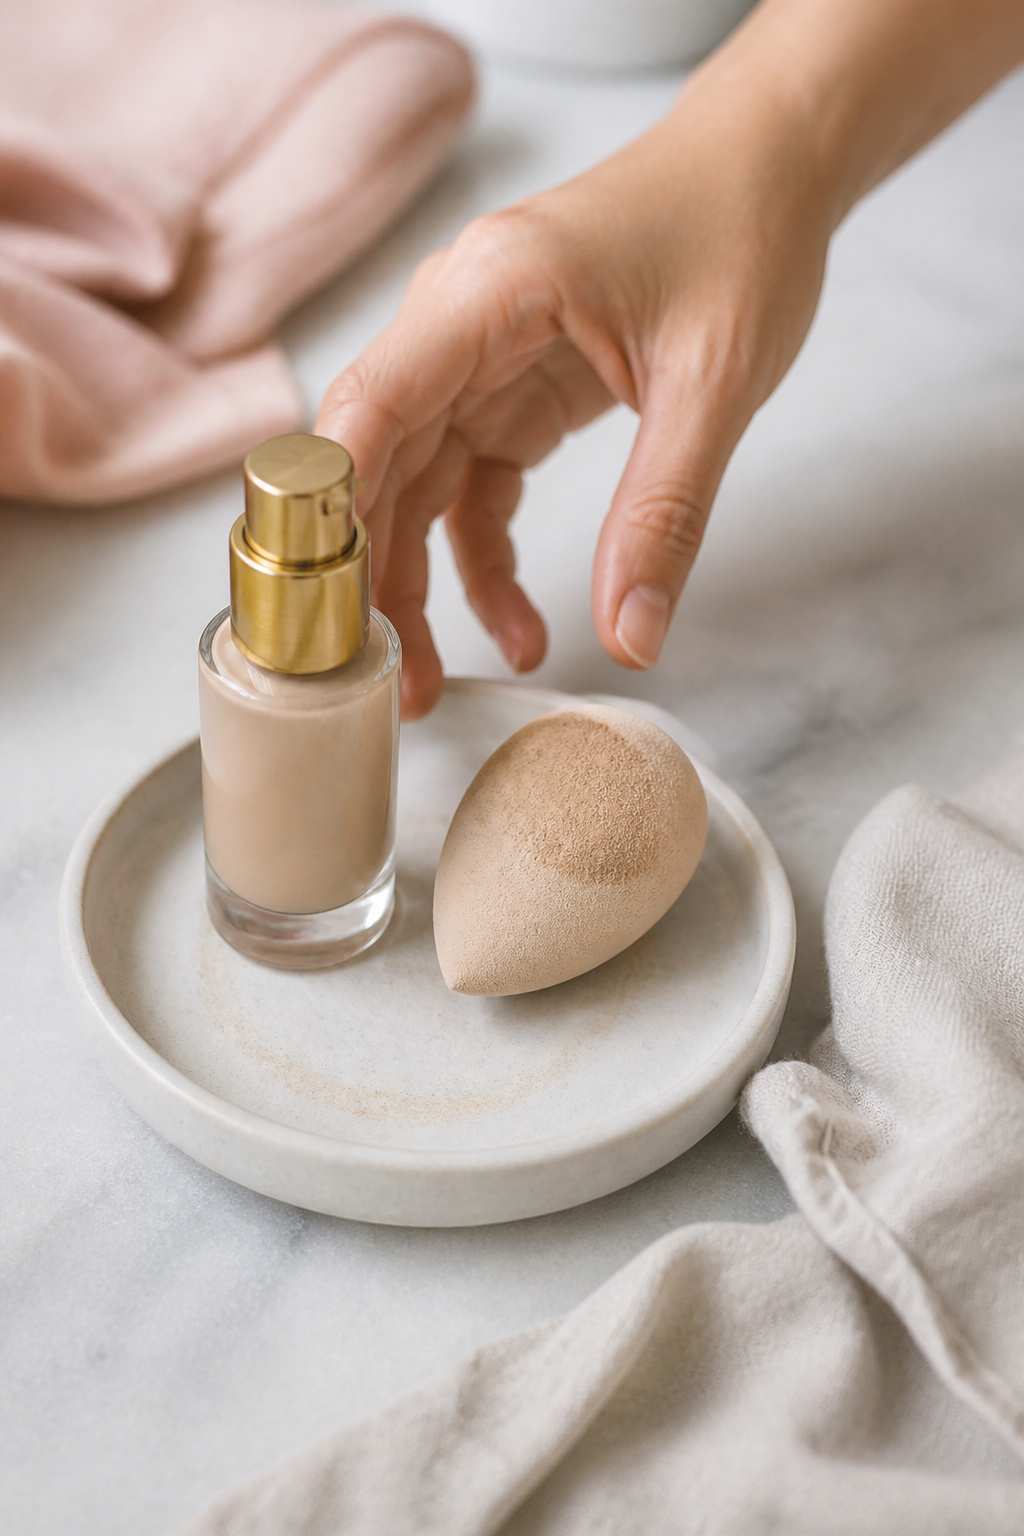

Less product = fresher skin. My rookie mistake was using half the bottle on day one and ending up cakey by noon. Start with one small pump and build in thin layers where needed. For oily zones, tap with a sponge after application to remove shine. Mini pump bottle foundation around $6 to $12.
Shop this idea:
3. Use A Primer For Texture, Not Coverage
Style: Clean Girl | Budget: Under $25 | Best For: Textured or large-pored skin
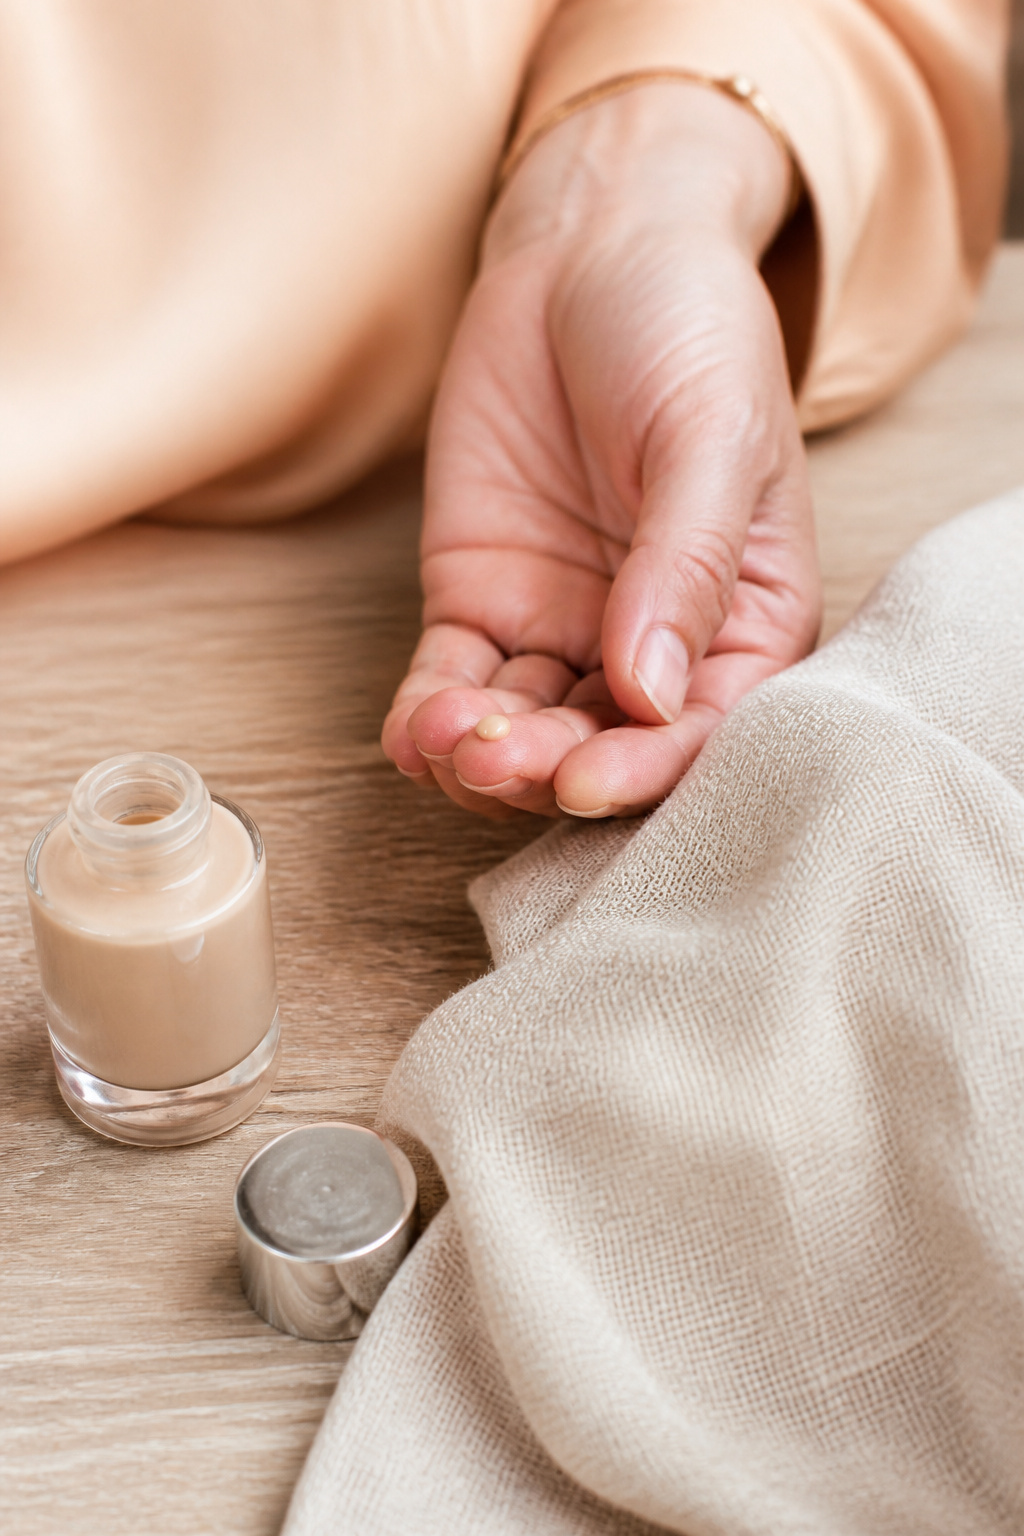

Primer won’t hide acne, but it does smooth the surface for lighter coverage formulas. I used thick silicone primers for months thinking they’d replace concealer; they blurred pores but made dry patches obvious. Pick a hydrating primer for dry skin and a mattifying one for oily areas. Apply sparingly to T-zone. Pore-filling primer 30ml around $12 to $26.
Shop this idea:
4. Learn Your Ideal Finish — Dewy Or Matte
Style: Soft Glam | Budget: Under $35 | Best For: Dry or oily skin depending
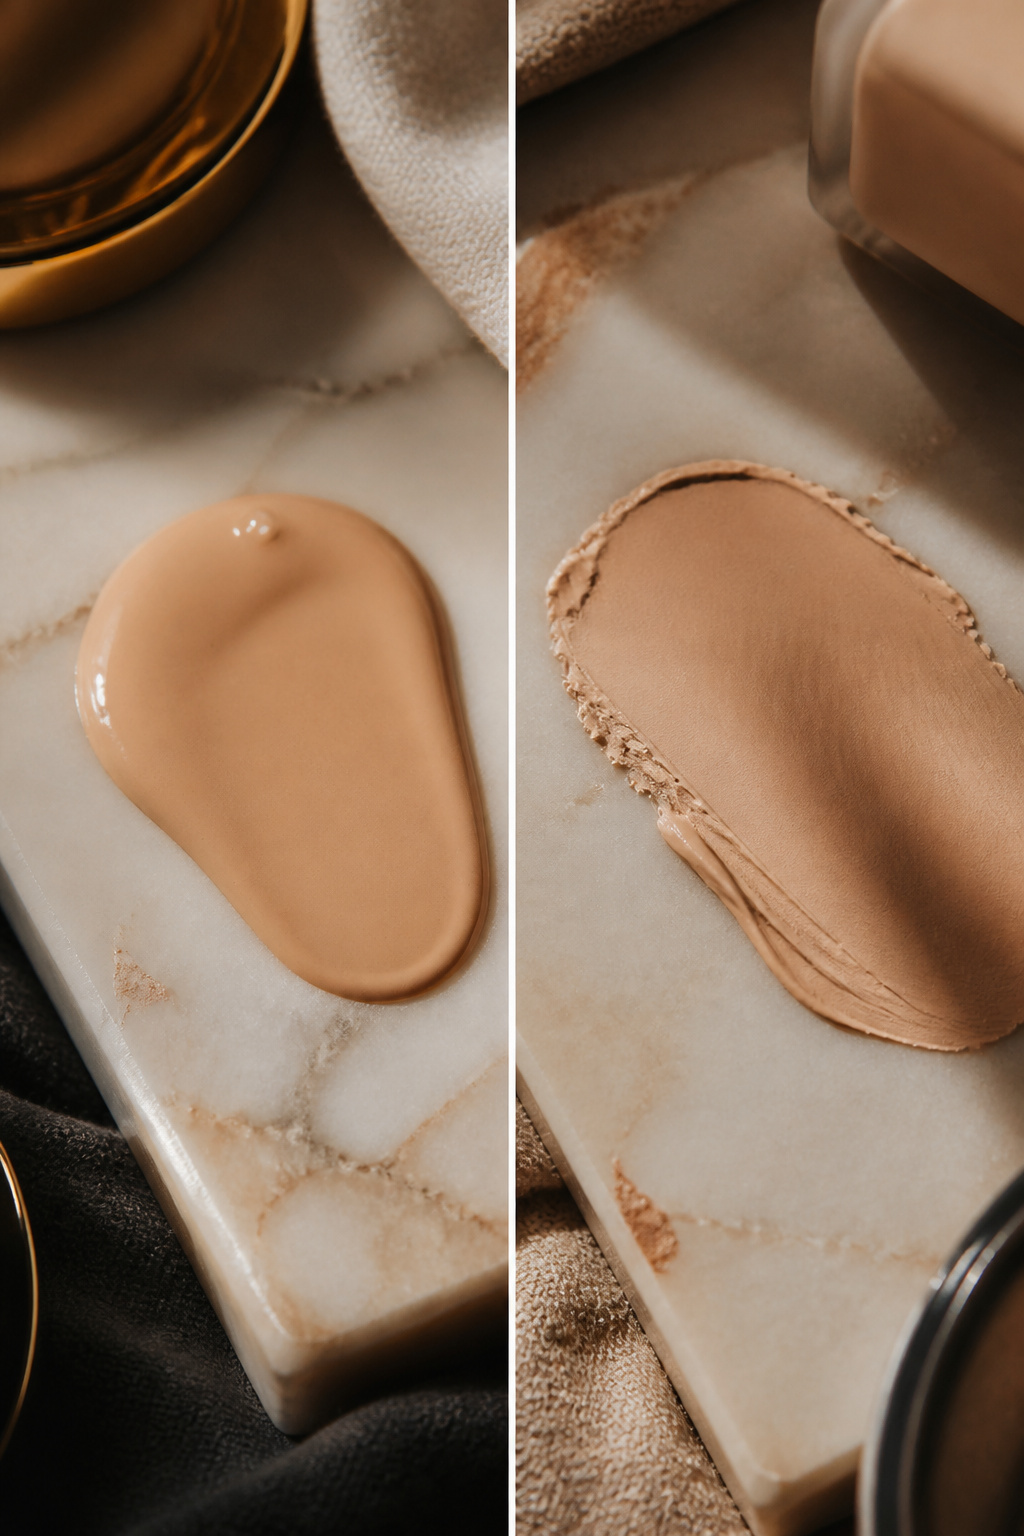

Dewy looks fresh in photos, but patches show more on textured skin. Matte can keep oil in check but may look flat. I prefer light-reflecting foundations on dry days and matte formulas for humid July runs. Try a hybrid skin-care foundation if you switch seasons. According to NPD Group, skin-care-infused makeup sales rose in recent years (NPD Group, 2022). Light-reflecting foundation 30ml around $16 to $38.
Shop this idea:
5. Tools Change Everything: Sponge Vs Brush
Style: Minimal | Budget: Under $30 | Best For: Buildable coverage fans
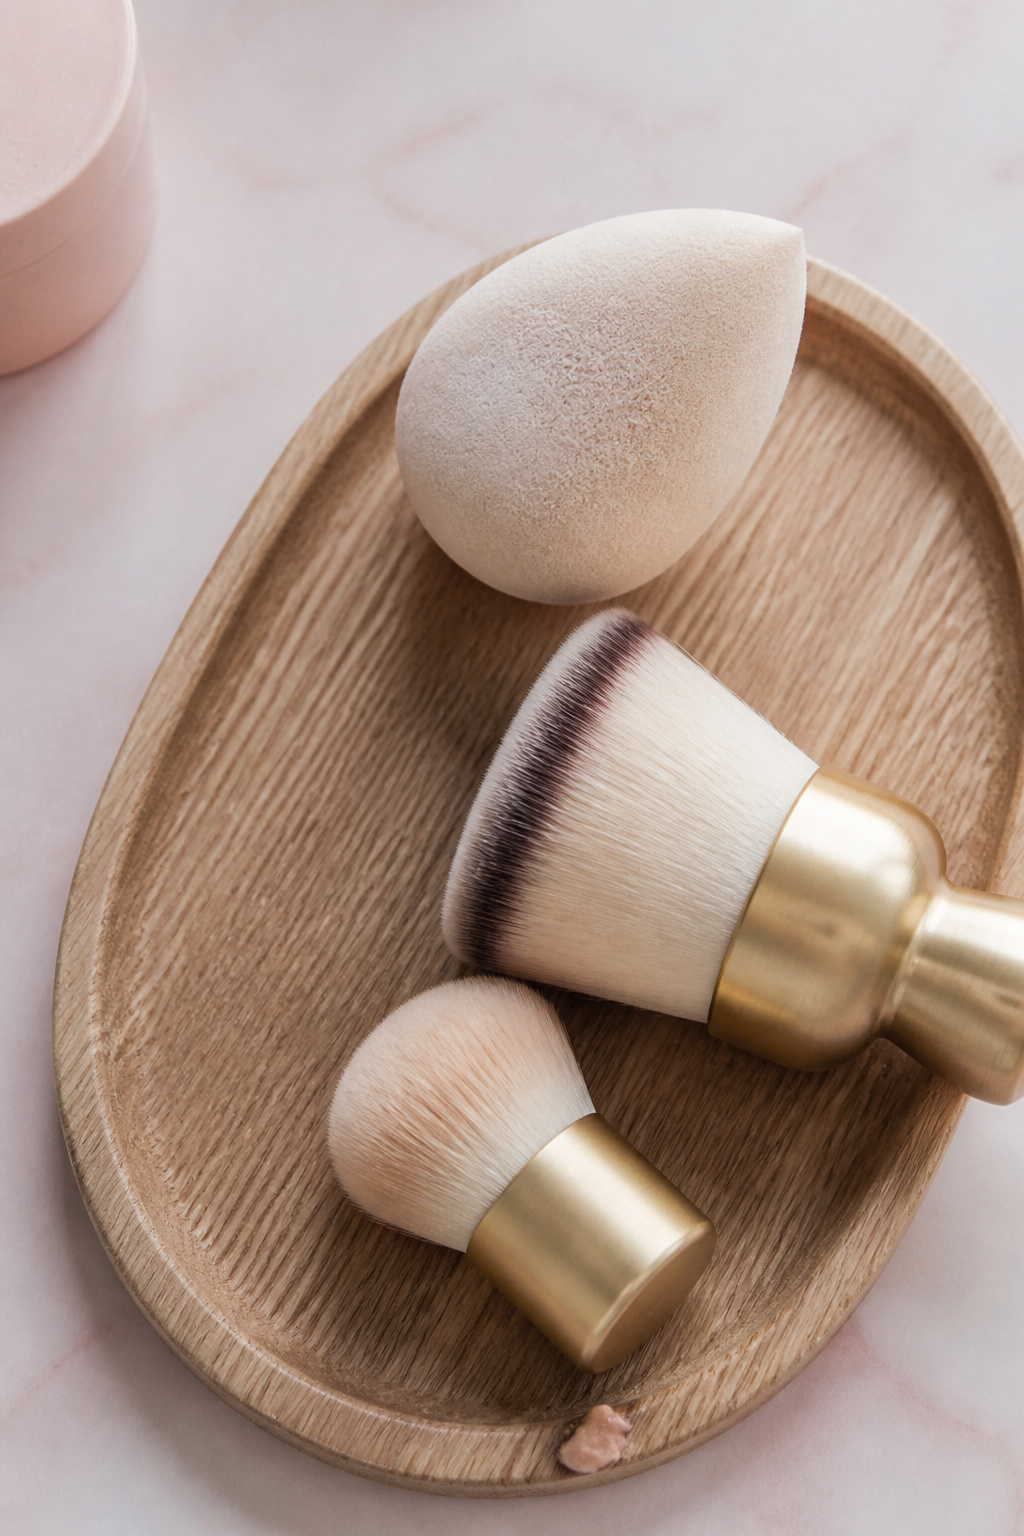

A sponge gives skinlike finish, a dense brush gives fuller coverage. I used a stiff brush for years and looked painted in photos. Now I start with a damp sponge to press product, then lightly buff stubborn areas with a brush. Clean tools weekly. Blending sponge set around $6 to $18.
Shop this idea:
6. Mix Drops For Custom Coverage
Style: Clean Girl | Budget: Under $20 | Best For: Tweak undertone or finish
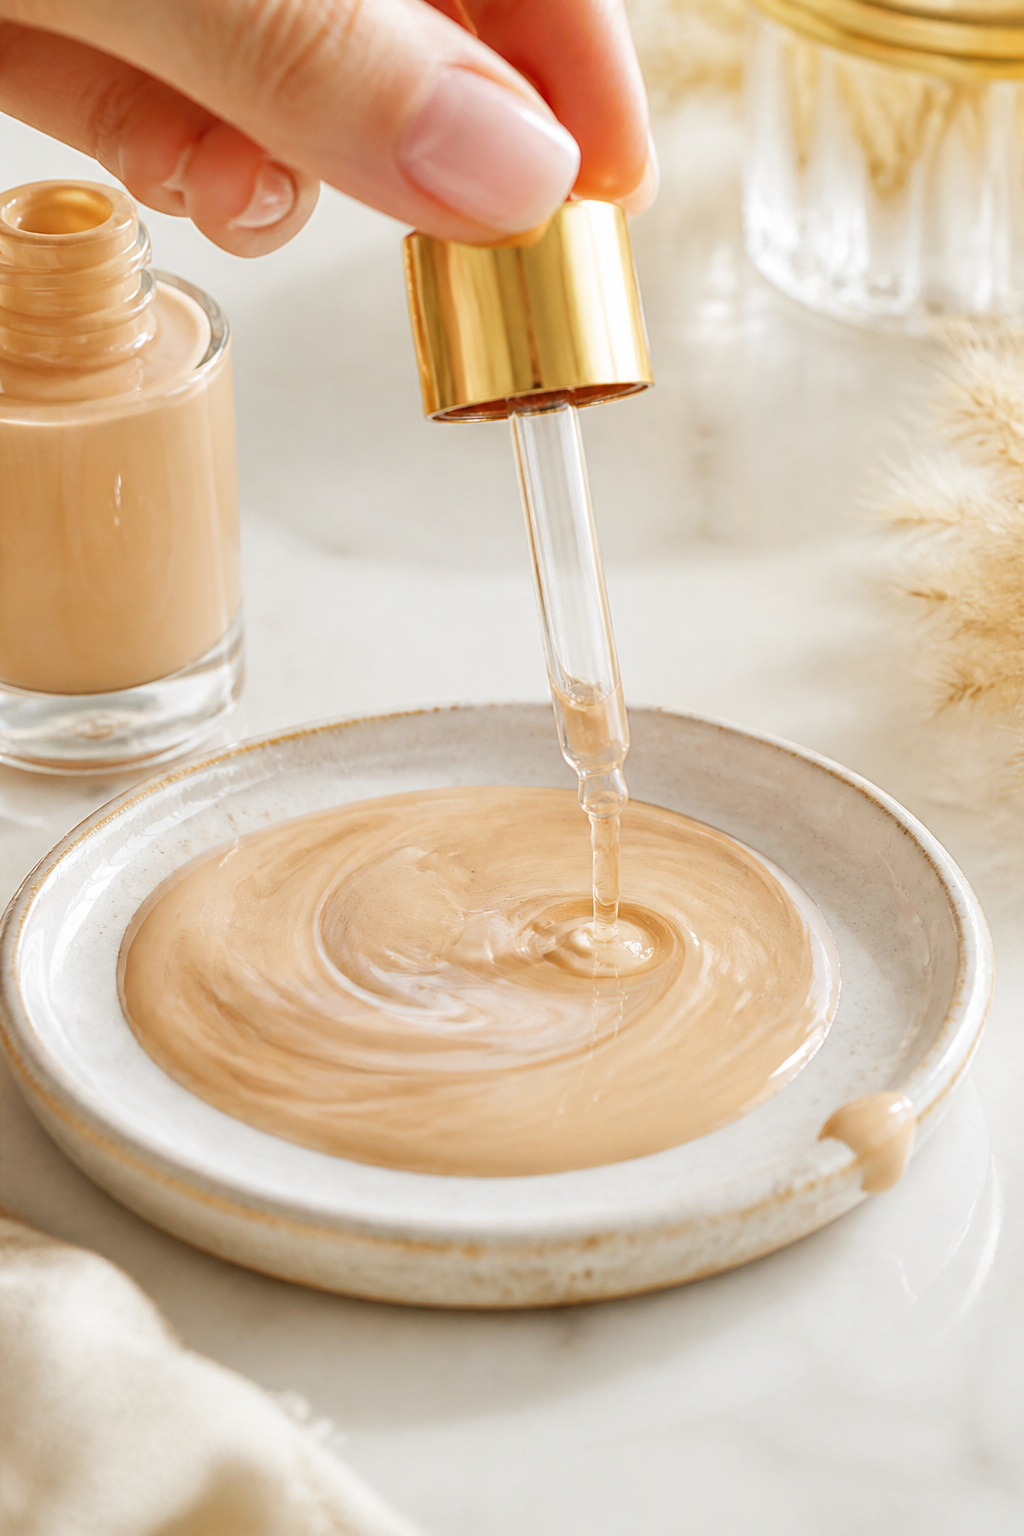

A little illuminating or mattifying drop can save you from buying another foundation. I added two drops of peach corrector when a new bottle leaned too cool and avoided a full return. Use silicone-free drops to avoid separation. Mix on the back of your hand and test in daylight. Tinted mixing drops 15ml around $10 to $22.
Shop this idea:
7. Don’t Powder Everything
Style: Soft Glam | Budget: Under $20 | Best For: Dry to normal skin
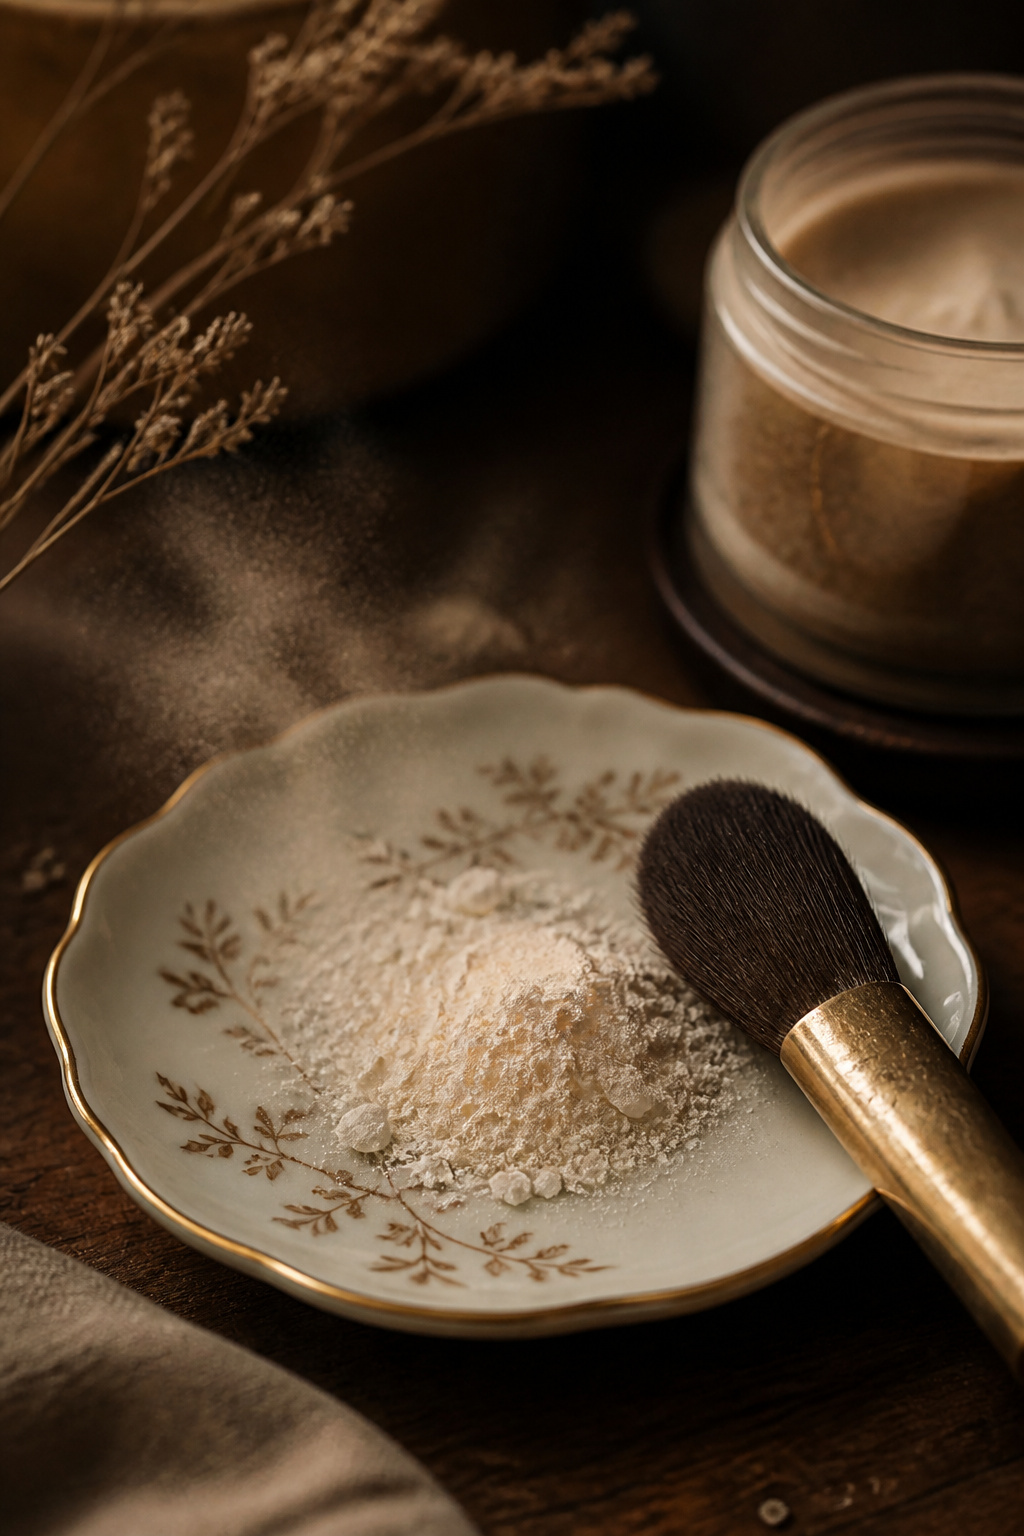

Powdering the entire face flattens glow and emphasizes fine lines. I powdered everything for years because I worried about shine, and photos looked flat. Instead, set only the T-zone and under-eye with a light dusting. Use a finely milled translucent powder. Translucent setting powder around $8 to $26.
Shop this idea:
8. Spot Conceal, Don’t Rebuild
Style: Clean Girl | Budget: Under $18 | Best For: Quick touch-ups


Full-coverage foundation to hide one pimple reads heavy. I used heavy foundations once and looked mask-like. Instead, apply a small, thick concealer dab directly on the spot and press with a sponge. Use a shade slightly warmer than your foundation for redness. Full-coverage concealer stick around $7 to $18.
Shop this idea:
9. Check Photos Before Leaving
Style: Soft Glam | Budget: Free to try | Best For: Everyday and events


Phone photos reveal flash-white or ashy foundation. I once took a mirror selfie and my jawline disappeared in flash. Take a quick flash selfie and examine cheeks and neck. If it flashes white, switch to a slightly deeper shade or a foundation labeled “photofriendly.” Photo-safe liquid foundation around $18 to $44.
Shop this idea:
10. Layer Creams For a Natural Glow
Style: Clean Girl | Budget: Under $30 | Best For: Dry to normal skin


Cream products layered lightly keep skin alive under foundation or on top. My change came when I stopped powdering cream blush away. Tap cream blush on apples of cheeks after lightweight foundation for that lit-from-within effect. Use cream highlighter sparingly on high points. Cream blush stick warm peach around $9 to $18.
Shop this idea:
11. Refresh Without Reapplying Foundation
Style: Minimal | Budget: Under $20 | Best For: Long days and travel


Blotting papers and a setting mist will revive skin without adding cakey layers. I used to carry a full bottle and reapply foundation midday, and it pilled. Press blotting papers on oily zones, then a light mist from arm’s length. For dry skin, a hydrating mist is enough. Oil blotting papers pack around $4 to $10.
Shop this idea:
12. Store Properly And Track Expiry
Style: Practical | Budget: Free habit | Best For: Anyone building a kit
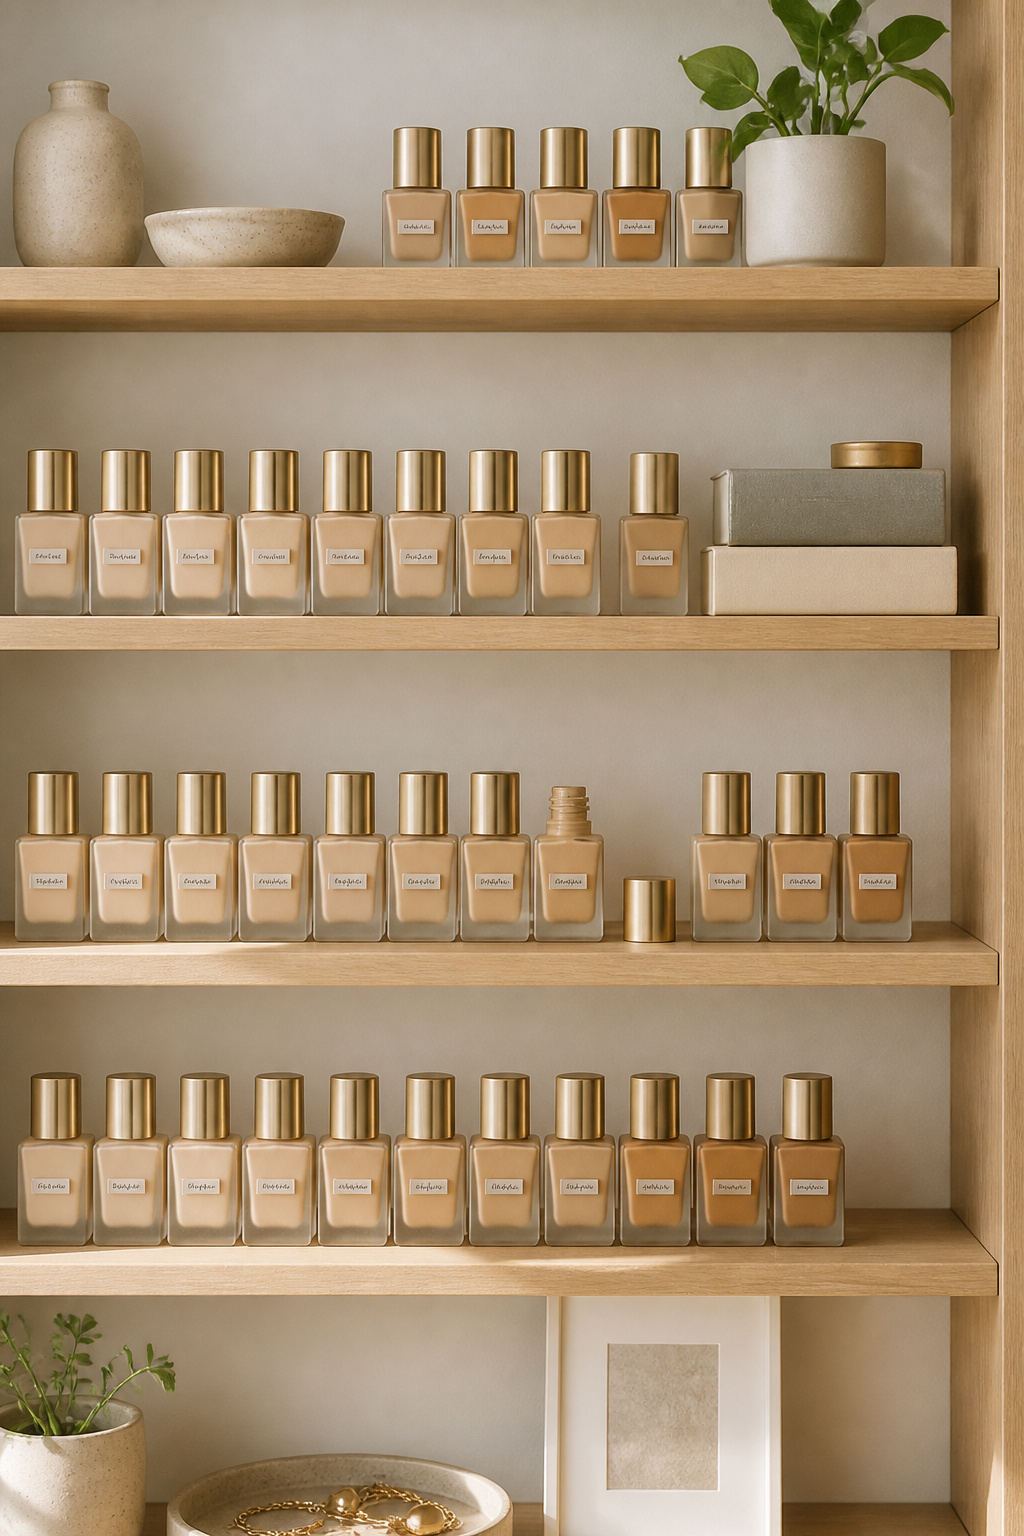

Foundation degrades. I used a favorite bottle after a year and it smelled off and broke out my skin. Write the open date on the bottle and keep liquids in a cool, dark place. Most foundations expire 6 to 12 months after opening. According to Statista, consumers increasingly prioritize product safety and clean labeling (Statista, 2023). Mini label stickers pack around $3 to $8.
Shop this idea:
What You'll Need to Get This Look
Face & Base Essentials
- Hydrating tint sample size around $4 to $8
- Pore-filling primer 30ml around $12 to $26
- Light-reflecting foundation 30ml around $16 to $38
- Translucent setting powder around $8 to $26
Eyes, Brows & Lips
- Cream blush stick warm peach around $9 to $18
- Full-coverage concealer stick around $7 to $18
- Hydrating facial mist around $6 to $18
Clothing Staples
- Silk scarf neutral print around $12 to $36
- Cashmere crewneck sweater cream around $60 to $120
Shoes, Bags & Jewelry
- Gold chunky hoop earrings around $8 to $28
- Leather crossbody bag tan around $40 to $120
Budget Swaps
- Velvet blending sponge around $6 to $12 (dupe for $28 sponge)
- Drugstore matte foundation 30ml around $8 to $16
Shopping Tips for These Looks
Shop seasonal sales: Buy foundations during Ulta 21 Days of Beauty or Amazon Prime Day for 20 to 40 percent off, and stock up on staples. Prime Day foundation finds
Try mini or sample sizes: If you’re unsure of shade or finish, buy travel sizes first. They’re cheaper and save returns. Foundation sample packs
Thrift and patch: Buy vintage blazers and pair with a modern clean makeup base for elevated contrast. Thrifted pieces pair well with fresh skin. Secondhand blazer find tips
Layer cream products: Cream blush and cream highlighter are trending for 2025’s skin-first makeup looks; they photograph well and blend into light foundations. Cream blush tips
Watch formula languages: Look for “hydrating” or “skin-care infused” if you want glow, and “non-comedogenic” if you break out easily. Non-comedogenic foundation guide
Frequently Asked Questions
Q: How do I pick the right undertone?
A: Check veins in natural light; blue-ish veins suggest cool, green-ish suggest warm. Try three shades near your jawline. I recommend ordering a mini set to test. Foundation shade tester pack
Q: Is expensive foundation worth it?
A: Not always. Ingredients and formula performance matter more than price. I’ve had $12 bottles beat $40 ones. Try budget samples before splurging. Affordable longwear foundation
Q: Can I mix sunscreen with foundation?
A: Only if the sunscreen is lightweight. Thick sunscreens can pill under foundation. Apply sunscreen first, wait two minutes, then press foundation with a sponge. Mineral sunscreen lightweight
Q: How long should foundation last once opened?
A: Most liquid foundations last 6 to 12 months. Write the open date on the bottle and toss if the smell or texture changes. Mini label stickers pack
Conclusion
Start with one small change, like testing shade in daylight or swapping to a damp sponge. My wallet and photos thank me for those tiny shifts. Which tip are you trying first, or what mistake did you make with your first bottle?