








French white ombre nails are the easiest way to look like you tried, even when you rushed out the door. French white ombre nails have been my go-to for meetings, dates, and travel, and this list gives 19 ways to wear them without feeling basic. Most looks cost under $35, with a few splurges around $100. Try one tonight, repeat the ones that work.
Clean, modern, and wearable for every skin tone. Most ideas use products under $30, a few salon splurges around $80 to $120. These suit minimalists, soft-glam lovers, and anyone who finds a plain French tip too predictable. I’ve noticed Pinterest and Google Trends keep nudging ombre details into spring, and salons report higher requests for tonal white tips.
1. Classic Sheer White Fade
Style: Clean Girl | Budget: Under $20 | Best For: All nail lengths
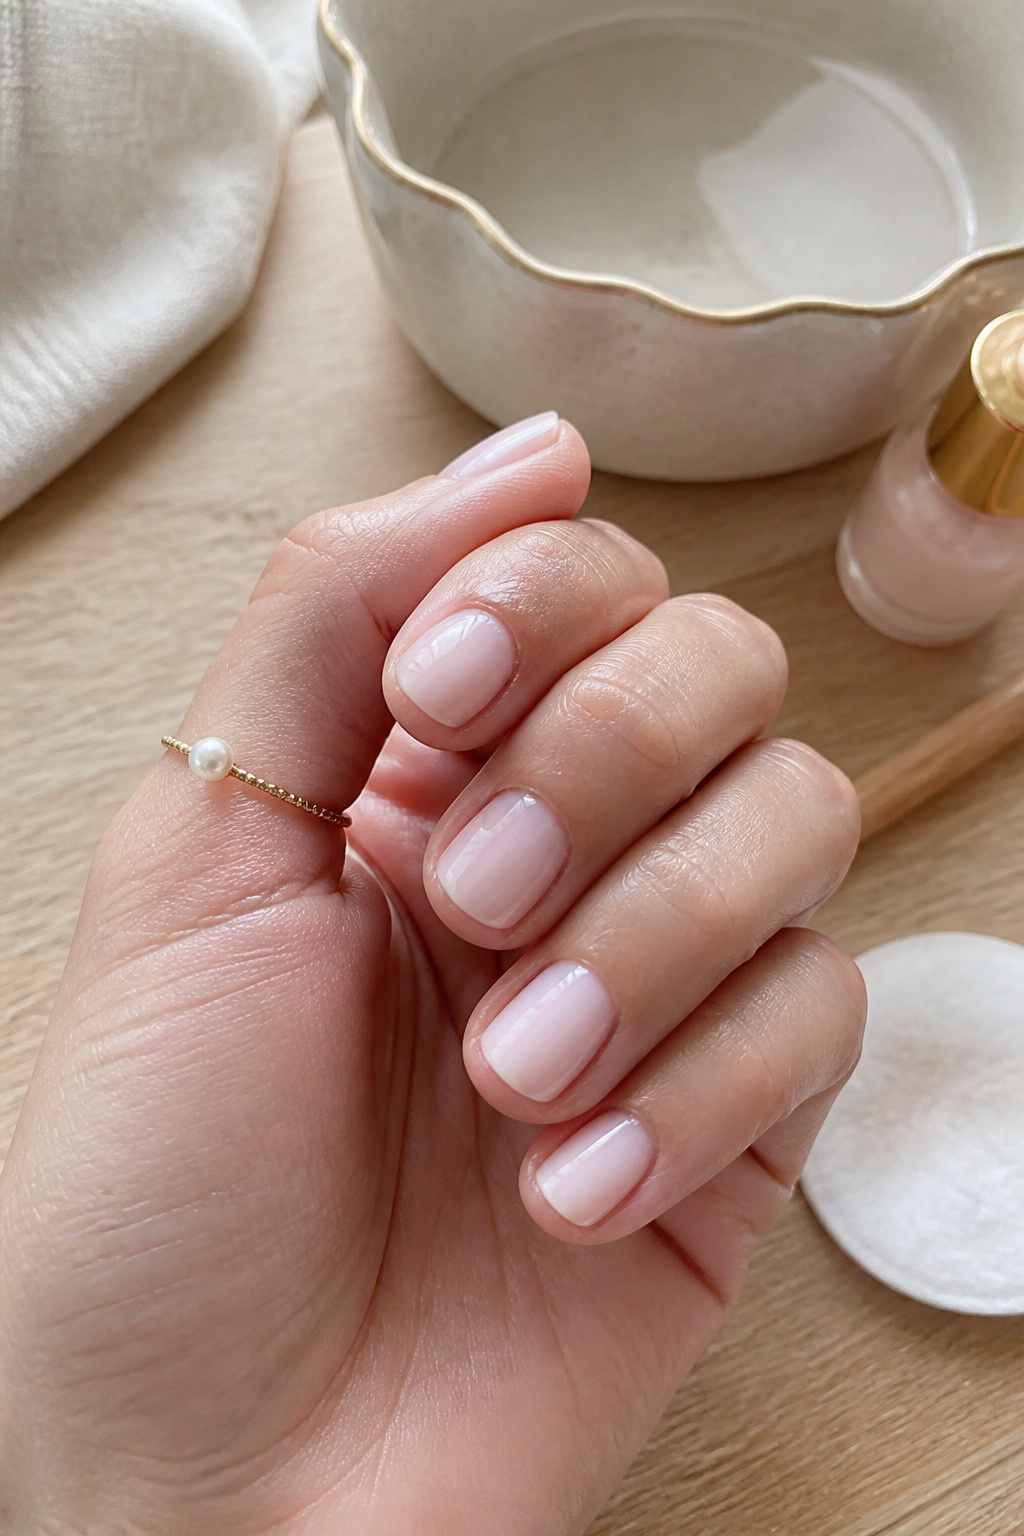

Result: a barely-there milky tip that reads polished. I paint a sheer pink base (two thin coats), then sponge in pure white at the tips. The ugly truth, I learned: thick layers look fake. Use thin coats and a quick-dry top coat. I bought the exact sponge pack at Ulta for $5 and it’s still my travel kit.
Shop this idea:
2. Soft Matte Ombre
Style: Minimal | Budget: Under $25 | Best For: Oily skin hands


Matte finishes reign when you want clean without shine. I buff the final layer with a matte top coat. Tip: add a glossy accent nail if matte reads flat. I spent $12 on my matte top coat at Amazon and it lasts three weeks with base coat. Pro move: avoid hand creams right after matting nails.
Shop this idea:
3. Short Square White Fade
Style: Classic | Budget: Under $30 | Best For: Short nails, keyboard users


Short nails can still feel luxe. I keep the gradient tight to the tip so it reads natural on short beds. The trick is a thin base and a Q-tip cleanup right after sponging. Ugly truth: cliffy white edges scream DIY; feather the white downward. I found a $9 LED lamp at Target that cures gels fast when I’m in a rush.
Shop this idea:
4. Glossy French Fade With Gold Foil Accent
Style: Elevated | Budget: Under $40 | Best For: Evening, events


A tiny gold foil tab completely upgrades a simple ombre. I press a small foil flake near the cuticle and seal with glossy top coat. Tip: press foil with tweezers and avoid overlapping. The price anchor: gold foil sheets run $6 to $12. I wore these to my sister’s wedding and got stopped twice for the subtle detail.
Shop this idea:
5. Ombre Coffin With Sheer Pearl Sheen
Style: Soft Glam | Budget: $30 to $80 | Best For: Medium-long nails


Pearl shimmer makes ombre feel luxe without being over the top. I add a translucent pearl polish as a last layer on the tips. Practical tip: use micro-fine pearl; chunky shimmer reads dated. Ugly truth: heavy shimmer shows brushstrokes. I splurged $34 on a pearl top coat at Sephora and it still looks salon-fresh weeks later.
Shop this idea:
6. Neutral Gradient With Taupe Base
Style: Old Money | Budget: Under $30 | Best For: Cool undertones


Swap pink for taupe under the white for an elevated quiet look. The taupe grounds the white and hides regrowth. Tip: thin coats for gradient finesse. I found a taupe creme at a boutique for $16; it wears longer than pale pink on my nails. The trick is a slightly sheer taupe base.
Shop this idea:
7. Short Almond With Micro French Line
Style: Polished | Budget: Under $28 | Best For: Petite hands


Micro French lines keep things tidy without announcing “manicure.” I paint a barely-there white line, then blur it with the sponge technique. The ugly truth: heavy white bands make fingers look shorter. I use a 0.5mm striping brush I bought on Amazon for $7 to keep lines thin.
Shop this idea:
8. Milky Coffin With Negative Space Crescent
Style: Modern | Budget: $25 to $45 | Best For: Statement mani lovers
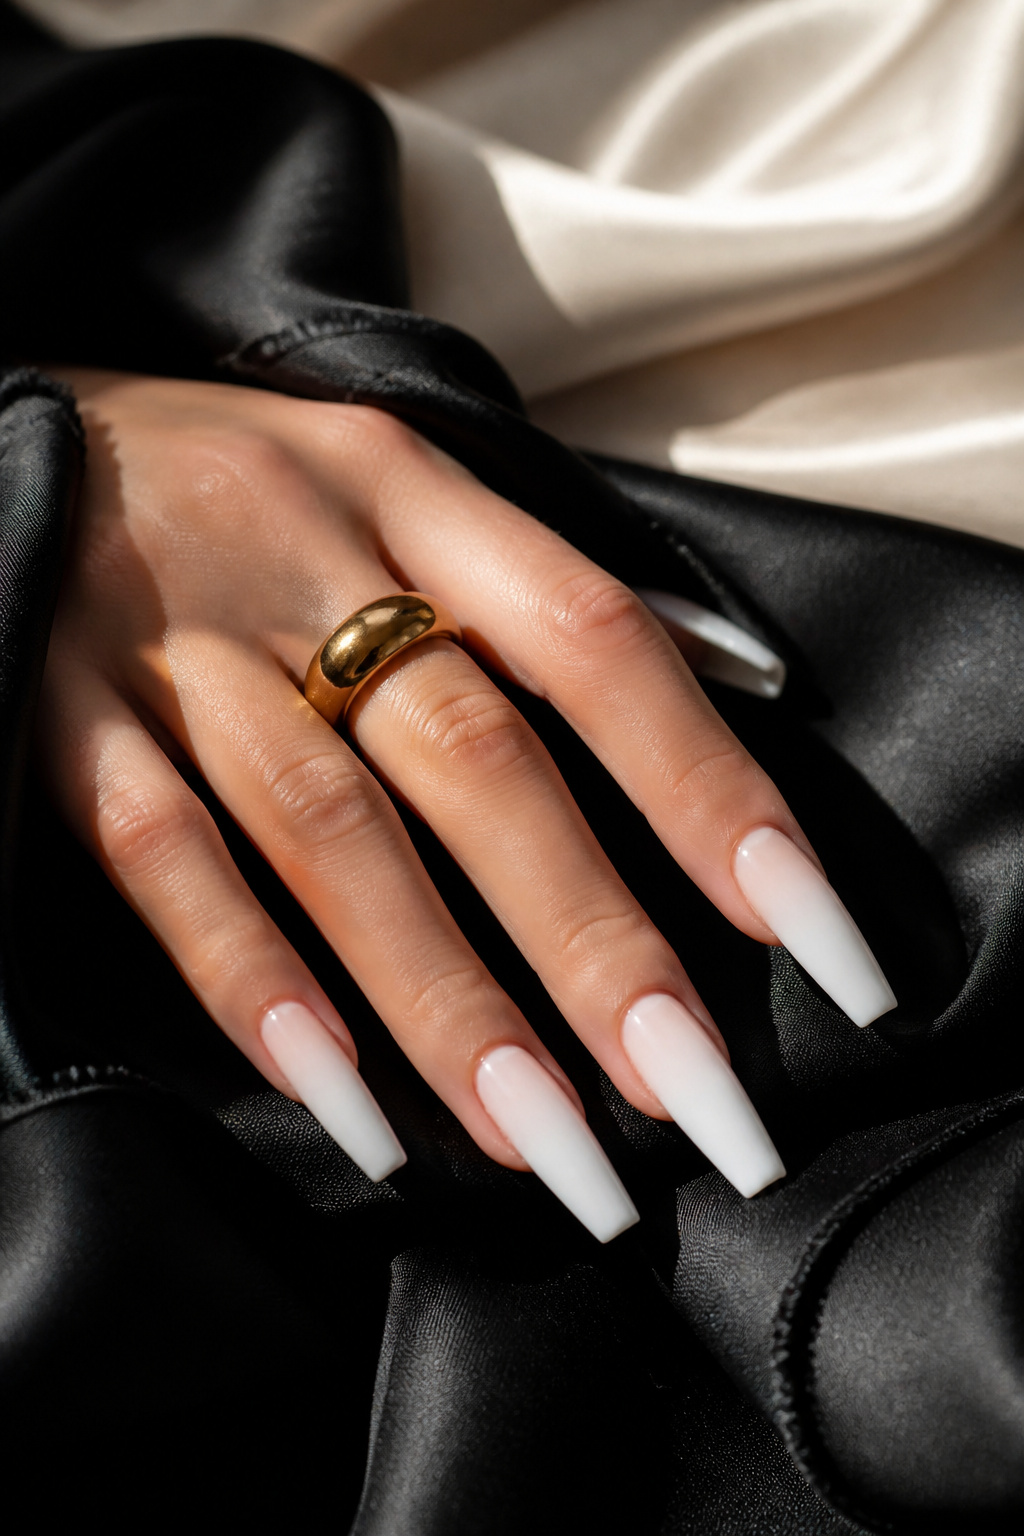

Negative space keeps an otherwise soft mani graphic. I mask a crescent near the cuticle with reinforcement stickers and paint the ombre over. Remove sticker before fully dry for crisp edge. I learned the sticker method after a messy salon attempt; now it’s my fastest trick.
Shop this idea:
9. French Fade With Tiny Rhinestone
Style: Evening Ready | Budget: Under $35 | Best For: Accent nail fans


A single tiny crystal on the ring finger reads special, not extra. I adhere with a tiny drop of clear glue, then seal. Tip: place the rhinestone while the top coat is tacky for better hold. Ugly truth: big stones knock on everything; keep it micro. I use 1mm crystals I bought in a craft store for $4.
Shop this idea:
10. Sheer Ombre With Satin Finish
Style: Refined | Budget: Under $30 | Best For: Day-to-night


Satin top coats are the middle ground between matte and glossy. They read modern and photograph beautifully. Tip: buff nails lightly before applying satin top coat to avoid streaks. I keep a $14 satin top coat in my bag for quick touch-ups when my glossy mani picks up lint.
Shop this idea:
11. White Ombre With Subtle Glitter Fade
Style: Playful | Budget: Under $30 | Best For: Festive seasons


Micro-glitter at the very tip adds flare while keeping the base clean. I apply glitter only to the edge, then smooth with a thin clear coat. Tip: use glue-based micro-glitter for longer wear. I wore this for holiday dinner and no one believed I did it at home.
Shop this idea:
12. Ombre With Soft Beige Tip
Style: Neutral | Budget: Under $22 | Best For: Warm undertones


Beige tips are softer than stark white and hide chips better. I mix a touch of warm nude into white polish to tone it down. Tip: test on a spare nail tip before committing. I once wore pure white to a beach trip; sand turned the tips slightly yellow. Beige fixes that.
Shop this idea:
13. Ombre With Tiny Black Pinstripe
Style: Modern Edge | Budget: Under $25 | Best For: Graphic mani lovers
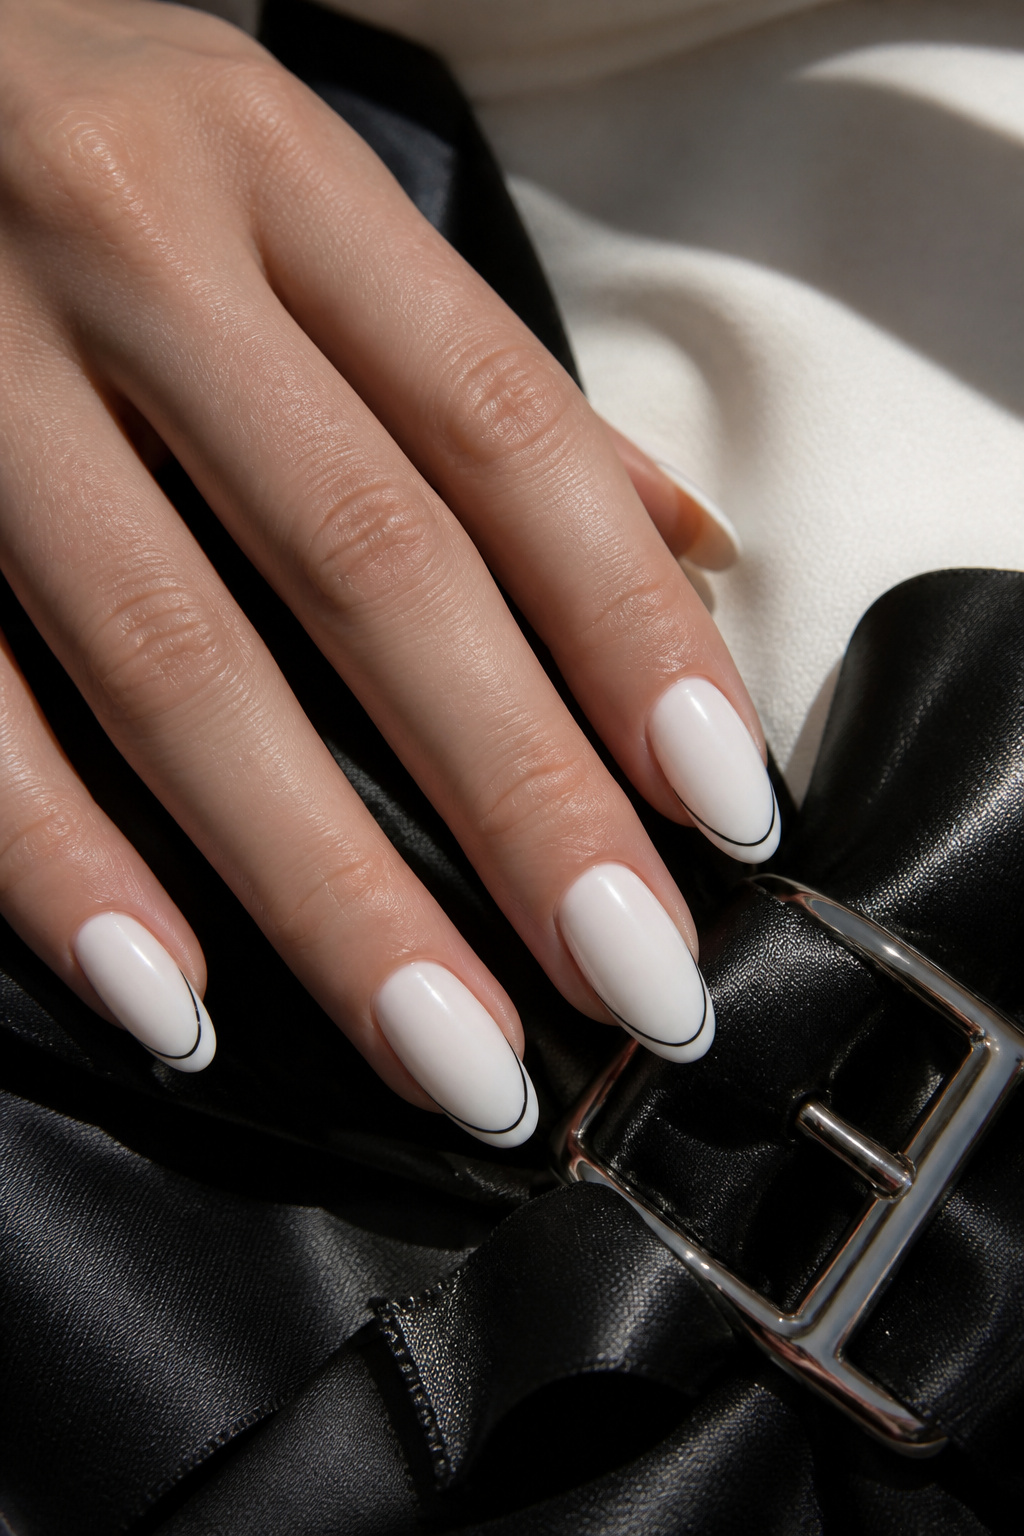

A micro black line gives a fashion-forward contrast. I use a 0.3mm striping pen for the line and seal it with a glossy top coat. Tip: flick the pen away from the cuticle for a cleaner stroke. Ugly truth: thick black bands look harsh on pale hands; keep it micro.
Shop this idea:
14. Ombre Stiletto With Satin Pearl Dust
Style: Statement | Budget: $40 to $90 | Best For: Night outs


Stiletto shape amplifies drama; add pearl dust for depth. I apply pearl dust with a soft brush before top coat. Practical tip: stiletto tips chip faster, so reinforce with gel overlay. I splurged on gel overlay service for $70 before a concert and the mani survived two nights.
Shop this idea:
15. Reverse French Ombre (White At Cuticle)
Style: Trendy | Budget: Under $30 | Best For: Short to medium nails
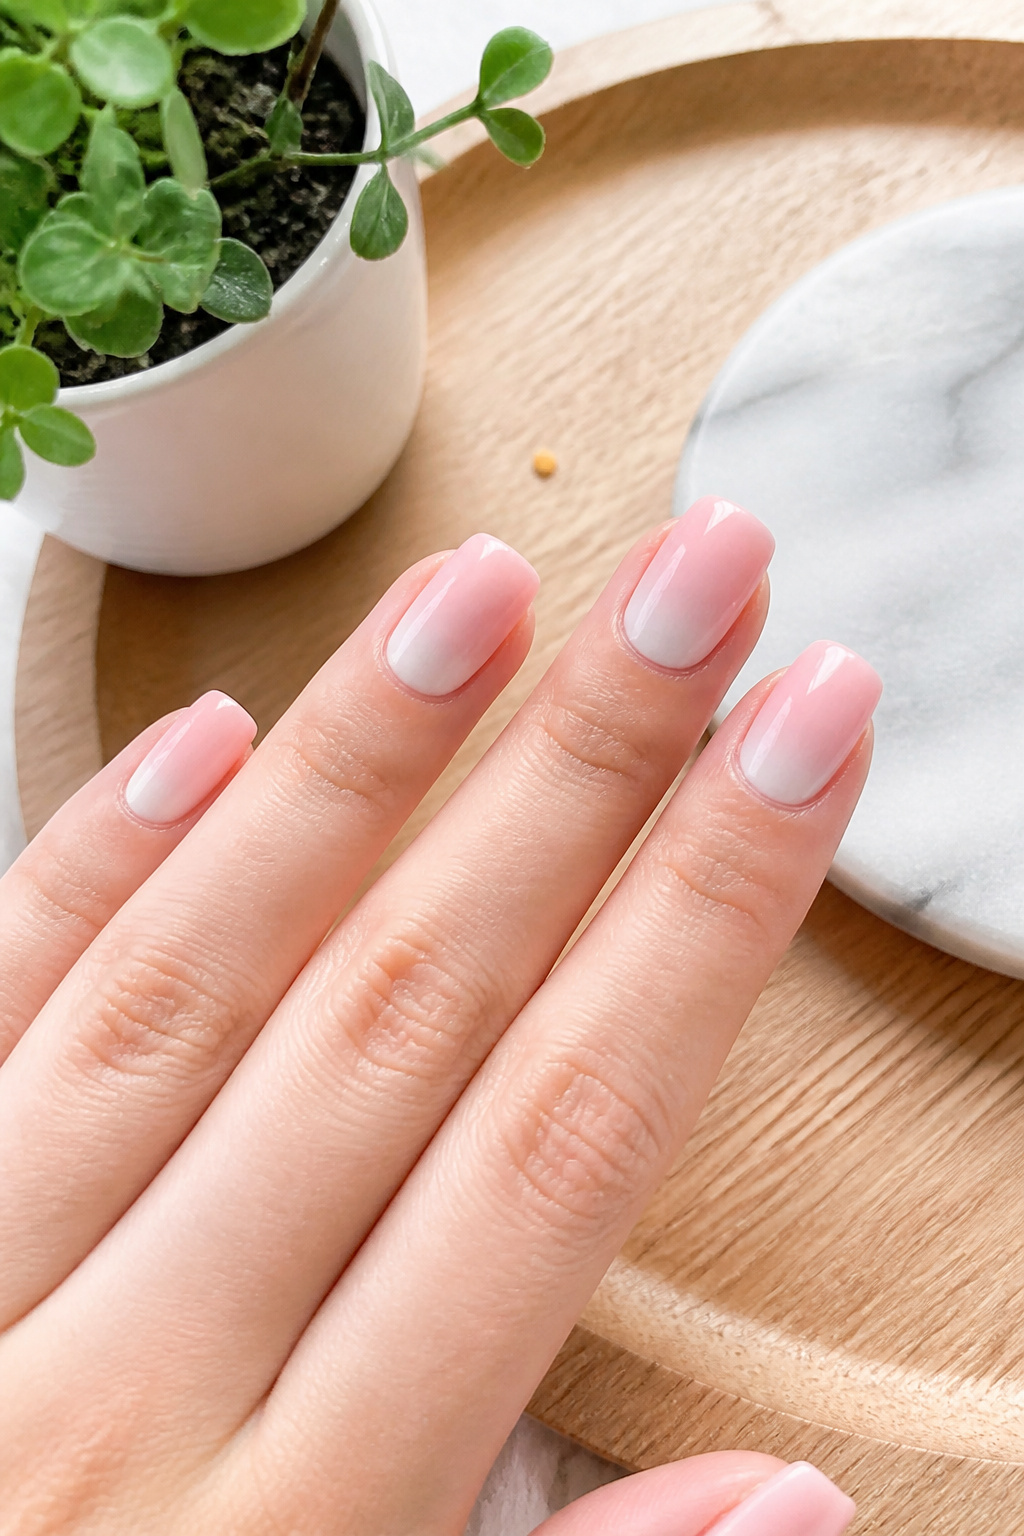

Reverse is unexpected and modern. I paint a white crescent at the base and blur it upward. Tip: remove excess with an angled brush dipped in remover for a clean lunula. Ugly truth: if you start with thick white, it looks heavy; build thin. I tried this before brunch and friends asked where I got them done.
Shop this idea:
16. Ombre With Micro French Smile Line
Style: Timeless | Budget: Under $28 | Best For: Office-friendly
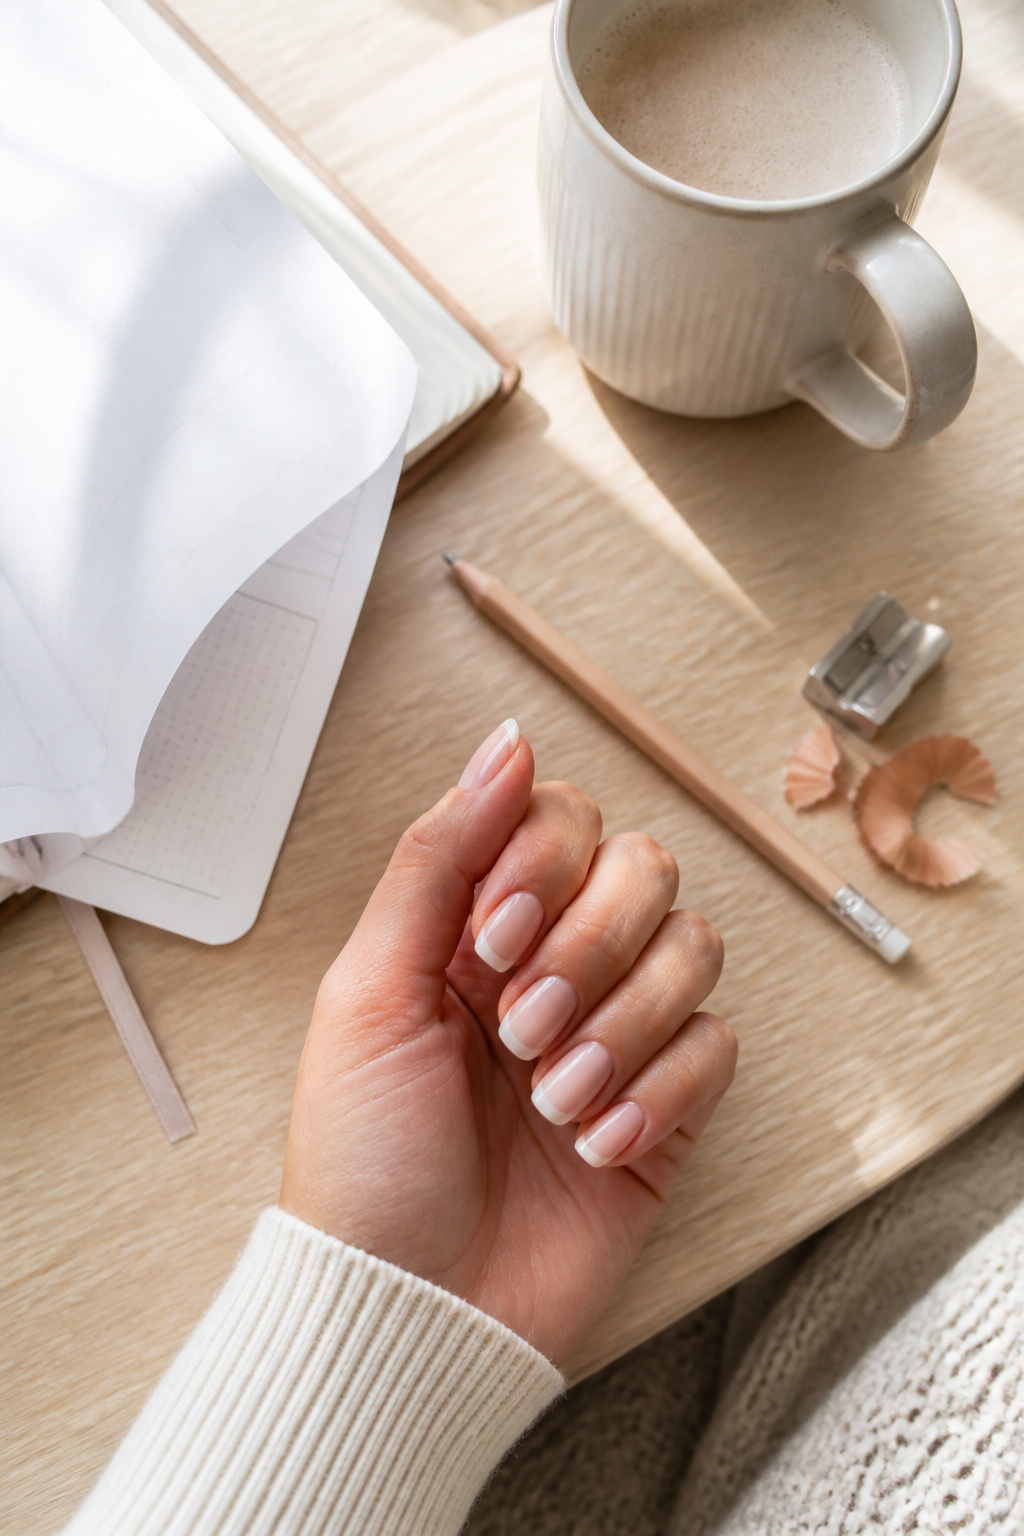

A delicate smile line keeps the manicure classic. I draw a tiny white arc then fade it slightly for softness. Tip: practice arcs on a plastic tip first. I once overpainted the arc too high; it shortened my nail visually. A 2mm white brush fixed it.
Shop this idea:
17. Ombre With Satin Gold Microstripe
Style: Elevated Minimal | Budget: Under $35 | Best For: Jewelry lovers
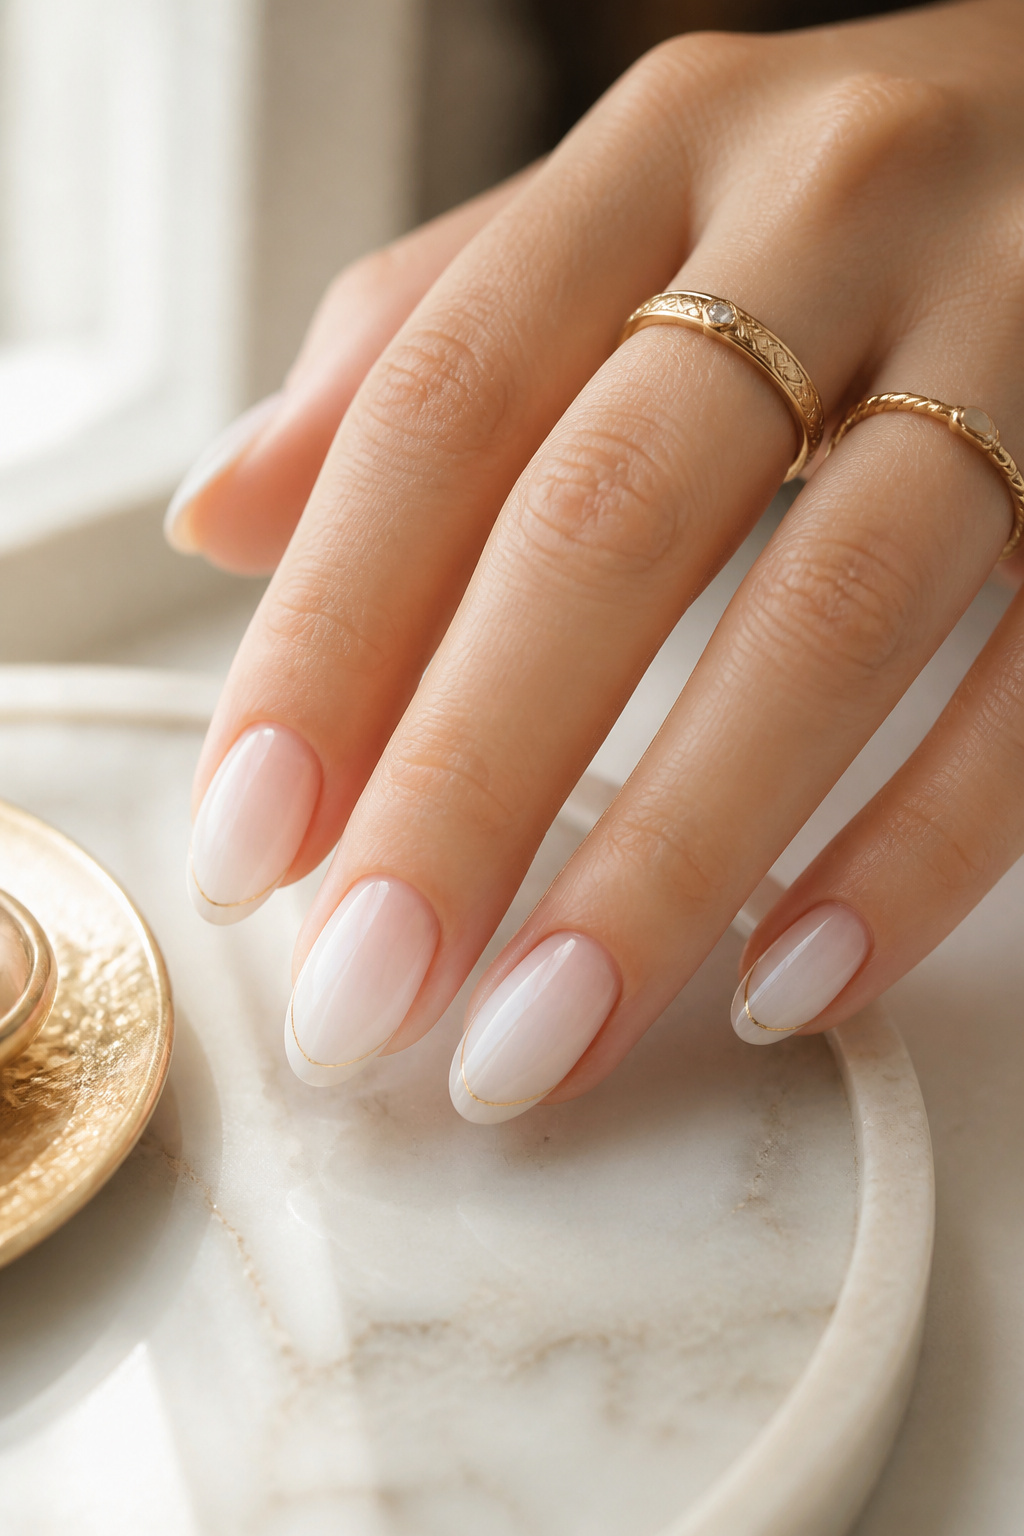

A micro gold stripe pairs beautifully with real jewelry. I use gold metallic polish and a 0.5mm striping brush placed at the very edge. Tip: apply one thin layer of stripe then seal. I tied this look to a silk blouse and the outfit felt intentionally curated.
Shop this idea:
18. Marbleized White Ombre Accent
Style: Artistic | Budget: $30 to $60 | Best For: Creative mani seekers
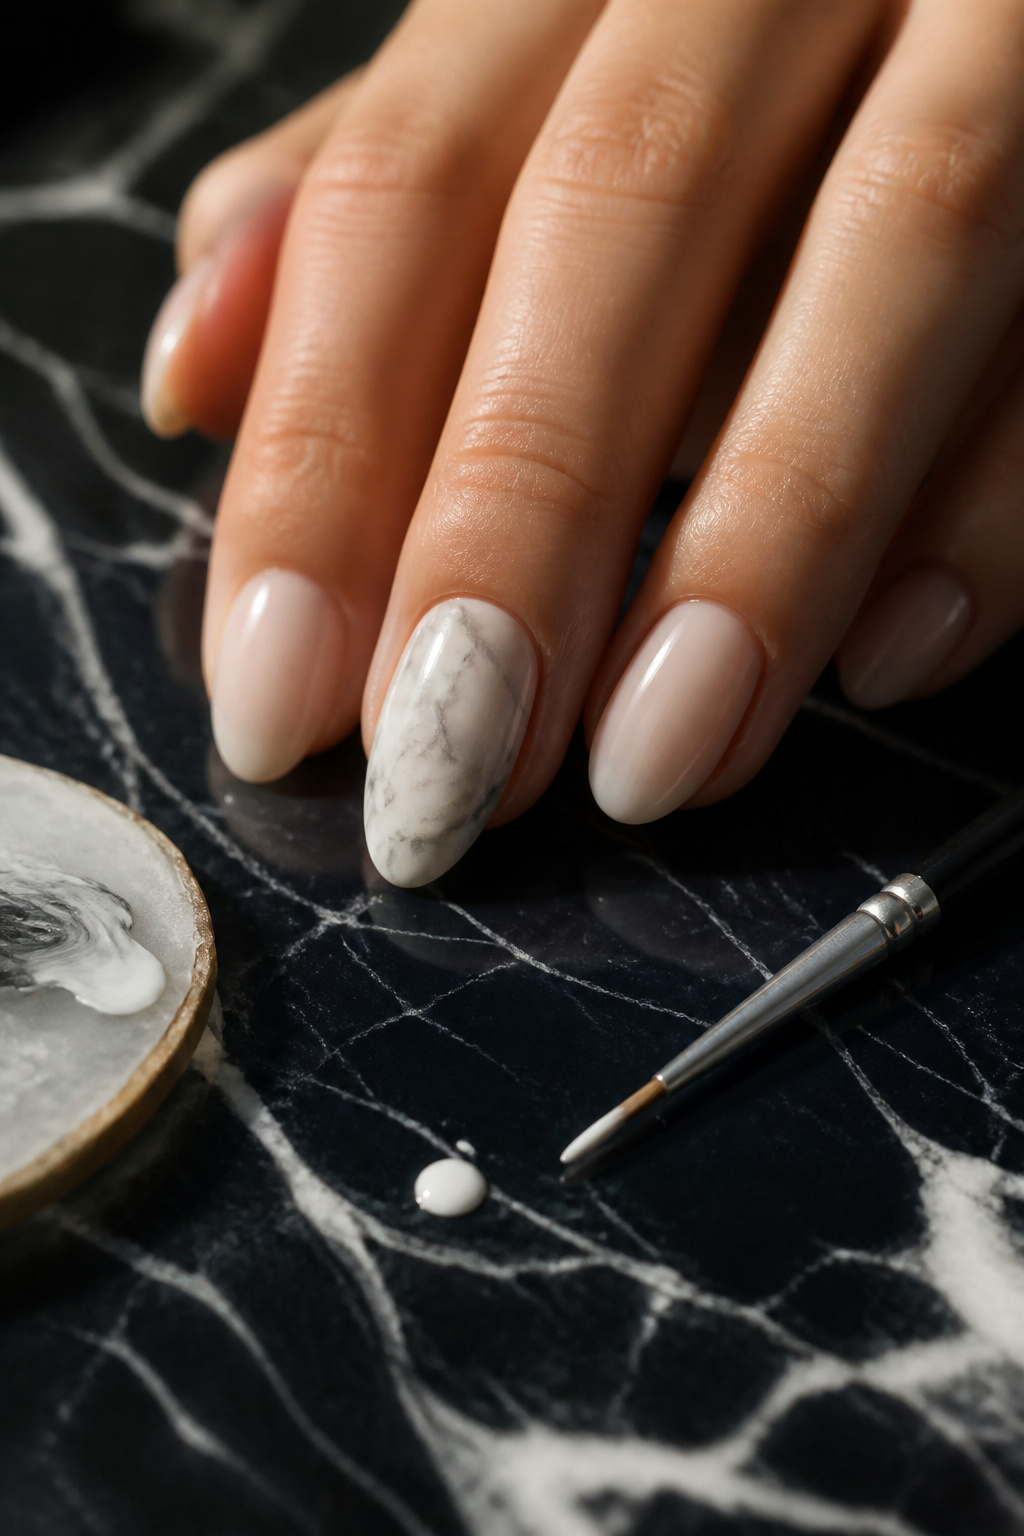

One marble accent nail elevates a simple set. I feather gray into white with a thin brush then seal. Tip: dilute gray with clear polish for softer veins. Ugly truth: heavy marbling looks clumsy; keep veins delicate. I taught myself this with a $6 nail art brush set from Amazon.
Shop this idea:
19. Salon Gel Ombre With Home Top Coat Finish
Style: Durable | Budget: $25 to $120 | Best For: Travelers, busy hands


If you want salon durability, gel ombre plus a good at-home top coat is my combo. I get the base gel ombre at the salon, then refresh the top coat every 7 to 10 days at home. Tip: buff lightly before top coat to avoid lifting. I paid $80 for gel ombre last month and kept it perfect for three weeks with a $12 top coat.
Shop this idea:
What You'll Need to Get This Look
Face & Base Essentials
- Base coat ridge filler around $6 to $12
- Sheer pink polish 15ml around $6 to $18
- Milky white polish 15ml around $5 to $16
- Quick-dry top coat 14ml around $7 to $20
Eyes, Brows & Lips
- Nail-sized precision brush set around $6 to $18
- Micro striping brush single around $5 to $12
- Nourishing cuticle oil 10ml around $4 to $15
Clothing Staples
- Cream cashmere crewneck sweater approx $60 to $120
- Silk scarf neutral print approx $18 to $45
- Tailored white shirt slim around $25 to $70
Shoes, Bags & Jewelry
- Gold chunky hoop small around $12 to $40
- Leather tote bag tan medium approx $80 to $200
- Signet ring gold tone around $10 to $35
Budget Swaps
- Drugstore white polish 10ml around $3 to $8 (swap for splurge)
- Nail sticker set variety around $4 to $12 (thrift find alternative)
- Clear nail glue tiny around $3 to $8 (cheaper alternative)
Shopping Tips for These Looks
Seasonal Timing: Buy pearl dust and gold foil off-season when retailers discount holiday items, I scored pearl powder for about $6 in January. Link: Pearl dust powder
Salon vs Home: Get the base gel ombre in salon and maintain at home with a gel-like top coat to save money overall. Example link: Gel top coat home
Thrift + New Hack: Mix thrifted gold rings with a new micro rhinestone mani for contrast, I often find signet rings at local thrift stores and pair them with affordable crystals. Link: Micro rhinestone nail kit
2025 Trend Tip: Expect more tonal ombre and fabric-inspired finishes in 2025; lean into pearl and satin top coats for that editorial look. Link: Satin top coat pro
Timing Your Touch-Ups: Do a light top-coat refresh mid-week to extend wear; I always travel with a mini top coat and a 5ml remover pot. Link: Quick-dry top coat 14ml
Frequently Asked Questions
Q: How long do white ombre nails last?
A: At-home polish ombre lasts about 5 to 10 days with a good base and top coat. For 2 to 3 week wear, consider salon gel ombre then refresh at home with Gel top coat home.
Q: Will white tips make my nails look yellow?
A: Pure white can pick up stains from sun or products, especially on beaches or if you use self-tanner. A warm beige base or pearly top coat helps; try Warm beige nail polish.
Q: Can I do an ombre on short nails?
A: Yes, keep the gradient tight to the tip and use thinner sponging for a natural effect. I use Nail sponges small pack for short nails.
Q: What’s the easiest accent to add that still looks polished?
A: A micro rhinestone or a single gold foil flake on the ring finger. Both are quick and low risk; try Gold nail foil sheets.
Conclusion
Start with the simplest change, like switching to a satin top coat or adding a micro foil, and see how often you reach for it. My final tip: photograph the mani in daylight before you leave the house, it shows small flaws you can fix fast. Which of these 19 white ombre ideas will you try first?


