








I cried during my ceremony and still got compliments on my makeup. These 17 graduation makeup ideas are exactly what I wore that day, mostly under $30 with a few splurges around $120. Graduation makeup ideas that survive tears rely on texture, waterproof choices, and small outfit details that keep everything polished even after hugs and photo-ops. A 2016 study in Frontiers in Psychology even found crying can help regulate emotion, so plan for it.
I aimed for clean, slightly elevated looks that work for all tones and sizes. Most products are under $30, a couple splurges near $100 to $120. These suit clean girl, soft glam, and capsule-style grads. I’ve noticed cream textures and brown mascaras are trending for 2025 skin-first beauty.
1. Cream Blush Trio For Lit-From-Within Glow
Style: Clean Girl | Budget: Under $30 | Best For: All undertones
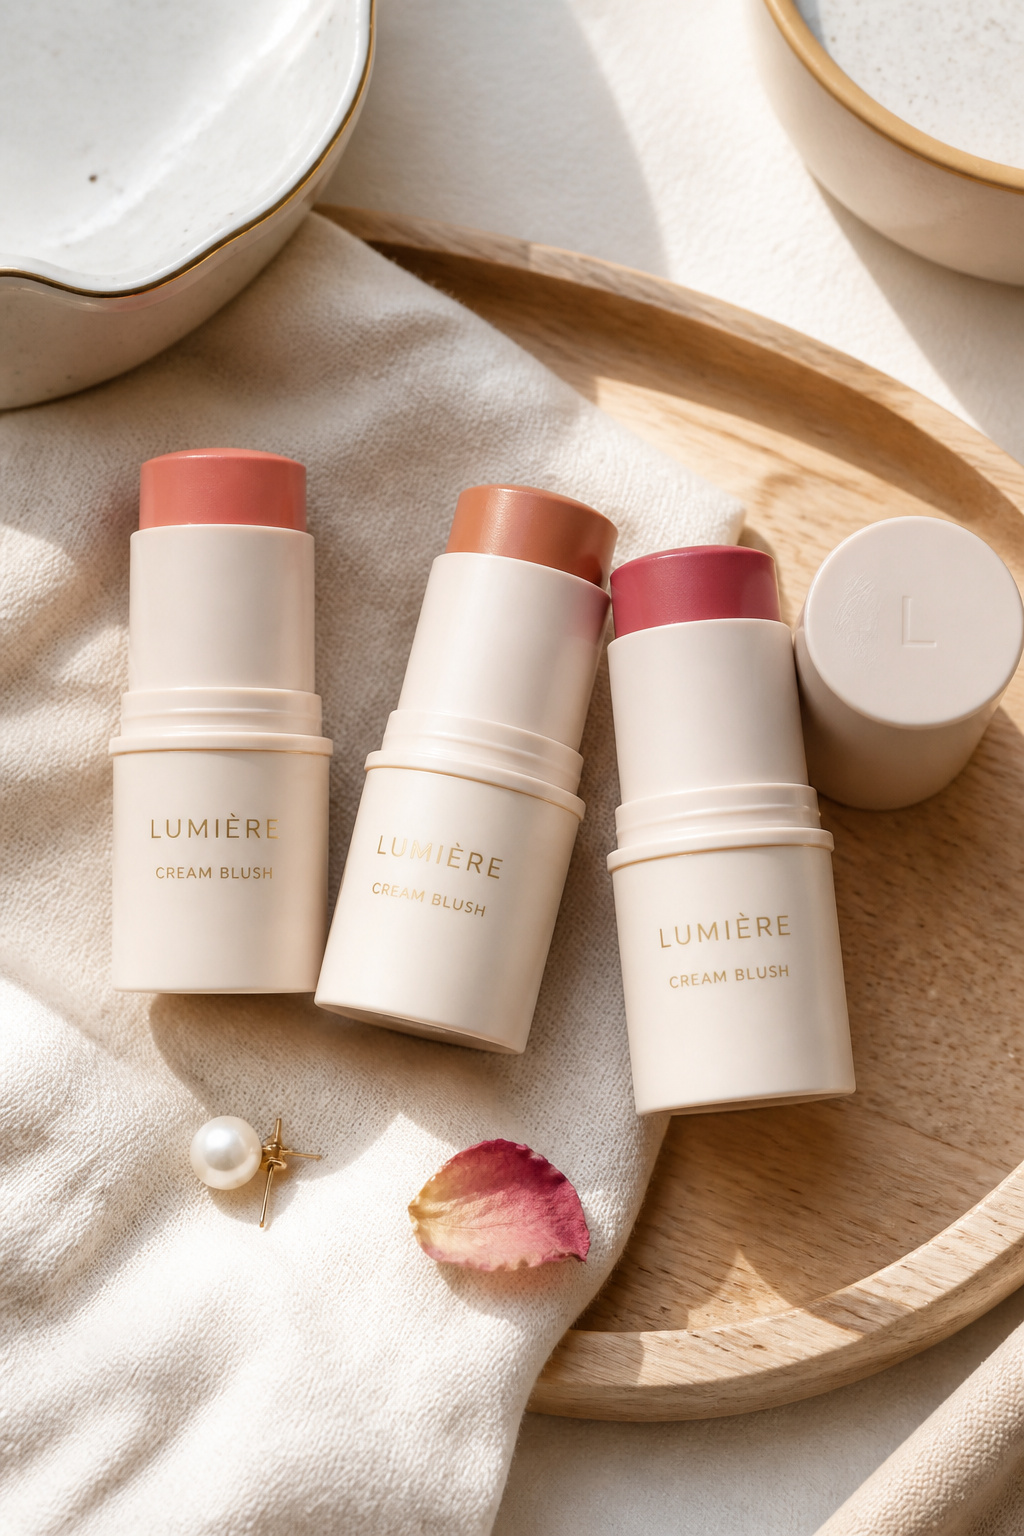

Cream blush survives tears better than powder when blended into skin. I swipe a peach cream blush and tap with a damp sponge so it looks skinlike, not painted. Tip: use the same peach on lips as a single-step tonal flush. I picked up a travel trio at Ulta during a sale for around $18 to $28 and got a compliment from my aunt mid-ceremony.
Shop this idea:
2. Tinted SPF Base For Photo-Ready Skin
Style: Soft Glam | Budget: Under $35 | Best For: Combination skin
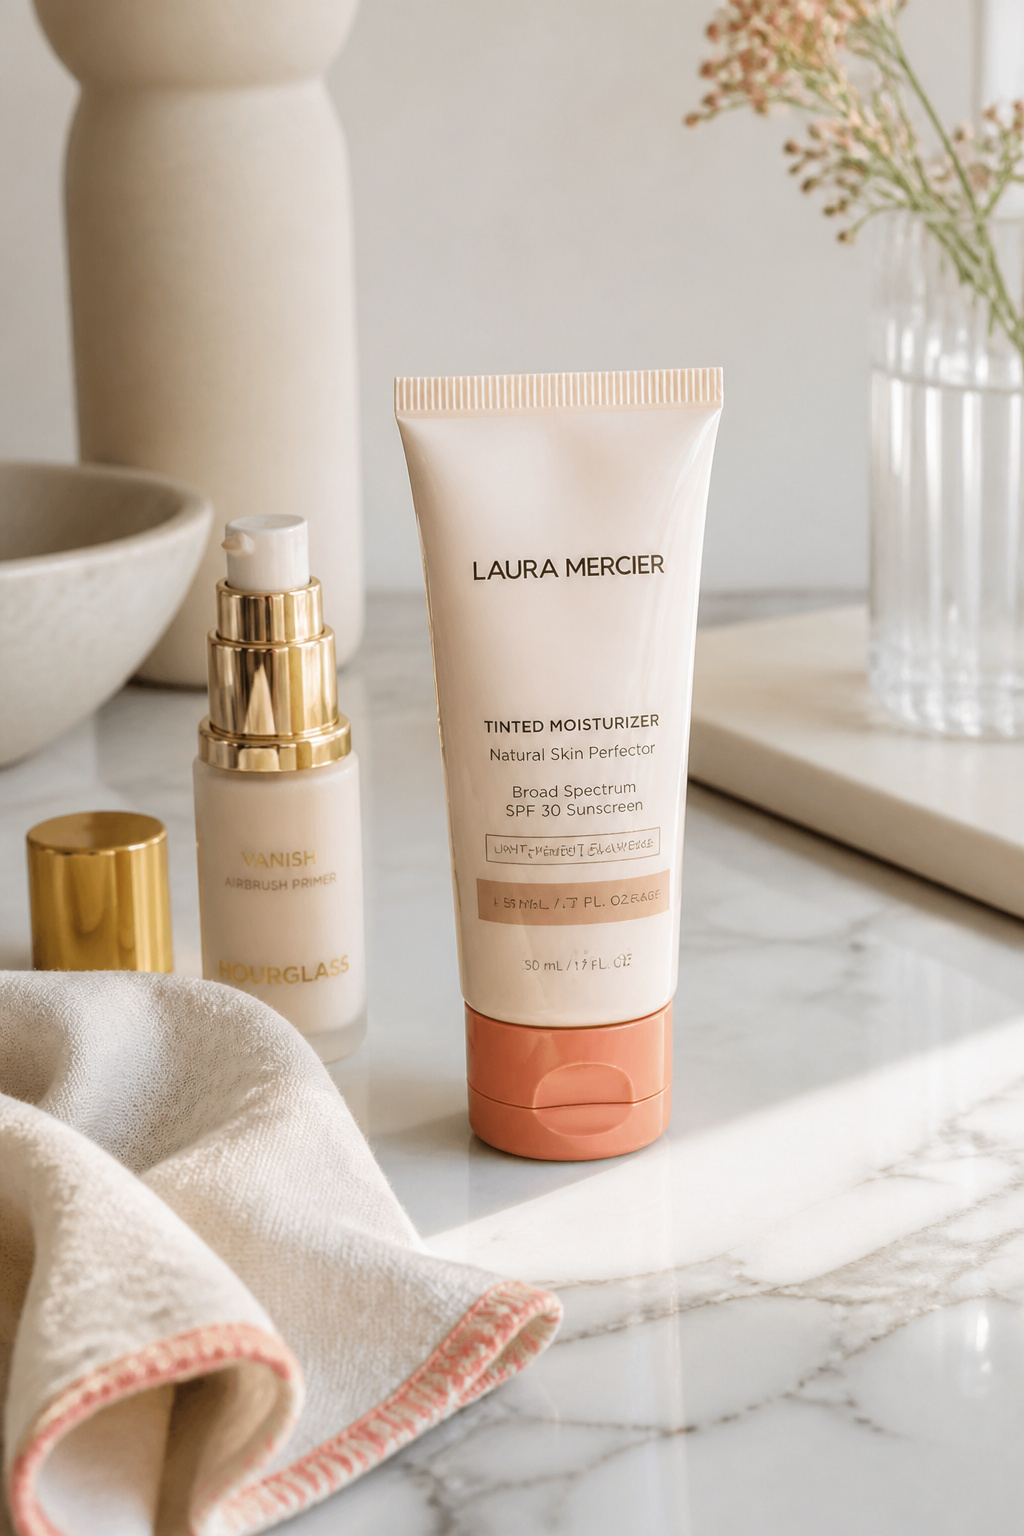

The trick is protection plus polish. A tinted SPF evens tone and protects skin so you can skip heavy foundation that melts under emotion. I like a sheer SPF with a dewy finish applied with fingers and set lightly where I crease. Found mine for about $28 to $36 online, and it cut down flashback in photos.
Shop this idea:
3. Brown Waterproof Mascara For Natural Definition
Style: Clean Girl | Budget: Under $20 | Best For: Those who cry easily
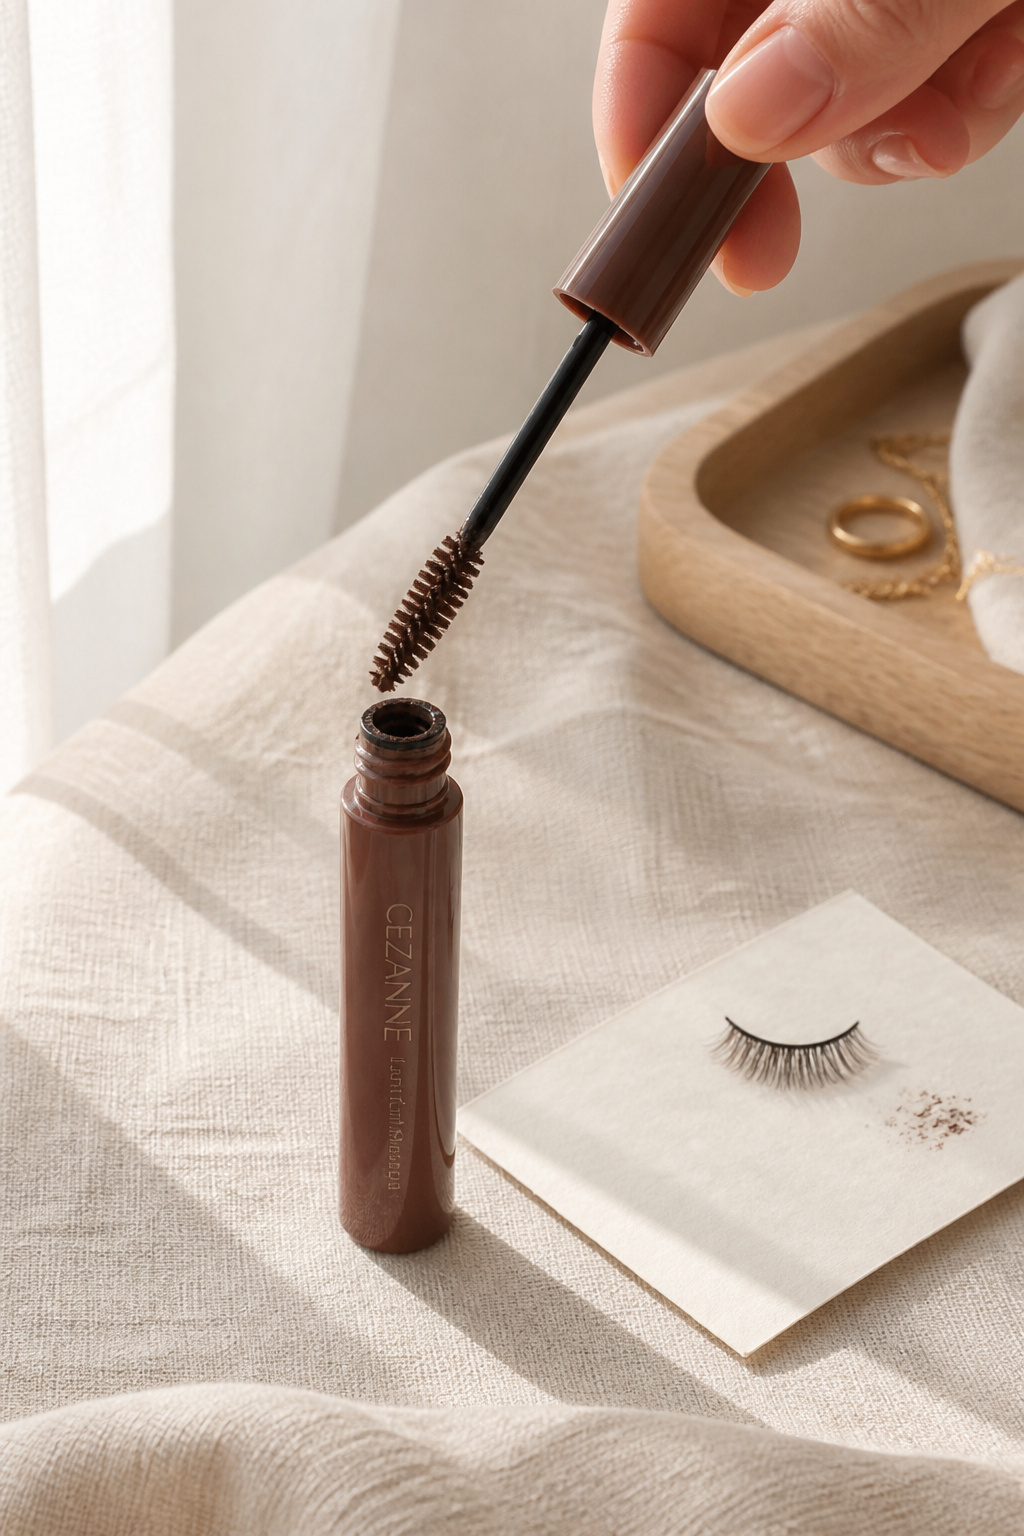

Black waterproof can look harsh up close. A brown waterproof mascara gives lift and reads softer in photos while resisting tears. I always comb through lashes with a clean spoolie after drying to remove tiny flakes. I bought a drugstore brown waterproof for about $9 to $15 and avoided panda eyes during family hugs.
Shop this idea:
4. Smudge-Proof Gel Liner For Crisp Eyes
Style: Soft Glam | Budget: Under $25 | Best For: Hooded lids
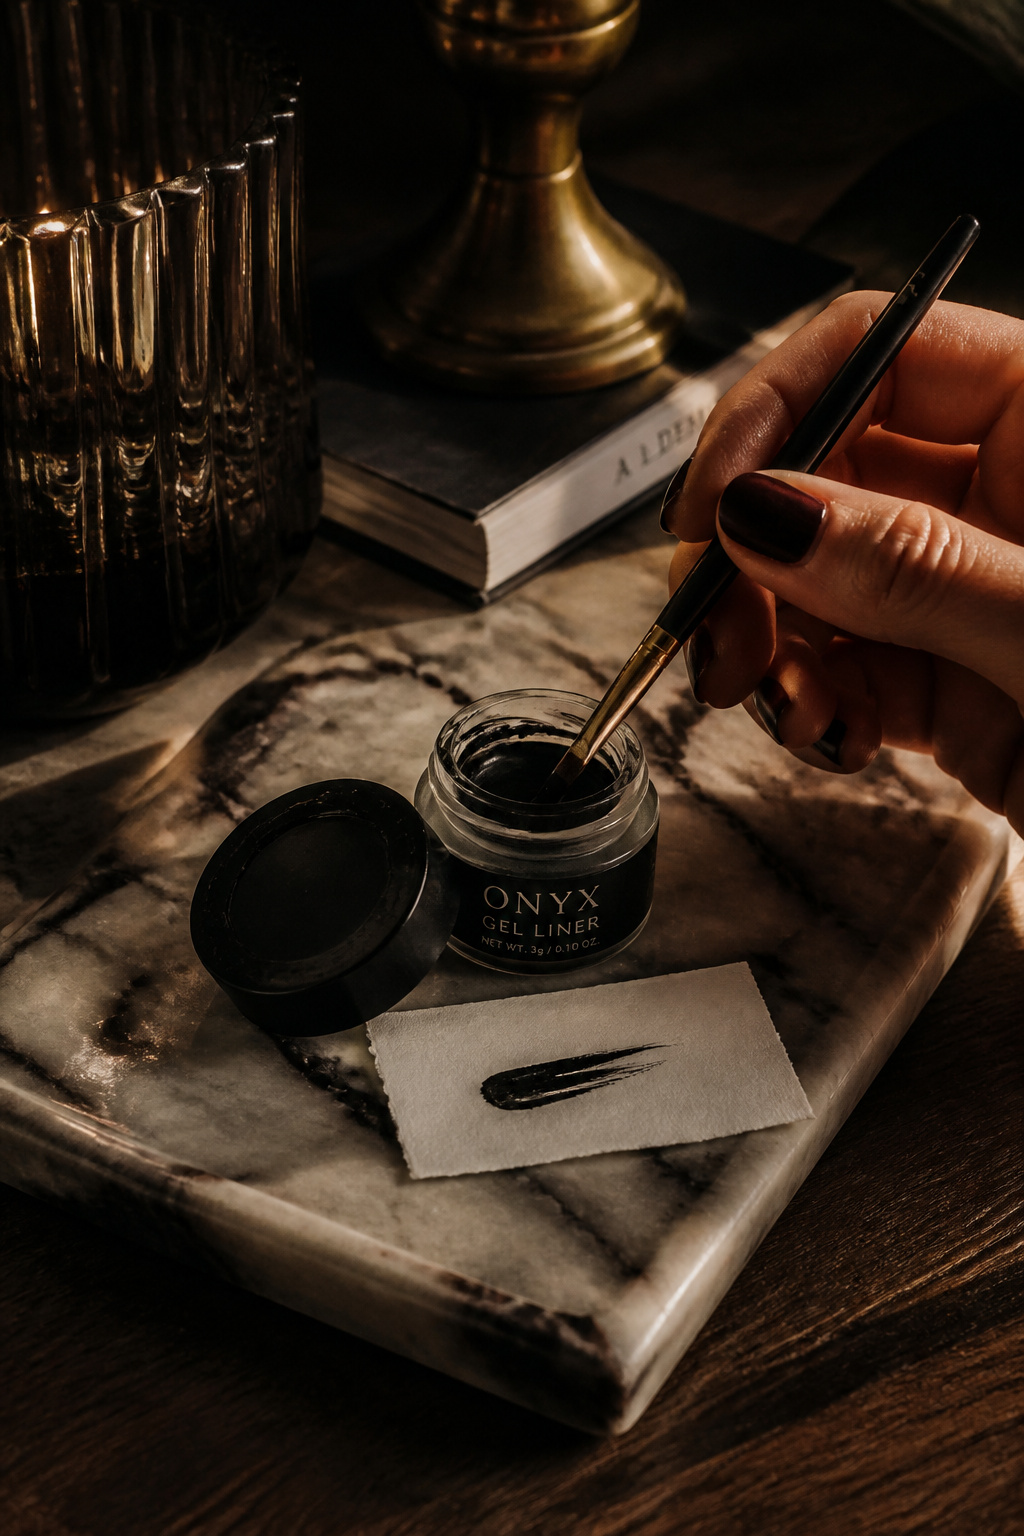

Gel liner that sets into a waterproof film is clutch for tear-prone moments. The application tip: apply thinly along upper lash line, let dry 10 seconds, then press a tiny shadow on top to lock it. I learned the hard way that pencil liners smudge at the outer corner; switched to gel and never looked back. Found a reliable gel pot around $12 to $22.
Shop this idea:
5. Cream Shadow Stick For One-Product Eye
Style: Minimal | Budget: Under $20 | Best For: Busy grads


One swipe of a taupe cream shadow stick gives depth and survives a tear because it blends into the skin. I smudge it with my ring finger and finish with a tiny dab of cream highlighter at inner corner. Pro tip: choose a satin finish for photos, not glitter. I bought a cult favorite for about $14 to $24 at a local beauty counter.
Shop this idea:
6. Tinted Lip Balm And Long-Wear Stain Combo
Style: Fresh | Budget: Under $25 | Best For: All lip types
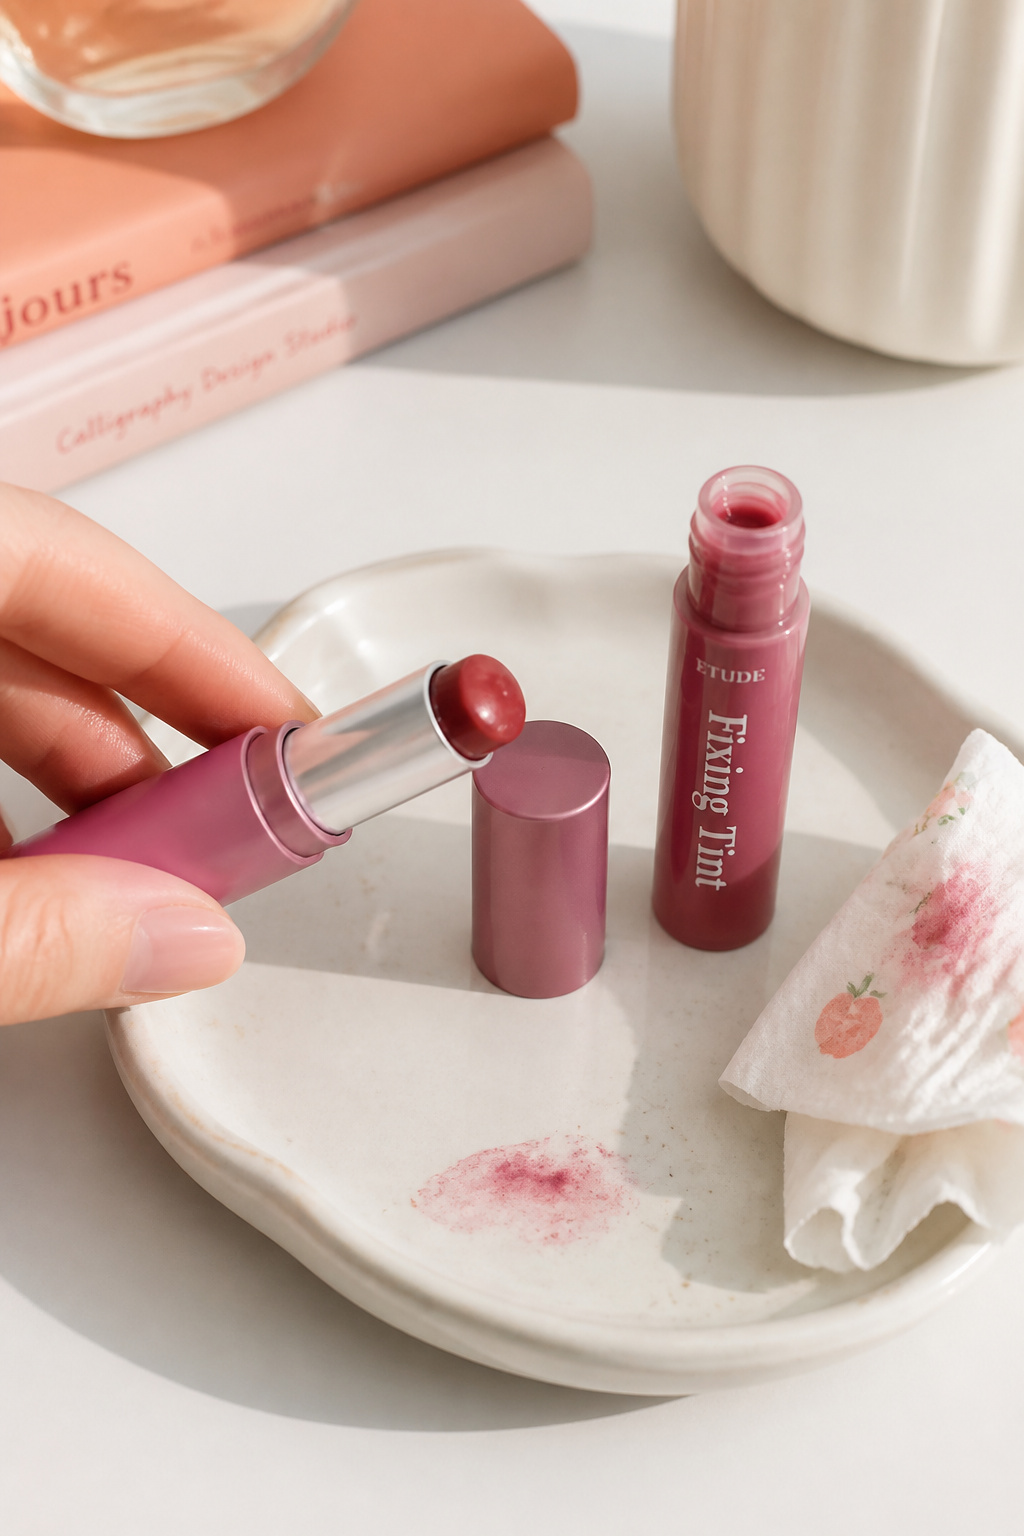

Layer a tinted balm for moisture, then blot a long-wear stain to lock color where tears won’t smudge it off. My embarrassingly smeared kiss-proof test involved a napkin and a sweaty hug; balm kept lips comfy, stain kept color. Expect to spend around $12 to $22 for both. Choose a balm with gloss finish for photos.
Shop this idea:
7. Lightweight Setting Spray With Dewy Finish
Style: Soft Glam | Budget: Under $30 | Best For: Dry to normal skin
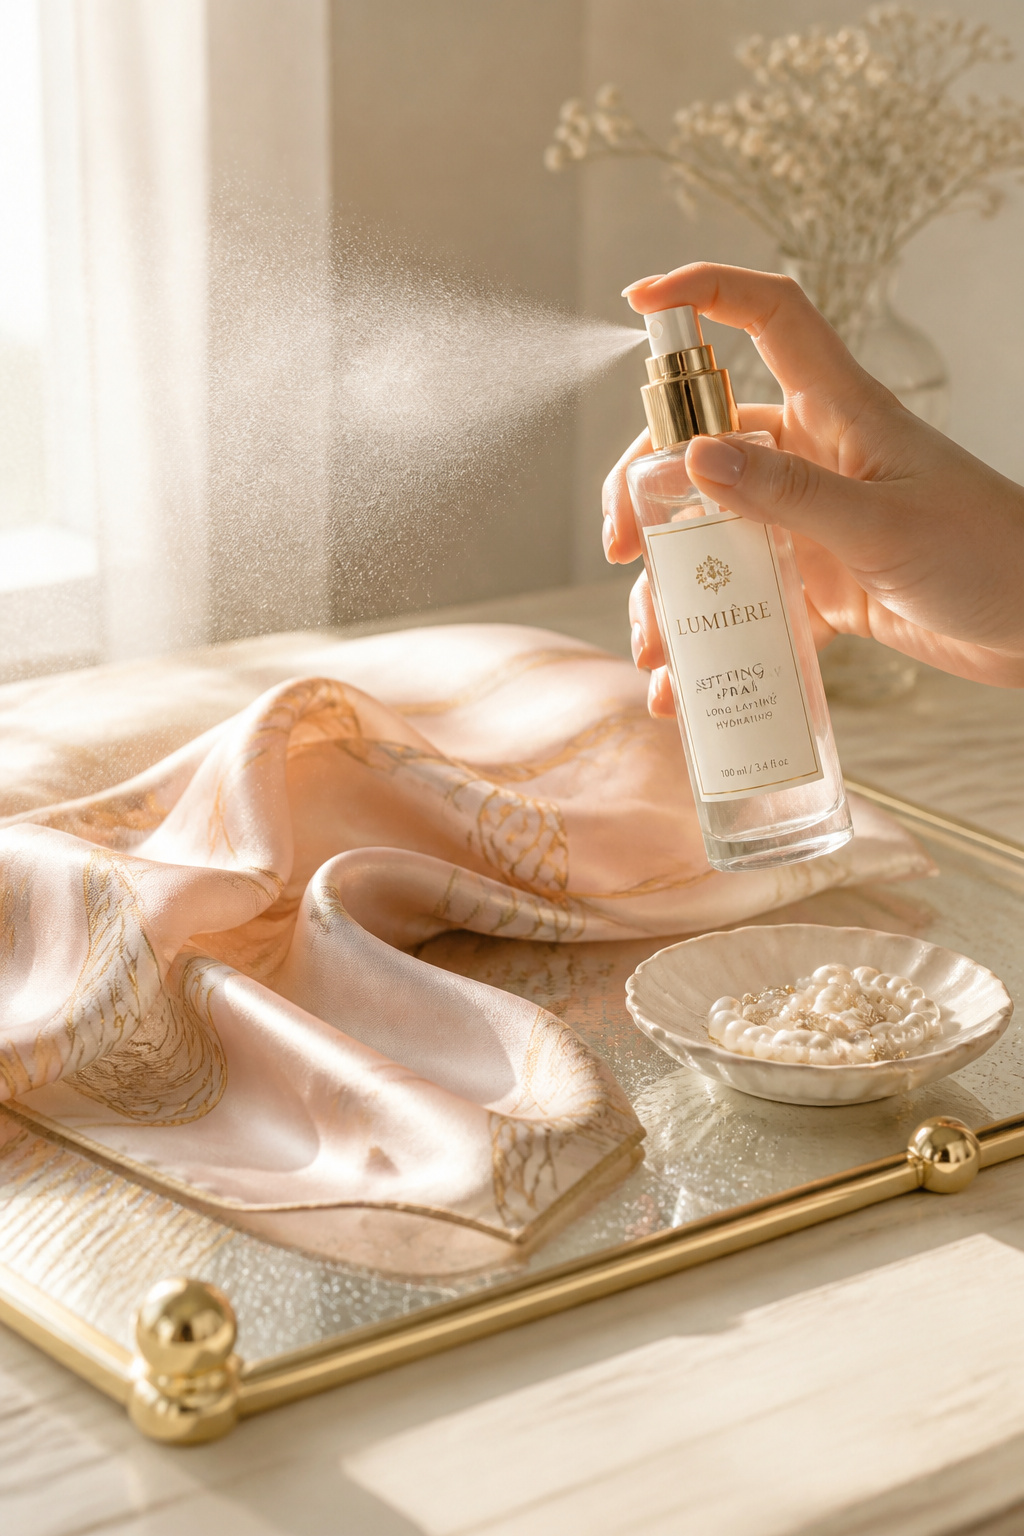

A fine, hydrating setting spray keeps makeup melded to skin and reduces creasing from tears. I spritz three times, once before photos and once lightly after leaving the cap toss. Ugly truth: setting sprays do not fix heavy, oily foundation; they help finished skin. I use a travel size for around $10 to $18 to avoid bringing big bottles in my bag.
Shop this idea:
8. Brow Gel For Groomed, Hands-Off Brows
Style: Clean Girl | Budget: Under $18 | Best For: Sparse brows
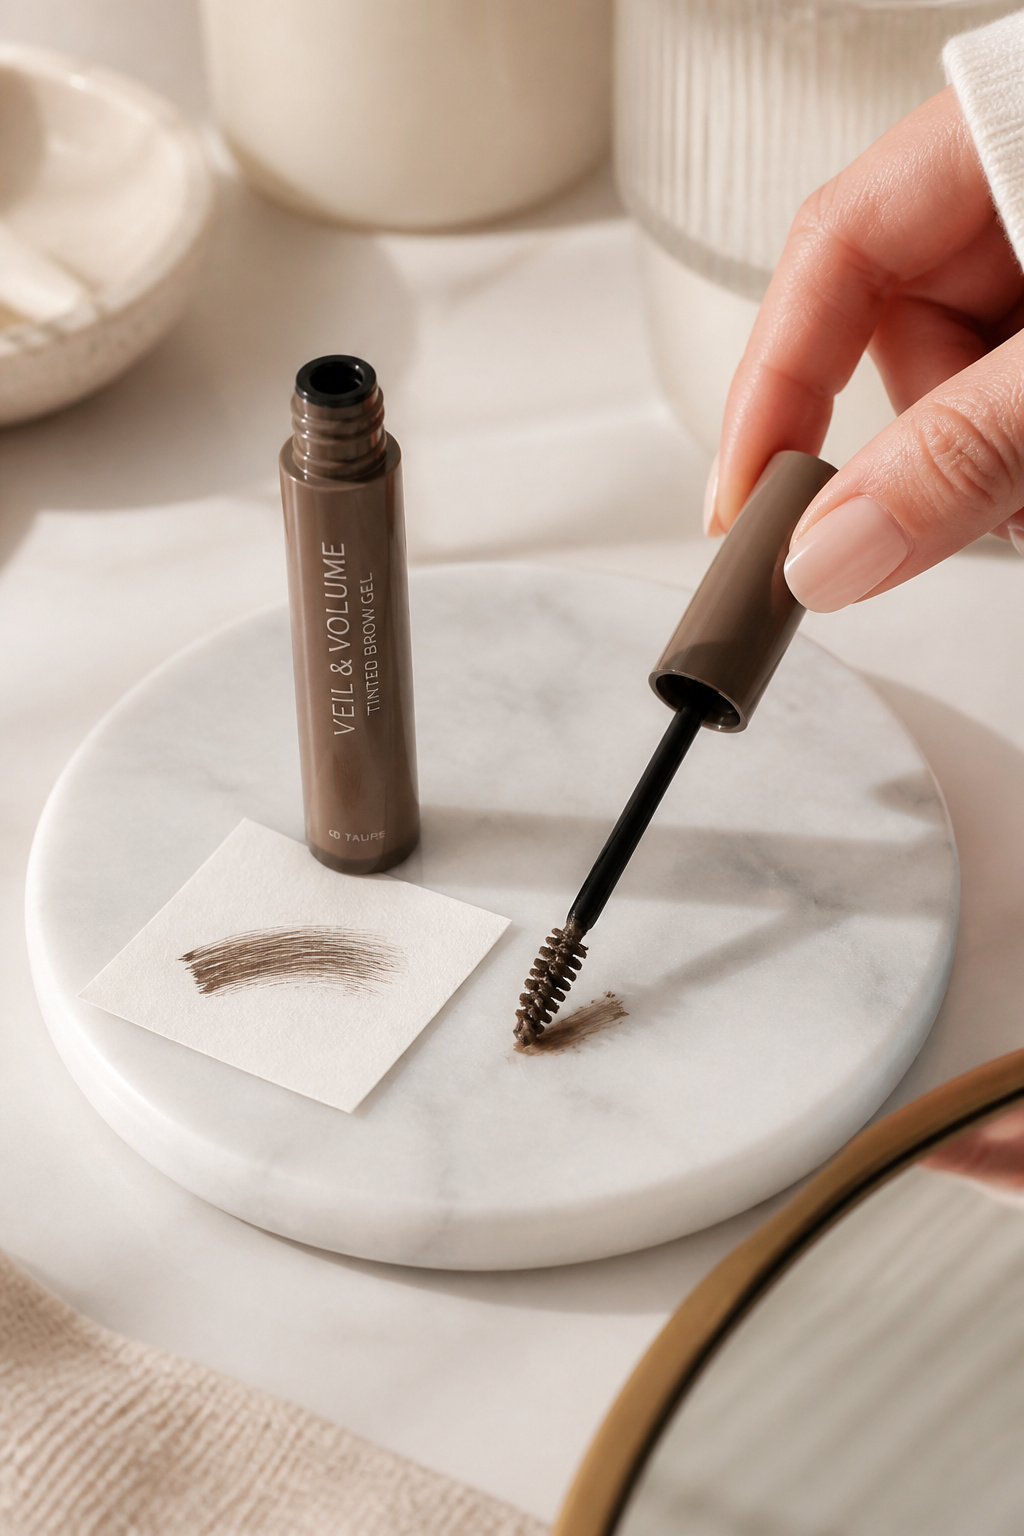

The trick is feathery brows that survive hugging and happy tears. Use a tinted brow gel to set hairs and add depth without drawing harsh lines that smear. I once over-tweezed and learned brow gel makes a world of difference. Pick one around $8 to $16 that dries to a soft hold.
Shop this idea:
9. Soft Matte Contour In Low Contrast
Style: Classic | Budget: Under $30 | Best For: Photographs
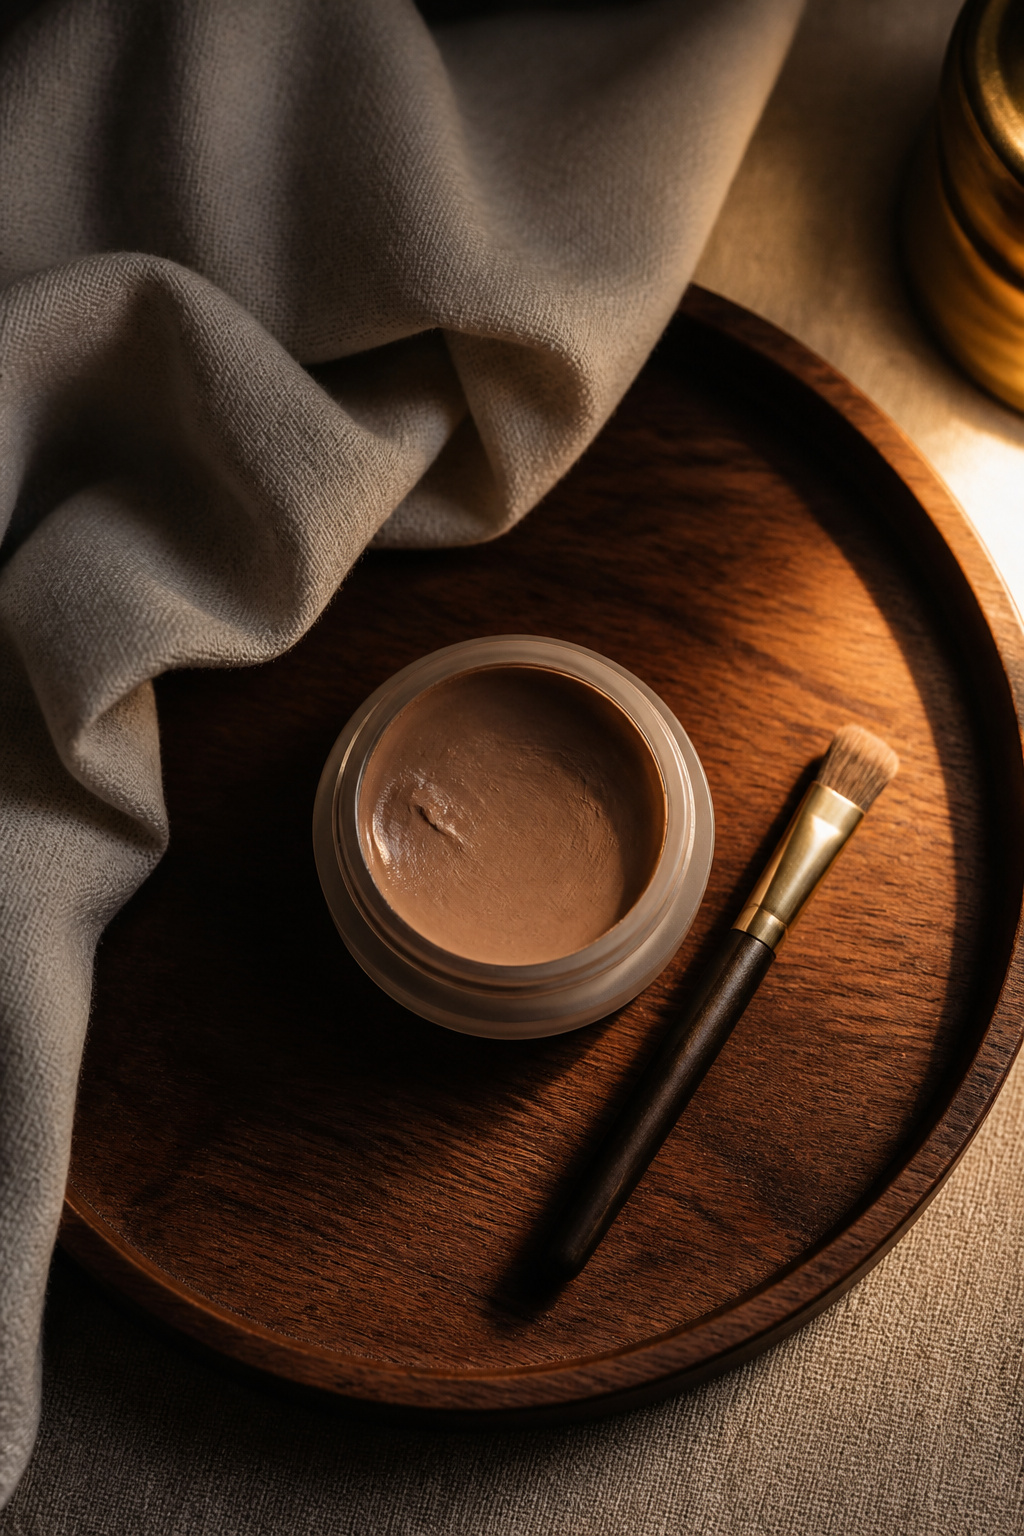

Hard contour reads heavy in photos and breaks up with sweat. I use a low-contrast, soft matte contour in a cream formula to sculpt without obvious lines. Apply sparingly under cheekbones and blend up. Learned that over-contouring makes you look tired in close-ups; subtlety lasts through emotions. Found a reliable cream contour for about $15 to $28.
Shop this idea:
10. Cream Topper Highlighter For Deceptive Longevity
Style: Glowy | Budget: Under $22 | Best For: Mature skin


Powder highlighters can cake when tears mix with oils. A creamy champagne topper applied where light hits gives a believable glow that moves with skin. The tip is to tap, not swipe, for a thin veil. I used a mini for touch-ups and avoided the greasy halo some powders create. Price: about $12 to $20.
Shop this idea:
11. Gloss Over Lipstick For Fresh Finish
Style: Bold & Fresh | Budget: Under $20 | Best For: Those who want impact
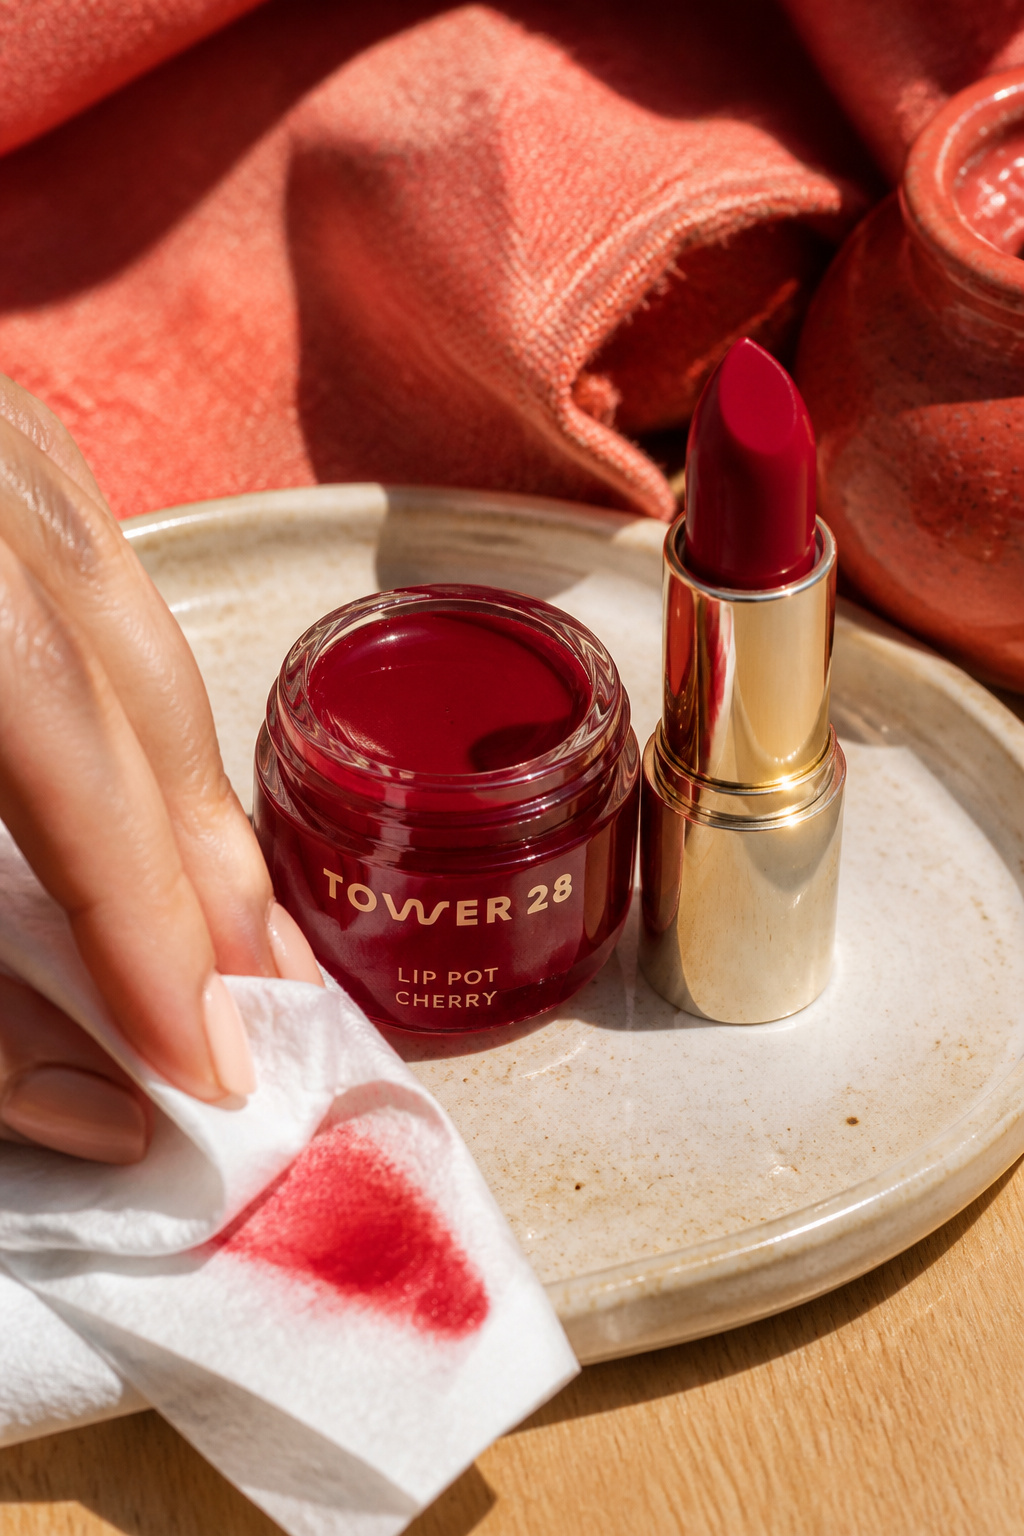

A satin lipstick topped with a thin gloss looks fresh in photos and will blur a little with tears without disappearing. I prefer pigmented satin underneath and a clear or sheer gloss on top for shine that doesn’t migrate. Ugly truth: high-shine gloss attracts cheek prints on photos, so blot lightly. I paid about $14 to $22 for the combo and it lasted through a few happy tears.
Shop this idea:
12. Half-Up Hair With Silk Scarf For Polished Photos
Style: French Girl | Budget: Under $25 | Best For: Medium to long hair
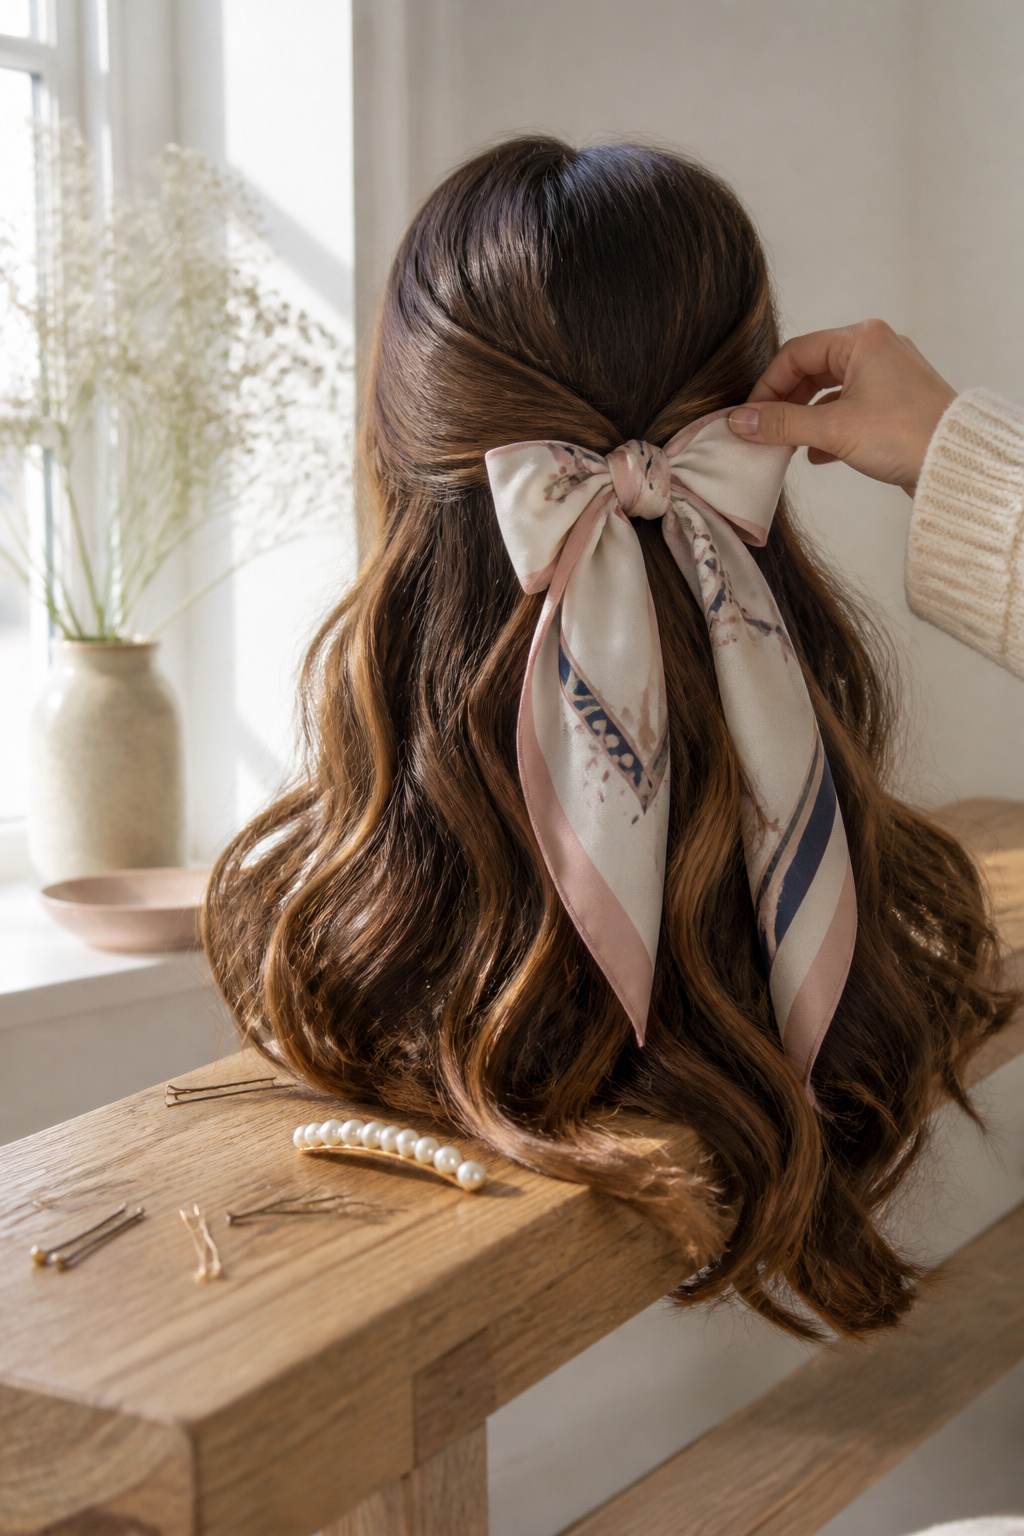

A half-up tied with a silk scarf keeps hair off your face for emotional photos and reads pulled together in pictures. I learned that tiny stray hairs look intentional with a bit of texture spray. If wind is likely, secure the knot with a discreet pin. A vintage scarf find at a thrift store cost me about $8 to $18 and became my ceremony accessory.
Shop this idea:
13. Chunky Gold Hoops To Elevate A Simple Gown
Style: Old Money Vibe | Budget: Under $40 | Best For: Minimal outfits
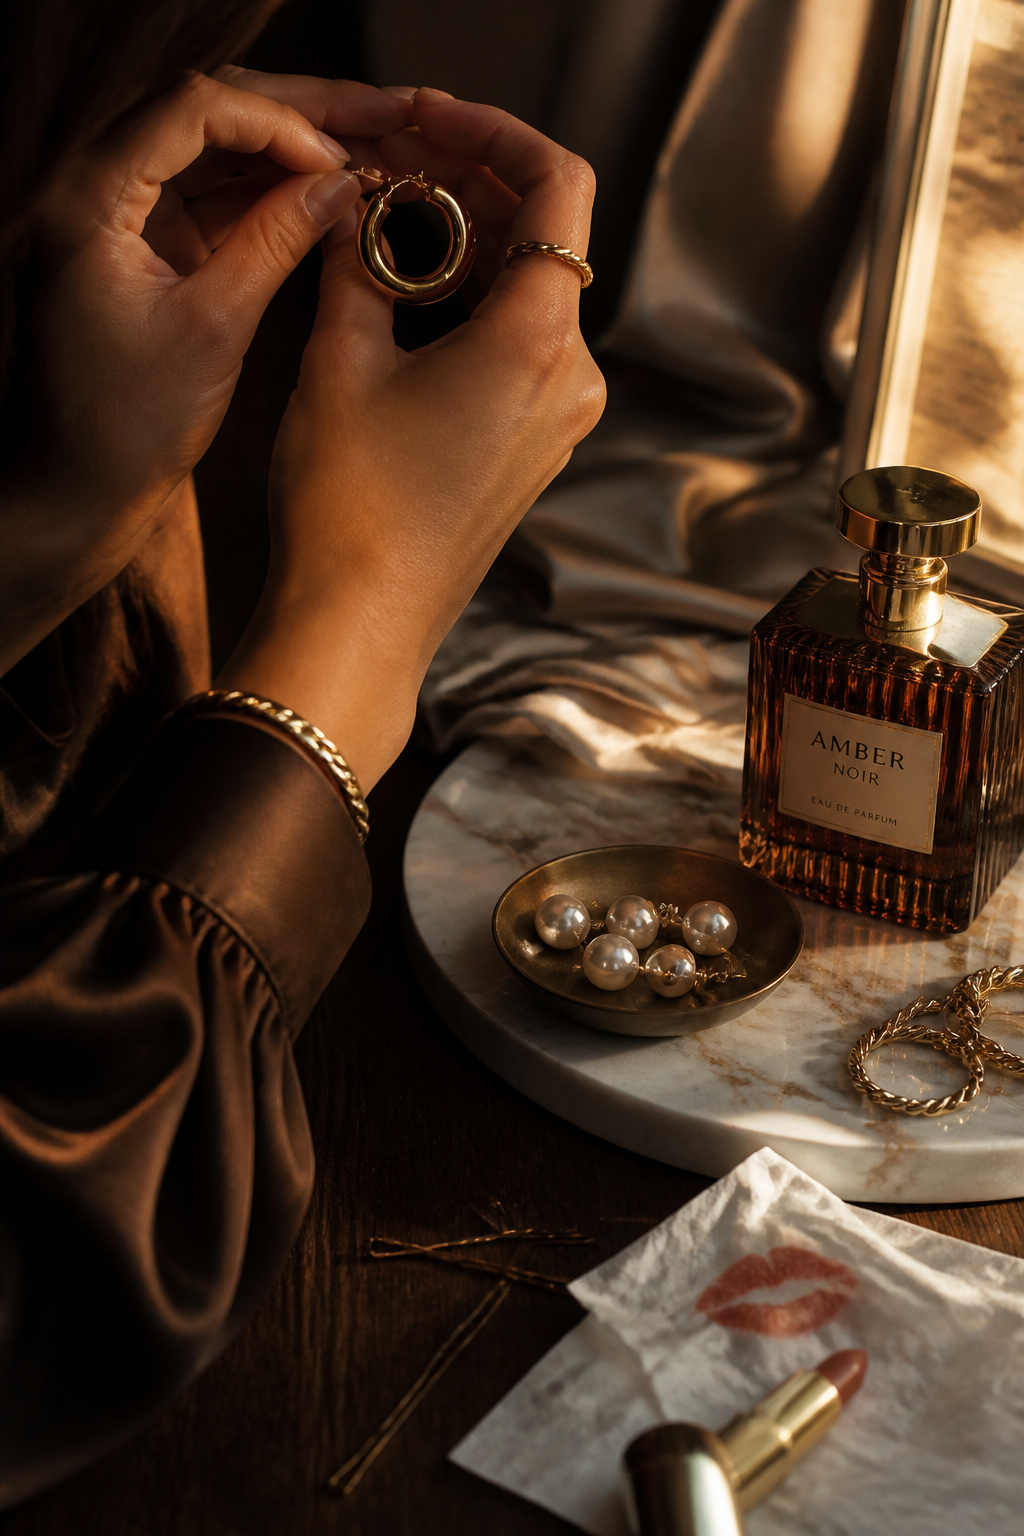

Statement hoops make a simple cap and gown photoset look intentional. Choose lightweight hollow gold-plated hoops so they do not pull on earlobes during long ceremonies. I regretted a heavy pair that tugged after photos; lighter is better. Expect to spend around $18 to $40 for a quality pair.
Shop this idea:
14. Neutral Blazer Over A Slip Dress For Timeless Balance
Style: Tailored | Budget: Under $80 | Best For: Mixed-formal events
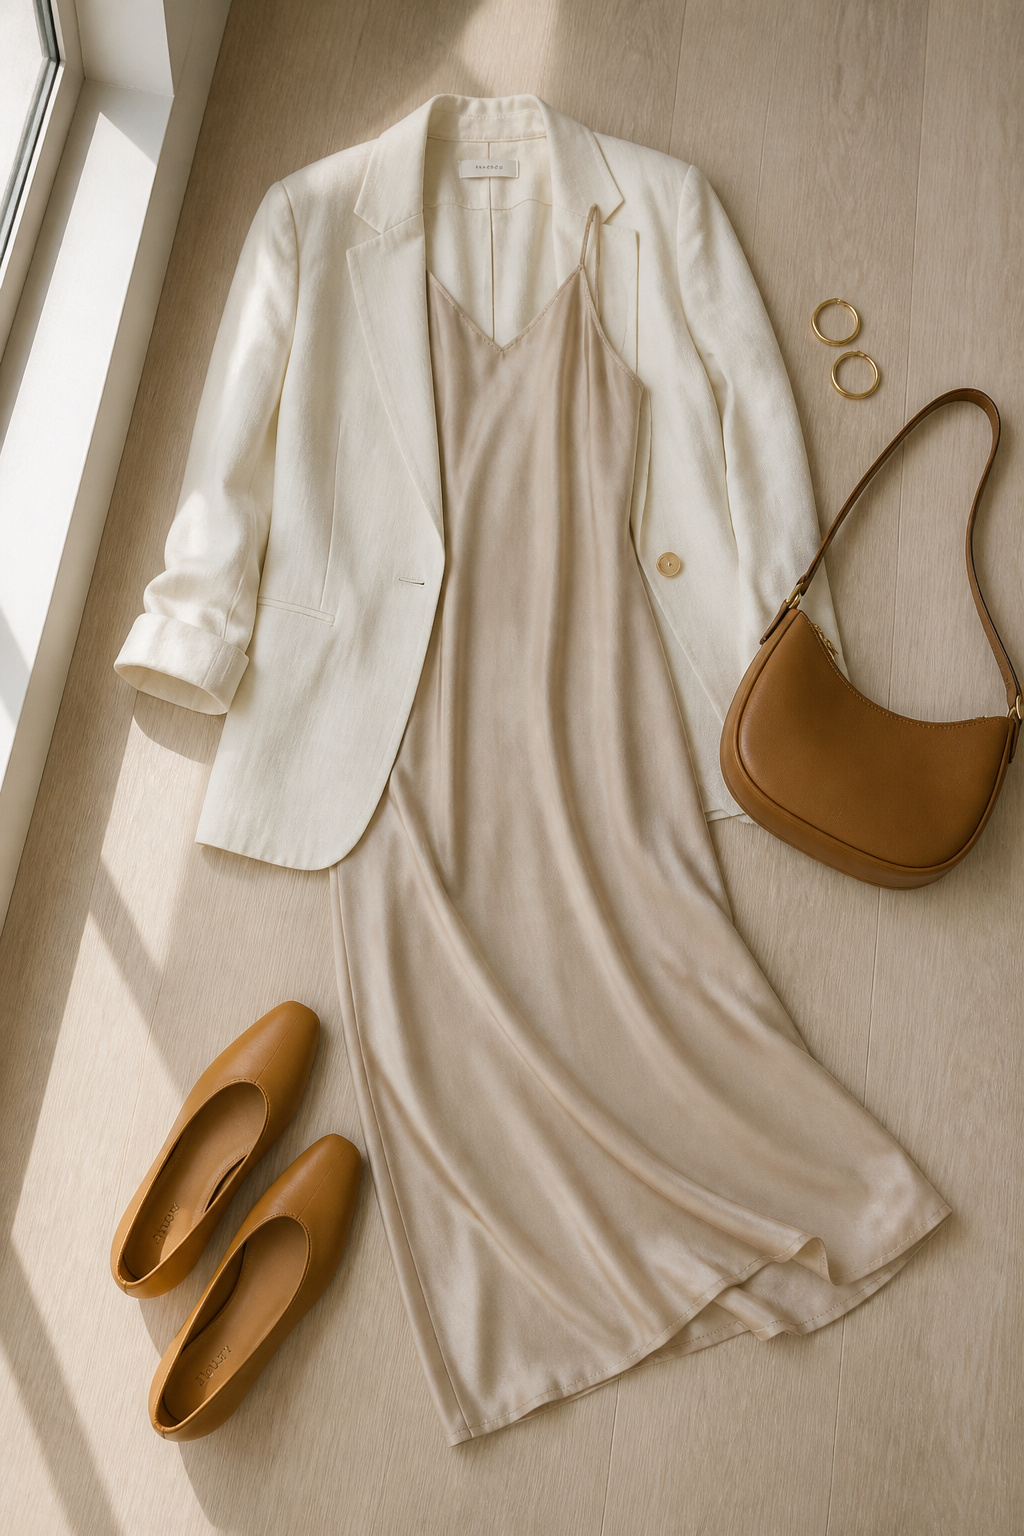

A structured blazer keeps the look polished in photos and hides creased straps after hugging. I threw mine on between ceremony and reception and it instantly looked less dressy and more intentional. Budget truth: a good blazer can be a splurge, around $60 to $120, but thrifted finds work well too.
Shop this idea:
15. Comfortable Block Heel For Standing All Day
Style: Practical Chic | Budget: Under $90 | Best For: Long ceremonies
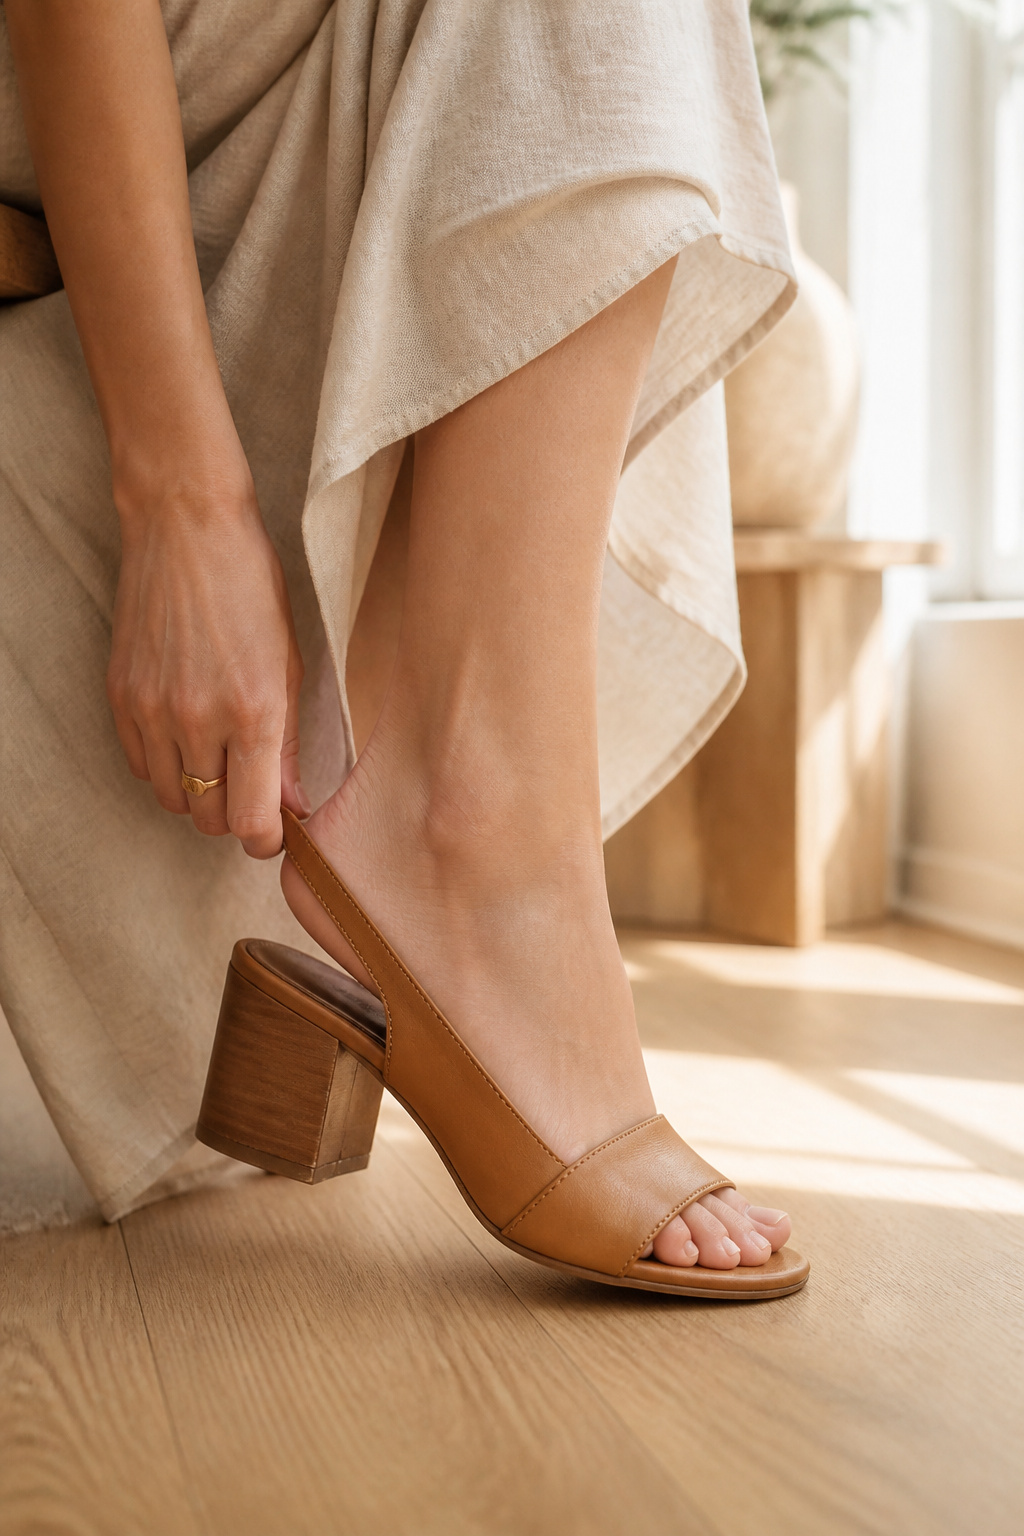

Nothing ruins photos like limping. A low block heel or smart loafer adds height without pain and looks more intentional than sneakers unless your vibe is casual. I tested two sizes in-store and went with a half size up for foot swelling on hot days. Expect to spend about $50 to $90 or find dupes for less.
Shop this idea:
16. Small Crossbody For Hands-Free Moments
Style: Capsule | Budget: Under $70 | Best For: Grad who needs pockets
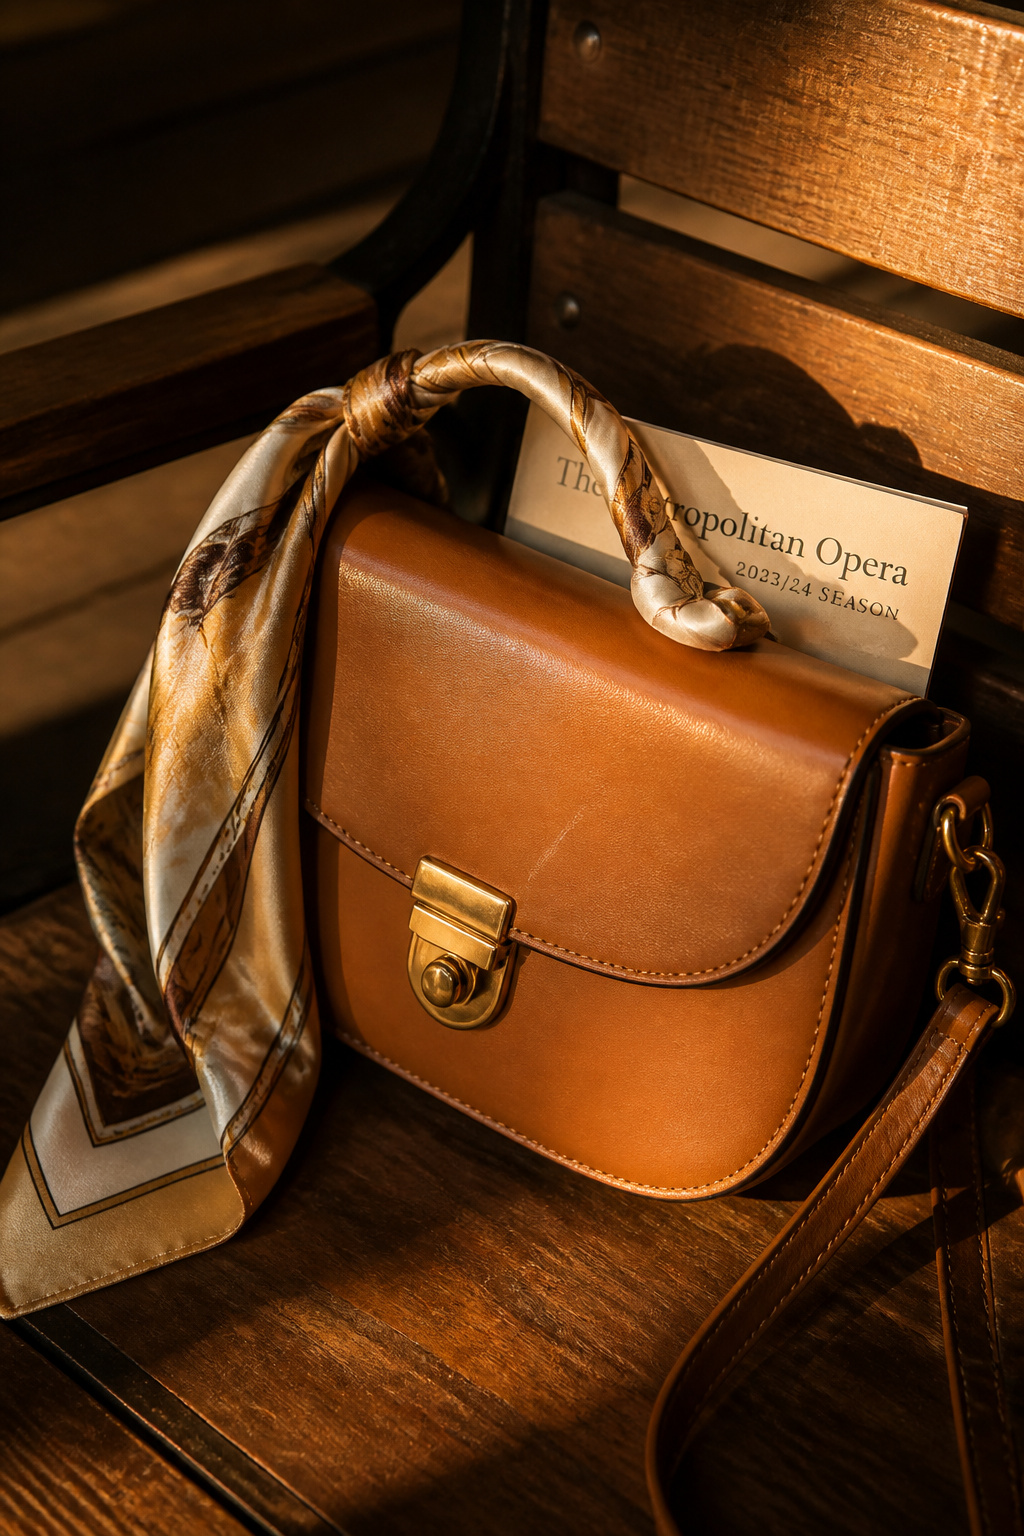

Keep essentials secure so you can hug without losing your phone or lippy. A compact crossbody with an inside zip pocket is my go-to. I once kept receipts and a tissue in mine and it saved the day. Look for sizes labeled small or mini, around $40 to $70, or snag a sale find for less.
Shop this idea:
17. Emergency Touch-Up Kit With Blotting Papers
Style: Practical | Budget: Under $25 | Best For: Oily skin and nervous criers
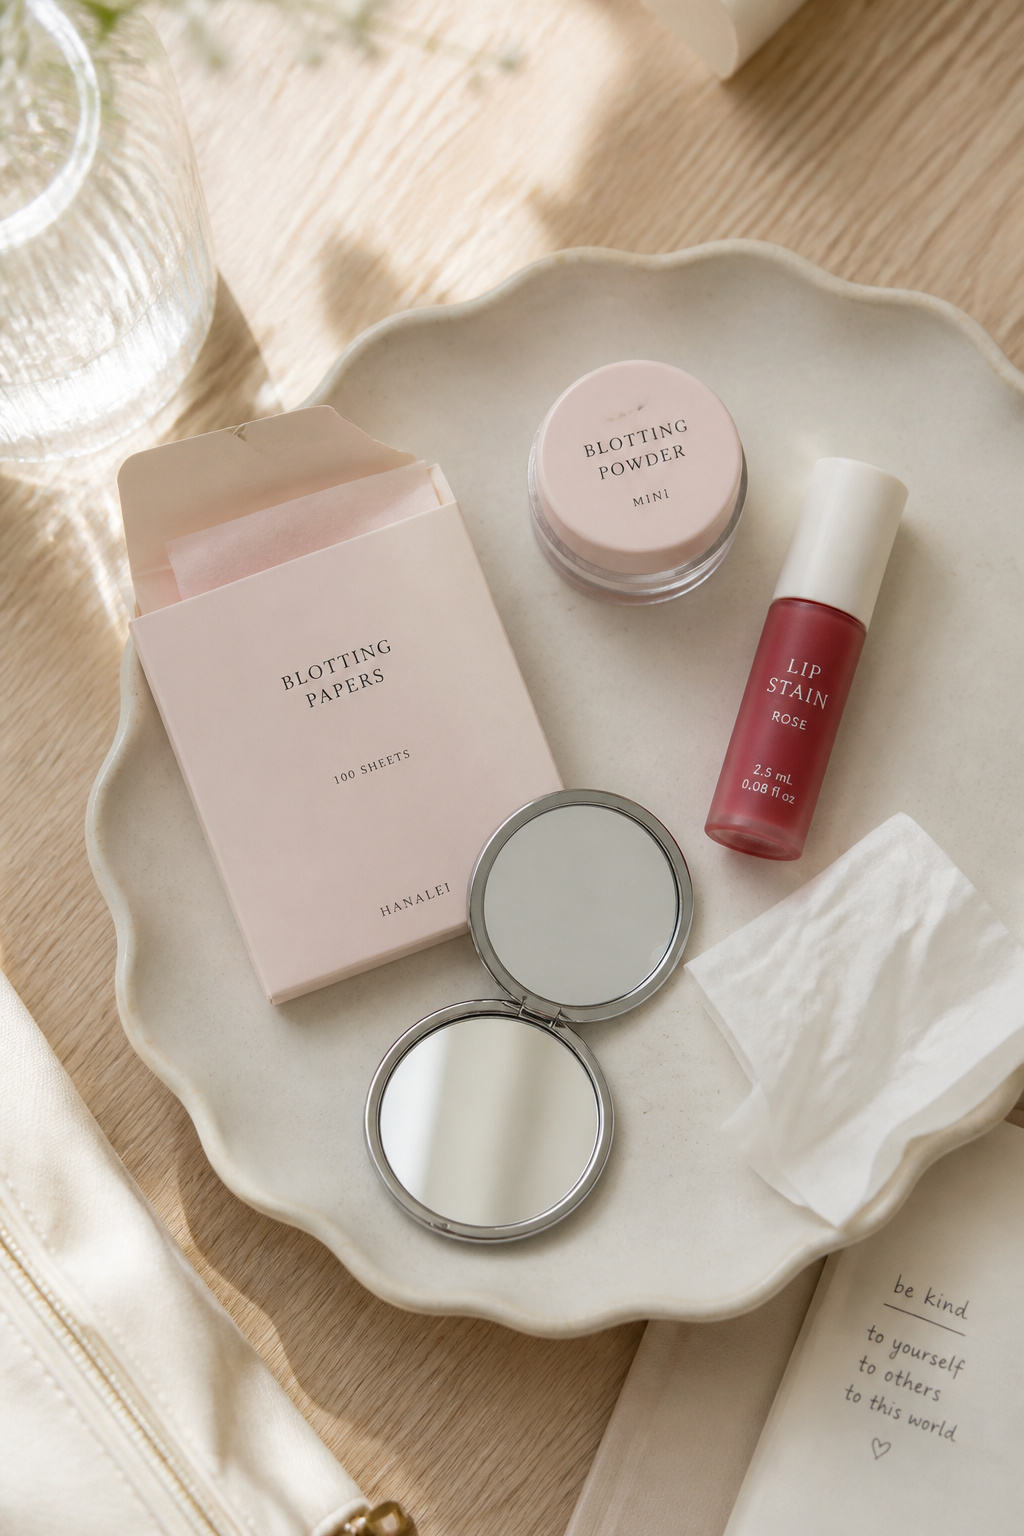

Pack blotting papers, a mini lip stain, a pressed translucent powder, and a travel-sized setting spray. I learned that blotting papers are the unsung hero; they remove shine without smearing waterproof mascara. I threw everything into a clear pouch for quick access and topped up during the photo line. Kit cost me about $12 to $22.
Shop this idea:
What You'll Need to Get This Look
Face & Base Essentials
- Tinted SPF sheer medium around $28 to $36
- Cream blush stick warm peach around $12 to $22
- Hydrating setting spray travel around $10 to $18
- Mini translucent powder around $8 to $16
Eyes, Brows & Lips
- Brown waterproof mascara around $9 to $15
- Smudge-proof gel liner pot around $12 to $22
- Tinted brow gel medium brown around $8 to $16
- Tinted lip balm rosy around $6 to $14
Clothing Staples
- Neutral blazer cream small approx $60 to $120
- Silk slip dress beige around $30 to $80
Shoes, Bags & Jewelry
- Tan block heel leather approx $50 to $90
- Small leather crossbody tan around $40 to $70
- Chunky gold hoop earrings around $18 to $40
Budget Swaps
- Mini cream highlighter (drugstore dupe) around $8 to $14
- Small beauty sponge (dupe for a $20 sponge) around $4 to $8
Shopping Tips for These Looks
Timing Sales: Buy a neutral blazer during end-of-season sales for up to 40 percent off, check department sale pages; I found mine in August for $35.
Try Before You Buy: Test mascaras in-store if possible, then buy online if cheaper; many stores allow returns.
Thrift Hack: Look for silk scarves and blazers at local thrift stores; a $10 find can look editor-level when paired with clean makeup. See thrift styling guides.
2025 Trend Note: Skinimalism continues into 2025, meaning cream textures and tinted SPFs will be in stock longer; invest in multiuse sticks.
Pack Small: Buy travel sizes for setting spray and blotting papers to keep in a tiny pouch; travel sets are often cheaper.
Frequently Asked Questions
Q: Will waterproof mascara damage my lashes?
A: No, not if you remove it gently with an oil-based or dual-phase remover. Try a gentle bifunctional remover like Dual-phase eye makeup remover. One extra tip, use a cotton pad pressed for 10 seconds before wiping.
Q: How do I keep cream products from sliding off?
A: Set cream products very lightly with a thin layer of translucent powder where you crease. I recommend Mini translucent powder for touch-ups and to avoid cakey layers.
Q: What’s the easiest lip option that survives tears?
A: Layer a tinted balm under a long-wear stain for comfort and color that stays. Try Long-wear lip stain red. Blot once after applying to set.
Q: Is there a compact emergency kit I can buy?
A: Yes, look for travel makeup pouches prefilled with blotting papers and mini powders like the Travel touch-up kit small. Keep it in your crossbody for quick fixes.
Conclusion
Start with one small swap, like a brown waterproof mascara or a tinted SPF, and you’ll see the most reliable improvement in photos and comfort. My final tip, test products in a live situation once before the big day so you know what melts and what wears. Which look are you trying first at graduation?


