






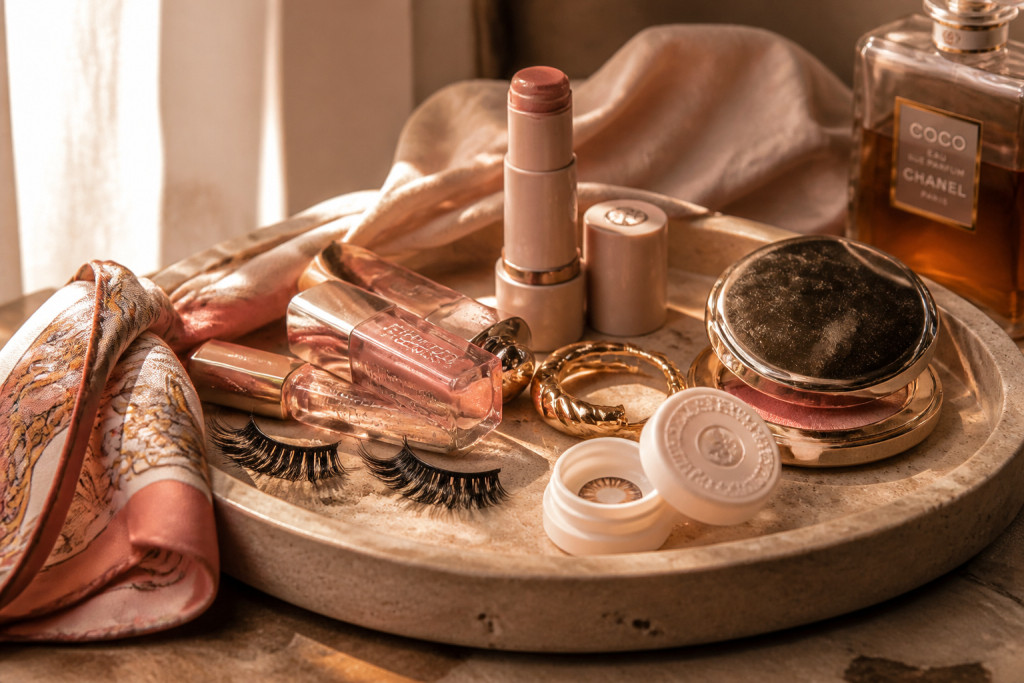

My first time doing full gyaru makeup I spent $48 on lashes, then got stopped on the subway and asked where I learned it. Gyaru makeup is the headline look here: big doll eyes, layered lashes, and glossy lips. I give you 17 exact looks, most under $30 per key product, a few splurges around $90, and real tips I learned after too many clumpy mascaras.
Gyaru is playful, ultra-curated, and very adaptable. Most picks are under $30, a few splurges around $90. These suit petite to tall, warm and cool undertones, and anyone who likes nostalgia-leaning glam. Lately I’ve noticed Pinterest and TikTok leaning into Y2K/nostalgia vibes again, so these feels timely and wearable.
1. Classic Dolly Eye With Brown Gradient Liner
Style: Classic Gyaru | Budget: Under $30 | Best For: Warm undertones, hooded eyes


Result: doll eyes without a harsh black rim. I use a soft brown pencil to draw a thin wing then smudge with a tiny brush for that depth. That trick keeps eyes rounded instead of sharp. I pair it with a brown lengthening mascara to avoid panda drama. I paid $12 at Ulta for the pencil and learned the ugly truth: stiff pencils make jagged lines, not pretty gradients.
Shop this idea:
2. Hime Gyaru Pink Blush and Gloss
Style: Hime Gyaru | Budget: Under $40 | Best For: Fair to medium skin, cool undertones
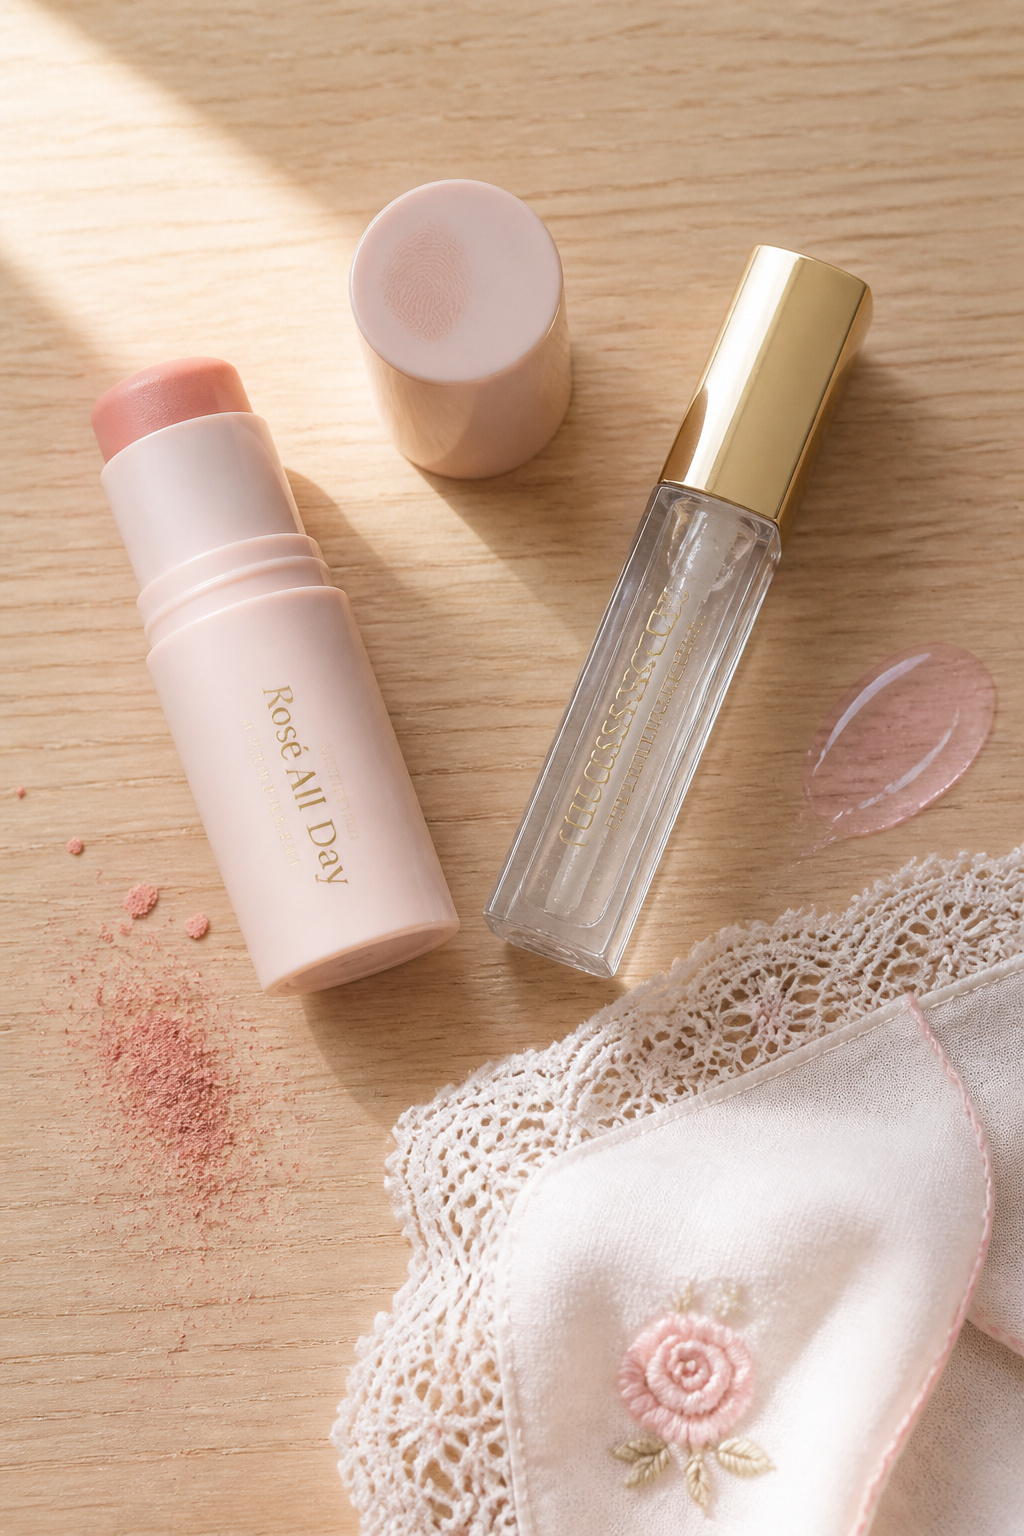

Result: princess cheeks that read youthful, not clownish. I dab a cream blush in cool baby pink on apples and blend upward. Top with a high-shine clear gloss for juicy lips. Tip: use a small sponge to diffuse edges. I once overblended into my nose bridge and looked sunburned. Bought the cream stick for about $16 at a local mall kiosk during a sale.
Shop this idea:
3. Doll Eye With Circle Lenses and Natural Lashes
Style: Kogyaru Inspired | Budget: Circle lenses under $30 | Best For: Small eyes wanting expansion
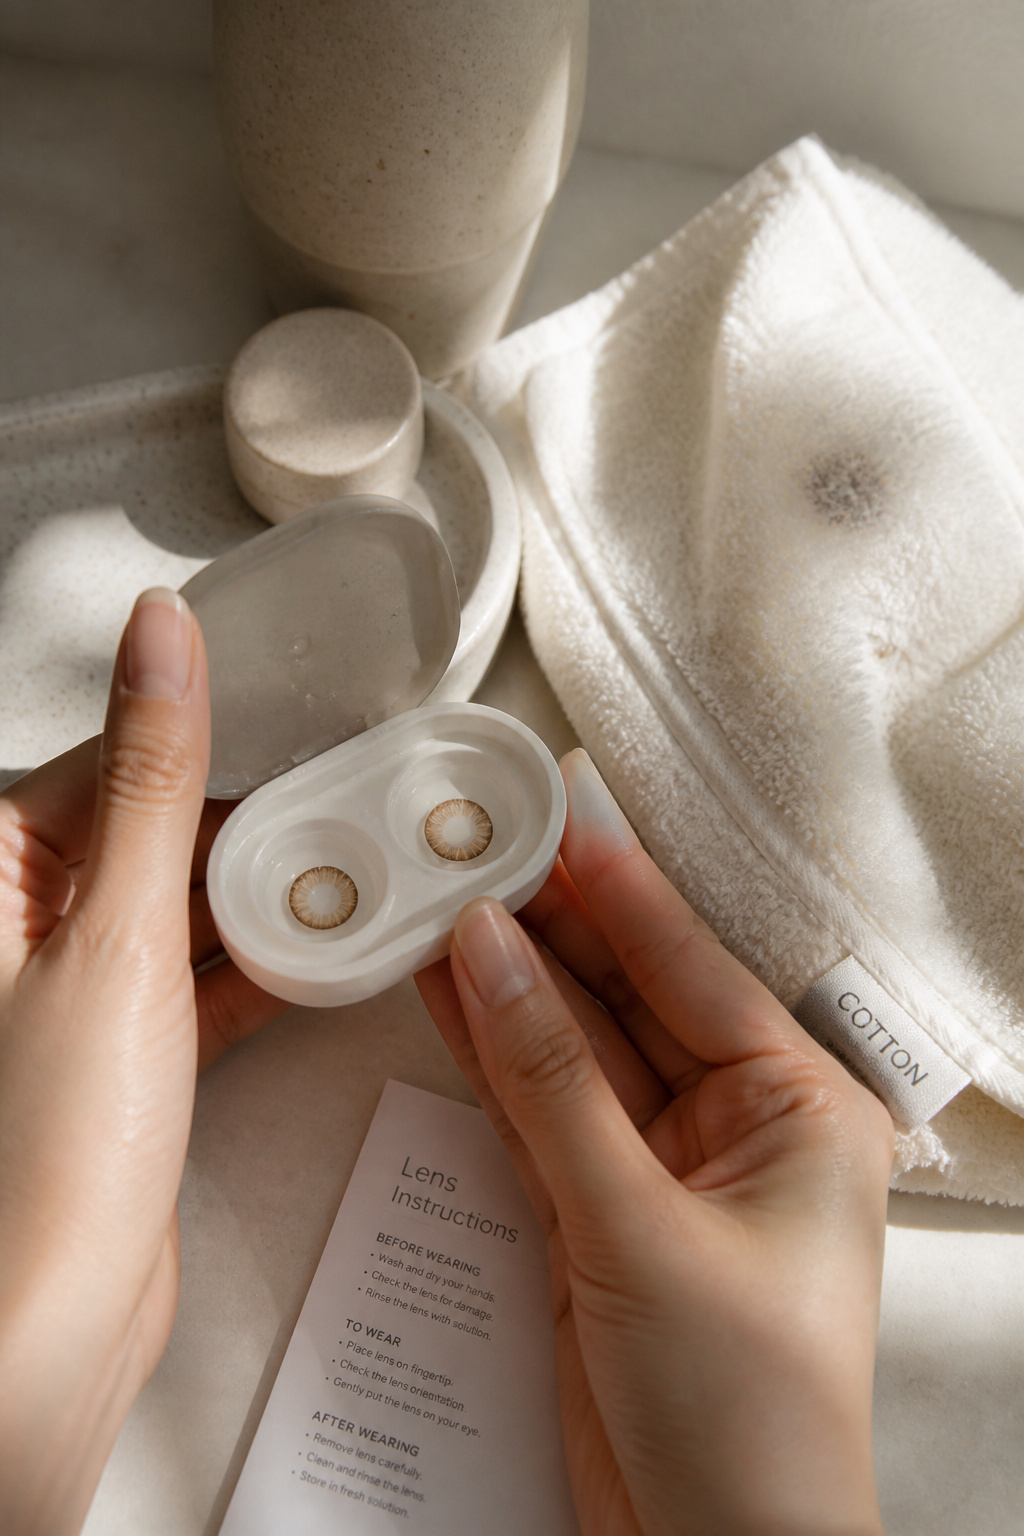

Result: instant iris enlargement that reads doll-like. I use natural brown circle lenses and keep lashes simple with curled, feathery falsies. Ugly truth: circle lenses can sting if you don’t soak them right. I once skipped the saline soak and paid for it with irritation. Always buy FDA-listed brands; I paid about $22 for a pair that lasted two months with care.
Shop this idea:
4. Layered False Lashes Combo for Big Eyes
Style: Big Lash Gyaru | Budget: Under $35 | Best For: Deep-set eyes wanting dimension
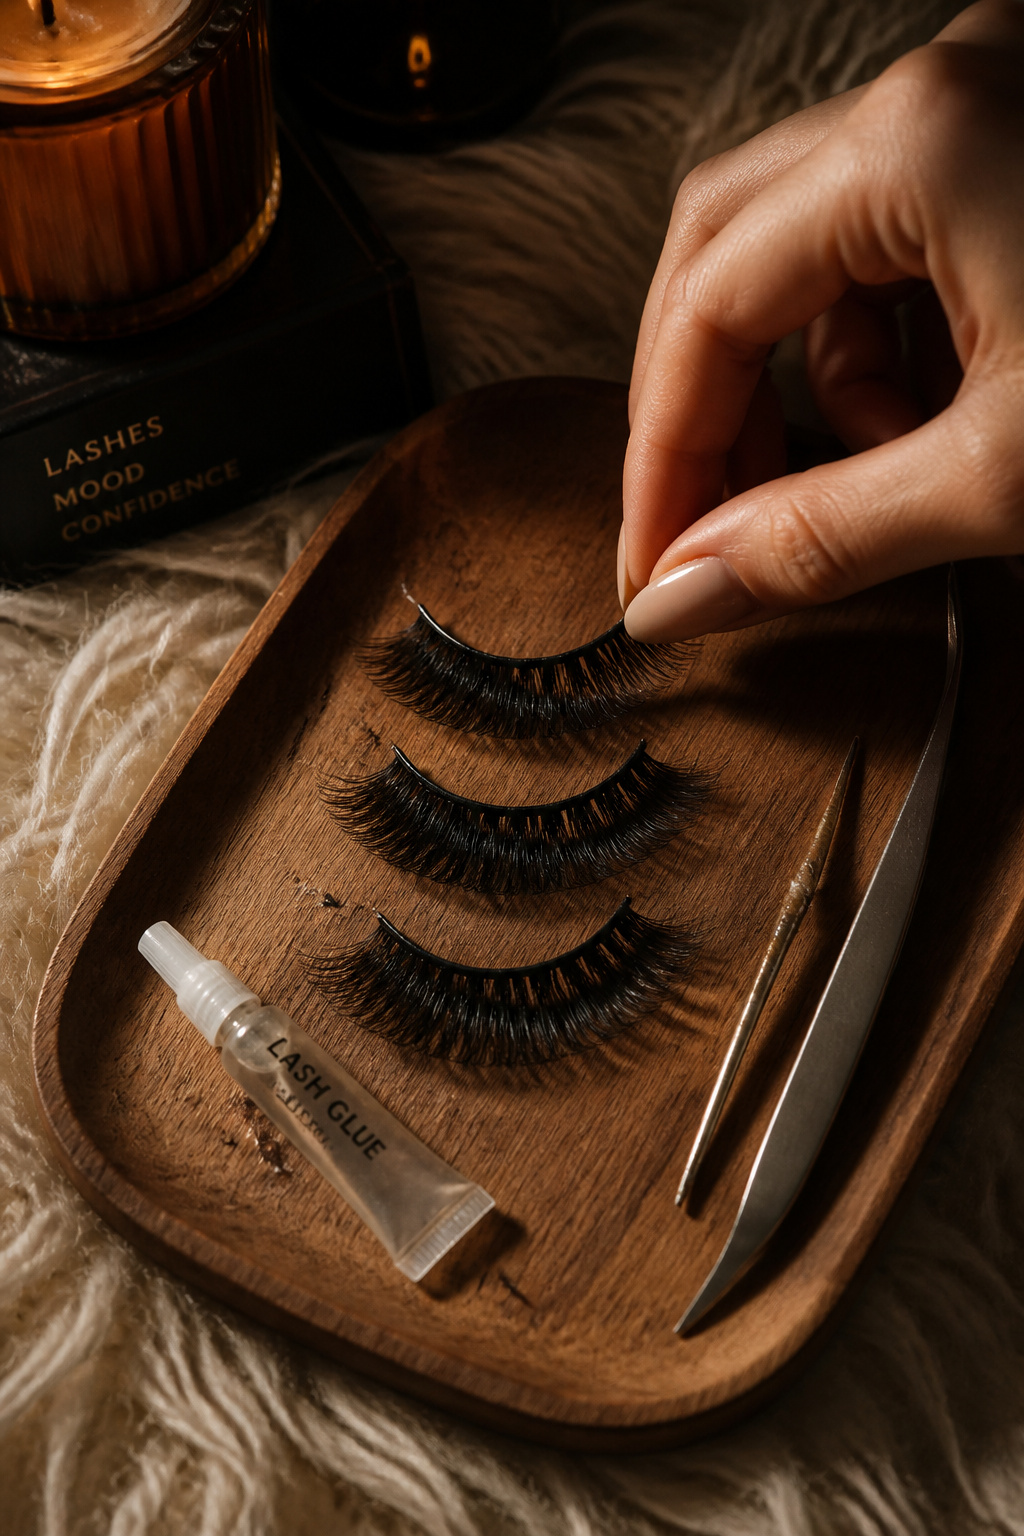

Result: skyscraper lashes without clumps. My trick is mixing a short inner lash strip with a long outer strip for that doll-eye flare. Use thin clear glue to avoid visible seams. I spent $18 on a set, layered three times for drama, and learned that thick one-piece lashes often hide the eye shape instead of enhancing it.
Shop this idea:
5. Lower Lash Dolling With White Pencil Pop
Style: Dolly Lower Emphasis | Budget: Under $20 | Best For: Hooded or small eyes


Result: oversized doll eyes without heavy top liner. I tightline lower waterline with a soft white pencil, then dot a tiny dark brown underlash near the outer third for depth. The trick is small dots, not a continuous line. Ugly truth: too much white can look make-believe; less is more. I paid $8 at a drugstore and keep it in my purse.
Shop this idea:
6. Gloss-Over Gradient Lips
Style: Gradient Gyaru Lips | Budget: Under $25 | Best For: All tones, especially petite lips
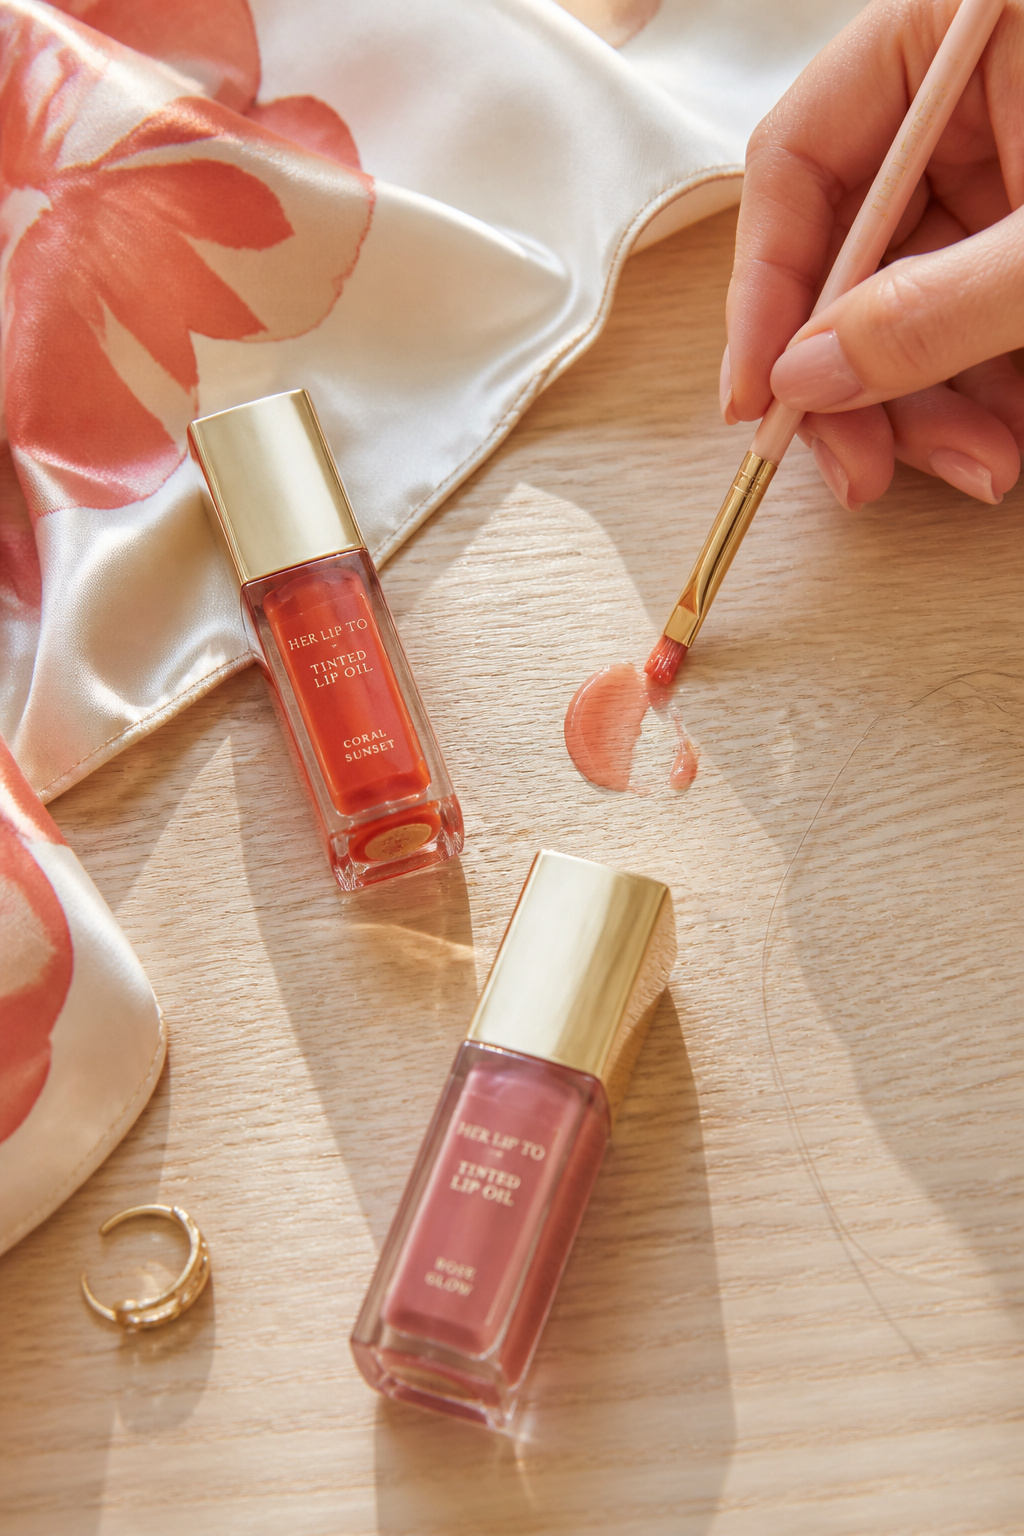

Result: fuller-looking lips without filler. I layer a pigmented tint in the center then feather out and top with sheer gloss. Tip: use a tiny fluffy brush for soft edges. I bought a pigmented tint for $12 on Amazon and learned that heavy opaque glosses flatten the gradient.
Shop this idea:
7. Glitter Inner Corner That Reads Daytime
Style: Soft Glam Gyaru | Budget: Under $18 | Best For: Evening looks and photos


Result: eyes that catch phone flash without clown sparkle. I press damp brush into micro-fine champagne glitter and place it in the inner corner. Use a cream base so fallout sticks. I paid $9 for a small jar and once used chunky glitter that looked like confetti in photos. Micro-fine is the trick.
Shop this idea:
8. Laminated Lashes and Bushy Brow Combo
Style: Modern Gyaru | Budget: Under $40 | Best For: Sparse brows, straight brows
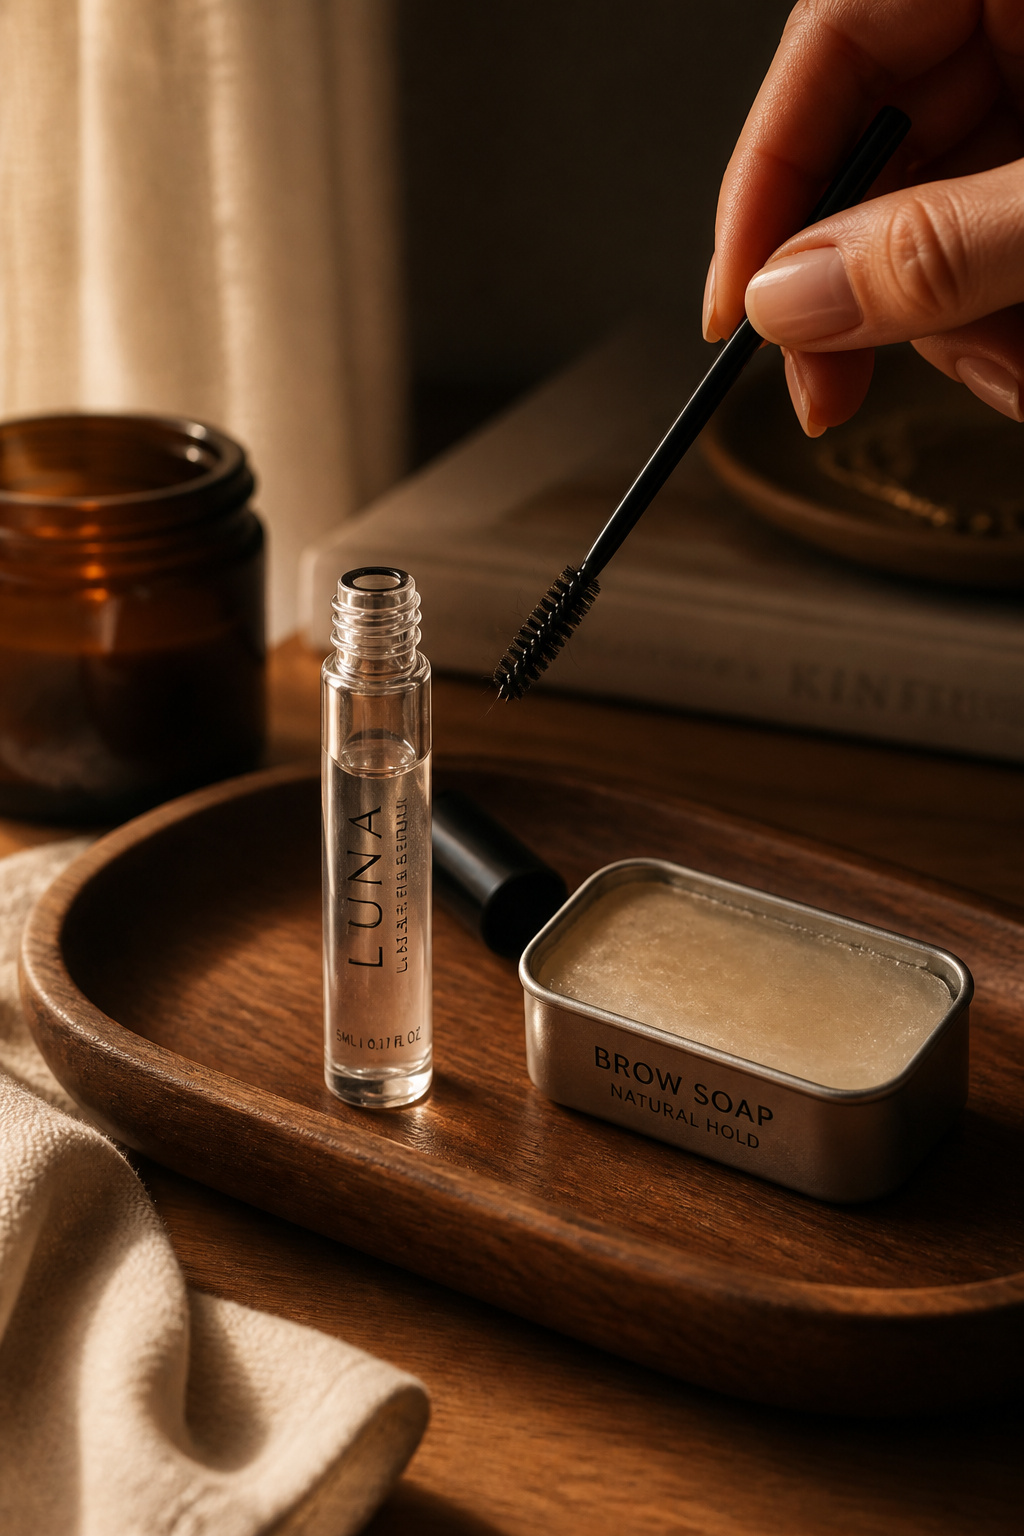

Result: lifted lashes and fluffy brows frame the doll eyes. I use a brow soap to set hairs up and a clear mascara to laminate lashes for separation. Tip: press brows up with a clean spoolie, then set. I paid $14 for the brow soap and regretted overbrushing once; hair looked stiff instead of soft.
Shop this idea:
9. Soft Contour + High Gloss Center Lip
Style: Soft Sculpted Gyaru | Budget: Under $30 | Best For: Round faces wanting definition
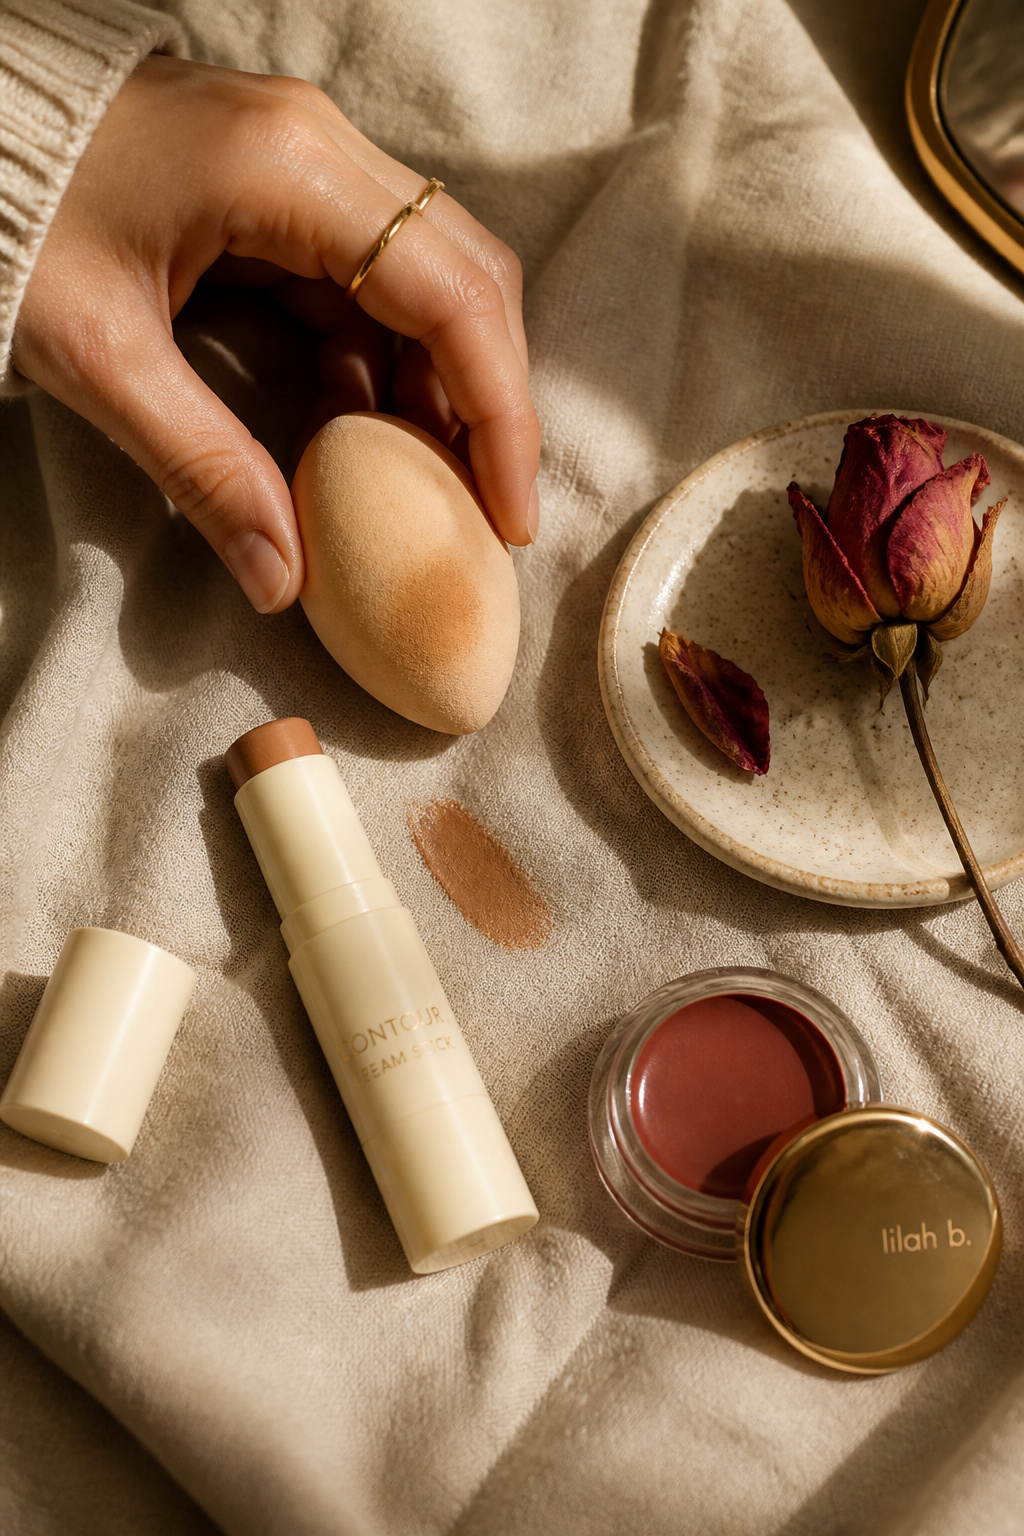

Result: keeps cheeks doll-like but slightly sculpted. I cream-contour under cheek apples, blend up, then add a glossy center lip to draw attention forward. Practical tip: warm tones look natural on olive skin, cool taupes suit fair skin. I bought a contour stick around $18 and learned heavy powder contour flattens the soft gyaru feel.
Shop this idea:
10. Two-Tone Eyeliner With Tiny Wing
Style: Playful Color Gyaru | Budget: Under $25 | Best For: Cool undertones, green eyes
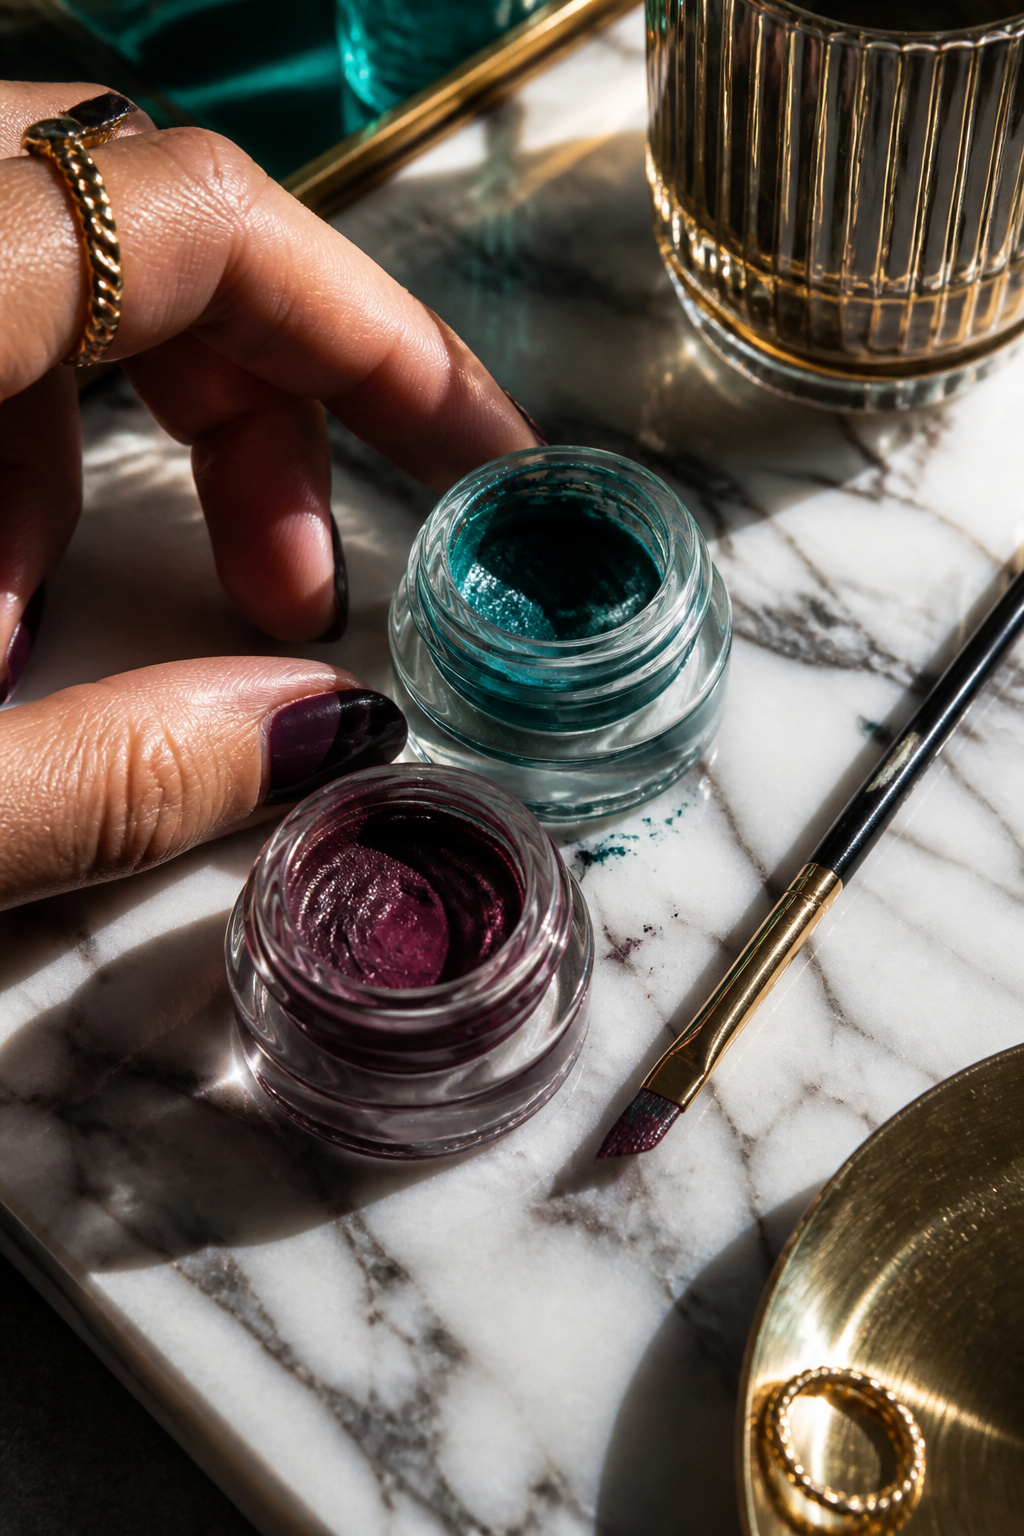

Result: color without the Y2K costume look. I draw a thin teal on the lower lash line and a plum wing on top, keeping both delicate. Tip: tightline with brown to tie tones together. I learned the ugly truth: bright gel liners bleed if you skip primer. Paid about $14 for two colors at Sephora.
Shop this idea:
11. Glossed-Up Cupid’s Bow Highlight
Style: Sweetheart Lips Gyaru | Budget: Under $20 | Best For: Thin lips needing definition
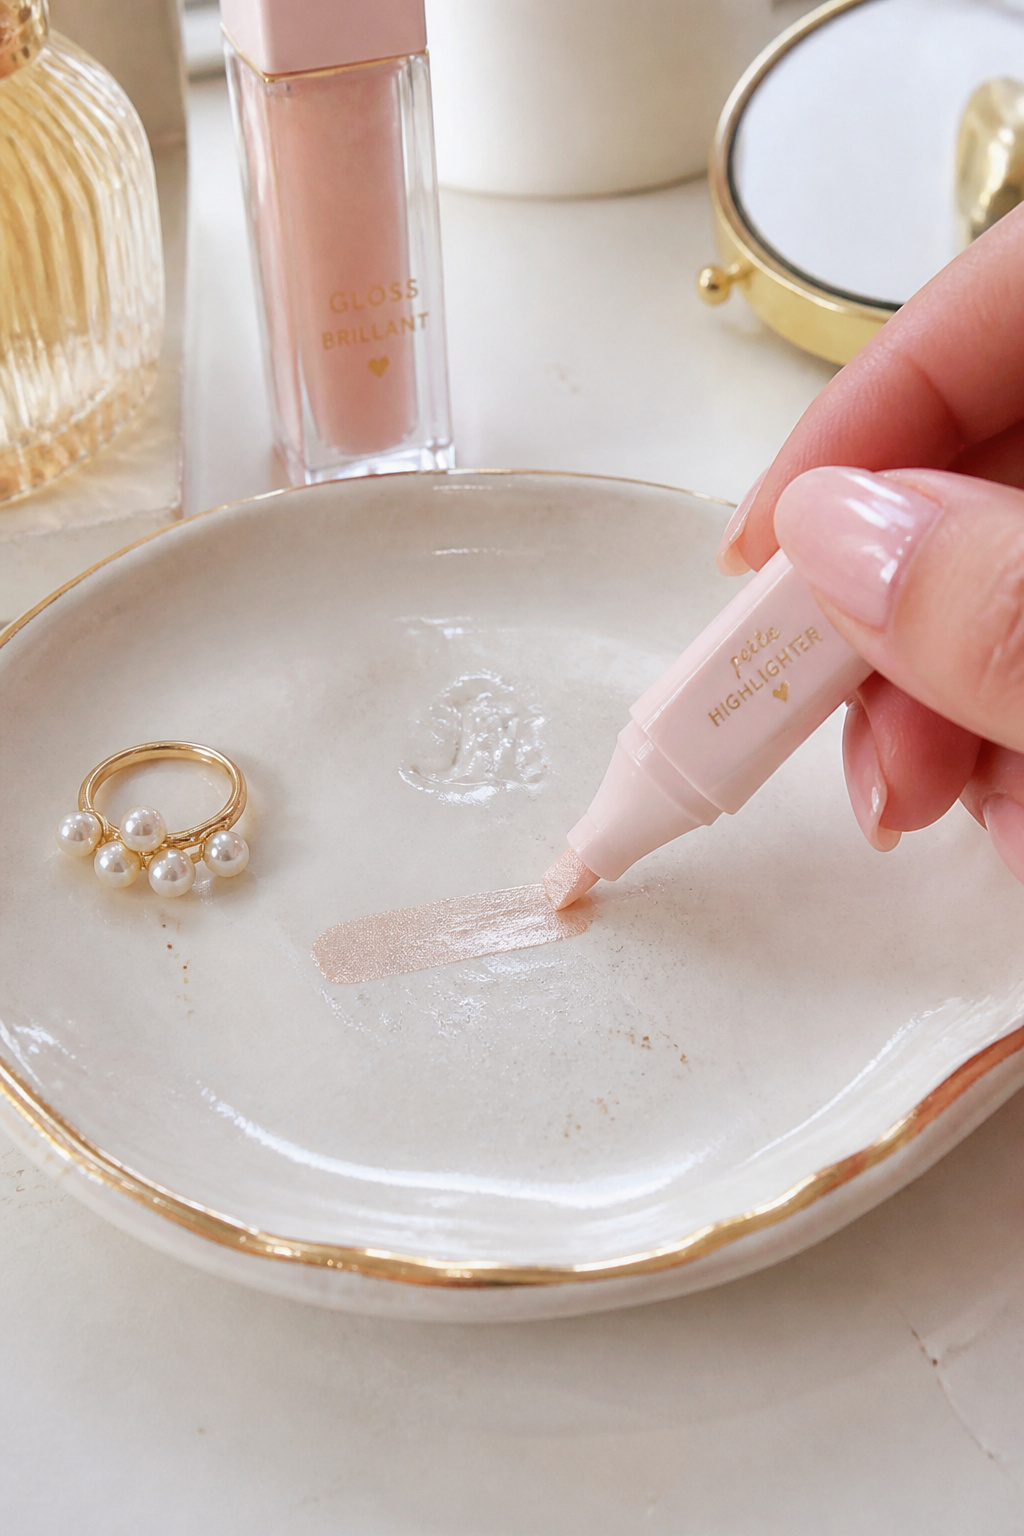

Result: instant pout illusion. I dab a tiny highlighter on the cupid’s bow before glossing the center. The light plays off the highlight, making lips appear fuller. I once used chunky shimmer and it read textured; micro-fine highlight is the move. I paid $10 at an indie brand pop-up for a mini pen.
Shop this idea:
12. Matte Base With Glossy Overlay
Style: Photoready Gyaru | Budget: Under $35 | Best For: Oily skin wanting controlled shine
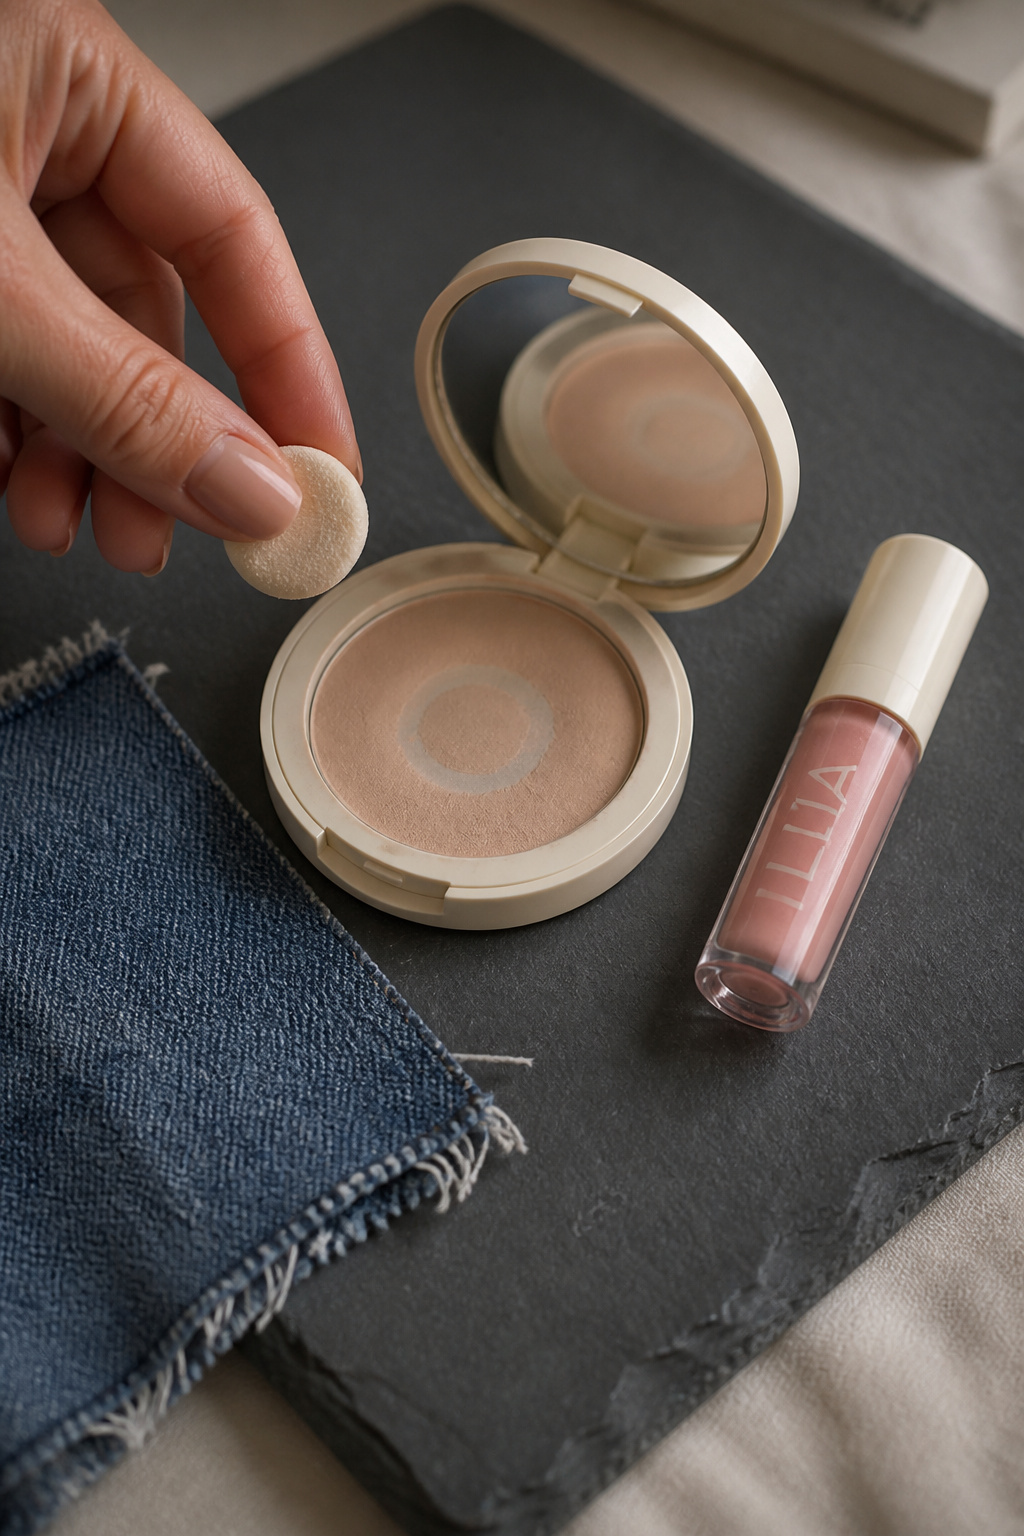

Result: skin that photographs smooth with juicy lips. I set a light matte base on T-zone then add glossy lip oil only. Tip: blot oily areas lightly after photoshoot. I once layered too much matte powder and lost my dewy finish. The compact I used was about $22 and lasted months.
Shop this idea:
13. Y2K Bubblegum Pink Lip With Feathered Lashes
Style: Y2K Gyaru | Budget: Under $30 | Best For: Cool tones, bold lovers
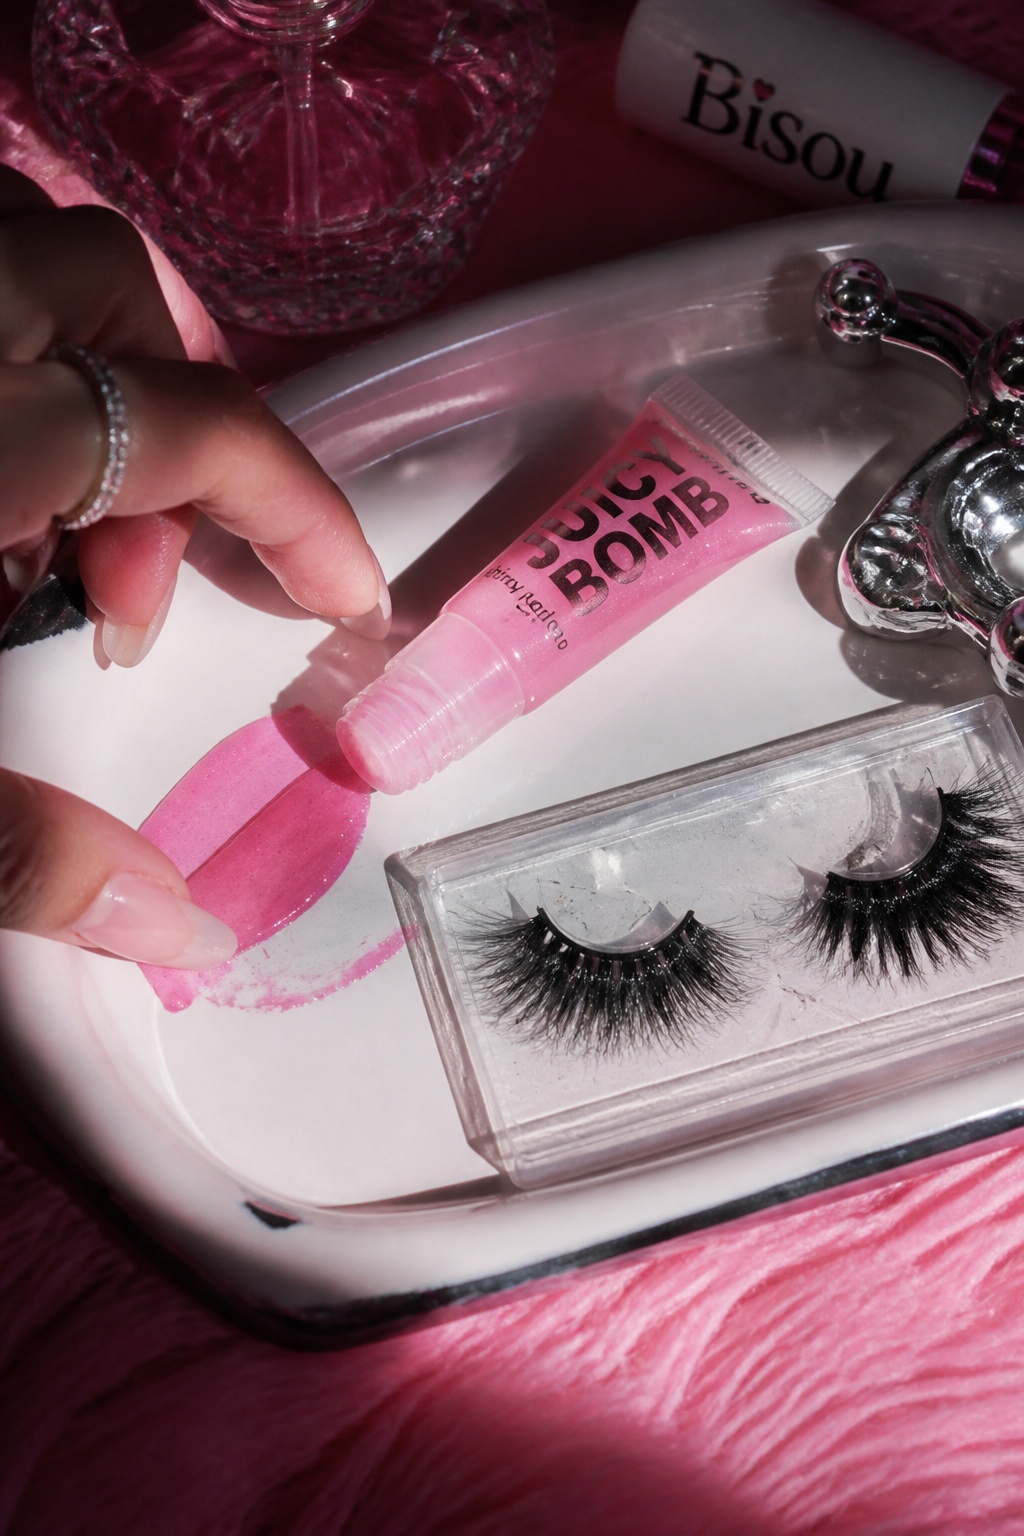

Result: playful, nostalgic, and photo-friendly. I keep the rest of the face tonal and let lips and lashes play. Tip: blot once then re-gloss to avoid transfer in photos. I bought the gloss during a flash sale for $11 and learned that neon pigments can read streaky if not fully blended.
Shop this idea:
14. Subtle Contour With Big Brow Balance
Style: Balanced Gyaru | Budget: Under $40 | Best For: Angular faces, strong brows
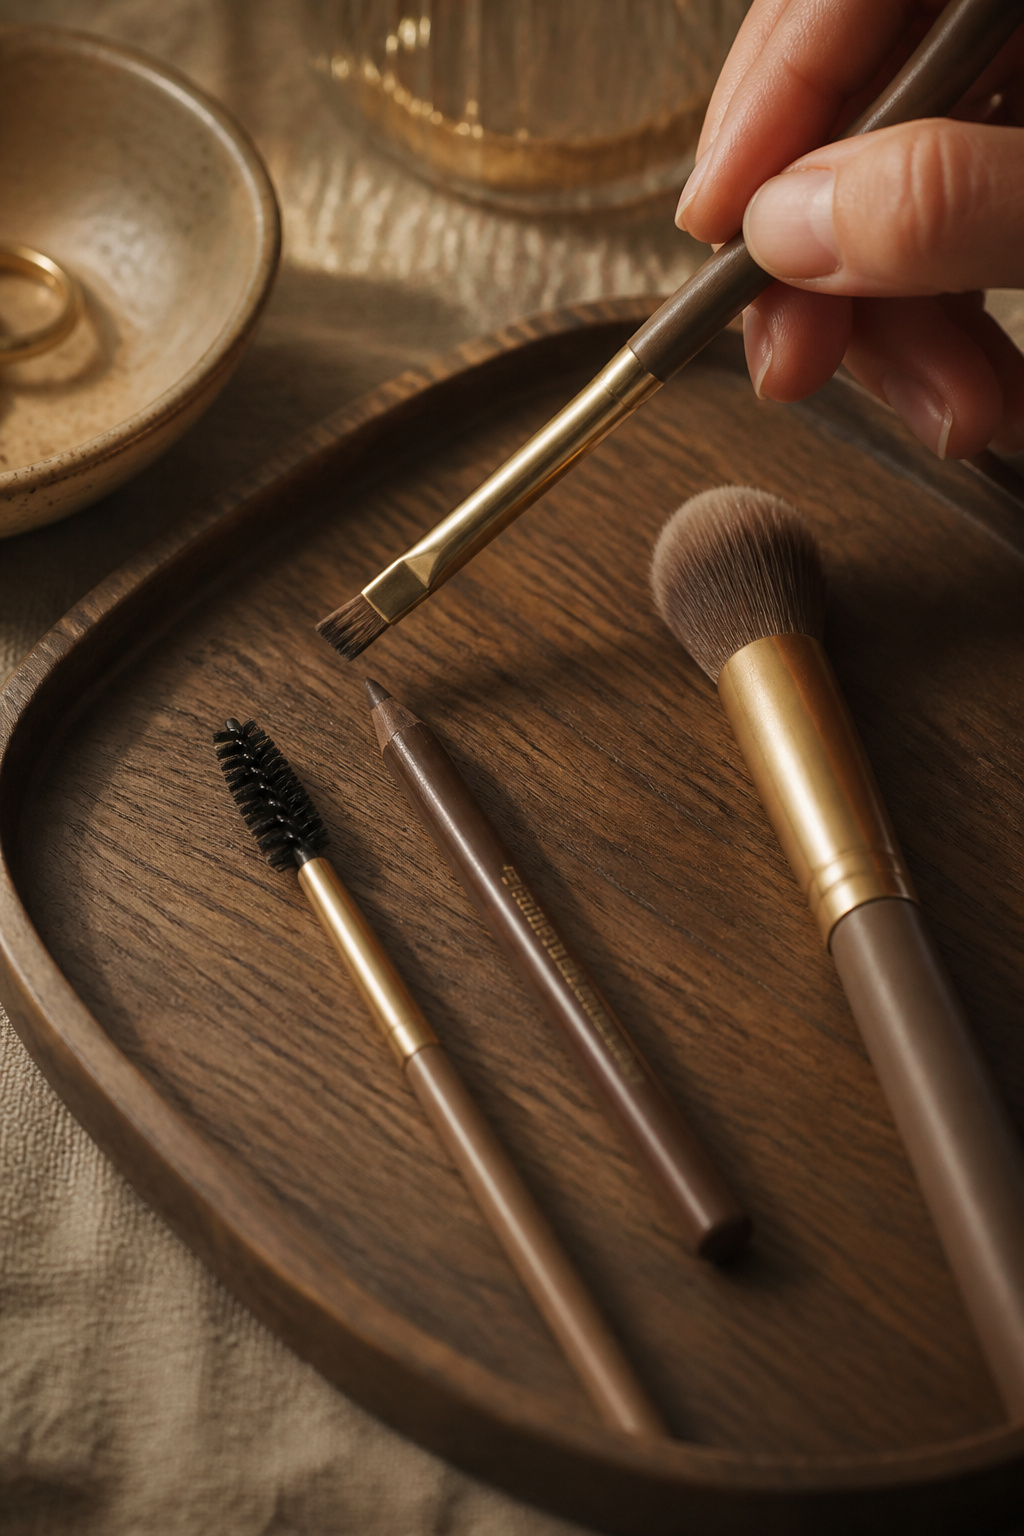

Result: structure without harsh lines. I balance a subtle cheek contour with fuller, brushed-up brows. Practical tip: avoid overplucking the tail. Ugly truth: skinny brows kill the gyaru vibe. I invested about $15 in a dual-ended brow pencil after too many bad wax jobs.
Shop this idea:
15. Statement Hair Accessory + Gloss Match
Style: Accessorized Gyaru | Budget: Accessories under $20 | Best For: Outfits needing focal point
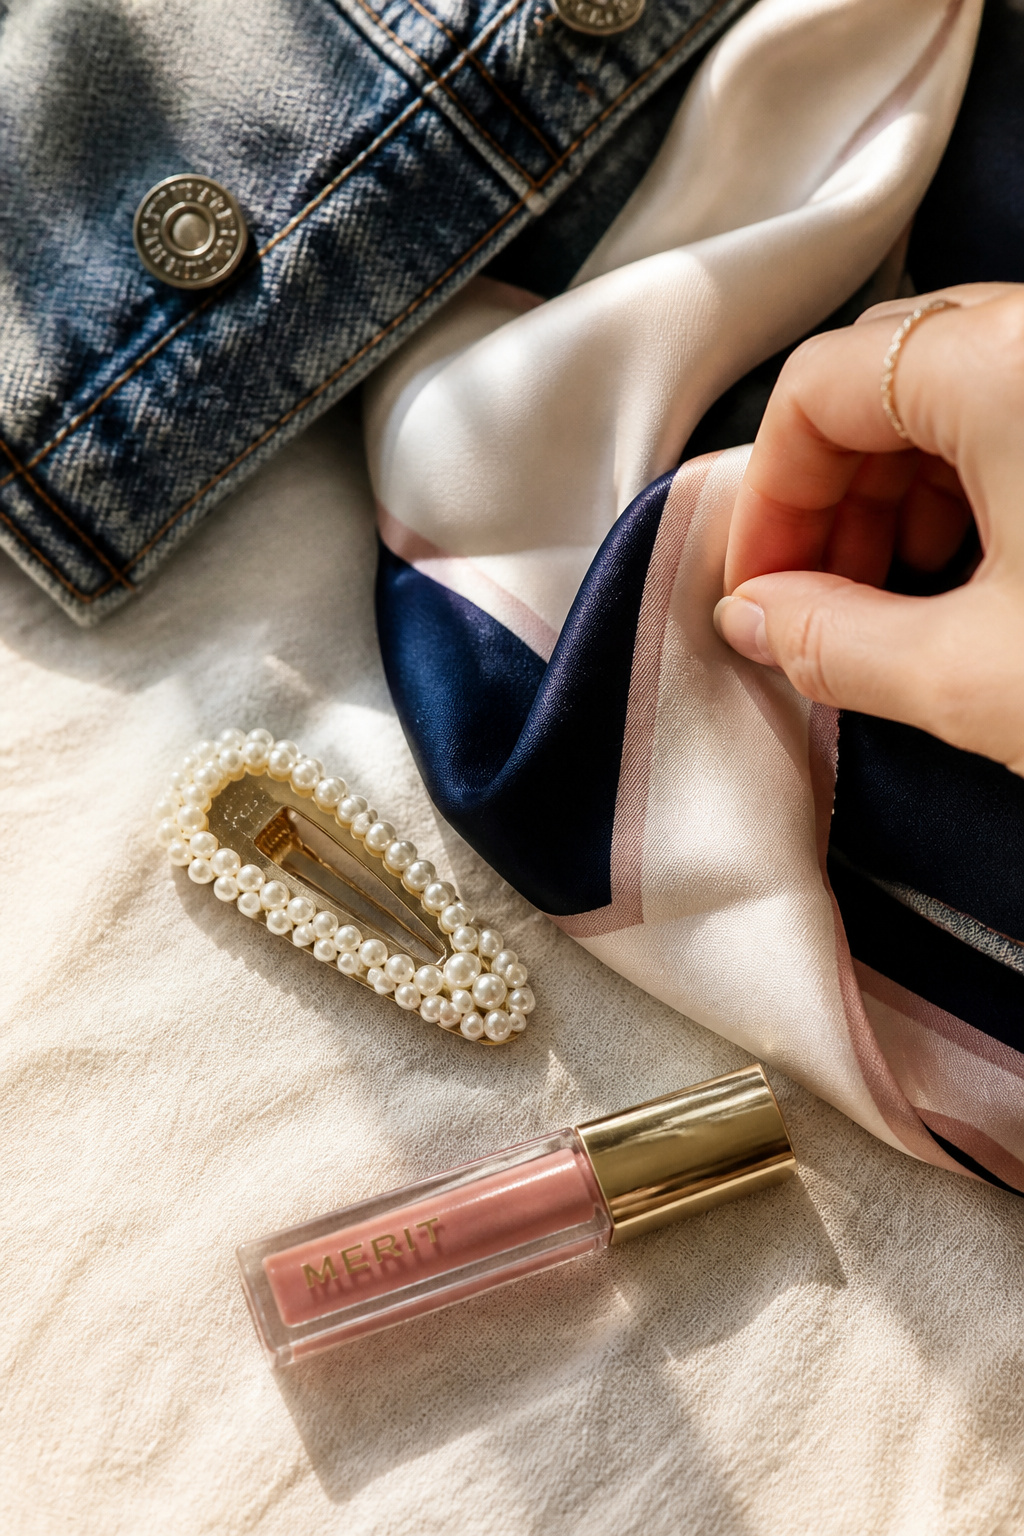

Result: ties hair and lip gloss together visually. I pair a pearl clip with a warm pink gloss that echoes pearl highlights. Tip: secure clip with a neutral bobby pin so it sits flat. I picked up a vintage-looking clip at a thrift store for $6 and love the instant polish it gives an outfit.
Shop this idea:
16. Monochrome Peach Face With Clear Gloss
Style: Tonal Gyaru | Budget: Under $30 | Best For: Warm undertones, daytime wear
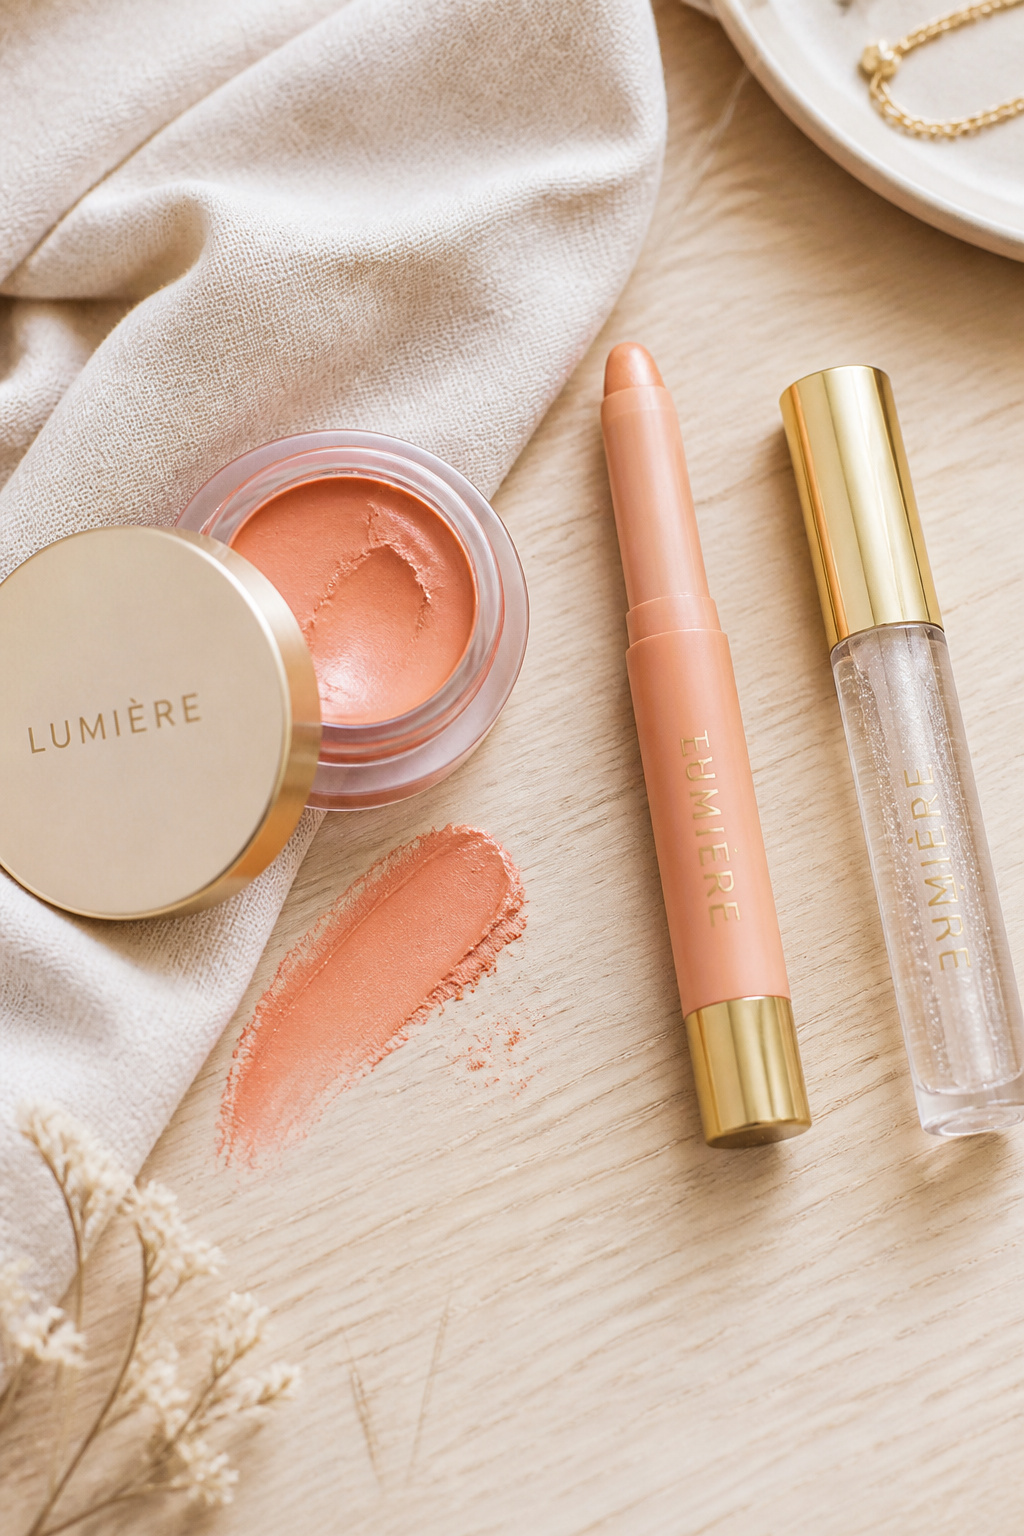

Result: coordinated and modern. I use one peach cream product on lids, cheeks, and lips, then seal with clear gloss. Tip: cream as eyeshadow first, then wipe finger to avoid patchiness. I bought a multi-use stick around $20 and kept it in my work tote for quick touch-ups.
Shop this idea:
17. Night-Out Smoky Gyaru With High-Shine Lip
Style: Evening Gyaru | Budget: Splurge around $60 | Best For: Photo-ready nights, deep tones
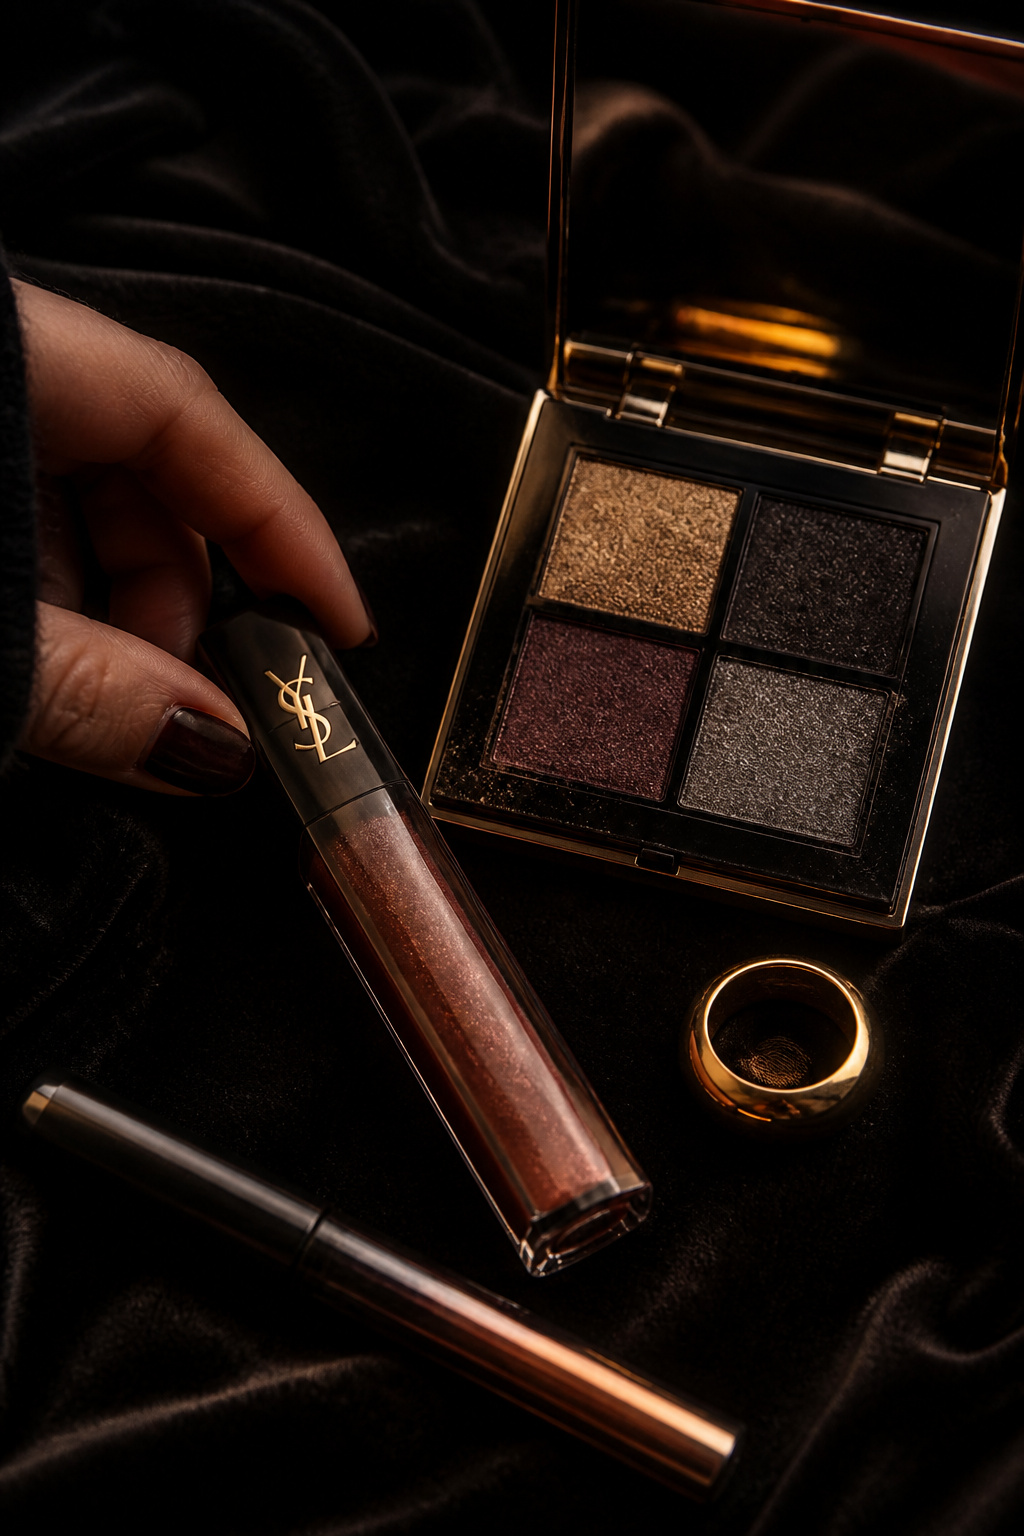

Result: sultry but still doll-like. I do a smoky outer V with metallic liner on the lid and balance with a high-shine plum gloss. Tip: blot center of lip before reapplying for dimension. I splurged on a long-wear gloss for about $58 that lasted through an entire evening of photos and drinks.
Shop this idea:
What You'll Need to Get This Look
Face & Base Essentials
- Cream blush stick warm peach around $14 to $24
- Translucent setting compact around $12 to $28
- Cream contour stick taupe around $10 to $22
- Mini makeup sponge blender around $4 to $10
Eyes, Brows & Lips
- Brown eyeliner pencil soft around $6 to $16
- Short inner false lashes around $5 to $18
- High shine clear lip gloss around $8 to $22
Clothing Staples
- Silk neck scarf small around $8 to $30
- Pearl hair clip gold around $6 to $18
- Straight leg high waist jeans around $30 to $90
Shoes, Bags & Jewelry
- Chunky platform sandals black around $35 to $80
- Leather tote bag tan around $80 to $200
Budget Swaps
- Drugstore cream blush peach around $6 to $12 (dupe for splurge multi-stick)
- Faux pearl clip set around $5 to $12 (dupe for vintage clip)
- Affordable clear gloss duo around $8 to $16
Shopping Tips for These Looks
Shop seasonal drops for Y2K hues: Many brands restock bubblegum pink and metallic liners in spring. Check Amazon seasonal collections and flash deals for limited shades.
Thrift or mix vintage for accessories: Thrifted pearl clips and vintage scarves add polish without the price, I score mine at local Goodwill Saturdays. See vintage scarf finds.
Wait for 21 Days of Beauty and Prime Day: Big makeup staples often drop 20 to 40 percent during these events, especially mascara and lashes.
Dupe smartly: Compare ingredient lists, not packaging. A $6 cream blush can perform like a $22 one if it lists emollients first; try drugstore cream blush peach.
Prep pieces for photo nights: Keep a small kit with clear glue, spare lashes, and mini gloss. I learned this the hard way at a rooftop party. See clear lash glue travel.
Frequently Asked Questions
Q: How do I make doll eyes without false lashes?
A: Tightline and use brown gradient liner, curl lashes, and coat with a lengthening mascara. Add a micro white dot under the lower outer lash for extra pop. Try brown lengthening mascara.
Q: Are circle lenses safe to use daily?
A: They can be safe if you buy quality lenses, always clean them, and limit wear. Follow brand care guidelines and keep a saline solution on hand. Consider daily disposable circle lenses.
Q: Which gloss is best for long-lasting shine?
A: Look for high-shine formulas with light-reflecting polymers; they reapply cleanly and photograph well. A small travel tube is easy to top up. Try long-wear high shine gloss.
Q: What’s the easiest way to layer cream blush without patching?
A: Start with thin layers, warm product on fingertips, then buff outward. A damp sponge softens edges. I keep peach cream multi-stick in my purse for touch-ups.
Conclusion
Start small: pick one eye trick and one glossy lip to practice this week. My top tip is to match texture, not tone, so a matte cheek with glossy lips reads intentional. Which look are you trying first, Hime pink or smoky night-out?


