








Hooded eye makeup for beginners feels impossible until someone shows you where to put shadow so it actually shows up. I tried 13 small shifts and suddenly my lid looked bigger, shadow stayed visible, and I got compliments on a school run. This list has 13 practical tricks, most under $30 with a few splurges around $120, that made a real difference in everyday wear.
I focus on clean, wearable looks that read on camera and IRL. Most picks are drugstore under $30, with two splurges (cream palette and brush set) around $120. These tips suit soft glam, clean girl, and anyone who feels their crease disappears when they smile. Lately I see a move to cream textures and lifted brows.
1. Use a Cream Eye Primer in Taupe
Style: Clean Girl | Budget: Under $20 | Best For: Cool and neutral undertones


The trick is a thin sweep of cream primer in taupe that creates a visible "fake crease" so shadow reads above a hood. I use a fingertip, pat then blend with a small synthetic brush. It prevents transfer and gives a neutral base so mattes show. (AAO notes eyelid skin loosens with age, so a base helps older lids stay visible.) I found a $12 tube at a local drugstore and it outperformed pricier options for me.
Shop this idea:
2. Paint A Soft Transition Zone Above The Hood
Style: Soft Glam | Budget: Under $18 | Best For: Hooded to deep-set lids
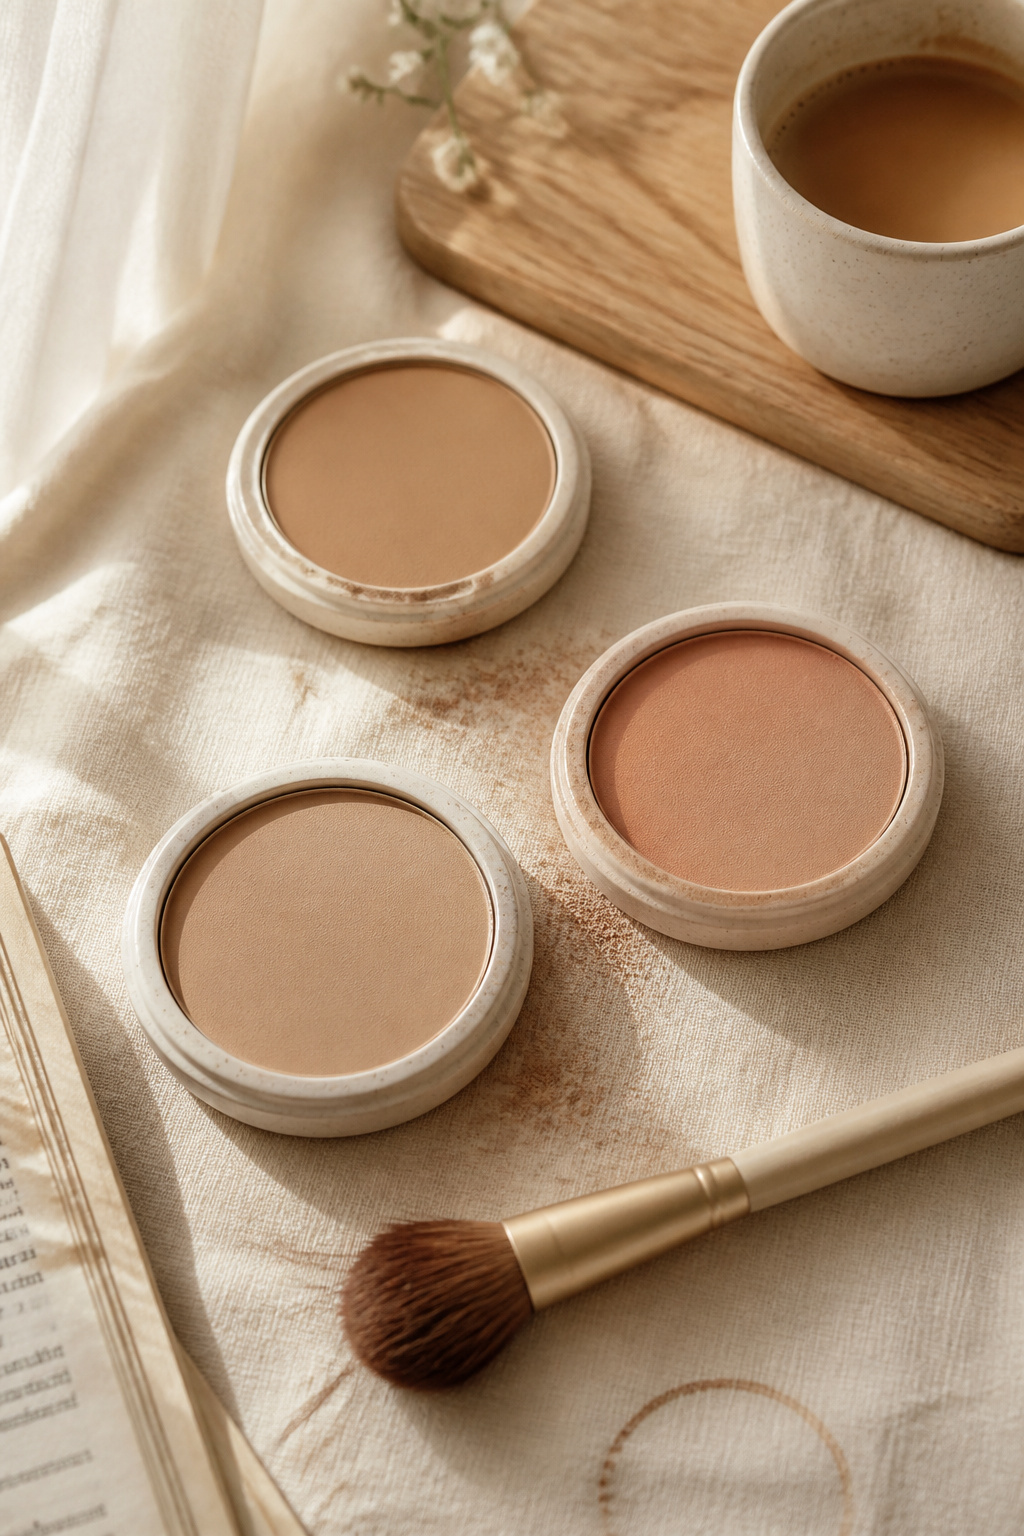

Instead of trying to blend only into the socket, apply a matte transition shade just above where the hood folds. Use a tapered brush and windshield-wiper motion, keeping pigment higher than your natural crease. My tip: pick a matte two tones darker than skin. I paid $16 for a versatile quad at Ulta and wore it to a meeting—people said my eyes looked lifted.
Shop this idea:
3. Tightline Plus Inner Corner Glow
Style: Minimal | Budget: Under $15 | Best For: Small eye openings
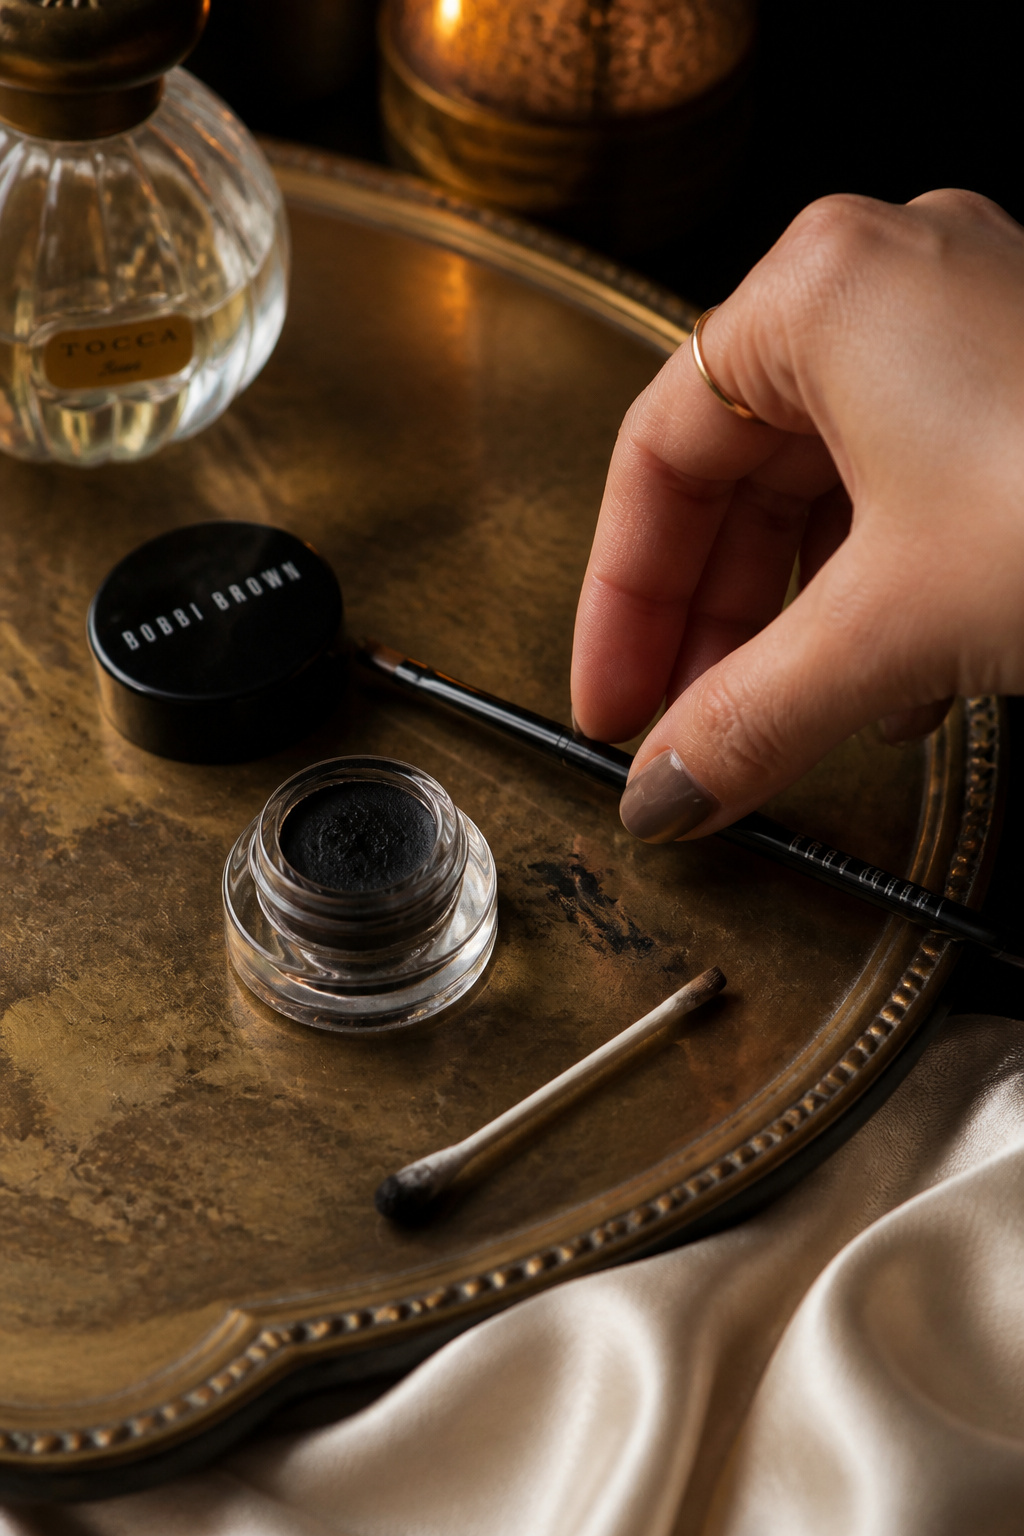

Tightlining the upper waterline makes lashes look denser without heavy lid liner that disappears under the hood. Add a tiny champagne dot in the inner corner to redirect light outward. The result reads like wider eyes in photos. I learned the hard way that pencil liners smudge—gel liner stayed put after a rainy walk.
Shop this idea:
4. Thin Wing, Upward Lift
Style: Polished | Budget: Under $12 | Best For: Hooded and mature lids
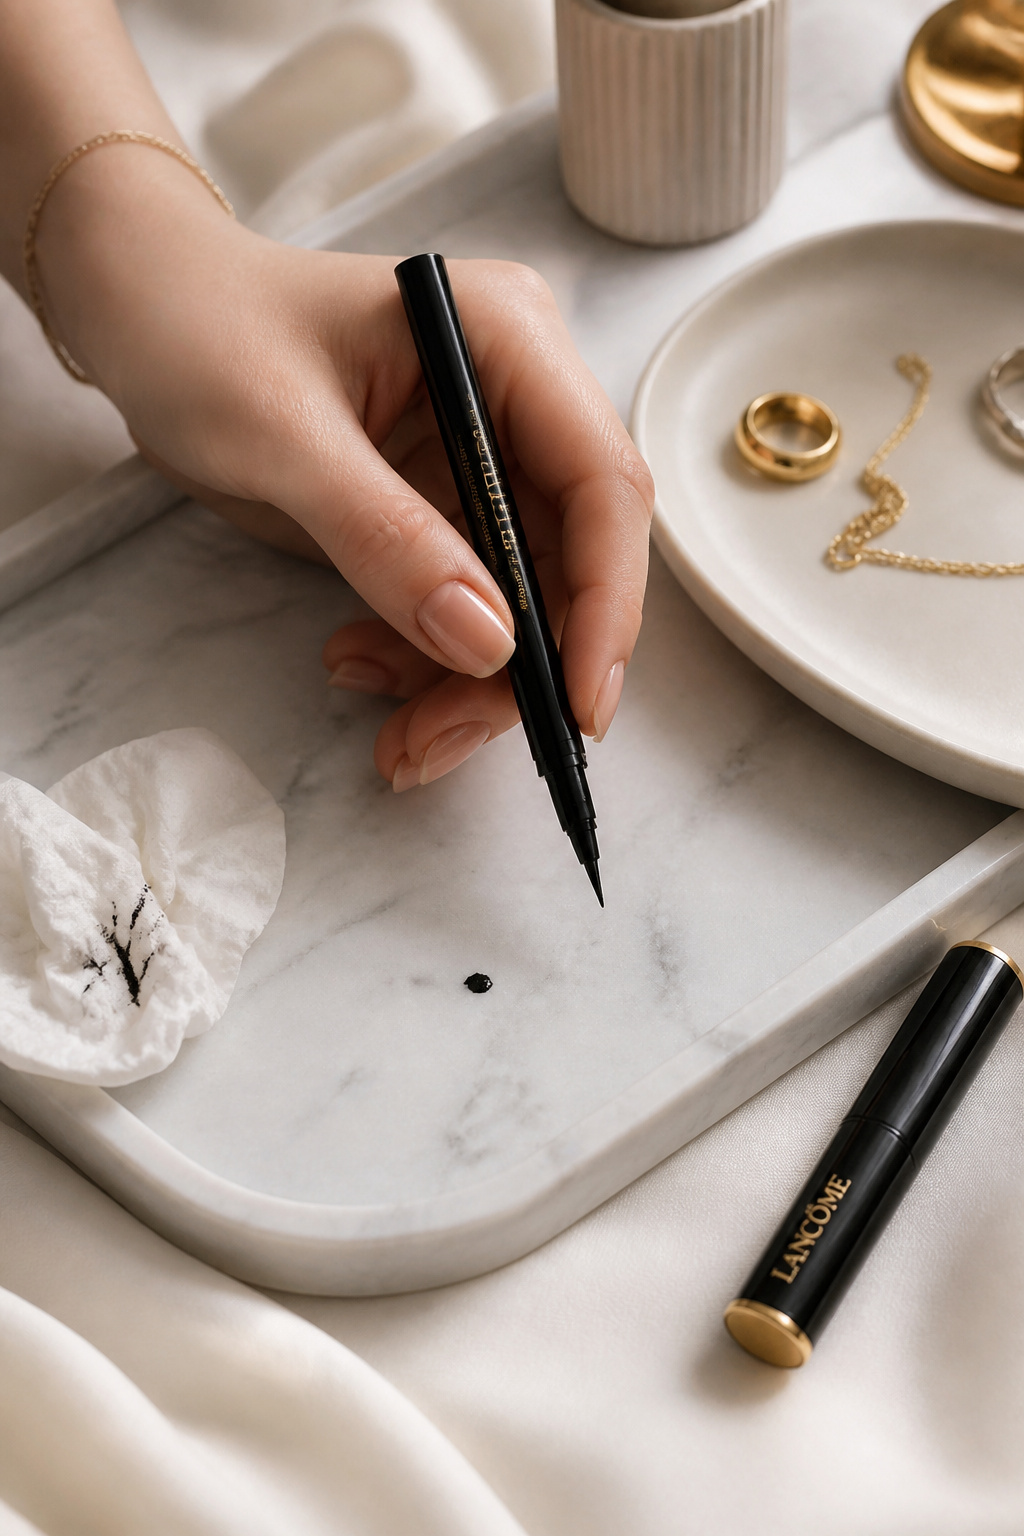

A super-thin wing drawn slightly upward is more visible than a thick liner that disappears under the fold. Keep liner close to lashes, lift the tail to the outer brow point. My mistake was trying heavy cat eyes—those vanished and smudged. Practicing on tape-free skin helped; I spent $9 on a long-wear liner that survived a midday sweat.
Shop this idea:
5. Vertical Shadow Strokes On Lid
Style: Editorial | Budget: Under $25 | Best For: Petite lids


Instead of sweeping shades horizontally, press short, vertical strokes into the mobile lid and blend upward. This technique deposits pigment on the lid surface so it shows when you open your eyes. Use a dense flat brush and a matte medium brown. I tried this trick on a late-night dinner and my shadow stayed obvious under restaurant lighting.
Shop this idea:
6. Satin Shimmer Only On Mobile Lid
Style: Night Out | Budget: Under $20 | Best For: Warm undertones


Matte above, satin only on the moving lid. If your hood covers most of the lid, place a small coin-sized satin on centre of the mobile lid only. Cream-to-powder formulas work best for beginners. I used a $14 cream shimmer and paused applying glitter to the crease—less fallout, more visible shimmer where it counts.
Shop this idea:
7. Lift With Lash Lift Or Proper Curling
Style: Clean Girl | Budget: Under $30 | Best For: Straight lashes
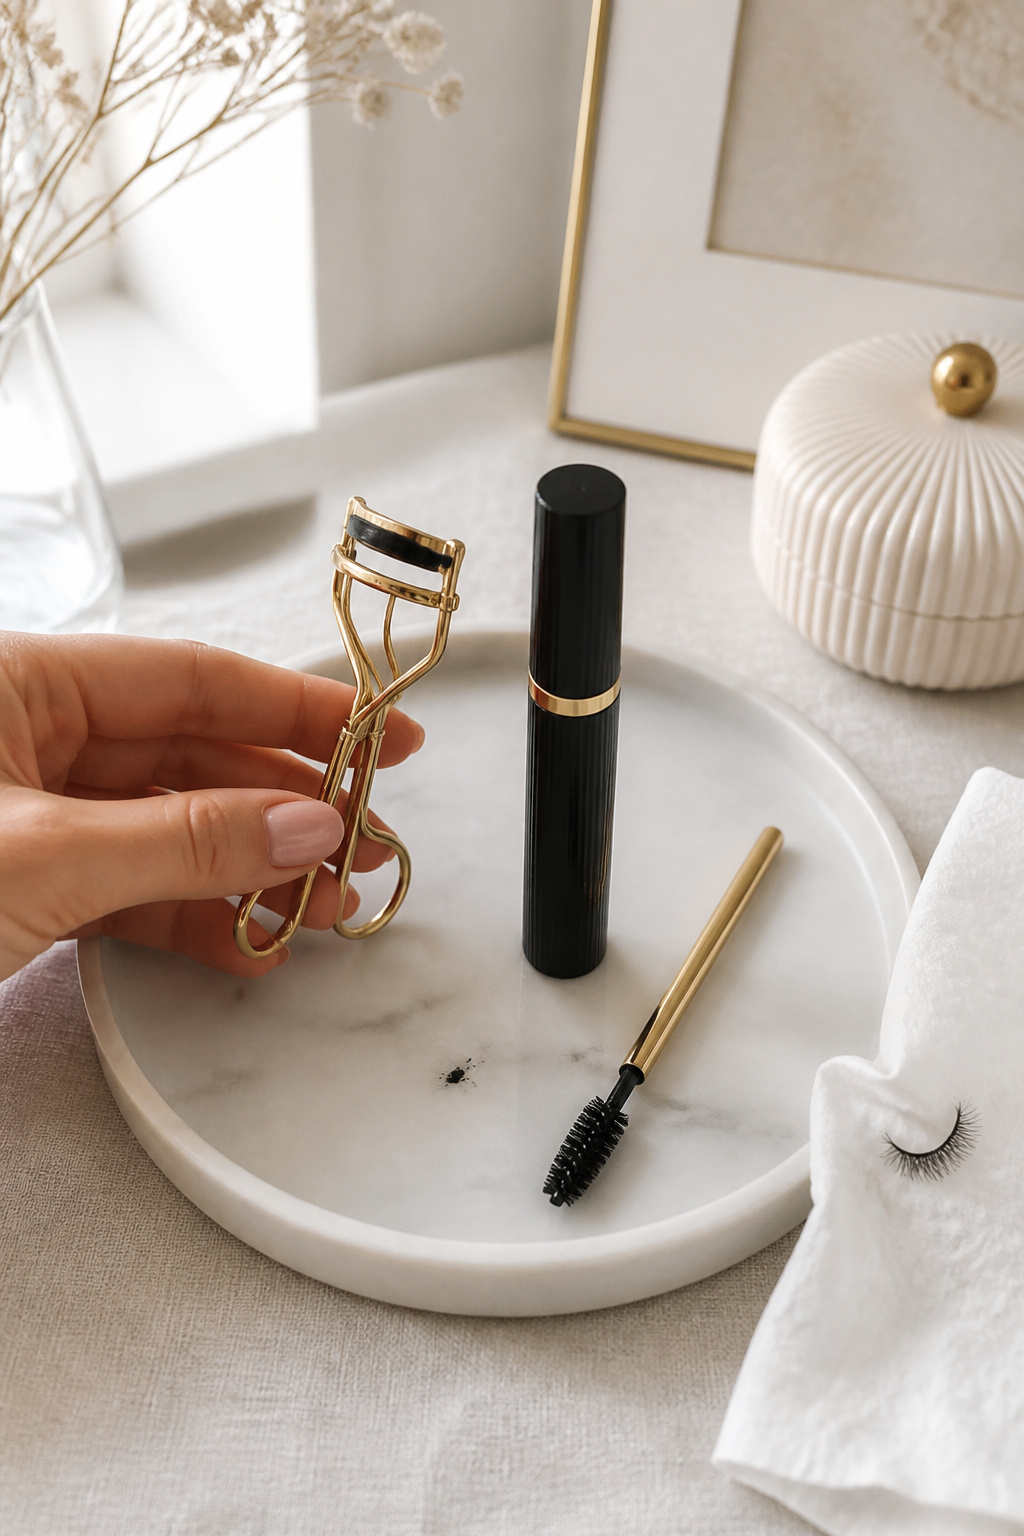

Curling and a lengthening mascara open a hooded eye more than heavy lid color. Lift at the base, hold 8 to 10 seconds, then add a lengthening wand. I once skipped curling and my shadow looked flat—curling was the affordable game-changer. For longer wear pick a water-resistant formula that costs about $10 to $18.
Shop this idea:
8. Lifted Brows With Concealer Arch
Style: Polished | Budget: Under $25 | Best For: Low brows and hooding
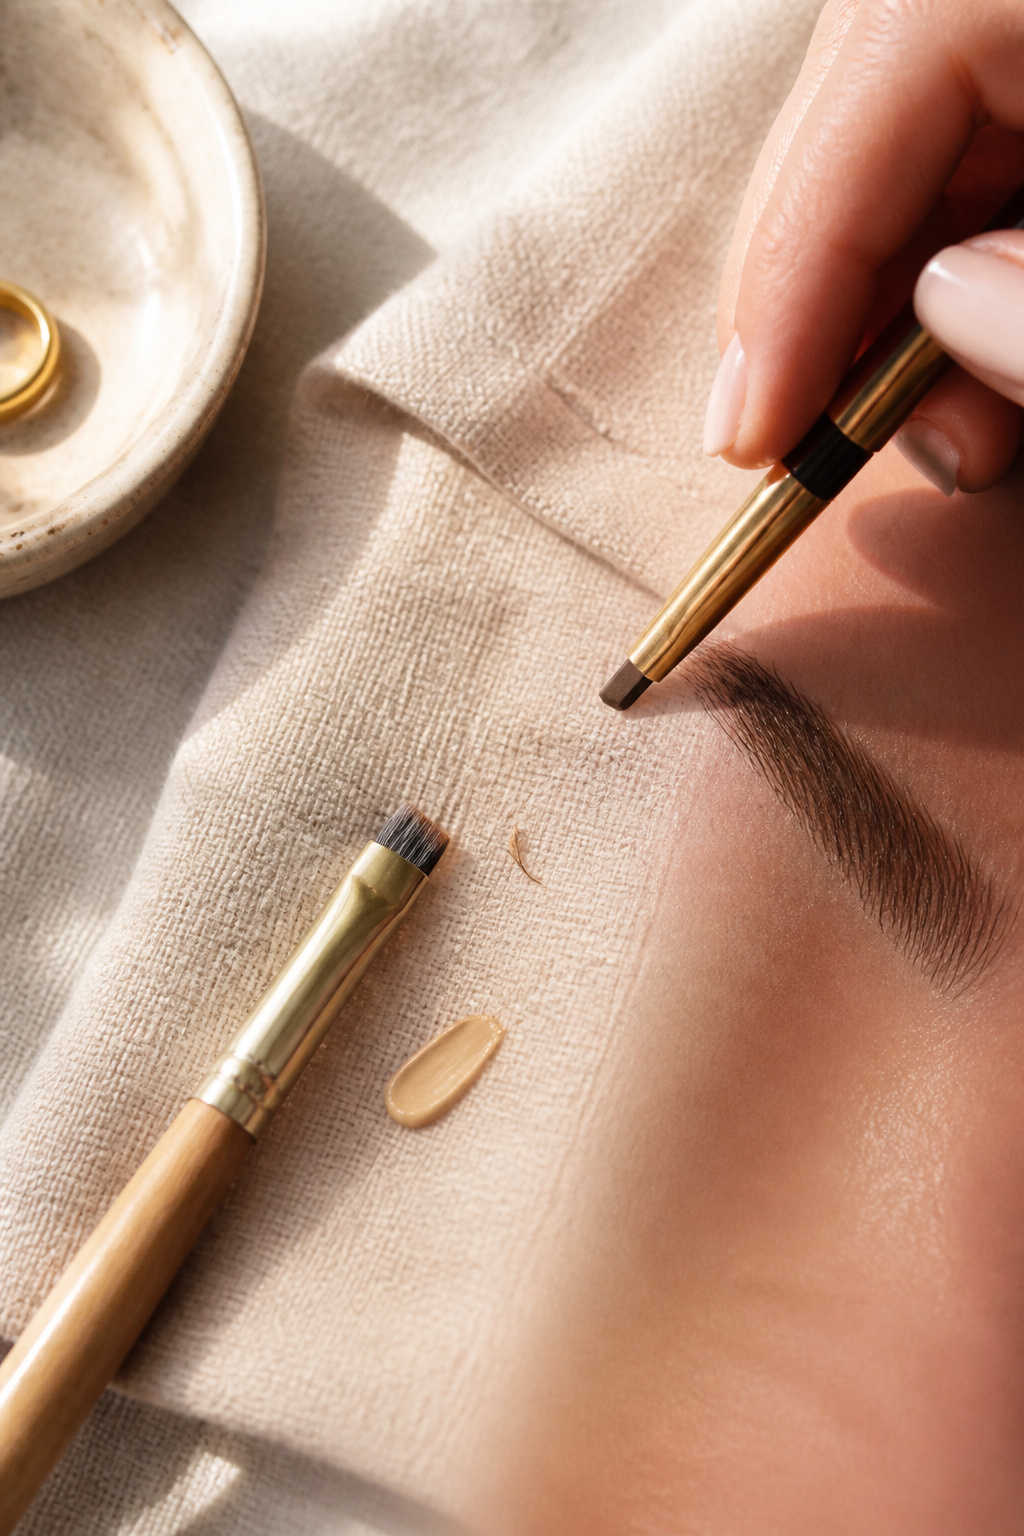

Drawing a subtle arch and cleaning under the brow with concealer creates the illusion of lifted lids. Fill sparse areas with short strokes, then sweep a small line of concealer under the arch to raise the shadow line. I overfilled my brows for months and it ate lid space; lighter, feathery hair strokes are what worked.
Shop this idea:
9. Use Transfer-Proof Formulas
Style: Everyday | Budget: Under $20 | Best For: Oily lids or humid climates


If shadow disappears onto the hood, switch to transfer-proof powders or a setting spray. A light mist over finished eyes keeps pigment from migrating into the fold. I learned this at a humid wedding where my shadow ghosted onto the hood; a $12 setting spray fixed the problem for the whole night.
Shop this idea:
10. Small Cut-Crease Illusion
Style: Evening Glam | Budget: Under $30 | Best For: Going out looks
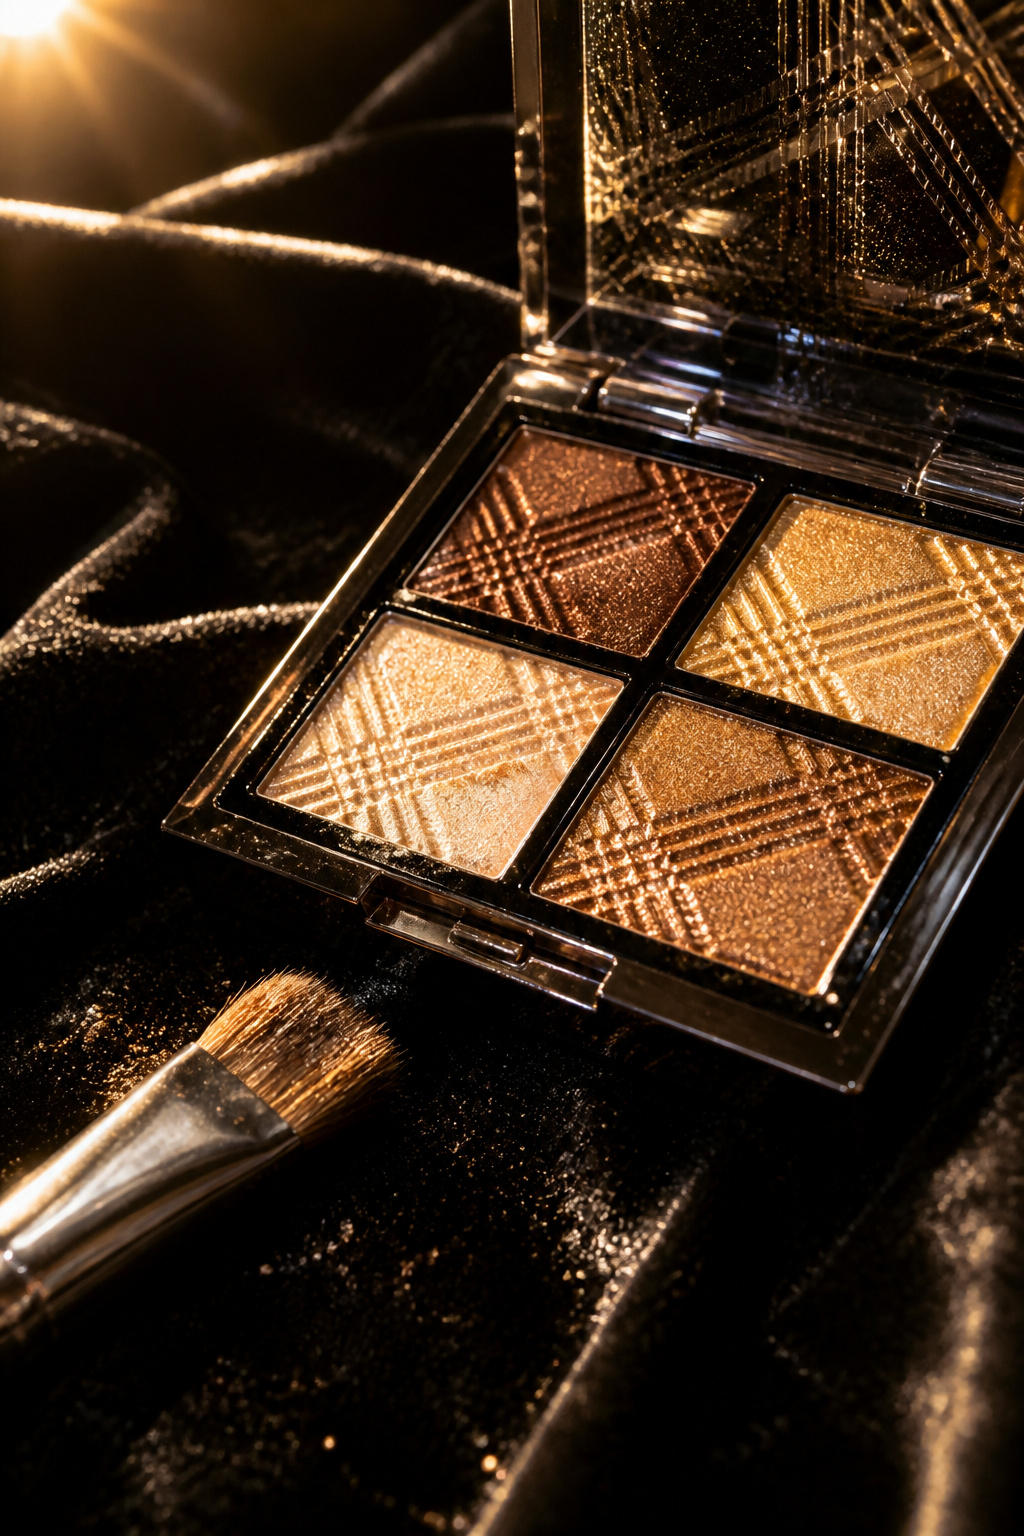

A tiny faux cut-crease drawn just above the hood line can give the impression of deeper crease. Use a small flat brush, draw a thin matte line, soften it and place shimmer only on the mobile lid. It reads on camera and in person. My first attempt looked too harsh; practice with low pigment first.
Shop this idea:
11. Brighten Lower Lashline, Not Lid
Style: Playful | Budget: Under $15 | Best For: Color lovers
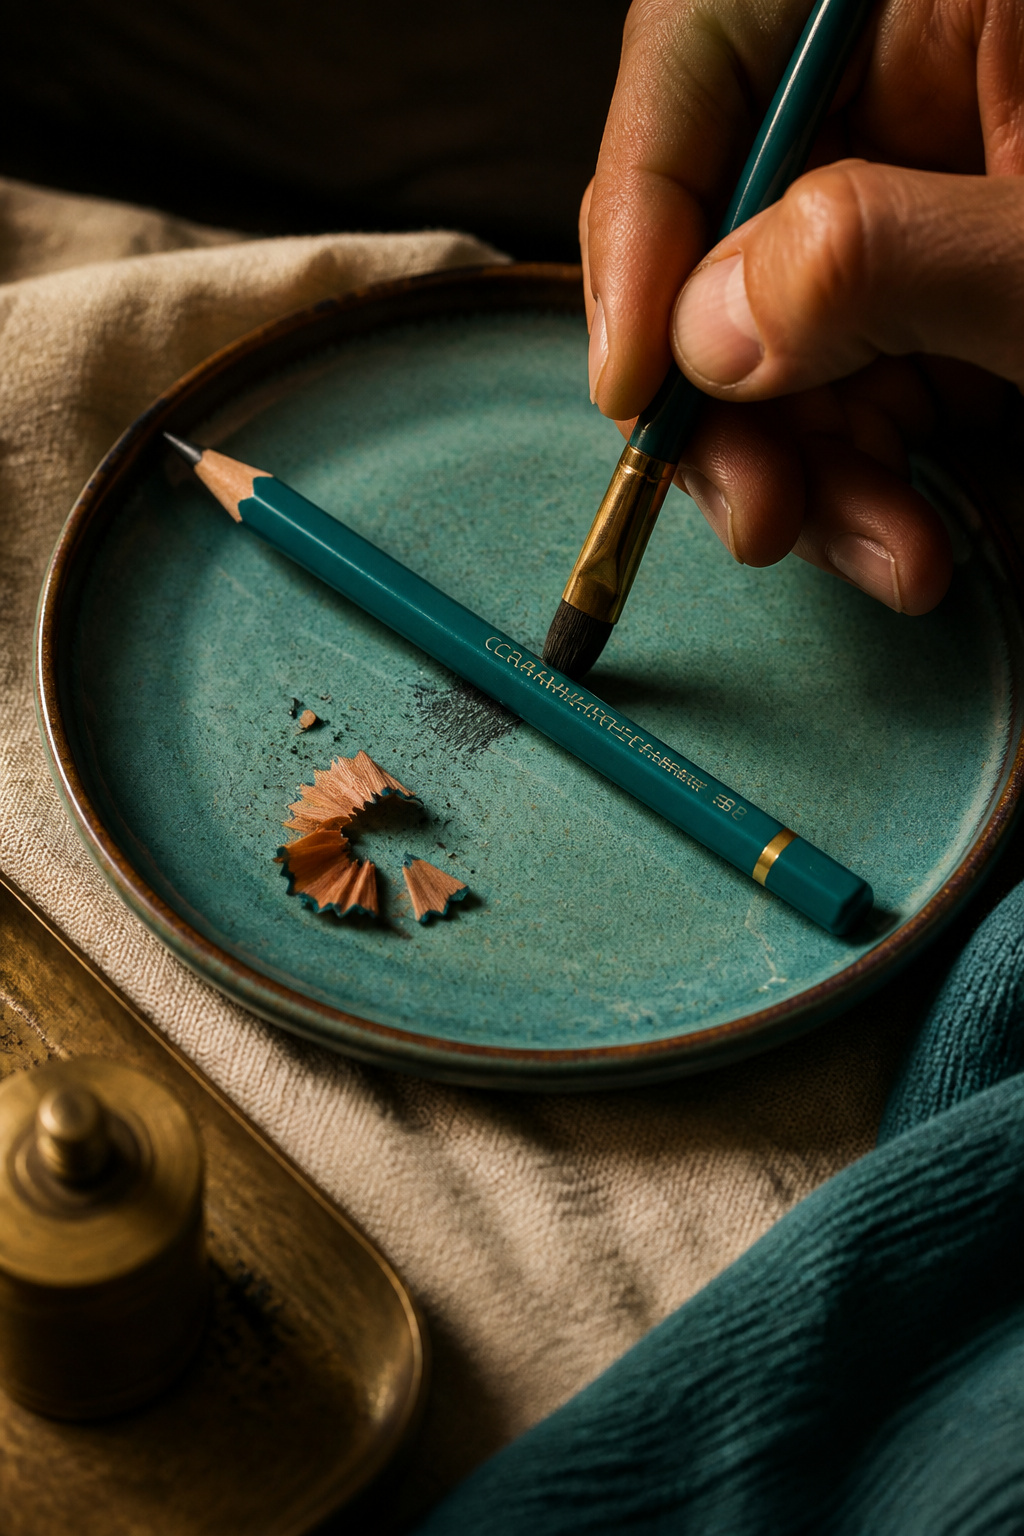

If lids vanish, put color where it shows: lower lashline. Smudge a soft color 2 to 3 mm beneath lashes and blend down slightly. It makes eyes pop without cluttering the hood. I tested a berry lower-line at brunch—people asked if I had eyeliner on, so it reads even at arm's length.
Shop this idea:
12. Use Concealer As Shield While Blending
Style: Practical | Budget: Under $10 | Best For: Beginners learning placement
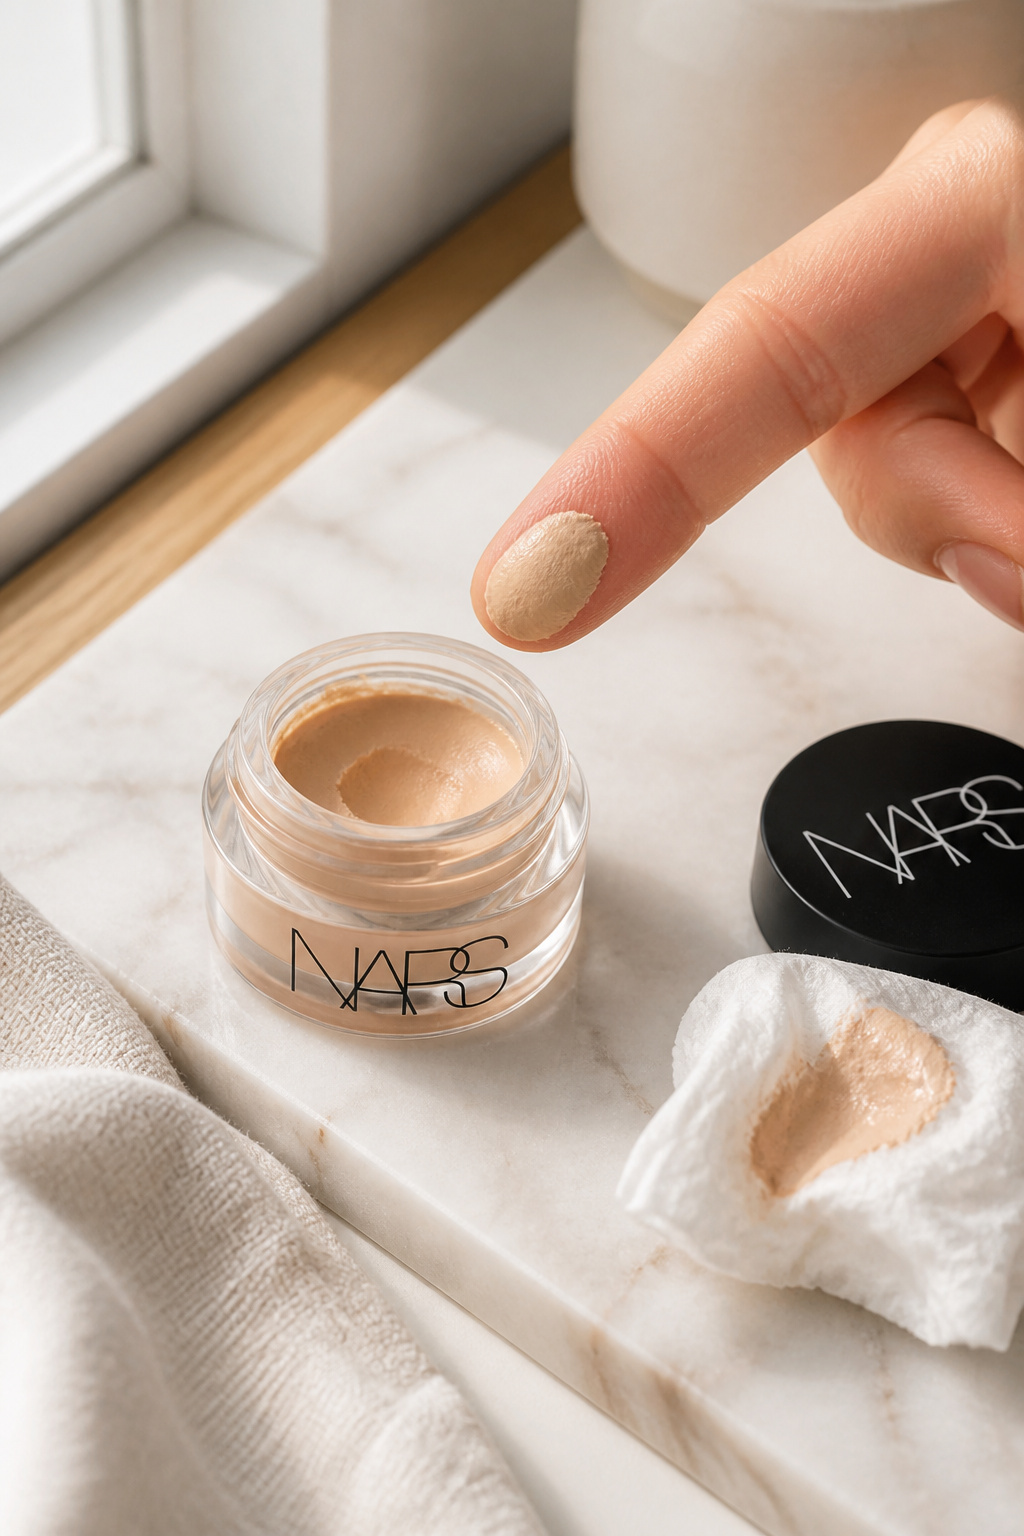

When practicing placement, dab a thin line of concealer where you want the crease to stay clean, blend shadow above it, then remove the concealer to reveal a crisp line. It stops over-blending into the hood. I used this hack before a photoshoot and it saved me from redoing my eyes three times.
Shop this idea:
13. Accessories That Redirect Attention Up
Style: Elevated Casual | Budget: Under $60 | Best For: Daytime looks


If shadow tricks still feel fiddly, use hair and jewelry to lift the eye area. A wide headband, high bun, or chunky hoop draws gaze upward so eyes seem more open. I wore a silk scarf to a park playdate; people complimented my face lift. This is the fashion side of hooded-eye solutions, and works especially well on no-makeup days.
Shop this idea:
What You'll Need to Get This Look
Face & Base Essentials
- Cream concealer stick fair around $8 to $16
- Cream eye primer in taupe around $10 to $20
- Matte transition powder quad around $12 to $30
- Eyeshadow setting spray around $10 to $18
Eyes, Brows & Lips
- Slim brow pencil taupe around $8 to $20
- Mini eyelash curler around $6 to $18
- Lengthening mascara black around $10 to $20
Clothing Staples
- Silk headband neutral around $12 to $40
- Gold chunky hoop earrings around $15 to $60
Shoes, Bags & Jewelry
- Minimal leather crossbody around $40 to $120
- Pearl signet ring gold around $20 to $70
Budget Swaps
- Drugstore cream shimmer around $6 to $14
- Affordable flat shader brush around $5 to $15
Shopping Tips for These Looks
Buy key neutrals first: Start with a taupe primer and a matte medium brown shadow, then add finish pieces like shimmers. I bought the primer first and rebuilt my kit around it. Cream eye primer in taupe around $10 to $20.
Time purchases with sales: Stock up during Ulta 21 Days of Beauty or Amazon Prime Day for palettes and brushes. I snagged a brush set at 40 percent off that felt like a splurge saver. Matte transition powder quad around $12 to $30.
Thrift and mix: Pair a thrifted silk scarf or vintage brooch with new basics for an elevated finish. I found a perfect scarf at a flea market and it read designer next to a $20 headband. Silk headband neutral around $12 to $40.
Try cream textures (2025 trend): Cream-to-powder shadows and primers are trending for a skinlike finish and easier blending. I switched to creams for quick mornings. Cream satin shadow champagne around $12 to $28.
Test transfer-proof first: If you live somewhere humid, buy a small eyeshadow setting spray before expensive palettes. I avoided a palette regret this way. Eyeshadow setting spray around $10 to $18.
Frequently Asked Questions
Q: How do I stop shadow from transferring to my hood?
A: Use a cream primer, set lightly with matte powder, then finish with a setting spray. Try a small tube of Cream eye primer in taupe for testing.
Q: Are liquid liners better than pencils on hooded eyes?
A: Liquids create a crisp thin wing that lifts; pencils can smudge into the fold. A fine tip liquid liner lasts longer; try Fine tip liquid eyeliner.
Q: Can I wear shimmers if my lid is mostly covered?
A: Yes, place a small satin or cream shimmer on the mobile lid only. Cream shimmers tend to adhere better; sample Cream satin shadow champagne.
Q: What’s a quick daytime trick for hooded eyes?
A: Tightline, curl lashes well, and add a soft matte in the upper hood edge. A mini curler and lengthening mascara combo is quick; try Mini eyelash curler.
Conclusion
Start with one small change, like a taupe cream primer or curling properly, and build from there. My cheapest tweak was $9 and it made my lids look awake on bad-sleep days. Which of the 13 tricks will you try first, a cream base or a lifted brow?


