








My worst makeup moment was a full glam face that vanished once I blinked. Makeup tips for hooded eyes became a personal obsession after that. These are exactly 11 practical hacks I use when I need shadow to stay put, most under $30, and a few splurges for lasts-long nights out.
These tips lean clean-glam and soft-glam, budget mostly under $30 with splurges around $120. They suit petite lids, mature skin, deeper tones, and anyone who hates creasing. Lately I notice more people using cream shadow sticks as a base for lasting color.
1. Use a Dedicated Eye Primer
Style: Clean Girl | Budget: Under $20 | Best For: Oily lids / Mature skin


Primer is the single fastest fix. It creates a sticky base so pigments cling and don’t migrate into the natural fold. I reach for a thin layer, letting it dry 10 seconds before anything else. Using primer dropped my midday creasing noticeably, and a makeup artist friend confirmed it’s the first step she recommends. Try layering a cream base over primer for extreme longevity.
Shop this idea:
2. Start With A Sheer Cream Base
Style: Soft Glam | Budget: Under $18 | Best For: Neutral looks / Combination skin


A thin, matte cream shadow across the lid locks down oil and gives color something to hold. I use a warm beige cream stick in warm caramel finish and blend with fingertips. The trick is very little product, patted not dragged. I once skipped this step at a wedding and my shimmer disappeared by photos, lesson learned. Use it under powder shadows for a long-wear hybrid finish.
Shop this idea:
3. Place Shadow Higher Than You Think
Style: Elevated | Budget: Free technique | Best For: Hooded lids / Deep set eyes
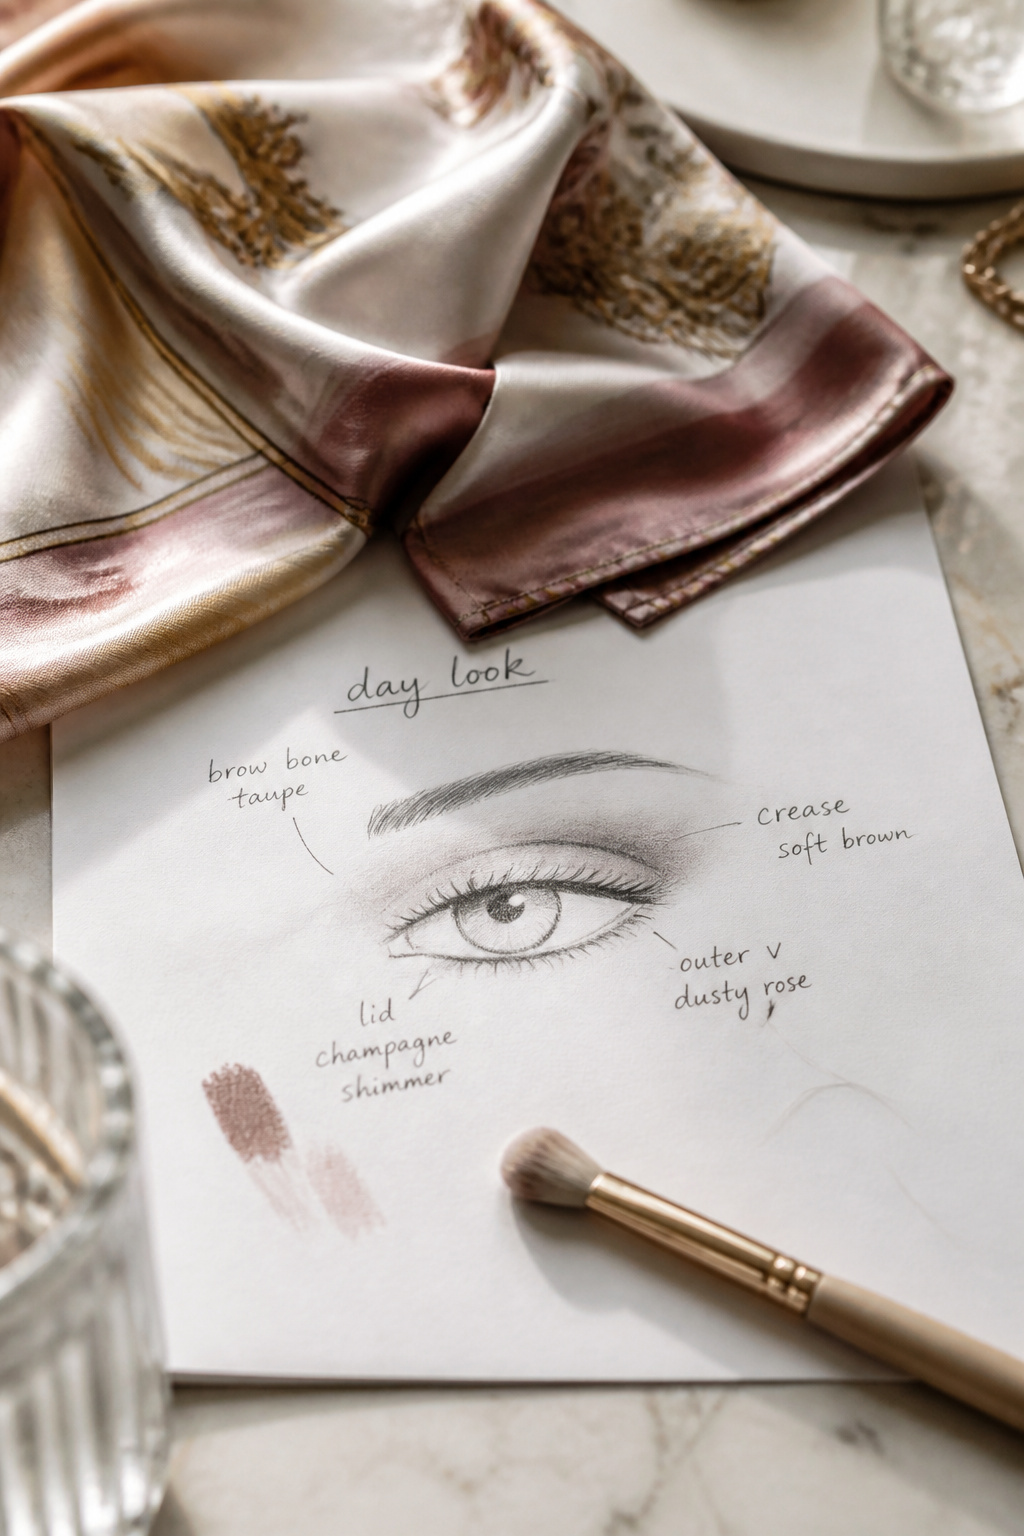

Paint your crease color slightly above your natural fold so it shows when eyes are open. The result reads like a true crease rather than a shadow hiding in the lid. I used to pack color into the visible lid and wonder why nothing showed. Move the tonal line up and blend softly. It looks more lifted and your work stays visible in photos.
Shop this idea:
4. Pick Matte Transition Shades
Style: Minimal | Budget: Under $25 | Best For: Smoky or daytime looks
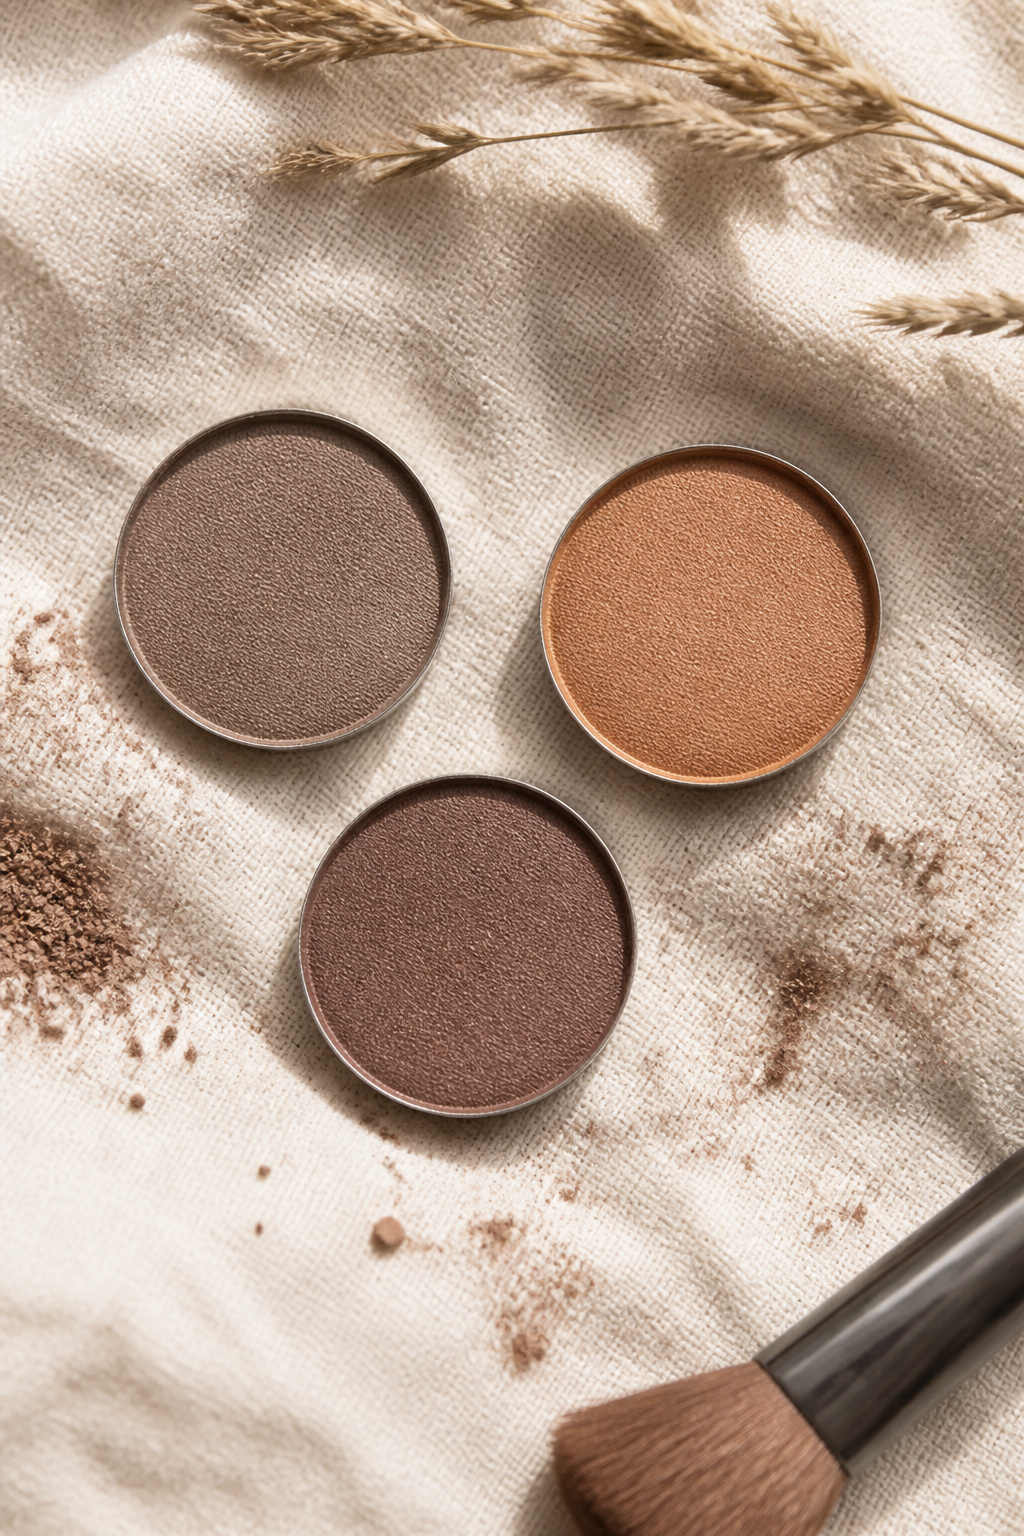

Shimmer in the hood can look messy. Matte transition shades avoid product pooling in the fold and create a cleaner gradient. My go-to is a warm matte taupe blended upwards. Most people overdo shimmer on the moving lid and then wonder why it creases. Matte creates structure and keeps focus on lashes and liner instead.
Shop this idea:
5. Use Waterproof Gel or Tightline Instead of Heavy Liner
Style: Polished | Budget: Under $15 | Best For: Small eyes / Hooded lids


A thin, waterproof gel liner or tightline at the roots opens the eye without heavy top liner that disappears into the fold. I tightline with a damp angled brush and a soft black gel. It reads like denser lashes and stays put during humid nights. Heavy wings often get lost on hooded lids, and I stopped wasting time on dramatic flicks for that reason.
Shop this idea:
6. Set Creams With a Matching Matte Powder
Style: Long Wear | Budget: Under $20 | Best For: Oily lids / Long days
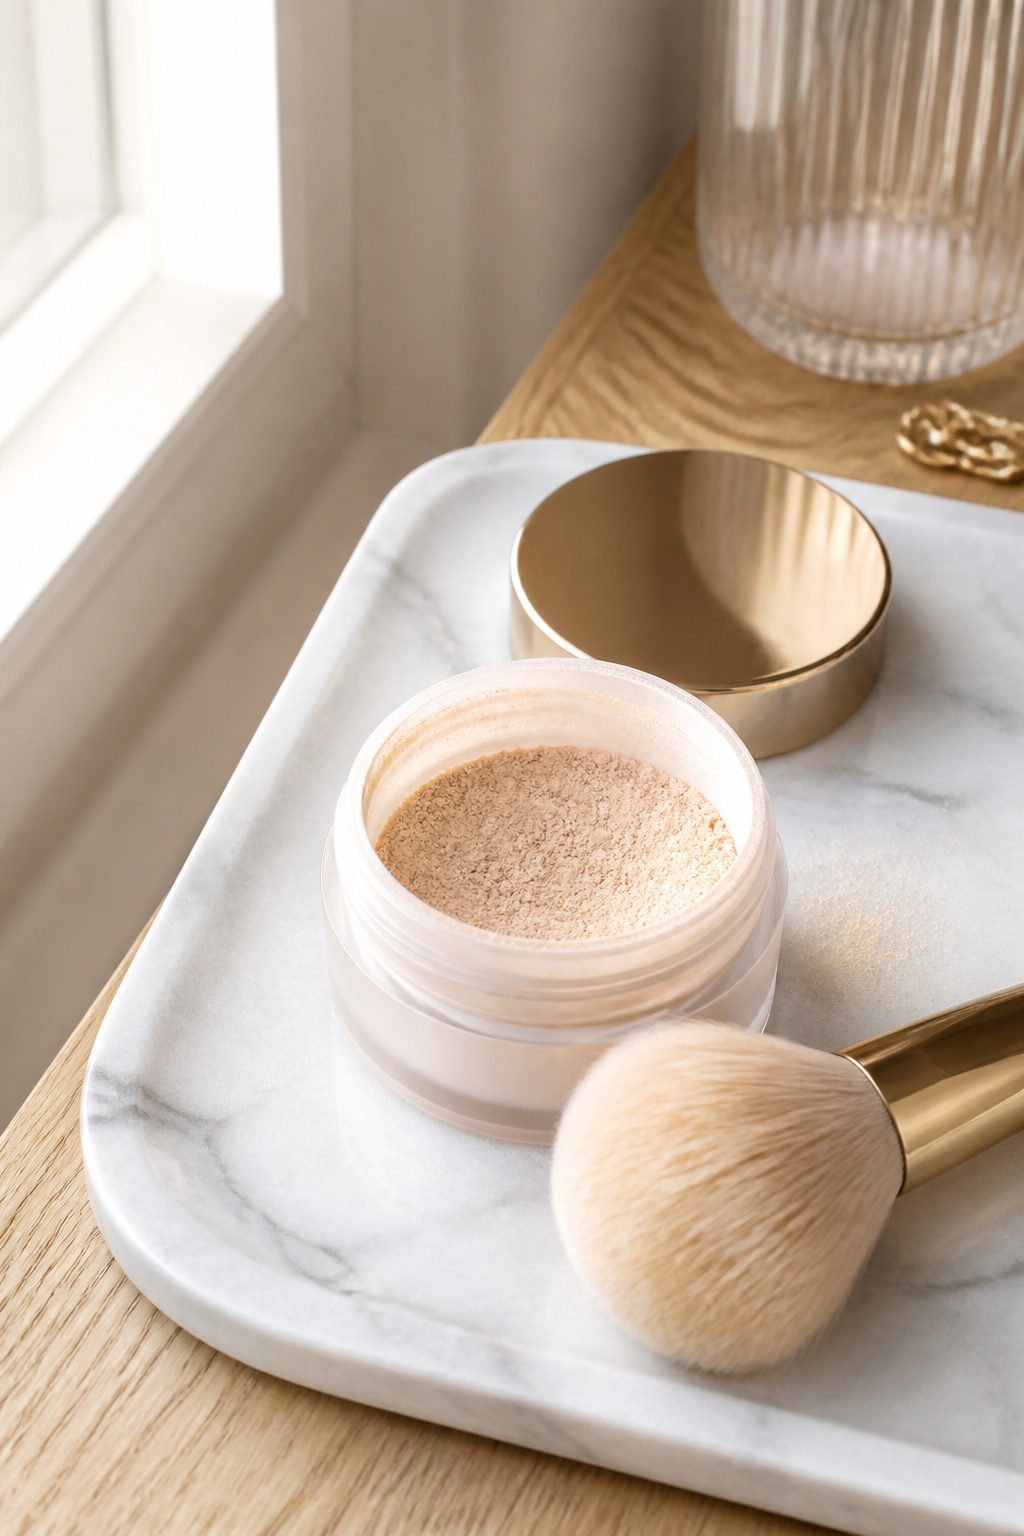

After a cream base, press a matching matte powder shadow on top to lock everything. Use a small fluffy brush to avoid packing too much product. I do this when I know I’ll be in humid rooms. The powder stops transfer into the crease without flattening the finish. Price note, this ritual works well with drugstore powders too.
Shop this idea:
7. Choose Fine, Short-Handled Brushes
Style: Intentional | Budget: Under $30 for set | Best For: Precision blending
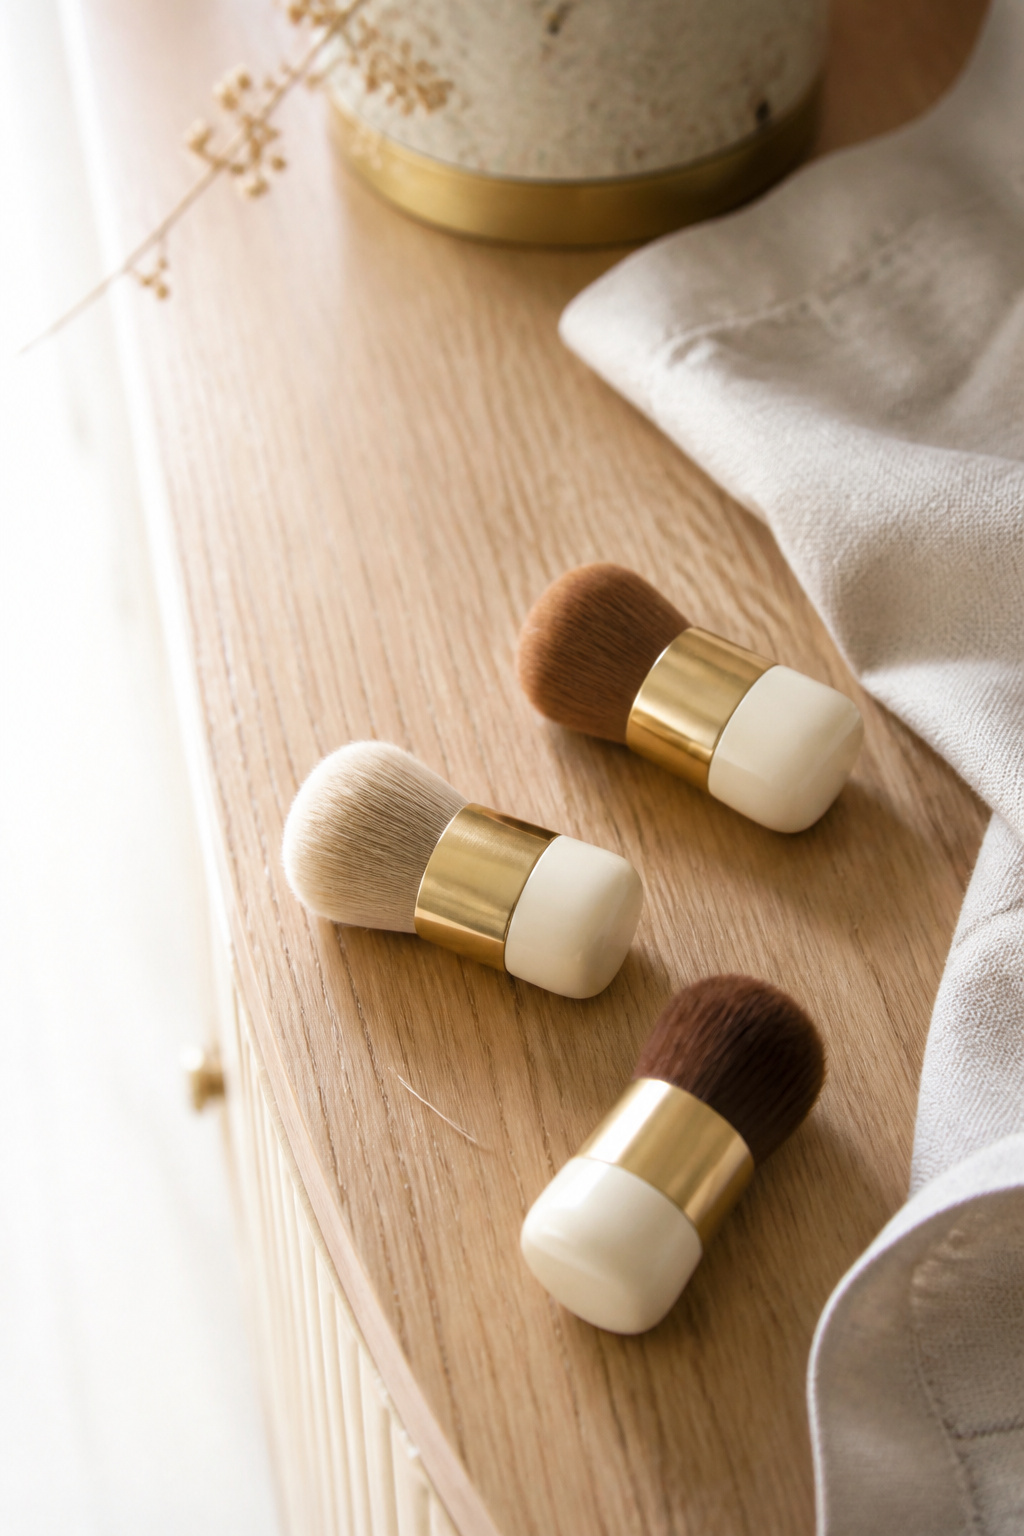

Long brushes hit the socket and push product into the fold. I switched to short-handled brushes for controlled, upward strokes. Small brushes give placement power so you can blend above the hood. I picked up a kit at Sephora sale and still use it daily. If you struggle with placement, this is an affordable fix that made a visible difference.
Shop this idea:
8. Avoid Heavy Shimmer On The Deepest Part
Style: Clean Glam | Budget: Under $25 | Best For: Mature skin / Photo-ready
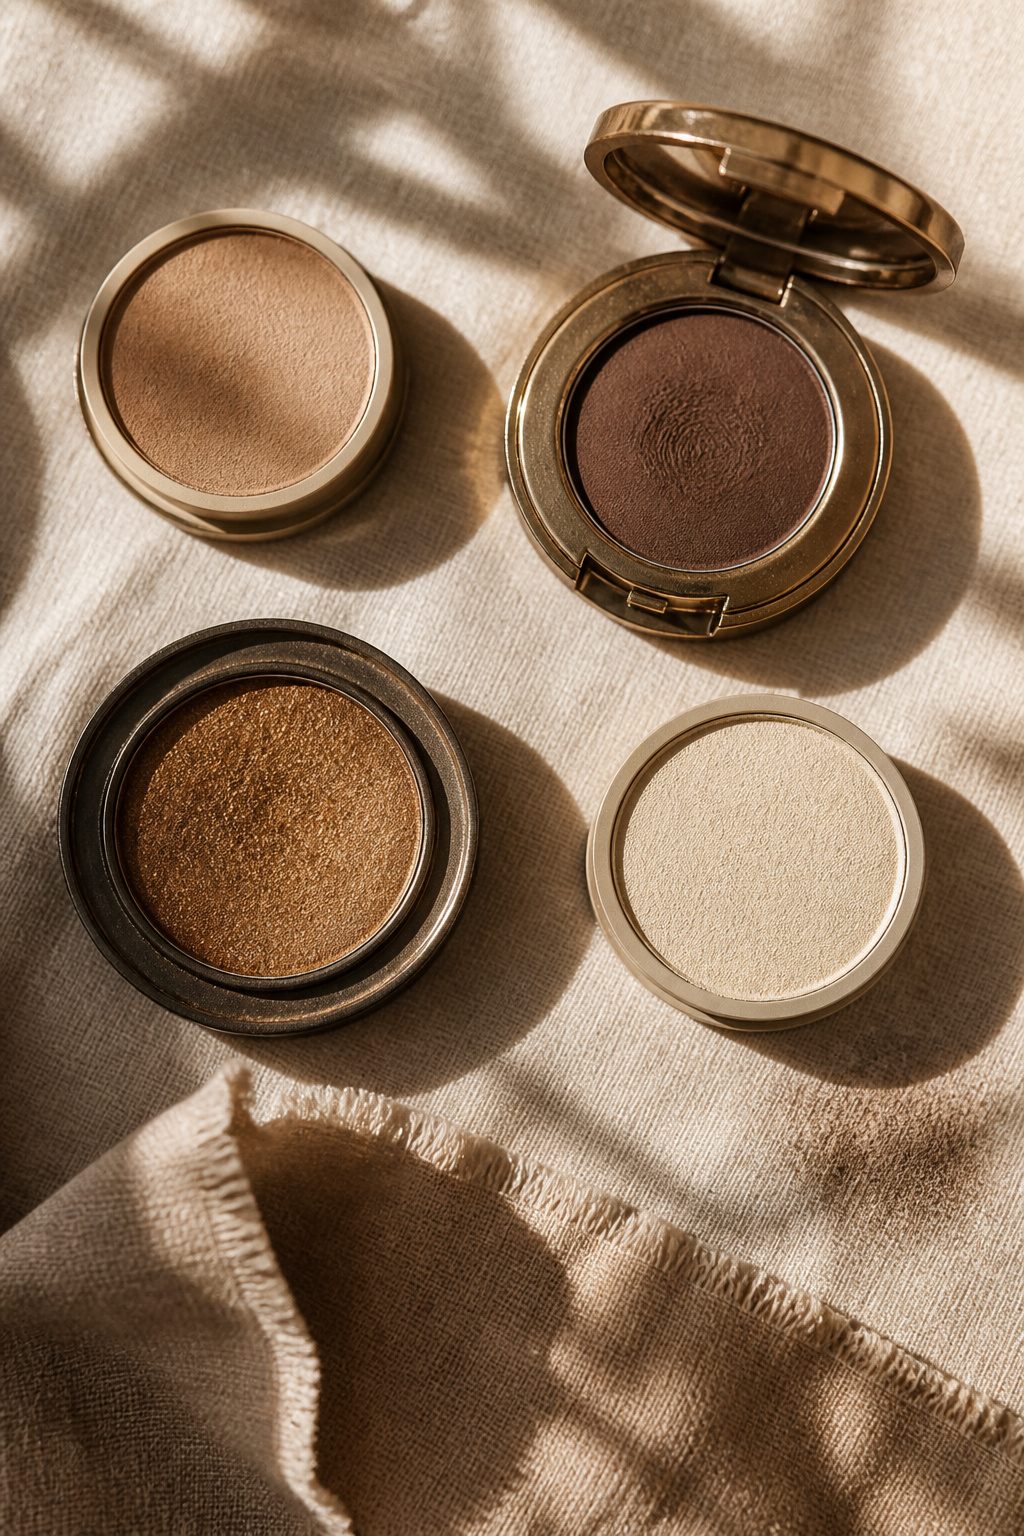

Shimmer sits in hooded folds and accentuates creasing. I reserve metallics for the center lid or inner corner where the lid lifts. On a night out, a thin sweep of champagne at center keeps the look luminous without emphasizing texture. I used to put full shimmer all over and learned the hard way that it photographs poorly on hooded lids.
Shop this idea:
9. Set Lids With Micro-Setting Spray
Style: Modern | Budget: Under $15 | Best For: Long events / Humid climates
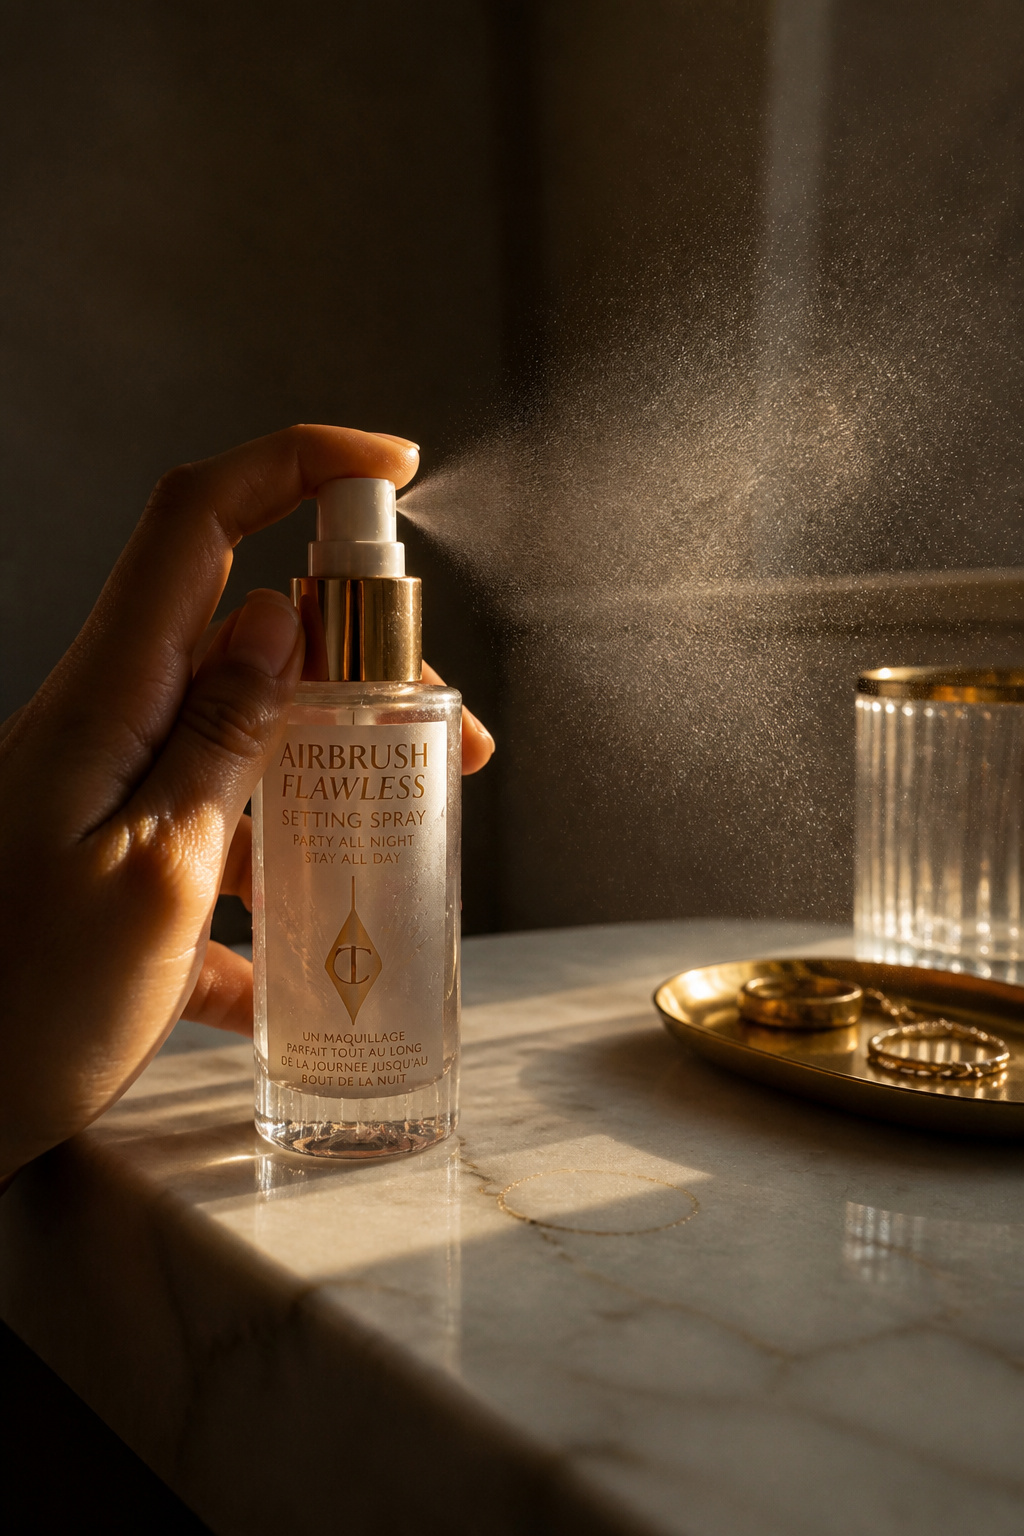

A light mist of micro-setting spray seals powders and reduces fallout migration into the crease. I spritz after finishing eye makeup from arm’s length. The face stays fresh and shadows don’t cake into the fold. I tried heavy sprays and got damp patches, so keep it micro and let it dry. This small step made my looks survive concerts and long flights.
Shop this idea:
10. Use Lash Lift or Lightweight False Lashes
Style: Polished | Budget: Under $80 for lift / Under $12 for lashes | Best For: Opens eyes visually


When the lid hides liner, lashes add visible drama. A lash lift lasts weeks and keeps curl without heavy mascara. I did a lift before a trip and my eyes looked wider in every photo. If you prefer lashes, choose lightweight strips that sit close to the lash line so they don’t push into the hood.
Shop this idea:
11. Clean Up Edges With Concealer, Not Powder
Style: Photo-ready | Budget: Under $20 | Best For: Sharp finish / Hooded lids
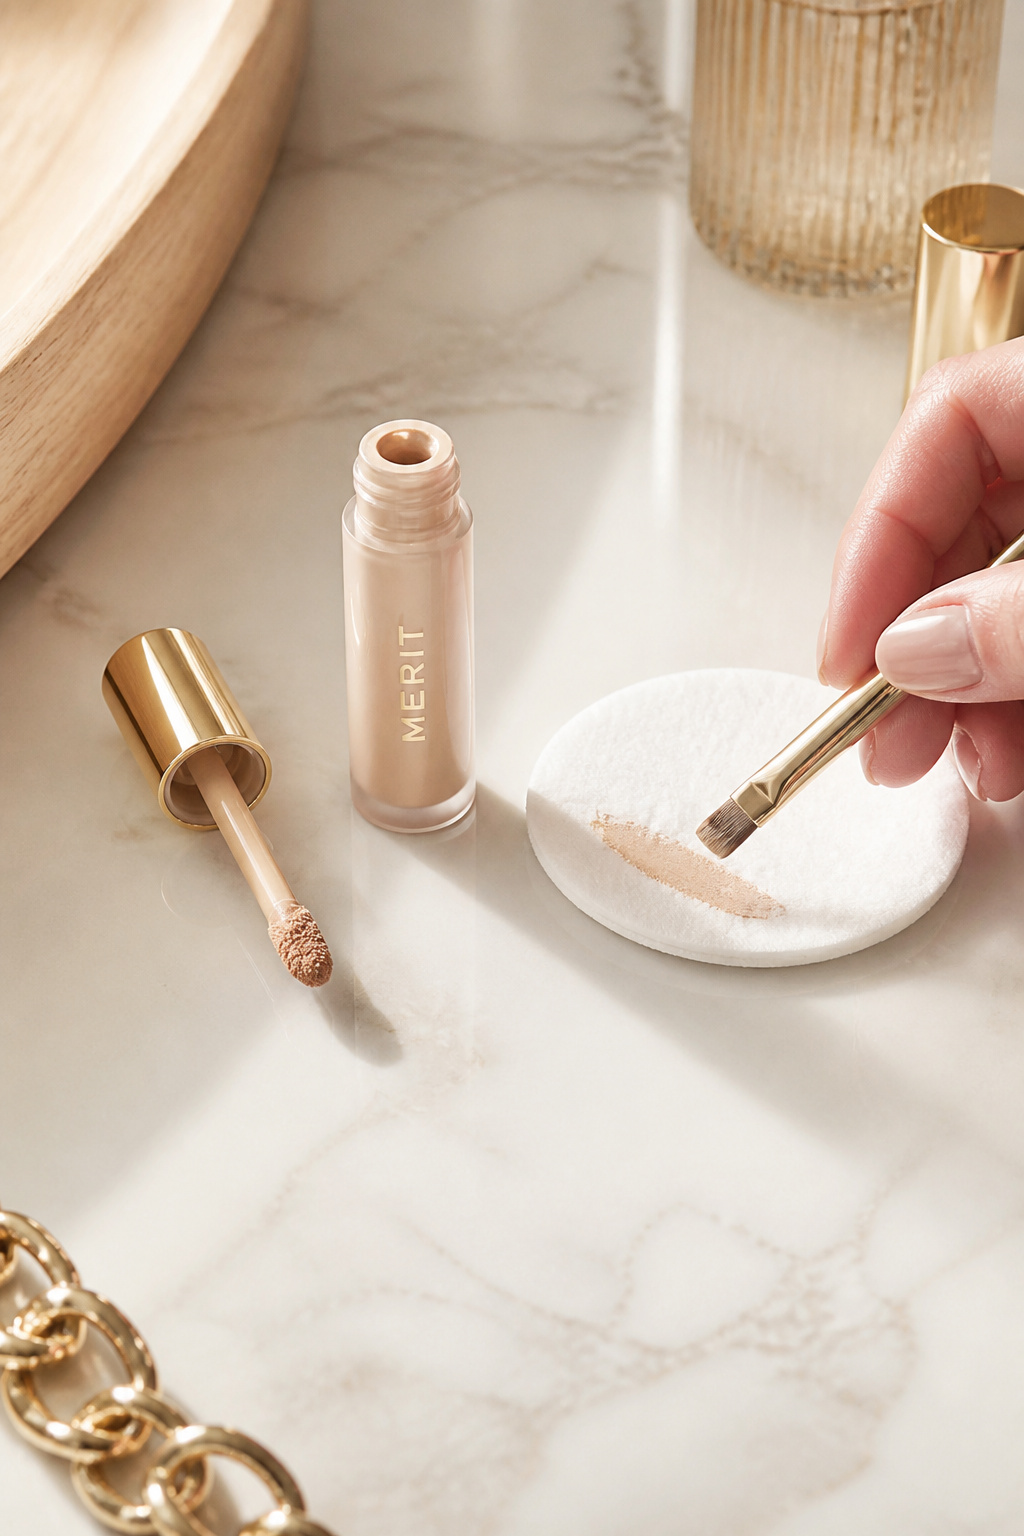

For a crisp look, use a tiny flat brush and concealer to define the shadow edge. Powder can lift and smear shadow into the crease. I correct the lower boundary of the crease with a dab of full-coverage concealer and blend upward, which makes the placement read sharp on hooded lids. Try shade-matching the concealer to avoid a stark line.
Shop this idea:
What You'll Need to Get This Look
Face & Base Essentials
- Eyeshadow primer for hooded eyes around $8 to $18
- Cream eyeshadow stick warm beige around $6 to $20
- Translucent setting powder small around $6 to $20
- Full coverage concealer small around $8 to $25
Eyes, Brows & Lips
- Neutral matte eyeshadow palette around $12 to $45
- Waterproof gel eyeliner black around $8 to $22
- Lightweight faux lashes natural around $6 to $15
Clothing Staples
- Silk scarf neutral around $12 to $40
- Classic white tee premium cotton around $12 to $45
Shoes, Bags & Jewelry
- Gold chunky hoop earrings 14k look around $10 to $45
- Leather crossbody bag tan around $45 to $120
Budget Swaps
- Cream eyeshadow stick drugstore cheaper option approx $5 to $12
- Short handled brush dupe set affordable approx $8 to $18
Shopping Tips for These Looks
Shop seasonal restocks: Brands rotate palettes in spring and fall, sensor for palette restocks during Sephora or Ulta sales, I scored a palette at Ulta’s 21 Days sale for $18. Neutral matte eyeshadow palette
Pick cream sticks in satin-matte finishes: Satin-matte stays creamier without sliding, which is helpful for hooded lids. Try a warm beige satin stick around $6 to $20. Cream eyeshadow stick warm beige
Thrift and mix: Thrifted silk scarves and vintage earrings upgrade a basic makeup look. I found a 1960s scarf for $12 that instantly elevated a boxed palette. Search local thrift shops before splurging.
Look for micro-setting sprays in travel size: They are cheaper and let you test hold without buying full bottle. I always pack a travel spritz for humid trips. Micro setting spray travel size
2025 trend to try: Cream shadow sticks layered under powder palettes keep growing in popularity for longevity and tonal looks. I notice beauty editors favoring this hybrid technique this year. Cream eyeshadow stick warm beige
Frequently Asked Questions
Q: How do I stop eyeshadow from creasing on hooded lids?
A: Use a thin layer of dedicated eye primer, then a cream base, and set with a matching matte powder. Try Eyeshadow primer for hooded eyes.
Q: Are shimmer shadows off-limits for hooded eyes?
A: Not at all, place shimmer on the center lid or inner corner only. That avoids pooling in the crease. A single champagne metallic shadow works well. Champagne metallic shadow single
Q: Do false lashes help or hurt hooded eyes?
A: Lightweight false lashes help open the eye if applied close to the lash line. Avoid heavy strips that push into the hood. Lightweight faux lashes natural
Q: Is a lash lift worth the cost for hooded lids?
A: If you want long-lasting curl with minimal daily fuss, yes. Results last weeks and make liner more visible. Book with a licensed technician or try at-home lift kits. Lash lift kit professional
Conclusion
Start with primer and a tiny cream base. Those two changes often fix 70 percent of the transfer issues I see. Spend your budget on good brushes and a reliable primer, then experiment with lashes or lifts. Which tip will you try first when you next do your eyes?


