






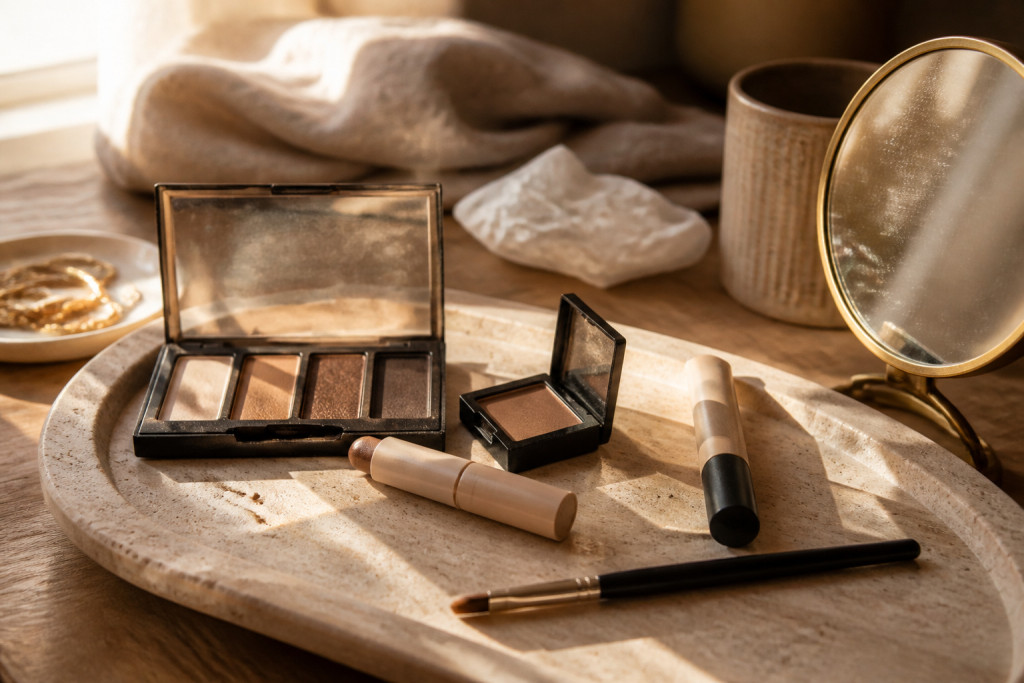

My hooded lids used to make my best shadow vanish within an hour. Eyeshadow makeup for hooded eyes became my weekend experiment and my weekday fix. These 11 tricks kept color visible from coffee to happy hour, mostly under $30, with two splurges around $60 to $100 for tools I actually reach for every day.
I’m focused on wearable soft-glam and clean-eye looks for most skin tones. Most picks are under $30, a couple of brush and primer splurges around $60 to $100. These work if you have oily lids, mature skin, or want a polished everyday eye.
1. Prime With A Silicone-Blend Eye Primer
Style: Clean Girl | Budget: Under $20 | Best For: Oily lids / Mature hooded eyes
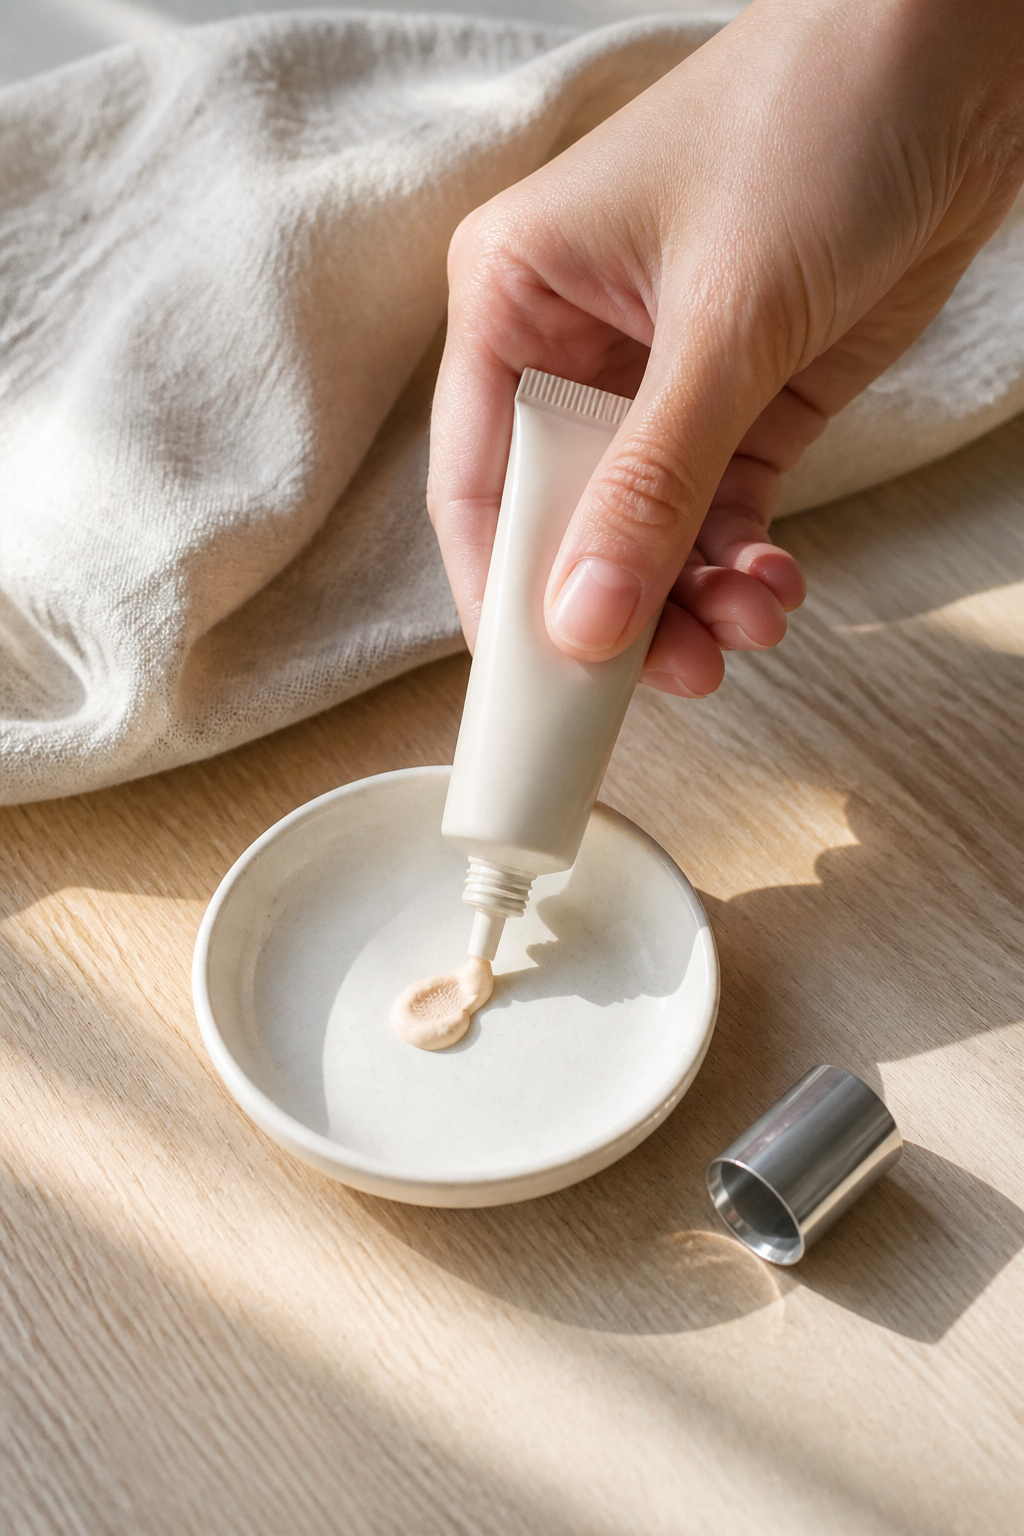

Result: primer stops shadow sliding into the crease. I use a thin layer of a silicone-blend primer because it smooths texture and grips powder. The trick is patting, not rubbing, so the product sits in the mobile lid. I paid $16 at Target once and skipped the CVS tester after that. Research from the American Academy of Ophthalmology explains that primer can help with longevity on heavy lids, especially when skin folds increase movement.
Shop this idea:
2. Use A Cream Shadow As Base, Then Set
Style: Tonal | Budget: Under $18 | Best For: Deep lid tones / Quick mornings


Cream shadow as a base keeps color visible when the lid folds over. I swipe a warm caramel cream stick all over, let it skin-set for 20 seconds, then dust a matching powder to lock it. Avoid thick layers; that’s what cakes and creases. I learned this the hard way after a Vegas night when my color transferred onto my upper lashline.
Shop this idea:
3. Map A Higher Transition Shade
Style: Soft Glam | Budget: Under $25 | Best For: Round or hooded shapes


Put your transition a touch above the fold. The trick is creating the illusion of deeper socket space. I take a matte warm taupe about 3 to 4 mm above my natural crease, blending upward. People often pack pigment directly into the crease, which disappears when the lid drops. This small shift saved my smoky look for an entire 10-hour travel day.
Shop this idea:
4. Use Tightliner To Define Lash Base
Style: Minimal | Budget: Under $12 | Best For: Sparse lashes / Subtle lift
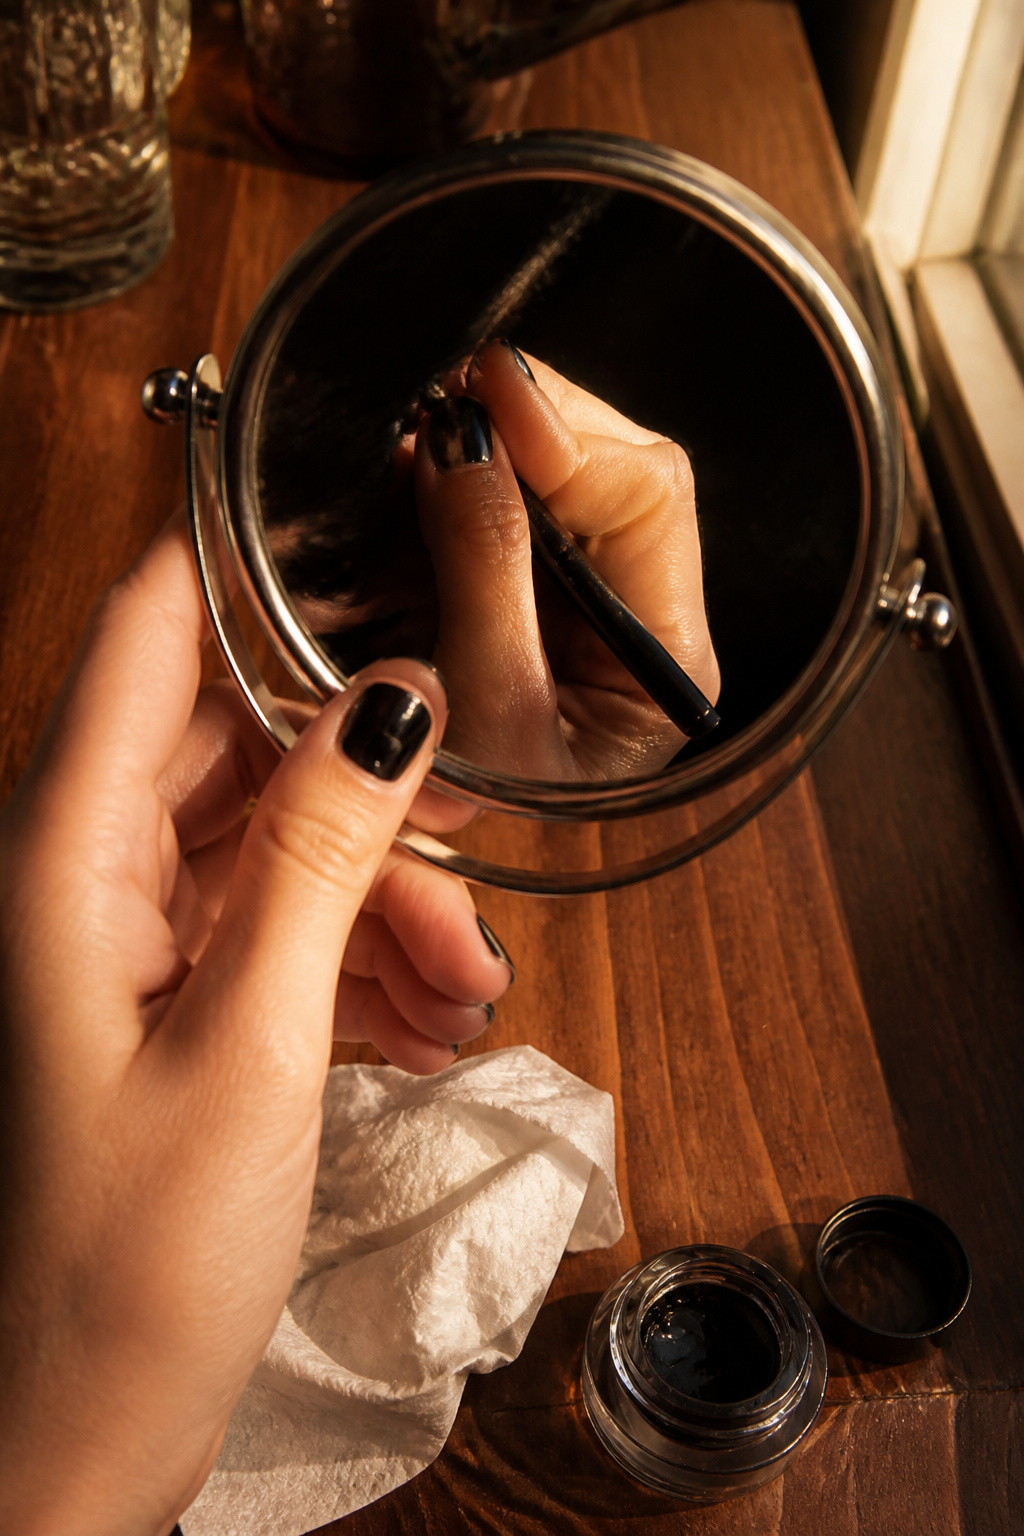

Tightlining makes lashes look denser and prevents empty lid space from reading flat. Use a waterproof gel or pencil and press into the root with short dabs. I learned not to drag; it pulls product into the fold. My bad nights were when I overlined the lid edge — it creased and transferred to the browbone.
Shop this idea:
5. Focus Color On Outer V Only
Style: Elevated Everyday | Budget: Under $20 | Best For: Hooded hooded lids / Monolid mixes


Placing the deepest shade in a compact outer V prevents the lid fold from swallowing the whole look. I use a chocolate brown on the outer third and blend softly up and out. It lifts without heavy liner. Ugly truth: dragging dark all over the lid flattens everything. That was my 2016 smoky-eye mistake.
Shop this idea:
6. Use A Slim, Stiff Brush For Precision
Style: Clean Girl | Budget: $10 to $45 | Best For: Detailed placement / Small lids
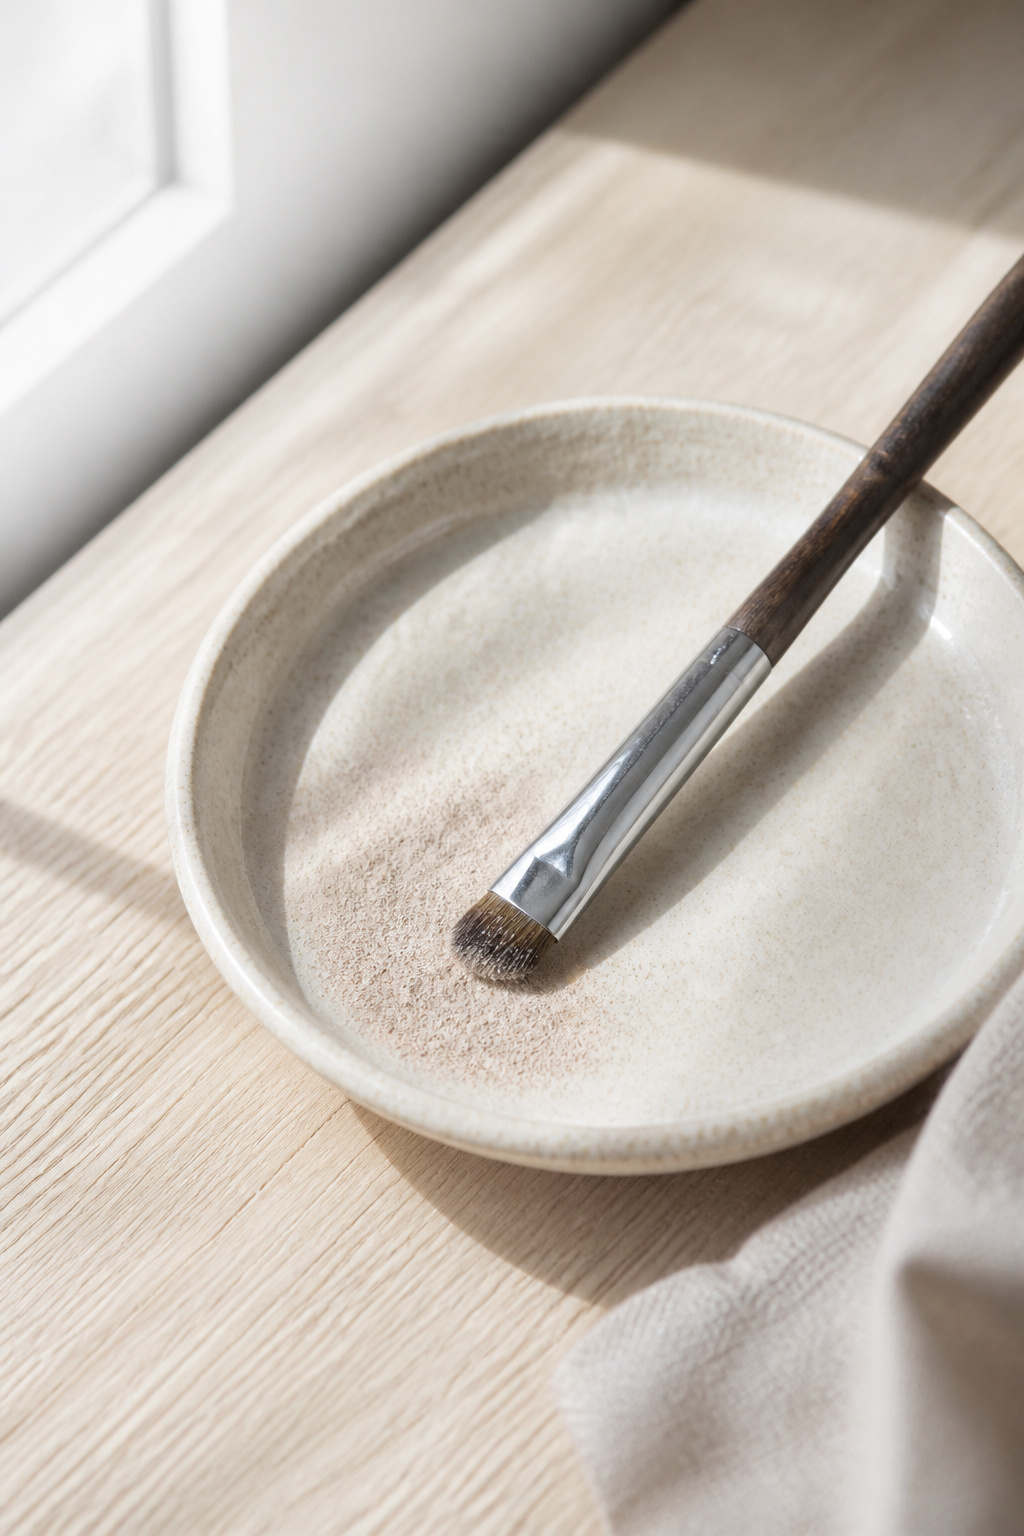

A thin, firm brush lets you stamp color where the lid shows when open. I use a synthetic 2 mm brush to press pigment into the visible lid and outer corner. It’s a small splurge I bought for $34 at Sephora and still reach for it. Most people use large fluffers that blend everything away on hooded lids.
Shop this idea:
7. Lift With Skin-Tone Matte Under The Brow
Style: Natural Lift | Budget: Under $15 | Best For: Soft lift / Mature brows


A skin-toned matte under the brow avoids shimmer that draws attention to the fold. I dust a beige matte just beneath my arch and blend out toward the tail. This creates subtle lift when the lid drops. Pro tip: use a shade that matches your upper cheek, not your forehead. I realized that after a weekend of over-highlighting that made my eyes look heavier.
Shop this idea:
8. Smudge A Thin Line Slightly Upward
Style: Soft Pinup | Budget: Under $12 | Best For: Hooded + round eyes


A slightly upward-smudged liner lifts without a full wing. Draw a thin line from the outer two-thirds and smudge upward with a brush. Keep it thin where the lid folds. I tried full wings for months; they disappeared when my lids closed. This is a better play for daytime—no touch-ups for eight hours.
Shop this idea:
9. Compress With Pressing Motions, Not Swipes
Style: Lightweight | Budget: Under $10 | Best For: Layering cream then powder


Press pigment where you want it to stay. I press powders and creams with the pad of a finger or a flat brush, then lightly blend the edges with a fluff. Swiping drags product into the crease. One ugly truth: heavy swipes equal heavy fallout and gone color. Pressing saved me during humid afternoons.
Shop this idea:
10. Matte Metallics For Visible Shine
Style: Evening Polished | Budget: $12 to $22 | Best For: Visible lid shimmer without transfer
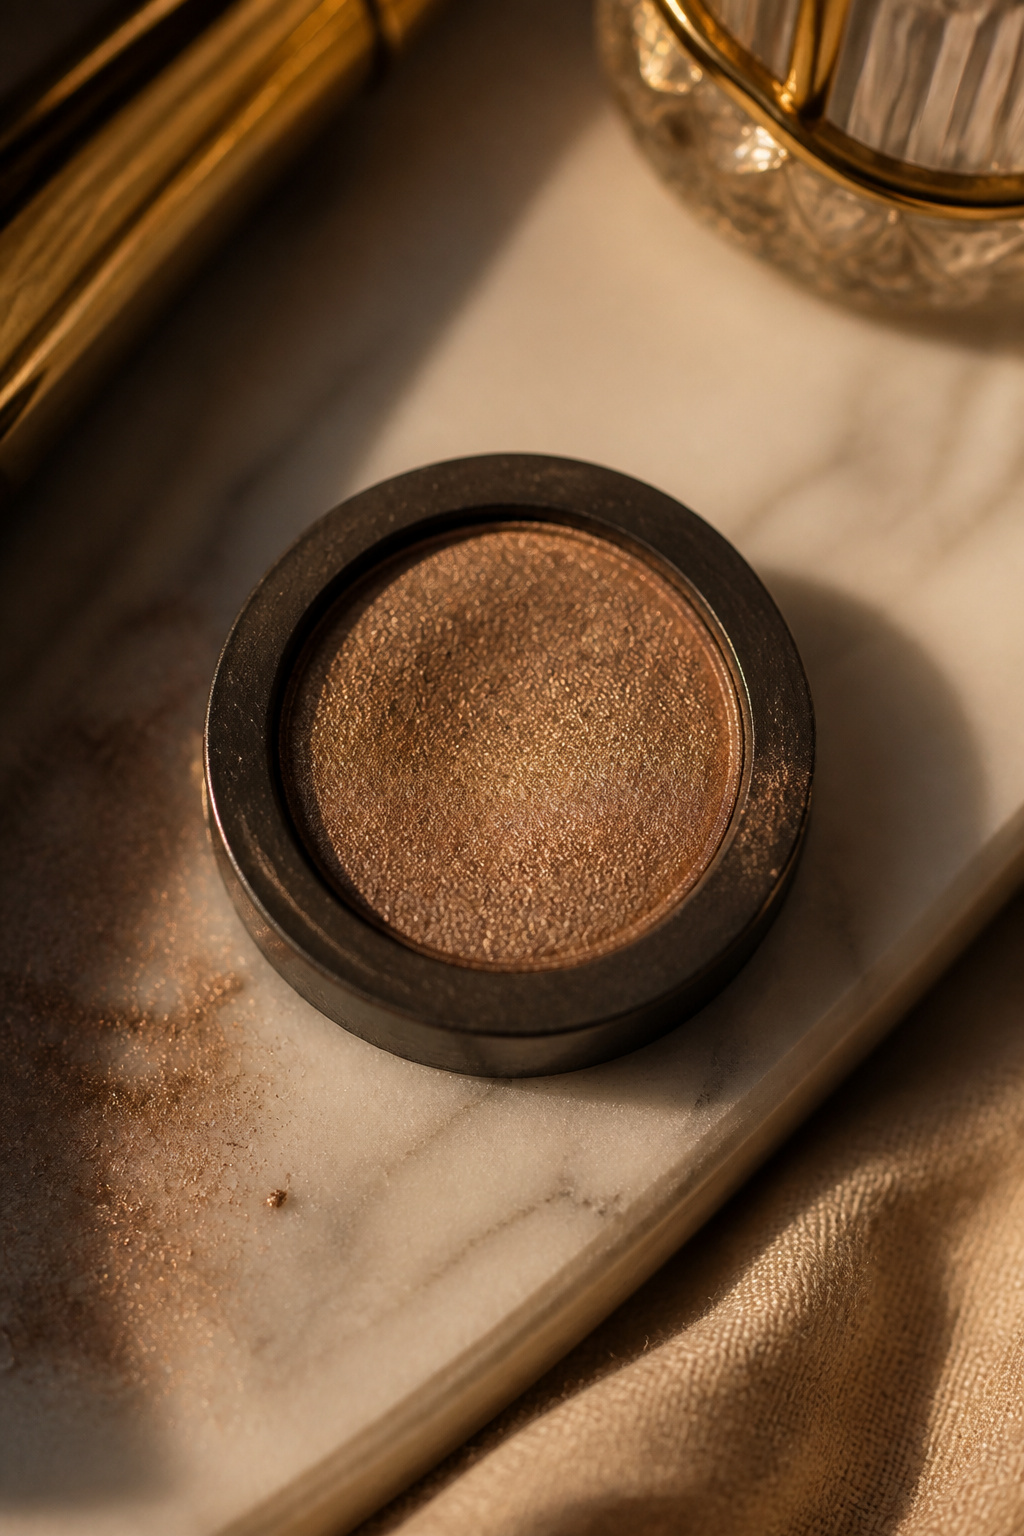

Pick metallics with a finely milled, almost matte metallic finish placed on the center of the visible lid. They catch light without sliding into the crease. I dot a bronze-taupe with a fingertip and press; the effect lasts through dinner. Brands with micro-shimmer hold longer than chunky glitter, which migrates into folds.
Shop this idea:
11. Seal With A Light Spray And Blot
Style: Longwear | Budget: Under $10 | Best For: Full days / Travel


Finish with a light setting spray and immediate blot with a tissue to remove excess tack. This seals cream bases and sets powders without creating shine that slips. I learned to blot after a festival when humidity was high. For long flights, I pack a mini spray and blot sheet; it keeps the crease at bay.
Shop this idea:
What You'll Need to Get This Look
Face & Base Essentials
- Silicone eye primer small tube around $12 to $20
- Cream eyeshadow stick warm caramel around $8 to $18
- Translucent setting powder travel size around $6 to $16
- Travel setting spray mini around $6 to $12
Eyes, Brows & Lips
- Slim angled shadow brush approx $10 to $45
- Flat shadow brush small around $6 to $18
- Waterproof gel eyeliner travel size around $8 to $16
Clothing Staples
- Lightweight silk scarf neutral around $12 to $40
- Thin cashmere crewneck cream approx $60 to $120
Shoes, Bags & Jewelry
- Small gold hoop earrings 14k look around $12 to $40
- Leather crossbody bag tan around $40 to $150
Budget Swaps
- Drugstore silicone eye primer around $6 to $12
- Value cream shadow stick neutral around $6 to $12
- Affordable blending brush duo around $8 to $18
Shopping Tips for These Looks
Buy primers on sale: pick an eyelid primer during Sephora or Ulta sales, often around 15% to 20% off; try Silicone eye primer small tube if you miss a sale.
Test cream-to-powder combos in natural light: swatch on your mobile lid area and close your eye to see transfer, then set with Translucent setting powder travel size.
Thrift your tools: vintage travel brushes at thrift shops often have sturdy handles; clean and reflag synthetic bristles. Look for small angled brushes at local thrift stores or online marketplaces.
Seasonal switch: swap from cream bases in winter to pressed powders in summer for less slip; keep a Travel setting spray mini for humid months.
2025 trend note: I’ve noticed more micro-shimmer matte metallics replacing chunky glitter; try a finely milled single like Micro shimmer metallic shadow single for evening.
Insider tip for longevity: buy small sizes to test shade and wear, then splurge on full sizes of what you use daily.
Frequently Asked Questions
Q: How do I stop eyeshadow from creasing on hooded lids?
A: Use a thin layer of a silicone-based primer and press powders rather than swipe. Try Silicone eye primer small tube for a portable option.
Q: Are cream shadows bad for hooded eyes?
A: Not if you skin-set them and powder on top. Use a cream-to-powder combo like Cream eyeshadow stick warm caramel and set with translucent powder.
Q: What brush is best for placing shadow on a small visible lid?
A: A slim, stiff synthetic brush for stamping pigment works best. I recommend Slim angled shadow brush for precise placement.
Q: Does hooded eye makeup differ with age?
A: Yes. As skin laxity increases, lighter-weight formulations and higher transition placement help. Consider a slightly warmer matte shade under the brow like Matte skin-toned brow powder.
Conclusion
Start with one small change, like a silicone primer or a slim brush, and build from there. My favorite quick win was swapping swiping for pressing; that one habit cut disappearances in half. Which trick do you want to try this week—primer, cream base, or the slim brush?


