








How to apply clear nail tips without thick bulky edges became my weekend project after a botched shellac set that looked like tiny white parking curbs.
How it ends: natural-length, glassy tips with a near-invisible seam and slim side profile you can wear with rings and sleeves. I’ll show a wallet-friendly route (about $30 to $90 start-up) and the exact tools I used.
Salon demand for nail enhancements has been steady; Statista notes the U.S. nail care market surpassed $10 billion in 2022, which explains why at-home versions keep getting better (Statista). I like clean, minimal results—light-reflective tips that read natural from arm’s length.
This suits anyone who dislikes chunky edges: short to medium nails, neutral wardrobes, and people who prefer tonal, low-maintenance mani. Lately I see more people pairing clear tips with muted beige polish for that "clean" vibe.
1. Choose The Right Thin Tip And Prep The Nail


Start here because the tip’s profile decides whether you’ll fight a bulky edge later.
Pick ultra-thin clear tips labeled "flexible" or "ultra thin" for a sleek sidewall. I use a pack I found on Amazon; they sit flatter than traditional rigid tips and mimic the natural nail curve.
Prep the natural nail: remove oils with 70% isopropyl, push cuticles back, and buff light shine—don’t overfile. Over-roughening eats away your natural fit and makes gaps.
Products I rely on: Ultra thin clear nail tips short set and Isopropyl alcohol 70% bottle 16oz. The thin tip plus light buffing preserves a flush seat.
Common mistake: sanding the natural nail into a raw pancake. Instead keep the surface light—this keeps glue adhesion strong and prevents a lifted, chunky seam.
2. Size, Seat, And Trim For A Slim Profile


Fitting comes next because a crowded sidewall is the quickest route to thick edges.
Size every tip so it just kisses the lateral nail fold without crossing it. If two sizes sit close, choose the smaller one and gently file the edges. I line tips up on a cheap sizing chart I keep in my kit.
Clip the tip to desired length with a stainless steel tip cutter nipper and then thin the free edge with a 180 grit file to remove the factory thick seam.
Visual principle: proportion. A snug, narrow base creates the illusion of a natural extension. Mistake people make: forcing a too-wide tip and then burying the seam with product. Fit first; fill later.
3. Thin, Bevel, And Blend The Edge Like A Pro
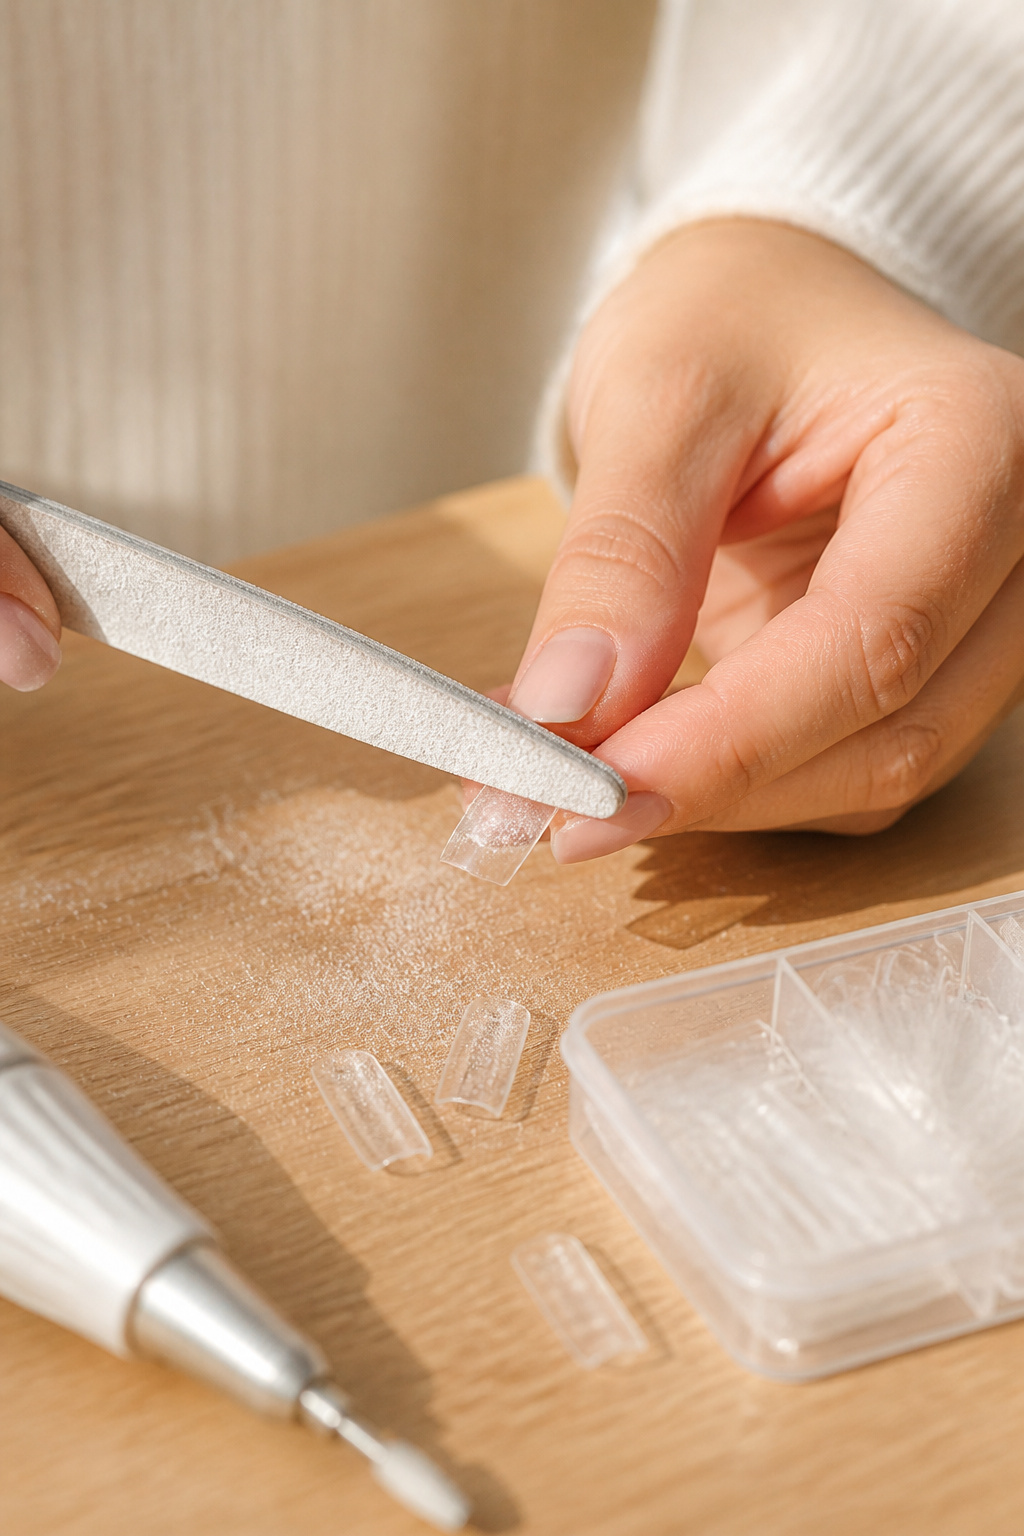

This is the phase where most sets start looking bulky if you skip steps.
Use a tip nipper to remove bulk, then switch to a 180/240 file to taper the underside of the free edge. The goal is a thin flange that tapers into the natural nail rather than a blunt wall.
Next, with a 240-300 grit buff, create a soft bevel at the seam to help product sit flush. I pat a tiny drop of nail dehydrator primer acid-free on the natural nail only.
Visual principle: texture matching. Thin edges reflect light like a real nail; thick flanges create harsh shadow lines. Common misstep: over-filing the top of the tip and losing structure. Be conservative on the dorsal surface.
4. Bond With Thin Product Layers, Not Bulky Fills


Glue alone can create a raised ridge. Your fix is thin, controlled layers.
If using super glue, apply a thin bead near the free edge and seat quickly, wiping excess with an orangewood stick. For a stronger, smoother finish use a thin builder gel like a "clear thin builder" applied in a 0.5 mm layer, then cure under LED.
My go-tos: Thin nail glue brush-on precision and Clear thin builder gel 15ml. Thin layers keep the side profile slim while giving durability.
Mistake: globbing product to hide the seam. Instead layer thin, cure, then reassess. The result reads glassy and heightless.
5. Shape, Seal, And Maintain A Seamless Finish
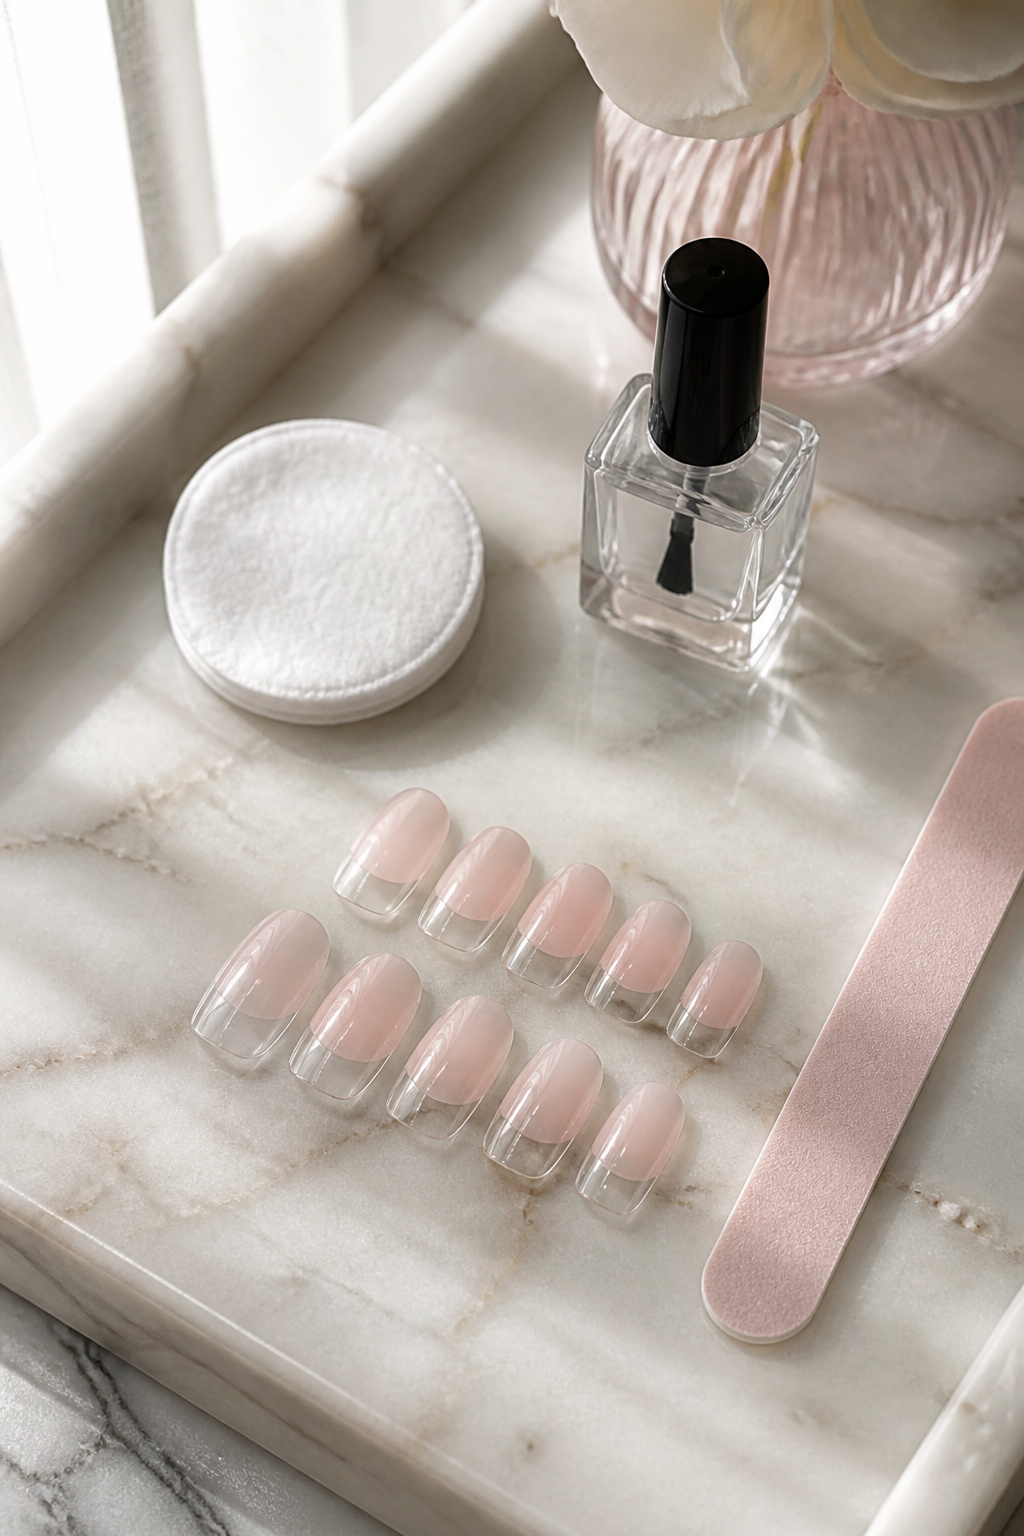

Finish matters for that invisible edge.
After your final thin gel layer or cured adhesive, file the sidewalls very lightly to re-sculpt if needed. Buff the surface with a soft block 600 grit to remove micro bumps. Wipe with alcohol then apply a glossy topcoat in one smooth swipe.
Use high-shine fast topcoat clear 10ml or a thin builder-gloss cured for mirror shine. For upkeep, avoid harsh chores without gloves; acetone soaks will soften edges over time.
Ugly truth: chips happen. Small chips are easier to refil than to rebuild a thick, fake-looking tip. Repair with a thin gel bead and cure.
Common Styling Mistakes to Avoid
Mistake: Using the widest tip that "covers more nail"
Why it doesn't work: Creates tender side gaps and thick visible edges.
Do this instead: Size to the lateral fold and file for a snug fit. Ultra thin clear nail tips short set
Mistake: Slathering glue across the whole base to prevent lifting
Why it doesn't work: Builds up a ridge and traps air bubbles.
Do this instead: Dot glue near the free edge and seat firmly. Thin nail glue brush-on precision
Mistake: Filing aggressively on top to "blend" seam quickly
Why it doesn't work: Removes structure and creates weakness.
Do this instead: Thin underside and gently bevel the seam. 180/240 grit nail file duo pack
What You'll Need for This Look
Face & Base Essentials
Isopropyl alcohol 70% 16oz around $4 to $8
Dehydrator primer acid-free 15ml around $6 to $14
Clear thin builder gel 15ml around $8 to $20
Eyes, Brows & Lips
High-shine fast topcoat clear 10ml around $6 to $18
LED nail lamp 48W compact approx $20 to $60
Clothing Staples
Light linen blouse cream small approx $25 to $60
Shoes, Bags & Jewelry
Gold chunky hoop earrings 30mm around $12 to $30
Thin band stacking rings set gold around $8 to $22
Budget Swaps
Tip cutter nipper stainless steel around $8 to $18
180/240 grit nail file duo pack around $4 to $10
Shopping Guide for This Look
Shop for thin tips on arrival day: Buy Ultra thin clear nail tips short set and compare sizes at home during daylight to avoid returns. $6 to $18.
Seasonal tip: Spring mani searches spike—pick up extra tips during holiday sales like Prime Day for bulk savings. LED nail lamp 48W compact $20 to $60.
Thrift hack: Pair thrifted rings with a new clear topcoat for high-low polish; source simple bands then seal wear with High-shine fast topcoat clear 10ml $6 to $18.
Splurge vs save: Splurge on a quality LED lamp for consistent cure; save on files and buffers. Clear thin builder gel 15ml $8 to $20.
One trend to watch 2025: Clean, near-transparent tips paired with neutral polish are gaining traction—stock a thin builder gel rather than thick acrylic for that look. Dehydrator primer acid-free 15ml $6 to $14.
Conclusion
Start with the sizing and trimming. That two-minute step saves hours of filing and fixes later.
The principle I rely on: thin materials layered thoughtfully read natural. Pick one new tool—my vote is a quality tip cutter—and practice two nails on one hand before committing to the set.
Which nail length are you trying next: short, medium, or long?


