

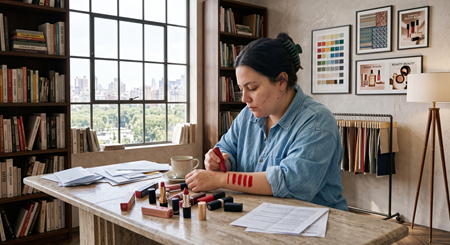
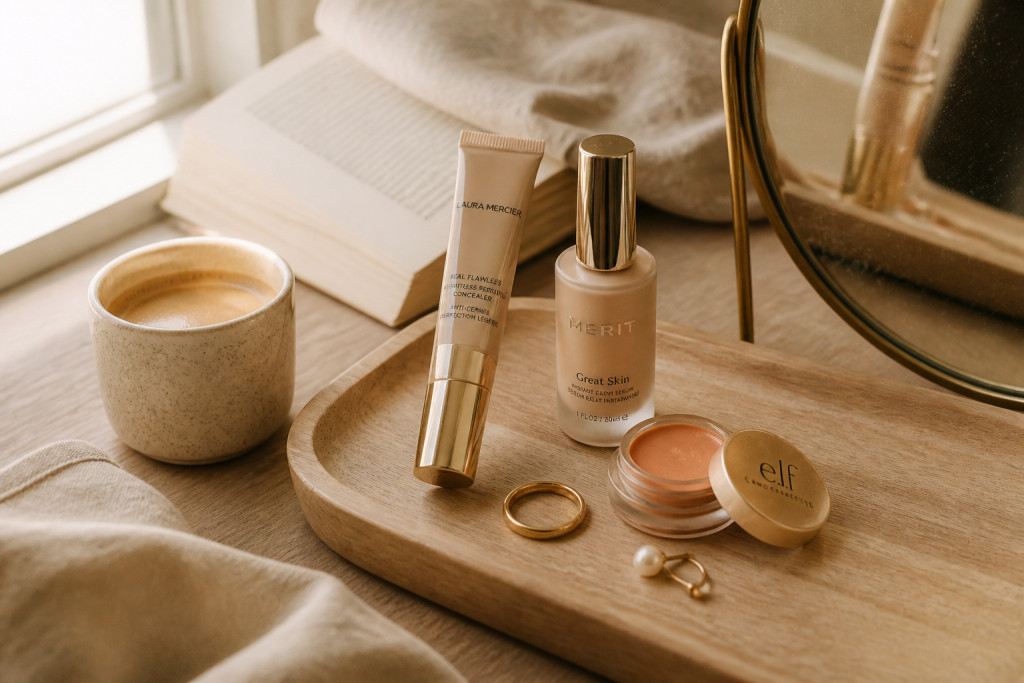

My makeup used to crease at 10 a.m. and look cakey by lunch. Learning how to apply concealer makeup so it blends, covers, and stays put saved me time and a lot of product wasted.
I’ll show a routine you can do in five minutes, using items from drugstore to mid-range. Start under $20, build to a more refined kit around $60 to $120.
A pared-back, modern-glow vibe works for most skin tones. I lean into skinimalism and cream formulas lately. They read natural on camera and in person, especially if you have warm undertones or dulling under-eye darkness.
1. Start with the Glow: Skin Prep and Sheer Base


Hydrated skin gives concealer something to blend into. I press a nickel-size hydrating primer across cheeks and forehead so concealer does not sink into fine lines.
For light coverage, I tap a sheer skin tint where redness sits. This reduces how much concealer you need a layer later, so it reads natural. Try a Hydrating primer with hyaluronic acid around $12 to $28.
Pat a thin Sheer skin tint light to medium into the center of the face, blending outward with fingers or a sponge for skinlike edges.
Mistake people make here is slathering heavy base then expecting concealer to fix it. Do less first. The payoff is a fresher, longer-lasting finish.
2. Layer Cream Color in Three Strategic Places
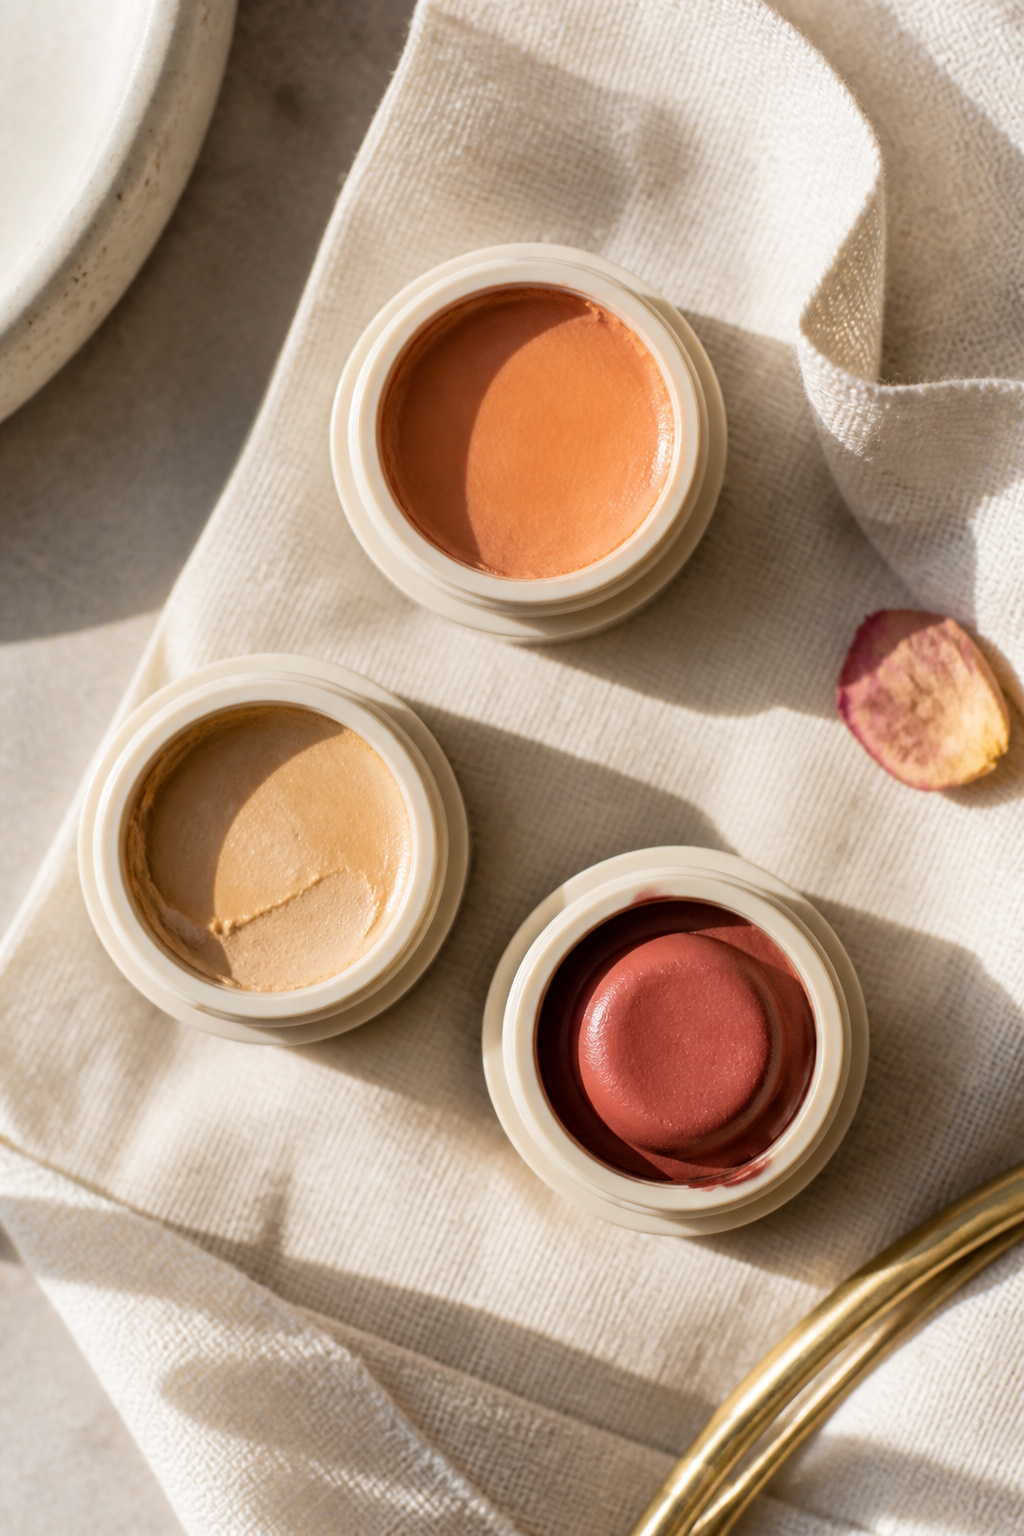

The trick is layering, not piling. Start with a peach corrector on bluey under-eye circles, a thin swipe on inner corner and just below the tear trough.
On top, dot a neutral Full coverage concealer medium coverage in a shade one shade lighter than your skin where you want brightness. Blend with a damp sponge in gentle bouncing motions.
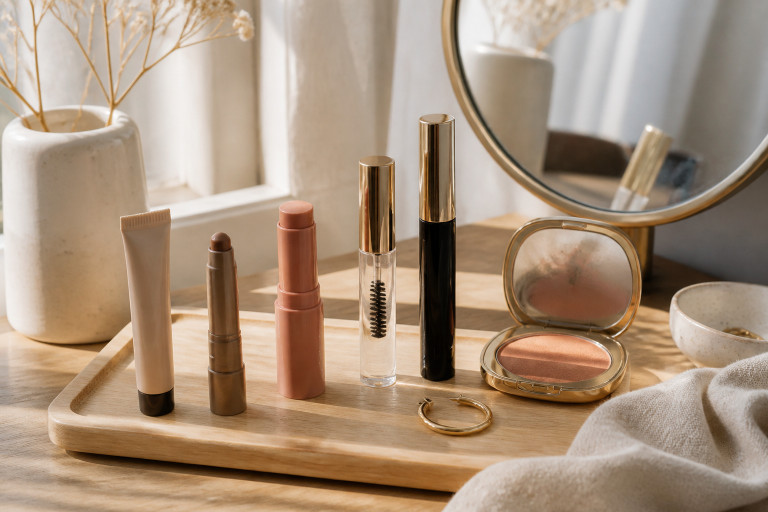
Add a dab of Cream blush stick in warm peach to cheek high points and sweep toward the temple. This ties face color to the under-eye so concealer does not sit as a separate patch.
Visual principle: color continuity. When the same warm peach lives in under-eye and cheek, your face reads cohesive. Mistake: dragging concealer in long streaks. Instead, dot and bounce for soft edges.
3. Define Without Hardness: Soft Eye and Brow Work
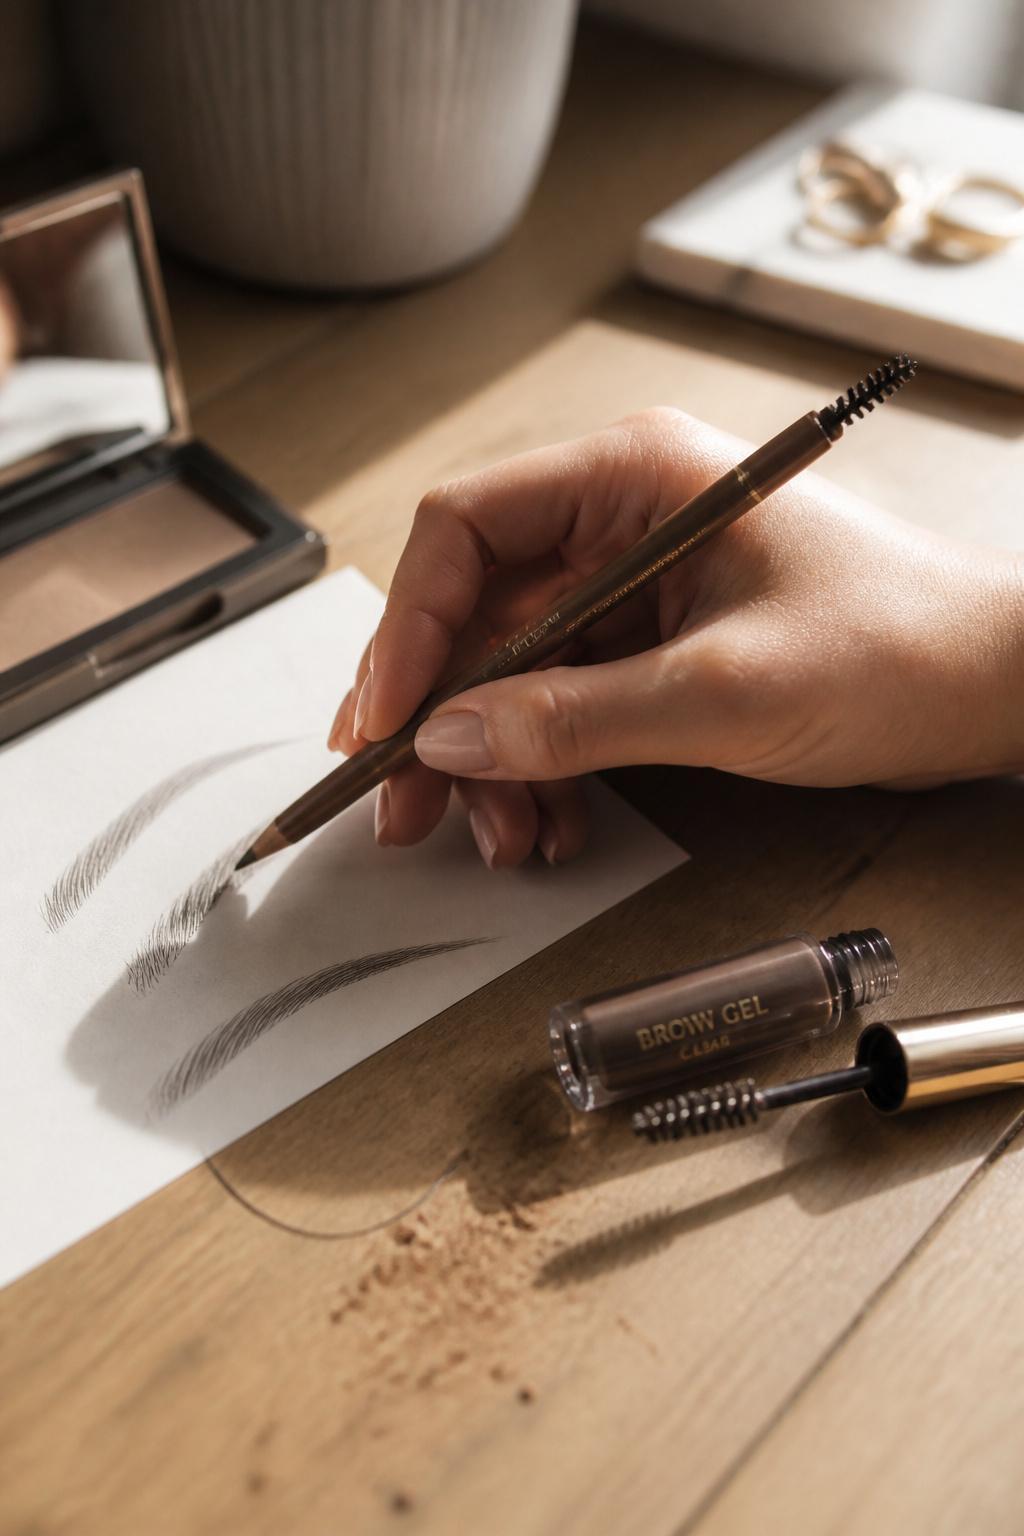

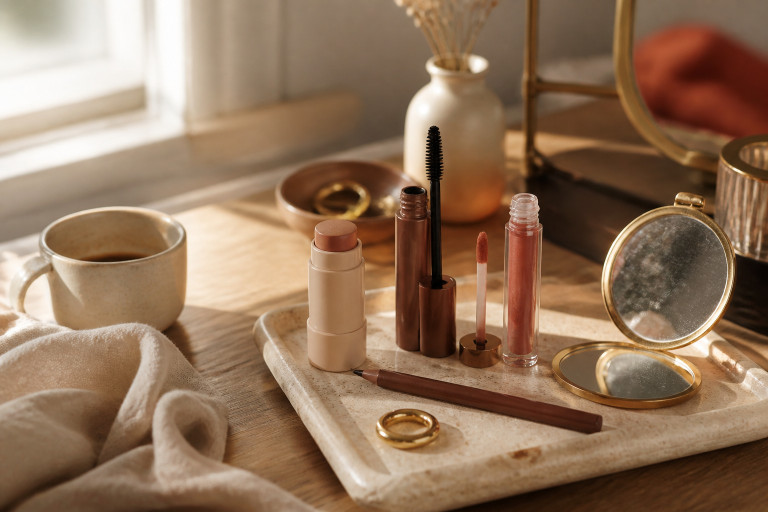
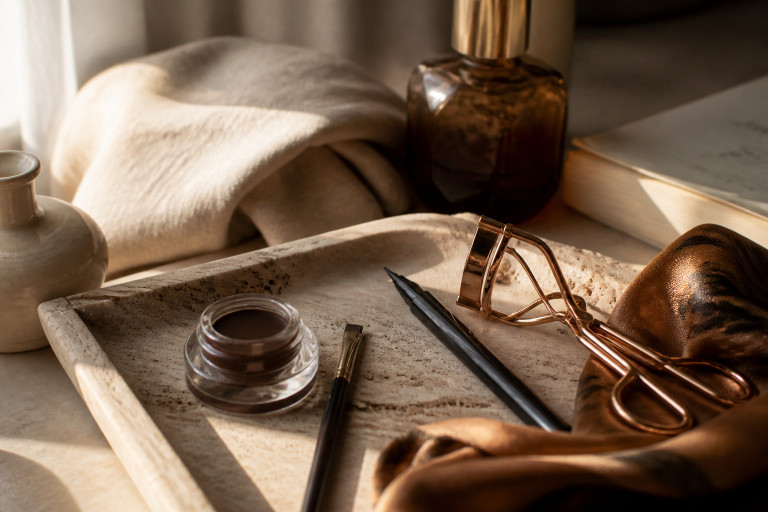
A seamless concealer look pairs with soft brows and a feathered lash. Use a tinted Tinted brow gel brown to lift hairs and a Soft brown eyebrow pencil to dot tiny hairlike strokes where brows are sparse.
For lashes, one coat of a Lengthening mascara black on the upper lashes keeps the look open without heaviness.
Why this order works: clean brows frame the concealer. A textured brow keeps face balance so the brightened under-eye does not read mask-like. Mistake: overfilling brows with a blocky shape. Soften with gel and tiny strokes instead.
4. Finish with Tonal Lip and Subtle Setting
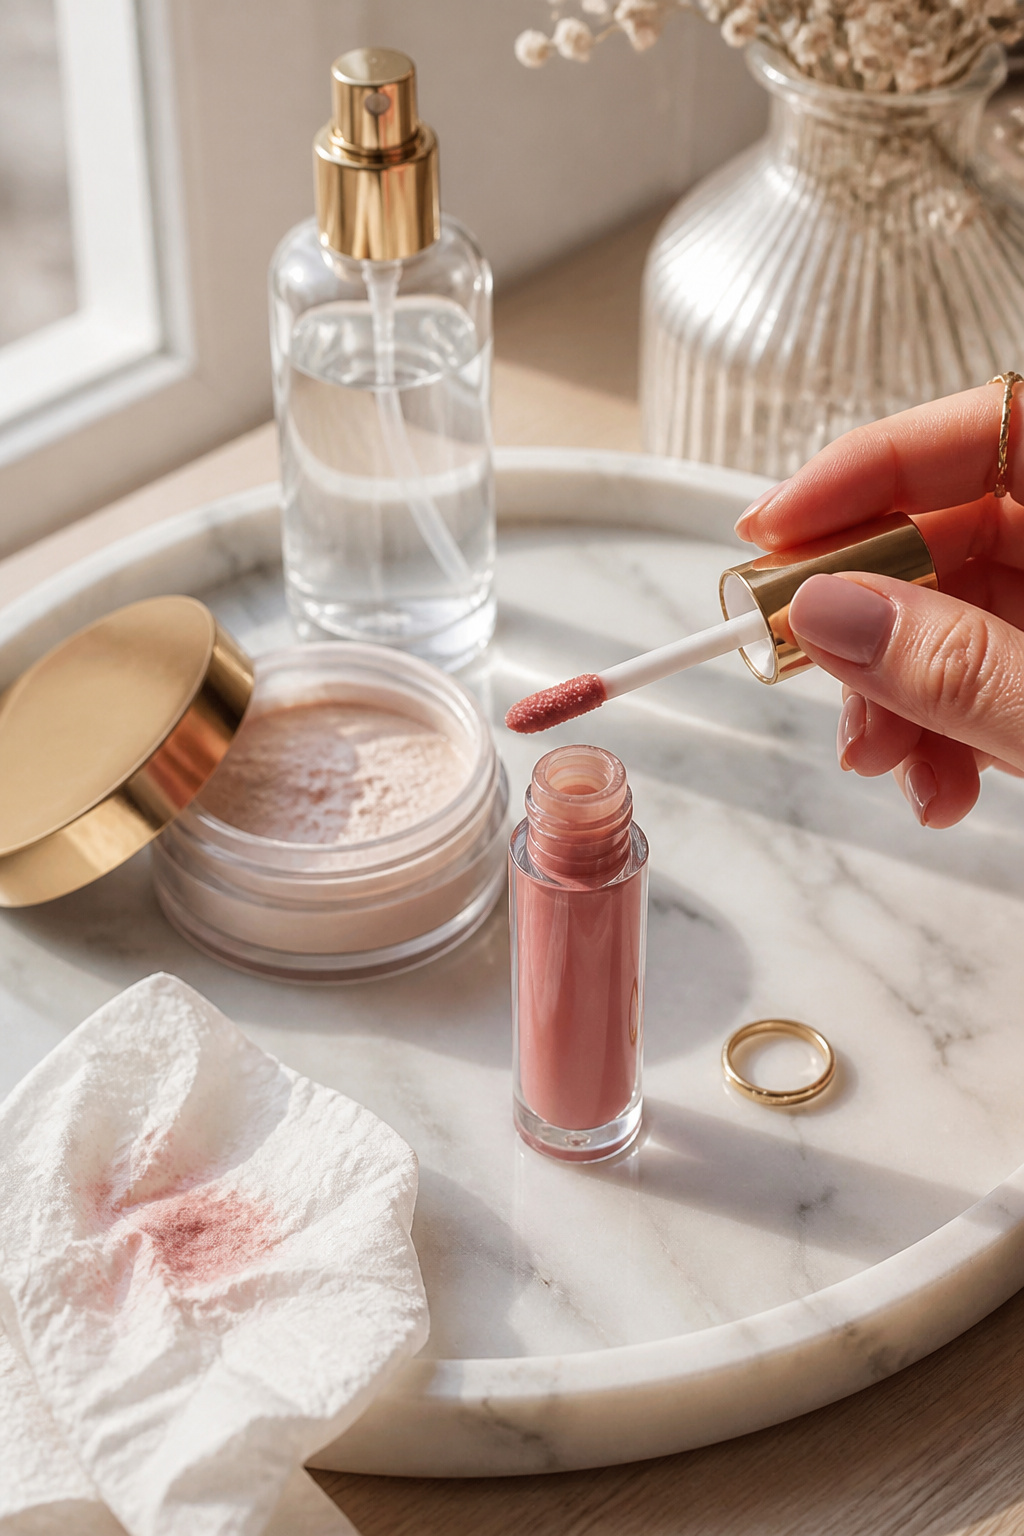

Seal the look with a hydrating mist and a tonal lip. A dewy Glow setting spray hydrating keeps cream products melded to skin and prevents that dry, powdery finish.
If you need extra longevity, press a tiny touch of Light translucent setting powder only on the outer under-eye crease using a small brush. Less is more.
Finish with a Tinted lip oil rosy nude to keep the color tonal and the vibe cohesive. Ugly truth: too much powder kills glow and highlights texture. Skip the full-face powder and save it for a pinpoint.
Common Styling Mistakes to Avoid
Mistake: Using a concealer two shades lighter to “brighten” under eyes
Why it doesn't work: Creates a stark triangle that looks artificial in photos.
Do this instead: Pick a concealer one shade lighter and blend outward. Full coverage concealer medium coverage around $8 to $28.
Mistake: Skipping a color corrector for deep blue circles
Why it doesn't work: Neutral tones alone can look ashy on deep discolouration.
Do this instead: Use a thin layer of Peach color corrector before concealer.
Mistake: Powdering the entire under-eye area heavily
Why it doesn't work: Emphasizes creases and dries skin.
Do this instead: Lightly press Glow setting spray hydrating and spot-set with a small brush.
What You'll Need for This Look
Face & Base Essentials
Hydrating primer with hyaluronic acid around $12 to $28
Full coverage concealer medium coverage around $8 to $28
Light translucent setting powder around $7 to $25
Eyes, Brows & Lips
Tinted brow gel brown around $8 to $22
Soft brown eyebrow pencil around $6 to $18
Tinted lip oil rosy nude around $7 to $20
Clothing Staples
White cotton tee oversized around $12 to $35
Straight leg high waist dark wash jeans approx $30 to $90
Shoes, Bags & Jewelry
Leather loafers tan approx $45 to $140
Leather tote bag tan approx $60 to $220
Gold chunky hoop earrings around $12 to $50
Budget Swaps
Drugstore concealer lightweight around $6 to $14
Cream blush drugstore stick around $5 to $15
Shopping Guide for This Look
Buy for season swaps: Choose a hydrating primer in winter and a mattifying one in summer. Hydrating primer with hyaluronic acid $12 to $28.
Thrift and tweak: Grab a secondhand leather tote and line it with a new silk scarf to look curated. Leather tote bag tan $60 to $220.
2025 trend pick: Cream-to-powder multiuse sticks are rising in searches; they cut steps and look lived-in. Try Cream blush stick in warm peach $14 to $24.
Splurge vs save: Splurge on a longwear concealer if you need coverage for photos, save on a reliable tinted lip oil. Full coverage concealer medium coverage $8 to $28.
Conclusion
Start by changing one thing: swap a powder concealer for a cream one and see how much less you need. The visual rule I follow is continuity; match undertones across under-eye, cheek, and lip for a cohesive face.
If you have a tricky under-eye, which product do you want me to test next?