








My first attempt at white ombre nails looked like someone dropped a pack of white-out on my tips. How to blend white ombre nails so the fade looks airbrushed was the only question I cared about after that disaster.
I learned the hard way that placement, thin layers, and the right tools matter more than fancy polishes. This guide shows a low-cost route to an airbrushed fade you can do at home, from $15 starter kits to $80 pro tweaks.
This is a soft-glam clean-girl vibe with room for slight sparkle. Budget-wise start under $40; add a lamp and luxe top coat if you want to push $80 to $150. Works best if you like neutral palettes and medium-length nails. I noticed on Pinterest and Google Trends that minimal, airy nail fades are trending for 2024 into 2025, so now is a good time to practice.
1. Start With a Smooth Canvas: Shape, Buff, Base


Trim and file to a consistent shape first. A neat edge lets the white gradient sit cleanly at the tip rather than catching and feathering.
Buff gently to remove shine. That creates micro-tooth so base coats and sheer colors adhere predictably. I use a 100 to 180 grit file for shaping, then a soft buffer.
Apply a thin base coat and a sheer pink or sheer nude as your ground. This prevents harsh contrast between the white and natural nail. Try Base coat clear strengthener around $7 to $18 and Sheer pink gel polish warm beige approx $9 to $20.
Common mistake: skipping the sheer base. That makes the white look pasted on. Do the groundwork and the fade will look soft from the first layer.
2. Place White Strategically: Think Paint, Not Polish


The trick is where you put the white. Dot a small crescent of opaque white at the free edge, not a full cover. Think of painting a smile line on the tip.
Use a thin brush or the polish brush held horizontally so the white hugs just the tip. For products try Opaque white gel polish creamy finish around $10 to $24 and Fine nail art brush 0.5mm approx $6 to $14.
Place the white lightly. Do not load the brush. Less is better because you will blend the edge next. Visually, you are creating a point of contrast that the grad will soften.
Most people lay down thick white and try to sand it into shape. That makes a chalky, uneven fade. Use multiple thin placements instead.
3. Blend Like an Airbrush: Sponging and Feathering


This is where the fade becomes airbrushed. Using a small makeup sponge, dab the white toward the middle of the nail in very light, tapping motions. Build up in thin layers.
A damp sponge makes an ultra-soft edge. I use Small makeup sponge wedge around $6 to $12 and Acetone nail cleaner 100ml approx $5 to $12 to slightly soften edges on a clean brush when needed.
The visual principle is diffusion: small repeated taps create optical blending, not a hard line. Alternate sponge direction and keep layers thin.
Danger: rubbing or dragging the sponge. That streaks the white and makes blotches. Tap, set, cure or dry, then repeat.
4. Lock the Look: Top Coat, Buff, and Shine
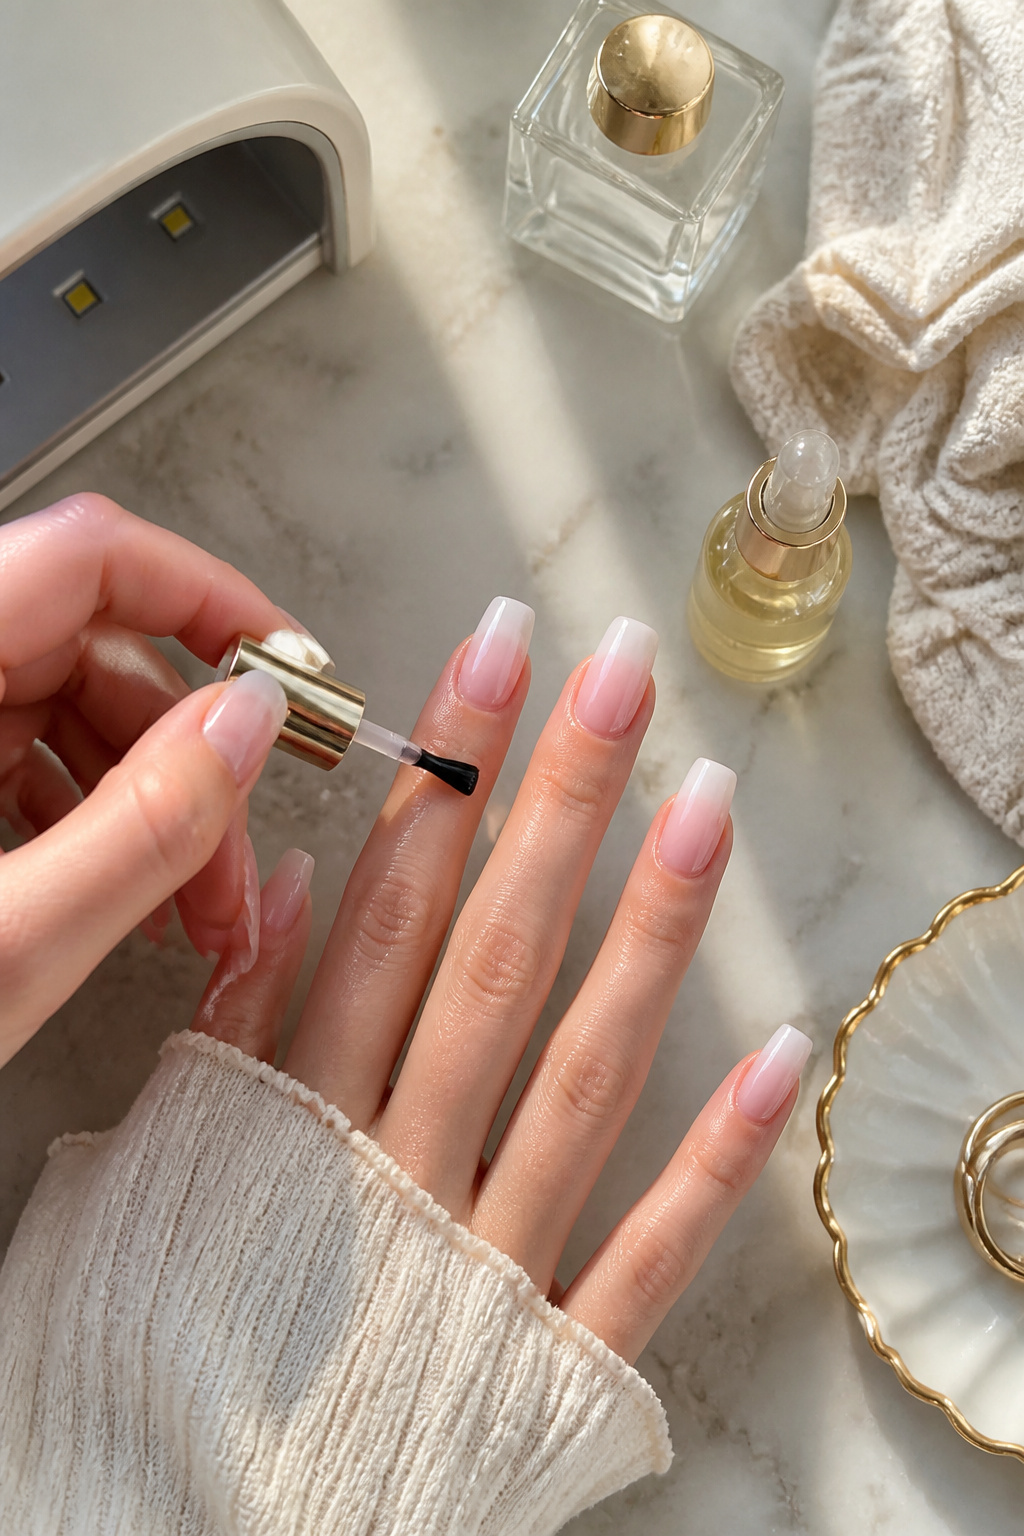

Cure or let the layers dry fully, then apply a thin glossy top coat to melt the gradient together visually. Try Glossy gel top coat high shine around $10 to $24 and UV LED lamp 48W portable approx $20 to $50.
After curing, very lightly buff the free edge to remove any high ridge, then finish with another thin top coat. Add cuticle oil to frame the nail and enhance the soft, polished finish. I like Cuticle oil dropper almond scent around $6 to $14.
Too much top coat in one go traps visible texture. Thin layers that self-level give that airbrushed sheen.
Common Styling Mistakes to Avoid
Mistake: Applying white in one thick coat
Why it doesn't work: Creates a chalky, opaque stripe that resists blending.
Do this instead: Build white with thin layers using a sponge. Opaque white gel polish creamy finish around $10 to $24.
Mistake: Skipping a sheer base color
Why it doesn't work: Makes the white read harsh and fake.
Do this instead: Start with a sheer pink or nude. Sheer pink gel polish warm beige approx $9 to $20.
Mistake: Rubbing the sponge across the nail
Why it doesn't work: Causes streaks and uneven texture.
Do this instead: Tap with a small sponge wedge. Small makeup sponge wedge around $6 to $12.
What You'll Need for This Look
Face & Base Essentials
Base coat clear strengthener around $7 to $18
Sheer pink gel polish warm beige approx $9 to $20
Cuticle oil dropper almond scent around $6 to $14
Eyes, Brows & Lips
Glossy gel top coat high shine around $10 to $24
Opaque white gel polish creamy finish around $10 to $24
Clothing Staples
White cotton tee relaxed fit approx $12 to $35
Shoes, Bags & Jewelry
Gold signet ring small around $15 to $45
Minimal leather tote tan approx $50 to $180
Budget Swaps
Small makeup sponge wedge around $6 to $12 (drugstore dupe)
Fine nail art brush 0.5mm approx $6 to $14
Shopping Guide for This Look
Start with tools: Buy a small sponge and fine brush first to practice blending. Small makeup sponge wedge around $6 to $12.
Seasonal tip: Summer months see more open-toe and neutral nail looks, so shop light polishes in May to September. Sheer pink gel polish warm beige approx $9 to $20.
Thrift hack: Pair a thrifted linen blouse with clean ombre nails for an elevated casual look. White cotton tee relaxed fit approx $12 to $35.
Splurge vs save: Splurge on a long-lasting top coat if you wear gels; save on sponges and brushes. Glossy gel top coat high shine around $10 to $24.
Trend nod (2025): Micro-ombre with pearly sheens is trending. Add a subtle shimmer on the fade for editorial photos. Pearl micro shimmer powder approx $7 to $18.
Conclusion
Start small. Practice the tap-and-build sponging on a fake nail or one hand before committing to both. That single change fixed my streaky first attempts.
One more tip: always favor thin, repeatable layers. It keeps the finish airbrushed and natural.
Which part feels hardest for you right now: placement, blending, or finishing?


