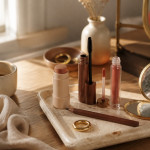
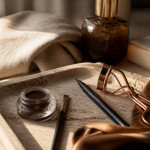
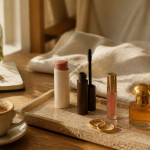
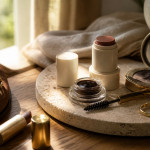

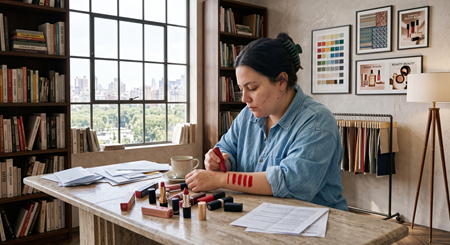
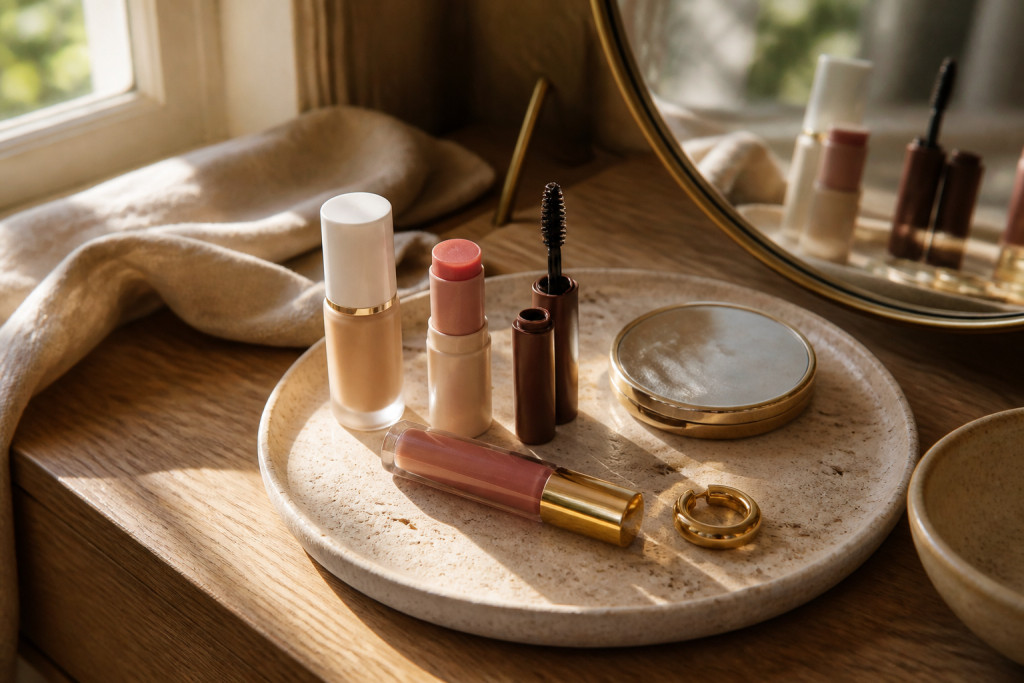

Learning how to do anime makeup for beginners without harsh liner was a game changer for me the week I tried a softer approach for a night out.
You’ll learn a wearable anime-inspired look that keeps eyes large and bright, using cream textures and tonal layers. Budget: around $40 to $120 for a full kit, under $25 to start.
This suits all skin tones. It reads youthful without feeling costume. I noticed Japanese beauty and social feeds leaning into cream products and tonal skin in 2025, which is exactly why this works now.
1. Start with the Glow: Skin Prep and Sheer Base
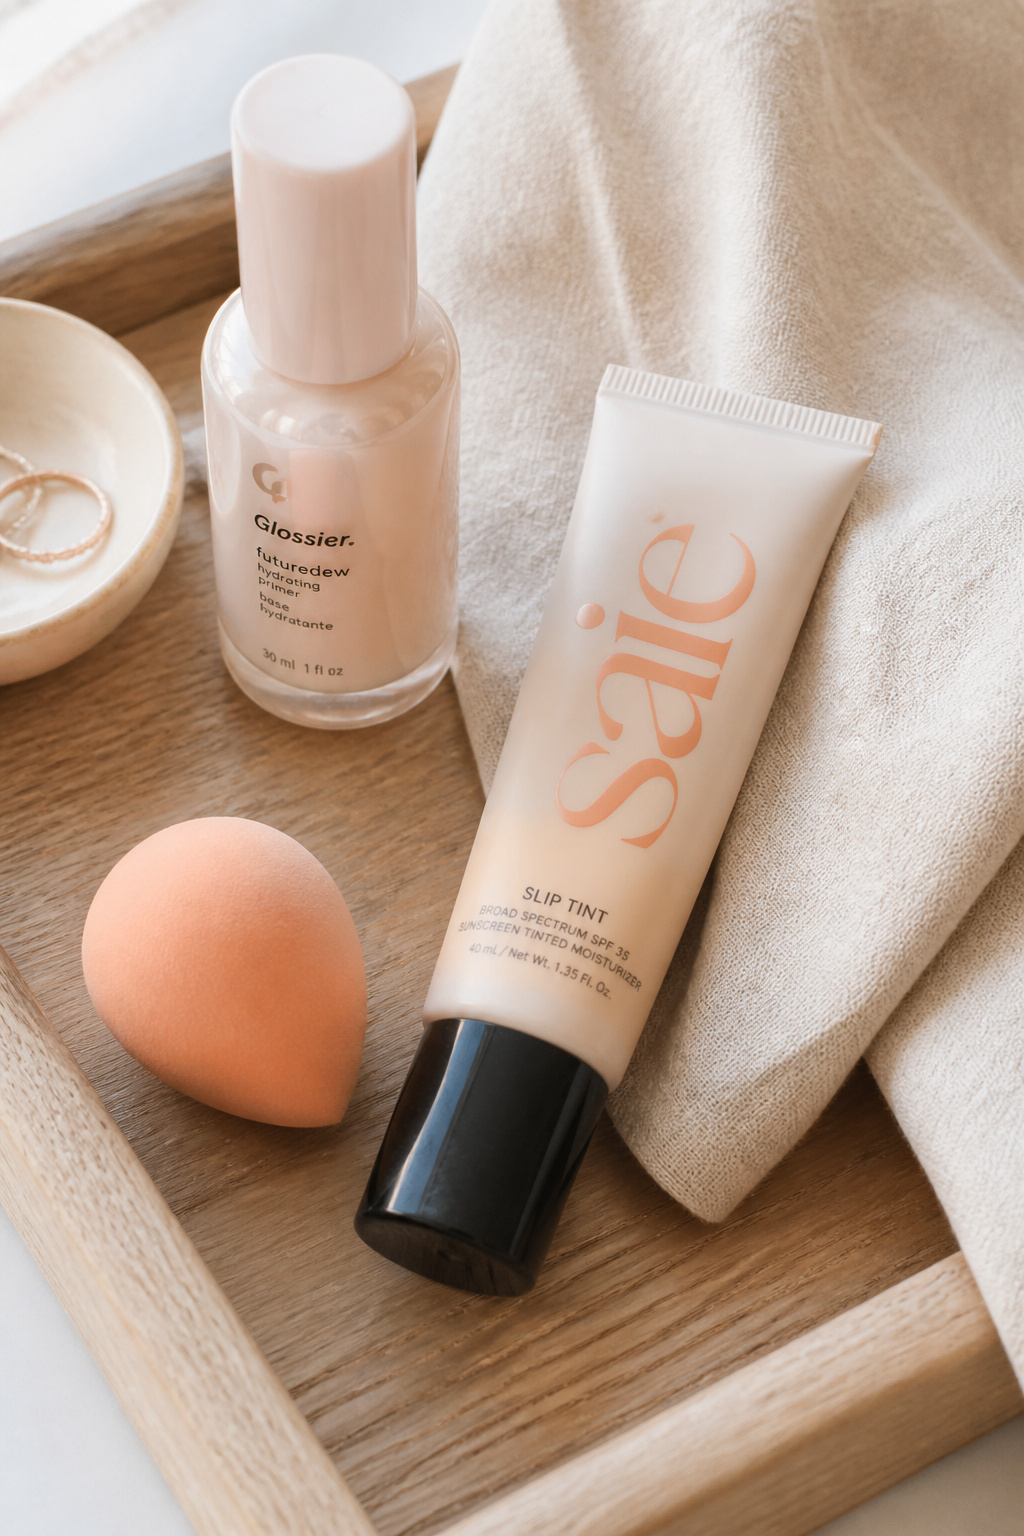

First step is skin that reads like healthy paper, not a mask. That base keeps everything soft so your eye work can hint at anime without heavy liner.
Use a hydrating primer with a light glow to blur pores and help cream color sit naturally. Try Hydrating glow primer 30ml around $12 to $30 and a lightweight Tinted skin tint luminous finish 30ml around $10 to $36.
Apply tint where skin shows through: forehead, nose, cheeks. Tap with fingers or a damp sponge for a thin veil. This keeps the face readable and helps cream pigments blend.
Big mistake: covering every freckle and shadow. That flattens the face and kills the soft anime vibe. Instead, correct only spots and let the skin texture remain.
The end result is glowy, breathable skin that still reads like a character study rather than face paint.
2. Layer Cream Color in Three Strategic Places
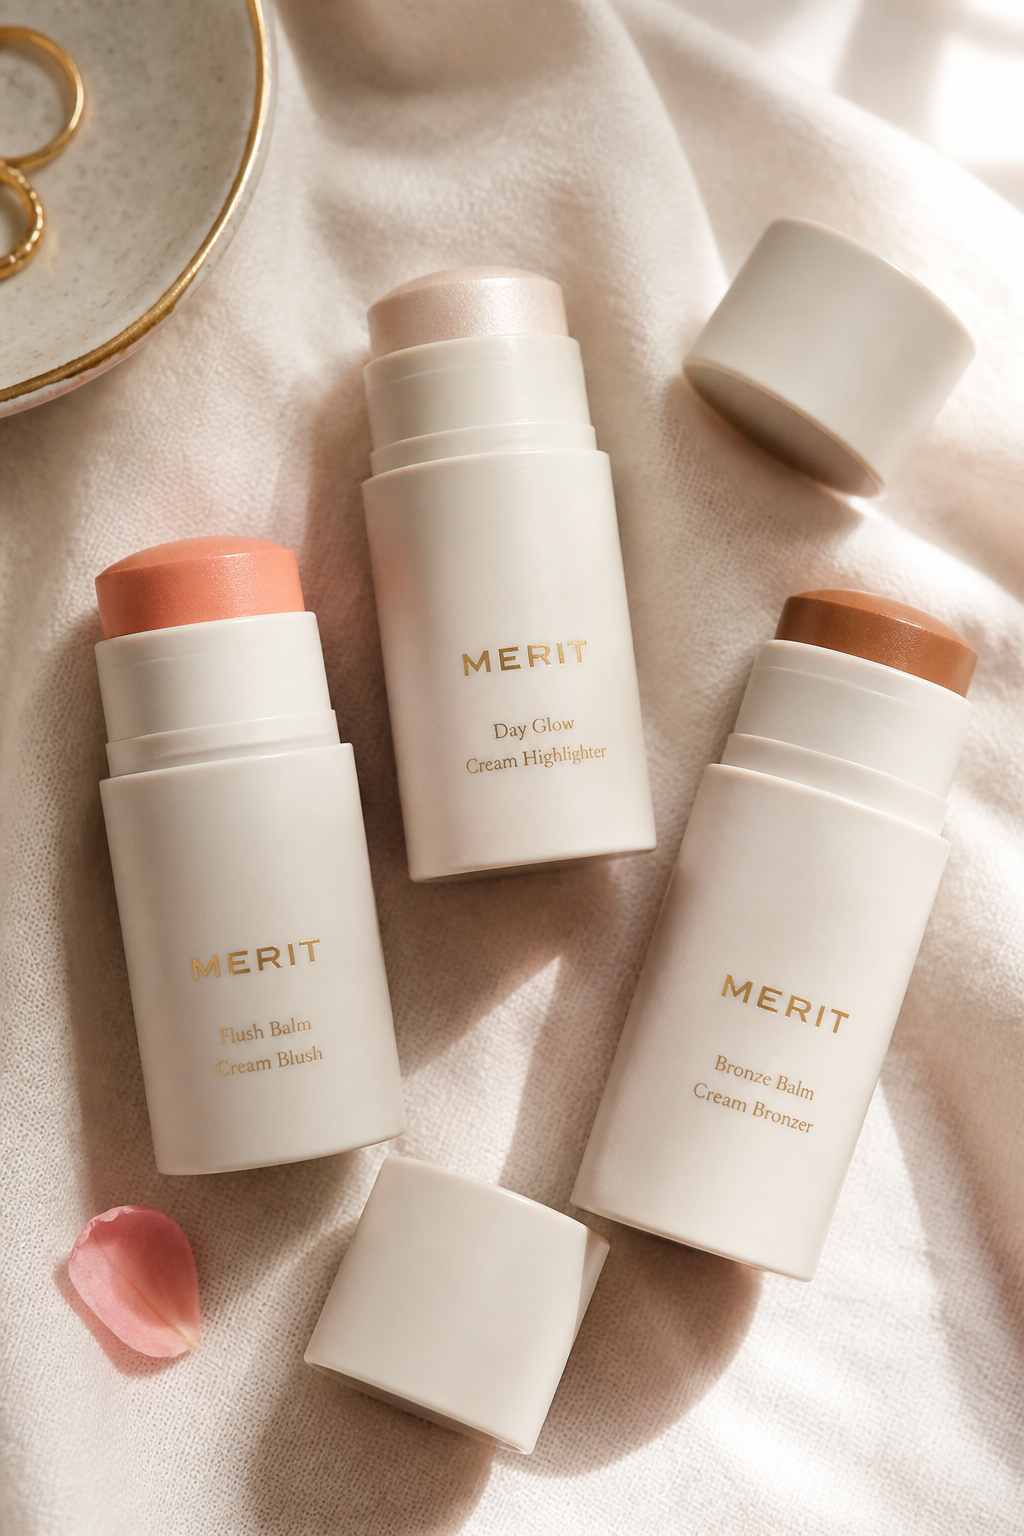

The trick is cream color in three places: high cheek, bridge of nose, and a small temple flush. That mimics the rounded, doll-like planes of anime faces.
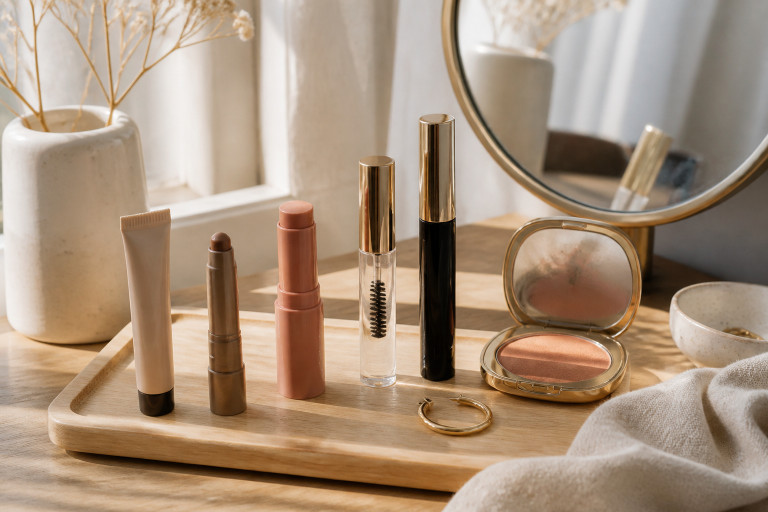
Start with a Cream blush stick in warm peach around $8 to $22 and blend with fingertips. Add a dot of Cream highlighter pearl tone around $10 to $28 on the nose bridge and inner cheek.
Layer a touch of Cream bronzer stick in light caramel where the cheekbone meets the ear to give subtle structure without hard contour lines.
The visual principle here is tonal harmony. All creams sit in the same family so transitions read smooth and rounded, which keeps the look youthful and character-like.
Common error: dragging blush out to the ear. That looks harsh. Instead, stipple and blend upward for a lifted rounded cheek.
You’ll end up with face color that reads like a soft sketch, not a heavy painting.
3. Define Without Hardness: Soft Eye and Brow Work
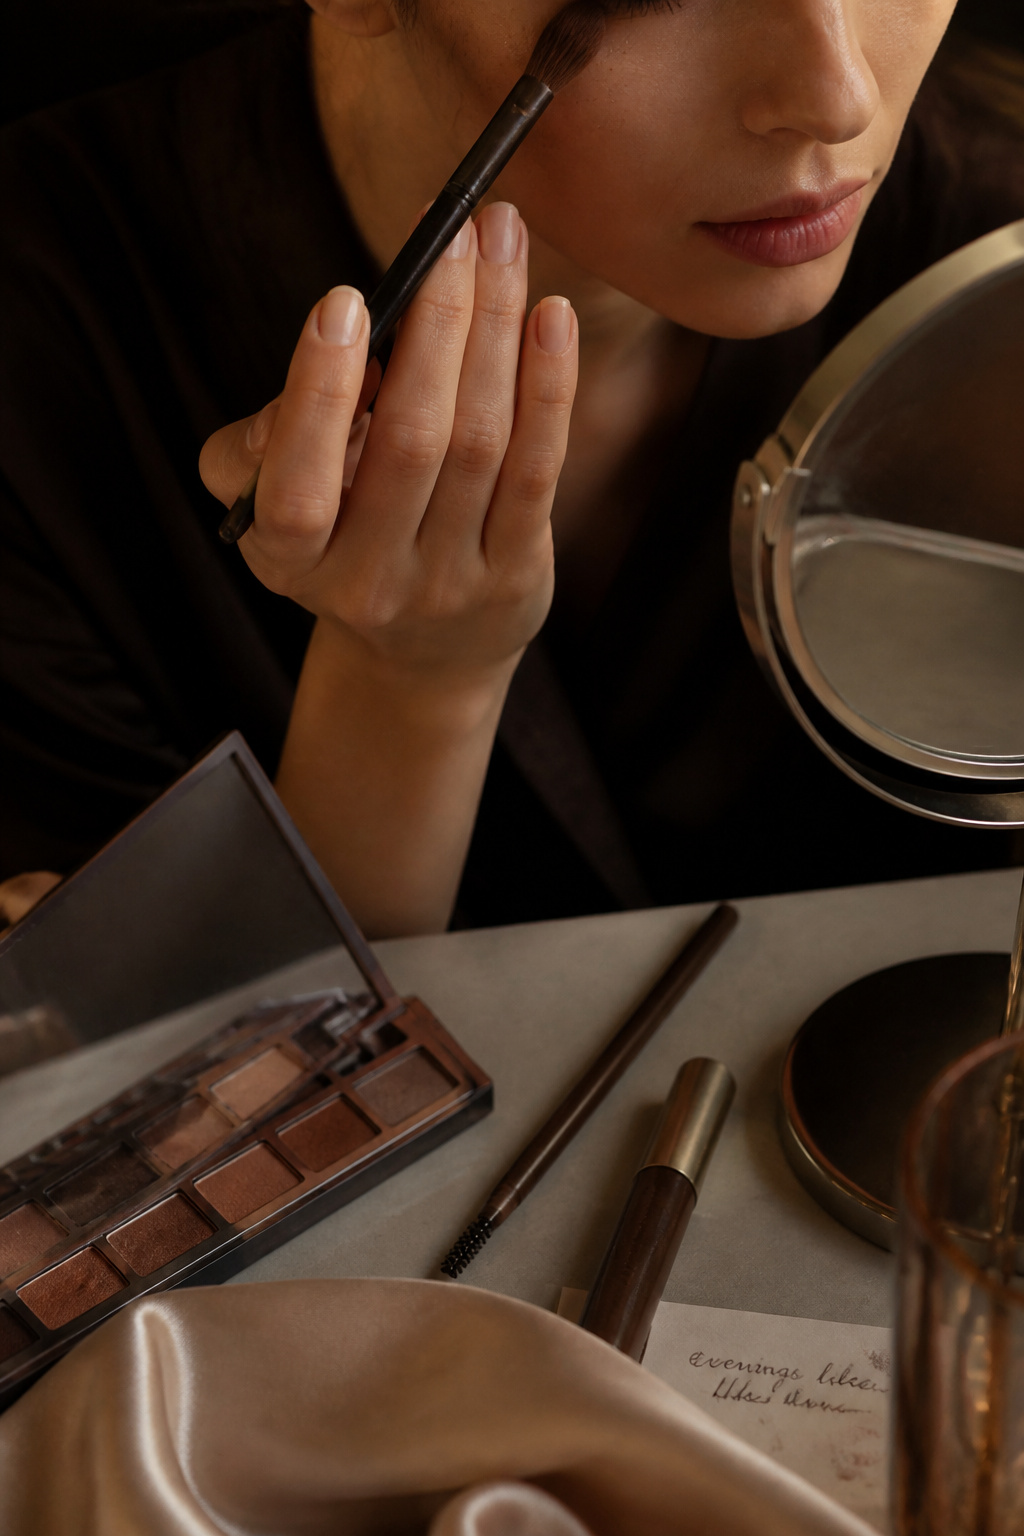

Skip stark black liner. Build an eye that looks big with soft gradients and highlights.
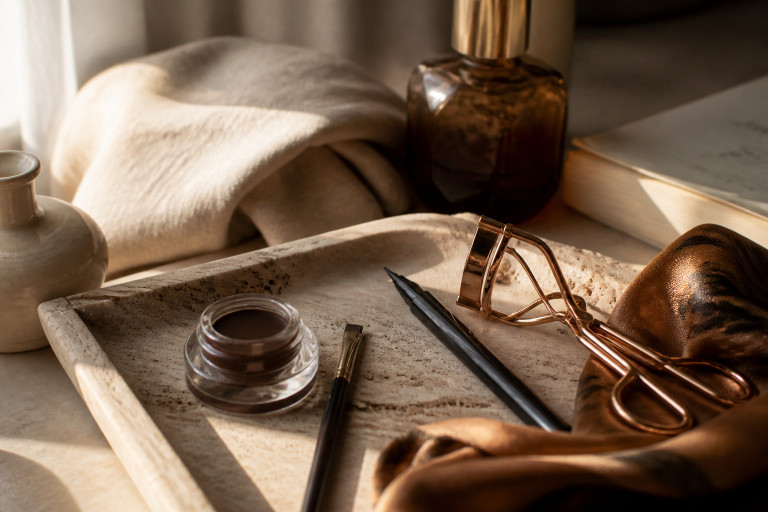
Sweep a warm taupe shadow into the socket and slightly upward to fake depth. Use a Soft brown eyeshadow stick around $6 to $20 for easy blending. Tightline with a brown gel or pencil applied thinly at the roots to keep lashes appearing thick but natural. Try Brown tightline pencil around $5 to $15.
Curl lashes and use a lengthening Brown mascara waterproof around $8 to $24 to keep eyes open and anime-large without the liner edge.
Brow tip: use a micro brow gel to soften edges rather than drawing heavy straight brows. Tinted brow gel soft brown around $7 to $20 works well.
Most people overdraw brows to compensate for light eyeshadow. That fights the soft look. Groom with short feathery strokes instead.
Result: round, wide-eyed definition that reads animated but wearable.
4. Finish with Tonal Lip and Subtle Setting
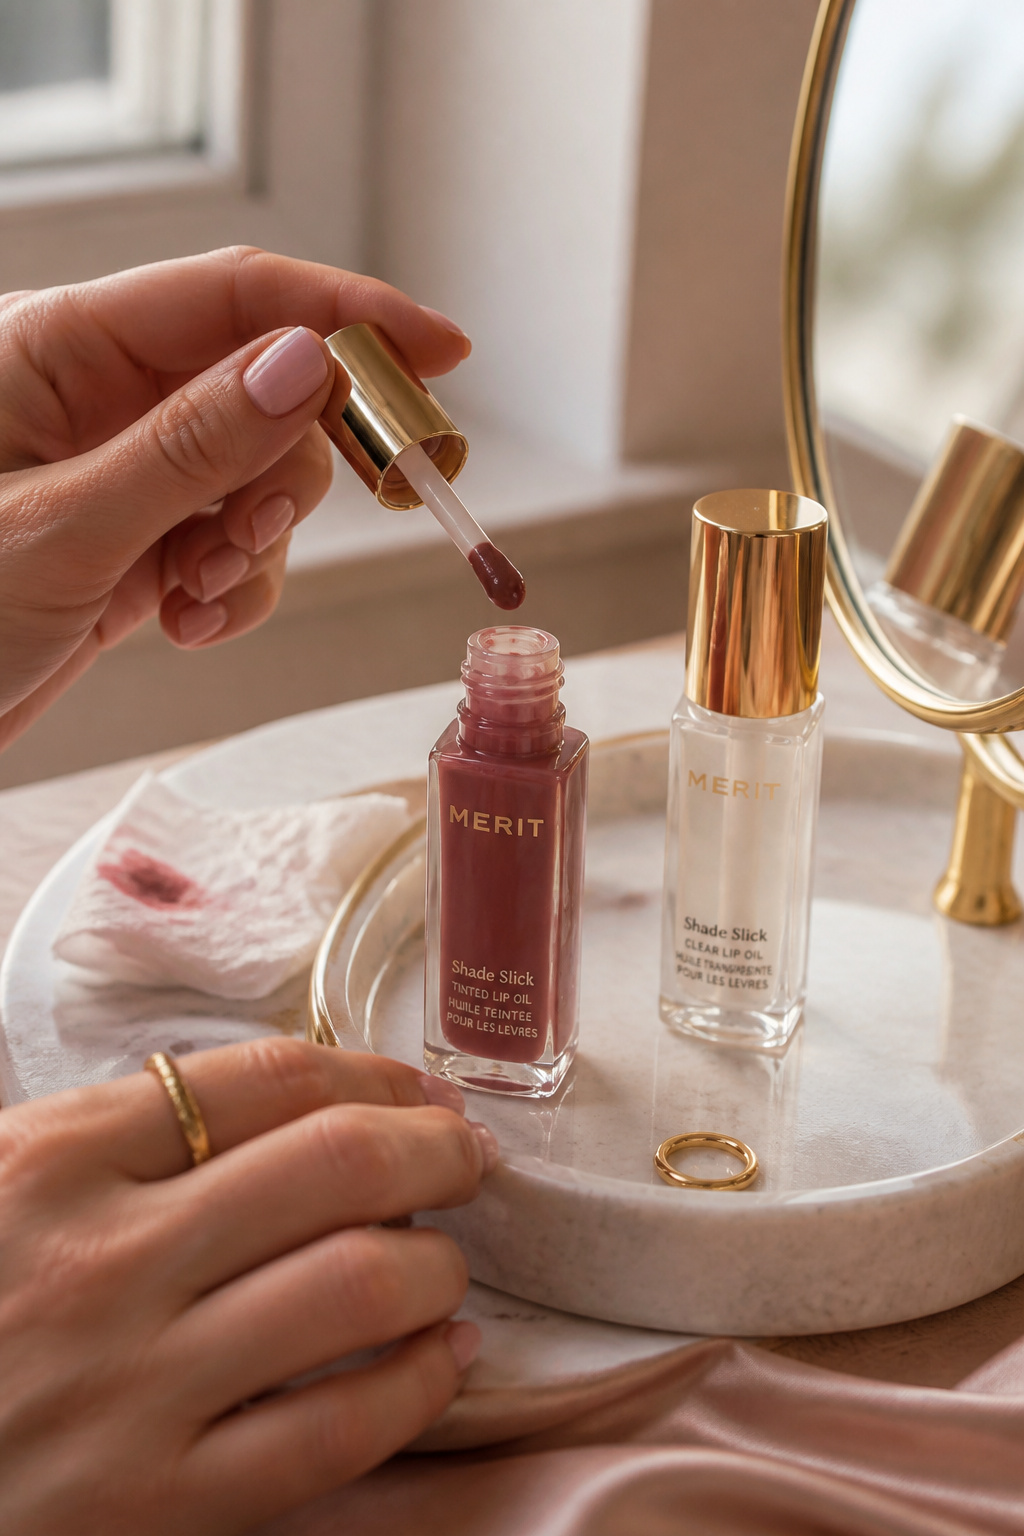

Seal the face with a tonal lip and a soft setting layer that keeps movement.
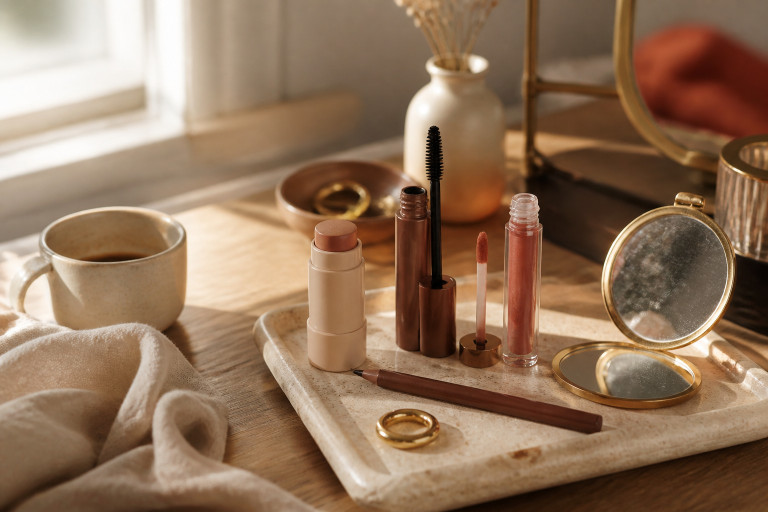
Pick a Tinted lip oil rosy mauve around $6 to $22 for a glassy, youthful finish. Pat a dot in the center and press lips together lightly for a gradient look.
Finish with a dewy setting spray that keeps creams melded and skin luminous rather than powdered. Hydrating setting spray dewy finish around $10 to $30 does this job.
Avoid heavy translucent powder over creams. That flakes and lifts the color. Instead, blot the T-zone only and mist lightly to set.
This makes the final look cohesive and mobile. Movement keeps the soft anime energy intact.
Common Styling Mistakes to Avoid
Mistake: Painting a thick black wing to "make eyes anime."
Why it doesn't work: It creates a hard edge that reads theatrical.
Do this instead: Use a Brown tightline pencil thin at the roots to imply depth.
Mistake: Powdering cream products flat.
Why it doesn't work: Dries out the glow and separates layers.
Do this instead: Carry a Hydrating setting spray dewy finish and mist instead of heavy powder.
Mistake: Overdrawing cheeks toward the ear.
Why it doesn't work: It elongates the face and destroys the rounded anime silhouette.
Do this instead: Use a Cream blush stick in warm peach and stipple on the high cheek only.
What You'll Need for This Look
Face & Base Essentials
Hydrating glow primer 30ml around $12 to $30
Tinted skin tint luminous finish 30ml around $10 to $36
Cream blush stick in warm peach around $8 to $22
Eyes, Brows & Lips
Soft brown eyeshadow stick around $6 to $20
Brow gel tinted soft brown around $7 to $20
Tinted lip oil rosy mauve around $6 to $22
Clothing Staples
White slightly oversized tee cotton around $12 to $30
High rise straight leg jeans dark wash around $30 to $90
Shoes, Bags & Jewelry
Leather loafers black size 7 around $40 to $120
Small leather tote tan around $60 to $200
Gold chunky hoop earrings 14k plated around $10 to $40
Budget Swaps
Drugstore brown mascara lengthening around $5 to $12
Affordable cream blush stick peach around $4 to $10
Shopping Guide for This Look
Seasonal pick: Buy tinted oils in spring when shades rotate; check the Tinted lip oil rosy mauve around $6 to $22.
Thrift + new hack: Pair a thrifted white tee with a new Cream blush stick in warm peach for an elevated, low-cost start.
2025 trend tip: Look for cream textures and dewy sprays as they are showing up in runway kits; try Hydrating setting spray dewy finish around $10 to $30.
Splurge vs save: Splurge on a quality skin tint like Tinted skin tint luminous finish 30ml around $10 to $36, save on a drugstore Soft brown eyeshadow stick around $6 to $20.
Conclusion
Start by picking one item to master. For me it was switching to cream blush sticks and that single change made the whole look feel achievable.
Keep the palette narrow and soft. That tonal rule is what reads animated while staying wearable.
Which part feels easiest for you to try first?