






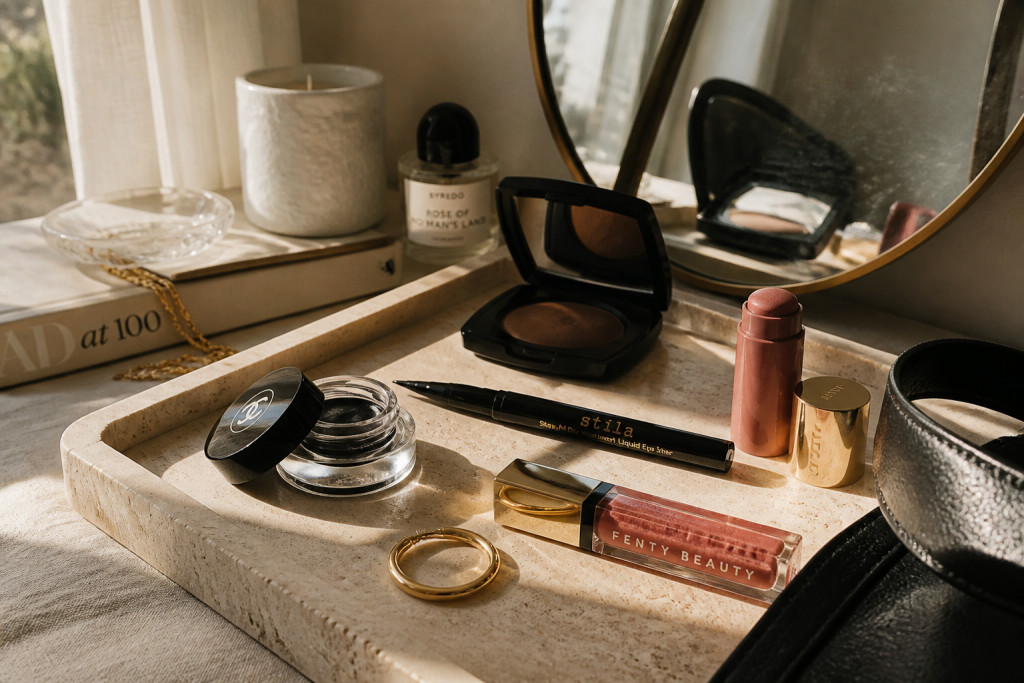

My first try at baddie makeup ended with panda eyes and a cakey base. I wanted sharp liner and glossy lips but everything fought each other.
I learned to start with skin that breathes, then lock the liner crisp, then keep lips high-shine but wearable. This guide shows the look for about $80 to $150, with under $40 swaps to begin.
Clean girl energy meets soft glam edge. This suits neutral to warm undertones and anyone who likes bold eyes with juicy lips.
I’ve noticed gloss finishes have come back strong on feeds and store shelves. The trick is balance so the eye reads sharp without the face feeling heavy.
1. Start with the Glow: Skin Prep and Sheer Base
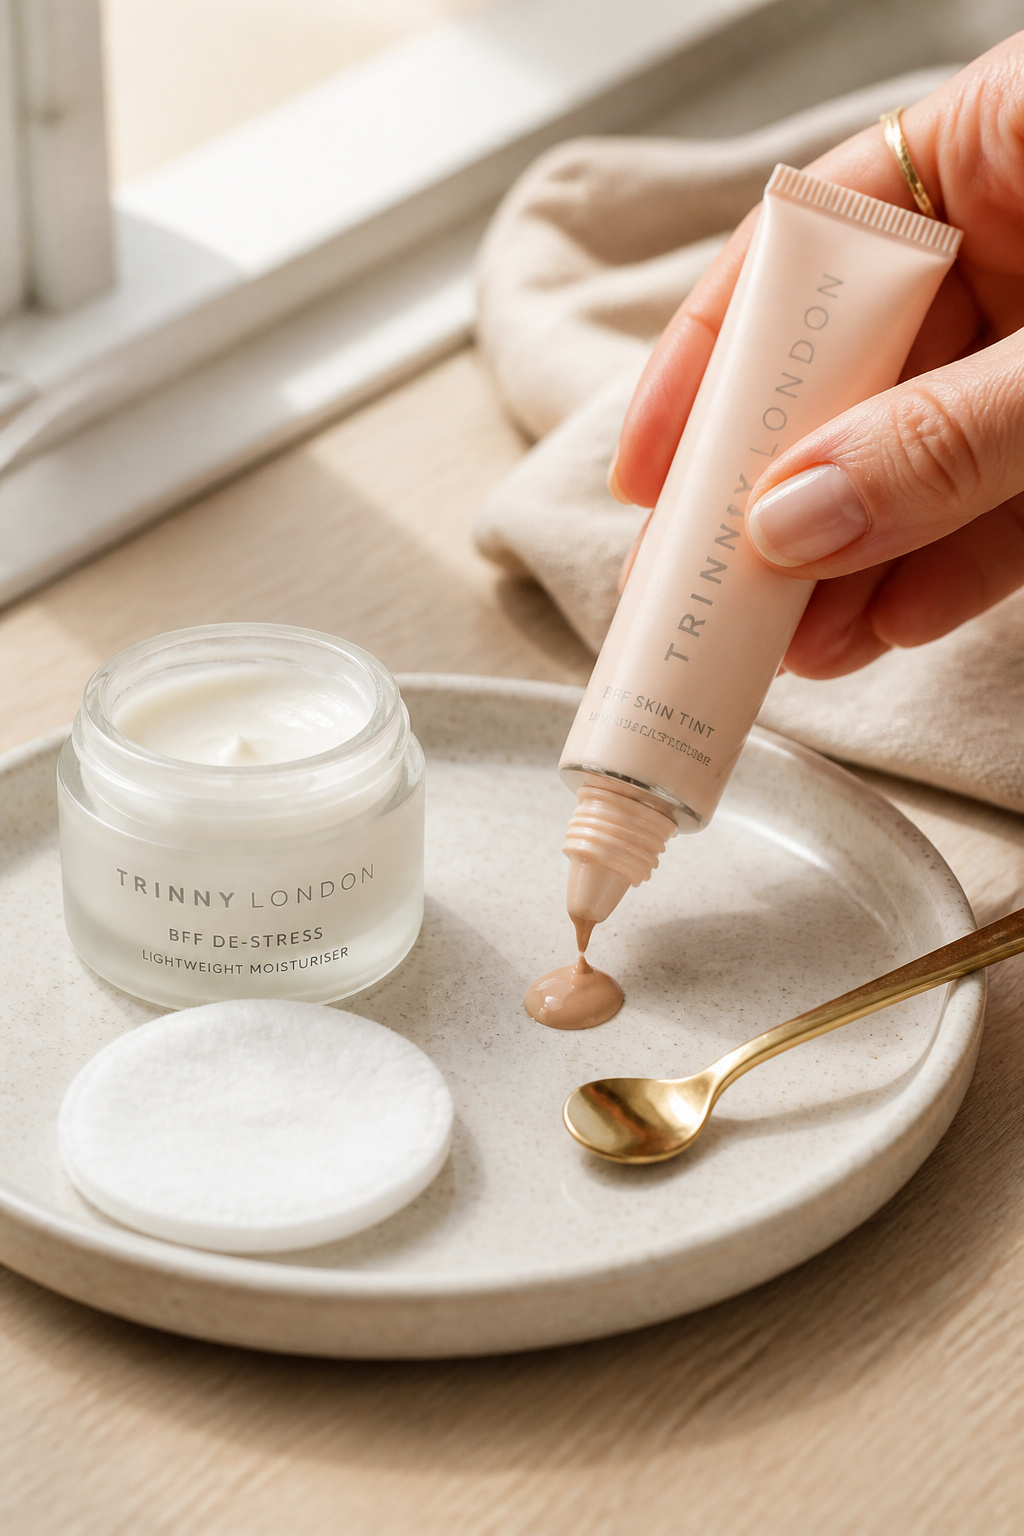

Skin is where contrast begins. If your base is heavy, sharp liner reads harsh. Start with a hydrating skin tint to let natural texture show.
Use a lightweight tint like Tinted hydrating skin tint light medium and a dewy primer such as Radiant pore blur primer. I like pumping the tint sparingly and blending with fingertips.
The visual principle is texture contrast: soft, dewy skin against a crisp edge. That contrast makes glossy lips pop without competing.
Mistake: full-coverage powder first. It kills the gloss effect and makes liner look flat. Instead, spot-conceal, sheer everywhere else, and set only where you crease.
Result: skin looks lived-in and lifts the whole face so the liner and gloss read intentional, not heavy.
2. Layer Cream Color in Three Strategic Places
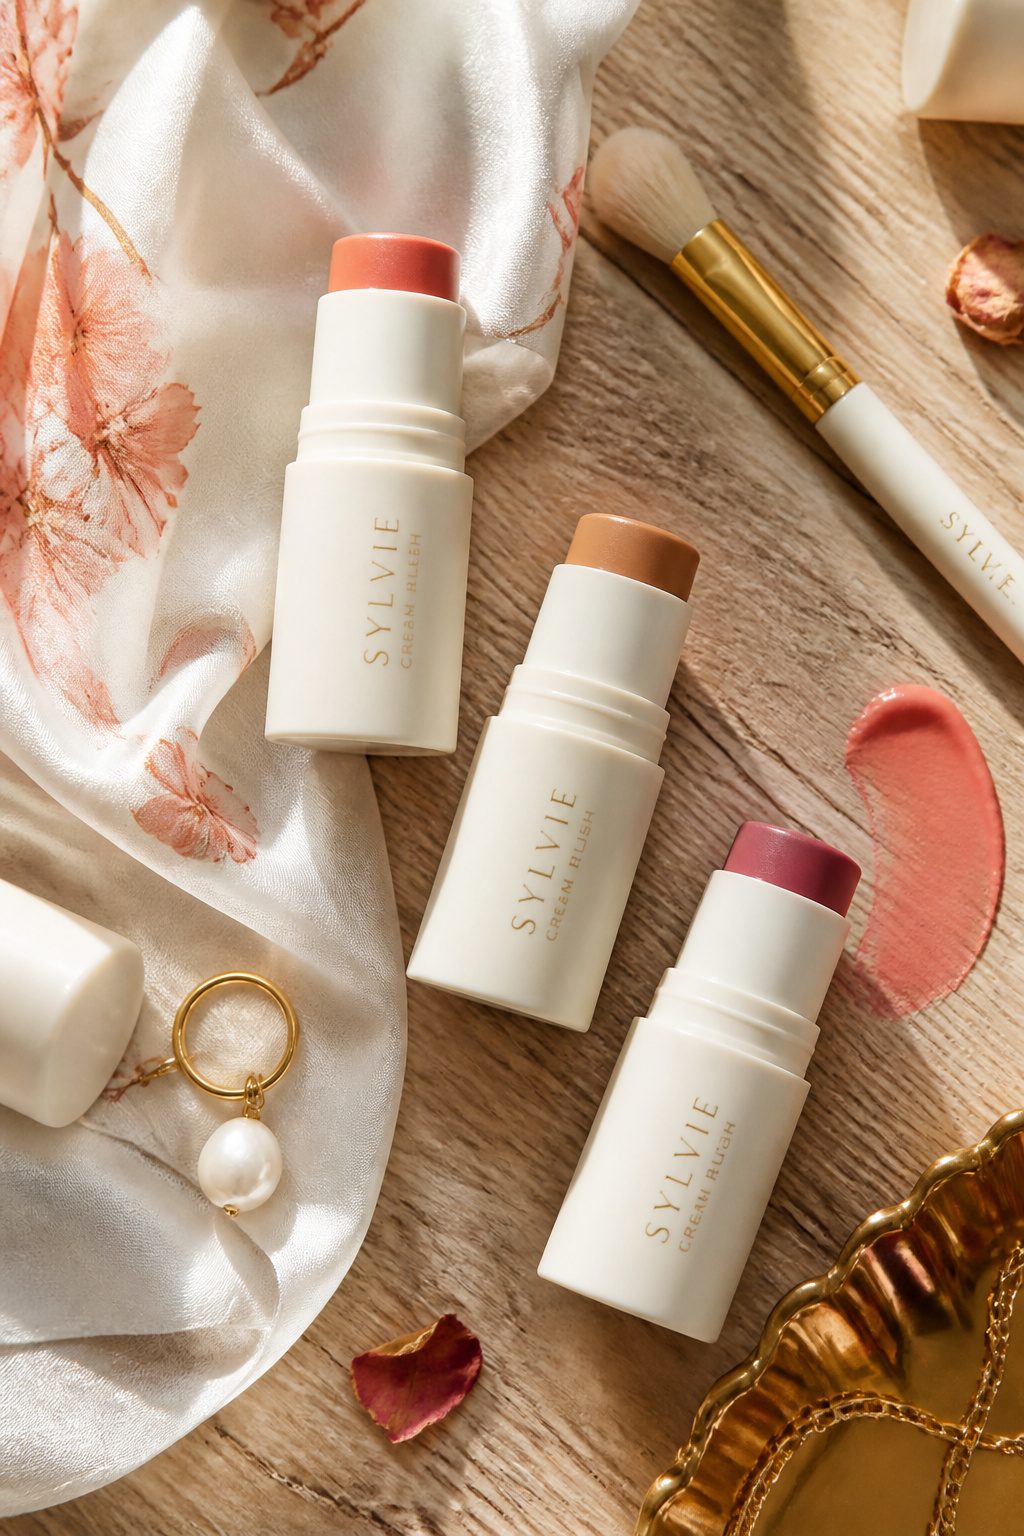

Cream products tie skin and lips together. Add cream blush to high cheekbone, bridge of nose, and a tiny dot on the chin for harmony.
Try a Cream blush stick in warm peach and a multi-stick like Cream color stick rose caramel. Warm peach keeps the face bright next to brown or black liner.
Principle: tonal depth. Matching warmth across face and lips reads cohesive. Swipe, tap with fingertips, blend upward for lift.
Common error: slapping blush on the apple. That makes the face read childlike and competes with sharp liner. Place higher and slightly diagonal for sculpt.
Result: soft color links the glossy lips and sharp eye without adding weight.
3. Define Without Hardness: Eye and Brow Work
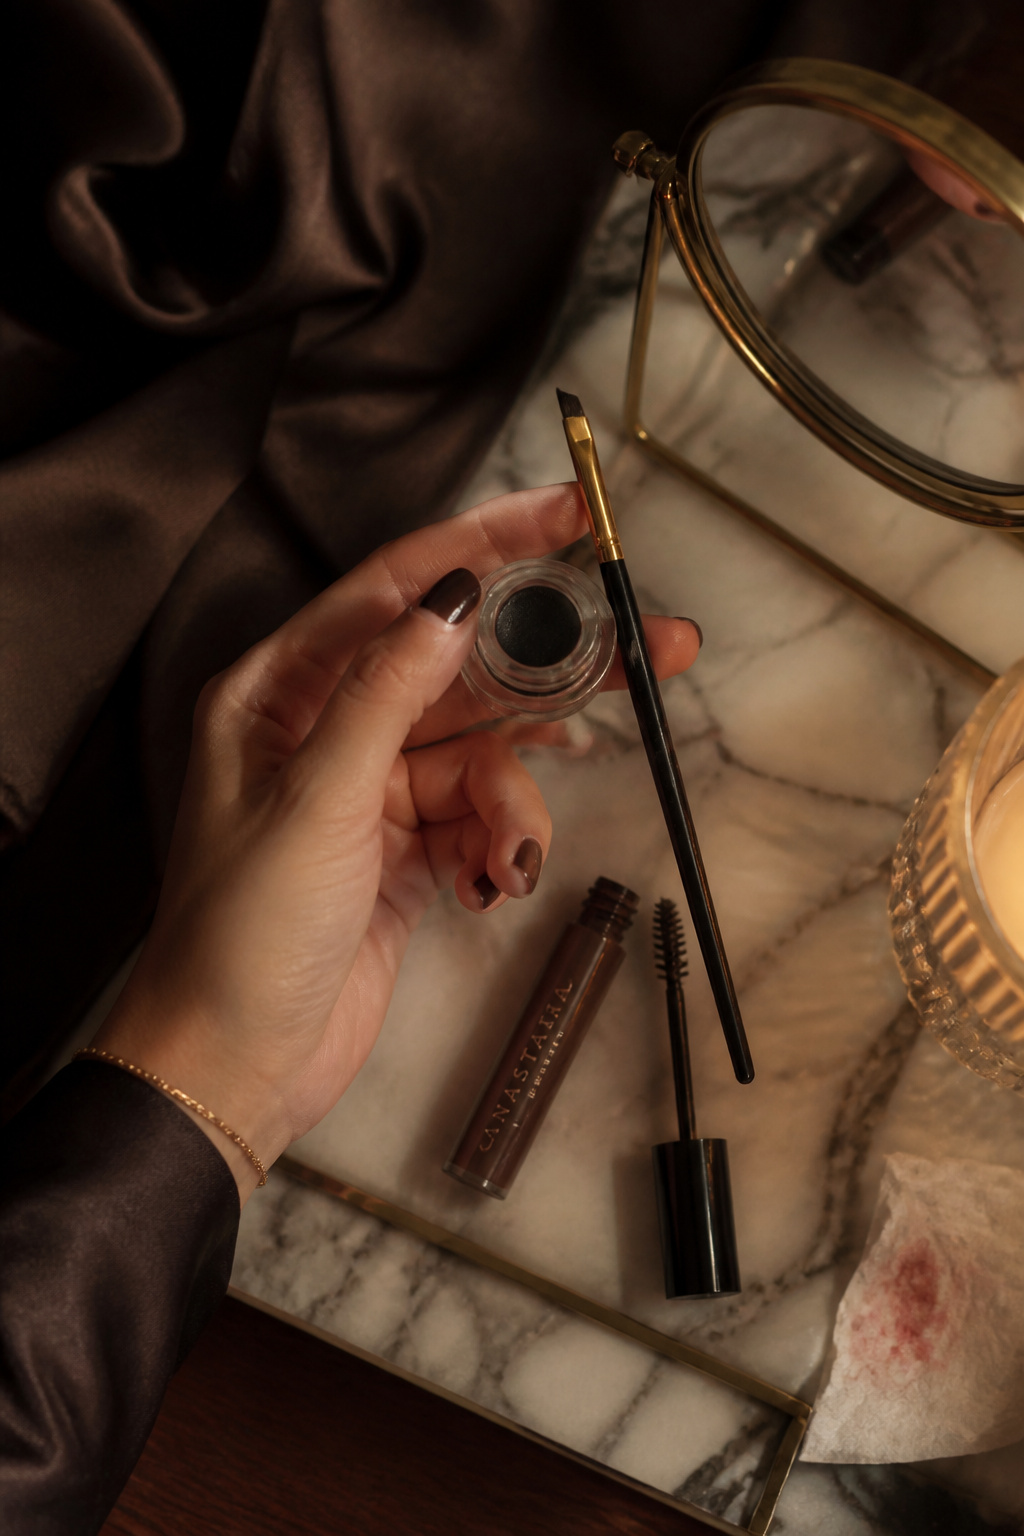

Sharp liner is the headline. I build crispness with a soft base first: tightline with a brown pencil, then draw the wing with a gel or felt tip.
Use Longwear gel eyeliner black and Precision felt tip liner black. For brows, a feathered gel like Tinted brow gel medium brown keeps texture.
Visual rule: pair a soft brow and smuded lash base with a clean wing so the eye feels sharp but not surgical.
Mistake: heavy black on waterline first. It ages and narrows the eye. Tightline with brown, then do the wing in black for contrast.
Result: the liner reads precise, the eye stays open, and the glossy lip won’t fight the eye.
4. Finish with Tonal Gloss: Lips and Setting
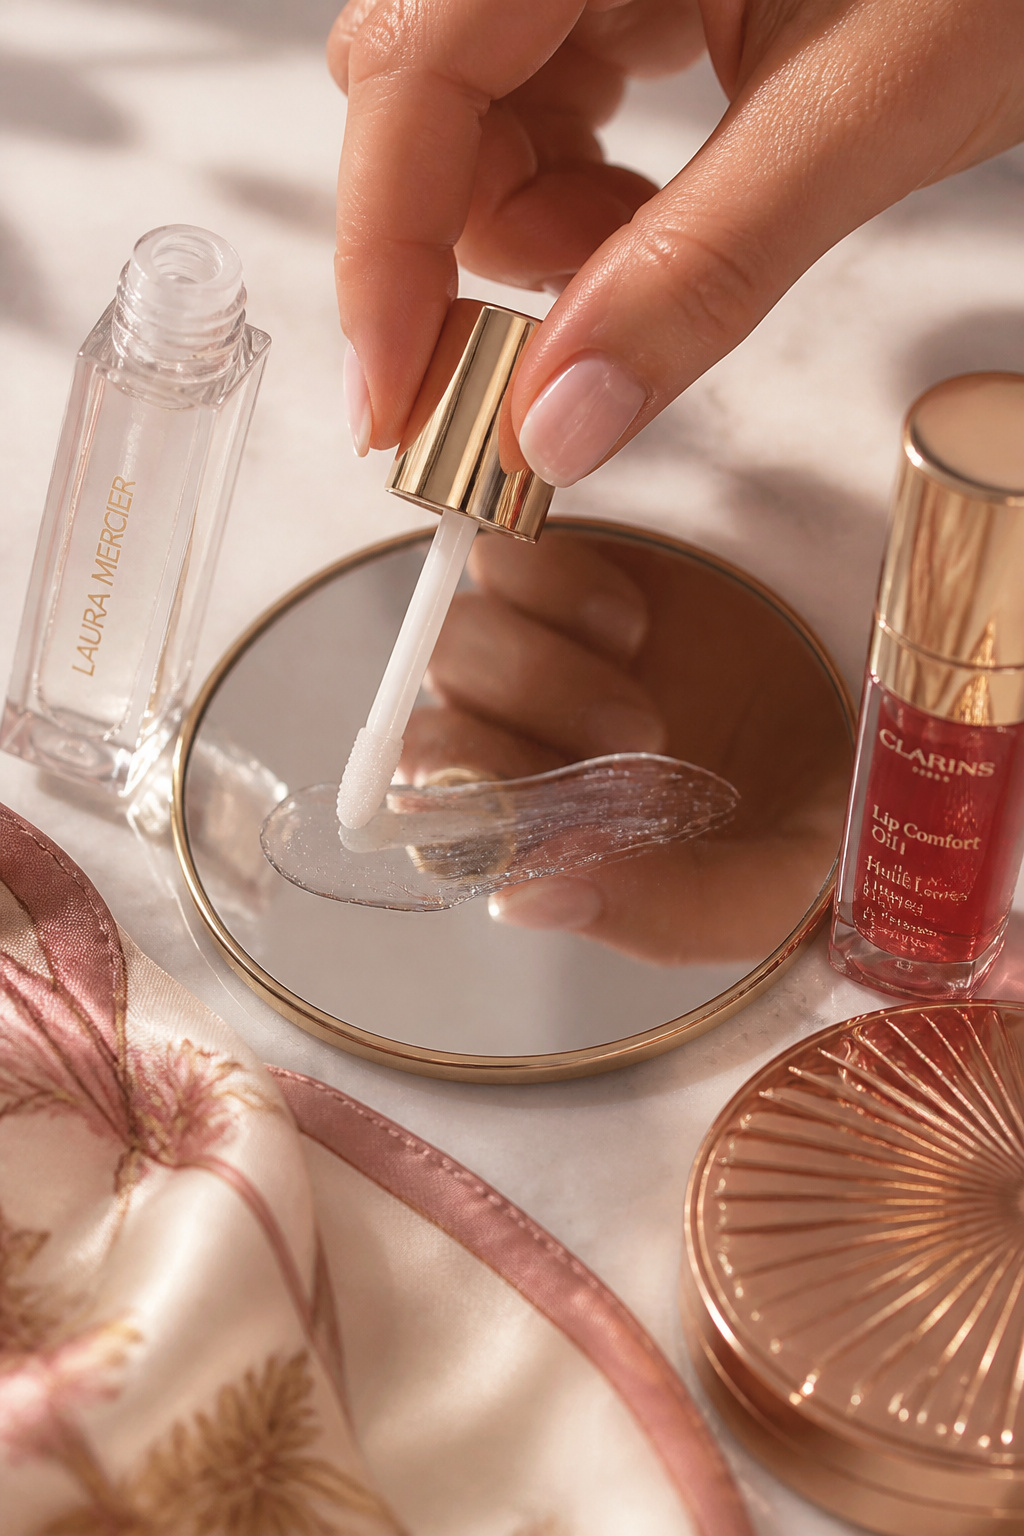

Gloss wins when the base and eye are balanced. Layer a tinted balm, then a high-shine gloss to avoid feathering.
I use Tinted lip oil rosewood topped with High-shine clear lip gloss. Dab in the center and press lips together for a glossy dome.
Principle: center-of-face highlight. Shiny center draws attention without adding bulk. Add a tiny bit of translucent powder at the lip edges if you need staying power.
Mistake: matte liner with glossy filling. It can look mismatched. Use a soft, slightly creamy liner for the lip edges or blend liner into the gloss.
Result: lips look juicy and modern while the eye remains the statement.

Common Styling Mistakes to Avoid
Mistake: Overpowdering the whole face
Why it doesn't work: Kills dewy texture and makes liner read harsh.
Do this instead: Spot set oily zones with Lightweight setting spray matte glow around $8 to $18.
Mistake: Wing too long for your eye shape
Why it doesn't work: Looks disconnected from the cheek and brow.
Do this instead: Draw a short upward flick and extend only if it follows your lower lash line using Precision felt tip liner black.
Mistake: Matte lip with glossy center
Why it doesn't work: Creates a texture fight and looks pasted.
Do this instead: Match liner texture to gloss with a creamy liner like Longwear lip liner nude.
What You'll Need for This Look
Face & Base Essentials
Creamy tinted skin tint light medium around $16 to $28
Cream blush stick in warm peach around $10 to $20
Lightweight setting spray matte glow around $8 to $18
Eyes, Brows & Lips
Longwear gel eyeliner black around $8 to $22
Precision felt tip liner black around $6 to $18
Tinted lip oil rosewood around $10 to $24
Clothing Staples
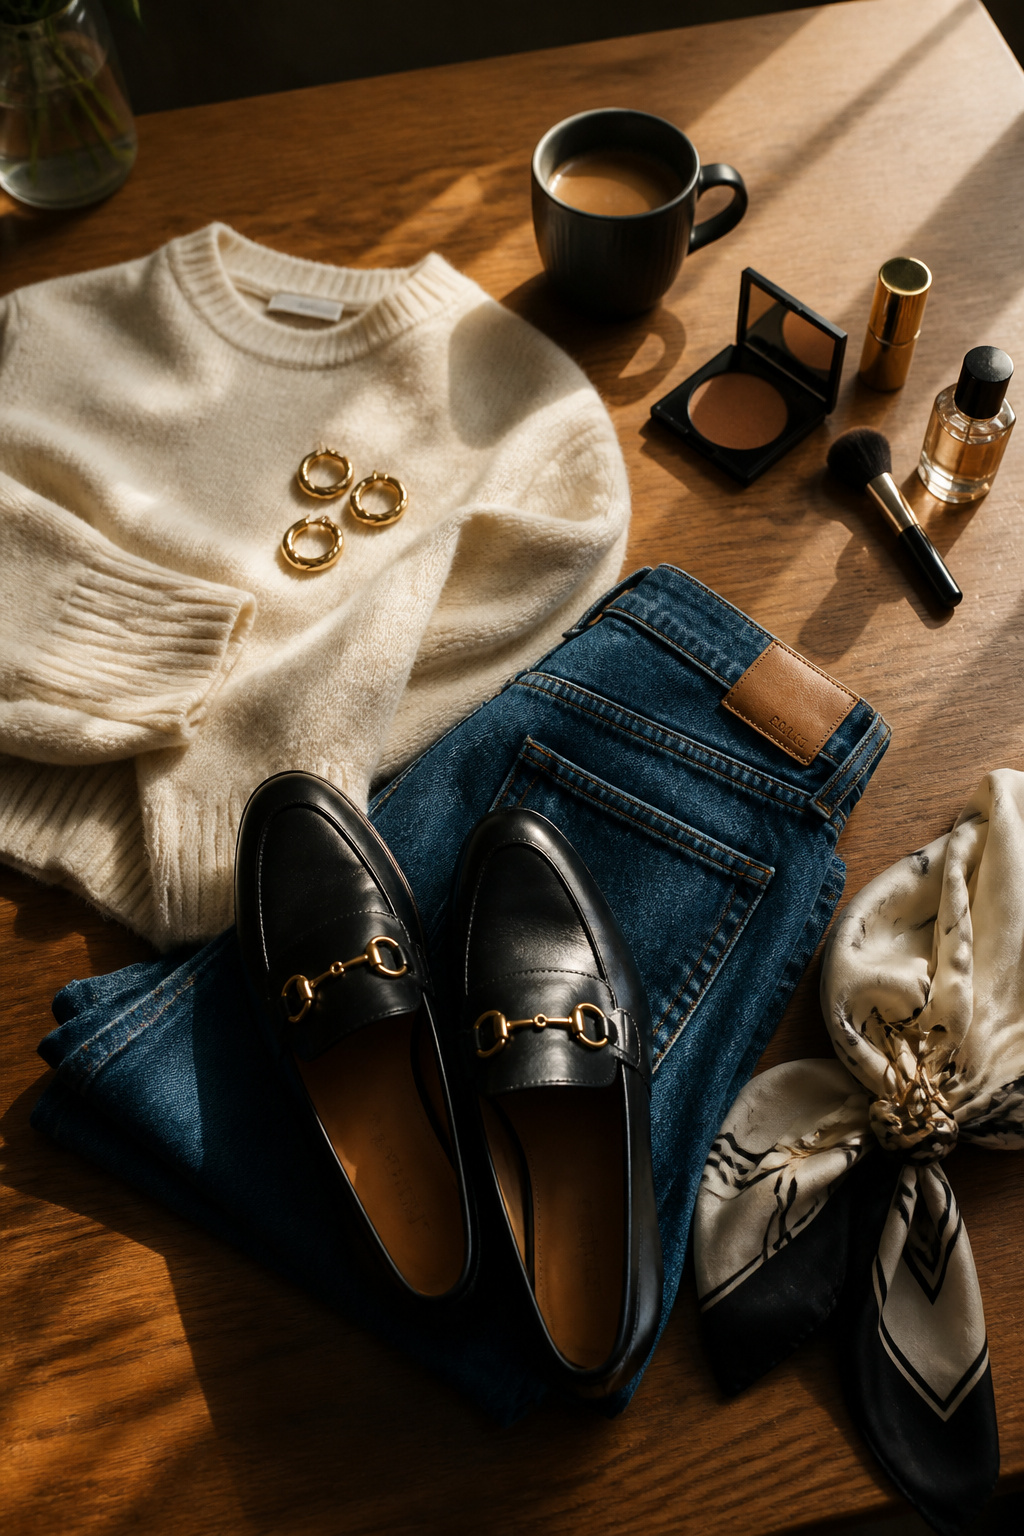
Slim white tee cotton approx $12 to $40
Straight leg high waist dark wash jeans approx $30 to $120
Shoes, Bags & Jewelry
Leather loafers black approx $40 to $150
Leather tote bag tan (price range $80 to $200)
Gold chunky hoop earrings 14k look around $12 to $40
Budget Swaps
Drugstore clear high-shine lip gloss around $5 to $12
Affordable gel eyeliner black around $6 to $14
Shopping Guide for This Look
Buy during beauty holidays: Stock up on cream blush sticks during summer and Black Friday sales for best pricing.
Thrift + new mix: Pair a thrifted leather bag with gold hoop earrings 14k look to look curated on a budget.
2025 trend note: Glossy lips and soft brown liner are a continuing trend; try tinted lip oil rosewood for an on-trend finish.
Splurge vs save: Splurge on a longwear gel liner like Longwear gel eyeliner black, save on gloss with a drugstore clear gloss.
Timing tip: Buy jeans in seasonal transitions (spring/fall) when fit markdowns appear; check sizes on Amazon descriptions before ordering.
Conclusion
Start by perfecting one element: the liner or the lips. For me, nailing the wing first made the gloss feel intentional.
One last rule: keep the skin light and tonal so sharp edges and shine read modern, not heavy.
Which part do you want to try first—sharp liner or glossy lips?


