




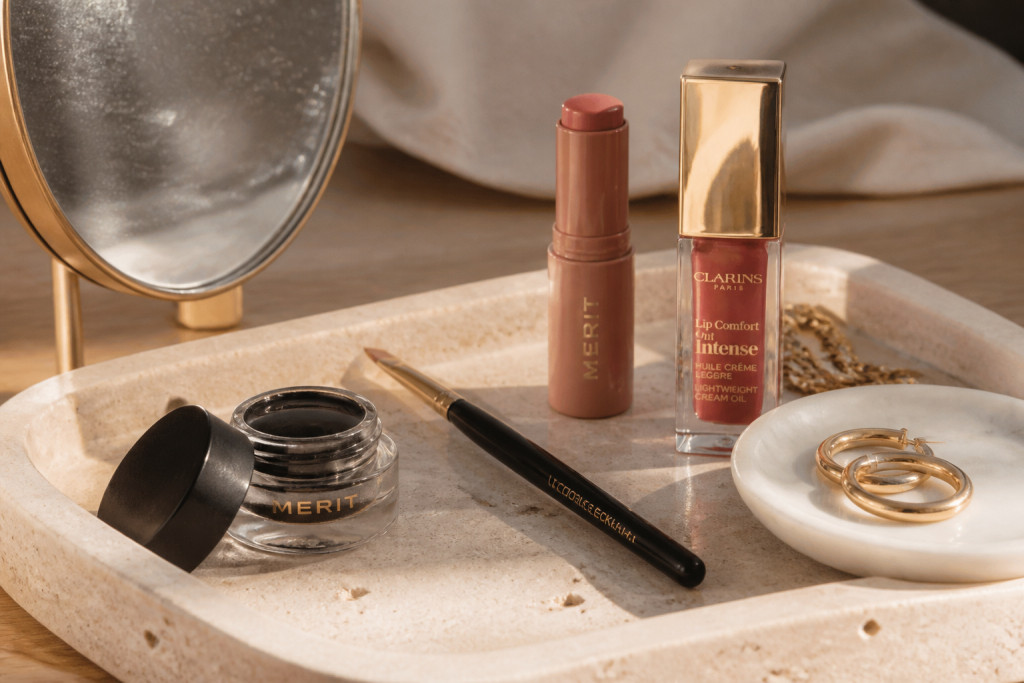

My cat eye used to take me six redraws and a meltdown. How to do cat eye makeup without redrawing it six times became the tiny obsession that fixed my mornings.
You’ll learn a one-pass wing method, where to place liner for your eye shape, and three product essentials to stop the wobble. Budget: under $40 to start, $80 to $150 to assemble a full kit.
Clean, slightly modern glam. This suits almond to hooded eyes and anyone who prefers a lived-in edge over a drawn-on silhouette. I’ve noticed Google Trends and Pinterest Predicts 2025 both pointing toward softer, smudged liners and lived-in edges, so this method stays wearable for day and night.
1. Start with the Glow: Skin Prep and Sheer Base
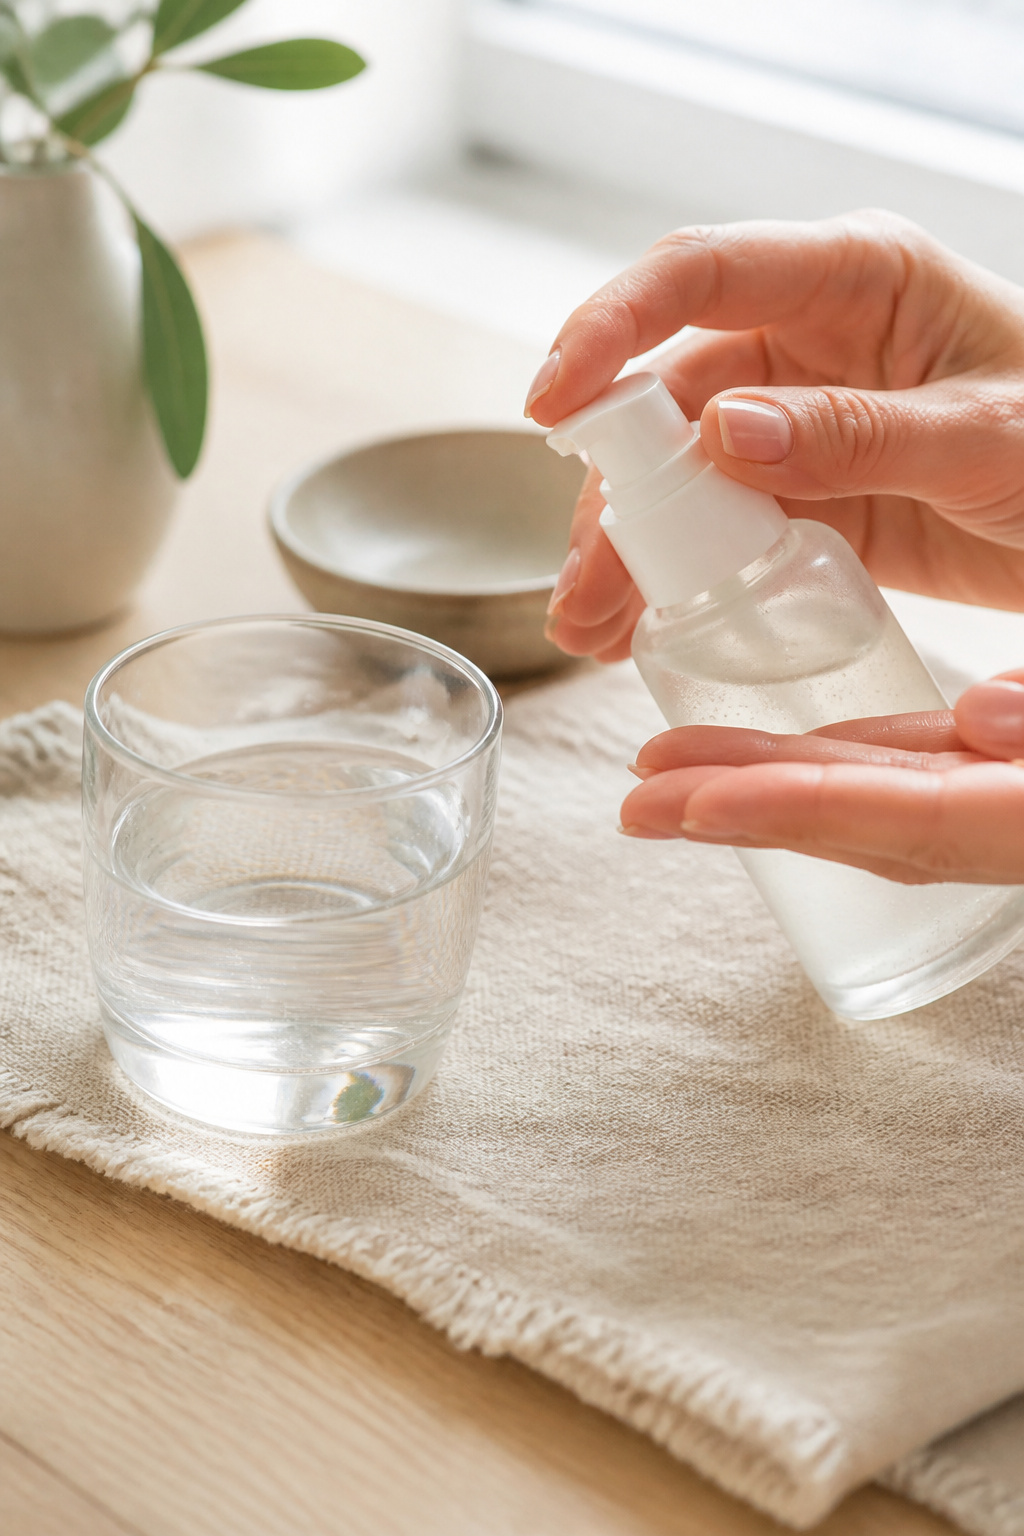

I begin by evening the skin so the liner reads crisp on a soft canvas. Start with a hydrating primer to smooth texture and prevent liner drag.
Try Hydrating primer with hyaluronic acid and a lightweight Skin tint light medium. These keep coverage sheer so the eye stays the focal point.
The visual principle: low-contrast base lets a dark wing read as a single, intentional line. Too matte or cakey base pulls attention away and highlights every correction.
Mistake people make: heavy contour or full coverage foundation undercuts the liner, making you redraw. Do a light layer, spot-conceal, then blend. The result looks fresh and the wing snaps against clean skin.
2. Layer Cream Color in Three Strategic Places
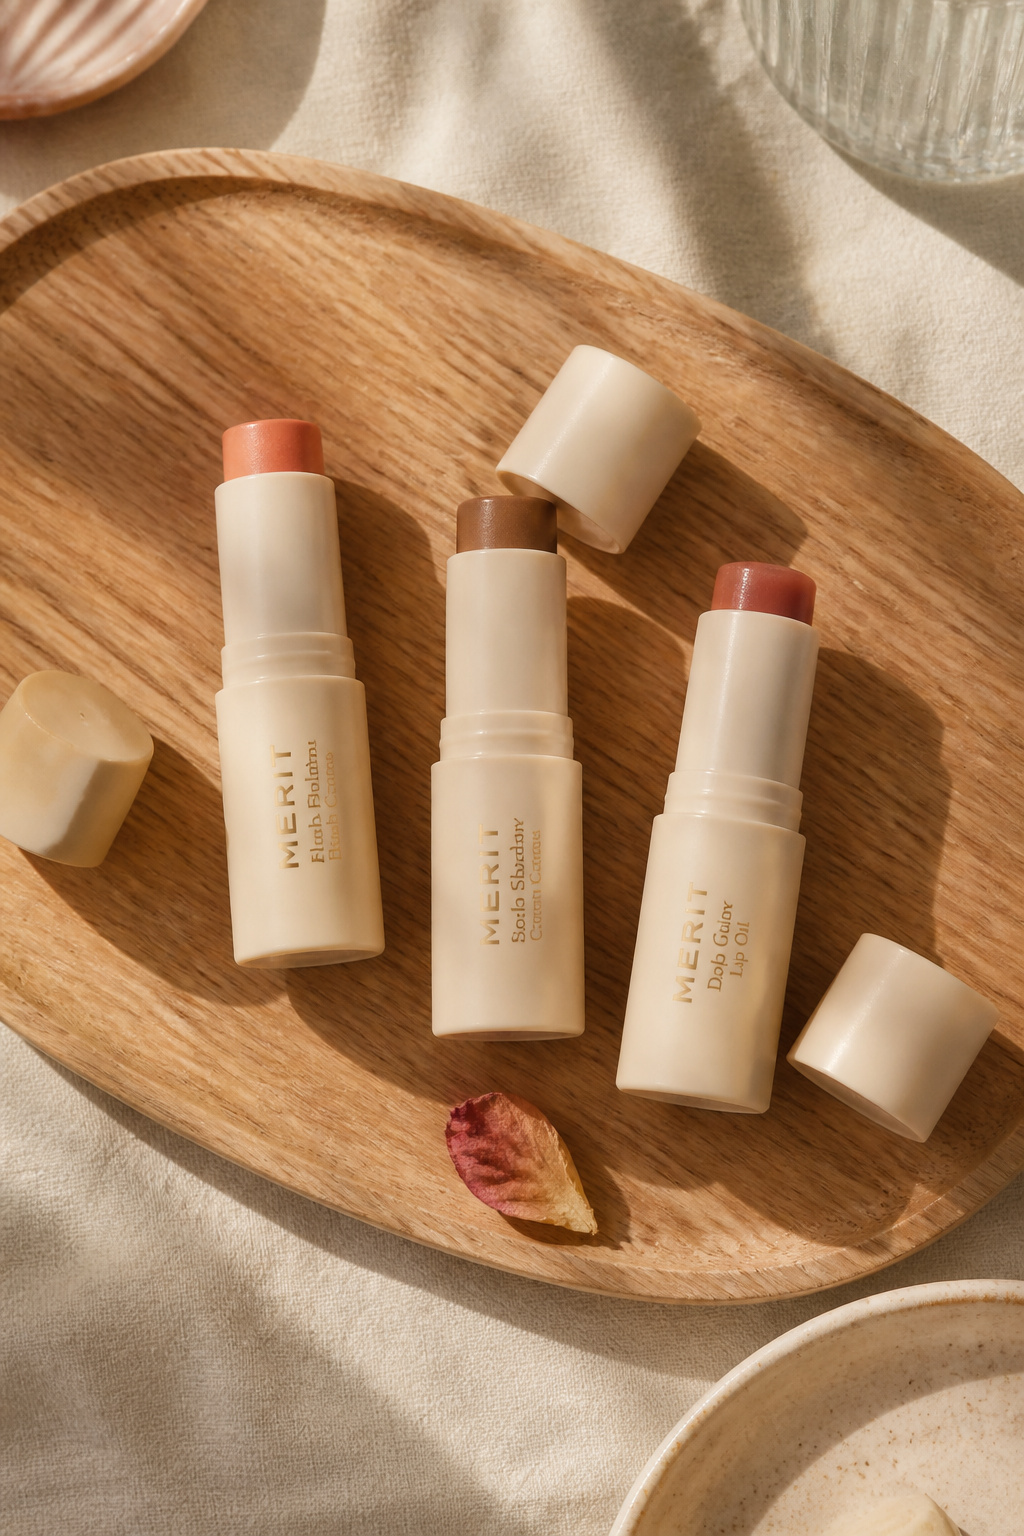

Before any sharp line, warm up the eye area with cream shadow. I swipe a neutral brown across the lid, cheekbones, and outer eye to create harmony.
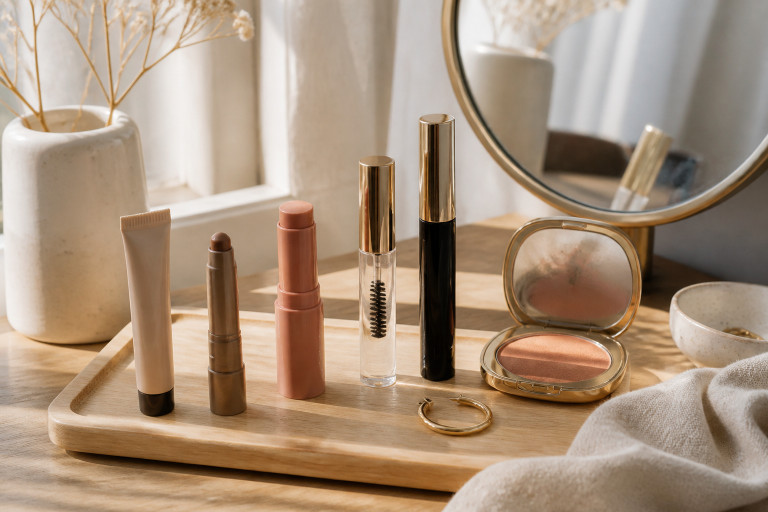
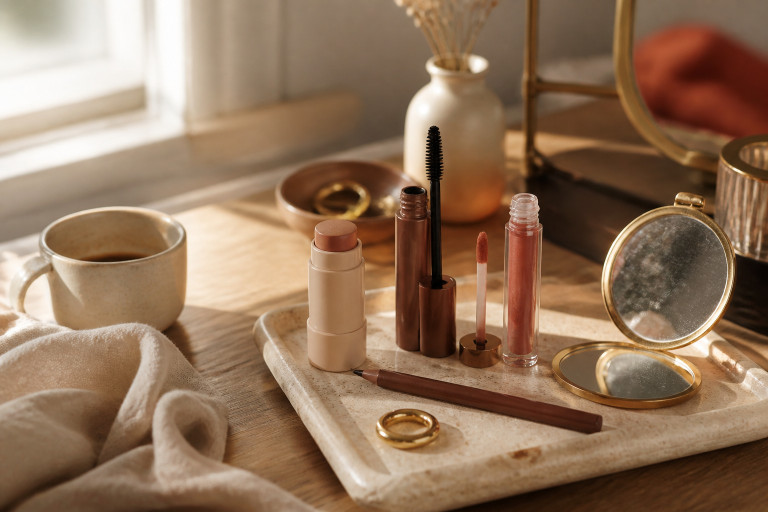
Use a Multi-use cream shadow neutral brown and a Cream blush stick in warm peach. Tap, do not drag, to keep edges soft.
Color theory here: repeating a single tone ties face features together, so the liner reads like punctuation rather than a separate element.
Common misstep: layering harsh powder before liner. That dries the lid and causes skipping. Apply creams first, set lightly if needed, then draw one confident pass.
3. Define Without Hardness: Soft Eye and Brow Work
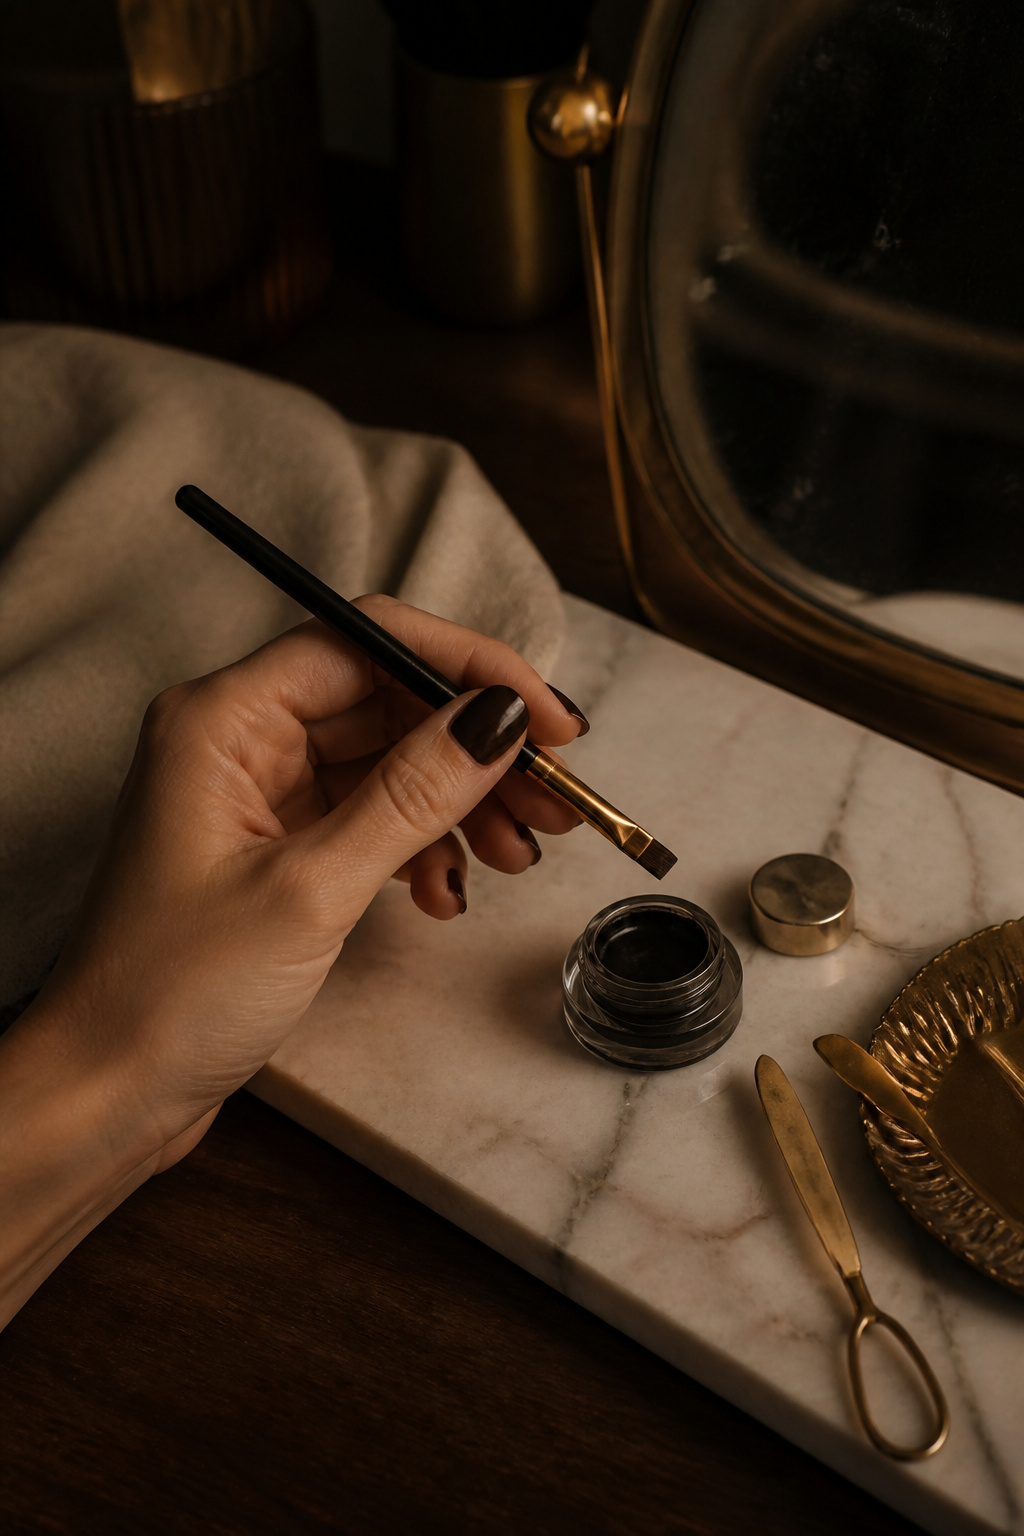

This is the phase that cuts redraws: gel liner, short angled brush, and a steady anchor point.
Load a Gel eyeliner waterproof black onto an Angled eyeliner brush short. Rest your elbow, find the tail point by following your lower lash line outward, then connect back to the lash line in one continuous stroke.
Visual rule: draw the wing first as a thin angled tick, then fill toward the inner corner. That single-line approach avoids multiple corrections.
One ugly truth: rulers, tape, and sticky tricks often shift mid-application and force more fixes. Instead, use a business card or a thumb anchor, draw once, and smudge the inner edge with a small Smudger brush small for a lived-in finish.
4. Lock the Line and Finish with Tonal Lip
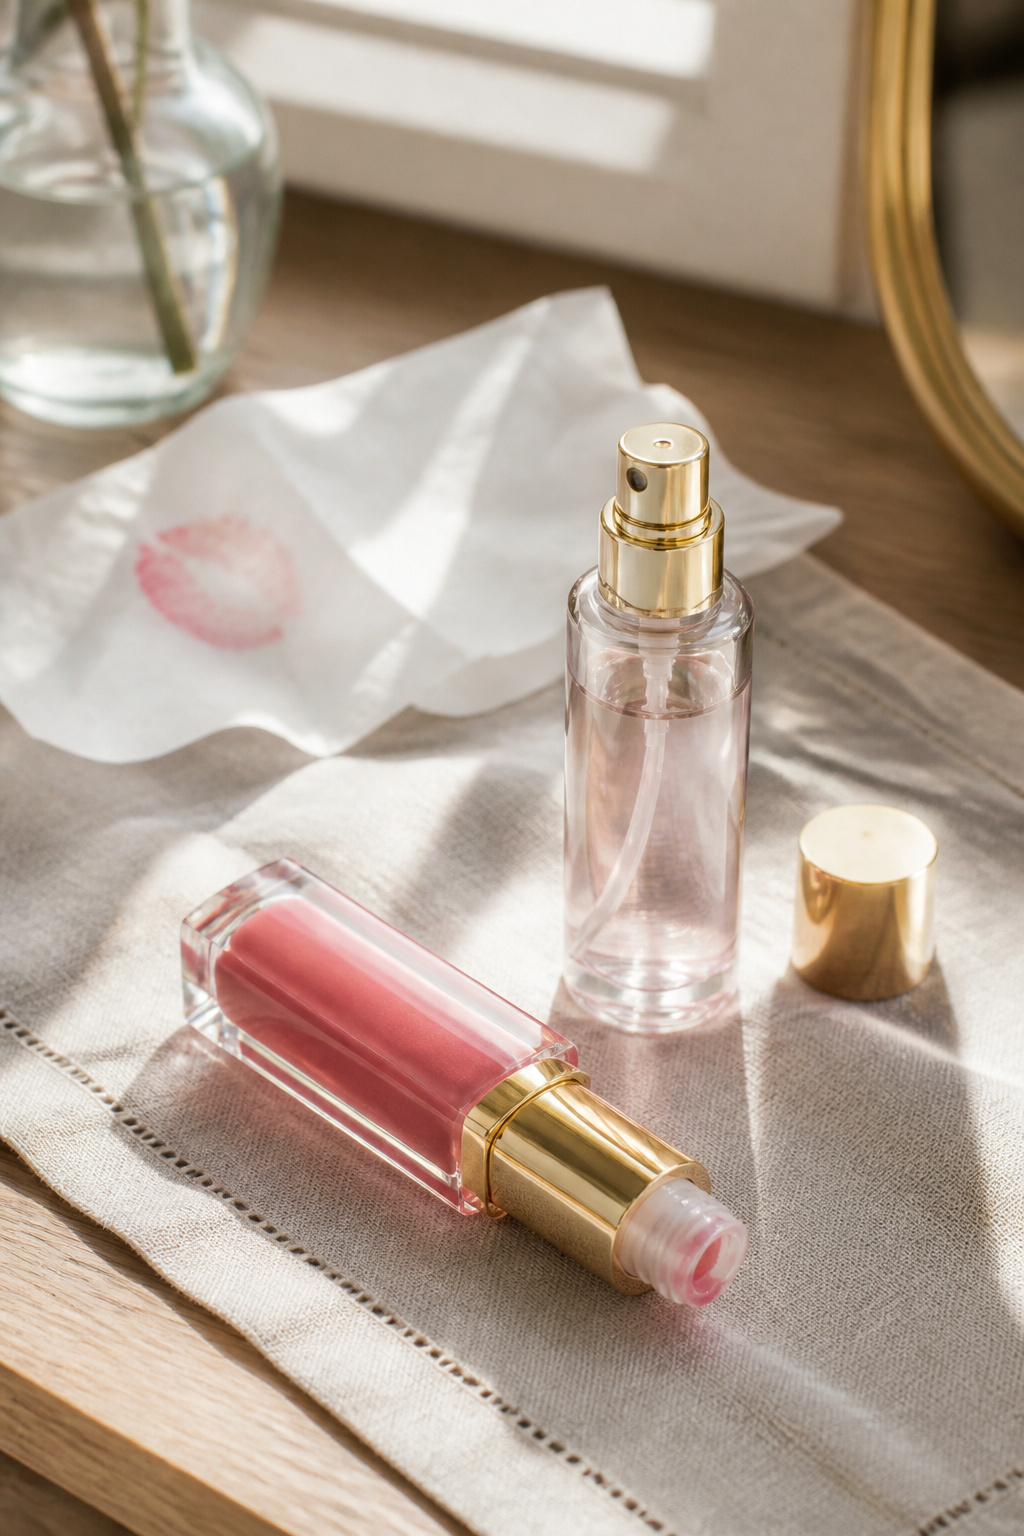

Set the cat eye without stiffening it. A tiny dusting of translucent powder at the outer corner prevents transfer without blunting the line.
Seal with a spritz of Setting spray dewy finish and swipe a Tinted lip oil sheer rose for balance. Brow grooming with a Clear brow gel frames the eye softly.
Visual finish: a slightly glossy lip and brushed brows keep the look modern and approachable. Don’t over-spray; too much setting spray drags pigment and forces touch-ups.
Common Styling Mistakes to Avoid
Mistake: Building a wing by repeatedly tracing the same outer line
Why it doesn't work: Each pass adds thickness and blurs the intended edge.
Do this instead: Draw the wing tip first, then connect inward in one fluid stroke using Gel eyeliner waterproof black.
Mistake: Powdering the lid before liner application
Why it doesn't work: Dries the lid and causes skipping.
Do this instead: Apply cream shadow first and use Translucent setting powder light only if needed to lightly set outer corners.
Mistake: Tugging the eyelid for a straighter line
Why it doesn't work: Distorts natural eye shape and leads to uneven wings.
Do this instead: Rest your pinky on the cheek and use an Angled eyeliner brush short for control.
What You'll Need for This Look
Face & Base Essentials
Hydrating primer with hyaluronic acid around $12 to $22
Skin tint light medium approx $10 to $28
Cream blush stick in warm peach around $8 to $18
Eyes, Brows & Lips
Gel eyeliner waterproof black around $6 to $20
Angled eyeliner brush short around $5 to $18
Clear brow gel around $6 to $16
Clothing Staples
White cotton tee boxy fit approx $12 to $35
Straight leg high waist dark wash jeans around $30 to $120
Shoes, Bags & Jewelry
Leather loafers black around $40 to $150
Structured tote bag tan approx $35 to $180
Gold chunky hoop earrings 14k plated around $10 to $45
Budget Swaps
Waterproof pencil eyeliner black drugstore around $4 to $10
Dupe cream blush stick warm peach around $6 to $12
Shopping Guide for This Look
Seasonal timing: Buy liners and brushes during Prime Day or seasonal beauty drops; look for Gel eyeliner waterproof black deals.
Thrift hack: Pair a thrifted blazer with a new White cotton tee boxy fit for polished contrast.
2025 trend tip: Soft, smudged liner is in; get a Smudger brush small to stay on trend.
Splurge vs save: Splurge on a reliable Angled eyeliner brush short, save on the cream blush dupe.
Conclusion
Start by committing to one confident stroke for the wing. Once you stop tracing the same line, you save time and get a cleaner result.
Use a gel liner, a short angled brush, and a tiny smudger. Which part of the routine will you try first: the one-pass wing or the cream-shadow base?