


how to do clown makeup so it reads creepy, not messy. I learned this the hard way at a party where my “scary” clown looked more like a meltdown.
I spent $28 on the right base and people actually backed away instead of laughing. In this guide I'll show a budget range to start (under $40) and a full kit for $80 to $150, plus exact product types that kept my lines sharp and my texture eerie, not sloppy.
Clean theatrical. Low-budget horror. This suits neutral-to-warm undertones and anyone who wants theatrical detail without cakey coverage. I've noticed a trend toward "theatrical minimalism" in 2025 makeup feeds: one strong motif, tidy negative space.
1. Start with the Glow: Skin Prep and Sheer Base
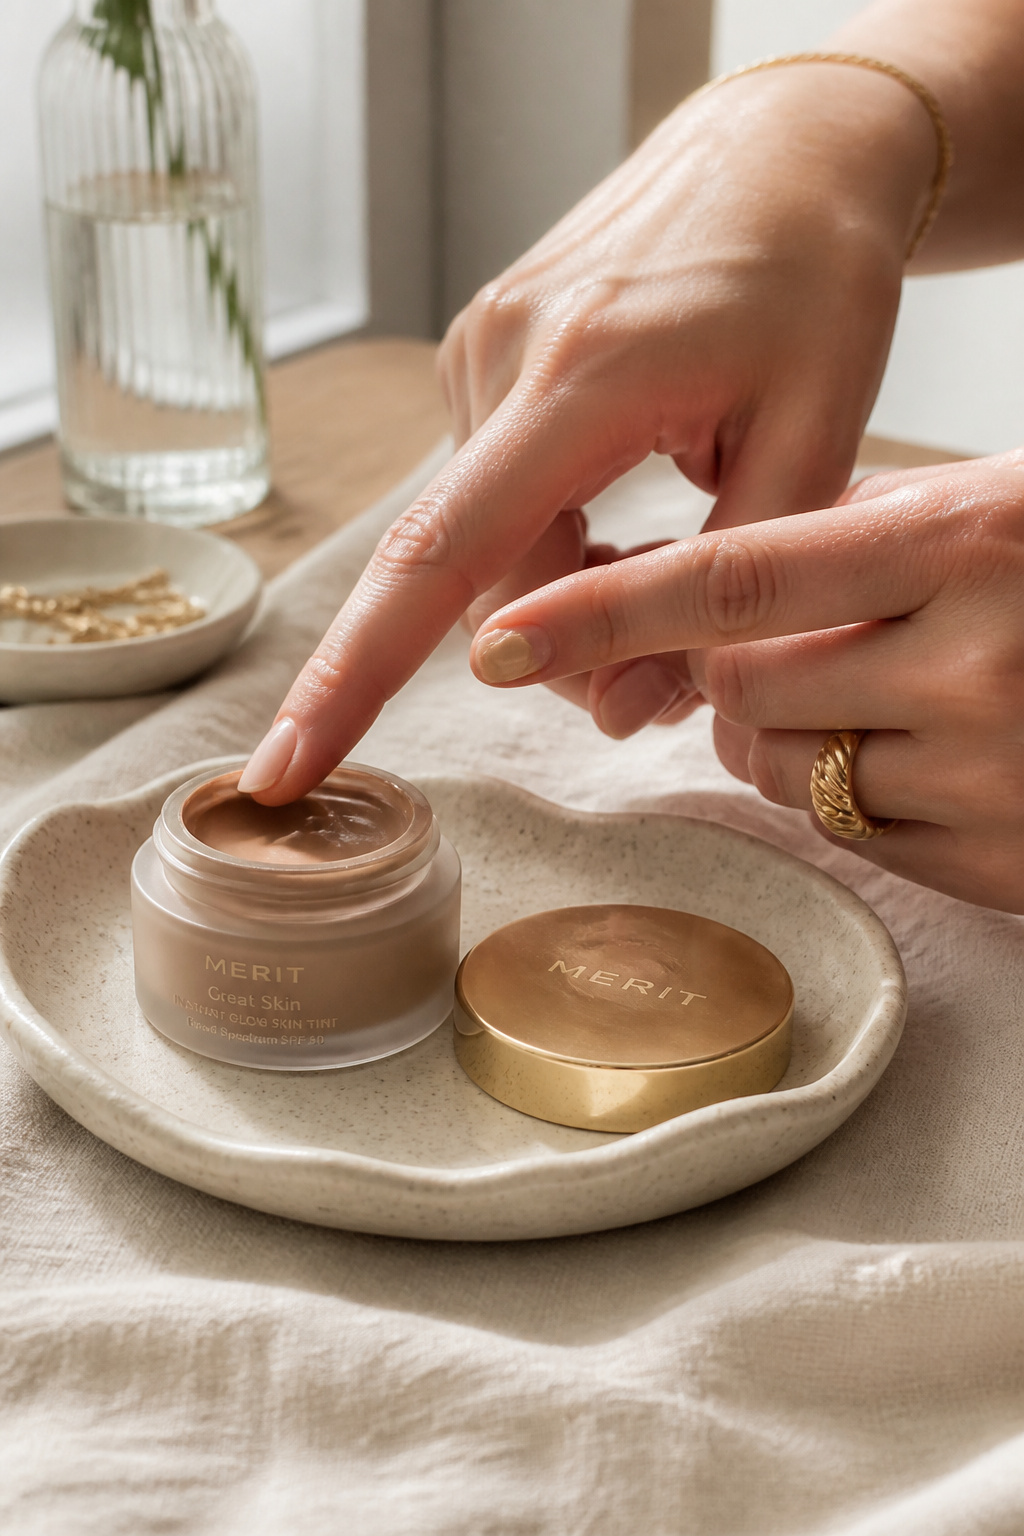

The trick is a skin layer that looks like skin, not a mask. Use a hydrating skin tint so freckles and texture peek through; that transparency makes painted shapes read intentional.
Try Skin tint with sheer coverage around $12 to $28 and lightweight hydrating primer approx $8 to $22. Apply sparingly where the skin sees light: forehead center, high cheek, bridge of nose.
Visual principle: negative space. Skin showing through gives contrast so white paint and red shapes feel deliberate. Use fingertips or a damp sponge for thin layers.
Ugly truth: thick opaque base ruins the creep. Do not cake on full-coverage foundation. Instead, blend a tint and set only in zones that need it.
2. Layer Cream Color in Three Strategic Places
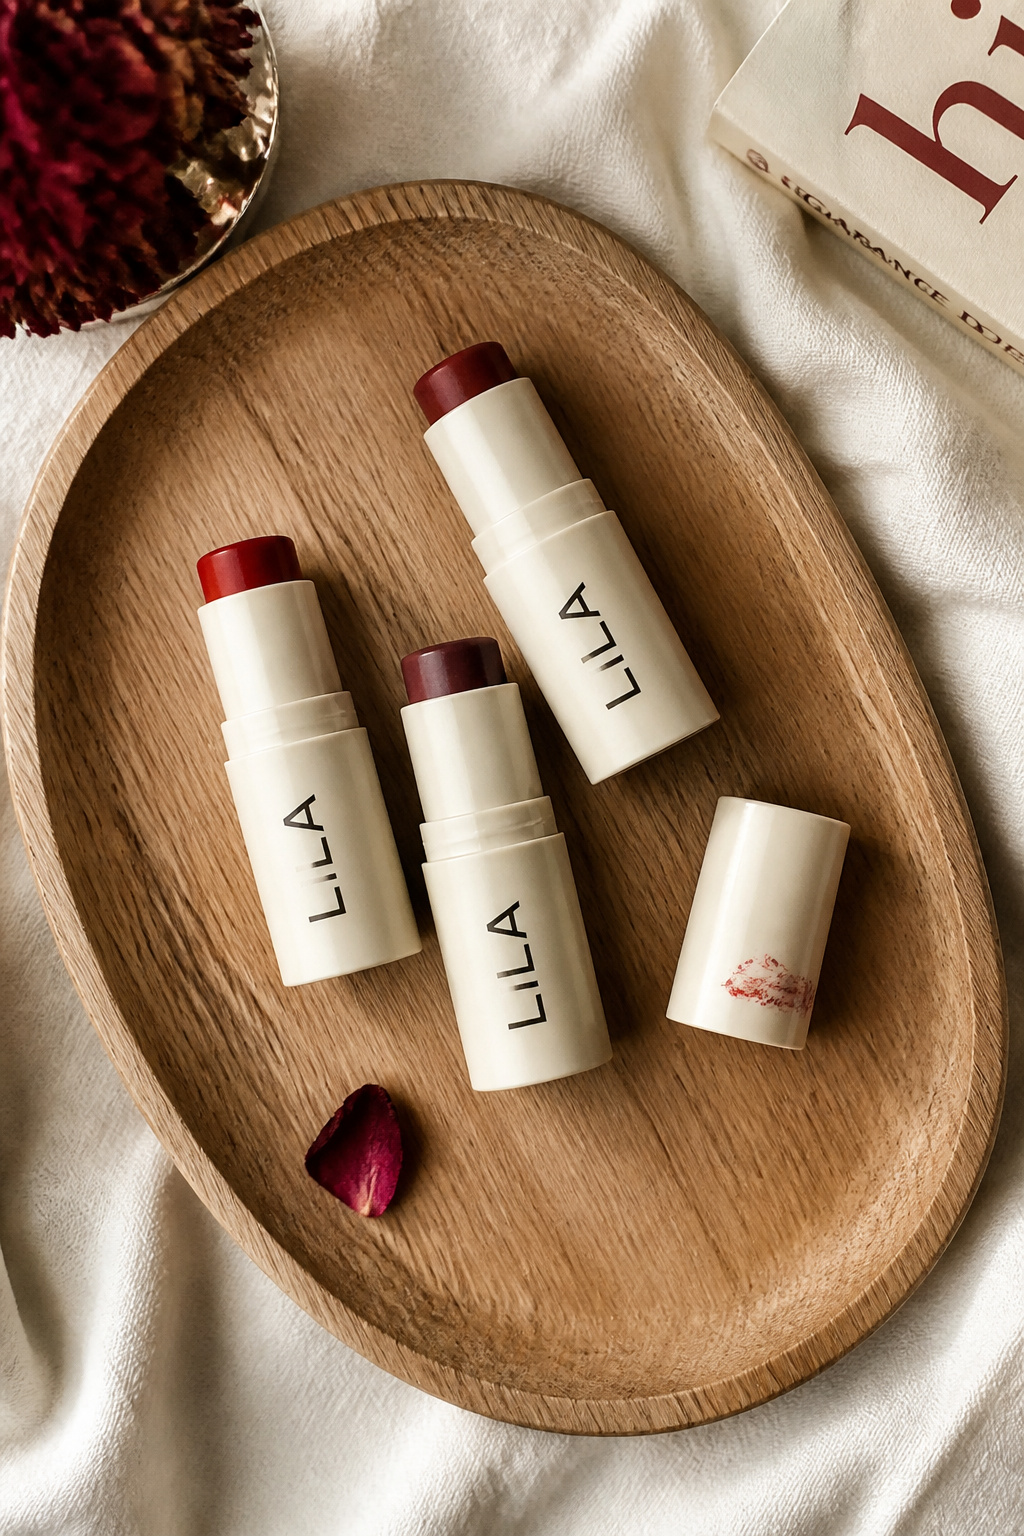

Clown makeup reads best when color is placed like a symbol. I use cream color on the temples, the center of the eyelid, and the mouth shape. These three points create a visual triangle.
Use Cream blush stick in deep crimson around $10 to $20 and long-wear cream eyeshadow red approx $9 to $18. Tap, do not rub. Build slowly.
Color theory: repeating one hue ties the face together. Matte or satin finishes read vintage-circus creepy. Avoid glitter unless you want a campy look.
Most people smear too much color. Instead, layer tiny dots and blend edges outward with a clean finger for a blurred aura, keeping center shapes crisp.
3. Define Without Hardness: Soft Eye and Brow Work
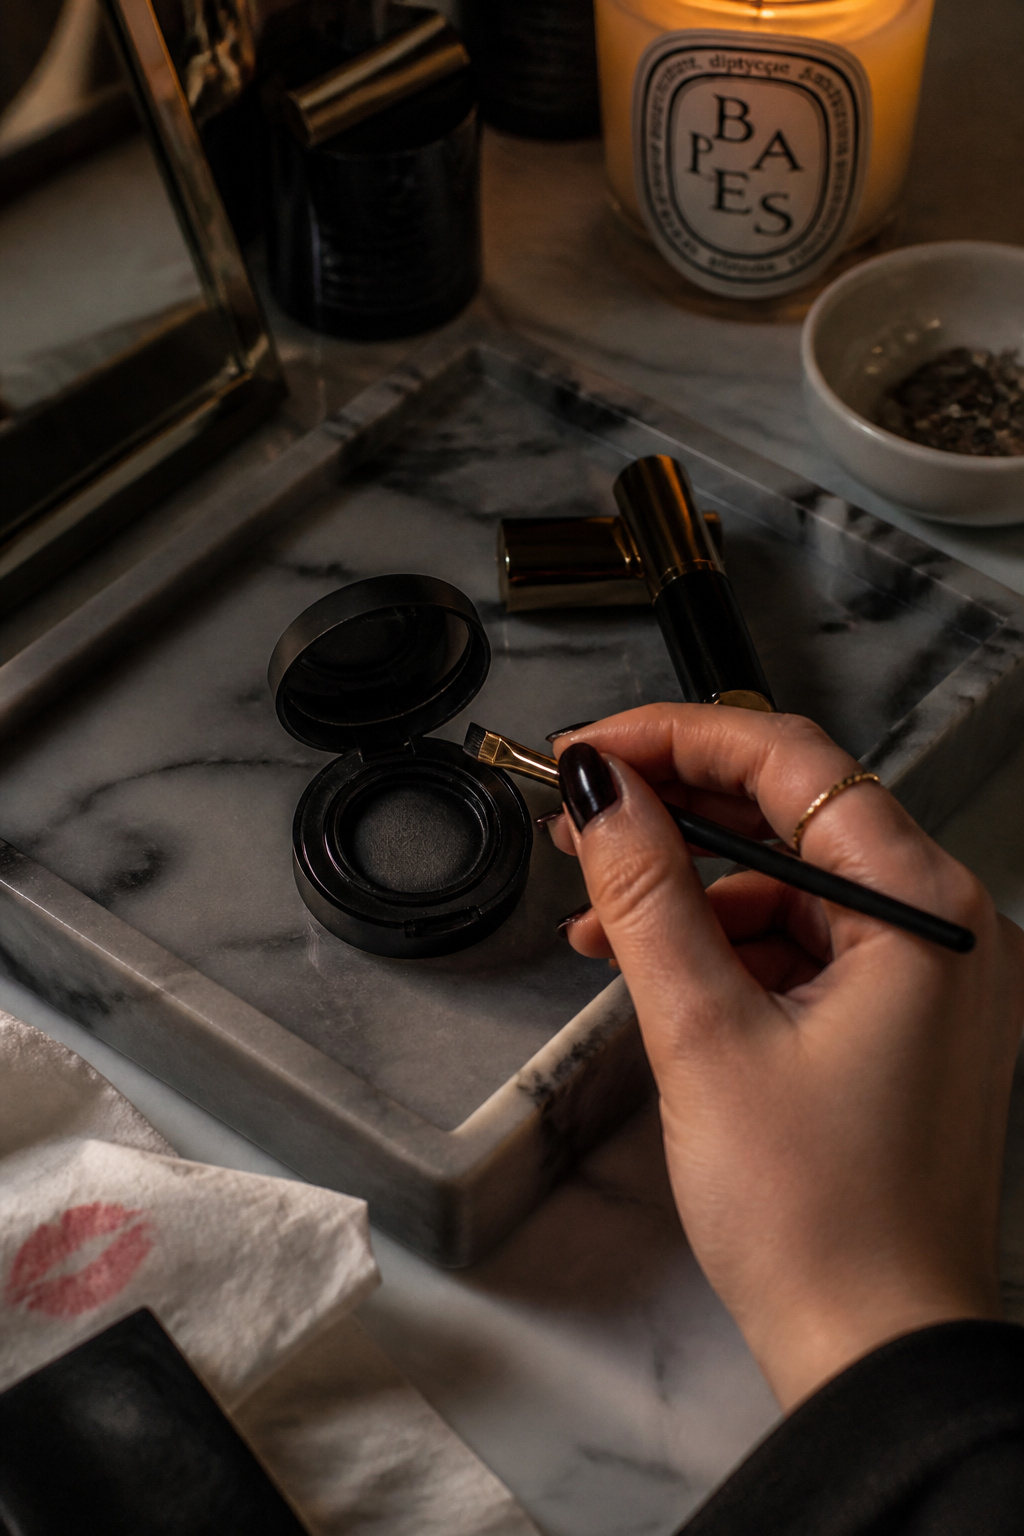

The eyes read creepy when lines are precise but soft at the edges. I trace shapes with a pencil or gel liner, then soften outward with a tiny smudge brush.
Pick Waterproof gel liner black around $7 to $18 and mini detail brush set approx $6 to $15. Draw thin teardrops, small arches, and connect them with controlled flicks.
Visual principle: contrast of sharp inside edge and feathered outer edge. That mix makes shapes eerie without looking like you lost control.
Common mistake: heavy smokey shadow everywhere. Instead, keep darkness close to the line and smudge only outward a whisper.
4. Fine-Line Details: Crisp Shapes That Read Creepy
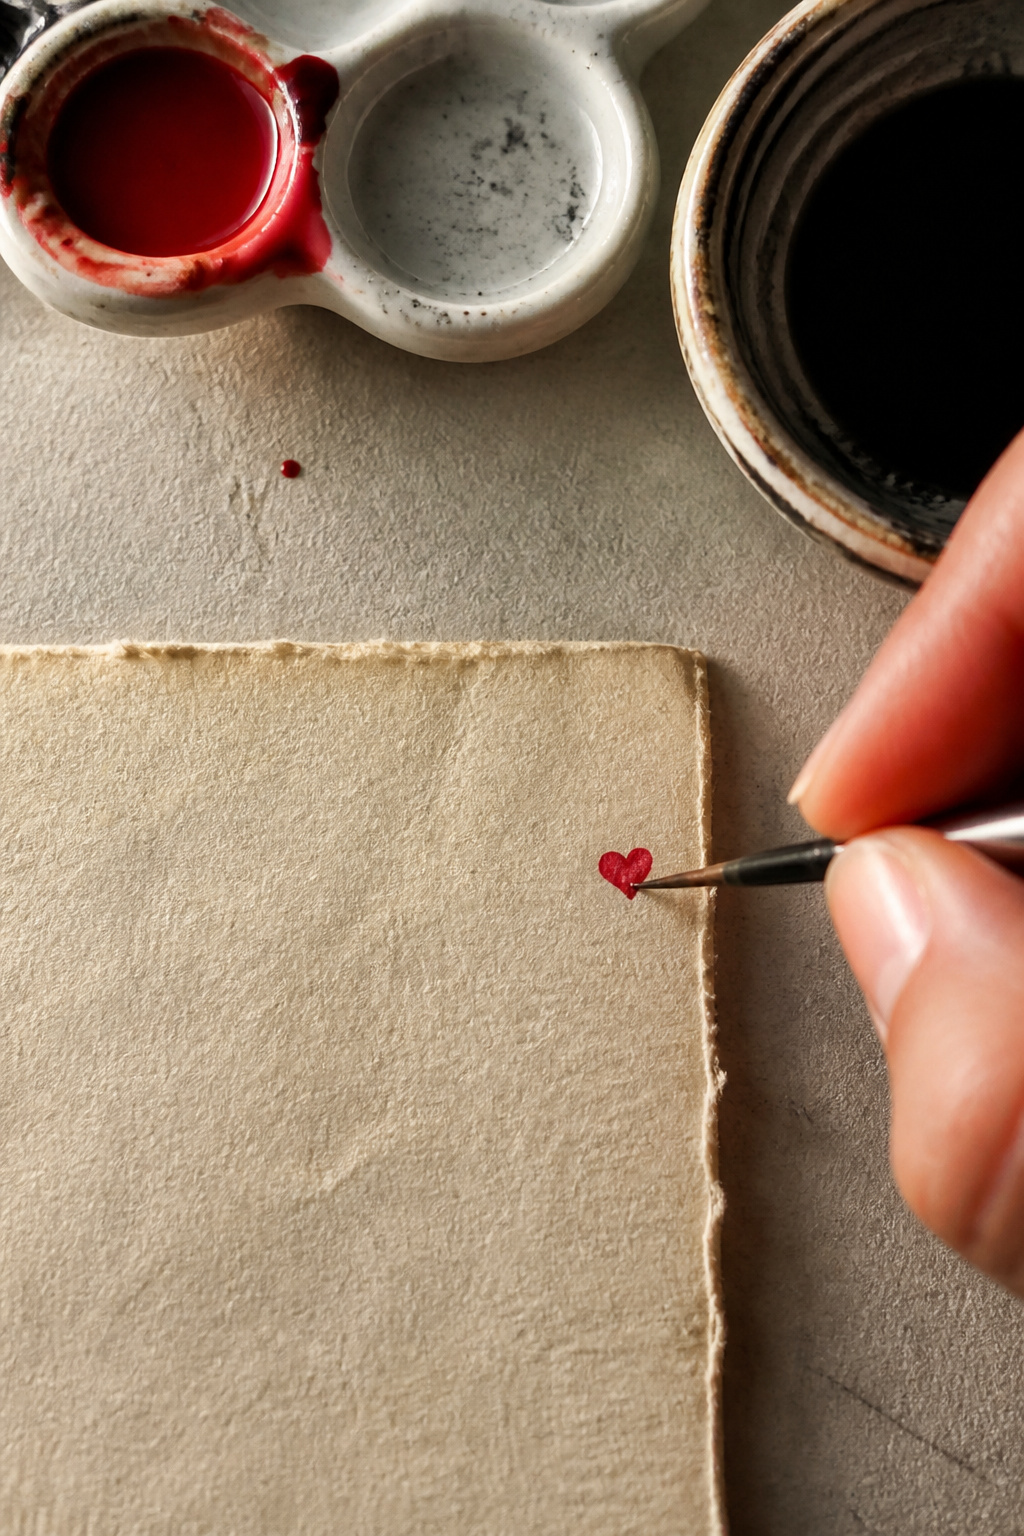

Tiny, crisp shapes sell creep. Use a thin synthetic brush, latex-free face paint, and a magnifying mirror for symmetrical marks.
I rely on Fine liner brush 000 approx $6 to $12 and cream face paint white around $8 to $16. Load the brush, wipe excess, then drag in one confident stroke.
Principle: rhythm and spacing. Repeating shapes at even intervals looks intentional. Wobbly lines read messy, not artistic.
Ugly truth: cheap round brushes shed and kink lines. Invest in one small synthetic brush and keep it dry between strokes.
5. Add The Prop: Hair, Collar, and Subtle Setting
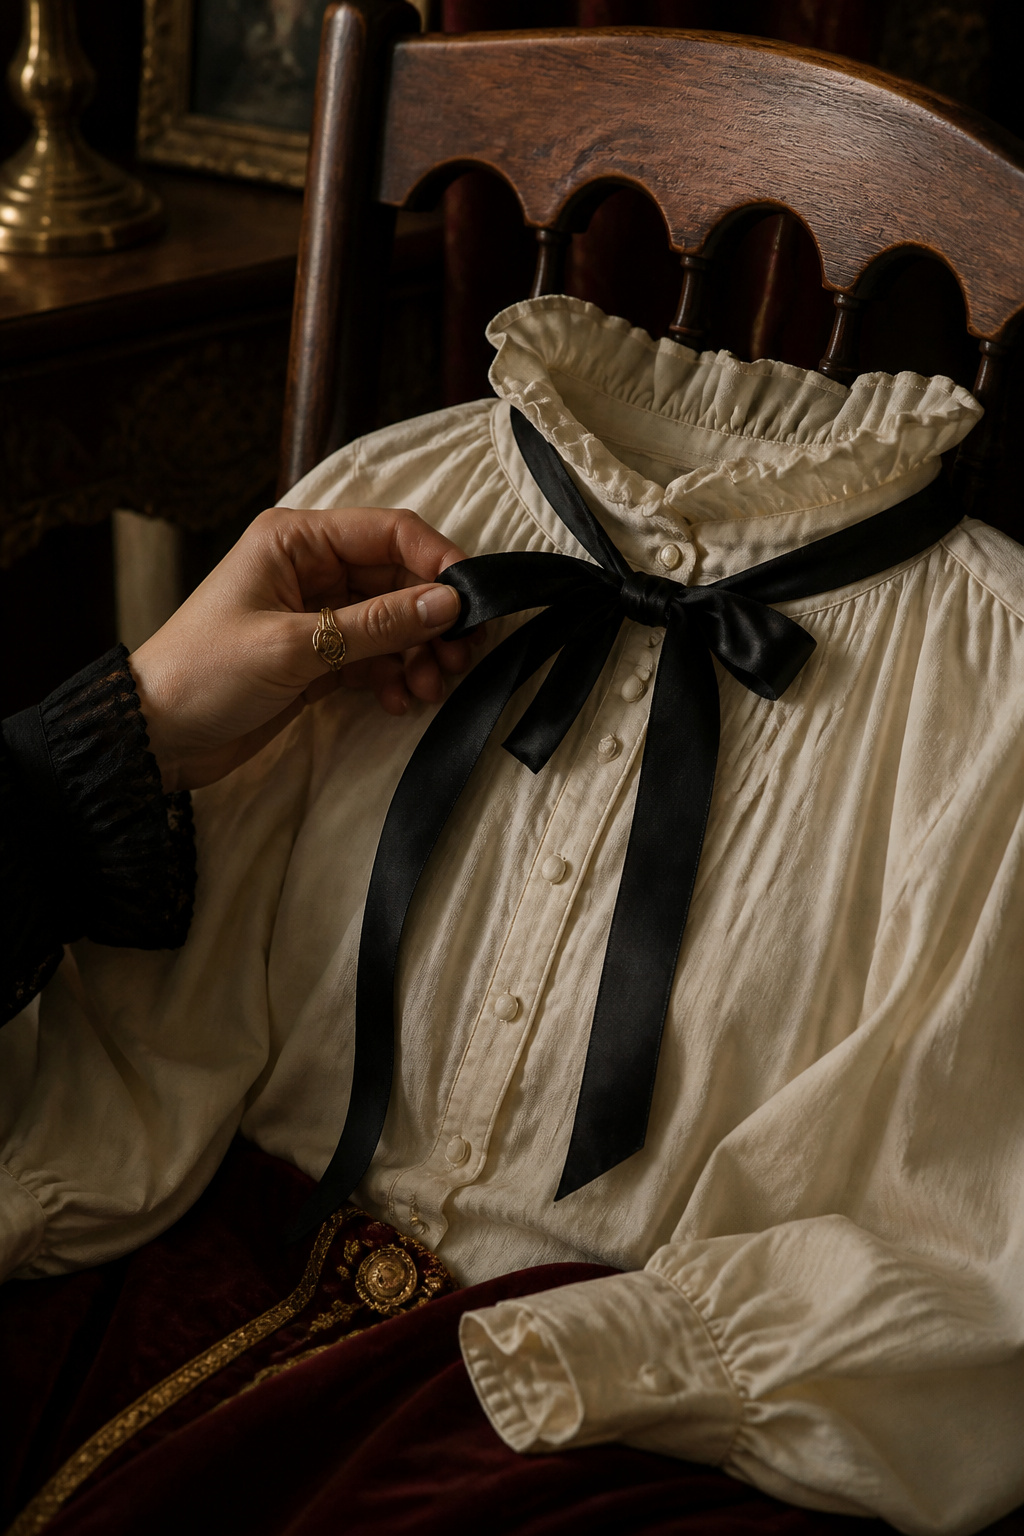

A minimal prop anchors the makeup. I pick a black velvet ribbon, a crisp white collar, or a tiny pompom hat. These read clown without wigs and keep the look wearable.
Link Velvet neck ribbon black around $6 to $15 and lightweight setting spray matte approx $7 to $20. Set with two light mist passes.
Visual rule: one accessory speaks louder than many. Balance proportion by keeping the collar narrow and the ribbon centered.
Mistake to watch: over-accessorizing. Too many props make the face read chaotic. One small anchor is enough.
Common Styling Mistakes to Avoid
Mistake: Painting the whole face white.
Why it doesn't work: Erases dimension and makes details bleed.
Do this instead: Use small white cream paint for highlights and leave skin visible.
Mistake: Using cheap brushes for thin lines.
Why it doesn't work: Causes ragged strokes that look accidental.
Do this instead: Buy a single fine synthetic liner brush and clean it after each stroke.
Mistake: Over-setting with powder.
Why it doesn't work: Dries cream paints and flakes.
Do this instead: Lightly mist with matte setting spray to lock edges without texture loss.
What You'll Need for This Look
Face & Base Essentials
Skin tint with sheer coverage around $12 to $28
Cream blush stick in deep crimson approx $10 to $20
Lightweight setting spray matte approx $7 to $20
Eyes, Brows & Lips
Waterproof gel liner black around $7 to $18
Fine liner brush 000 approx $6 to $12
Long-wear cream eyeshadow red approx $9 to $18
Clothing Staples
Vintage style white collar detachable around $8 to $20
Shoes, Bags & Jewelry
Black velvet ribbon neck tie around $6 to $15
Tiny gold hoop earrings approx $10 to $30
Budget Swaps
Drugstore cream face paint palette around $6 to $12
Affordable synthetic detail brush set approx $5 to $12
Shopping Guide for This Look
Buy the brush first: A single fine synthetic liner brush saves paint and time. Fine liner brush 000 approx $6 to $12.
Seasonal tip: Buy face paint before October; clearance runs out fast. Cream face paint white around $8 to $16.
Thrift hack: Find crisp collars at thrift stores and starch them at home, pair with velvet neck ribbon black approx $6 to $15.
Splurge vs save: Splurge on one good liner. Save on cream color sticks. Waterproof gel liner black around $7 to $18.
Conclusion
Start with one small thing: the liner or the ribbon. That single choice controls whether your clown reads precise or chaotic.
One last tip: symmetry sells creep. Small, repeated marks positioned with intent create a chilly tension most people mistake for skill.
Which tiny detail will you try first this season?