








I ruined a mani the week before a wedding by slapping on thick coats and tapping my phone too soon. The result: smudged stripes, a whole night of regret.
If you want to learn how to do colorful nail art without smudging every layer, I’ll show the exact order, products, and one sloppy habit to stop. Expect a $20 to $80 starter kit.
This approach suits anyone who loves playful color but hates redoing nails. I’ve noticed 2025 leaning toward tonal manicures and eco polishes, so I work color into classic shapes that last.
1. Start Clean: Prep, Dehydrate, and Base Layer


Good nail art starts with a surface that lets polish stick. File to your shape, buff lightly, and remove oils with a nail dehydrator so color lays flat.
I use OPI base coat and a small bottle of nail dehydrator. Both make thin layers behave predictably.
The visual principle: adhesion beats thickness. A thin base creates a uniform sheen that keeps color from pooling at the cuticle. Apply one thin swipe lengthwise, then two thin side swipes.
Mistake people make: sanding aggressively and then slapping on polish. That roughs the nail and causes chips fast. Do a light buff and a proper dehydrator step instead.
2. Layer Color Thinly: Two Thin Coats, Not One Thick One


The trick is thin, even layers that dry fast. For color pops, I grab a curated set like creamy pastel nail polish set or a single shade such as OPI nail polish red for accents.
Apply a very thin first coat and let it flash-dry for 90 to 120 seconds. Then do the second coat. That keeps pigment bright without the drag marks you get from thick strokes.
Visual principle: color saturation comes from even layering, not mass. Place color intentionally: block color on two fingers and an accent on the ring finger for balance.
People rush and flood the cuticle. Instead, wipe excess polish from the brush on the bottle neck and use short strokes from base to tip.
3. Add Detail Without Smudging: Tools and Timing


For stripes, dots, and color blocking, timing is everything. Use tools like a nail art dotting tools set and a nail striping brush for crisp lines.
Work on one hand at a time. Wait a full 2 to 3 minutes after the base color before adding details. If you need crisp edges, apply nail art tape, paint over it, then remove while polish is tacky.
Visual principle: contrast and negative space make small details read from a distance. Use matte shades against a glossy base for extra pop.
Common error: doing both hands back-to-back. Your non-dominant hand will smudge. Do dominant details first, then rest the hand under a fan or lamp.
4. Seal and Cure: Fast-Dry Top Coat and Post-Care
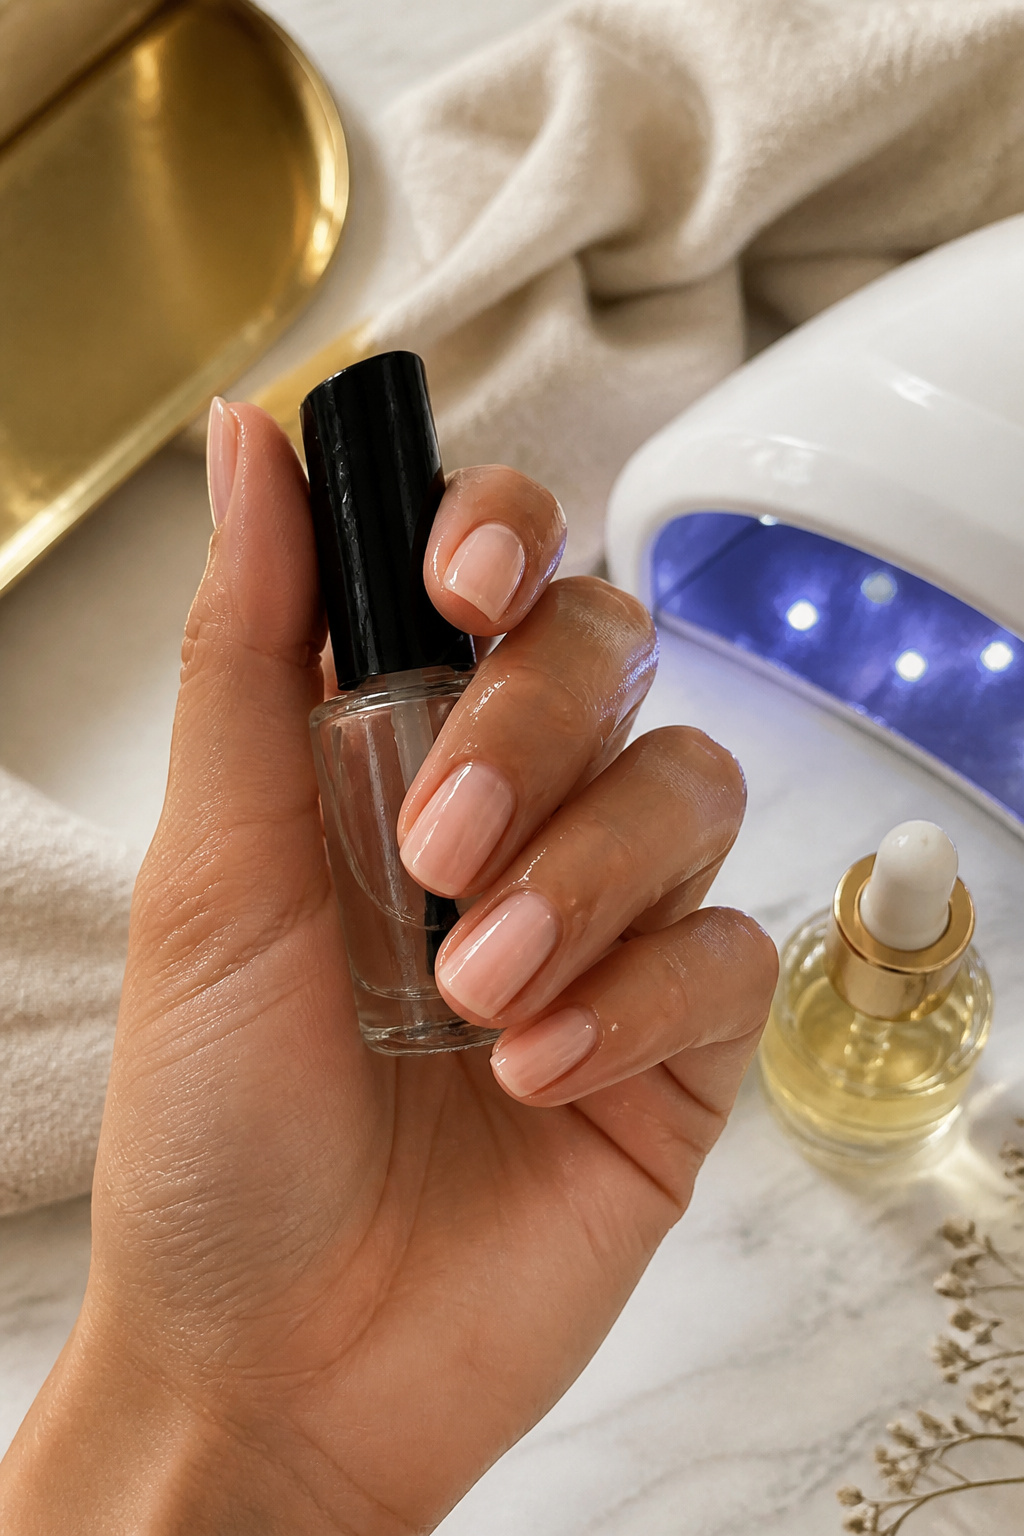

A reliable top coat stops smudges. I swear by Seche Vite top coat and sometimes add Sally Hansen quick dry drops for extra security.
Apply one thin coat, then a second coat focusing on the free edge to cap the tip. If you want instant set, a small LED nail lamp works for gel top coats.
Finish with cuticle oil like rosehip cuticle oil. It keeps the surrounding skin smooth and prevents polish from lifting at the edge.
Big mistake: thinking thick top coats rescue sloppy layers. They hide problems briefly and then peel. Thin top coats applied correctly last longer.
Common Styling Mistakes to Avoid
Mistake: Painting nails too thick.
Why it doesn't work: Thick coats take forever to dry and smudge easily.
Do this instead: Thin two-coat application with OPI base coat around $8 to $15.
Mistake: Skipping drying time between layers.
Why it doesn't work: Layers pull and streak when tacky.
Do this instead: Wait 90 to 180 seconds and use Sally Hansen quick dry drops around $6 to $12.
Mistake: Using old, gloppy polish.
Why it doesn't work: Old polish beads and drags.
Do this instead: Add a few drops of nail polish thinner or replace the bottle.
What You'll Need for This Look
Face & Base Essentials
OPI base coat around $8 to $15
nail dehydrator approx $5 to $12
glass nail file around $6 to $14
Eyes, Brows & Lips
rosehip cuticle oil approx $6 to $16
lint free nail pads around $5 to $10
Clothing Staples
white tee crewneck cotton approx $12 to $30
straight leg high waist dark wash jeans around $30 to $80
Shoes, Bags & Jewelry
gold stacking rings set approx $10 to $35
mini leather tote bag tan around $40 to $150
Budget Swaps
creamy pastel nail polish set approx $12 to $30
nail art dotting tools set around $6 to $18
Shopping Guide for This Look
Buy during beauty sales: Stock up on Seche Vite top coat during holiday promotions, often cheaper.
Thrift and match: Pair thrifted rings with gold stacking rings set for a modern mix.
Trend tip 2025: Try tonal mani shades—grab a creamy pastel nail polish set to play with matching tones.
Splurge vs save: Splurge on a reliable fast-dry top coat, save on tools like nail art tape.
Conclusion
Start with one thing that changes everything: practice two thin coats and a reliable top coat. I still mess up when I rush, and that honesty helped me stop redoing nails on busy nights.
Which color combo are you trying first—tonal neutrals or loud brights?


