

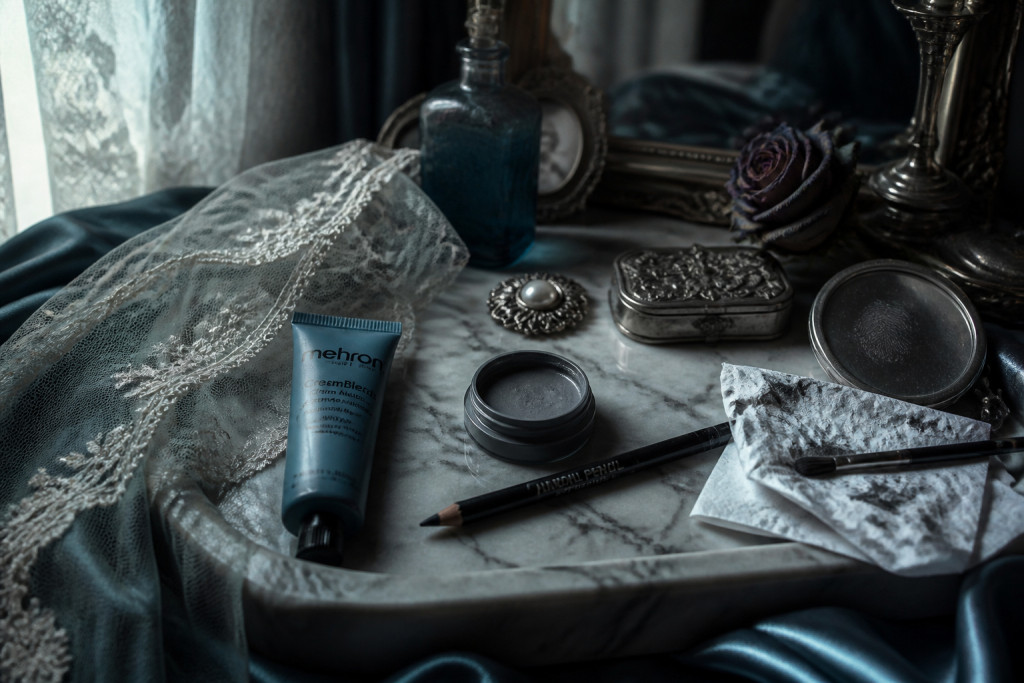

How to do corpse bride makeup was something I learned by ruining one demo face and fixing it the next night. I wanted blue skin that read cinematic, not cartoony, and sunken eyes that looked haunted but wearable.
I ended up spending about $45 on the core products and used thrifted accessories to finish the vibe. This guide shows the exact order, one trick to keep paint from cracking, and where to save versus splurge.
Google Trends shows searches for "corpse bride makeup" climbing every October, so you are not alone if you plan this for fall. This look suits cool undertones best and anyone who wants a theatrical one-night result. I noticed 2025 beauty leans toward tonal drama and minimal glitter, which helps this feel modern rather than costume-y.
1. Start with the Glow: Skin Prep and Sheer Base
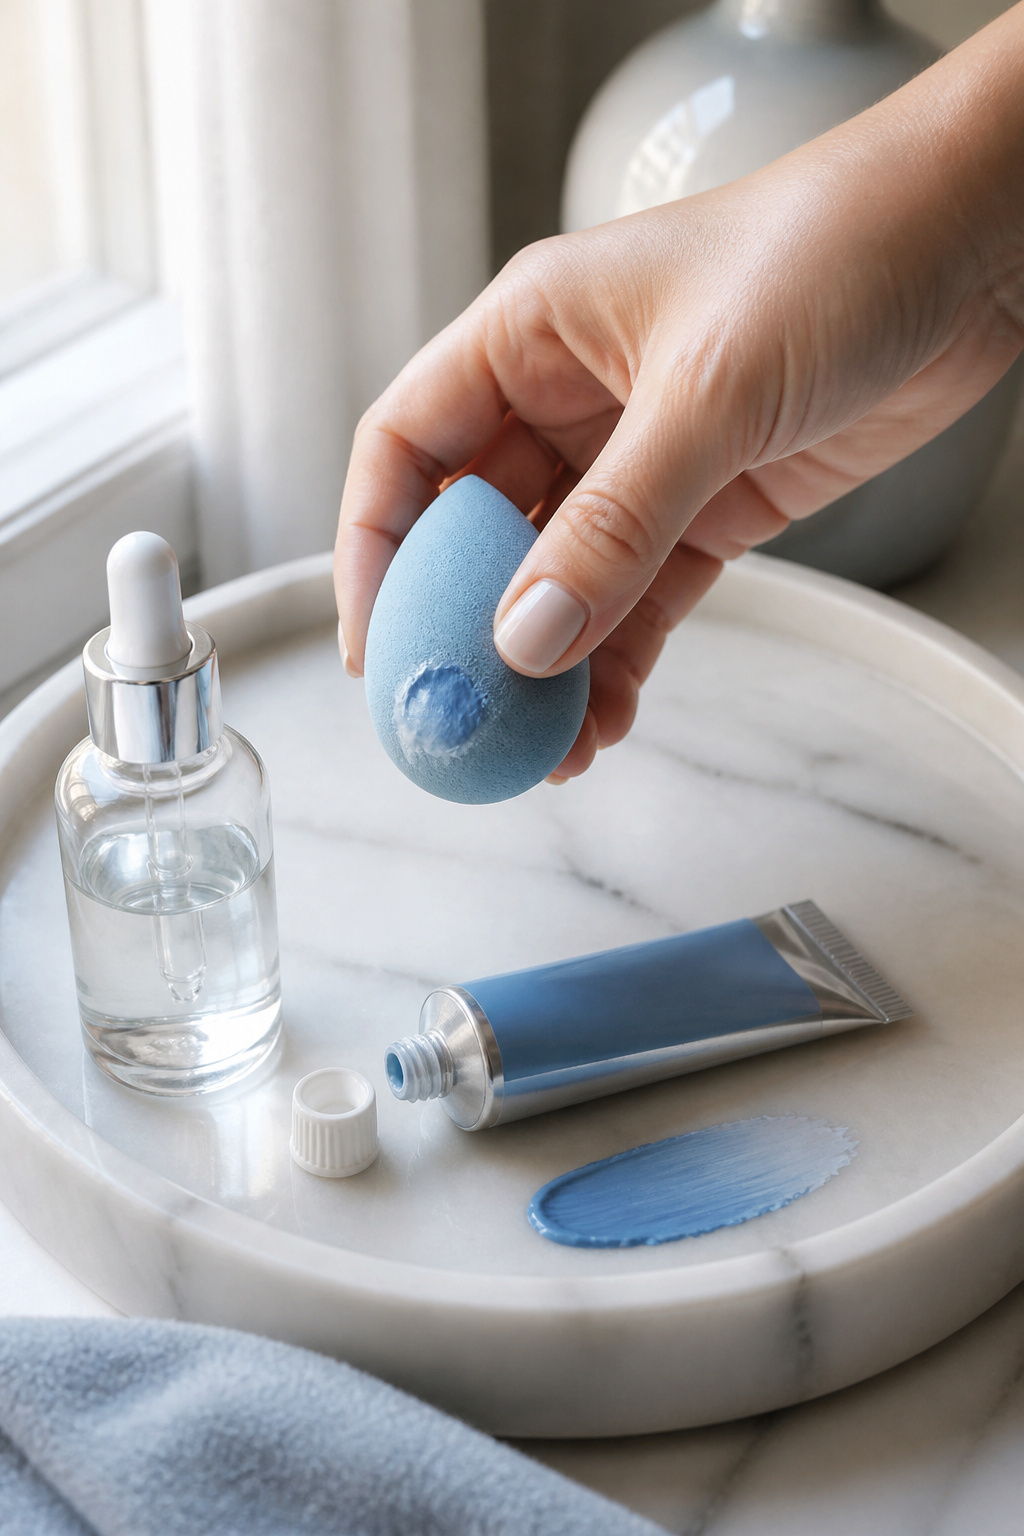

Begin here so paint sits on hydrated skin and does not crack. I wash, oil-cleanse, then prime with a dewy primer to avoid dryness under heavy cream color.
For base I use a thin layer of Blue cream face paint full coverage around $8 to $18, applied with a damp sponge. Tap, do not rub. Then soften edges with a Gray cream contour palette around $10 to $22 to sculpt hollows under cheekbones and temples.
The visual rule is contrast not clown. Cool blue plus slate gray creates believable depth. Common mistake is using thick paint in one go. Instead, layer sheer coats and let them dry briefly. The result is an even icy canvas that still looks skin-like under lights.
2. Layer Cream Color in Three Strategic Places
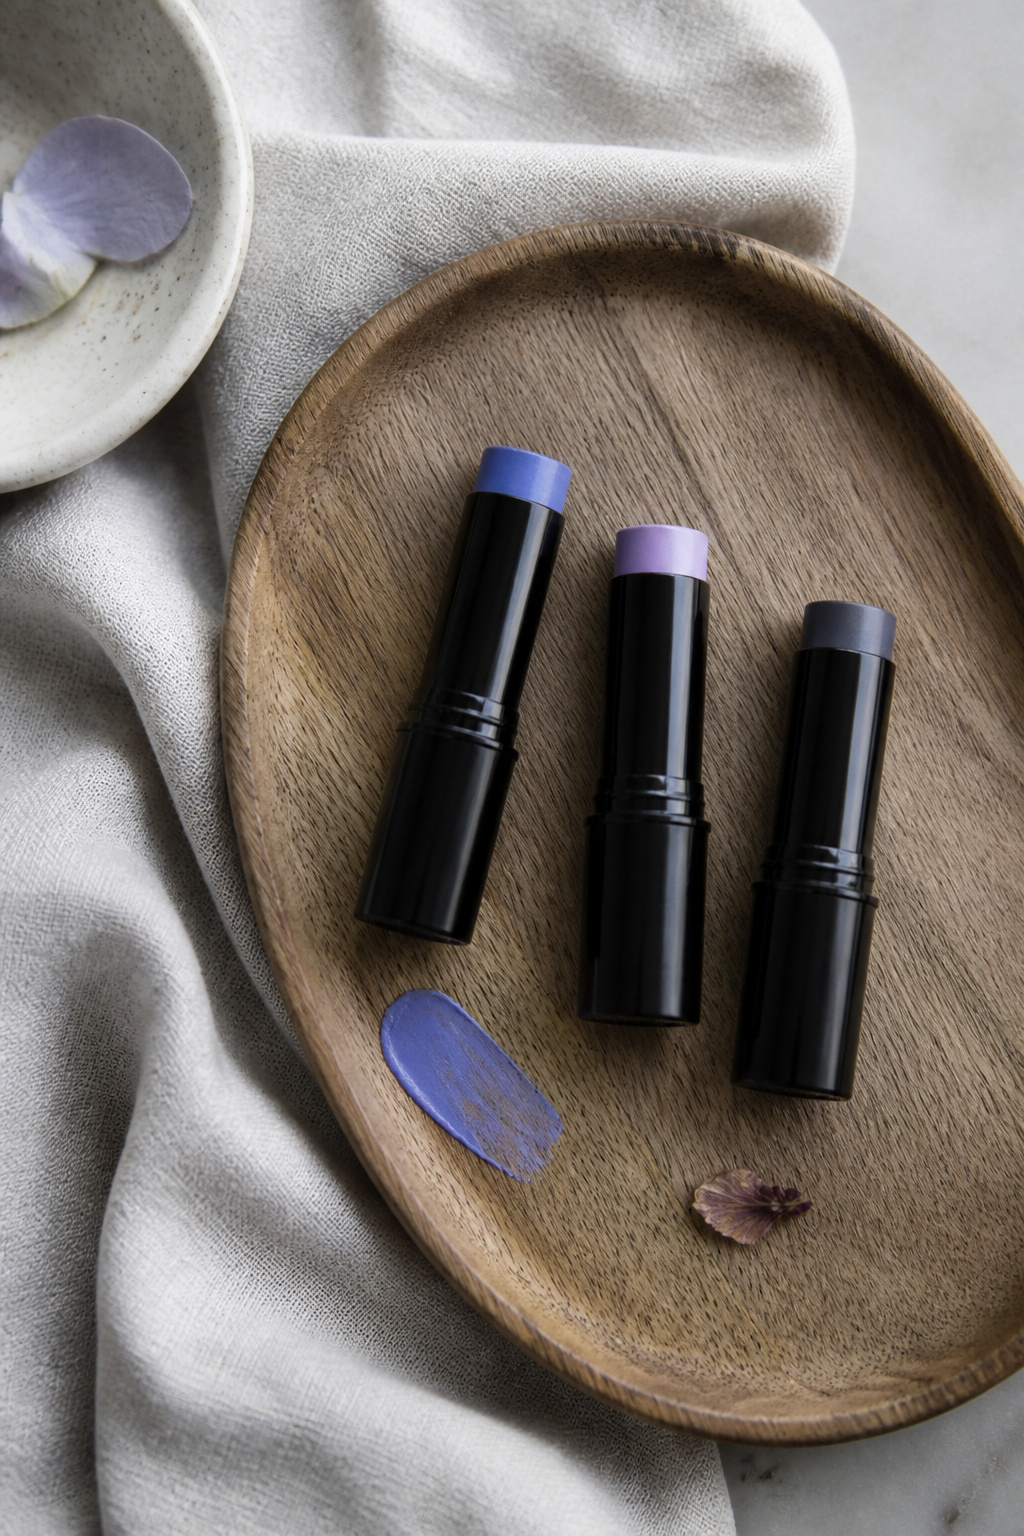

The trick is placement: cheeks, temples, under-eye, not full face. I tap a periwinkle cream on the high cheek, a lavender at the outer temple, and a slate-blue under the eyes to suggest bruising.
I keep a Cream eyeshadow stick in periwinkle around $6 to $14 and a Sheer setting powder lavender about $8 to $20 in this phase. Use a Small synthetic stippling brush 12mm around $5 to $12 to blend edges.
This uses color theory: cool midtones recede, making hollows read deeper. People overblend toward the jaw, which flattens the face. Stop at the cheekbone and feather outward for that sunken-but-sculpted result.
3. Define Without Hardness: Soft Eye and Brow Work
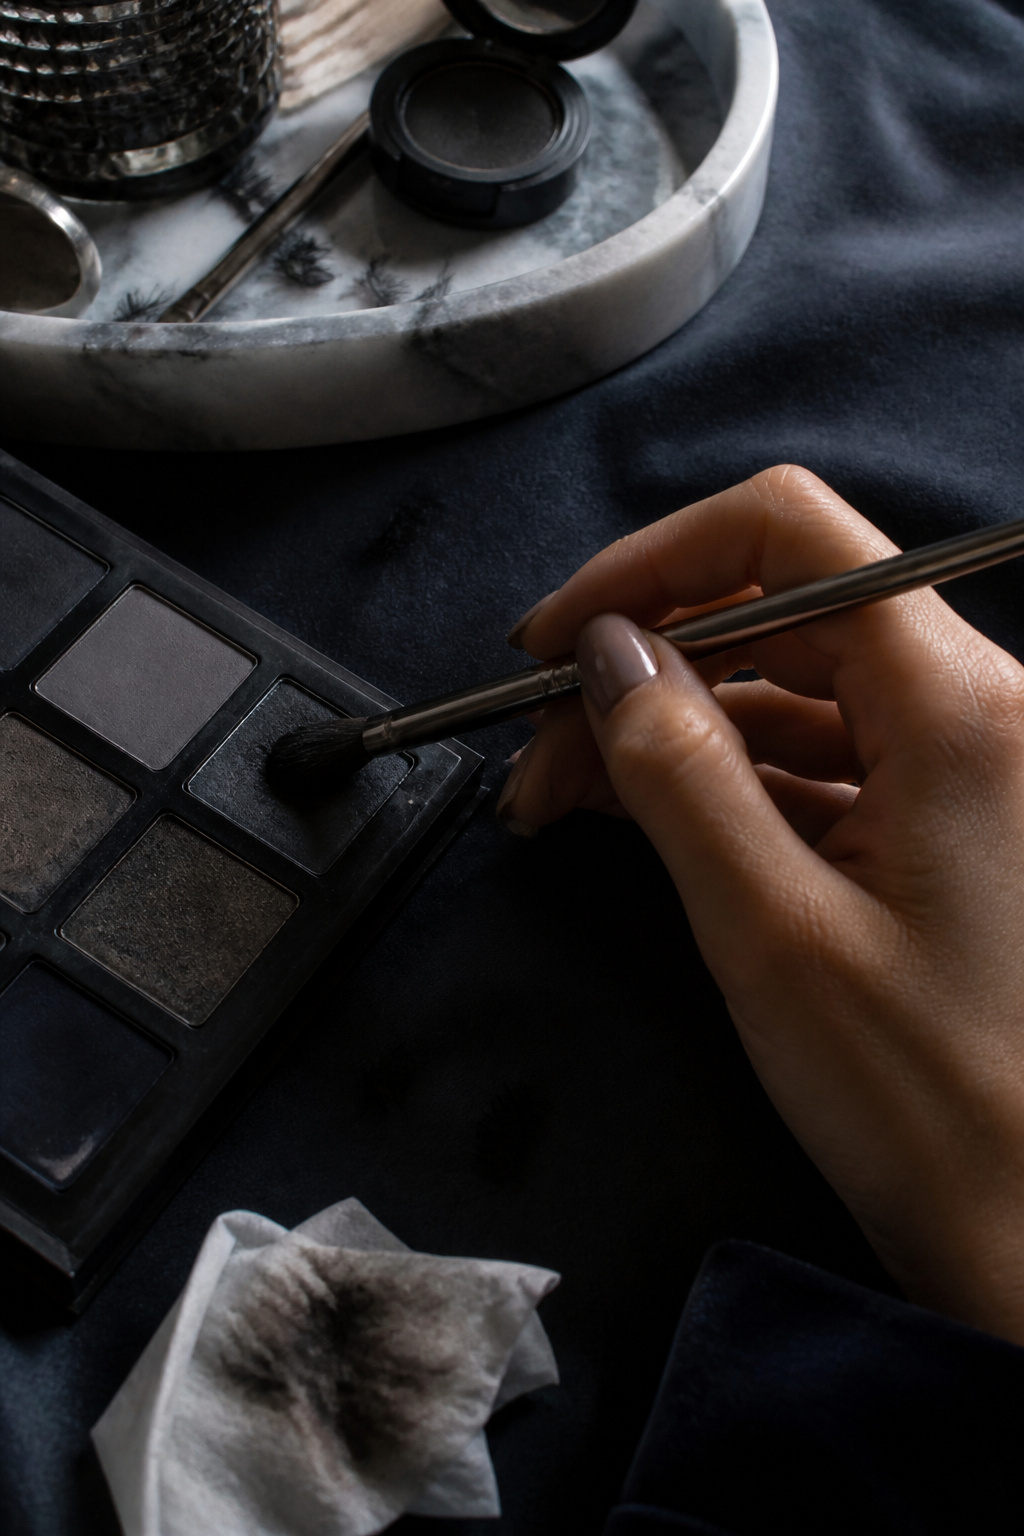

Eyes sell the haunted look. I pull a soft wash of matte black and gray under the lower lash line and diffuse upward into the blue base.
I use a Matte black eyeshadow palette around $12 to $30 and a Smudge-proof kohl eyeliner black about $6 to $15 for inner rim drama. For tiny highlights at the inner corner I lightly dot with a White eyeliner pencil around $4 to $10.
The visual principle is soft edges with dark contrast. Many people use sharp winged liner which flattens the haunted effect. Instead, smudge and layer then set with a touch of translucent powder so darkness sits in the hollow without looking painted.
4. Finish with Tonal Lip and Subtle Setting
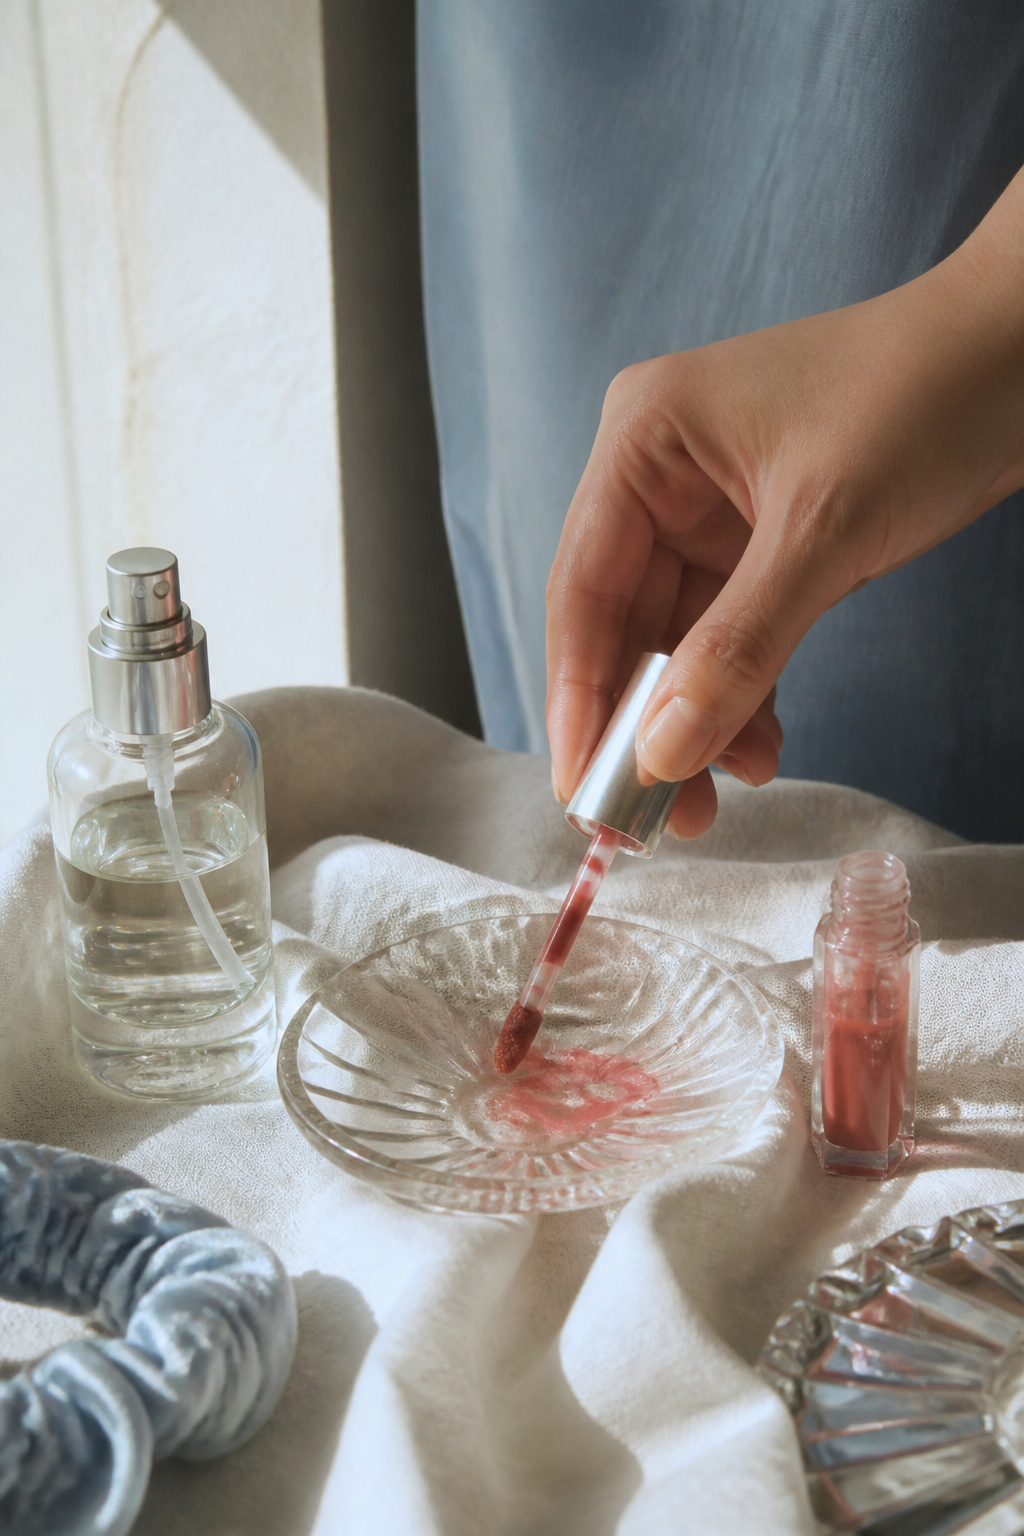

Keep lips tonal and slightly drained so the focus stays on eyes. I use a sheer rose lip oil to add a believable sheen without warmth.
My finishing trio is Tinted lip oil sheer rose around $8 to $20, a light mist of Longwear setting spray matte finish about $10 to $22, and a tiny burst of Face mist hydrating 100ml $6 to $16 to settle powders.
The goal is cohesion: a matte set skin with selective sheen. Ugly truth, spray too much and the paint runs. Use brief pulses and keep your face slightly tilted down. The final effect is a believable corpse-blue with real texture.
Common Styling Mistakes to Avoid
Mistake: Using full-coverage paint in one thick layer
Why it doesn't work: Paint cracks and looks fake under camera.
Do this instead: Layer thin coats and use Blue cream face paint full coverage sparingly.
Mistake: Overblending blues into warm lip tones
Why it doesn't work: Warm lips break the haunting palette.
Do this instead: Use a neutral or cool-toned lip like Tinted lip oil sheer rose.
Mistake: Sharp black winged liner for a corpse effect
Why it doesn't work: It flattens facial depth and reads costume.
Do this instead: Smudge with Matte black eyeshadow palette and soften edges.
What You'll Need for This Look
Face & Base Essentials
Blue cream face paint full coverage around $8 to $18
Hydrating primer with dewy finish approx $10 to $30
Translucent setting powder around $7 to $20
Eyes, Brows & Lips
Matte black eyeshadow palette approx $12 to $30
Smudge-proof kohl eyeliner black around $6 to $15
Clear brow gel travel size about $5 to $12
Clothing Staples
Lace veil cathedral length around $20 to $70
Vintage ivory wedding dress thrift price varies by seller
Shoes, Bags & Jewelry
Chunky ankle boots black leather approx $50 to $150
Antique silver locket around $12 to $40
Budget Swaps
Drugstore blue face paint cream around $4 to $10
Secondhand lace veil varies by seller
Shopping Guide for This Look
Buy seasonal basics in late summer: pick up veil and accessories during wedding-sale cycles like end-of-season sales; see Lace veil cathedral length $20 to $70.
Thrift first, splurge on one item: score a secondhand dress then invest in a quality face paint like Blue cream face paint full coverage $8 to $18.
Follow 2025 tonal trends: choose slate and lavender accents over glitter; try Sheer setting powder lavender $8 to $20.
Splurge vs save: splurge on a longwear setting spray like Longwear setting spray matte finish $10 to $22, save on brushes with a small synthetic kit under $15.
Conclusion
Start with the skin prep and one good blue cream. That single change stopped my paint from cracking and made everything else layer better.
If you want one product to try first, get a midrange blue cream and a spray. Which part of the corpse bride look are you most excited to try?