








My eyeliner bled through two photos and a crowded panel at my first convention. How to do cosplay makeup that survives sweat, photos, and crowds became personal after that mess.
You will get a clean, photo-ready base, cream color that lasts under pressure, soft eyes that read in pictures, and a finishing routine that avoids flash and sweat. Budget: around $40 to $140 to start.
This look leans soft glam with cosplay durability. It works if you run warm undertones or neutral tones and like wearable colors that read on camera.
I’ve noticed folks in 2025 favor cream textures and layered toner finishes for longevity. That trend helps here because creams move with skin instead of flaking.
1. Start with the Glow: Skin Prep and Sheer Base


Prep matters because sweat and camera flash expose texture first.
I prime with a thin layer of a silicone-based primer to blur pores and give a slip that holds makeup through long hours. Try Silicone-based primer 30ml around $12 to $25.
Then use a hydrating skin tint for coverage that won’t cake under heat. I reach for a Hydrating skin tint medium coverage around $10 to $28 and only set the T-zone with a Lightweight translucent setting powder around $8 to $22.
Visual principle: thin, even layers avoid patchiness and keep highlights natural in photos. Mistake to avoid: packing powder over the whole face. That clogs pores and cakes when you sweat. Instead, press product where you need it.
2. Layer Cream Color in Three Strategic Places


Think of cream color as kinetic paint. It moves with sweat instead of flaking.
Swirl a Cream blush stick warm peach around $10 to $22 on the high cheekbone, a touch of Cream bronzer stick warm caramel under the cheek for warmth, and a thin swipe of Cream highlighter champagne pearl on the coin of the cheek.
Color theory: warm peach plus caramel gives a single-tone warmth that reads on camera without fighting the costume palette.
Application trick: use fingertips to tap and blend in three small circles. Most people rub product too far toward the mouth; stop at the cheekbone and blend out. The result is seamless color that still photographs.
3. Define Without Hardness: Soft Eye and Brow Work
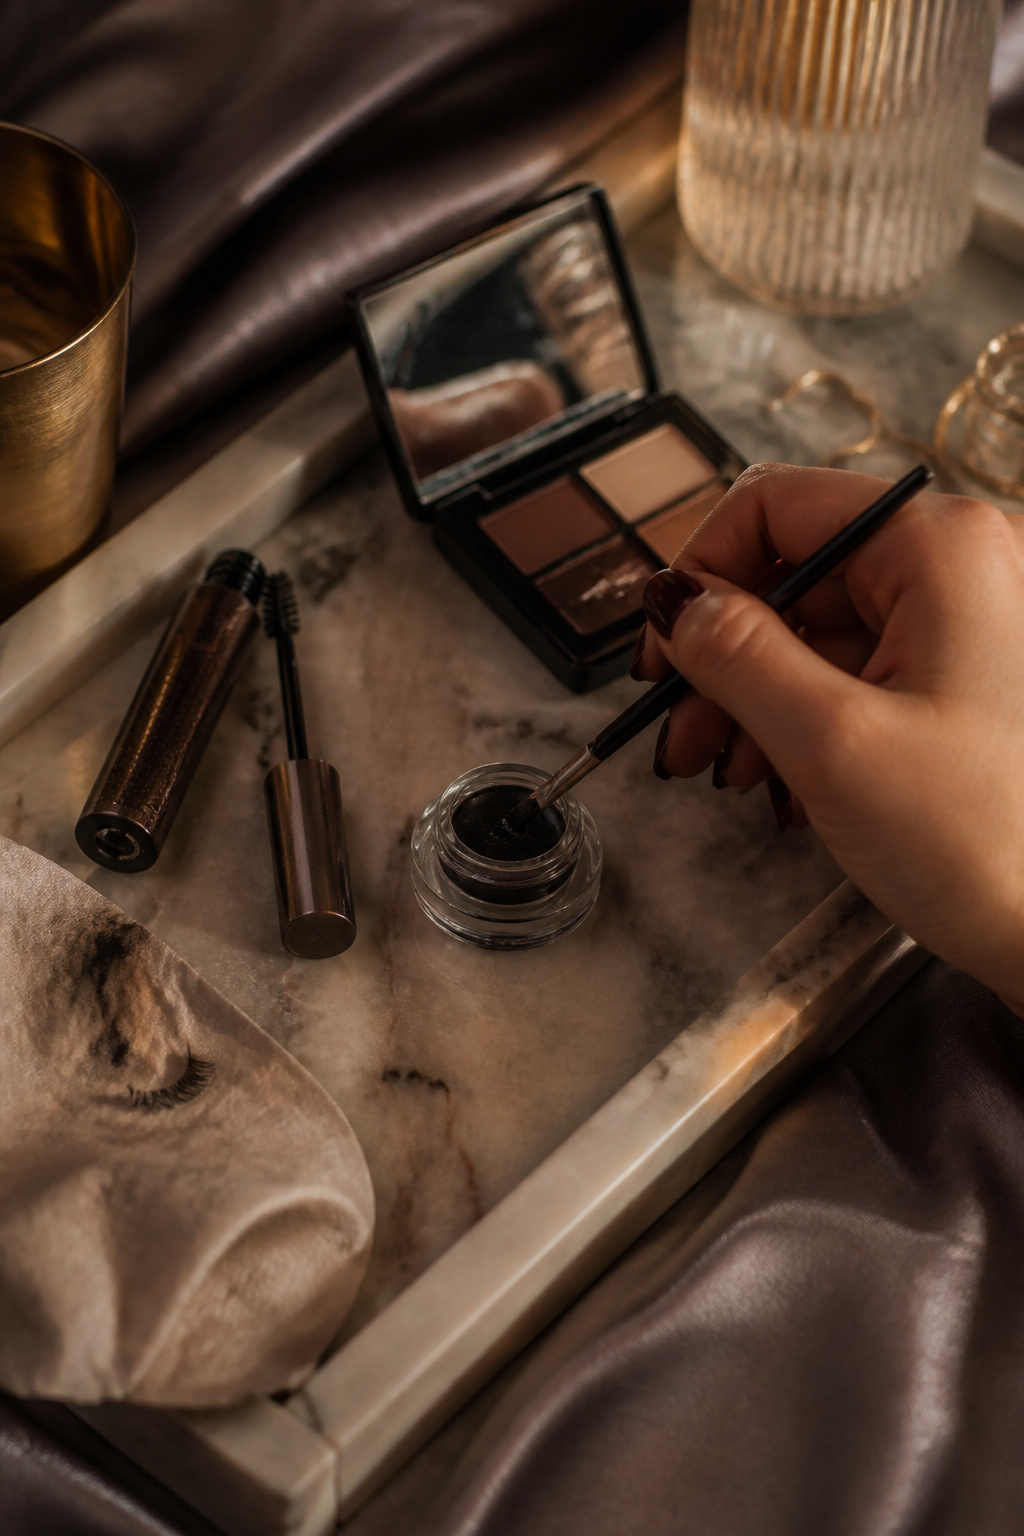

Your eyes need shape that survives sweat and camera close-ups.
Prime lids with an Eyeshadow primer longwear around $8 to $20 so cream shadow and pigment lock in. For liner, use a Waterproof gel eyeliner black around $7 to $18 and smudge it slightly with a brush for that lived-in intensity.
Brow gel is the silent hero. A Tinted clear brow gel dark brown around $6 to $15 gives structure without a drawn-on look.
Visual principle: soft edges read better in photos than harsh lines under flash. Ugly truth: heavy liquid liner flakes when you sweat. The fix is gel liner locked by primer and smudged into the lashline.
4. Finish with Tonal Lip and Subtle Setting


A tonal lip keeps you camera-ready and fuss-free during panels and photos.
Layer a Tinted lip oil sheer rose around $8 to $18 for shine, then dab a Long-wear lip stain crimson around $7 to $16 in the center to anchor color.
Finish with a light mist of Matte setting spray 100ml around $9 to $20 and keep Oil-blotting papers pack around $4 to $12 in your bag.
Principle: lock oils, not pigment. Mistake to avoid: over-spraying. Too much spray flattens cream products. One fine mist is enough.
Common Styling Mistakes to Avoid
Mistake: Matching foundation to the face only
Why it doesn't work: Creates a jawline mask under photos.
Do this instead: Match to your neck or chest with a Foundation shade sample kit to test in natural light.
Mistake: Powdering the whole face to "set"
Why it doesn't work: Cakes during heat and looks flat on camera.
Do this instead: Press a Translucent setting powder compact only where you need it.
Mistake: Skipping primer because you think it’s unnecessary
Why it doesn't work: Makeup slips faster with sweat and friction.
Do this instead: Use a Silicone-based primer 30ml before tint for longer wear.
What You'll Need for This Look
Face & Base Essentials
Silicone-based primer 30ml around $12 to $25
Hydrating skin tint medium coverage around $10 to $28
Matte setting spray 100ml around $9 to $20
Eyes, Brows & Lips
Eyeshadow primer longwear around $8 to $20
Waterproof gel eyeliner black around $7 to $18
Tinted clear brow gel dark brown around $6 to $15
Clothing Staples
White oversized tee cotton around $12 to $28
Straight leg high waist dark wash jeans around $30 to $80
Shoes, Bags & Jewelry
Leather loafers black size 7 around $40 to $120
Leather tote bag tan around $60 to $200
Gold chunky hoop earrings 30mm around $12 to $40
Budget Swaps
Drugstore cream blush stick peachy around $6 to $12
Cashmere blend crewneck sweater around $30 to $80 (similar at Ulta or seasonal sales)
Shopping Guide for This Look
Time purchases around sales: Prime Day and holiday weeks are when primers and setting sprays drop. Prime Day makeup deals can save you 20 to 40 percent.
Thrift plus new trick: Mix a thrifted cape with a new Gold chunky hoop earrings 30mm to look intentional without a costume budget.
Follow the 2025 shift to creams: If you want longevity and movement, start with a Cream blush stick warm peach which often reads better in photos.
Splurge vs save: Splurge on a good primer like Silicone-based primer 30ml around $12 to $25, save on a tinted lip oil.
Pack test kit: Before the con, trial one full look during a walk or meet-up to see how it holds under heat and body-contact.
Conclusion
Start with one thing that changes everything: a primer that creates slip and keeps color from migrating.
My highest-return move is cream color on cheek, temple, and lip center. It survives touch, photos, and the odd hug.
Which part of this routine would you try first at your next con?


