






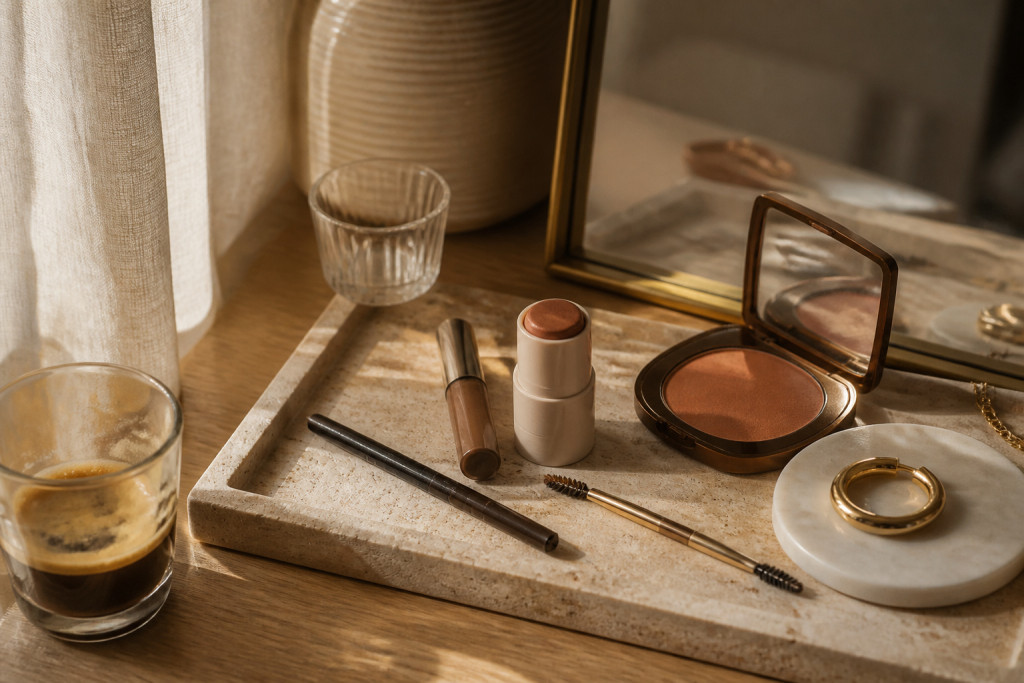

How to do eyebrow makeup so your brows look full, not blocky is what I asked myself after one too many Instagram fails.
I spent $18 on a micro pen, practiced hair-like strokes, and my whole face stopped looking painted.
You’ll learn a simple five-part routine that creates natural fullness, under $50 to start.
This suits sparse tails, hair-thin arches, and anyone who wants a soft, lived-in brow rather than a stiff drawn line.
I’ve noticed Google Trends showing more searches for brow makeup in 2024, and industry trackers naming brows a fast-growing subcategory.
1. Start with the Glow: Skin Prep and Sheer Base


Good brows need a soft face to sit on. I start with a sheer skin tint because heavy foundation makes even good brows read blocky.
Apply the tint where you want the eye area to look unified, not masked. I use a light touch around the brow bone to keep the hair visible.
Try Sheer skin tint medium around $18 to $28 and pair with Hydrating primer silicone free approx $12 to $22 for a smooth base.
The skin tint keeps texture real; the primer calms any redness so penciled hairs don’t sit on blotches.
Common mistake: slathering heavy concealer under brows. It creates a hard edge that competes with hair strokes.
Do this instead: sheer product and a tiny dab of concealer only where you need it, blended down toward the cheek.
2. Layer Cream Color in Three Strategic Places


The trick is a tonal face. I add cream color on the cheekbone, a touch on the lid, and a whisper at the brow tail to visually connect skin and hair.
Cream products sit close to skin and read like color coming from inside the face.
I reach for Cream blush stick warm peach around $14 to $24 and Highlighter stick champagne approx $10 to $20.
Apply blush with fingertips and tap highlight where the brow bone meets the tail to lift the area.
Visual principle: soft warmth at the brow tail makes sparse areas look fuller because your eye reads depth, not a filled-in block.
Most people overblend blush into the cheek and forget the brow area; place color deliberately and stop.
3. Define Without Hardness: Feathered Strokes and Soft Hold
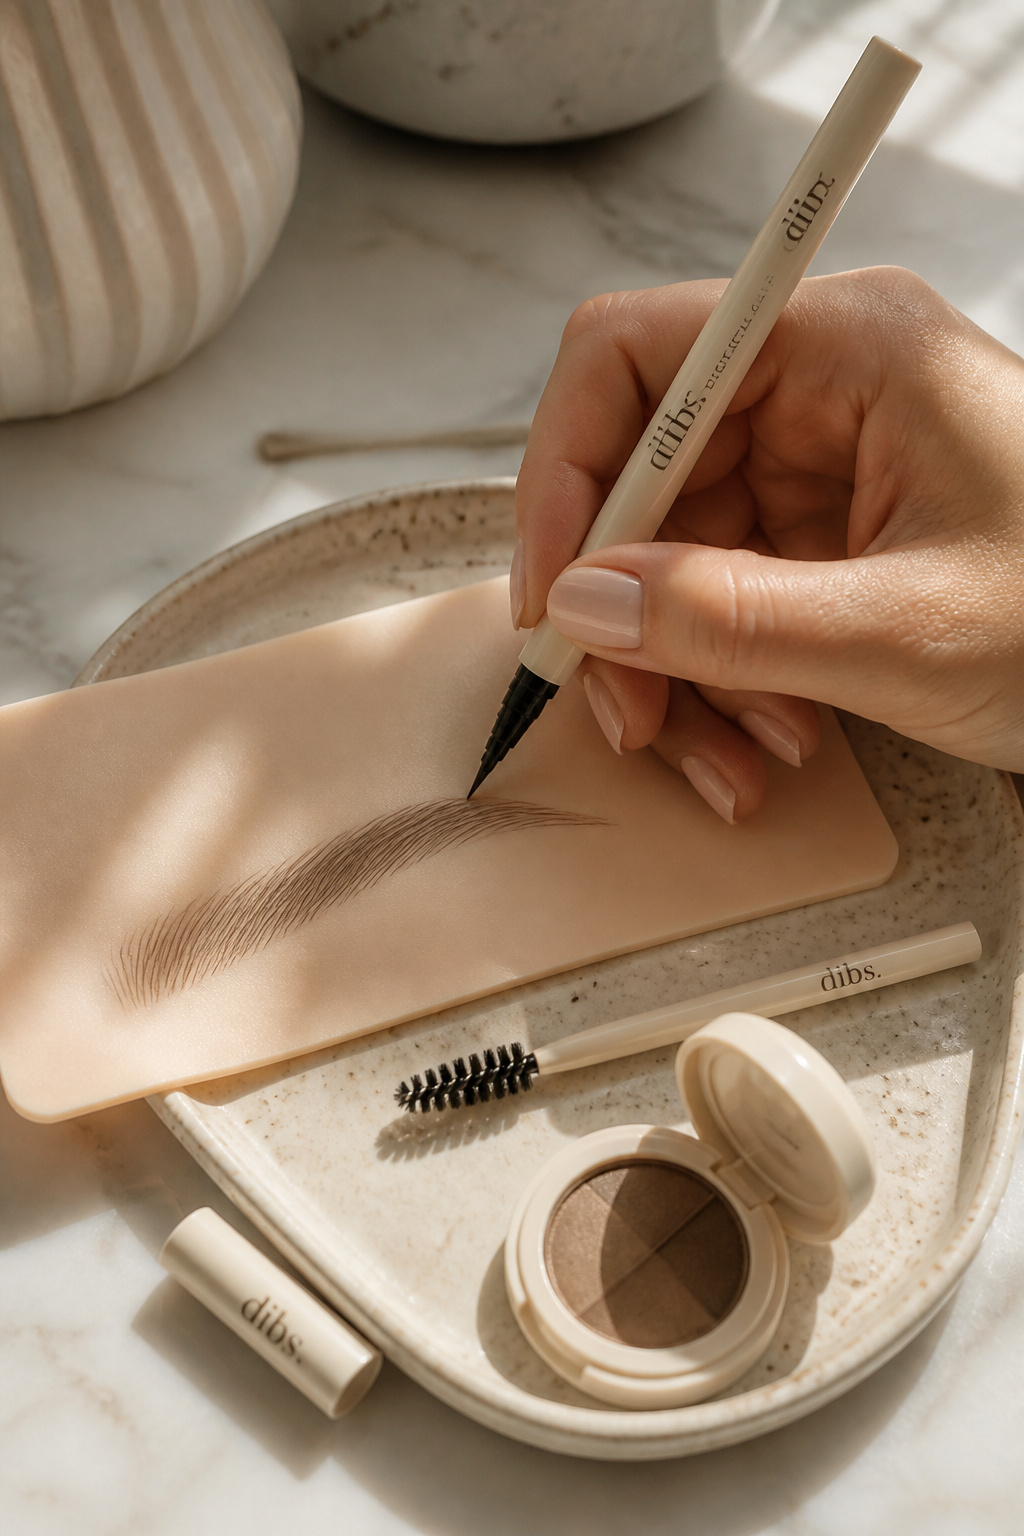

This is the core. Skip blocky filling and use hair-like strokes where hairs are missing.
Start at the inner third with very light strokes angled upward. Build density in the middle and keep the tail feathered and slightly shorter than you think.
I use Micro brow pen dark brown around $8 to $18, set with Brow powder duo medium brown approx $10 to $20, and finish with Tinted brow gel deep brown $9 to $16.
Use a double-ended spoolie to blend after each pass: brush up, then feather through horizontally.
Visual principle: tiny strokes mimic real hair and add texture. Powder under strokes softens contrast.
People make the mistake of pressing hard for “more pigment.” Instead, layer light strokes. The result is brows that read full at a glance, not painted.
4. Add Dimension: Soap Alternative, Powder Lock, and Growth Care
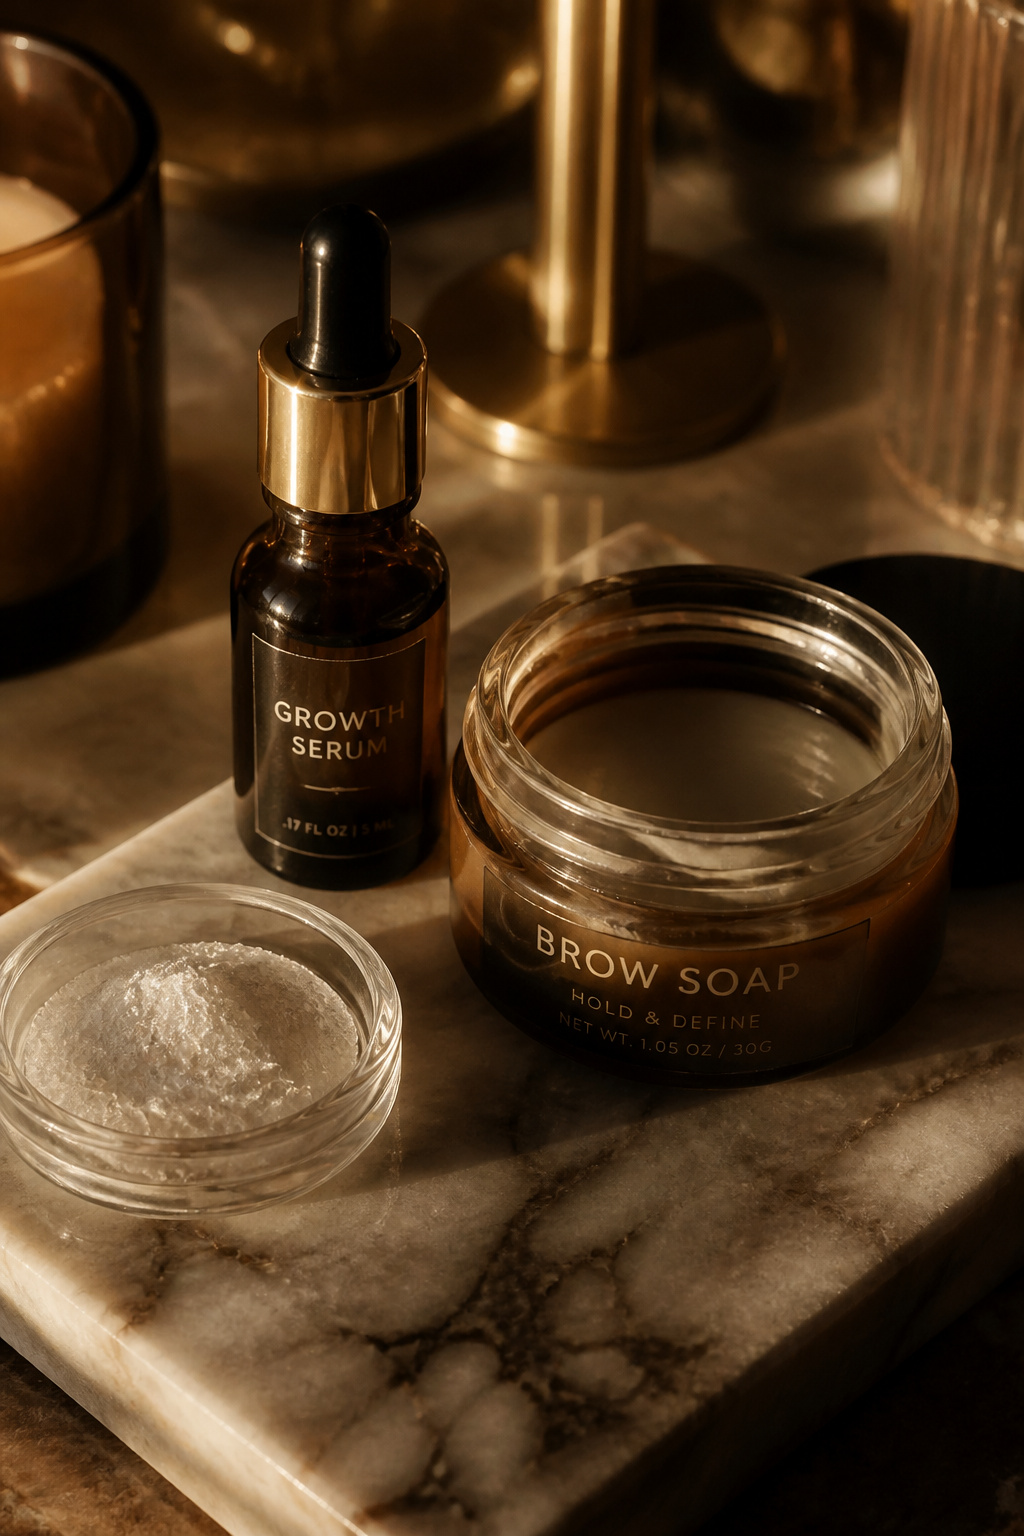

Once shape is in place, add dimension so brows move with your face.
A clear soap or lightweight gel gives a laminated look without flattening hairs. A dusting of translucent powder under sparse bits creates the illusion of density.
Try Brow lamination soap clear around $6 to $12 and Translucent powder travel size approx $6 to $14.
For long game, a Brow growth serum 3 month $20 to $40 helps fill gaps over time.
Mistake: over-sculpting the arch with powder. It reads fake up close.
Instead: add subtle texture and let light catch the hairs. That keeps brows lively, not trapped under product.
5. Finish with Tonal Lip and Subtle Setting


A tonal lip ties the look together and keeps attention balanced.
I pick a nude-rose lip oil so the face reads cohesive; bold lips can make brows look heavy in comparison.
My go-tos are Tinted lip oil sheer rose around $10 to $18 and Hydrating setting spray 100ml approx $8 to $16 to lock soft texture in place.
Mistake: spraying too close to the brows. Light misting from arm’s length keeps the brow hairs movable and avoids flattening.
Common Styling Mistakes to Avoid
Mistake: Filling the whole brow in with one marker color
Why it doesn't work: Creates a flat, blocky shape that looks painted.
Do this instead: Use a Micro brow pen dark brown and layer hair-like strokes for depth.
Mistake: Heavy concealer under brows to “clean up” edges
Why it doesn't work: Gives an artificial hard line.
Do this instead: Blend a sheer tint and use a Translucent powder travel size to soften contrast.
Mistake: Over-brushing into a stiff shape with too much gel
Why it doesn't work: Hairs lose natural movement and read blocky on camera.
Do this instead: Use a light touch with Tinted brow gel deep brown and finish with a spoolie.
What You'll Need for This Look
Face & Base Essentials
Sheer skin tint medium around $18 to $28
Hydrating primer silicone free approx $12 to $22
Cream blush stick warm peach around $14 to $24
Eyes, Brows & Lips
Micro brow pen dark brown $8 to $18
Brow powder duo medium brown approx $10 to $20
Tinted brow gel deep brown $9 to $16
Clothing Staples
White tee organic cotton around $12 to $30
Straight leg high waist jeans dark wash approx $30 to $80
Shoes, Bags & Jewelry
Leather loafers tan size 7 $40 to $120
Leather tote bag tan medium $60 to $250
Gold chunky hoop earrings 14k approx $20 to $80
Budget Swaps
Drugstore brow pencil taupe around $4 to $10
Brow grooming kit travel approx $10 to $20
Shopping Guide for This Look
Buy the pen on a sale day: Micro pens often drop during Prime Day; check Micro brow pen dark brown $8 to $18.
Thrift then finish new: Find a vintage tote at a thrift shop and match hardware with Gold chunky hoop earrings 14k $20 to $80.
2025 trend note: Cream textures are still rising, so stock a Cream blush stick warm peach $14 to $24.
Splurge vs save: Splurge on a long-wear brow gel if you need hold, otherwise try Tinted brow gel deep brown $9 to $16.
Timing tip: Buy heavier clothing off-season for best prices, then shop essentials like White tee organic cotton $12 to $30 during wardrobe refreshes.
Conclusion
Start with one change: swap your heavy marker for light hair-like strokes with a micro pen.
That single move made my brows read fuller and my makeup look more intentional.
Which brow area gives you the most trouble: the tail, arch, or inner third?


