








How to do eyeshadow for hooded eyes so the color actually shows has been my daily challenge for years.
I used to pile on shimmers and then blink them away. That cost me mornings and confidence.
This guide shows a realistic routine you can do in 7 to 12 minutes, with starter products under $40 and a fuller kit around $80 to $150. I’ll show placement, product types, and the exact mistakes that hide pigment on hooded lids.
Hooded lids read soft glam best. I aim for a tonal, lived-in look that lifts and elongates.
This works for warm or neutral undertones and for anyone whose lid skin folds over the crease, a trait often genetic or linked to aging (Cleveland Clinic explains how excess upper lid skin creates a hood). It also fits the clean-girl, cream-product trend I see growing in 2025.
1. Start with the Glow: Skin Prep and Sheer Base


Prep is why color shows up. If the lid is dry or patchy, cream color beads or disappears.
Start with a hydrating primer to smooth lid texture and a sheer skin tint to even tone the lid area. I press skin tint on with a finger. The warmth from your skin helps cream shadows blend.
Try Hydrating primer 1 fl oz around $8 to $18 and a Skin tint sheer medium approx $12 to $30.
The visual rule: even canvas plus slight grip equals lasting pigment. Mistake most people make is skipping primer and expecting pigment to read. That gives patchy payoff. Do the base and the cream color will sit and show.
2. Layer Cream Color in Three Strategic Places
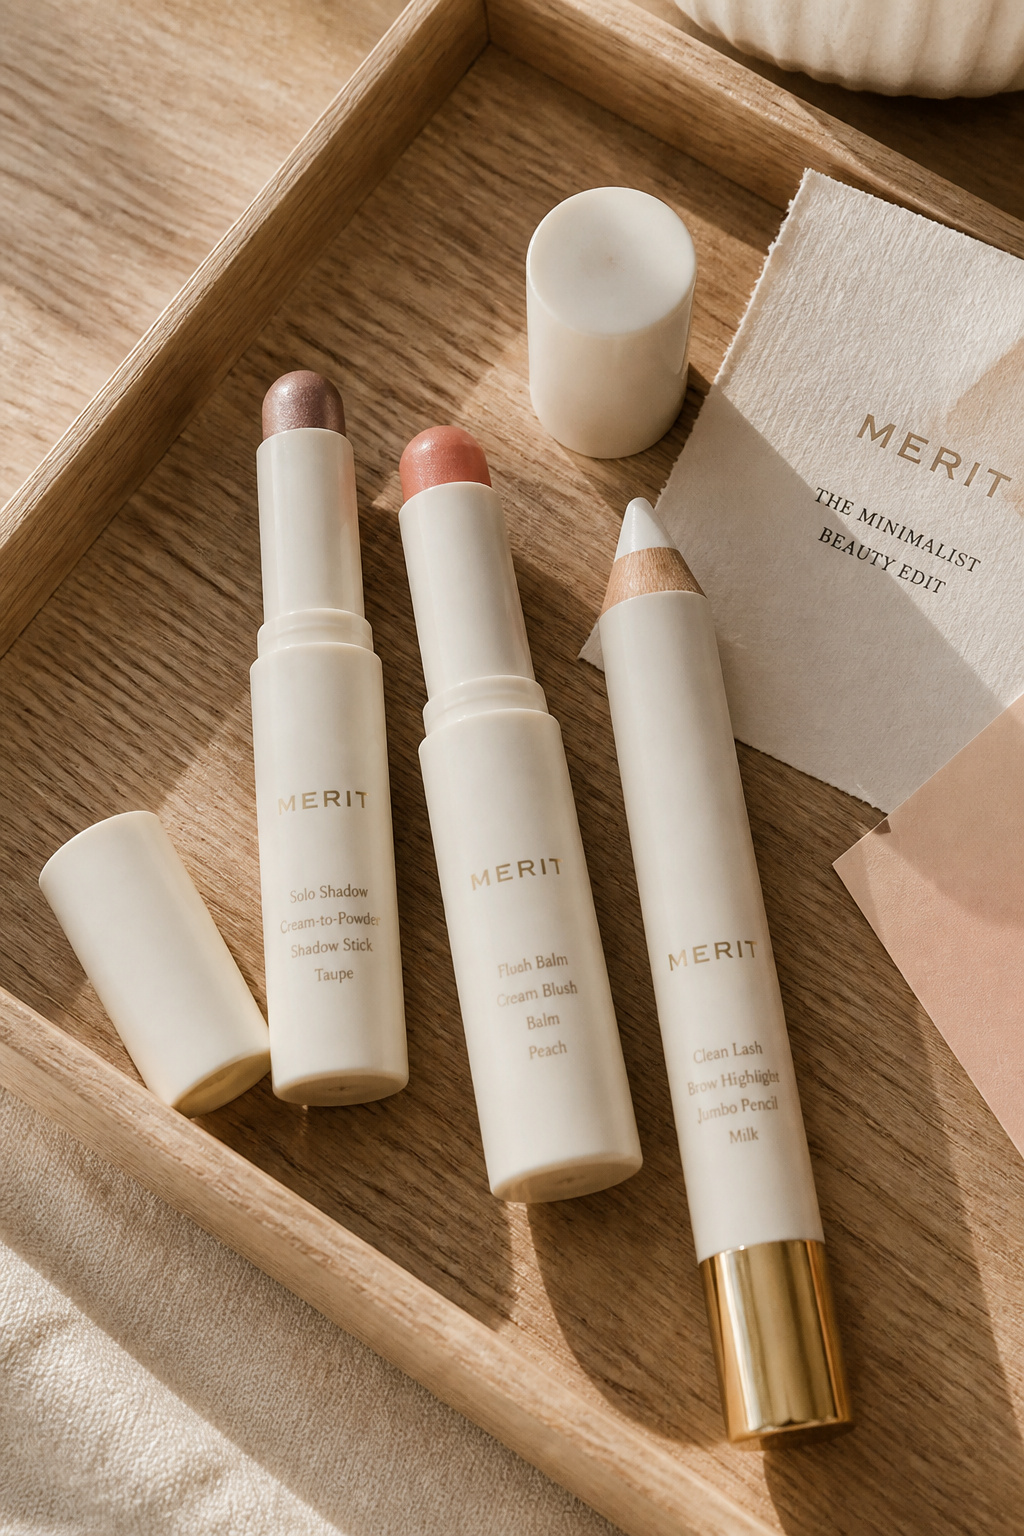

The trick is fewer shades, smarter placement. For hooded eyes I use cream on lid center, a slightly deeper cream on the outer third, and a light brightener at the inner corner and just above where the hood folds.
Smear a Maybelline Color Tattoo cream shadow taupe across the lid, then tap a Stila Convertible Color cream peach into the outer corner. Use NYX Jumbo Eye Pencil white milk sparingly on the inner third and dabbed above the fold to fake lift.
Color theory at work: warm mid-tones recede, light points advance. Place light where you want attention. Mistake: packing shimmer across the whole lid. That reads flat on hooded lids. Instead, keep shimmer small and luminous.
3. Define Without Hardness: Soft Eye and Brow Work


Sharp lines swallow hooded eyes. I aim for soft definition.
Fill brows with short, hairlike strokes using Anastasia Brow Wiz medium brown. Tightline the upper waterline with KVD Tattoo Liner trooper to deepen lash base without a heavy top liner. Curl lashes and use a holding mascara.
I rely on Tweezerman classic eyelash curler to open the eye. Principle: lift not thickness. Mistake: thick wing right along the hood. That reads heavy. Instead, draw a soft, short wing that lifts upward from the outer third and keep the line thin.
4. Finish with Tonal Lip and Subtle Setting
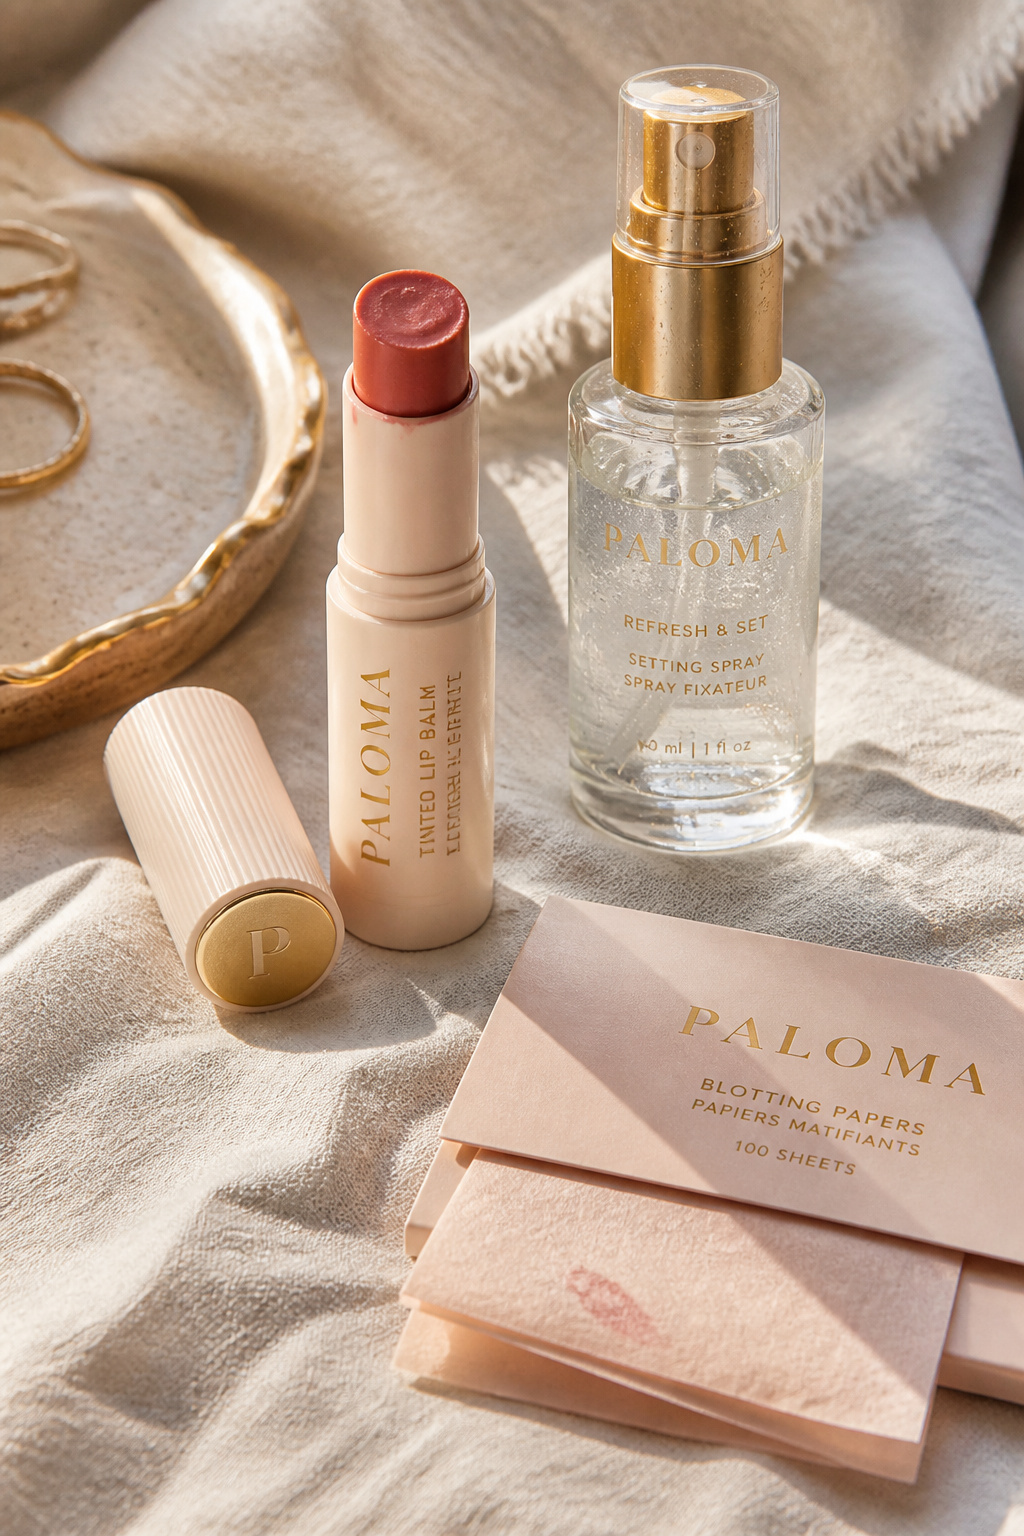

A cohesive face helps eyes pop. I choose a tinted lip balm in a warm rose that matches the cream cheek and the lids.
Swipe Burt's Bees tinted lip balm peony and set strategically with a light mist of Urban Decay All Nighter setting spray 4 oz to lock creams without flattening sheen. For midday touch-ups use Clean & Clear oil absorbing sheets.
Visual principle: tonal continuity makes eyes read brighter because the brain groups colors. Mistake: powdering the whole lid. That erases the cream depth. Instead, set only outer edges and the base of lashes.
Common Styling Mistakes to Avoid
Mistake: Putting bright shimmer across the entire lid
Why it doesn't work: Shimmer reflects on hooded lids and disappears under the fold.
Do this instead: Use a loreal+infallible+matte+eyeshadow+brown matte outer shade and a tiny shimmer spot inside.
Mistake: Heavy lower-lash liner on hooded eyes
Why it doesn't work: It closes the eye and makes lids look smaller.
Do this instead: Smudge a small amount of shadow with a real techniques detail brush on the outer lower third.
Mistake: Powdering the entire lid to set cream
Why it doesn't work: Flattens dimensional cream color and dulls payoff.
Do this instead: Lightly mist with a milani+make+it+last+setting+spray and blot the T-zone.
What You'll Need for This Look
Face & Base Essentials
Hydrating primer 1 fl oz around $8 to $18
Skin tint sheer medium approx $12 to $30
Cream blush stick warm peach around $8 to $20
Eyes, Brows & Lips
Maybelline Color Tattoo cream shadow taupe $6 to $10
Anastasia Brow Wiz medium brown approx $20 to $25
Burt's Bees tinted lip balm peony $4 to $8
Clothing Staples
White crewneck tee cotton medium $12 to $30
Straight leg high waist dark wash jeans $30 to $80
Shoes, Bags & Jewelry
Leather loafers size 7 tan $40 to $120
Leather tote bag tan medium $60 to $200
Gold chunky hoop earrings 14mm $10 to $40
Budget Swaps
NYX Jumbo Eye Pencil white milk $4 to $8 (dupe for higher-end cream brighteners)
H&M cashmere blend sweater small $25 to $60 (cashmere alternative)
Shopping Guide for This Look
Prime-time cream buys: Stock up on cream shadow sticks during Amazon Prime sales, like a Skin tint sheer medium for around $12 to $30.
Thrift + new mix: Pair a thrifted leather tote with a new Gold chunky hoop earrings 14mm $10 to $40 for polish.
2025 trend pick: Cream textures and tonal makeup are still growing; try a Cream blush stick warm peach for that look.
Splurge vs save: Splurge on a precision brow pencil like Anastasia Brow Wiz medium brown $20 to $25, save on a drugstore cream shadow like Maybelline Color Tattoo cream shadow taupe $6 to $10.
Conclusion
Start with one change: swap your powder lid routine for a cream stick and watch the payoff. The simplest move is adding a tiny light dot above the fold and curling lashes for lift.
Which small change will you try first: cream placement, brow shaping, or swapping to a tinted balm?


