



How to do goth makeup when your liner keeps betraying you? I figured it out the hard way after one too many raccoon moments at concerts and coffee dates.
I learned to build a look that admits liner will fail sometimes and still reads intentional. Expect to spend under $40 to start, or about $80 to $150 for a reliable kit that survives humidity and long nights.
The vibe here is modern goth—soft skin, anchored eyes, tonal lips. This suits cooler and neutral undertones best, and works for skin from fair to deep. I noticed search interest for “goth makeup” spikes seasonally (Google Trends), so this is practical for both everyday moody looks and October runs.
1. Start with Calm Skin: Hydrated Sheer Base


Begin by calming the canvas. Heavy matte bases make dark eyes read heavy and overworked. A hydrating primer smooths texture and keeps liner from settling into creases.
I use a Hydrating silicone-free primer to keep lids supple, then a Tinted moisturizer light coverage for even tone. These choices let the eye remain the focal point.
Visual principle: glossy/soft skin contrasts with dark matte around the eyes, which reads more polished and intentional. Apply primer where you crease most—inner eye socket and between brows—then dot tinted moisturizer and blend outward.
Common mistake: packing on powder early. It steals sheen and dries the lid so liner flakes. Instead, set only the T-zone with a Translucent micro-setting powder and leave lids a little dewy.
2. Lock The Line: Gel Base + Tapping Technique


When pencil or liquid flakes, gel liner becomes the anchor. Its cream-to-matte texture bonds with the skin instead of sitting on top.
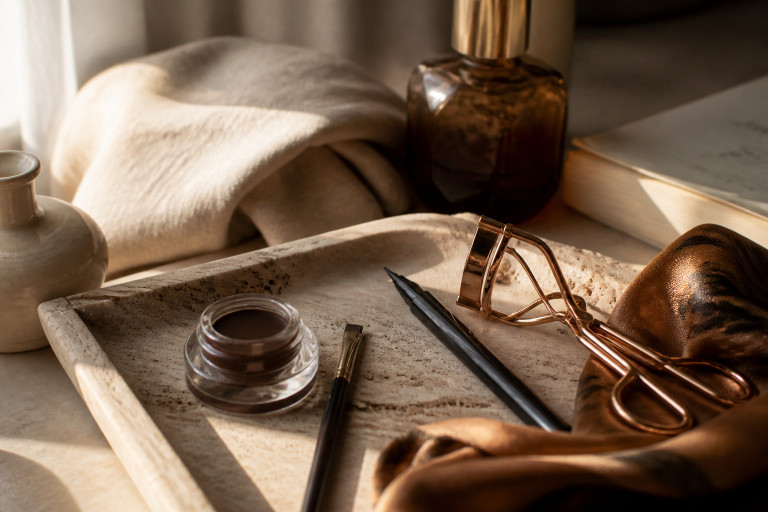
Start with a thin line using a Waterproof gel liner black. Load a Small angled eyeliner brush and tap the product on in short strokes instead of sweeping. Tapping presses pigment into pores and keeps edges tidy.
Visual rule: thin, pigmented base + small shadowing prevents smudges and creates a readable silhouette at a distance. If liner still looks too crisp, soften the outer third with a Cream eyeshadow stick black and blend with a fingertip.
Ugly truth: cheap liquid liners crumble mid-smile. The trick is to expect failure and build a base that survives it.
3. Smoke, Set, and Rescue: Powder Over Cream
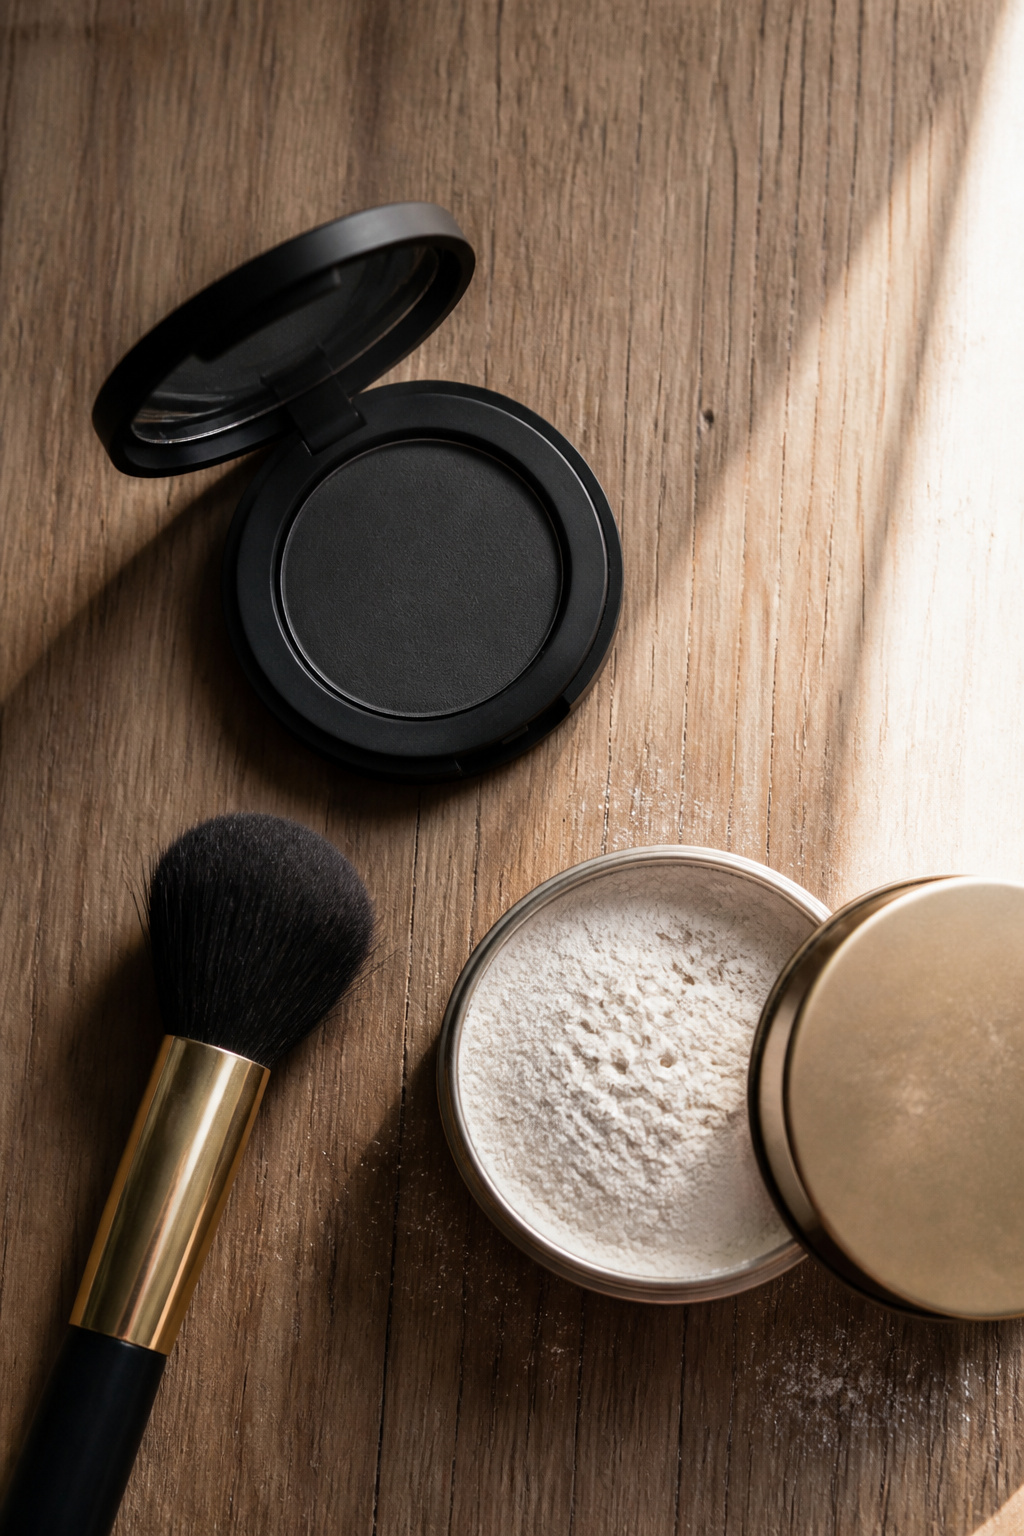

Powder is not the enemy if you use it strategically. After the gel base, press a matte shadow onto the line to lock pigment.
Grab a Matte black eyeshadow single pan and a tight brush. Pat along the gel, then diffuse outward to avoid a harsh rim. That layer prevents transfer and creates the signature smoked edge.
Finish with an Eyeshadow primer for waterproof wear under the gel on oily lids so pigment adheres. Top with a spritz of Long-lasting setting spray while eyes are closed for full lock.
Mistake people make: rubbing at smudges immediately. Press a cotton swab, then reapply shadow to keep lines clean.
4. Balance the Drama: Tonal Lip, Soft Brow, and Accessories


A heavy eye needs restraint elsewhere. I reach for tonal lips and natural brows so the look stays wearable.
Swipe a Tonal berry lip oil for stain without competing texture. Groom brows with a Tinted brow gel dark brown to frame the eye without hard lines.
Visual balance: soft, hydrated skin plus a glossy or sheer lip keeps the look contemporary. Finish by fastening a Gold chunky hoop earrings 30mm or a silk scarf to tie outfit and makeup together.
Real talk: waterproof everything can feel drying. Alternate heavy-lock days with softer, touch-up friendly options.
Common Styling Mistakes to Avoid
Mistake: Baking the lid with too much powder
Why it doesn't work: Dries the skin, causes liner to flake and look patchy.
Do this instead: Lightly dust only where needed with a Translucent micro-setting powder.
Mistake: Trying to fix a smudge by rubbing vigorously
Why it doesn't work: Spreads pigment, makes edges messy.
Do this instead: Press away with a clean cotton swab and reapply shadow or gel using a Small angled eyeliner brush.
Mistake: Relying only on a cheap pencil for the whole eye
Why it doesn't work: Pencils fade into indistinct smudges under humidity.
Do this instead: Layer a Smudgeproof pencil eyeliner black under gel or shadow for longevity.
What You'll Need for This Look
Face & Base Essentials
Hydrating silicone-free primer around $12 to $28
Tinted moisturizer light coverage around $8 to $32
Translucent micro-setting powder around $6 to $30
Eyes, Brows & Lips
Waterproof gel liner black around $8 to $26
Smudgeproof pencil eyeliner black around $4 to $18
Tinted brow gel dark brown around $6 to $20
Clothing Staples
Black fitted tee cotton around $10 to $30
High waist straight leg jeans dark wash approx $30 to $90
Shoes, Bags & Jewelry
Leather ankle boots black around $40 to $180
Leather tote bag black medium approx $60 to $200
Gold chunky hoop earrings 30mm around $8 to $40
Budget Swaps
Drugstore pencil eyeliner black waterproof around $3 to $10
Secondhand vintage leather jacket often cheaper at thrift; Amazon backups $40 to $150
Shopping Guide for This Look
Time purchases around sales: Buy setting spray during Prime Day or Ulta 21 Days for up to 30% off. Long-lasting setting spray around $8 to $28.
Thrift-first hack: Score a real leather jacket at thrift and pair with a new Gold chunky hoop earrings 30mm for polish.
2025 trend tip: Cream-to-powder products stay big; pick a Cream eyeshadow stick black for multiuse wear.
Splurge vs save: Invest in one solid Hydrating silicone-free primer and swap cheaper pencils like Drugstore pencil eyeliner black waterproof.
Conclusion
Start by nailing the base and gel anchor. That one change turned my meltdown mornings into a look that lasted meetings and shows.
Pick one high-impact buy—my pick: a reliable Waterproof gel liner black—and practice the tapping technique tonight.
What part of your liner routine betrays you most: smudging, flaking, or fading?