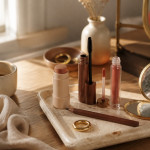
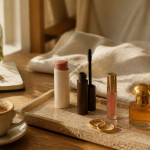
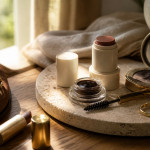

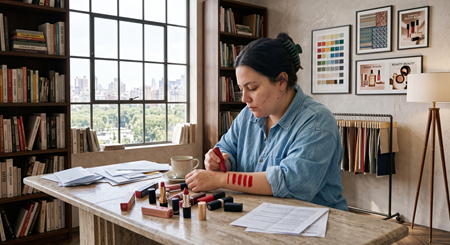


How to do makeup with glasses felt impossible for me until a co-worker said my eyes looked twice as bright with a subtle cream glow. How to do makeup with glasses needs a different map than makeup for photos.
I learned a few cheap swaps that make lenses stop stealing the show. Expect to spend around $40 to $140 to try the full routine, or under $30 to start.
The vibe I aim for is clean-glowy, low-effort soft glam that reads through lenses. This suits warm to neutral undertones and anyone who wears medium-to-thick frames. I’ve noticed cream color, lifted brows, and tonal lips showing up everywhere in 2025 trend roundups.
1. Start with the Glow: Skin Prep and Sheer Base


The trick is a sheer, glowy base so lenses reflect light without hiding your eye shape.
Begin with a hydrating skin tint that evens tone and keeps sheen. I use a lightweight tint and press with my fingers where light naturally hits: forehead, cheekbone, down the nose.
Try Hydrating skin tint warm beige around $18 to $35 and a tiny pump of Illuminating primer lightweight approx $12 to $26 to keep lenses from creating flat glare.
Visual principle: sheen reads as skin, not mask. That keeps eyes framed instead of overshadowed.
Mistake people make: full-coverage matte foundation. Instead, pick a thin layer and spot-conceal. You’ll still look polished through reflections.
2. Layer Cream Color in Three Strategic Places
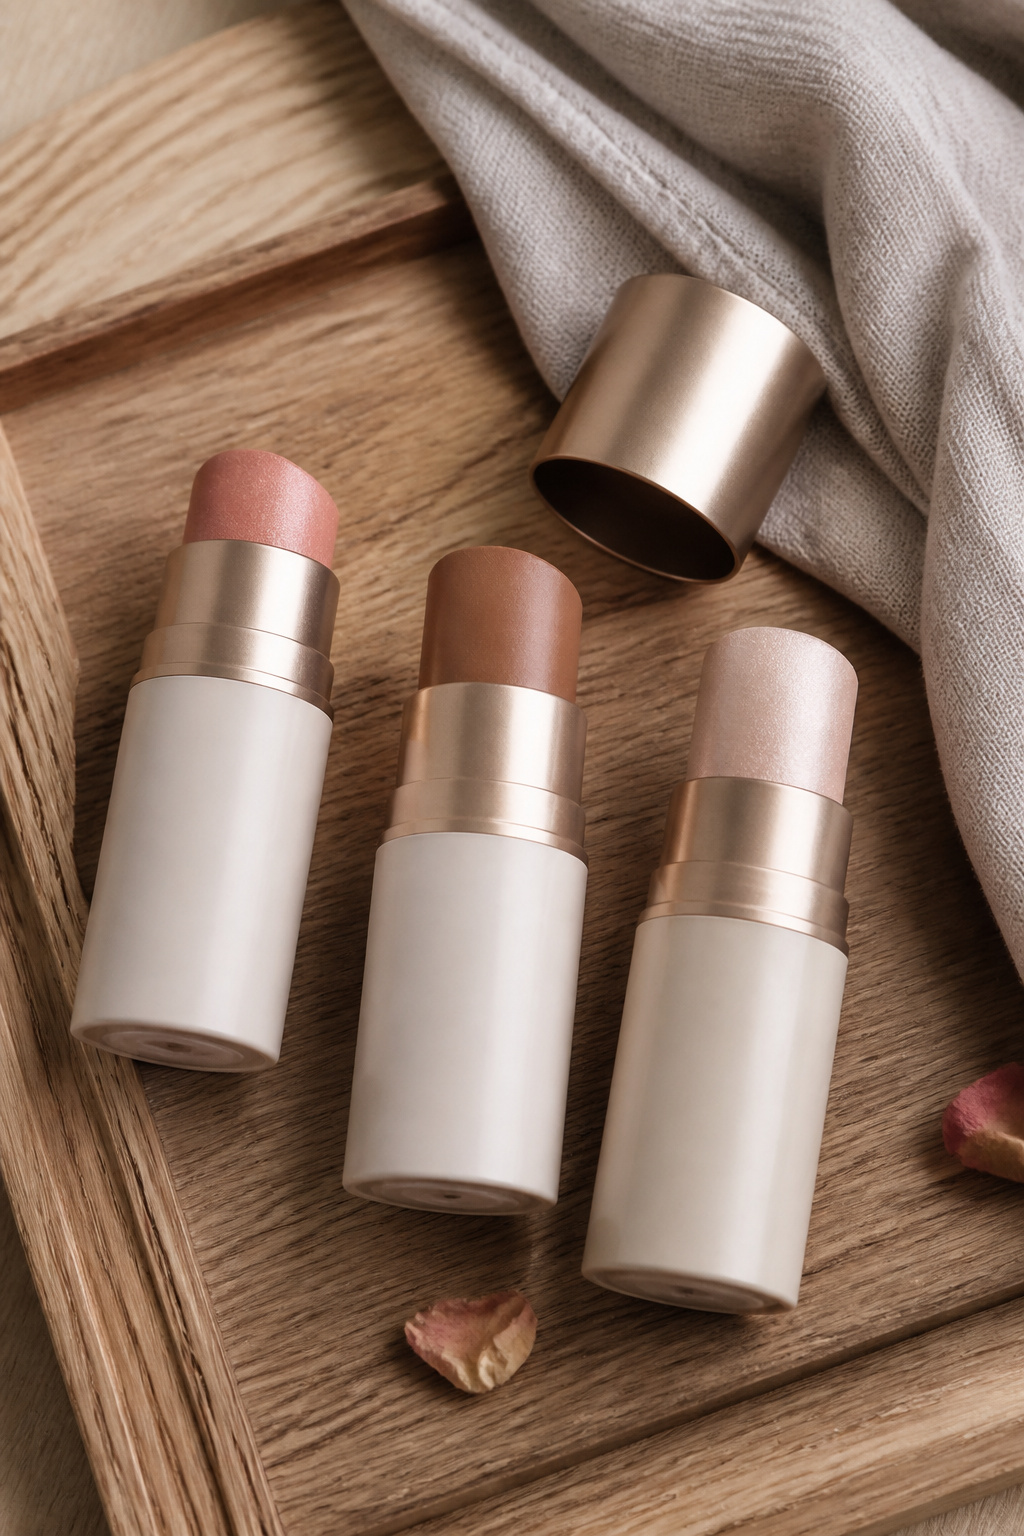

Cream products show through lenses better than powder. They sit on skin and catch light in a way that mimics a real eye glow.
Apply cream blush on the high cheekbone, not the apple, so color reads next to the frame line. Then warm the perimeter with a cream bronzer in an oval under the cheekbone and temple.
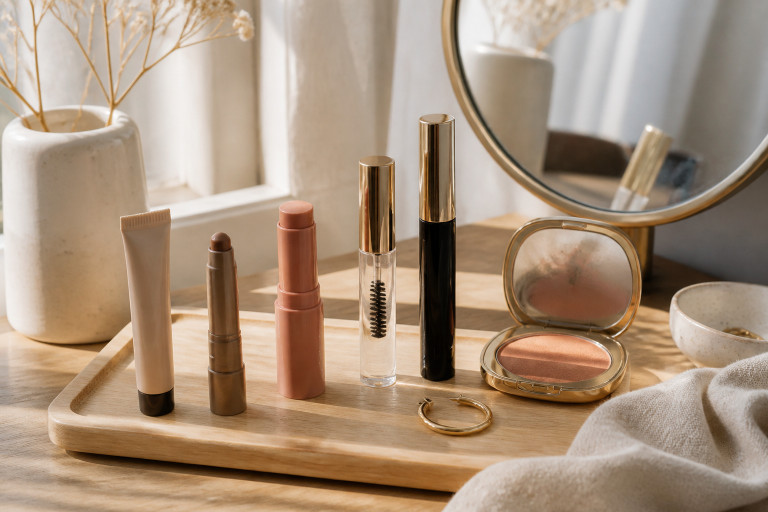
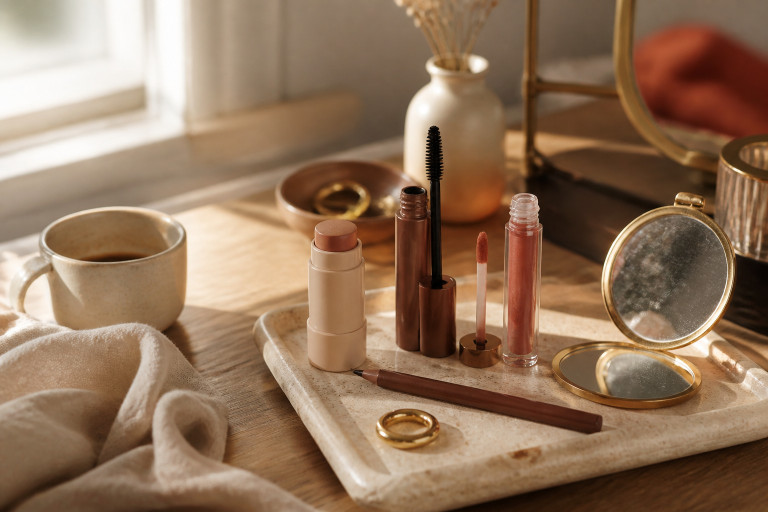
My go-tos: Cream blush stick warm peach around $10 to $24 and Cream bronzer stick warm caramel approx $12 to $28.
Visual principle: layered translucence creates depth without hardness. Buff edges with fingers for a lived-in finish.
Common misstep: slapping blush on the apple. Instead, lift the color upward toward the temple so it frames the eye behind the lens.
3. Define Without Hardness: Soft Eye and Brow Work


Glasses can blur heavy liner. So skip thick black liner and opt for soft shadows and lifted brows.
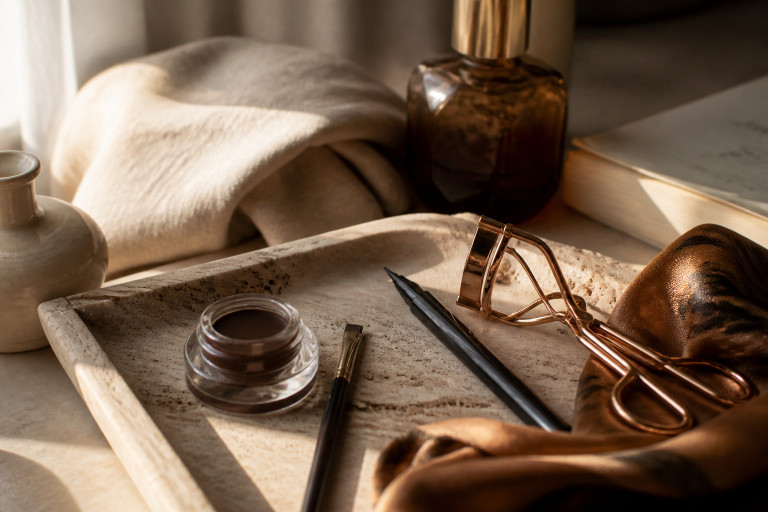
Fill brows with a tinted gel, brush up to create a natural arch. Use a brown mascara and a smudge-proof taupe pencil to tightline the upper waterline if you want subtle depth.
Try Tinted brow gel dark brown approx $8 to $20 and Brown volumizing mascara waterproof around $7 to $18.
Why it works: soft contrast shows behind lenses without glare. Lifting the brow opens the eye visually through frames.
Ugly truth: heavy liner often disappears or creates a thick shadow behind lenses. Use texture and lift instead.
4. Finish with Tonal Lip and Subtle Setting
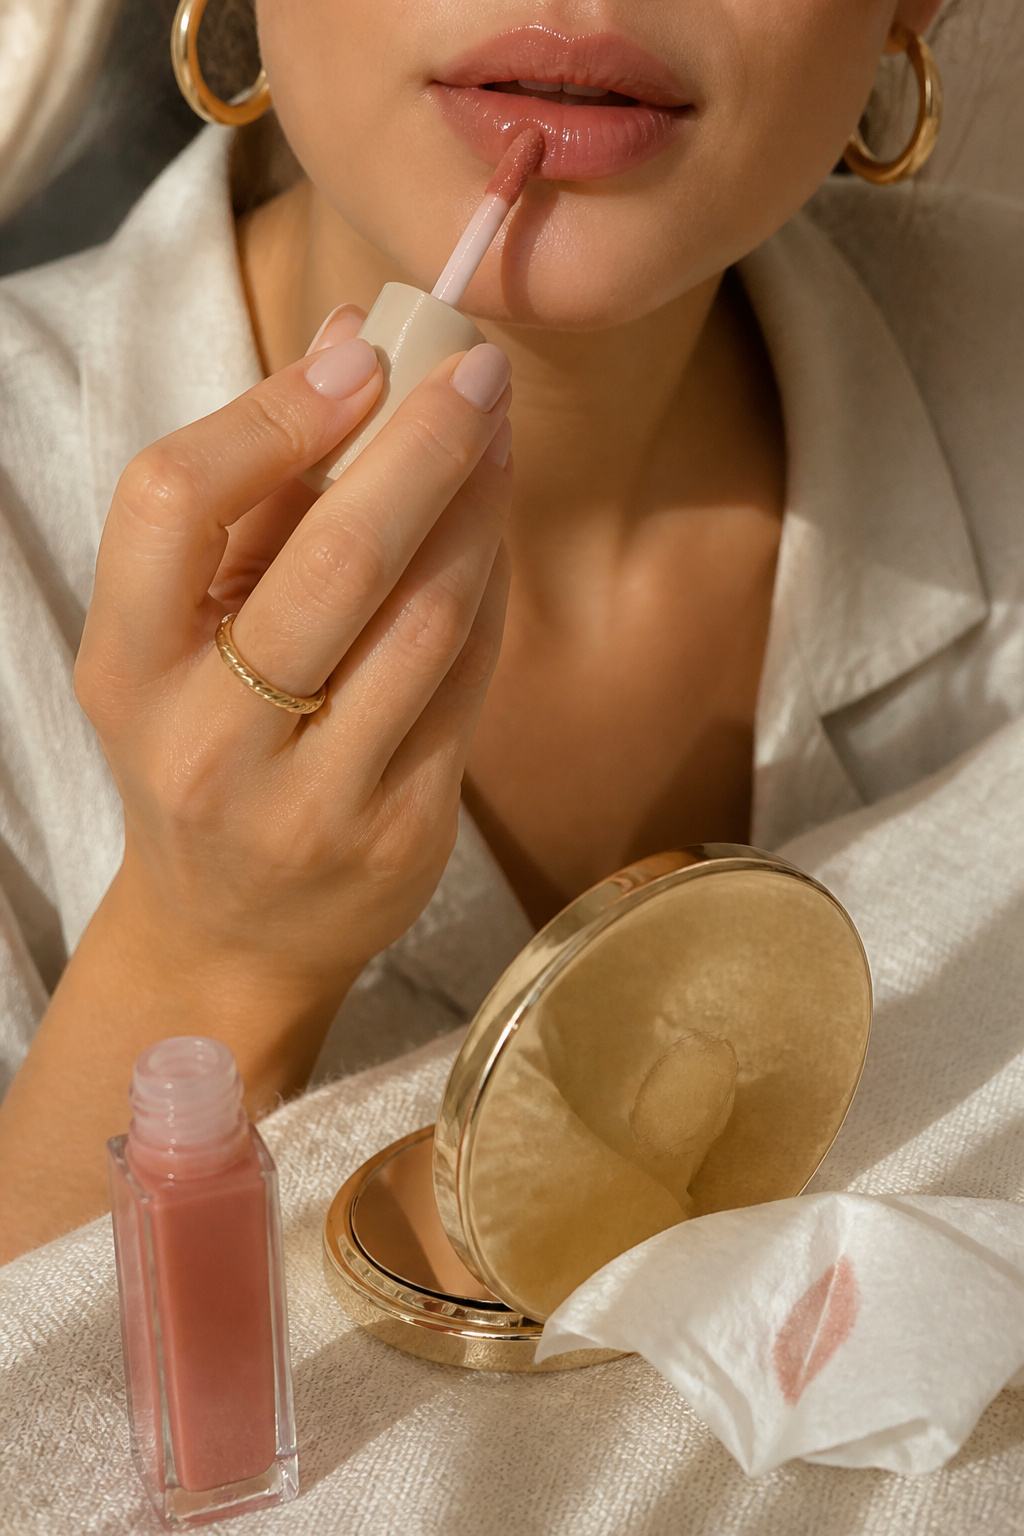

A tonal lip anchors your face so viewers notice eyes and smile equally.
Choose a tinted lip oil or balm in nude-rose or warm mauve that mirrors your cheek tone. Dab rather than swipe to keep it sheer.
I love Tinted lip oil nude rose around $9 to $20 and finish with Lightweight setting spray dewy finish approx $9 to $25 to meld cream products.
Principle at play: tonal harmony. When lip and cheek are in the same family, the eyes pop because the whole face reads as intentional.
Mistake: powdering everything to set. Instead, mist lightly so cream textures peek through the lens.
Common Styling Mistakes to Avoid
Mistake: Heavy black winged liner with thick frames
Why it doesn't work: Wings vanish or create a dead shadow behind lenses.
Do this instead: Use a Smudge proof eyeliner taupe for soft depth.
Mistake: Powder blush placed on the apple only
Why it doesn't work: Color competes with frames and looks flat through glass.
Do this instead: Try Cream blush stick warm peach and blend upward.
Mistake: Matching foundation to face but not neck
Why it doesn't work: Lenses highlight a jawline mismatch.
Do this instead: Use Tinted skin tint warm beige and blend to the neck.
What You'll Need for This Look
Face & Base Essentials
Hydrating skin tint warm beige around $18 to $35
Cream blush stick warm peach around $10 to $24
Lightweight setting spray dewy finish approx $9 to $25
Eyes, Brows & Lips
Tinted brow gel dark brown approx $8 to $20
Brown volumizing mascara waterproof around $7 to $18
Tinted lip oil nude rose around $9 to $20
Clothing Staples
White cotton tee crew neck approx $12 to $30
Straight leg high waist dark wash jeans around $30 to $80
Shoes, Bags & Jewelry
Leather loafers tan approx $40 to $120
Leather tote bag tan (price range $80 to $200)
Gold chunky hoop earrings 14k plated around $12 to $45
Budget Swaps
Cream blush stick drugstore peach around $6 to $12
Vegan cashmere blend sweater alternative approx $20 to $50
Shopping Guide for This Look
Prime Day/Seasonal Timing: Stock up on base and tools during Prime Day; Hydrating skin tint warm beige often drops in price.
Thrift + New Mix: Find unique frames at thrift or consignment, then pair with a new tinted brow gel dark brown to modernize the face.
2025 trend tip: Cream textures and lifted brows are sticking around; try Cream bronzer stick warm caramel for the trend without buying a full palette.
Splurge vs Save: Splurge on glasses frames that suit your face, save on makeup dupes like Cream blush stick drugstore peach.
Conclusion
Start with one change: swap powder blush for a cream stick and watch your eyes read clearer through lenses.
One small habit I keep is lifting brows with tinted gel; it makes my eyes look open even with heavy frames.
Which part will you try first: cream blush, lifted brows, or a sheer skin tint?