






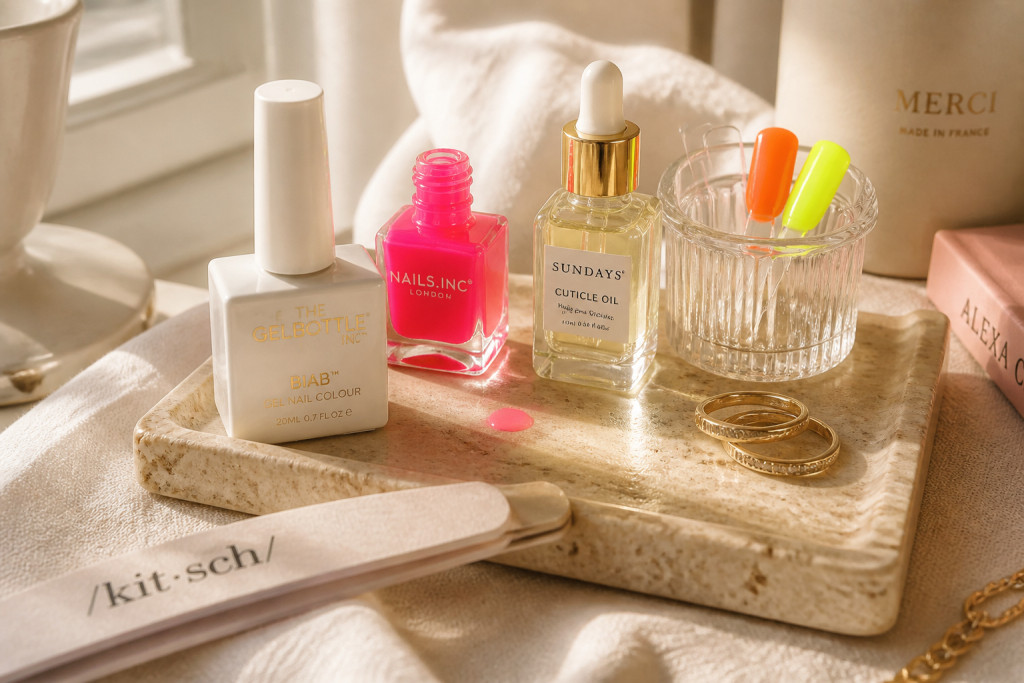

I learned how to do neon nails at home the hard way: three ruined manis in one weekend and a streaky orange mess that looked like paint chips.
After a lot of trial and error I figured out the order, the base trick that makes neons sing, and the exact topcoat combo that stops streaks. This guide shows what to buy for under $40 to get salon-looking neon nails at home.
Neon nails are bright, fun, and surprisingly particular about prep and layering. This suits anyone who likes bold color but wants a clean finish that lasts. I’ve noticed neon accents popping in 2025 trend roundups on Pinterest and search interest rising on Google Trends, which means this look is only getting more wearable.
1. Start with the Glow: Cuticle Care and Smooth Canvas


Healthy cuticles and a smooth nail surface are everything. I file edges lightly, push cuticles back after a warm soak, and buff the nail plate to remove ridges that make neon polish streak.
For products, I use a precise glass nail file and a fine buffer. Try Glass nail file 180/240 grit around $6 to $12 and Cuticle oil jojoba 0.5 oz around $8 to $16.
The visual principle: a flat reflective surface gives neon pigment an even base. Buff gently. Over-buffing thins the nail and weakens the finish, which I used to do. Instead, a light buff plus oil gives a smooth canvas and a cleaner edge.
Common mistake: skipping cuticle oil because it feels like extra steps. That’s why neon drags and pools. Do the soak and oil first and the rest will behave.
2. Lay a White Base: Make Neons Pop and Hide Streaks


The trick is a thin, even white base. White creates optical brightness so neon pigments don’t need multiple sloppy coats to show up.
Use a high-opacity white like White creme nail polish 0.5 fl oz around $6 to $14 or a white base coat designed for neons like Neon primer white base coat around $9 to $18.
Visual principle: contrast. White reflects light through the neon layer for even saturation. Apply one ultra-thin coat, let dry fully, then a second thin coat only if needed.
Mistake people make: slapping on thick white blobs to skip a second coat. Thick layers dent and dry unevenly. Thin, patient coats win.
3. Layer Neon in Thin Transparent Coats


The application method is the heart of streak-free neon nails. The trick is thin, translucent layers that build color, not-one-thick-coat coverage.
I use a polish with a wide paddle brush so strokes lay flat. Try Wide flat nail polish brush formula 0.5 fl oz around $7 to $15 and pick neon shades like Neon polish hot pink 0.5 fl oz around $6 to $14.
Apply one whisper-thin swipe center, then the sides. Wait 45 to 60 seconds, then repeat. Usually two to three thin coats beats one thick coat.
Visual principle: transparency and even wet edges prevent streaks. Thick coats trap brush marks and bubble. I used to do that and then sand the finish with a file; wasteful. Do the thin-layer build instead.
4. Seal Smart: Fast-Dry Topcoat and Sidewall Sealing


A high-shine, quick-dry topcoat smooths brush strokes and locks in color. I run the brush along the free edge to seal and prevent chips.
Good picks include Fast dry glossy topcoat 0.5 fl oz around $8 to $16 and No-wipe gel topcoat for LED 0.5 fl oz around $12 to $24 if you have a lamp.
Mistake: skipping the seal on sidewalls. That is why neon chips the fastest. Seal the edge and dab cuticle oil after 10 minutes.
5. Style and Maintain: Rings, Repairs, and Longevity Tricks
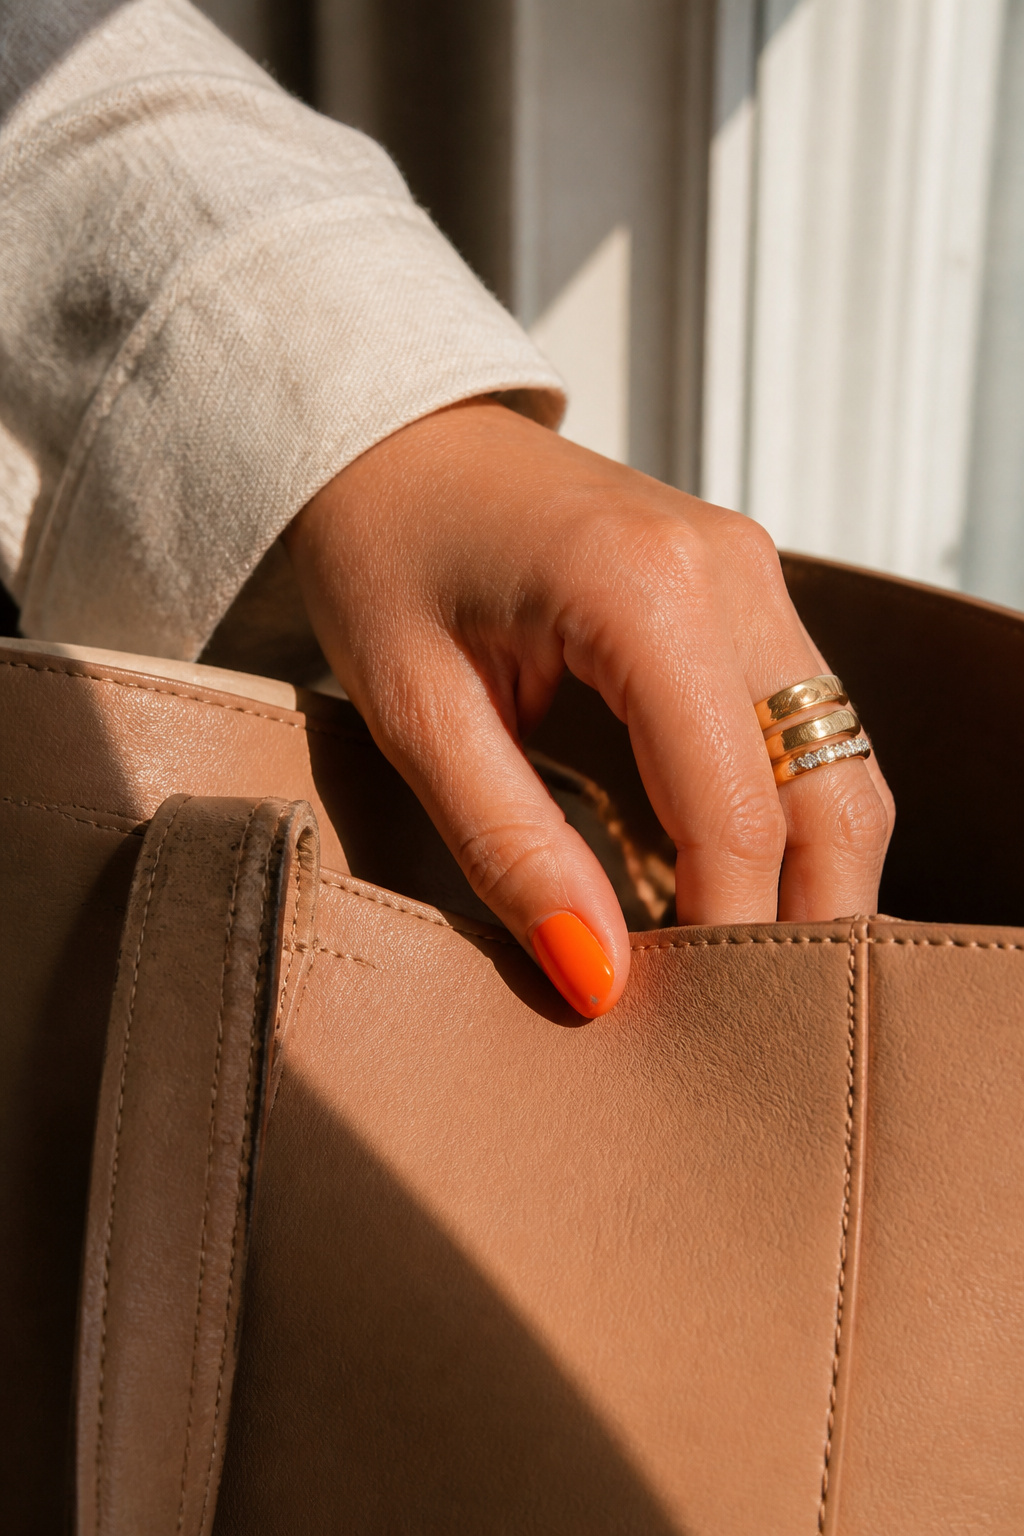

Neon nails look best with warm metallic rings and simple nude outfits that let the color pop. I pair citrus neons with gold bands and a white tee.
For at-home fixes, keep a thin bottle of matching polish and Mini nail repair brush around $5 to $10. Reapply topcoat every 4 to 5 days.
Ugly truth: neon will fade faster than neutral polish under harsh sun. Use SPF on hands and avoid long hot baths the day after painting.
Common Styling Mistakes to Avoid
Mistake: Applying one thick neon coat
Why it doesn't work: Dries unevenly and shows brush strokes.
Do this instead: Build color in thin coats with a wide brush. Neon polish hot pink 0.5 fl oz
Mistake: Skipping a white base under bright neons
Why it doesn't work: Neons look dull and streaky.
Do this instead: Use a thin white base. White creme nail polish 0.5 fl oz
Mistake: Not sealing the free edge with topcoat
Why it doesn't work: Chips at tips within days.
Do this instead: Run topcoat along the tip. Fast dry glossy topcoat 0.5 fl oz
What You'll Need for This Look
Face & Base Essentials
Cuticle oil jojoba 0.5 oz around $8 to $16
Glass nail file 180/240 grit around $6 to $12
White creme nail polish 0.5 fl oz around $6 to $14
Eyes, Brows & Lips
Neutral tinted lip oil 0.33 fl oz around $10 to $20
Sheer bronze eyeshadow single around $8 to $18
Clothing Staples
White cotton tee slim fit small around $12 to $30
Shoes, Bags & Jewelry
Gold minimalist ring set size 6 around $15 to $40
Tan leather tote medium approx $80 to $200
Budget Swaps
Drugstore neon polish 0.5 fl oz around $5 to $9
Fast dry topcoat drugstore 0.5 fl oz around $6 to $12
Shopping Guide for This Look
Buy on Prime Day or early summer: Neon shades often get marked down. Neon polish hot pink 0.5 fl oz around $6 to $14.
Thrift the rings, buy the polish new: Mixed metals from thrift stores pair well with fresh lacquer. Gold minimalist ring set size 6 around $15 to $40.
2025 trend hack: Pair neon nails with tonal neutrals for a modern contrast. White cotton tee slim fit small around $12 to $30.
Splurge vs save: Splurge on a long-lasting gel topcoat if you do nails weekly, save on drugstore neons for seasonal color. No-wipe gel topcoat for LED 0.5 fl oz around $12 to $24.
Conclusion
Start with one high-impact change: add a white base under one neon shade and notice how much cleaner the finish looks.
The visual rule to remember is contrast first, layers second. That is what keeps neon nails bright without the streaks.
Which neon color are you trying first this season?


