






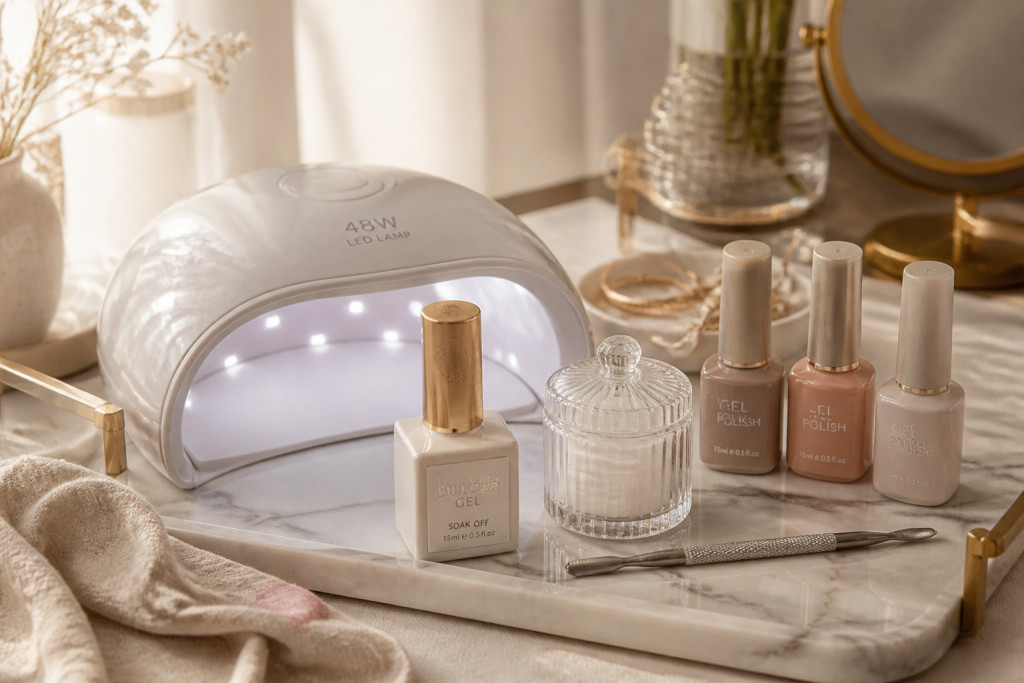

I ruined a weekend mani learning how to do short gel nails at home when I flooded my cuticles and had to soak everything off.
Learning to avoid flooding is the single thing that separates a messy at-home gel from a long-wearing mini set. I’ll show you a reliable routine you can do for about $25 to $80 to start.
Short, clean nails are the quiet polish trend right now. I aim for a lived-in, tonal look that reads neat in real life, not just on camera.
This suits anyone who likes low-maintenance nails, warm or cool undertones, and fingers that spend time typing or washing dishes. Start minimalist: a thin base, two thin color coats, and a no-wipe top coat.
I’ve noticed short neutral gels are getting more searches on Pinterest and are showing up at fashion shows as the go-to "clean nail" finish for 2025.
1. Start with the Base: Shape, Dehydrate, and Bond


This phase fixes the two biggest reasons gels flood cuticles: oily nail plate and ragged free edge. Do it first so every layer sits flat.
File to a short, consistent square or soft oval. Push cuticles gently with a stainless steel pusher and remove only the excess. Dehydrate the nail plate with a 90% isopropyl wipe to strip oils.
Use a thin Nail primer bond acid free and a tack-free Thin gel base coat. Both create adhesion without pooling.
Visual principle: a dry, even canvas prevents pooling and creates a sharper free edge. Most people skip dehydration and then blame the polish.
Mistake to avoid: over-trimming cuticle skin. It can cause irritation and lifting. Instead, gently push and remove only loose skin.
2. Lay a Thin, Even Base Coat to Control Flow
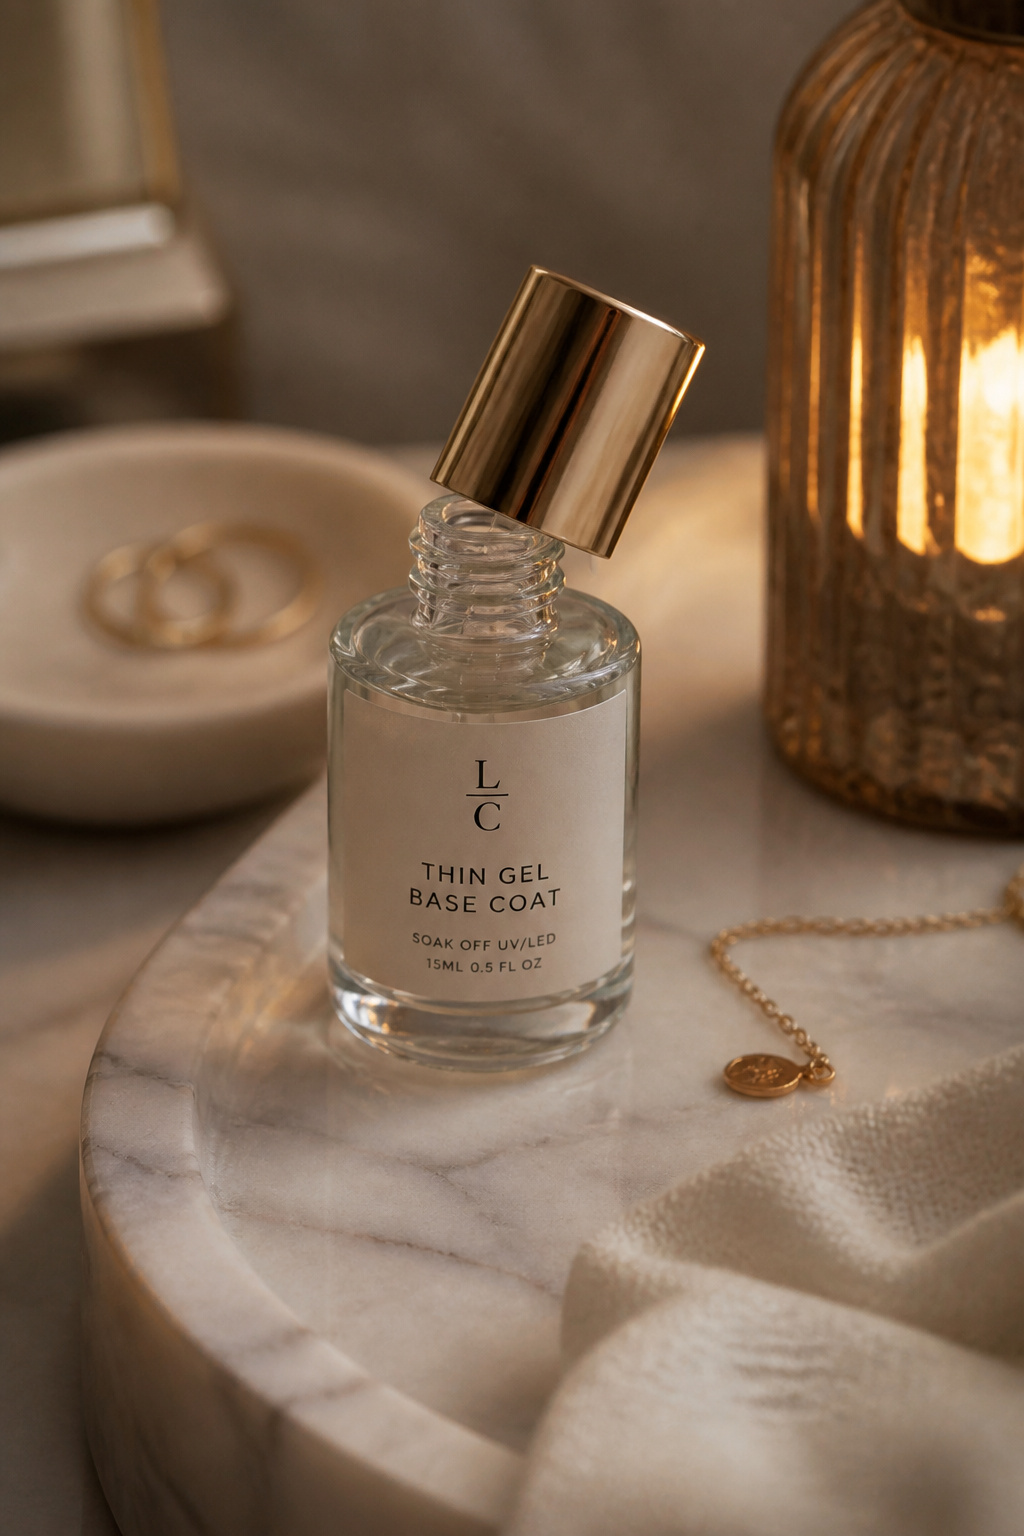

The trick is thin coats. Think paint, not frosting. One thin base cured fully beats a thick base that floods cuticles.
Load the brush sparingly, wipe one side on the bottle neck, then swipe center to tip and quickly cap the free edge. Cap means trail the brush along the tip to seal. Cure for the lamp’s full recommended time.
Try a lightweight Thin builder base 15ml and a compact 48W LED nail lamp. The lamp matters: inconsistent cure = sticky gel that pulls into the cuticle.
Visual balance here is edge sealing and film thickness. Too thick creates domes that slump into skin. Don’t overwork the brush; one confident swipe is better than circling.
Mistake to avoid: curing before you cap the edge. Cure after you cap, or you’ll trap a ridge that floods when you add color.
3. Build Color with Tiny Strokes and Thin Layers
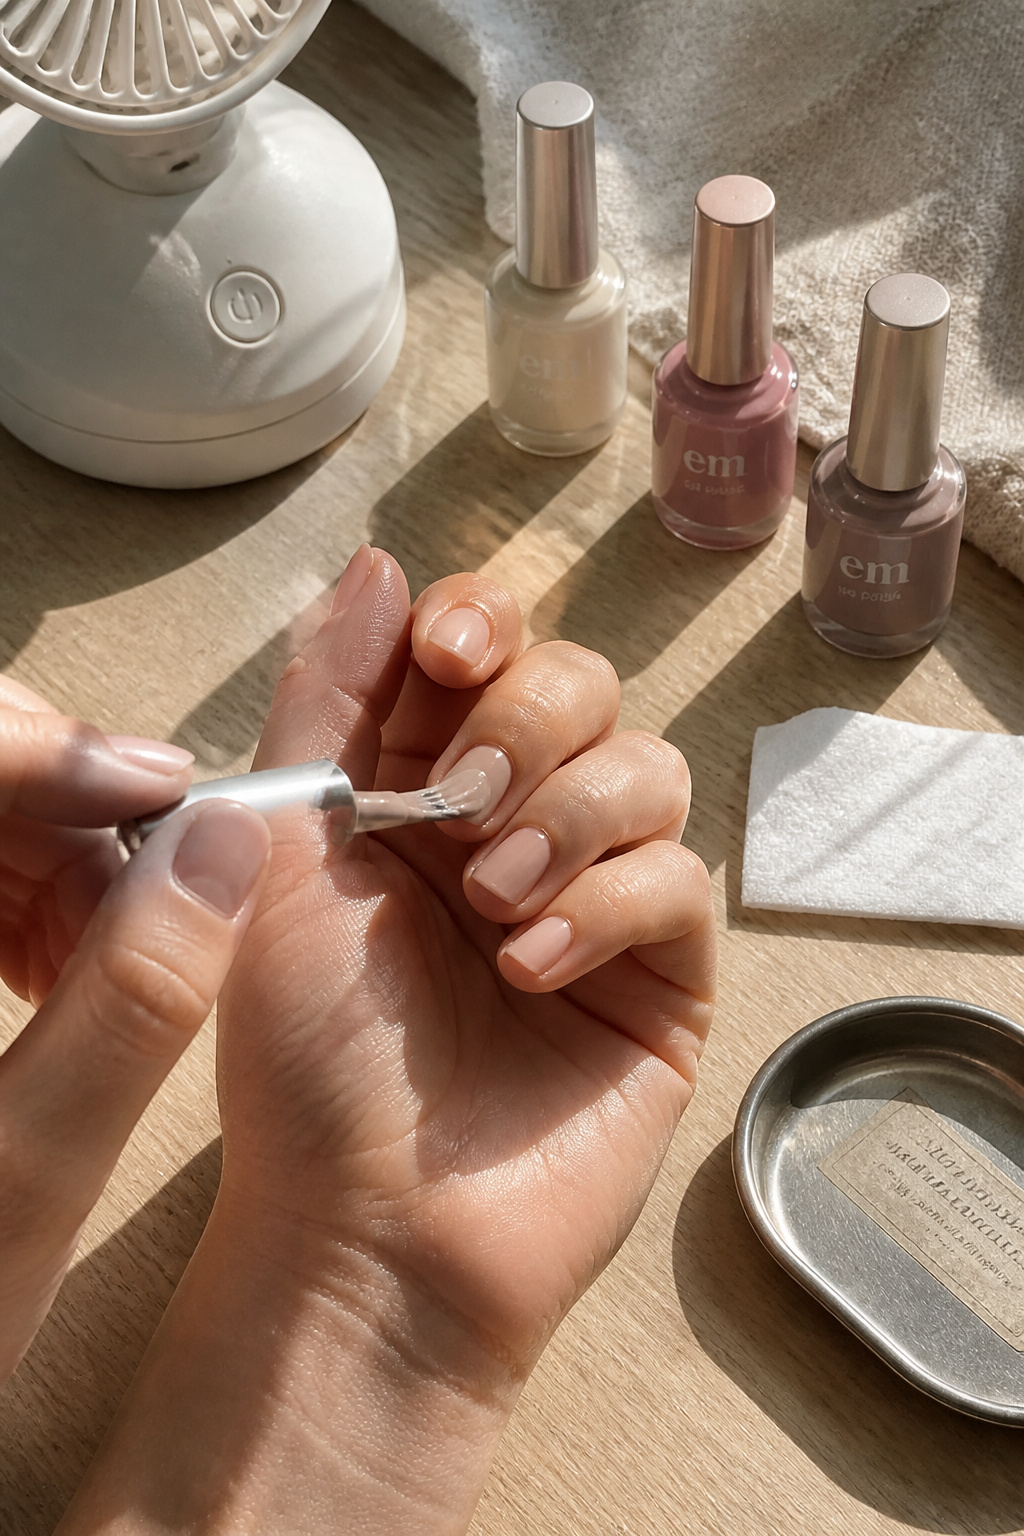

Short nails need precise, tiny strokes. Use the same thin approach: two ultra-thin color coats instead of one thick one.
Start with a center stroke, then a quick left and right. Cap the free edge after each coat. Cure fully between coats. If you see pooling at cuticles, wipe it off with a lint-free wipe dipped in isopropyl alcohol before curing.
I like a neutral mini set for everyday: Neutral gel polish trio 8ml each or a single Sheer nude gel polish 10ml. Sheer formulas hide tiny mistakes and are forgiving on short nails.
Visual rule: thin translucent layers create depth without bulk. Most people try to cover in one coat and end with flooded cuticles.
4. Finish with No-Wipe Top Coat, Edge Seal, and Hydration


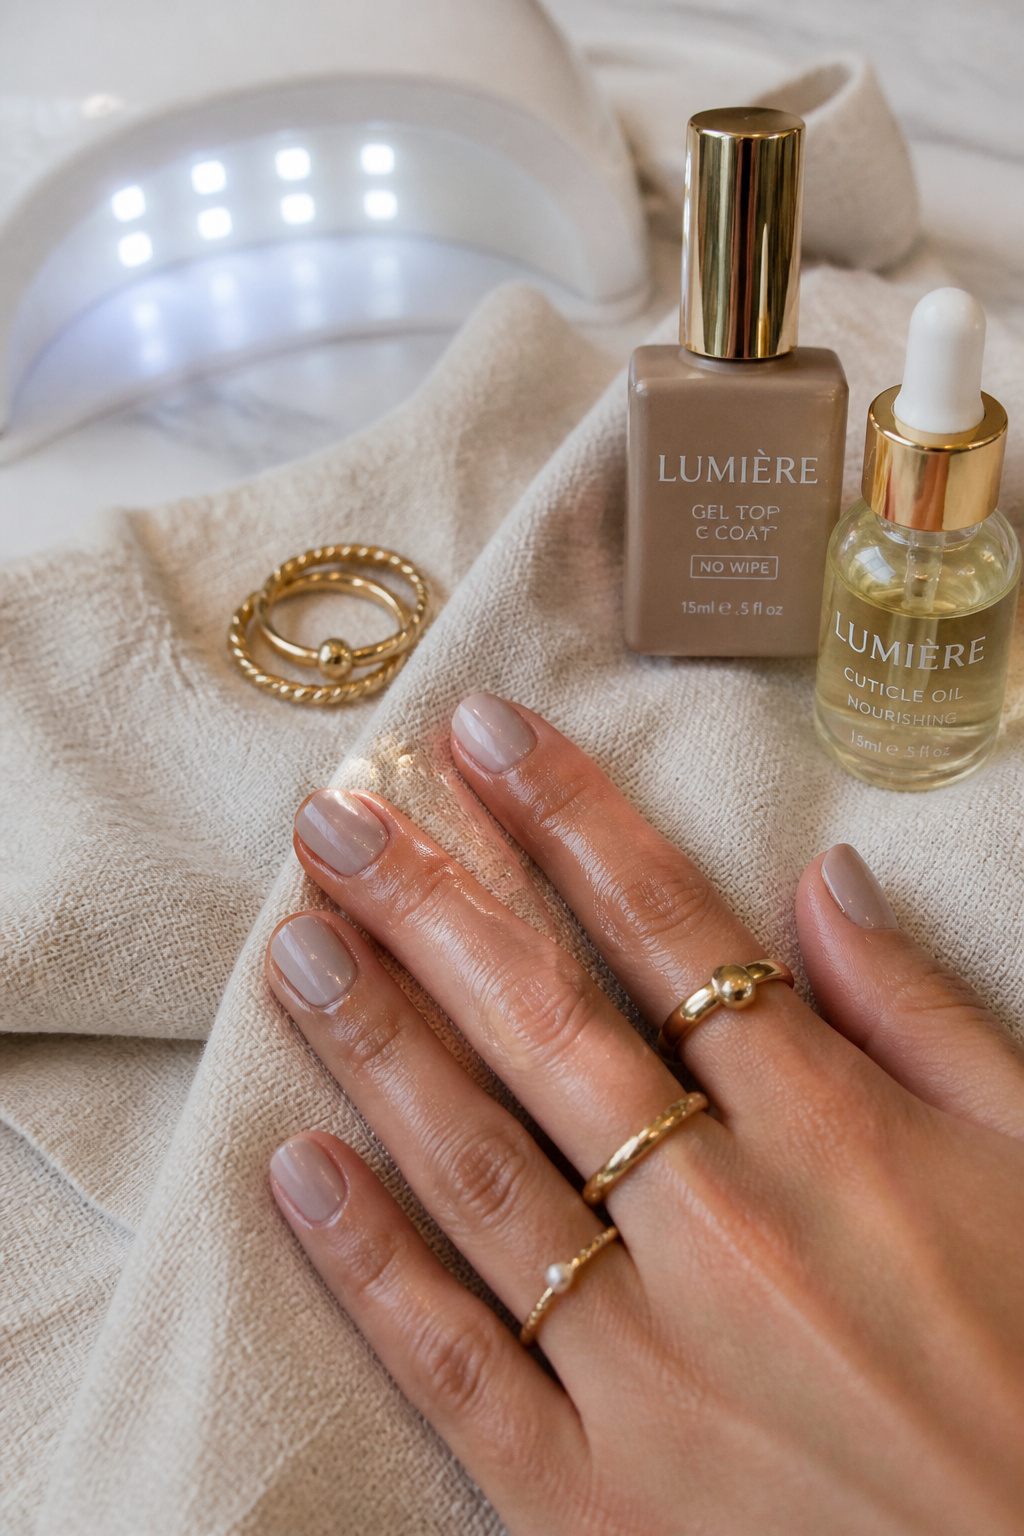
A no-wipe top coat locks everything in and prevents flooding after you finish moving around. Apply thinly, cap the edge, and cure.
After curing, wipe the tacky layer only if using a wipe top coat. Then, seal the cuticle with a small bead of cuticle oil to restore skin and stop peeling.
I always keep a No-wipe gel top coat 10ml and a glass Cuticle oil dropper 10ml in my kit. Finish with a quick hand massage to distribute oil away from the nail plate.
Mistake to avoid: putting oil on before the top coat fully cures. Oil before cure = ruined shine and lifting. Wait until the gel is fully set.
Common Styling Mistakes to Avoid
Mistake: Applying thick gel coats to save time
Why it doesn't work: Thick layers slump and flood cuticles, then shrink and lift.
Do this instead: Work in thin layers and use a 48W LED lamp for faster cures.
Mistake: Skipping dehydration before base coat
Why it doesn't work: Natural oils prevent adhesion and cause lifting.
Do this instead: Use 90% isopropyl wipes to prep each nail.
Mistake: Cutting cuticles aggressively
Why it doesn't work: Cuts invite infection and uneven edges.
Do this instead: Gently push with a stainless steel cuticle pusher and remove only loose skin.
What You'll Need for This Look
Face & Base Essentials
Thin gel base coat 15ml around $8 to $18
No-wipe gel top coat 10ml around $10 to $22
Nail primer bond acid free approx $6 to $14
Eyes, Brows & Lips
Neutral gel polish trio 8ml each around $18 to $40
Sheer nude gel polish 10ml
Clothing Staples
Short-sleeve white tee organic cotton around $12 to $35
Shoes, Bags & Jewelry
Small leather crossbody bag tan approx $40 to $120
Gold minimalist ring set 14k plated
Budget Swaps
Portable mini LED lamp 24W approx $12 to $30 (cheaper than salon lamps)
Shopping Guide for This Look
Timing Tip: Buy gel polish sets during Prime Day or Ulta sales for 20 to 40 percent off. Neutral gel polish trio 8ml each around $18 to $40.
Thrift Hack: Mix a thrifted simple gold ring with a new minimalist ring set to feel curated. Gold minimalist ring set 14k plated approx $10 to $25.
2025 Trend: Clean, short gels and tonal nudes are in; pick sheer formulas to match that mood. Sheer nude gel polish 10ml around $9 to $20.
Splurge vs Save: Splurge on a reliable 48W LED lamp $30 to $90; save on polish minis for shade variety. Portable mini LED lamp 24W approx $12 to $30.
Pro Tip: Keep a small lint-free wipe pack on the station to clean stray beads before curing.

Conclusion
Start with the base routine and aim for thinness. One thin base, two thin color coats, and a no-wipe top coat is the easiest route to avoiding flooded cuticles.
If you try one change, stop using thick first coats and practice capping the free edge. It makes short gel nails look intentional and last longer.
Which part of this routine feels most intimidating to try at home?


