






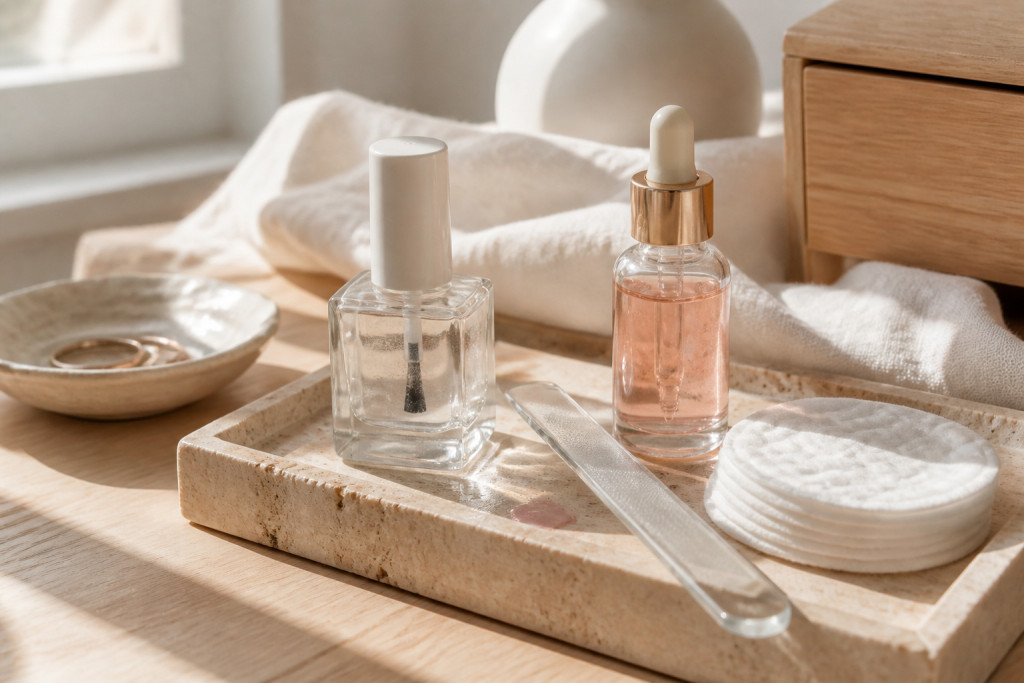

How to do transparent nails without cloudy spots became my weekend obsession after a disastrous at-home mani that looked foggy two hours later.
I spent $28 on products and a whole afternoon to figure out the exact order that actually gives glass-clear shine. This guide shows the low-cost start (around $15 to $50) and the one splurge that fixed my cloudy patches for good.
My vibe here is clean-girl minimal: sheer, glossy, intentionally undone edges. It works for short nails, long nails, and every skin tone because the trick is texture and technique, not a perfect brush stroke.
1. Start With a Clean Canvas: Deep Prep and Dehydration
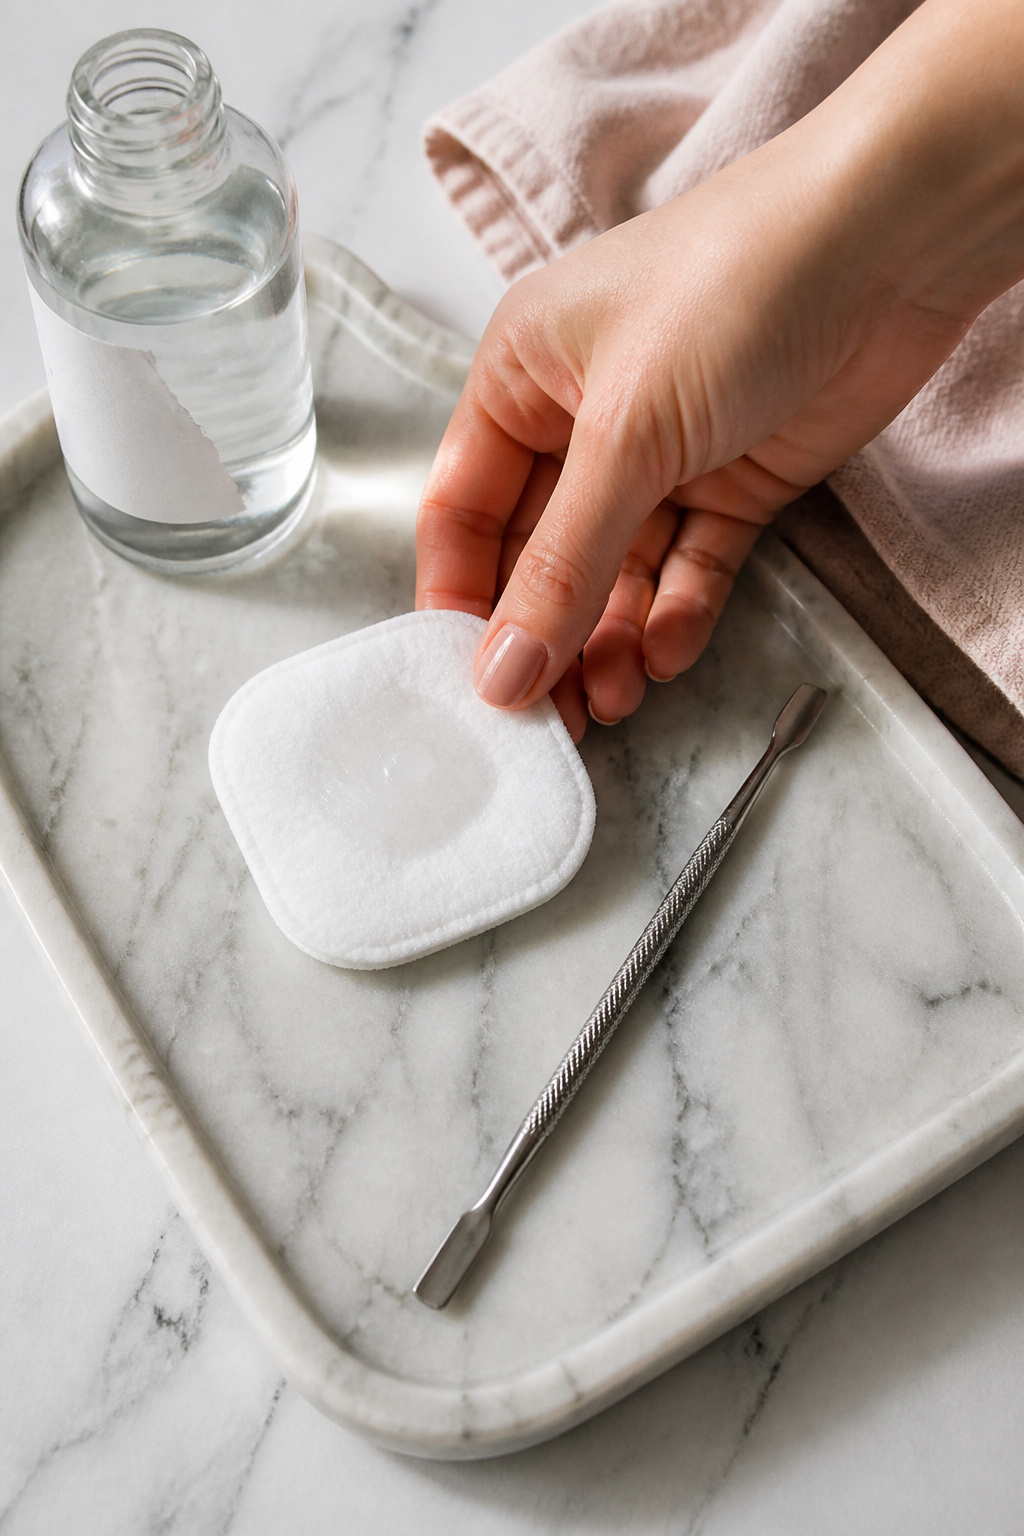

Clean nails are nonnegotiable. Any oil, lotion, or residue traps air and moisture under polish, which looks like cloudy spots later.
Start by removing old polish with a non-acetone remover. Then wipe each nail with Isopropyl alcohol 99 percent 16oz using Lint-free cotton pads 100pc.
Dehydrate the nail plate with a Nail prep dehydrator if you want salon-level reliability. I use a stainless steel cuticle pusher 2-in-1 to gently lift excess cuticle—do not over-scrape.
Visual principle: surface tension and adhesion. Clean, dry nails let polish level evenly. Mistake: skipping dehydration. What happens instead is instant beading and foggy patches.
2. Lay a Thin, Level Base: Bonding and Peel Options
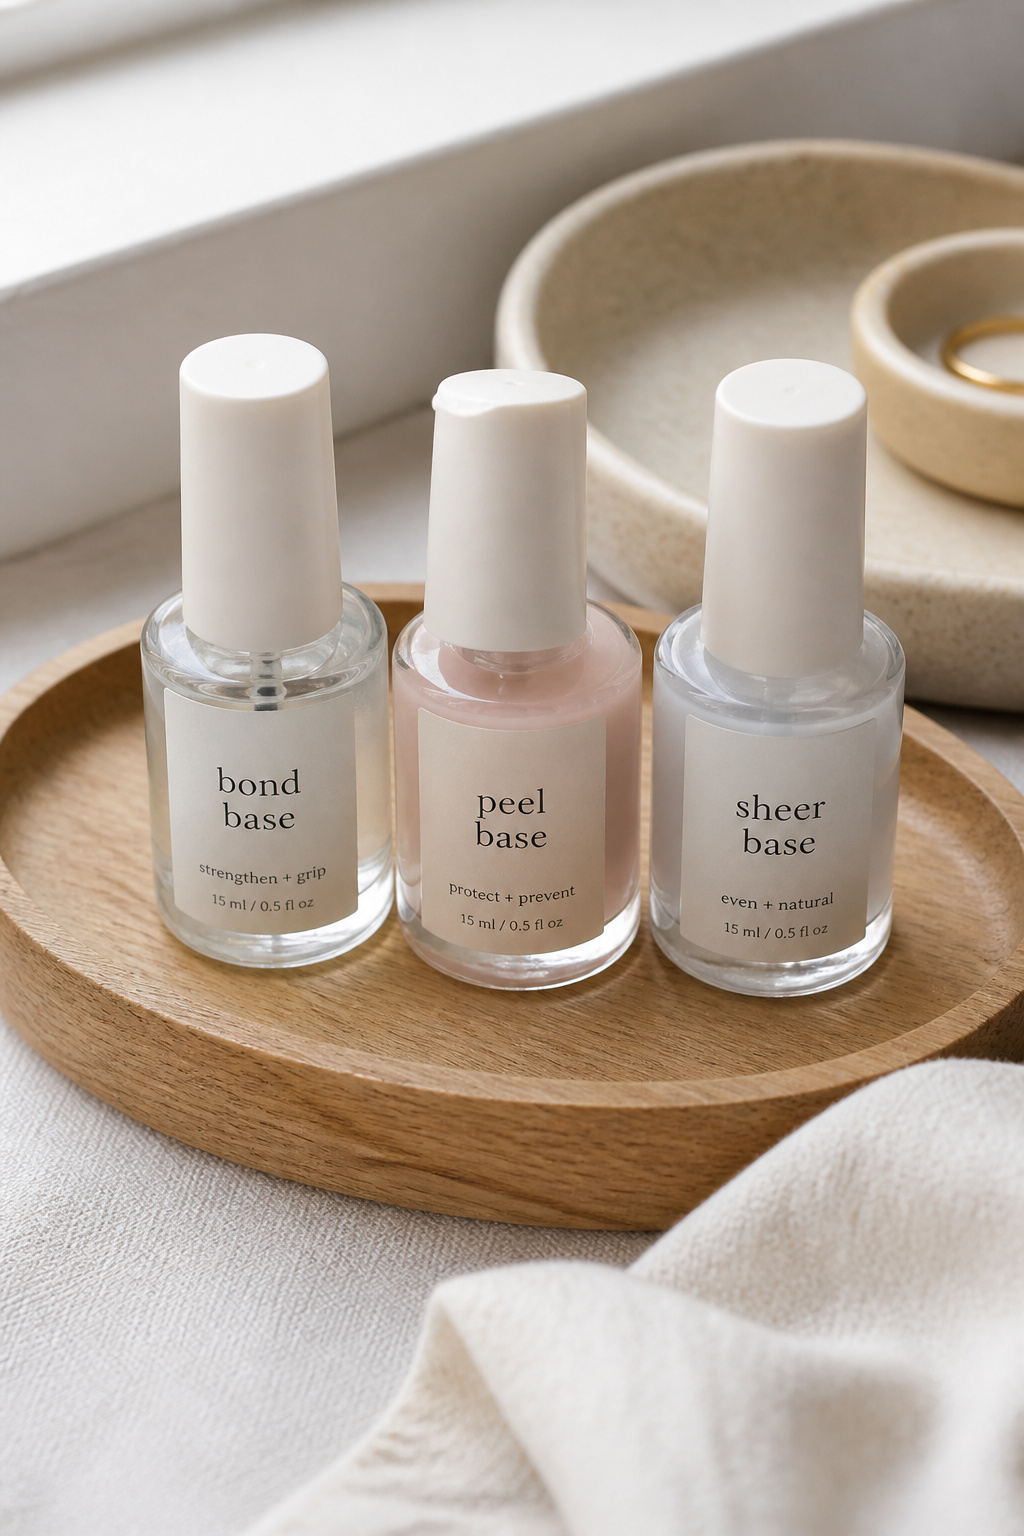

Choose a base that matches your lifestyle. For longest wear pick a sticky bonding base like CND Stickey base coat 0.5oz. For easy weekly changes try a peel-off base coat clear 15ml.
Apply one thin swipe down the center, then one each side. Thin layers avoid trapped solvent that later looks cloudy. Finish by capping the free edge.
Visual principle: thin film leveling. Too thick a base creates bubbles and milky spots. Mistake people make: globbing a base coat on to "speed up" the process. That only slows drying and traps air.
3. Paint Ultra-Thin Sheer Layers: Stretch, Not Plop
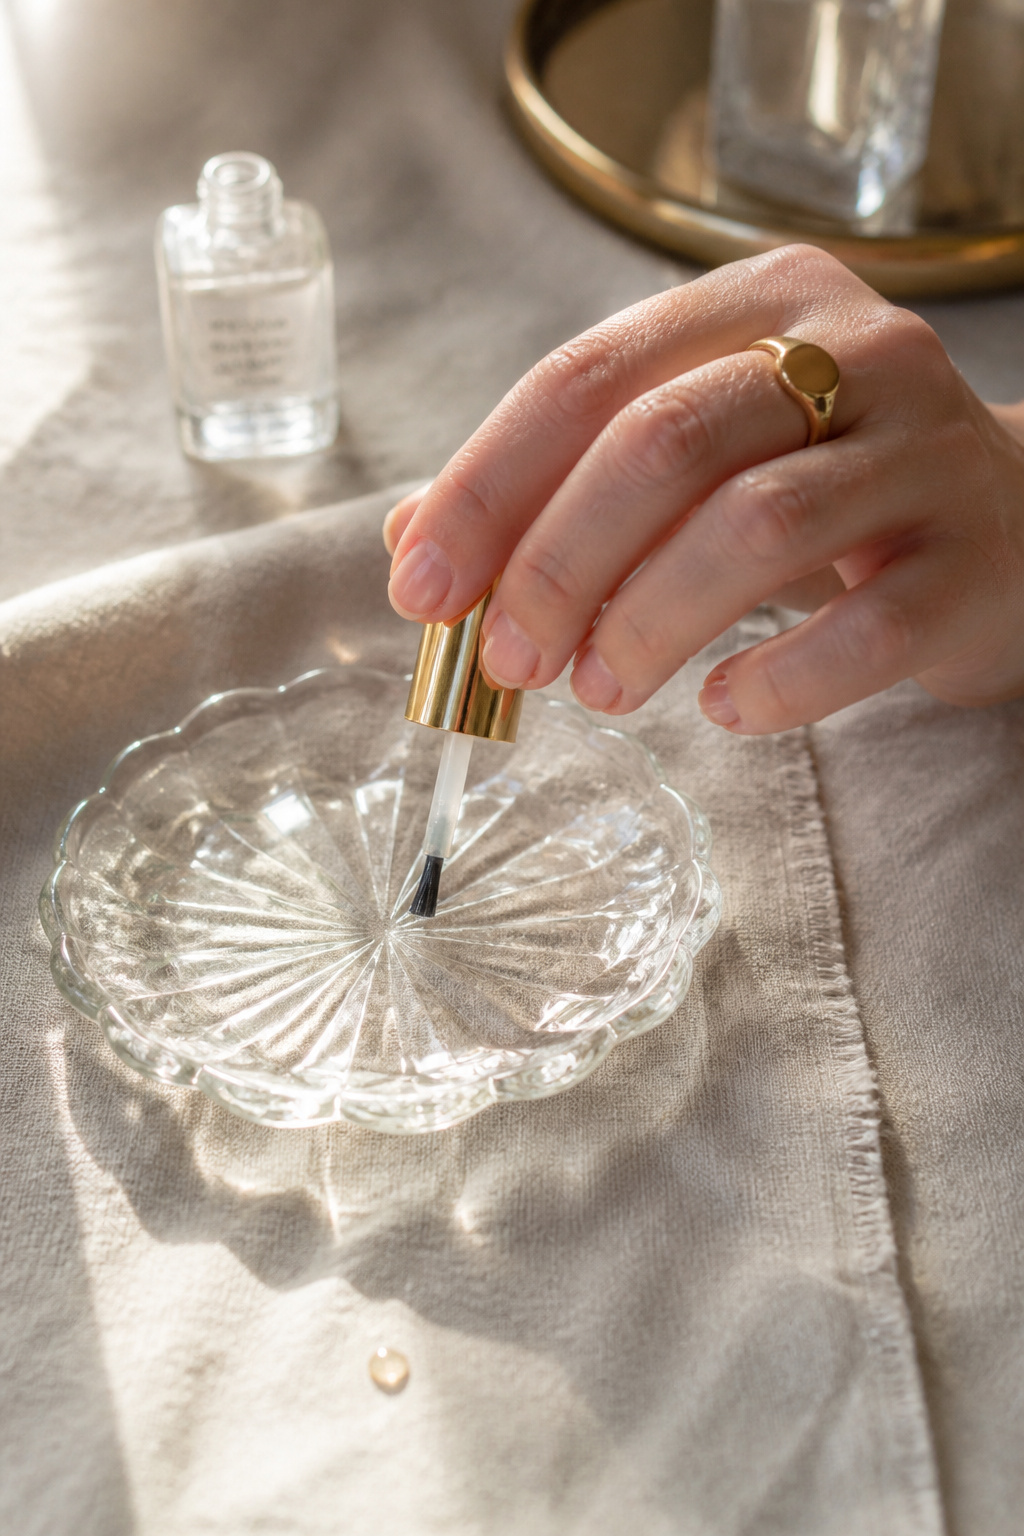

This is the phase that fixes cloudy spots or causes them. Use a high-quality clear like Sally Hansen Hard As Nails clear 0.5oz or a sheer glass-effect formula labeled "transparent finish".
Technique: load the brush, then drag most product off the neck. Start at the cuticle, place the brush, then stretch the polish to the tip in one long stroke. One thin layer, wait full 2 to 3 minutes, then a second thin layer if needed.
Visual principle: even evaporation. Thick coats trap solvent and create milky clouds. Mistake: shaking polish bottle. Instead, roll between palms to avoid bubbles.
I keep a small bottle of Nail polish thinner 10ml for older bottles that get gloopy. It saved me from 3 cloudy manis.
4. Lock It In: Fast-Dry Top Coat, Curing, and Final Care
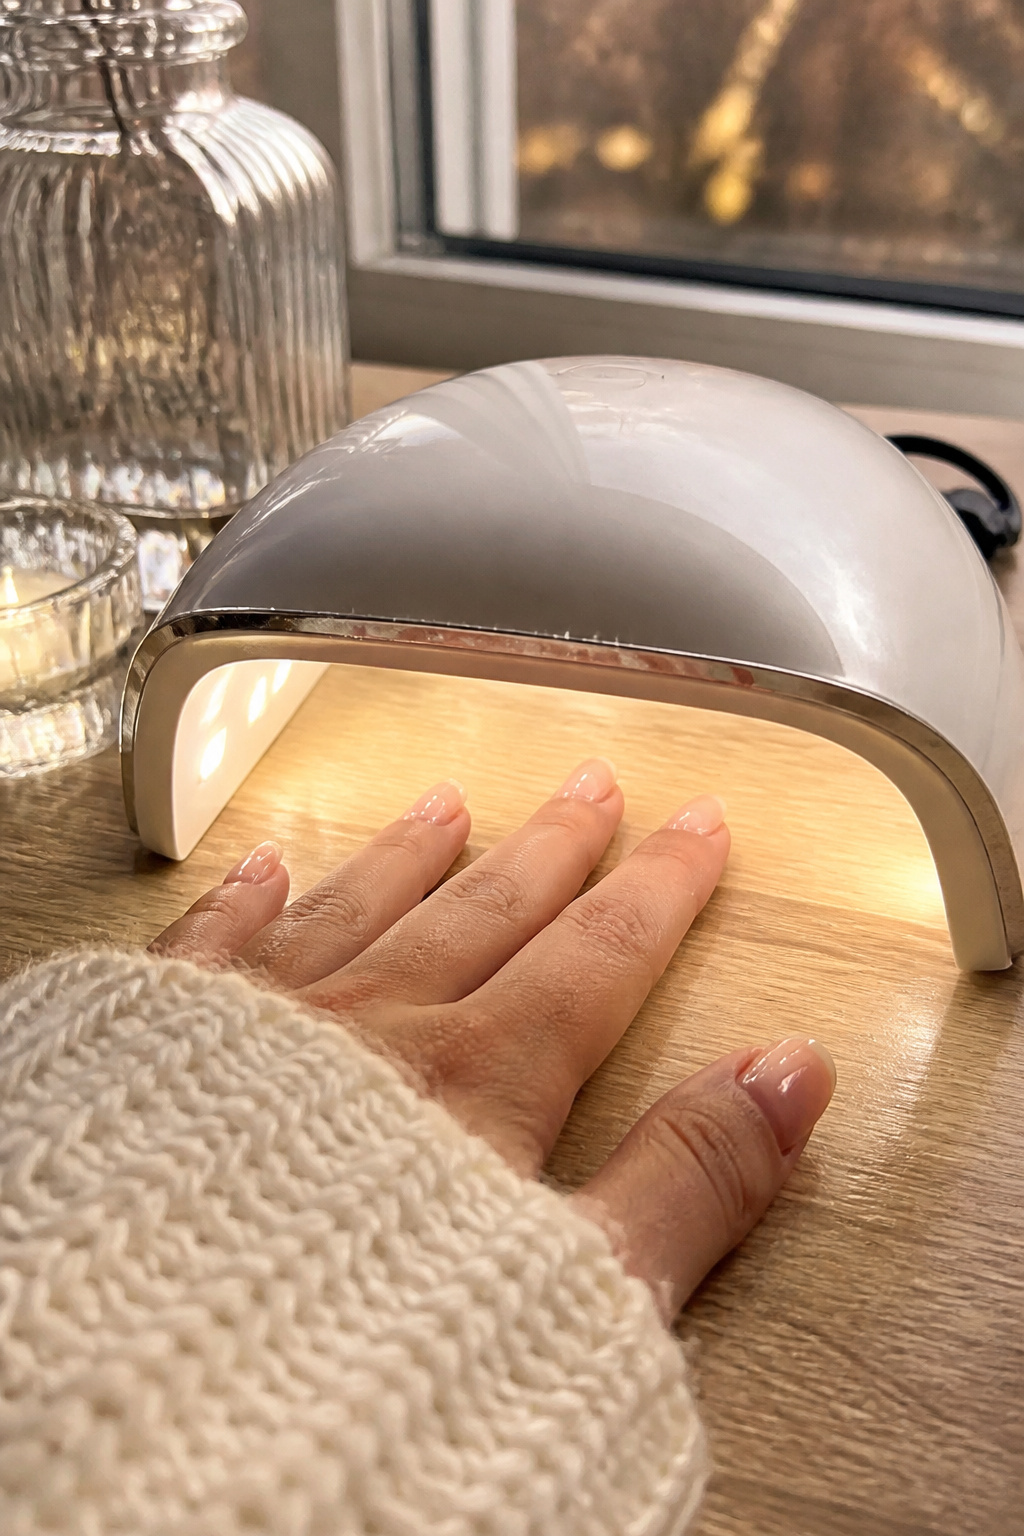

Finish with a glossy fast-dry top coat like Seche Vite fast dry top coat 0.5oz for mirror shine. For gel-level hardness use a thin layer of gel top coat cured under a UV LED nail lamp 48W.
After curing, swipe cuticle oil on the surrounding skin with Cuticle oil pen to soften edges and avoid lifting. Visual principle: sealing reduces oxygen contact that dulls clarity. Mistake: rushing curing/drying. Result: fingerprints, fog, and chips.


Common Styling Mistakes to Avoid
Mistake: Applying thick coats to save time
Why it doesn't work: Thick layers trap solvent and cure cloudy.
Do this instead: Apply thin layers and wait full 2 to 3 minutes; use Fast-dry top coat.
Mistake: Shaking polish vigorously before use
Why it doesn't work: Shaking creates microbubbles that surface as fog.
Do this instead: Roll the bottle between palms; try Nail polish thinner 10ml for separation.
Mistake: Skipping nail prep and dehydration
Why it doesn't work: Oils prevent adhesion and create milky patches.
Do this instead: Wipe nails with Isopropyl alcohol 99 percent 16oz before polish.
What You'll Need for This Look
Face & Base Essentials
Non-acetone nail polish remover 8oz around $6 to $12
Isopropyl alcohol 99 percent 16oz around $4 to $10
Nail prep dehydrator around $6 to $20
Eyes, Brows & Lips
Glass nail file 100/180 grit around $6 to $16
Cuticle oil pen around $5 to $12
Buffing block 4-way around $3 to $8
Clothing Staples
Soft linen shirt white approx $25 to $70
Shoes, Bags & Jewelry
Minimal gold signet ring size 6 around $12 to $40
Small leather tote tan approx $50 to $150
Budget Swaps
Drugstore clear top coat 0.5oz around $4 to $8
Peel-off base coat clear 15ml around $6 to $15
Shopping Guide for This Look
Seasonal tip: Buy top coats during spring sales; many brands run promos. Seche Vite fast dry top coat around $8 to $18.
Thrift hack: Score linen shirts at local thrift stores and pair with updated nails; freshen with a light steam. Linen shirt white approx $25 to $70.
2025 trend note: Glass manicure and transparent finishes are trending; stock clear, glossy top coats now. Fast-dry top coat around $6 to $18.
Splurge vs save: Splurge on a reliable lamp for gel sealing; save on basic glass files. UV LED nail lamp 48W approx $25 to $70.
Conclusion
Start with the prep. One clean, dehydrated nail beats three rushed layers every time.
If you try only one product, get a reliable fast-dry top coat and practice ultra-thin layers for a week.
Which step feels most annoying to you when you DIY manicure?


