








How to do white ombre nails at home became my pandemic life-saver after a $45 salon bill and a schedule conflict. I learned a clean, wearable gradient you can do for under $20 in supplies.
This guide shows the exact steps, the cheap tools that actually work, and the mistakes I made so you do not repeat them. Expect glossy, soft-milk gradients that read polished next to your favorite white tee.
My vibe here is clean-minimal, slightly lived-in, the kind of manicure that pairs with gold rings and a linen shirt. Start-up cost: about $15 to $35. If you want gel longevity, add $30 to $60 for a lamp and gel top coat.
1. Set a Smooth Canvas: File, Buff, Prime


Start here because everything depends on shape and adhesion. File to a soft square or rounded edge and lightly buff the nail plate. That matte micro-roughness helps polish stick.
Use a strengthening base. A peel-off base coat is my secret when I want a fast change. Try Peel off base coat clear around $7 to $12 and Strengthening base coat hardener approx $6 to $15.
Visual principle: a smooth, slightly porous base prevents streaks and patchy gradients. Buffing evens out ridges so the ombre reads soft, not bumpy.
Mistake people make: skipping lint-free cleansing. Nail dust and oils break down polish adhesion. Wipe each nail with acetone nail polish remover pads before polish.
2. Build the Gradient: Sponge Technique for Milky Fade
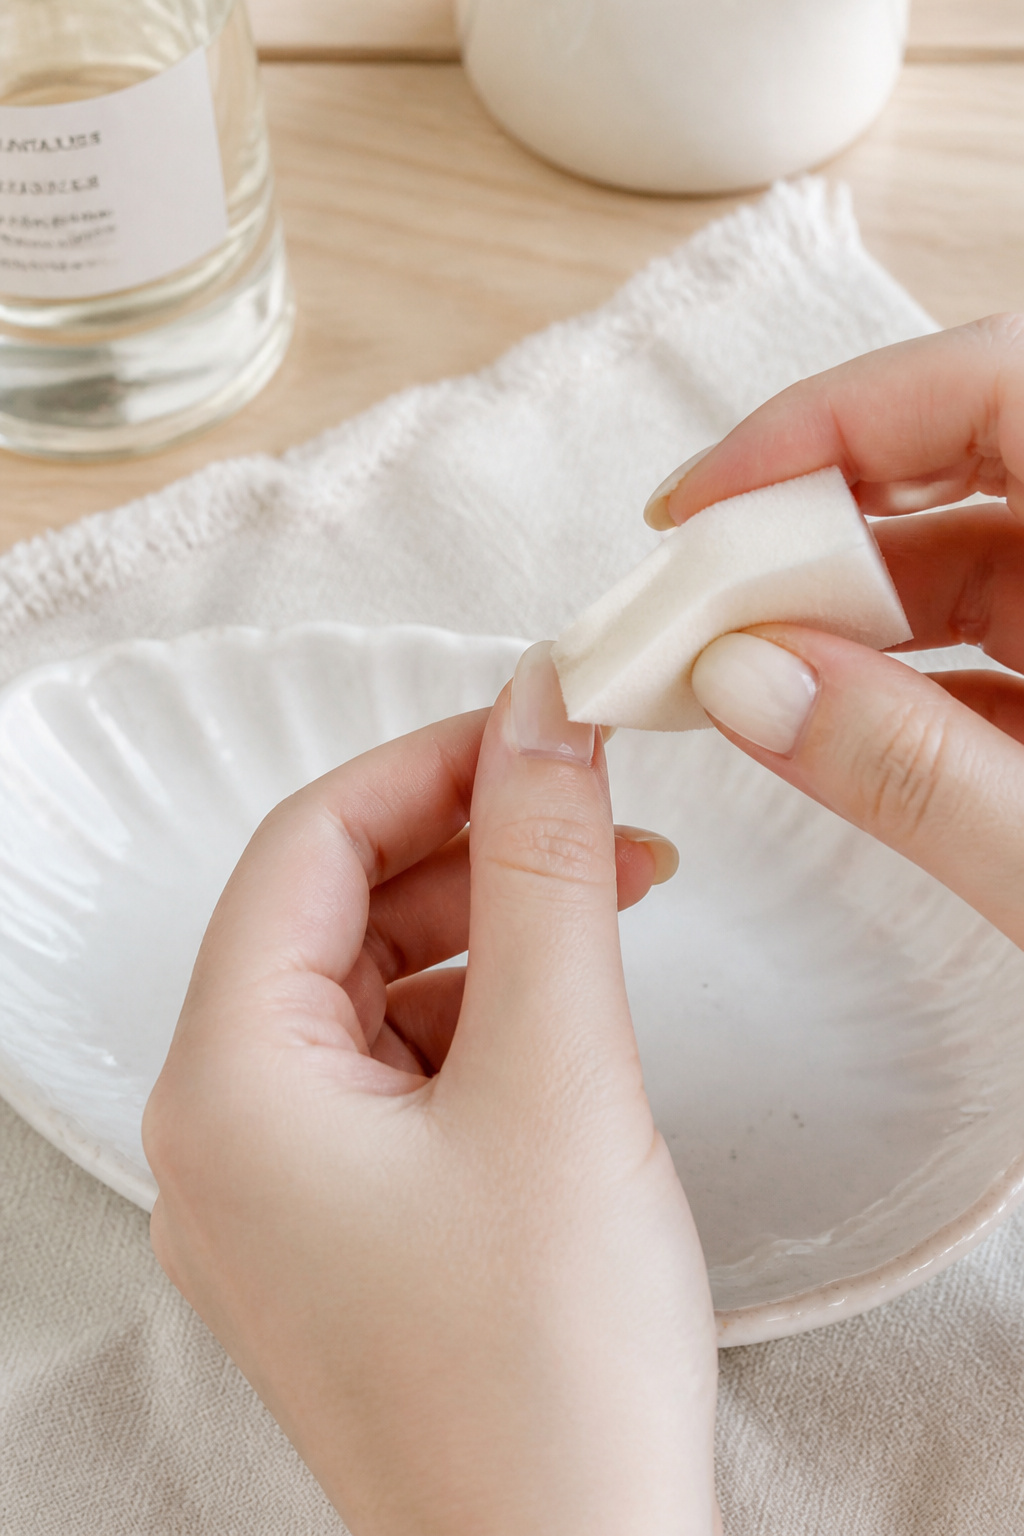

The trick is layering thin, semi-sheer coats not thick blobs. Put a line of milky white and a line of nude on a plastic palette about 1 cm apart. Dab a triangular makeup sponge between them, then gently press and roll onto the tip of the nail toward the center.
Products I use: Milky white nail polish around $4 to $12, Nude beige nail polish approx $4 to $12, and Makeup sponge wedges pack about $5 to $10.
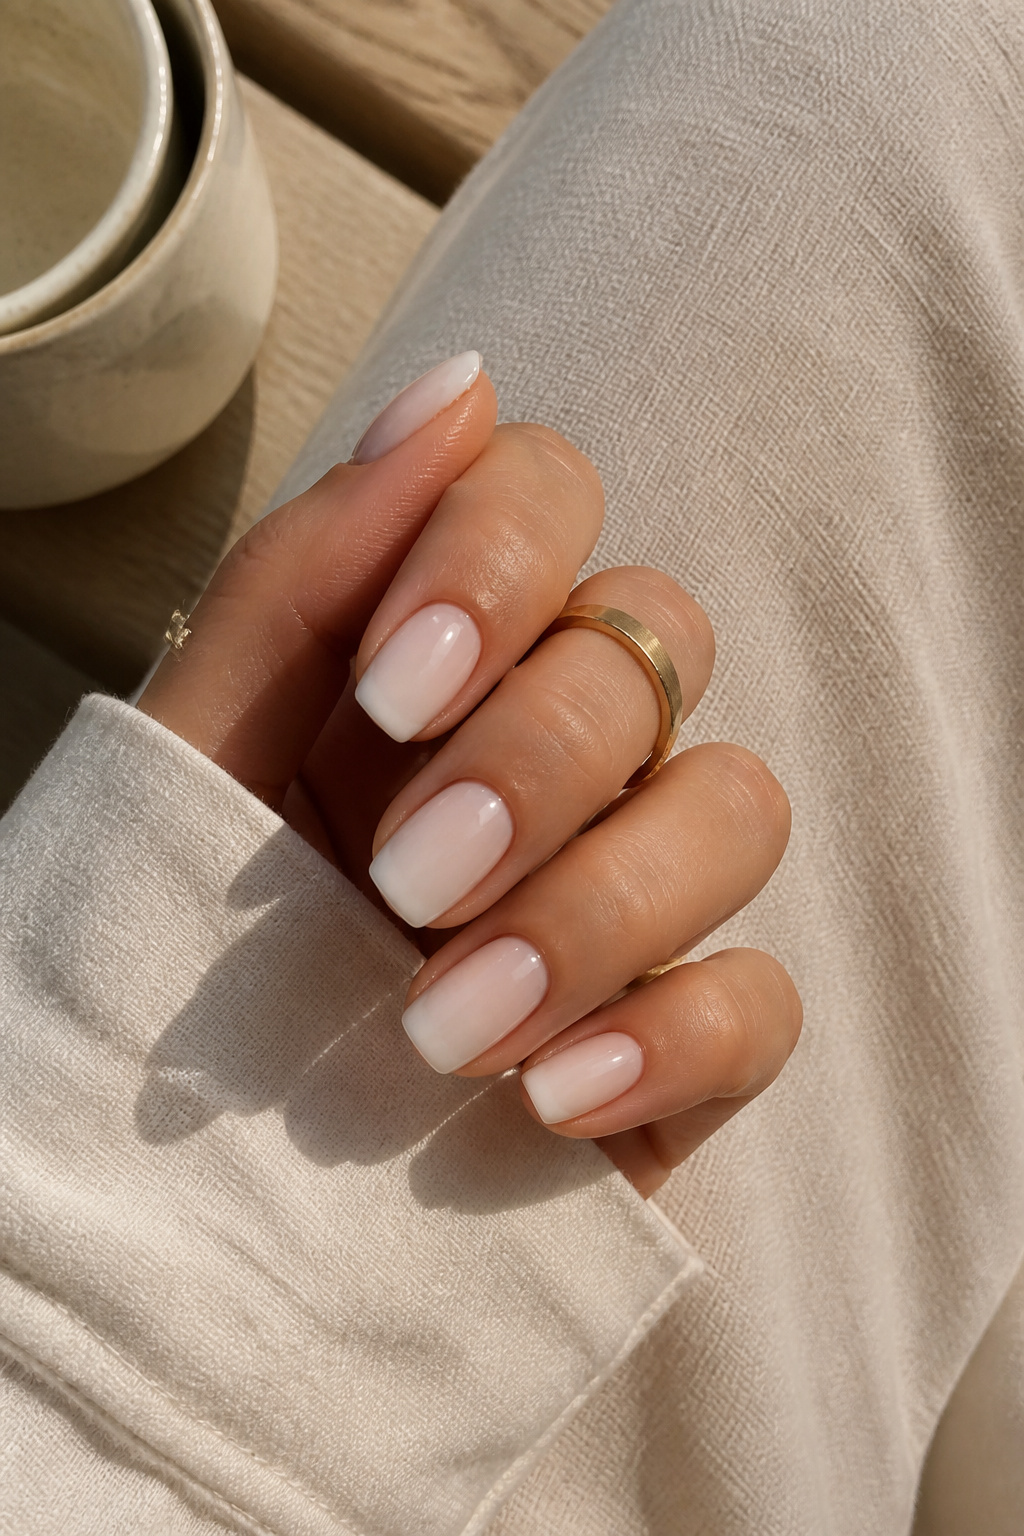
Color principle: soft contrast sells the ombre. The milky white fades into warm nude, so choose a nude with the same undertone as your skin. Warm undertones pair with caramel-nudes, cool tones with pink-beiges.
Common error: pressing hard. That stretches the polish and leaves harsh lines. Tap lightly, let each thin layer dry, then repeat until the fade looks seamless.
3. Clean Lines and Nail Bed Care: Tiny Tools, Big Difference
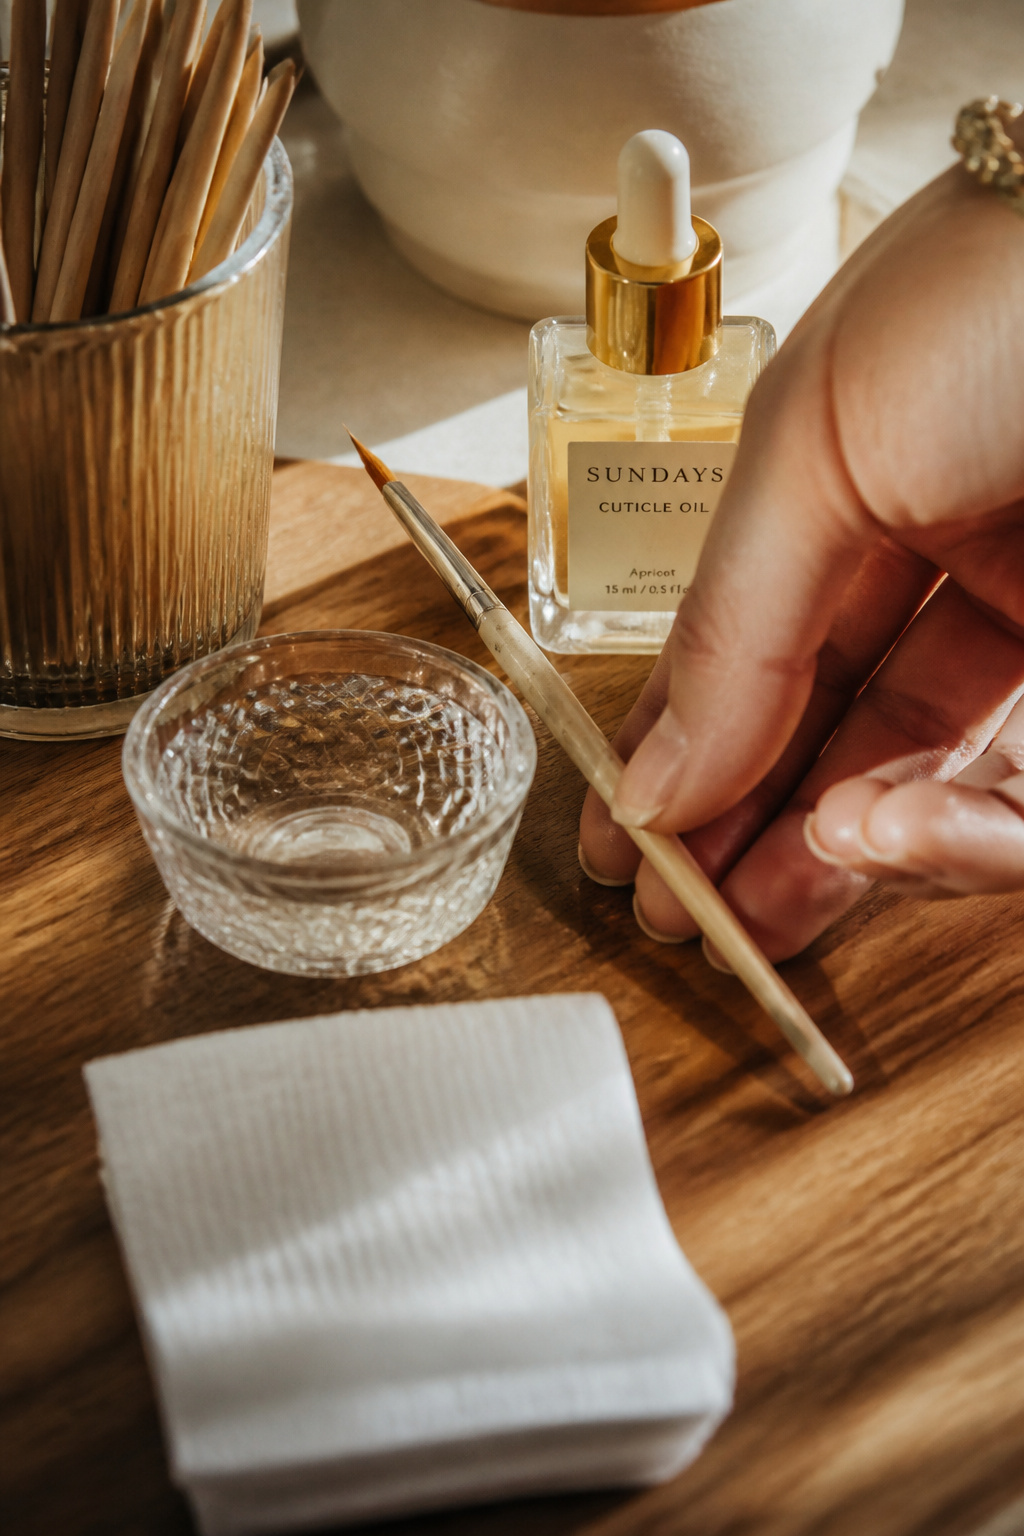

After the gradient is dry, run a small angled cleanup brush dipped in acetone around the cuticles. That crisp edge makes the ombre look salon-made.
Link these: Nail art cleanup brush fine approx $6 to $12, Orange wood sticks pack around $3 to $8, Cuticle oil dropper bottle $5 to $14.
Visual rule: a neat negative space at the cuticle makes nails look longer. Keep the fade starting slightly off center, so the lighter tip reads crisp.
Mistake: cutting or over-pushing cuticles. That causes tears and lifts later. Push gently and oil daily for 3 days after the manicure.
4. Seal, Shine, and Style Hands for Photos


Finish with two thin coats of a glossy quick-dry top coat. The first seals the gradient. The second smooths any texture from sponging.
Try Quick dry glossy top coat around $6 to $14 and for gel lovers LED gel top coat 48w lamp combo approx $30 to $60.
Style your hands with warm-metal jewelry to contrast the milky white. Thin gold stacking rings and a linen cuff read modern and effortless.
Ugly truth: too much top coat pools at the cuticle and wrinkles when it dries. Use thin strokes and let nails lie flat for final cure.
Common Styling Mistakes to Avoid
Mistake: Using thick coats for faster coverage
Why it doesn't work: Thick polish puddles, streaks, and takes forever to dry.
Do this instead: Layer thin coats and use a quick dry top coat for speed.
Mistake: Choosing high-contrast white to dark nude for an ultra-gradient
Why it doesn't work: The fade looks harsh and dated.
Do this instead: Pick a milky white polish and a close nude undertone for soft transition.
Mistake: Skipping hand care after manicure
Why it doesn't work: Dry cuticles make the manicure look unkempt fast.
Do this instead: Use cuticle oil nightly and a sheer hand cream SPF.
What You'll Need for This Look
Face & Base Essentials
Peel off base coat clear around $7 to $12
Buffer block nail 4-sided about $4 to $10
Eyes, Brows & Lips
Cuticle oil dropper bottle $5 to $14
Quick dry top coat around $6 to $14
Clothing Staples
White cotton tee relaxed fit approx $12 to $35
Straight leg high waist jeans dark wash $30 to $90
Shoes, Bags & Jewelry
Leather loafers womens tan $40 to $120
Gold stacking rings set $8 to $30
Leather tote bag tan $40 to $150
Budget Swaps
Makeup sponge wedges pack about $5 to $10
Milky white nail polish $4 to $12
Shopping Guide for This Look
Seasonal tip: Buy base and top coats during Ulta promos or Amazon Prime Day for bundles like Strengthening base coat hardener $6 to $15.
Thrift hack: Pair thrifted gold rings with new gold stacking rings set $8 to $30 for a curated look.
2025 trend: Clean, milky manicures are trending in 2025; pick soft neutrals like Nude beige nail polish $4 to $12.
Splurge vs save: Splurge on a good top coat like LED gel top coat lamp combo $30 to $60, save on basic polish shades.

Conclusion
Start with one high-impact change: the sponging technique plus a quick-dry top coat. That combo took my nails from bland to intentionally curated in under 30 minutes.
If you are on a strict budget, buy a neutral polish trio and a pack of sponges first. What other nail looks do you want a budget-friendly how-to for next?


