








My nails used to look like tiny paint swaths. Thick, bumpy gel layers that caught on everything and yellowed in a week.
If you want to know how to get smooth ombre nails without thick gel layers, I’ll show you the exact order, tools, and product combos that work. This is doable at home for about $35 to $120 depending on lamp and polishes.
This method suits short-to-medium nails, neutral-toned wardrobes, and anyone who likes a soft, lived-in manicure that lasts without extra bulk.
Stat check I keep in my head: industry reports show the at-home nail segment is growing each year (Statista), and many pros now prefer thin-building gels to prevent lifting (Nail salon trade surveys). That’s why thin layers matter.
1. Prep for a Flawless Canvas: Buff, Clean, and Thin Base


Start with a lightly buffed surface and zero dust. The trick is very gentle buffering to remove shine so thin products adhere.
Use a 100/180 grit nail file and a 4-sided nail buffer block. File in one direction for shape, then buff the shine lightly.
Cleaning is non-negotiable. Wipe each nail with 99% isopropyl alcohol on lint free nail wipes. That removes oils that make thin gels lift.
Common mistake: over-sanding to a raw nail. That creates thin spots and makes color sit uneven. Instead, aim for satin grip not raw mattity.
Result: a smooth, slightly toothy base so your next paper-thin layers lay flat and even.
2. Build Color in Featherlight Layers: Sheer Gels and Sponging


The visual goal here is depth without thickness. I layer sheer gels like watercolor.
Use two sheer shades: a Sheer pearl pink gel polish and a Sheer nude gel polish. Dab color with small ombre nail sponges to graduate pigment, not pile it on.
Apply a very thin coat of Thin builder gel base coat first, cure 30 seconds under a 48W UV LED lamp. Then sponge the lighter shade at the tip, warm shade at the base, and blend with a feathering motion.
People assume more product equals more depth. That is false. Heavy coats trap air and make visible ridges. Keep each gel swipe thin and cured between passes for a glass-smooth ombre.
3. Smooth the Surface: Thin Top Coats and Filler Strokes
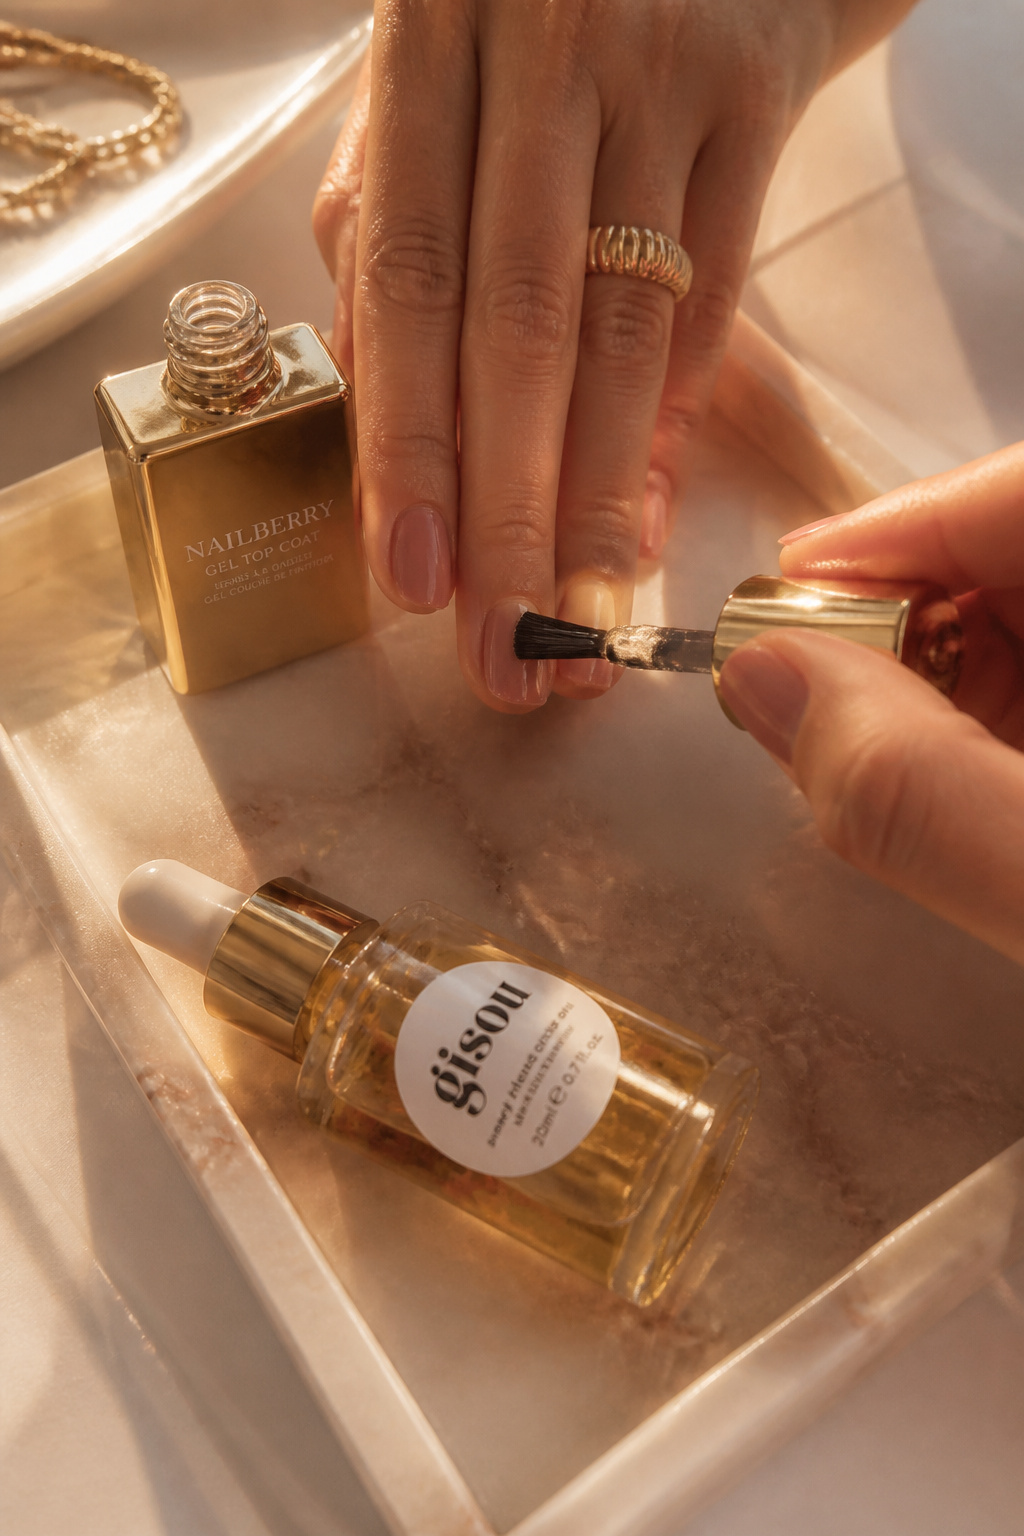

After color, refine texture. The visual trick is using a thin, slightly viscous top coat to fill micro-ridges.
Use a High gloss gel top coat applied in an even swipe from cuticle to tip. Cure fully under your LED lamp.
If you see tiny bumps, a second ultra-thin layer of top coat will self-level. For stubborn texture, lightly buff with a 4-sided nail buffer block and re-wipe with 99% isopropyl alcohol before a final thin seal.
Common mistake: slathering thick top coat to hide mistakes. That creates a domed look and chips faster. Thin, even seals give a salon-smooth finish and natural profile.
4. Hand Styling and Wear: Cuticle Care, Rings, and Low-Bulk Looks


The manicure reads best in context. Treat hands like part of an outfit.
Finish with a tiny drop of Cuticle oil with dropper on each nail and rub in. For longevity, wear gloves for heavy washing and use a Rich hand cream 3.4 oz nightly.
Accessorize with low-profile jewelry that complements the soft ombre. I like a Gold pearl signet ring and thin stackable bands to emphasize short nails without overpowering them.
Ugly truth: bulky rings and long cuffs make delicate ombre look off-balance. Keep jewelry proportional to nail length and texture.
Common Styling Mistakes to Avoid
Mistake: Applying heavy builder gel to mask uneven color
Why it doesn't work: Creates visible thickness and chips sooner.
Do this instead: Use a Thin builder gel base coat and layer sheer color in cured passes.
Mistake: Rubbing cuticles with acetone-soaked cotton to "clean up" edges
Why it doesn't work: Over-softens skin and lifts gel.
Do this instead: Use a Soft nail brush and trim excess after curing.
Mistake: Skipping alcohol wipe before top coat
Why it doesn't work: Traps oils and causes bubbling or lifting.
Do this instead: Wipe with 99% isopropyl alcohol on lint free nail wipes.
What You'll Need for This Look
Face & Base Essentials
Thin builder gel base coat around $8 to $22
100/180 grit nail file around $4 to $12
99% isopropyl alcohol around $6 to $14
Eyes, Brows & Lips
(Keep nails the focus; small beauty extras for photos) Rich hand cream 3.4 oz approx $8 to $20
Cuticle oil with dropper around $6 to $18
Clothing Staples
White cotton tee crewneck approx $12 to $40
Straight leg high waist jeans dark wash $25 to $90
Shoes, Bags & Jewelry
Leather loafers black $40 to $160
Leather tote bag tan $55 to $220
Gold hoop earrings small $8 to $60
Budget Swaps
Ombre nail sponges pack low cost $4 to $12
High gloss gel top coat affordable $6 to $20
Shopping Guide for This Look
Time your buy: Buy lamps on Prime Day or Black Friday for best deals; 48W UV LED lamp around $20 to $70.
Thrift hack: Pair thrifted rings with a new Gold pearl signet ring for high-low polish, $12 to $45.
2025 trend note: Minimal, soft ombre and short nails are trending for 2025; pick two sheer gel tones like pearl pink and warm nude with a Sheer pearl pink gel polish $7 to $22.
Splurge vs save: Splurge on a reliable lamp like 48W UV LED lamp for curing control; save on sponges and buffers with ombre nail sponges $4 to $12.
Pro tip: Buy refills of lint free nail wipes so you never skip the wipe step, $6 to $18.
Conclusion
Start with the prep. A thin, clean base is the highest-impact step for smooth ombre without bulk.
Pick two sheer tones, sponge in gentle passes, and seal with thin top coats. Keep rings small and hands moisturized for the final look.
Which two sheer shades are you trying first?


