



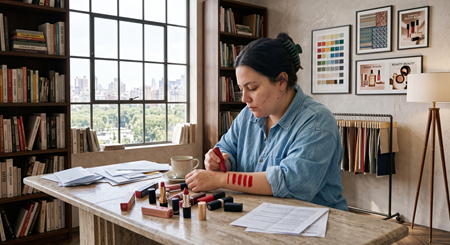

How to make cat eye makeup even was a question I asked every mirror I owned for years. One wing would be perfect and the other would look like abstract art.
I finally stopped blaming shaky hands and learned a system that fixes the asymmetry fast. This guide teaches the exact order, three tools I lean on every time, and a wardrobe trick to make your liner read balanced in photos. Budget: start under $40, build to $120 for pro finishes.
Clean, modern, slightly glowy vibe. Works best if you like soft glam that still looks lived-in. Suits most skin tones; if you have hooded lids I’ll note the tiny tweaks that help. I’ve noticed search interest for winged liner climbed again in early 2025 on Google Trends, so timely pick.
1. Start with the Canvas: Prime Eyes and Lashes


Prep matters because liner sits on whatever you build first. I prime the lid and give lashes a quick lift so the wing lines up with the lash line naturally.
Use a hydrating eye primer and a classic metal lash curler to make the lid smooth and lashes lifted. I like this Hydrating eye primer and this Classic metal lash curler for the duo.
The visual principle: even tension across the lid keeps angles consistent. Apply primer from inner to outer lid in thin strokes, then curl lashes while looking slightly down to match natural lid crease.
Mistake people make: skipping primer because they are rushing. That creates feathering later. Instead, take 30 seconds to prime; the wing will glide on and stay crisp.
2. Map The Wing: Stencils, Dots, and Angles


The trick is planning the angle before ink hits skin. I always map three points: outer corner, tail tip, and where the wing meets the lash line.
Tools: a precision eyeliner stencil kit and makeup-safe micro tape. Try this Precision eyeliner stencil kit and this Makeup micro tape.
Place the outer point first by aligning tape with your lower lash line. Connect to the outer half of the lash line with tiny dots. This uses geometry: two points define a line, three make a repeatable shape.
Mistake: drawing freehand on both eyes at once. Instead, map one eye fully, then mirror the tape or dots to the other. That reduces the “one wing thin, one wing dramatic” problem.
3. Ink Precisely: Liquid Tip Tricks That Match


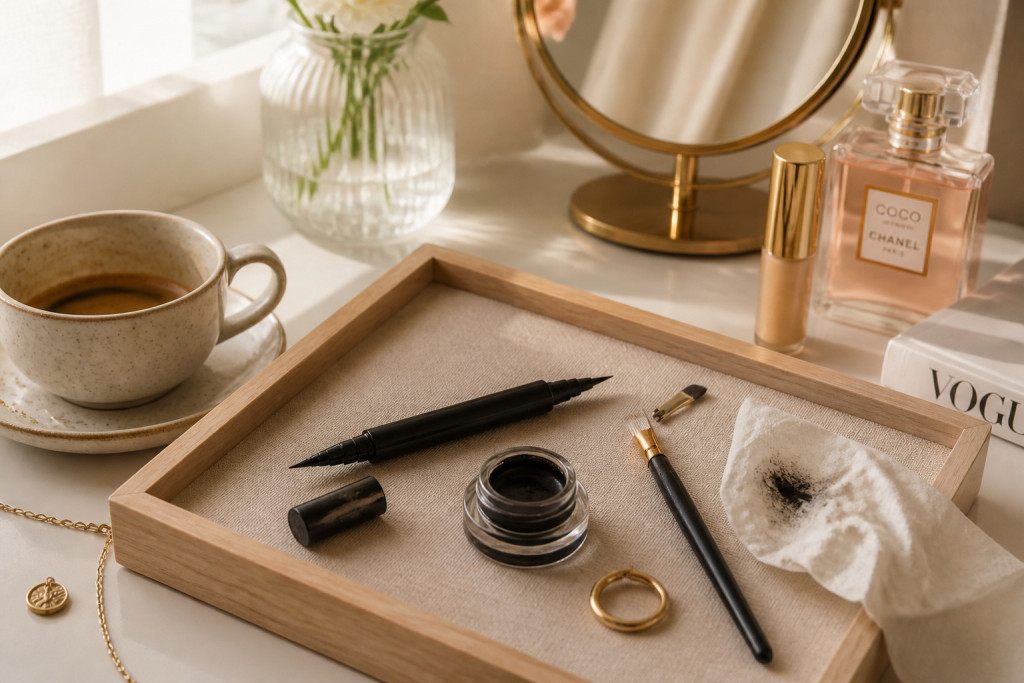
Pick the tool that mirrors your hand control. I use a felt-tip liquid liner for the tail and a gel pot with an angled brush for the inner lash line.
My go-tos: Felt tip liquid liner black for crisp edges and Waterproof gel eyeliner pot for tightlining.
Technique: draw the outer wing in short strokes, connect dots, then fill. Use the gel from inner corner to mid-lid to anchor the wing visually. This balances contrast across the eye.
Mistake: trying to draw one uninterrupted line. Break it into tiny marks. If one wing looks heavier, thin it with a damp smudger brush and coffee-colored shadow to keep it soft but even.
4. Match and Balance: Conceal, Smudge, and Set


Fixes win the battle for symmetry. I always clean edges with a narrow concealer brush, then set to stop migration.
My essentials: Mini precision concealer brush and Full coverage concealer. Finish with Translucent setting powder travel.
Use a tiny amount of concealer on a flat brush to carve the wing edge, then press a smudger brush over the border to blend the skin back. The visual rule: crisp edge plus softened tail reads intentional, not surgical.
Mistake: over-erasing and creating a stiff, obvious correction. Work in micro-layering so the fix reads natural in photos.
5. Finish the Look: Brows, Lips, and Outfit Tie-In
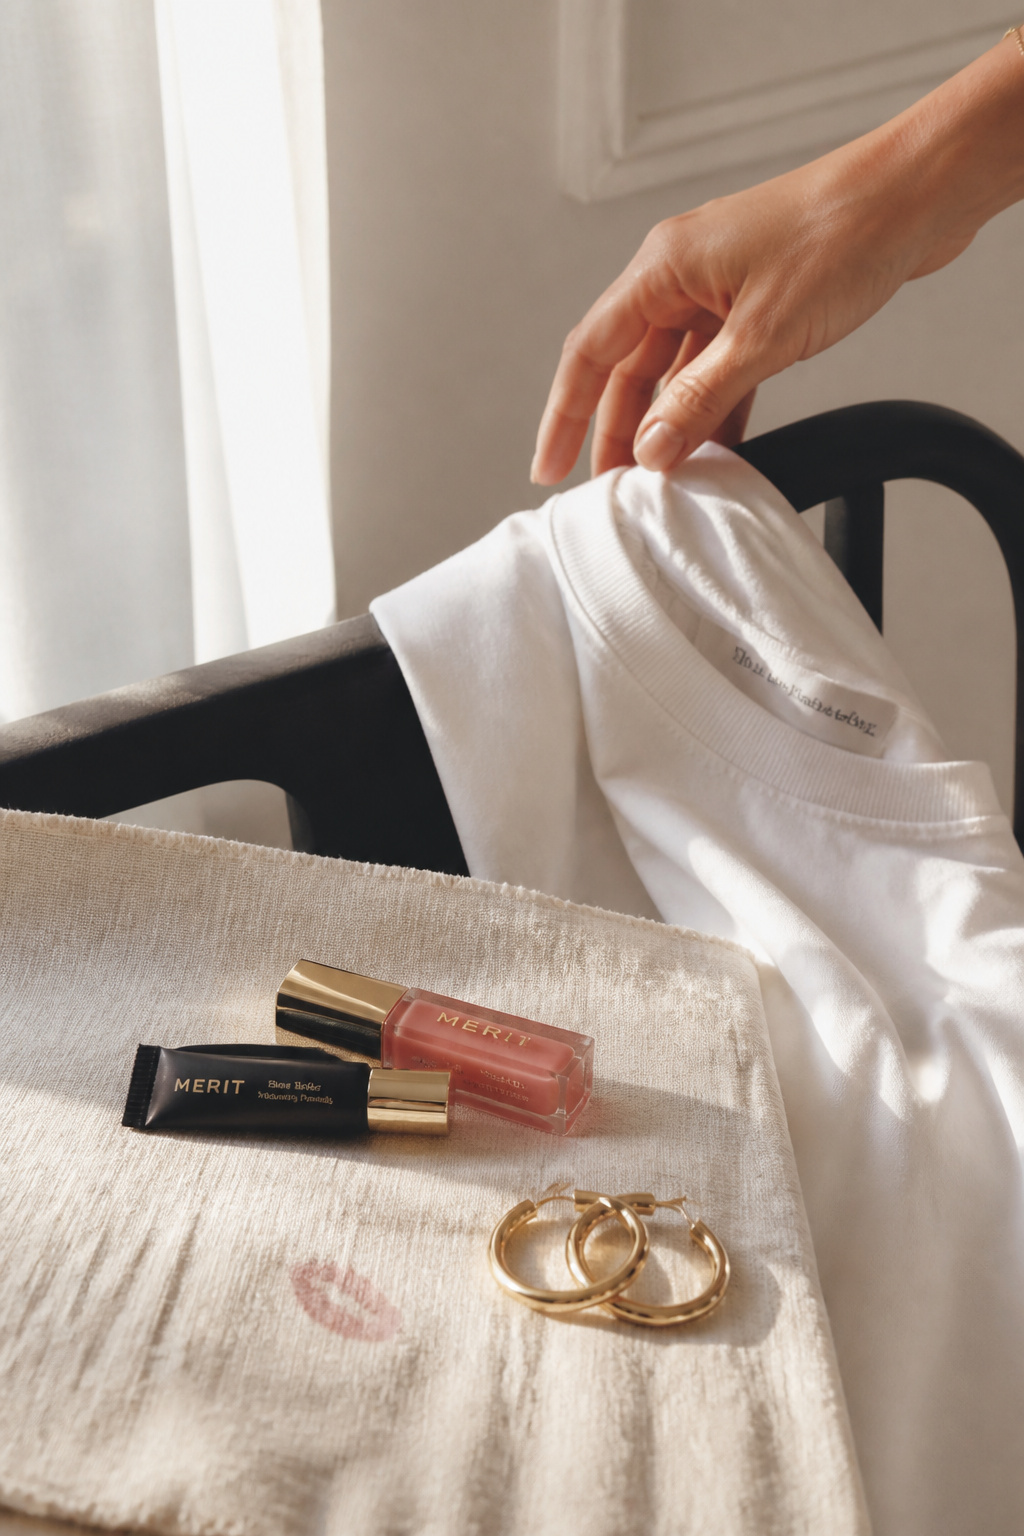

A balanced cat eye needs supporting details. I keep brows softly brushed and lips tonal so the eyes stay the focal point.
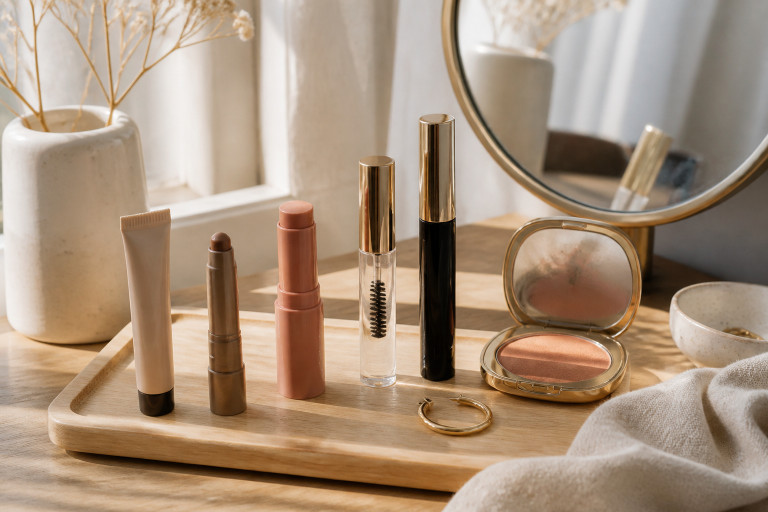
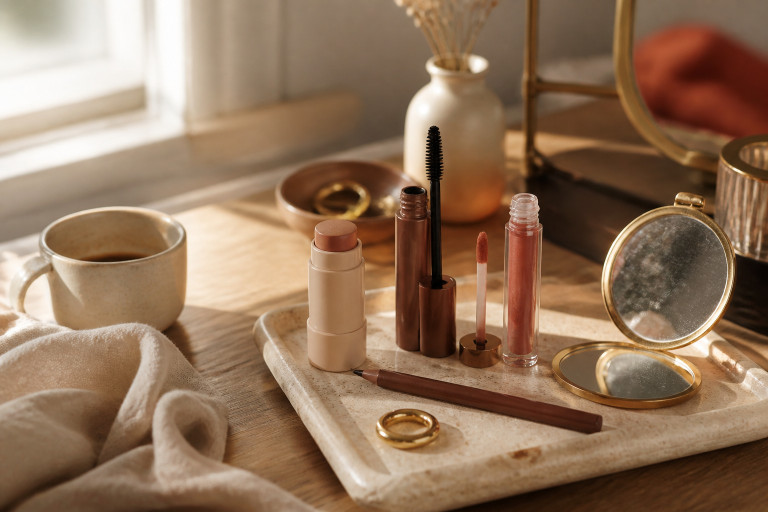
Try Tinted brow gel clear and Tinted lip oil sheer rose. For outfit, a crisp White tee crewneck cotton and Straight leg high waist dark wash jeans keep the look grounded.
Polish brows with quick upward strokes. Swipe lip oil to warm the face and avoid competing with the liner. The visual trick: tonal lips pull attention back to the eyes and create harmony with the outfit.
Mistake: pairing a bold red lip with heavy wings for day. Choose one focal point and let the other play support.
Common Styling Mistakes to Avoid
Mistake: Drawing both wings freehand at once
Why it doesn't work: Small hand shifts make one side heavier.
Do this instead: Map one wing fully, then mirror with Precision eyeliner stencil kit.
Mistake: Skipping primer to save time
Why it doesn't work: Liner feathers and shifts on oily lids.
Do this instead: Use a Hydrating eye primer for a smooth base.
Mistake: Erasing corrections with too much concealer
Why it doesn't work: Creates stiff, obvious edges.
Do this instead: Clean edges with a Mini precision concealer brush and blend with a smudger.
What You'll Need for This Look
Face & Base Essentials
Hydrating eye primer around $10 to $20
Full coverage concealer about $8 to $30
Translucent setting powder travel around $6 to $28
Eyes, Brows & Lips
Felt tip liquid liner black approx $6 to $24
Waterproof gel eyeliner pot about $7 to $30
Tinted brow gel clear around $6 to $18
Clothing Staples
White tee crewneck cotton approx $10 to $40
Straight leg high waist dark wash jeans about $30 to $100
Shoes, Bags & Jewelry
Leather loafers women tan around $40 to $160
Leather tote bag tan approx $60 to $200
Gold chunky hoop earrings 14k look about $12 to $60
Budget Swaps
Drugstore felt tip liquid eyeliner around $4 to $12
Makeup micro tape about $3 to $10
Shopping Guide for This Look
Seasonal tip: Buy liners in spring launches and Black Friday sales; try Felt tip liquid liner black during sale for best value.
Thrift hack: Pair a thrifted blazer with a new White tee crewneck cotton to keep the look polished on a budget.
2025 trend note: Tonal makeup remains strong; pick a Tinted lip oil sheer rose for that look.
Splurge vs save: Splurge on a reliable Classic metal lash curler approx $20 to $40, save on stencil kits under $15.
Conclusion
Start by mastering the mapping step. Once you can reliably place three points, every other correction becomes a small nudge.
My last tip: pick one tool you practice with for a month and ignore the rest. Which liner are you most tempted to try first?