








I ruined a manicure at a wedding once by layering opaque polish and expecting it to read jelly. That was $28 down the drain and a lesson.
If you want to learn how to make jelly nails with that sheer candy finish, I’ll show you the five simple phases I use at home. Expect to spend under $40 to start, about $80 if you buy nicer tools.
This look reads soft Y2K and tactile, great on warm and cool undertones. I’ve noticed beauty editors pushing translucent, candy finishes for 2025, so this feels current and wearable.
1. Start with the Glow: Nail Prep and Sheer Base
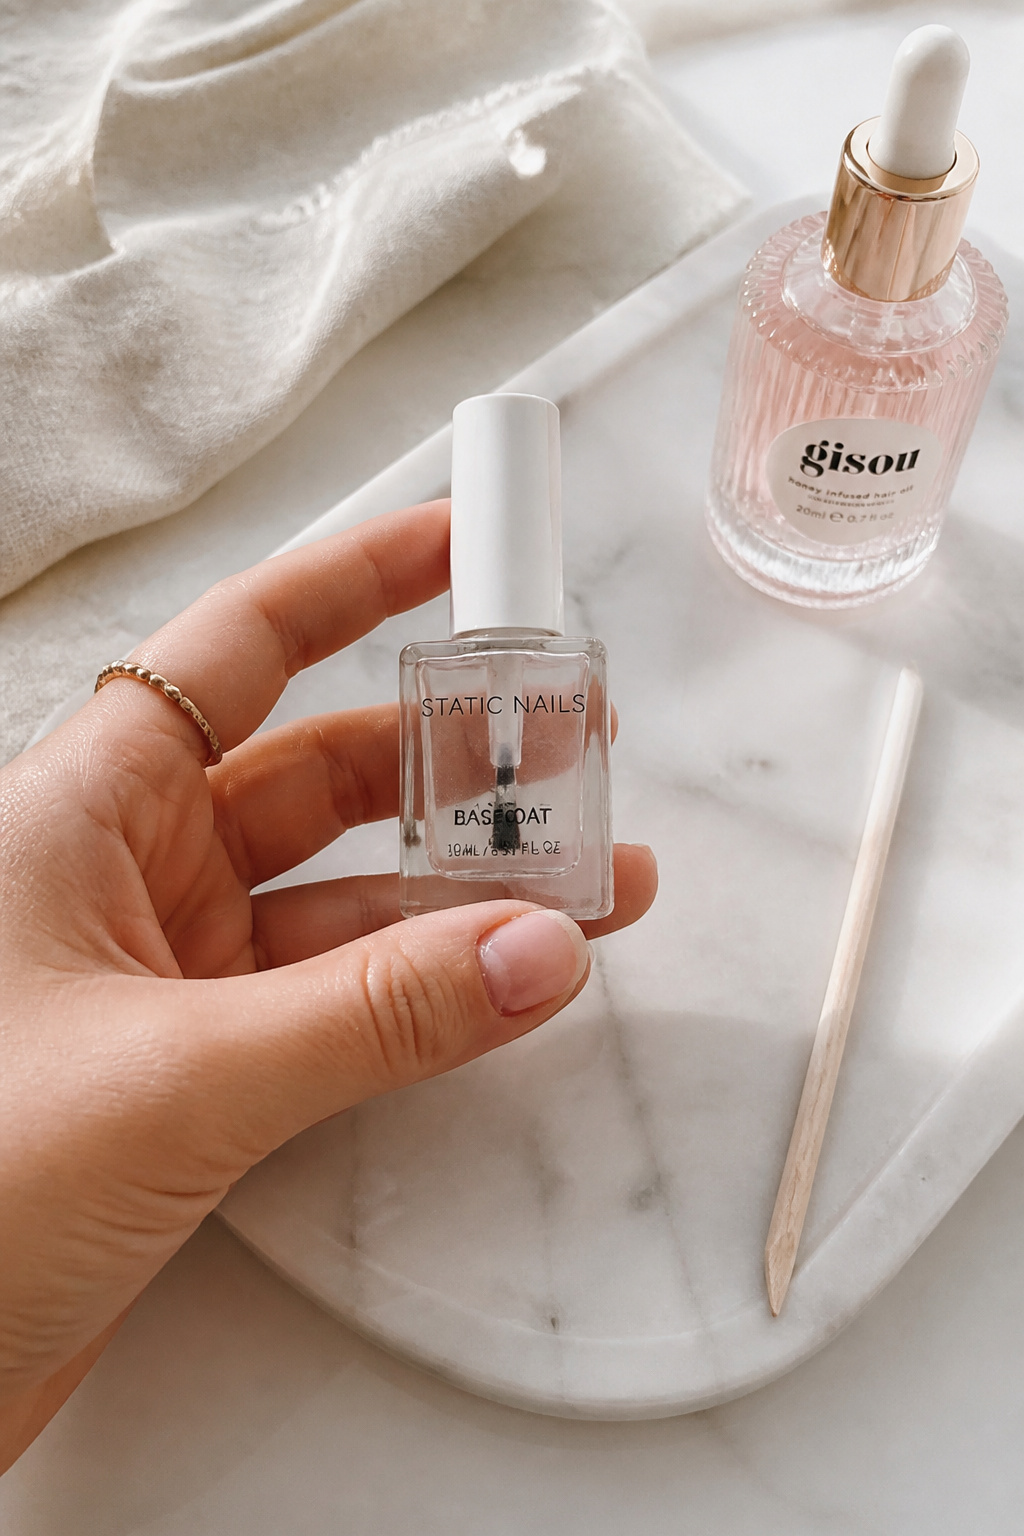

Prep is everything. Clean nails, push back cuticles, and very light buffing to remove shine. A sheer jelly sits over texture, so smooth canvas first.
Use a thin clear base to protect and add subtle depth. Clear base coat for nails around $5 to $12 and cuticle oil with jojoba around $6 to $14 keep edges neat.
Visually, the base coat prevents color from pooling and fools the eye into depth. The trick is thin layers, not heavy coats.
Mistake people make: over-buffing. That roughs the nail and makes the jelly look cloudy. Buff lightly and stop when the surface looks satin, then wipe with alcohol.
2. Layer Cream Color in Three Strategic Places


This is the core of how to make jelly nails: thin translucent layers.
Pick two complementary sheer shades, for example a warm peach and a cool bubblegum. I use sheer peach jelly nail polish around $8 to $18 and bubblegum sheer nail polish around $8 to $18.
Apply color in three zones: base near cuticle, center of the nail, and tip. One thin swipe per zone, then a gentle second pass to blend. The layered translucence creates that candy glow.
Color theory at play: warm base plus cooler center gives vibrance without opacity. A common error is painting whole nail in one thick sweep. That creates streaks. Do the three-zone technique for even depth.
3. Define Without Hardness: Soft Details and Accents


You want definition, not graphic lines. Add soft accents like diffused white highlights or a barely-there French tip.
Use a fine brush or nail art detail brush set around $6 to $14 and a milky white sheer polish like sheer white jelly polish around $8 to $16.
Place tiny highlights on the center of the nail or a whisper of color at the tip. Blend with the brush while the polish is wet so edges stay soft.
Ugly truth: crisp nail lines often read harsh with jelly. If you want softness, blur intentionally. Hard outlines break the candy illusion.
4. Finish with High-Gloss Jelly Top and Sealing Technique


A true jelly look needs glassy depth. Use a thick glossy top coat formulated for shine, for example high gloss top coat gel-like around $7 to $16.
Seal the free edge and cap the nail to prevent chipping. If you prefer speed, spritz quick-dry top coat spray around $6 to $14 after a minute.
Visual principle: the high gloss layers act like glass over colored jelly, creating optical depth. Common mistake: using a matte or satin top. That kills the candy finish. If you must mix textures, keep them on different nails for contrast.
5. Maintain the Shine: Care, Repair, and Small Art Upgrades


Jelly nails chip differently. They show edges first.
Keep cuticles hydrated with cuticle oil pen around $5 to $12 and carry a tiny clear top coat pen around $6 to $12 for fixes.
For small art upgrades, add gold foil flakes sparingly in the center of the nail. Use gold nail foil small flakes around $7 to $15.
Ugly truth: jelly looks reveal wear. Frequent quick touch-ups keep them looking fresh. The payoff is texture and luminosity that photos and hands love.
Common Styling Mistakes to Avoid
Mistake: Using thick opaque layers to fake jelly
Why it doesn't work: Creates streaks and a plastic look.
Do this instead: Build translucence with thin coats and sheer jelly polish set around $15 to $30.
Mistake: Skipping the edge seal on top coat
Why it doesn't work: Nails chip at tips first, ruining the glass effect.
Do this instead: Cap the free edge with high gloss top coat gel like around $7 to $16.
Mistake: Overly crisp nail art with jelly
Why it doesn't work: Harsh lines break the soft candy mood.
Do this instead: Use a diffused dot or blended highlight with nail art detail brush set around $6 to $14.
What You'll Need for This Look
Face & Base Essentials
Cream blush stick in warm peach around $10 to $22
Tinted lip oil in soft pink around $8 to $18
Hydrating setting spray travel size around $6 to $14
Eyes, Brows & Lips
Lengthening mascara black brown around $7 to $18
Tinted brow gel soft brown around $8 to $16
Sheer gloss in rose around $6 to $15
Clothing Staples
White relaxed cotton tee women around $12 to $40
Straight leg high waist dark wash jeans around $30 to $120
Shoes, Bags & Jewelry
Leather loafers black women around $40 to $160
Leather tote bag tan around $50 to $200
Gold chunky hoop earrings 14k look around $12 to $45
Budget Swaps
Drugstore sheer jelly polish around $5 to $12
Affordable clear base coat fast dry around $4 to $10
Shopping Guide for This Look
Buy starter kits during Amazon Prime sales: Look for sheer polish sets around $15 to $30 during sale windows.
Thrift your jewelry, new polish: Buy gold hoops new and hunt for vintage rings at thrift stores, then pair with gold hoop earrings 14k look around $12 to $45.
Trend note 2025: Sheer finishes and Y2K translucence are sticking around; try a bubblegum sheer polish around $8 to $18.
Splurge vs save: Splurge on a long-wear top coat, save on polish trio packs like drugstore sheer jelly polish around $5 to $12.
Conclusion
Start with one nail to practice the layers, then do both hands when you trust the timing. The highest impact comes from thin, even layers and a glossy seal.
What shade would you try first, peach or bubblegum?


