








My white ombre nails used to chip by day ten every time. I finally learned how to make white ombre nails last by changing three tiny steps and one product swap.
This guide shows the exact products and upkeep I use to keep my ombre glossy and intact past week two on a budget under $50 to start, or $120 for a salon-grade kit.
Clean, minimal, soft-glam nail vibe. Works best for people who wear gel or hybrid polishes and like neutral hands. I noticed more people in 2025 favoring sheer, wearable ombre over opaque tips.
1. Prep for Durability: File, Buff, Dehydrate
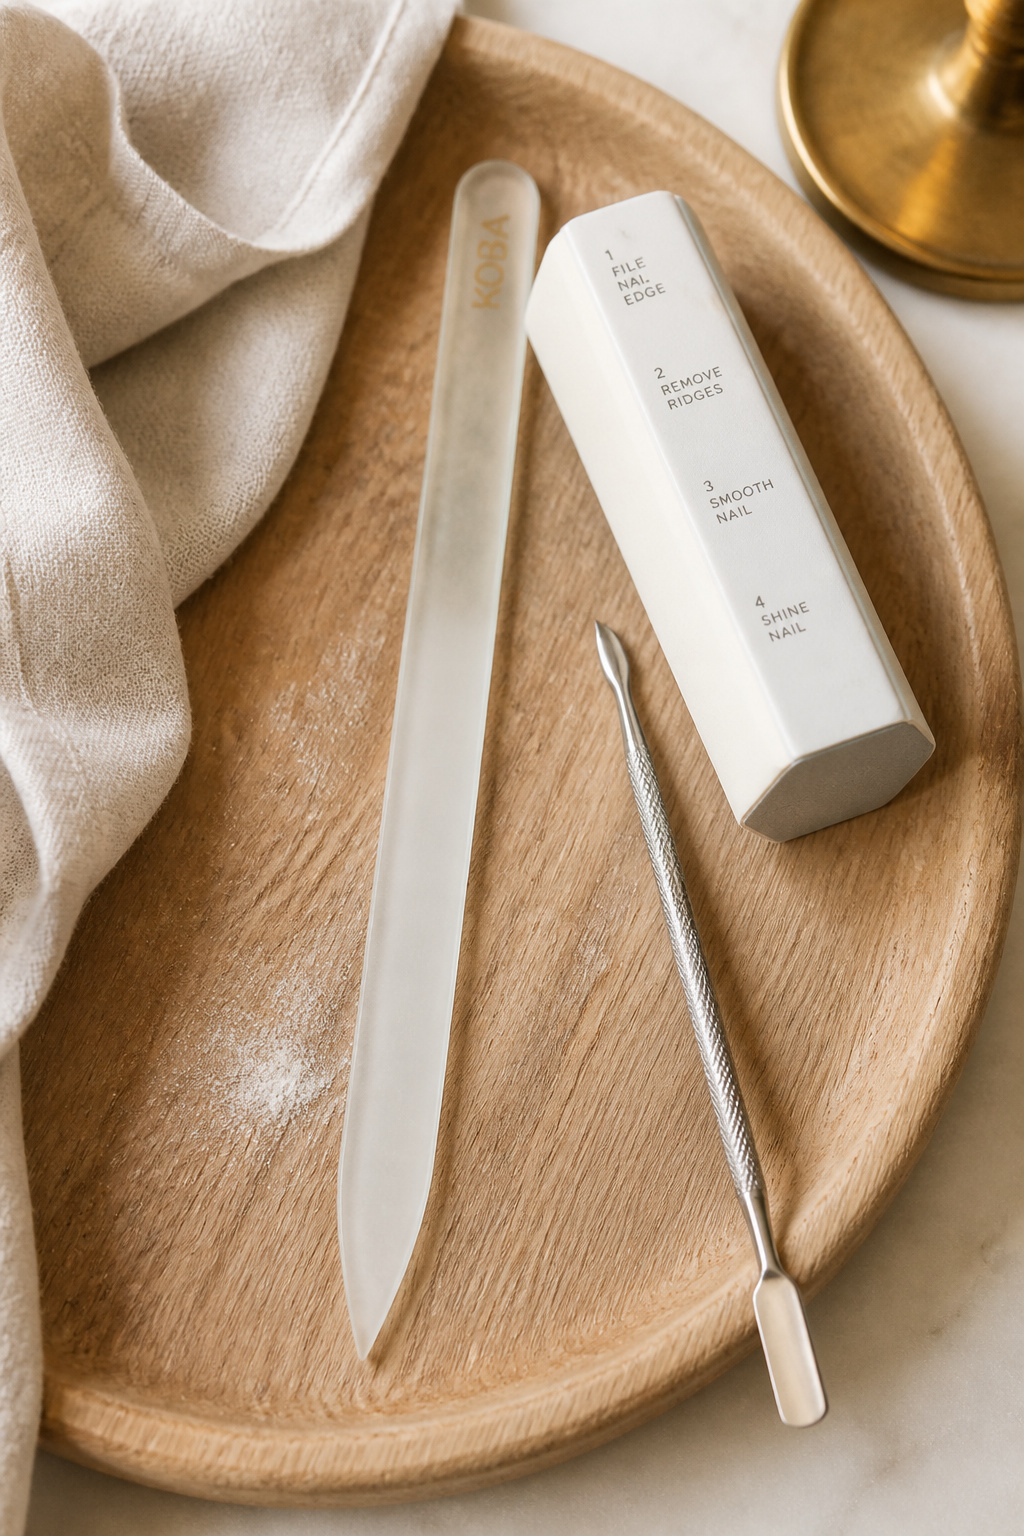

Start at the root. Filing to your preferred shape reduces tip stress. I use a glass nail file for a smooth edge and a 4-way block to scuff the nail plate just enough so polish adheres.
Wipe the natural nail with 99% isopropyl wipes. That dehydration step is why my ombre glued on and did not lift in busy dish weeks.
Tools I rely on: Glass nail file 180/240 around $6 to $12 and a 4-way buffing block around $4 to $10.
Visual principle: slight roughness equals long wear. Too smooth and polish slips off. Mistake most people make here is skipping the wipe. Wipe, then dry, then base. That small step added a full week to my wear.
2. Build Thin Tapered Layers for Seamless Ombre
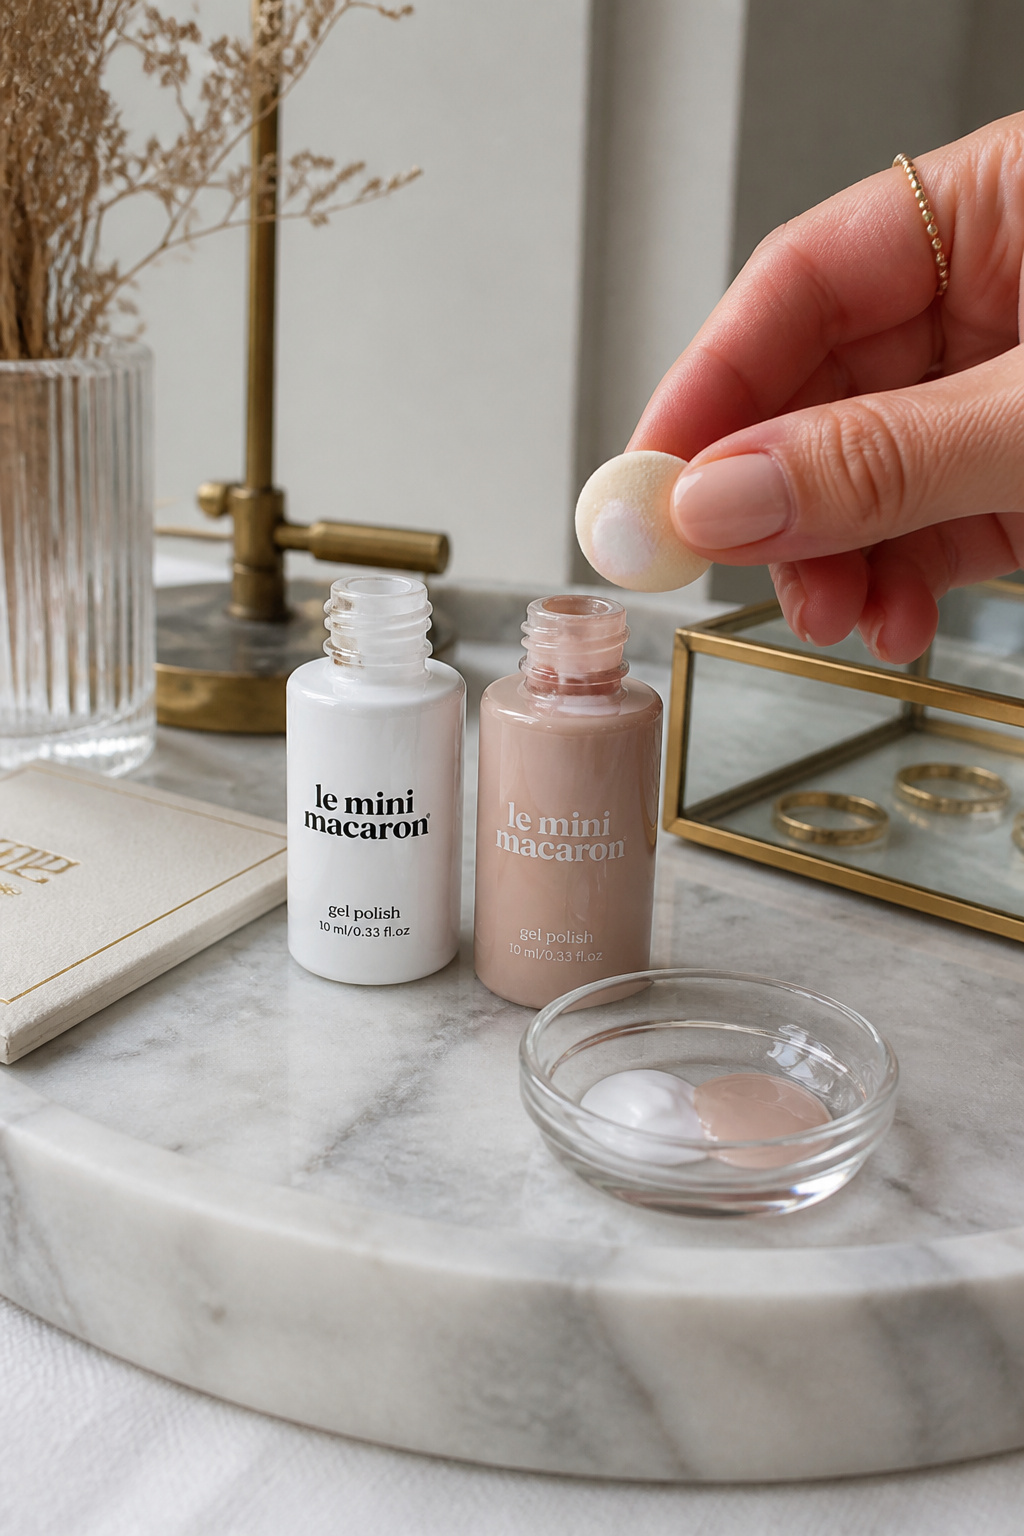

The trick is thinness. I apply a sheer nude base, cure, then use a mini sponge to tap a tiny amount of pure white at the tip and blend inward in micro layers.
Products I use: Sheer nude gel polish 15 ml around $8 to $18 and Pure white gel polish 15 ml around $7 to $16.
Visual principle: thin layers dry and cure more evenly, avoiding the ridge that chips. Keep each layer feathered, not one thick block of white.
Common mistake: heavy blobs of white on the tip. They lift at the cuticle and at the edge. Instead, work in three delicate passes and cure between each.
3. Seal and Cure: Lock the Free Edge


Edge sealing saved my manicure life. After your color cure, swipe the topcoat over the tip and cap the free edge like wrapping a letter. Then cure per the lamp instructions.
My go-tos are a No-wipe gel topcoat 15 ml around $9 to $20 and a 48W UV LED nail lamp around $18 to $45.
Visual rule: seal the edge and you stop peeling. Use a thin brush to remove excess before curing to avoid pooling. A frequent error is curing unevenly. Rotate placement so each nail gets equal lamp time.
4. Maintain the Shine: Weekly Upkeep That Works


At week one I oil and file lightly. Cuticle oil softens the area so the polish edge stays flush. I massage oil into each nail bed nightly. That simple ritual slowed my tip lifting dramatically.
My staples: Rosehip cuticle oil 15 ml around $6 to $14 and Hydrating hand cream 100 ml around $8 to $20.
If a small chip appears, I dab a touch of brush-on glue on the free edge, cap it with topcoat, and cure. Ignoring tiny chips is what makes them balloon into visible cracks. Consistent maintenance kept my ombre intact into week three.
Common Styling Mistakes to Avoid
Mistake: Applying thick base and color coats
Why it doesn't work: Thick layers peel and cure unevenly, causing early chips.
Do this instead: Apply thin layers and cure between coats. Try Builder base coat gel 15 ml around $10 to $24.
Mistake: Skipping the free-edge seal
Why it doesn't work: Exposed edge lifts from normal wear.
Do this instead: Cap the tip with a no-wipe topcoat. Use No-wipe gel topcoat 15 ml around $9 to $20.
Mistake: Using only polish remover pads as care
Why it doesn't work: Overuse dries nails and breaks the seal.
Do this instead: Save acetone for full removal and use Cuticle remover gel 15 ml around $5 to $12 for maintenance.
What You'll Need for This Look
Face & Base Essentials
Glass nail file 180/240 around $6 to $12
4-way buffing block around $4 to $10
Builder base coat gel 15 ml around $10 to $24
Eyes, Brows & Lips
(Size not applicable to nails; instead nail detail tools)
Size 000 detail nail brush around $5 to $12
No-wipe gel topcoat 15 ml around $9 to $20
Clothing Staples
(Not central but cozy at home)
Nitrile gloves small 100-pack around $7 to $18
Shoes, Bags & Jewelry
(For photo-ready hands)
Rosehip cuticle oil 15 ml around $6 to $14
Hydrating hand cream 100 ml around $8 to $20
Budget Swaps
Mini blending sponge 20-pack around $4 to $9 (drugstore sponges work well)
Brush-on nail glue 5 g around $4 to $10
Shopping Guide for This Look
Buy the lamp first: A consistent 48W UV LED nail lamp around $18 to $45 ensures even cures and saves polish.
Thrift the extras: Pick up vintage trays or small jars at thrift shops to stage photos, then use Glass nail file 180/240 around $6 to $12 for function.
2025 trend pick: Creamy neutral ombre and micro-pearls are trending. Try pairing with a Rosehip cuticle oil 15 ml around $6 to $14.
Splurge vs save: Splurge on a good topcoat like No-wipe gel topcoat 15 ml around $9 to $20. Save on sponges and buffers.
Conclusion
Start with the free-edge seal and one night of cuticle oil. That habit changed my manicures more than any single polish.
If you want one buy first, get a reliable lamp and a no-wipe topcoat. Curing and sealing are the simplest path to week-three wear.
Which part of your routine do you skip that you think might be ending manicures early?


