








How to do orange and pink ombre nails without harsh lines is easier than it looks. I learned this after a manicure that left me with stark, stripey tips and zero compliments.
The trick I landed on cost under $30 in tools and saved a few salon runs. You’ll learn a no-fuss prep, a soft sponging method, how to blur edges with top coat, and the finishing touches to make the gradient read intentional with outfits.
This look is warm, modern, and suits medium to warm undertones best. Budget range: a $20 kit to start, $60 if you want pro finishes like LED top coats.
It’s a great low-commit option for people who like playful color but want a wearable result that pairs with neutrals or summer prints. I’ve noticed nail gradients are back as a subtle statement in street-style feeds.
1. Clean Canvas: Prep Nails for Smooth Gradients


Start with tidy edges. File to your preferred shape, lightly buff the nail plate, and wipe with alcohol so polish adheres.
I use a Glass nail file medium grit and a 4-way nail buffer block. Both are cheap and stop polish from pooling into ridges.
Why it comes first: an even surface prevents pigment from pooling and creating a hard line. Visual rule: smoother canvas equals smoother blend.
Common mistake: skipping the alcohol wipe. Moisture causes polish to bead and makes gradients look patchy. Do this instead: one swipe with Isopropyl alcohol wipes 70% before base coat.
2. Layer Color Strategically: The Mini Sponge Method
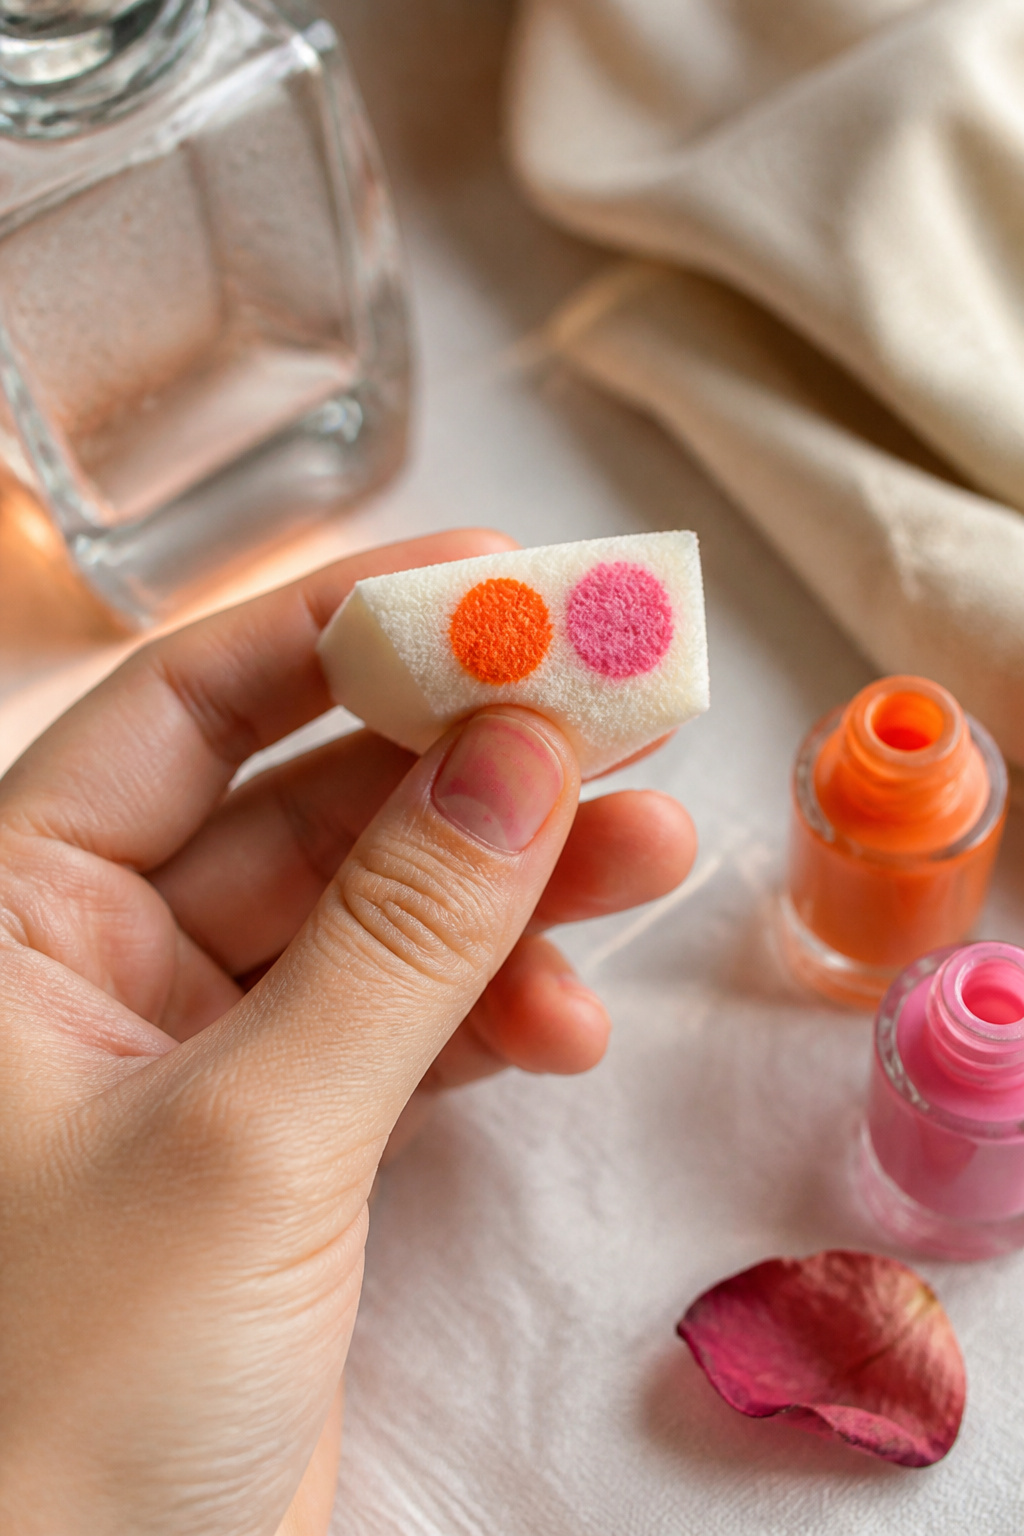

The trick is thin layers. Paint two stripes of color on the sponge: orange nearer the tip, pink toward the base. Dab lightly, building opacity slowly.
I prefer Creamy neon orange nail polish 0.5 fl oz and Soft coral pink nail polish 0.5 fl oz with a Gradient makeup sponge set (mini wedges).
Color principle: use neighboring warm hues so the eye reads a single shift, not a cut. Build in three thin passes rather than one heavy dab.
Most people glob polish onto the sponge. That makes harsh stripes. Instead, load tiny dots and stipple. If you get a band, immediately press a clean part of the sponge over it to soften.
3. Blur Lines Like a Pro: Top Coat and Softening Tricks


A glossy top coat is your blending friend. After the sponge passes dry slightly, swipe one thin coat of glossy top coat and gently press from base to tip once.
My go-tos are Fast-dry glossy top coat 0.5 fl oz and a gel-like finish from No-light gel top coat for extra glassy depth.
Visual principle: a wet layer diffuses the pigment edges and visually melts the two colors together.
Big mistake: dragging the brush back and forth. That streaks and drags pigment. Do one smooth stroke per nail or press-and-roll the brush very lightly to maintain the blend.
4. Finish with Details: Clean-Up, Cuticles, and Styling Notes


Clean edges with a tiny brush dipped in acetone for crisp lunulas. Hydrate cuticles and add one accent nail like a gold foil dot or a matte finish.
Tools I use: Fine-tipped nail art brush, Pure acetone nail polish remover pads, and Cuticle oil pen 0.5 fl oz.
One under-covered trick: dab a single drop of top coat onto the blending area and press with a lint-free pad to soften borders further.
Ugly truth: sparkles or heavy embellishment will read messy on a soft ombre. If you want shine, choose one glossy accent rather than multiple studs.
Common Styling Mistakes to Avoid
Mistake: Using full-strength polish on the sponge
Why it doesn't work: Causes thick stripes and long dry time.
Do this instead: Dab small dots of color on a Gradient makeup sponge set (mini wedges) and build in thin layers.
Mistake: Skipping base coat
Why it doesn't work: Color stains and chips faster.
Do this instead: Use a Ridge-filling base coat 0.5 fl oz for even adhesion.
Mistake: Over-brushing top coat
Why it doesn't work: Smears the gradient into streaks.
Do this instead: Apply one thin swipe of Fast-dry glossy top coat 0.5 fl oz and press gently.
What You'll Need for This Look
Face & Base Essentials
Glass nail file medium grit around $4 to $12
4-way nail buffer block around $3 to $10
Ridge-filling base coat 0.5 fl oz around $6 to $15
Eyes, Brows & Lips
Cuticle oil pen 0.5 fl oz around $5 to $12
Fast-dry glossy top coat 0.5 fl oz around $6 to $15
No-light gel top coat around $12 to $25
Clothing Staples
White fitted tee cotton approx $12 to $30
Straight leg high waist dark wash jeans approx $30 to $80
Shoes, Bags & Jewelry
Leather loafers women tan approx $40 to $120
Leather tote bag tan (price range $60 to $200)
Gold chunky hoop earrings 14k vermeil approx $12 to $40
Budget Swaps
Drugstore coral pink nail polish 0.5 fl oz around $4 to $8
Peel-off latex base for nails around $6 to $12
Shopping Guide for This Look
Shop sales windows: Pick polishes during Prime Day or holiday sales for multi-color sets like Neon nail polish kit 6-pack around $15 to $35.
Thrift + new mix: Pair a thrifted gold ring with a new Gold chunky hoop earrings 14k vermeil for contrast, buy hoops around $12 to $40.
Trend pick for 2025: Try a sheer glossy top coat look following the tonal manicure revival using No-light gel top coat around $12 to $25.
Splurge vs save: Splurge on a Mini LED nail lamp 24W if you want long-lasting wear ($30 to $80), save on polishes with a Drugstore coral pink nail polish 0.5 fl oz ($4 to $8).
Conclusion
Start with one nail as your test nail. I always do my ring finger first to prove the technique before committing to all ten.
One last tip: choose orange and pink shades with similar finishes. A cream orange and a cream pink blend far better than mixing a shimmer with a cream.
Which two shades would you try together for your ombre?


