






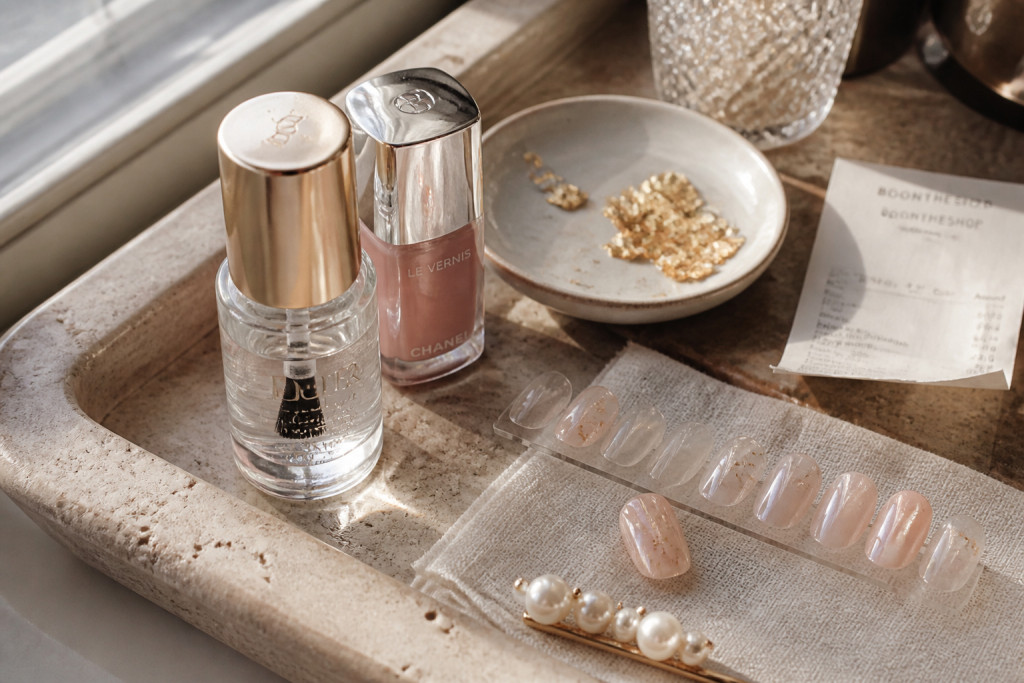

My coworker stopped me in the kitchen and asked if my nails were glass. That compliment came after I spent $22 at a local salon and another $12 on a glossy syrup top coat. If you want 14 Korean transparent nails with glossy syrup details, this list is for you. Most looks are under $30 to DIY, with two splurges around $60 to $120 for UV kits and pro gels.
These ideas lean clean, ethereal, and very wearable. Most picks cost under $30, while a few builder gels and lamps are $60 to $120. They suit clean-girl, soft-glam, and minimalists; I find syrup finishes flatter medium to deep skin tones. Lately I’ve noticed more people layering subtle foil or tiny pearls with clear gels.
1. Pure Glass Clear With High-Shine Syrup Top
Style: Clean Girl | Budget: Under $20 | Best For: Short to medium nails
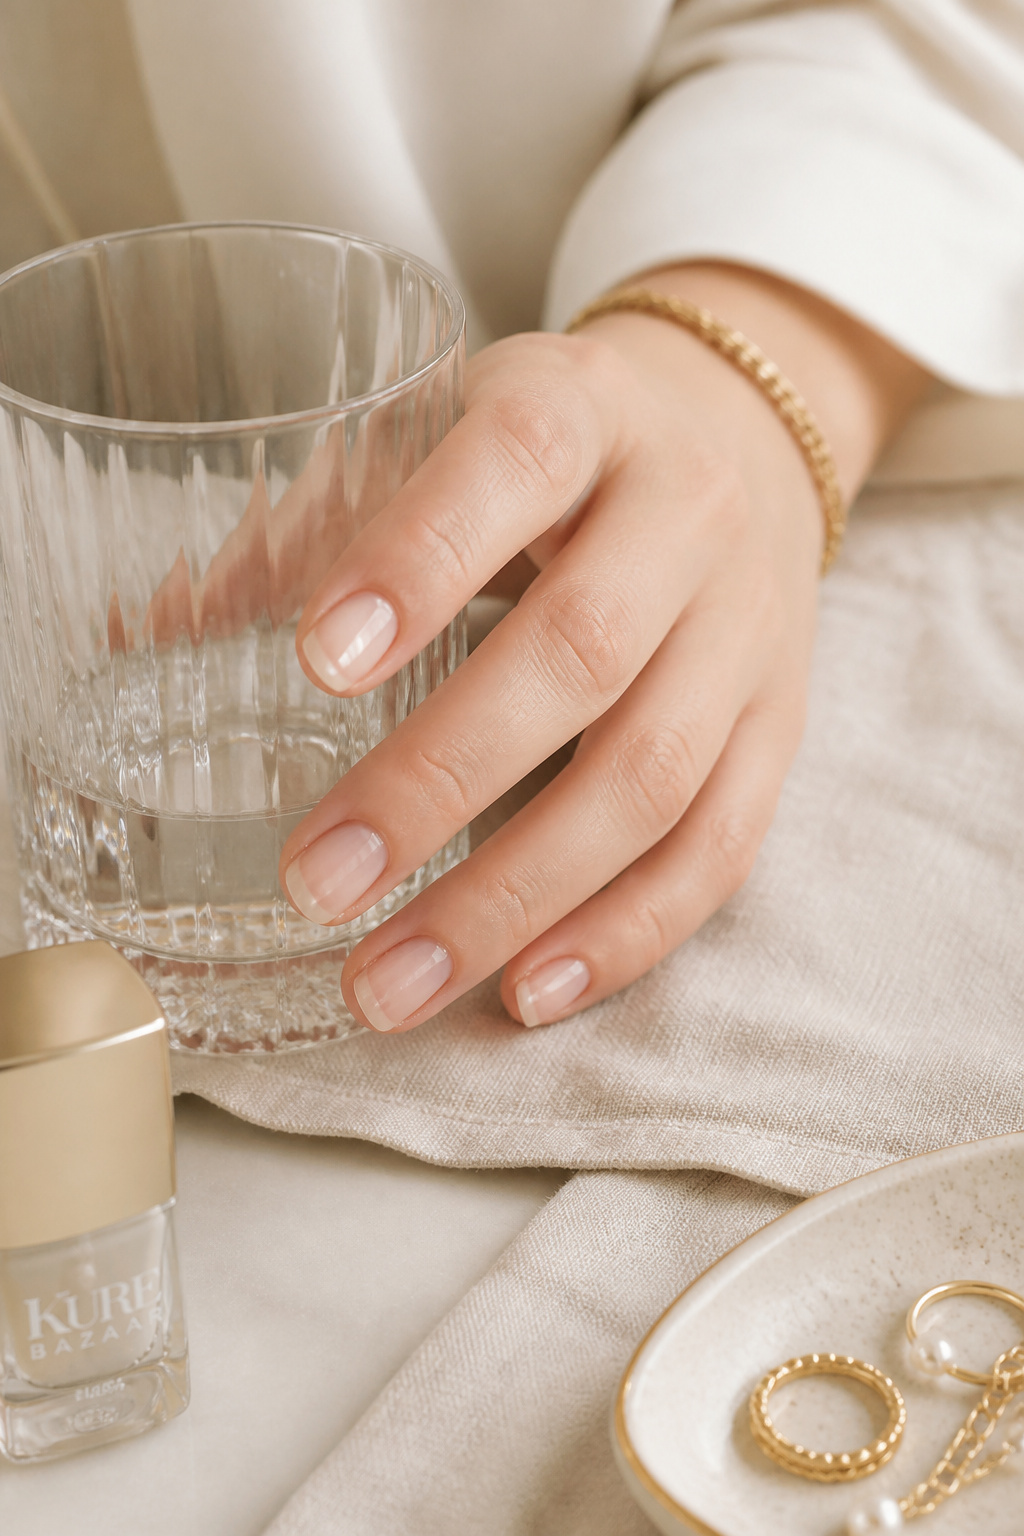

Result: nails that look like polished glass. The trick is a thin, even layer of clear base, two thin coats of sheer builder or clear polish, then one syrupy top coat while the base is slightly tacky. I use a Clear builder gel 7ml around $12 to $18 and finish with a Syrup glossy top coat around $8 to $14. Ugly truth: thick layers look heavy not luxe, so thin coats matter. I had a manicure once that looked like plastic because I globbed on product.
Shop this idea:
2. Milky Korean Tint With Glassy Finish
Style: Soft Glam | Budget: Under $18 | Best For: Pale to medium skin
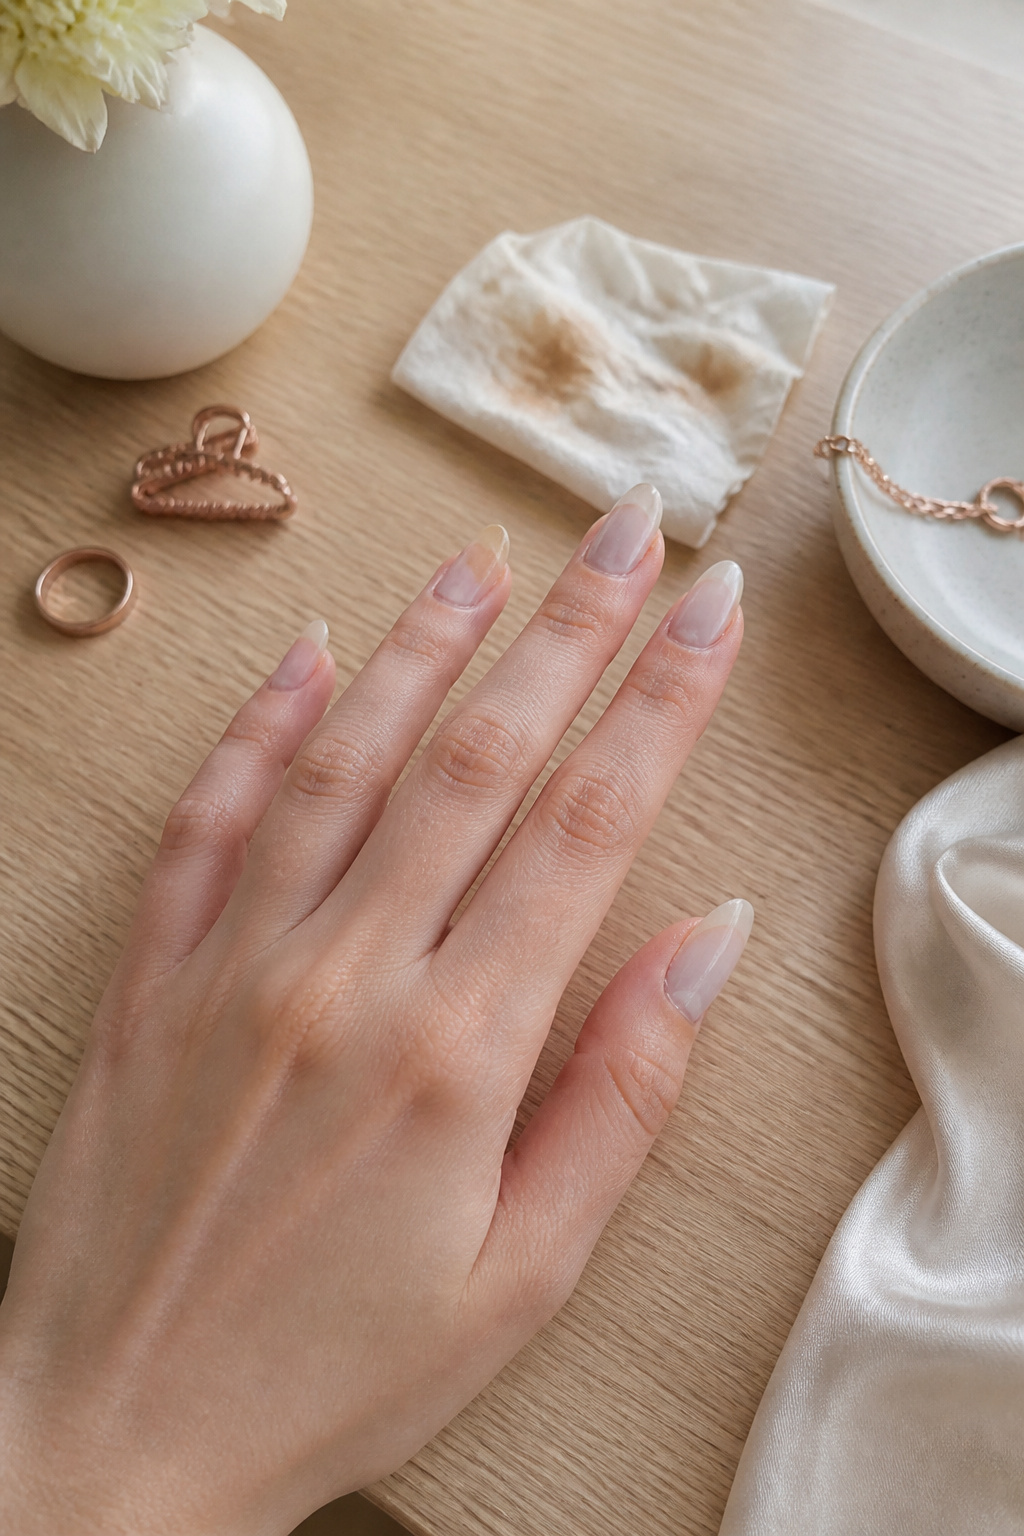

A sheer milky base softens the look while keeping transparency. I mix a drop of white sheer polish into clear builder or use a milky jelly polish. Apply thin coats and finish with a syrup top coat. I bought the Milky jelly polish 10ml around $9 to $15 at a pop-up and got tons of compliments. Tip: wipe the brush edge to avoid streaks. Ugly truth: full-coverage white hides the delicate vibe.
Shop this idea:
3. Baby French Clear Tips With Syrup Edge
Style: Classic With A Twist | Budget: Under $25 | Best For: Office to evening


Soft white or nude tips, intentionally faint for that Korean feel. Paint a sheer nude base, then carefully paint the tips with a thin white wash. Seal with a syrup top coat focusing on the tip edge to accentuate glassiness. My go-to is Sheer nude polish 12ml around $7 to $13. Tip: small angled brush for crisp, delicate lines. Ugly truth: thick French tips instantly read dated.
Shop this idea:
4. Jelly Pink Syrup Nails With Tiny Pearl Accent
Style: Coquette Minimal | Budget: Under $20 | Best For: Romantic outfits


Think soft jelly pink and a single micro-pearl at the base. Use a jelly polish in warm pink and press a tiny pearl into the tacky top coat, then seal. I picked pearls from a bead kit at Michaels for $6 and they last a week with a good gel top coat. I used Jelly pink polish 10ml around $9 to $14. Tip: cure pearls under LED for 30 seconds to anchor. Ugly truth: glue-only pearls pop off in a week.
Shop this idea:
5. Negative Space Clear With Thin Gold Foil
Style: Minimal Luxe | Budget: Under $18 | Best For: Neutral wardrobes
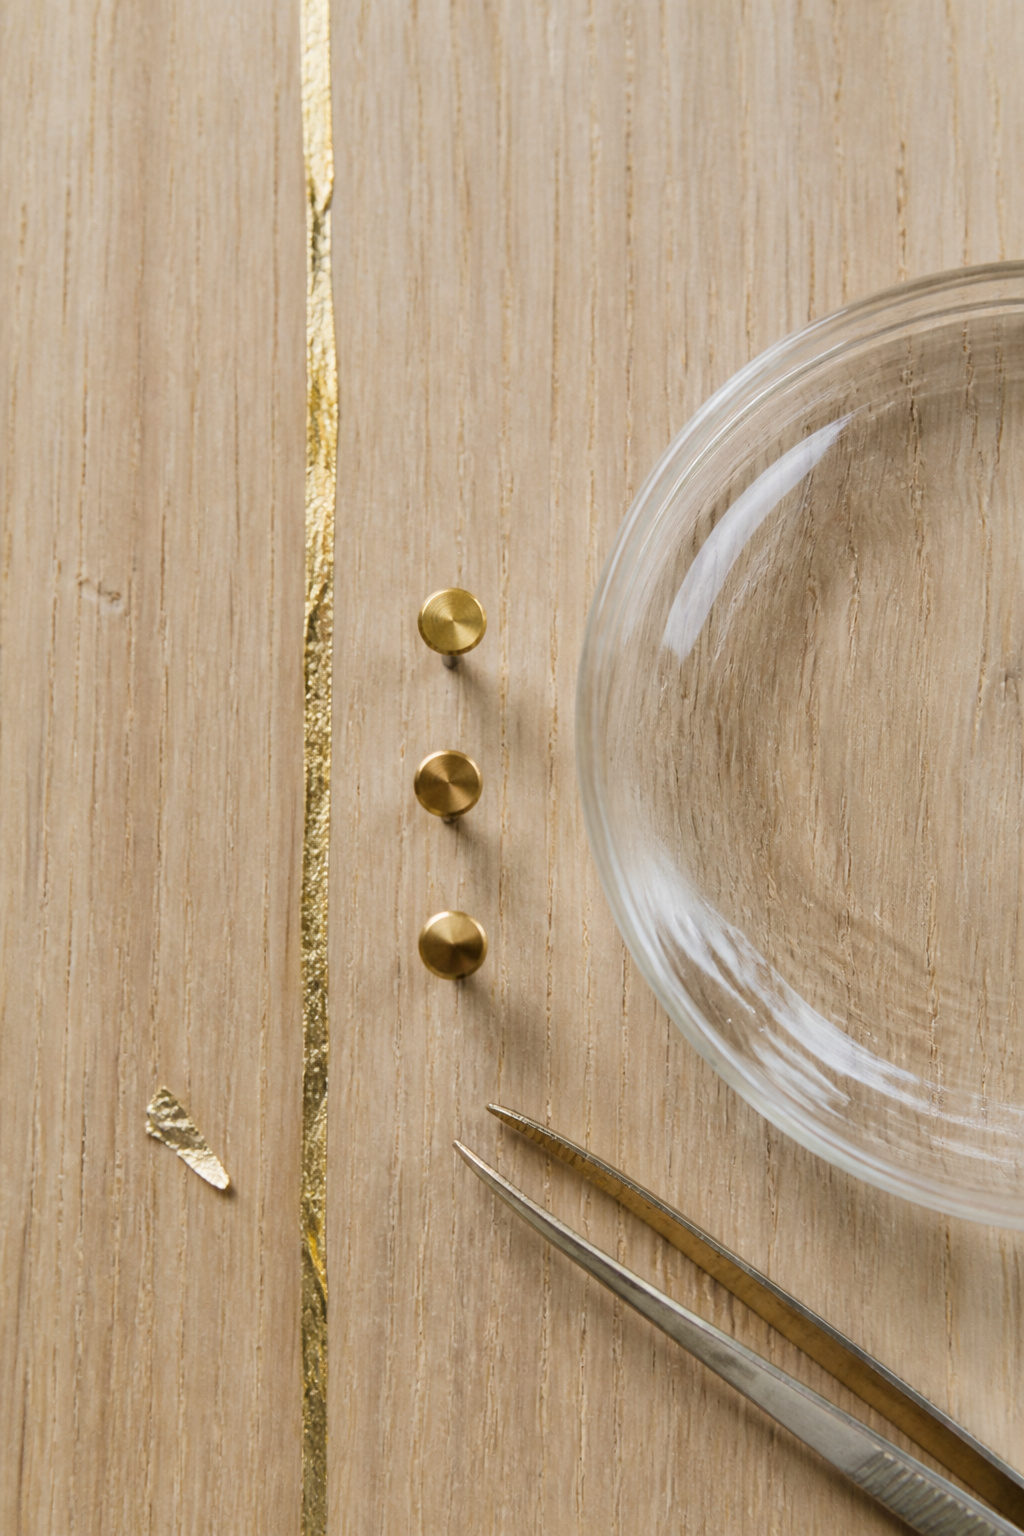

Negative space is where Korean nails really shine. Paint a sheer base and place micro gold foil strips on the exposed nail bed, then a syrup top coat to make the foil look suspended. I use Gold nail foil sheets around $6 to $12. Practical tip: use peel-off base on cuticles to avoid foil mess. I learned that after a messy at-home session one Saturday.
Shop this idea:
6. Encapsulated Dried Flower Syrup Nails
Style: Editorial Soft | Budget: $15 to $30 | Best For: Event nails
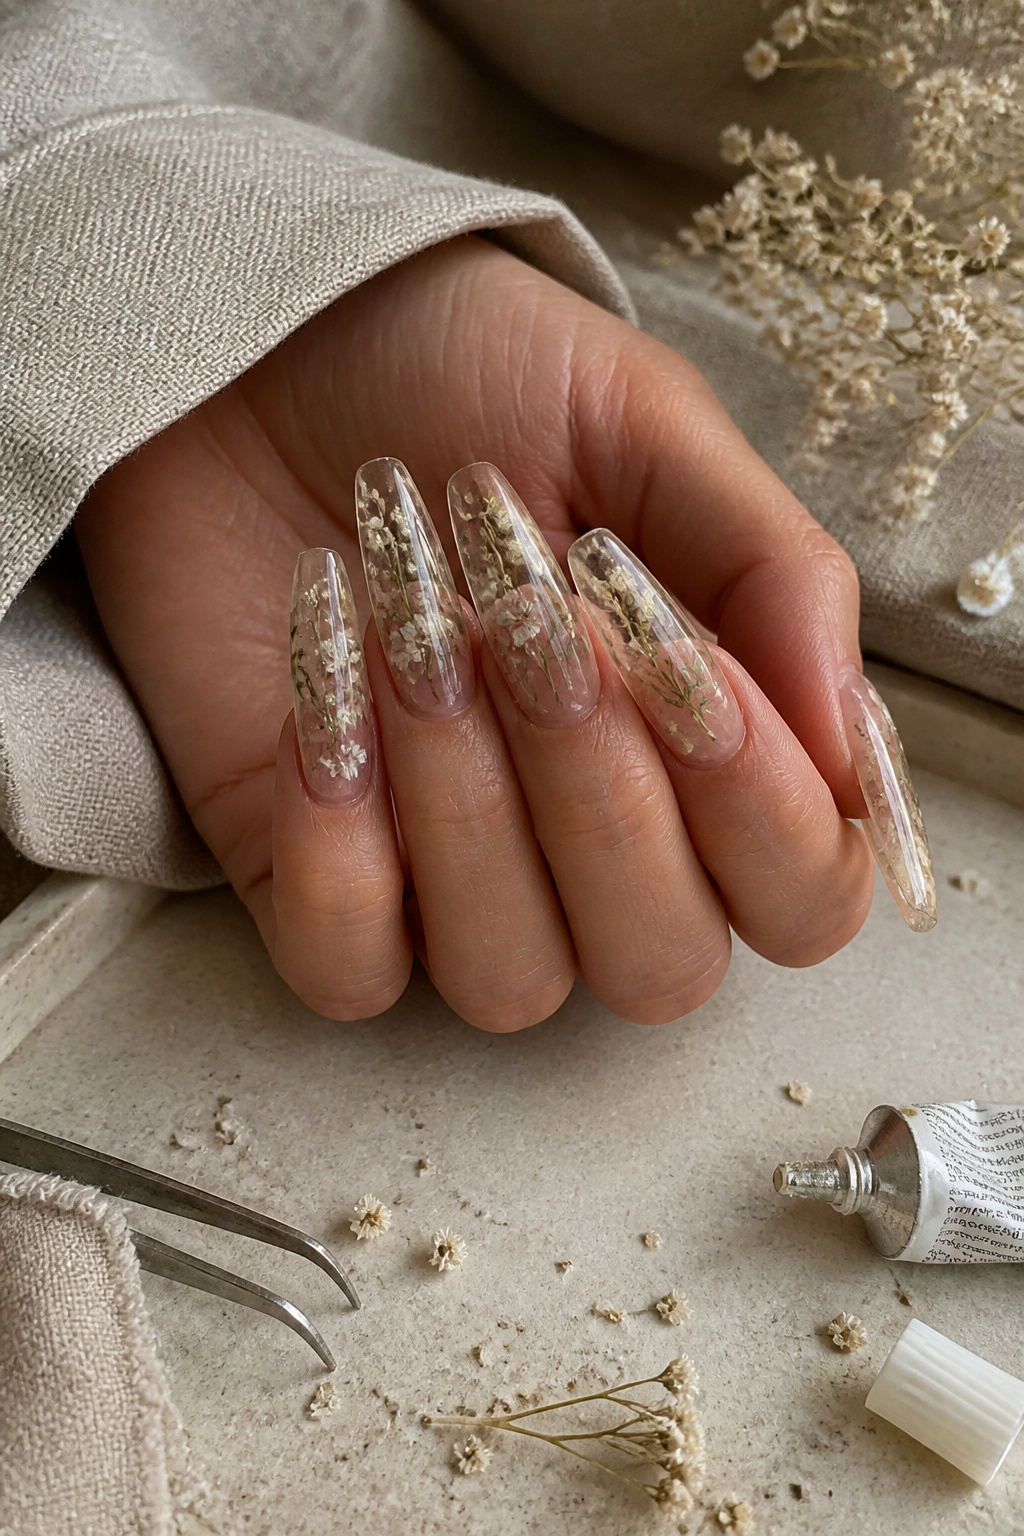

Encapsulated botanicals add depth without color overload. Press fragile dried flowers onto a thin tacky layer, encapsulate with builder gel, finish with syrup top coat. For longevity use Thin encapsulation gel 15ml around $18 to $28. Tip: flatten petals between parchment to reduce bulk. Ugly truth: thick encapsulation can feel heavy and chip faster if edges aren't sealed.
Shop this idea:
7. Clear Ombre To Natural Nail With High-Gloss Veil
Style: Subtle Gradient | Budget: Under $22 | Best For: Natural nail lovers


A gradient from clear to soft beige gives dimension. Use a makeup sponge to dab sheer nude into the tip, then blend with a thin clear layer and top with syrup finish. I rely on Sheer nude gradient polish 10ml around $9 to $15. Tip: cure each thin layer to keep the ombre seamless. Ugly truth: heavy sponging leaves texture; buff gently afterward.
Shop this idea:
8. Clear Chrome Accent With Syrupy Shine
Style: Trend Forward | Budget: Under $25 | Best For: Statement without color
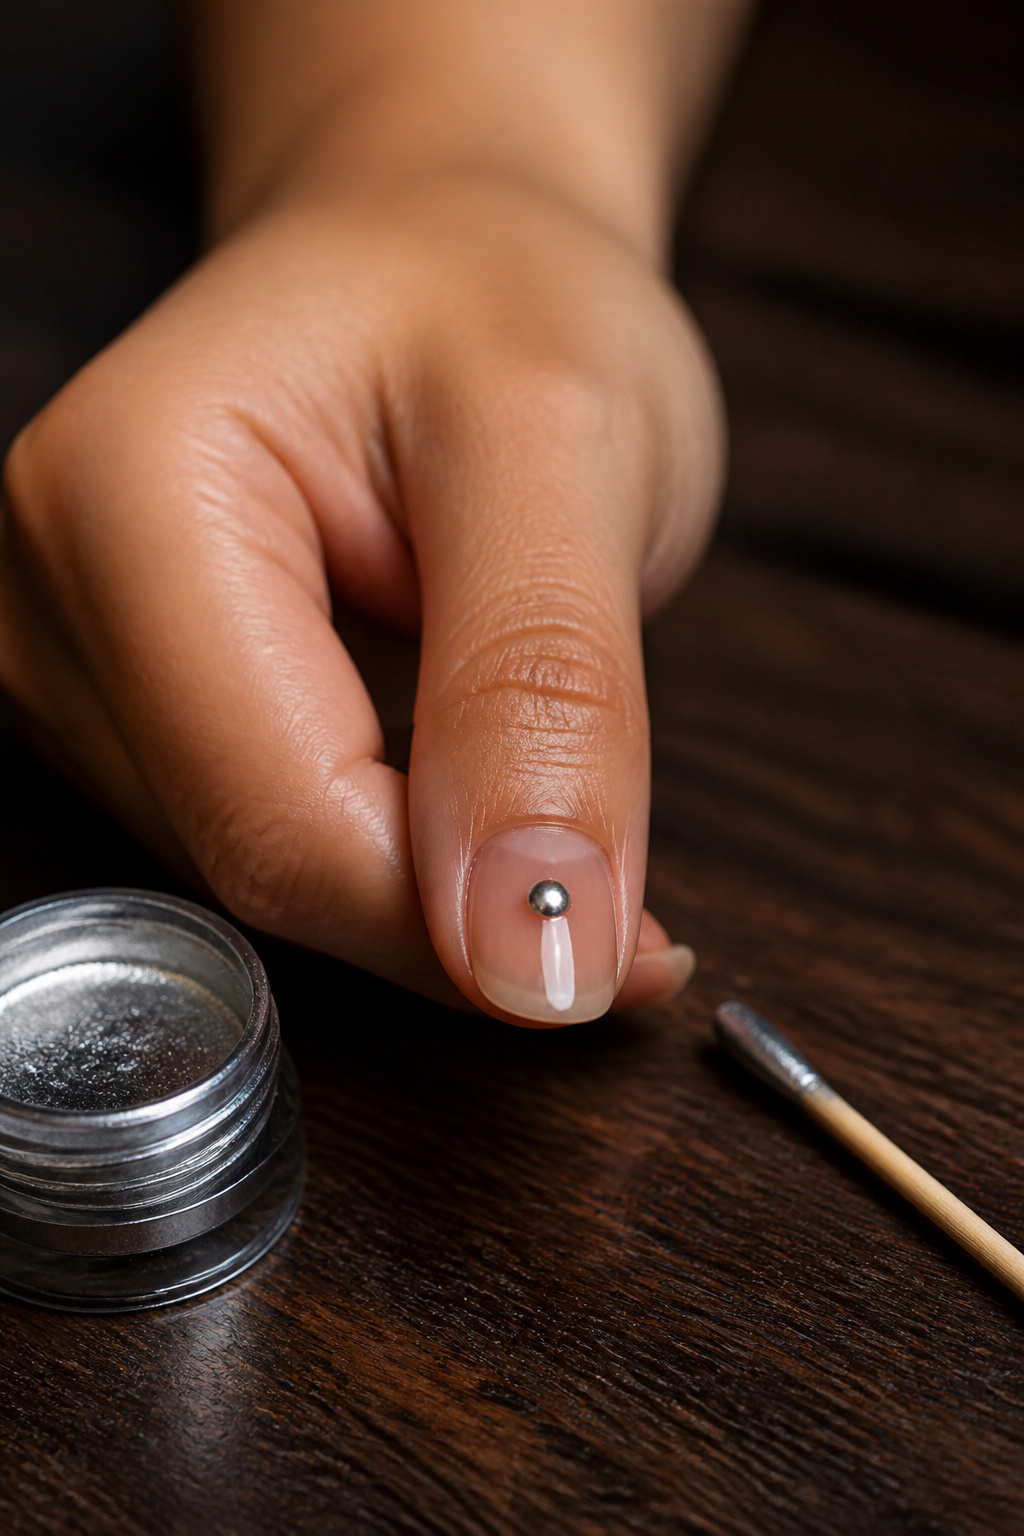

Chrome powder on just one nail reads modern and restrained. Buff a thin chrome powder into a cured clear base, seal with a syrupy top coat to enhance the mirror effect. I keep Mirror chrome powder 2g around $8 to $12 in my kit. Tip: use a true gel top coat to stop powder fading. I first tried this at a friend’s party and the reflective nail caught every photo.
Shop this idea:
9. Micro-Glitter Suspended In Clear Syrup
Style: Party Minimal | Budget: Under $20 | Best For: Evening looks


Tiny glitter suspended in clear gel reads luxe not loud. Mix micro-glitter into a clear builder or thinly scatter on tacky base, encapsulate, then syrup top. I use Micro gold glitter 3g around $6 to $10. Tip: less is more; heavy glitter makes nails thick. Ugly truth: chunky glitter chips fast and looks costume-y.
Shop this idea:
10. Tiny Line Art Over Transparent Base
Style: Minimal Art | Budget: Under $18 | Best For: Fashion-forward minimalists


Small, precise line art elevates simple transparent nails. Use a fine nail-art brush and black or deep brown polish to draw arcs or dots, finish with a syrup top coat. I use Nail art brush set 5pcs around $7 to $12. Tip: practice on a plastic nail wheel. Ugly truth: freehand on real nails without practice looks shaky.
Shop this idea:
11. Subtle Sheer Taupe With Glossy Drip Accent
Style: Tonal Elevated | Budget: Under $20 | Best For: Neutral wardrobes
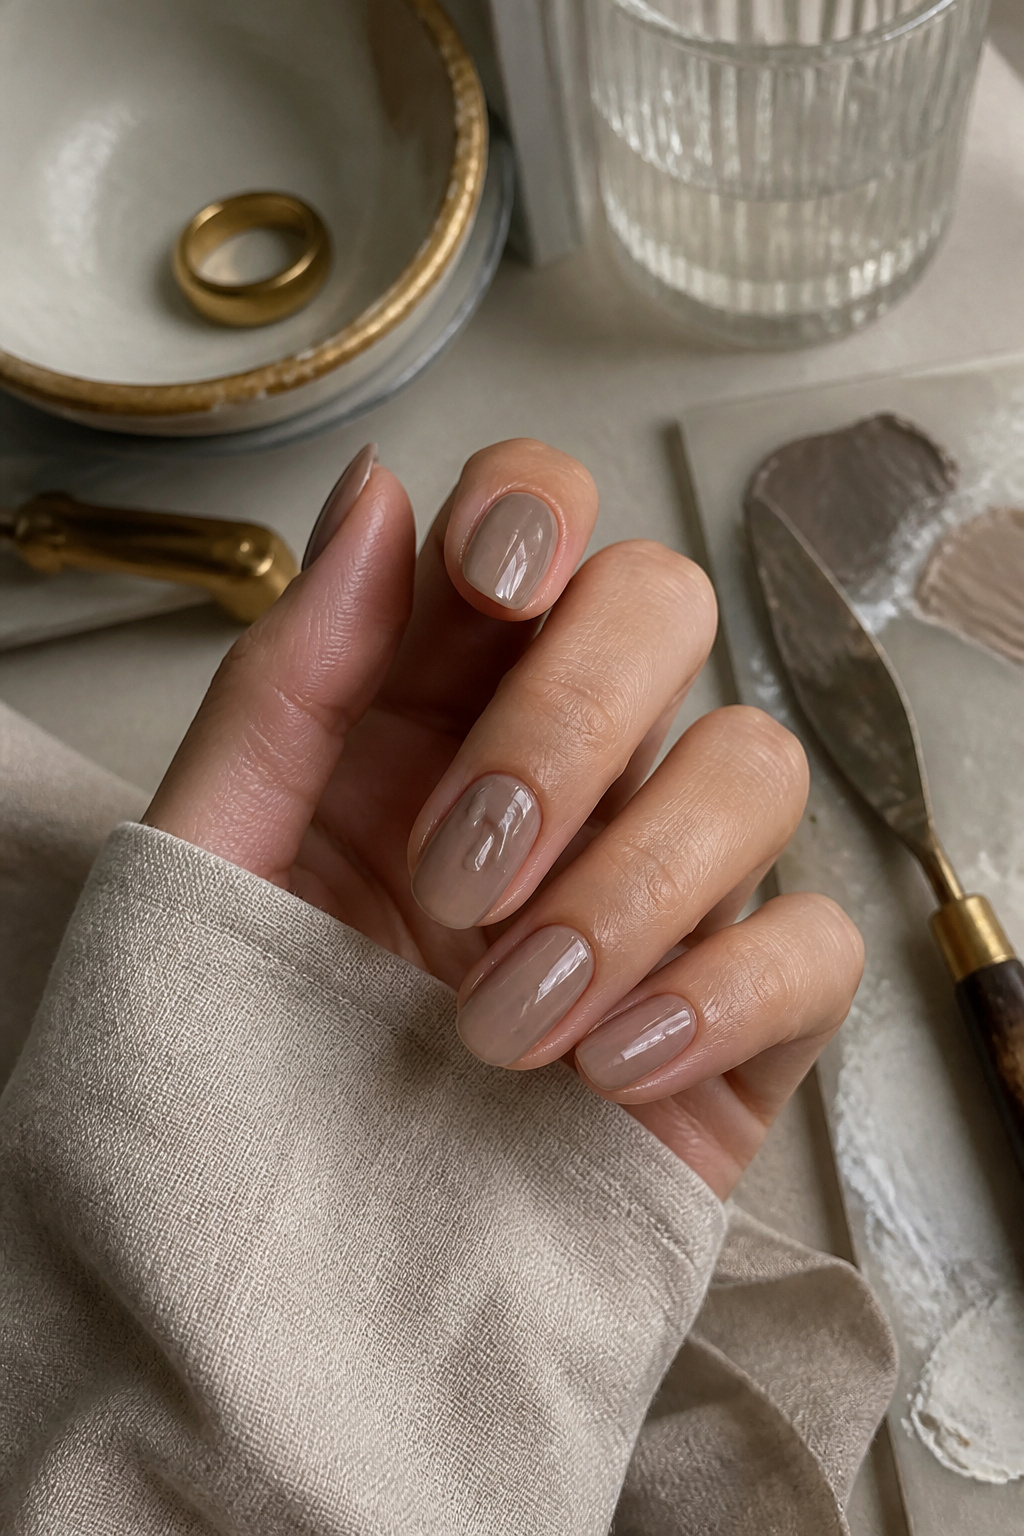

A glossy "drip" is like jewelry for nails. Paint the base in sheer taupe, then use a tiny dot of builder gel to create a raised, syrupy drip and cure. I keep Sheer taupe polish 10ml around $9 to $14. Tip: do one accent nail to keep the look wearable. I tried a full-hand drip once and it felt heavy.
Shop this idea:
12. Short Natural Nails With Glossy Cuticle Halo
Style: Clean And Polished | Budget: Under $15 | Best For: Very short nails
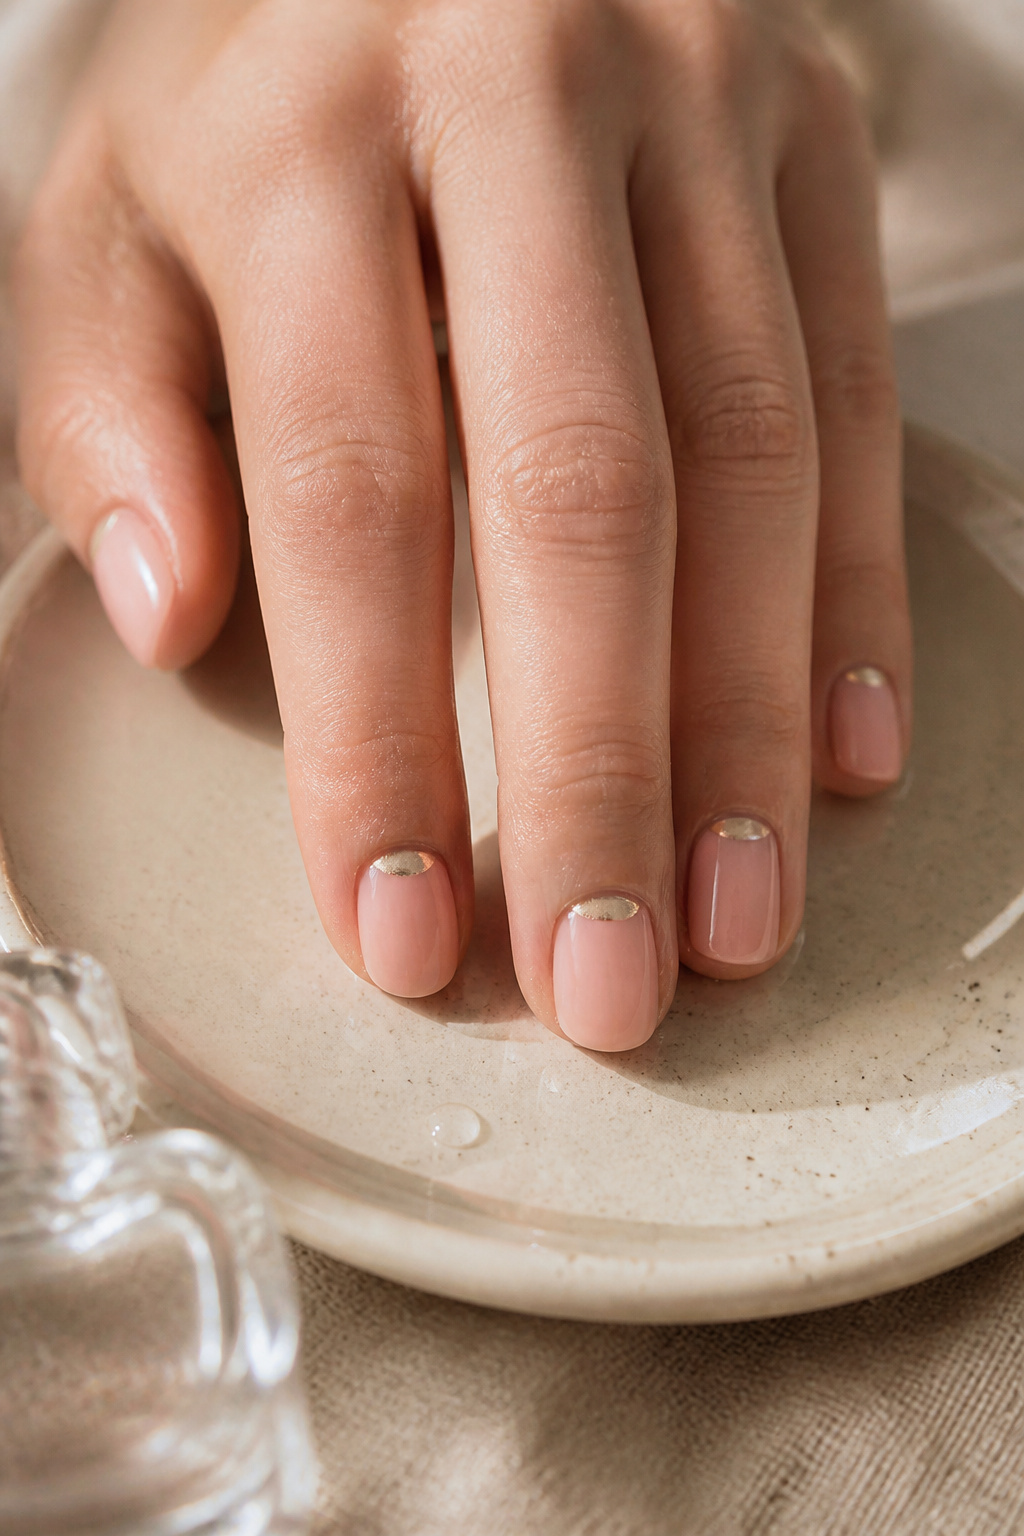

A glossy halo at the cuticle makes short nails look intentional. Paint a translucent base and apply a thin glossy ring around the cuticle. Use a thin brush and cure to lock in the syrup sheen. I use Cuticle precision brush around $6 to $10. Tip: less product at the cuticle prevents lifting. Ugly truth: over-polishing cuticles ruins the illusion.
Shop this idea:
13. Clear Almond With Micro Rhinestone Trail
Style: Delicate Glam | Budget: Under $25 | Best For: Special occasions
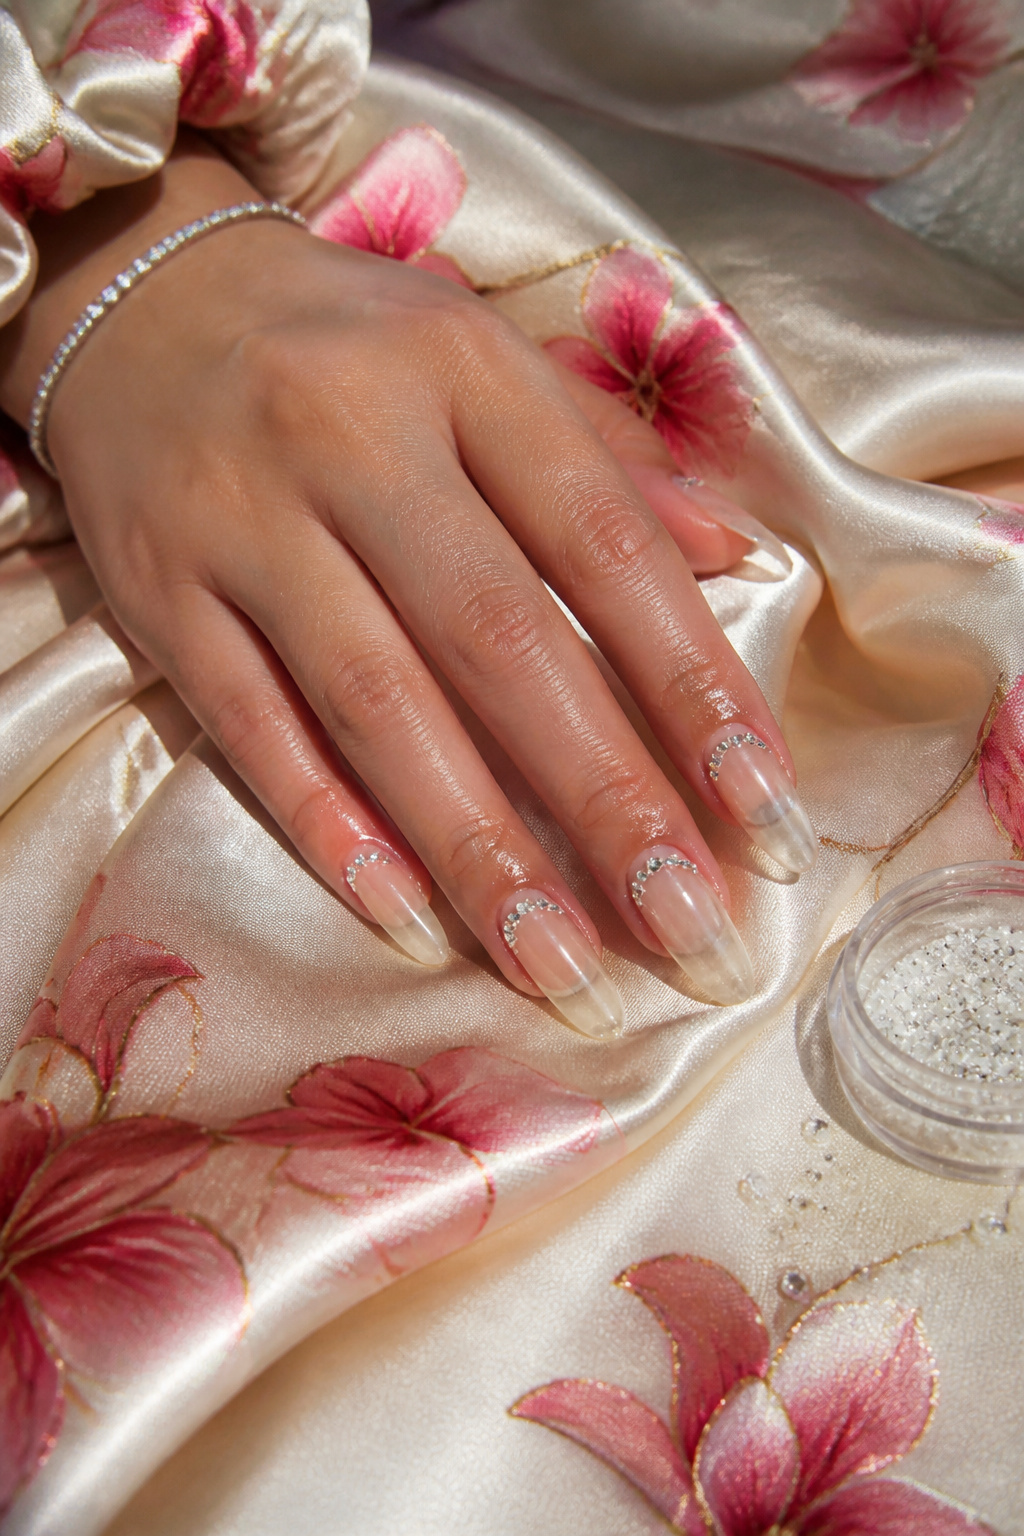

A tiny rhinestone trail elevates clear nails without overpowering. Place micro crystals along one side of the nail, press into tacky base, then seal with syrup top coat. I bought Micro rhinestones 200pcs around $7 to $12. Tip: use a tiny dab of builder gel to anchor each stone. I had a date compliment my nails and asked where I got them done.
Shop this idea:
14. Clear Short Squoval With Satin Gloss Finish
Style: Everyday Elevated | Budget: Under $15 | Best For: Practical hands


Satin gloss gives a lived-in, candlelit glow that’s less reflective but still polished. Use a satin-finish top coat over a clear base for a soft sheen. I use Satin top coat 14ml around $8 to $14. Tip: satin looks best on short, natural shapes. Ugly truth: satin top coats can show scratches faster than high-gloss.
Shop this idea:
What You'll Need to Get This Look
Face & Base Essentials
- Clear builder gel 7ml around $12 to $18
- Sheer nude polish 12ml around $7 to $13
- Syrup glossy top coat around $8 to $14
- No-wipe gel top coat approx $10 to $22
Eyes, Brows & Lips
- Micro gold glitter 3g around $6 to $10
- Mirror chrome powder 2g around $8 to $12
Clothing Staples
- Silk scarf 60x60cm approx $12 to $30
- Cotton linen napkin set around $10 to $20
Shoes, Bags & Jewelry
- Tiny pearl stud set approx $8 to $18
- Gold foil hairpin pack around $6 to $12
Budget Swaps
- Milky jelly polish 10ml similar at fast-fashion brands around $6 to $12
- Peel off cuticle barrier cheap drugstore equivalent at Ulta on rotating sale
Shopping Tips for These Looks
Shop during beauty events: Buy builder gel and LED lamps during Prime Day or Ulta 21 Days sales for 15 to 40 percent off, like I did for my first lamp. LED nail lamp
Start with basics: Invest in a no-wipe gel top coat and a clear builder gel, both versatile across looks, around $10 to $25. No-wipe gel top coat
Thrift the extras: Accessories like pearl studs and vintage perfume bottles are perfect thrift finds and mix well with new polish. Micro pearl nail beads
Seasonal timing: Lighter, jelly and milky looks work best spring to early fall, while satin and moody syrup finishes feel right in fall and winter. Satin top coat 14ml
Dupe hack: If you can’t splurge on salon gel, combine clear builder gel with a quality LED lamp for similar longevity, about $60 to $120 total. Clear builder gel 7ml
Frequently Asked Questions
Q: How long do these syrup finishes last at home?
A: With proper prep and gel sealing, syrup finishes can last 10 to 14 days. Use a quality no-wipe gel top coat and cap the free edge for best wear.
Q: Can I get this look without a lamp?
A: You can, but longevity drops. Regular clear polishes chip faster than cured gel. For longer wear try syrup glossy top coat.
Q: Do clear gels yellow over time?
A: Some do, especially cheaper formulas and with sun exposure. Pick a reputable clear builder gel 7ml and avoid heavy layers to reduce yellowing.
Q: Are press-on transparent nails a good shortcut?
A: They are fast and affordable, but edges can look fake if not filed. Press-ons are great for single-night events; I keep a set in my desk for last-minute plans. Try clear press-on nails set.
Conclusion
Start with a simple clear build and one glossy top coat, then add one tiny accent like a pearl or foil. I recommend trying the milky tint first if you’re nervous, it’s forgiving and chic. Which of these 14 Korean transparent nails are you trying next, and do you prefer high-shine or soft satin?
Stats & sources note: the global nail care market surpassed $11 billion in recent years (Grand View Research) and platforms like Pinterest have fueled popularity in glassy and syrup nail searches, which matches what I see in salons and street style.


